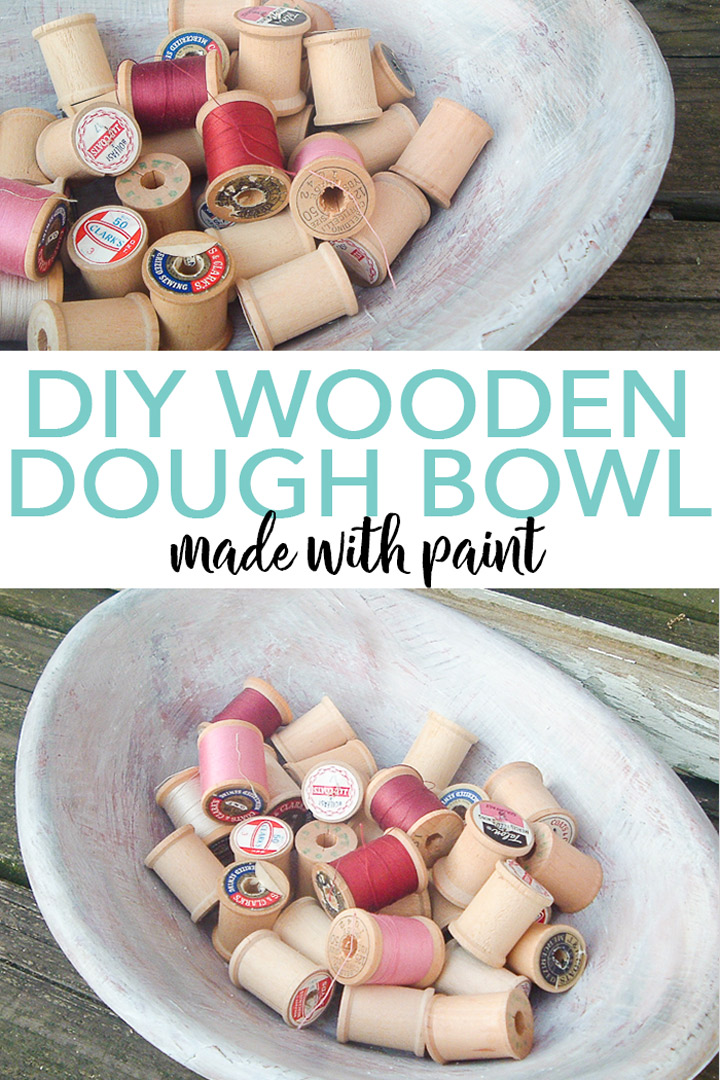
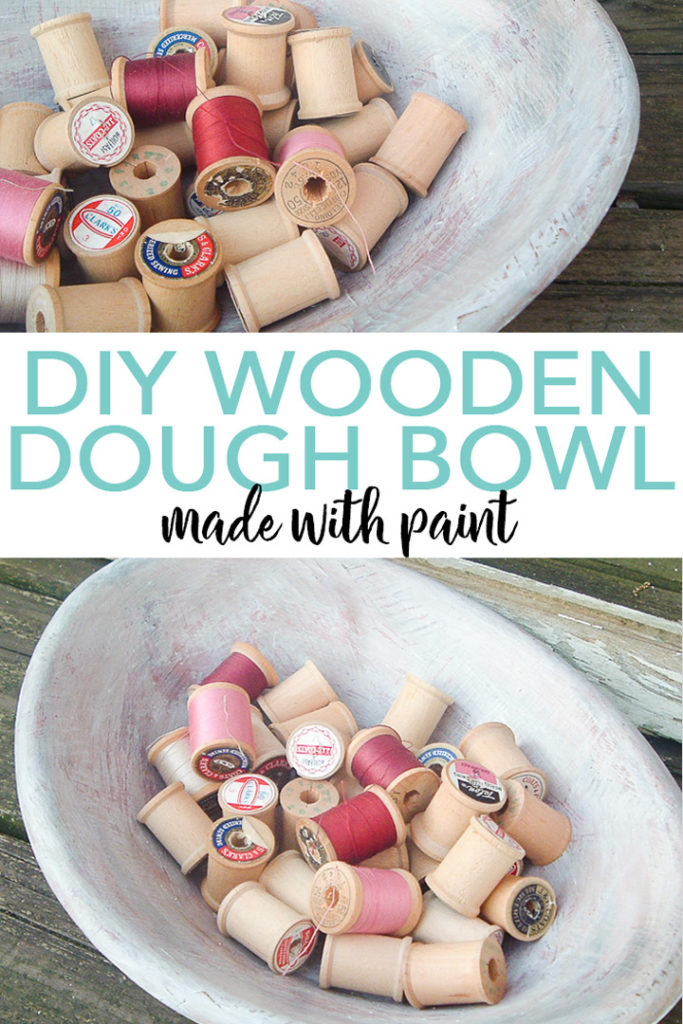
Want to make a DIY wooden dough bowl? All you need is a thrift store find and some paint. I have been lusting after wooden bowls…but they are so darn expensive. So I made my own for $1….yep $1. Want to make one of your own? Just keep reading below because it really is so easy!
This one was first published May 13, 2011 but I am reposting with more information.
Some links below may be affiliate links which means that you do not pay anymore, however, a small commission will go to this site.
Supplies to make these DIY wooden dough bowls:
- Wooden bowl from thrift store (I found mine for $1!)
- Paint in white, black, and brown (I used all FolkArt paints.)
- Oak stain
- Paintbrushes
- Rags
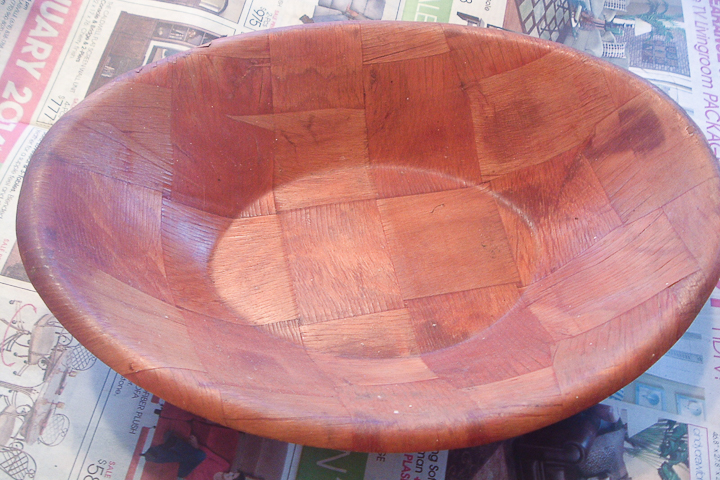
How to Paint Your Own Wood Dough Bowl:
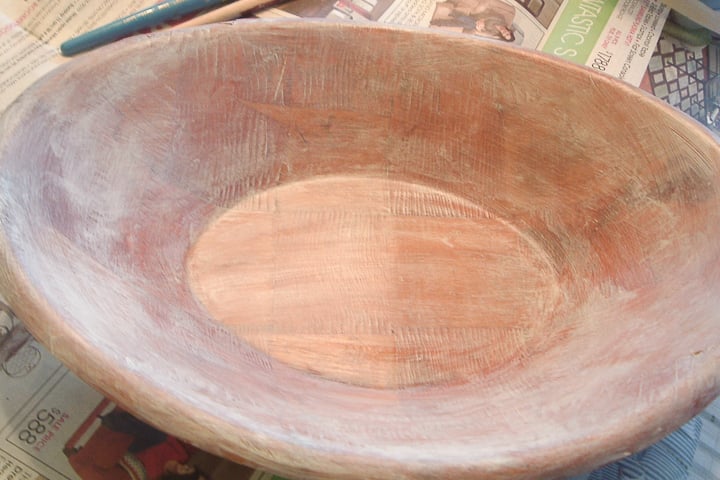
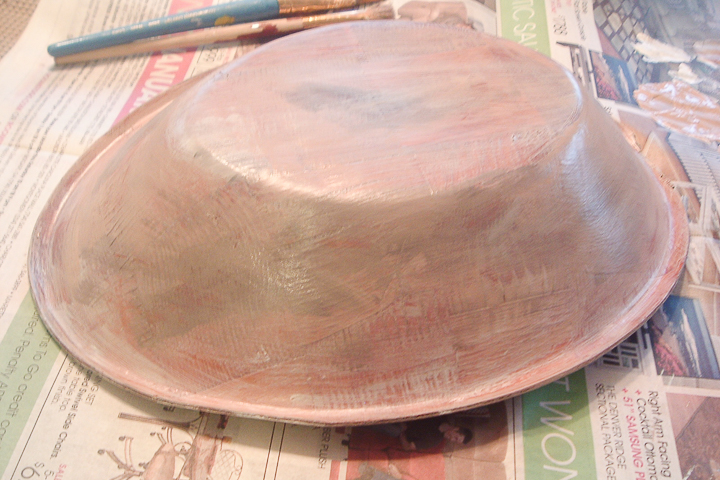
I absolutely heart these found dough bowls from Pottery Barn. So that was my inspiration for this one! First, add a really light coat of white paint to the entire surface. It does not even have to cover completely. Make it uneven and very light. Use a dry brush with not much paint.
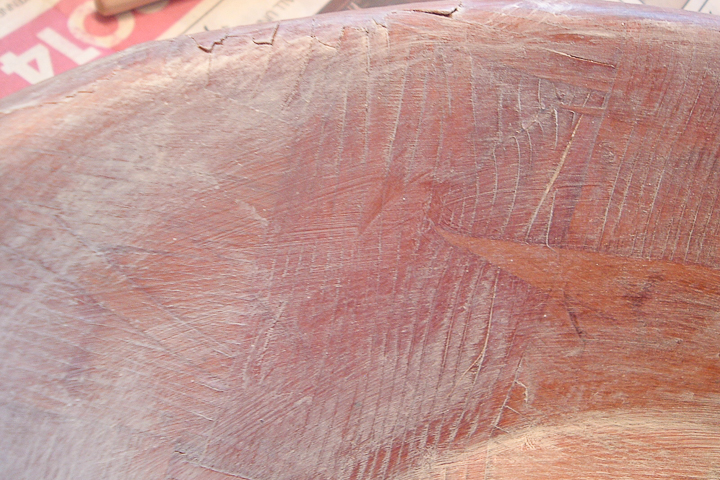
Once I started painting, I realized that this particular bowl was full of imperfections which are perfect. Those found bowls from Pottery Barn would surely have imperfections! See how the cracks in that wood finish show up. Oh yes, I like it already.
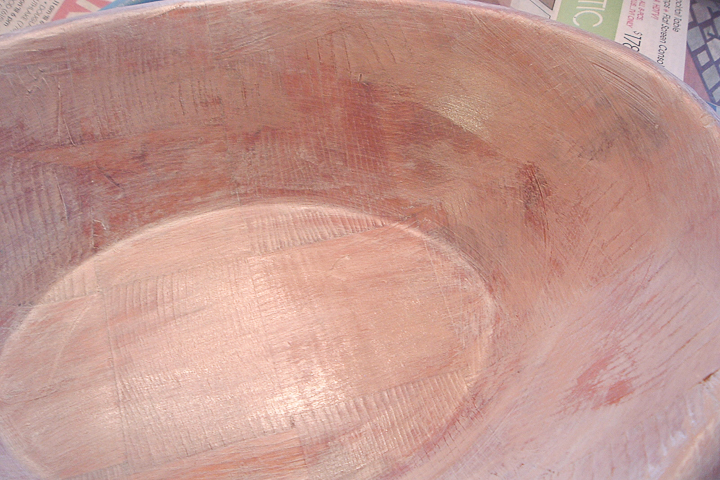
Mix brown and white to get a creamy tan. Add another very light coat all over the bowl. It should be uneven and VERY light again.
Now the Pottery Barn version above had dark spots. So add some black paint and randomly make some dark areas. Do not go over the entire bowl. Add the black just here and there.
Allow the bowl to dry for 30 minutes or so. While waiting, you can turn it over and do the back the exact same way.
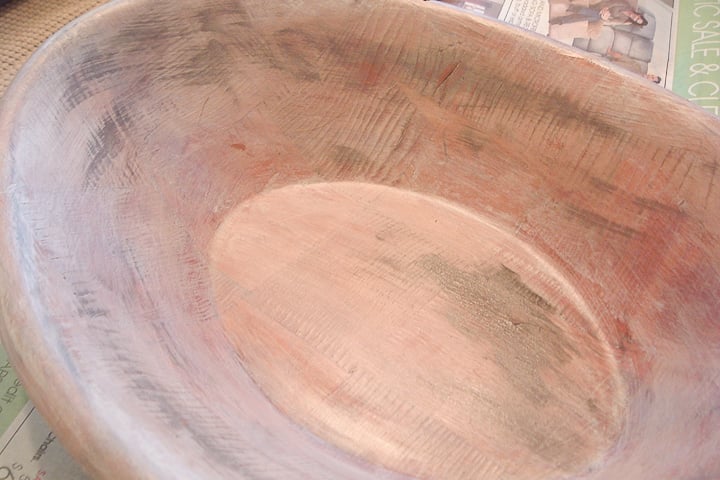
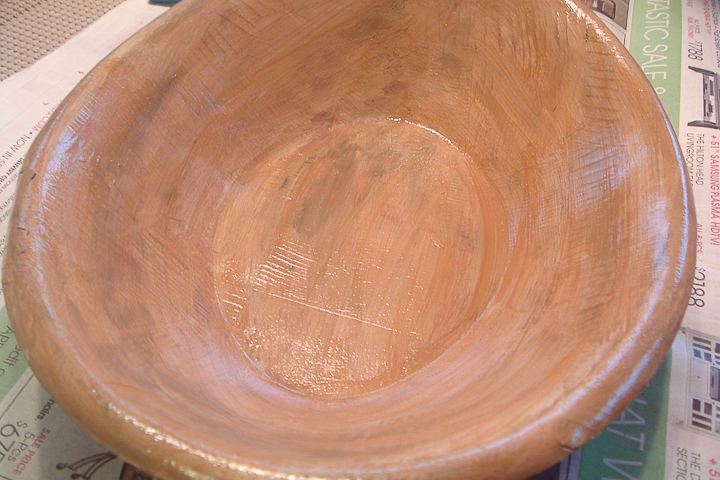
After about 30 minutes, coat the entire surface with an oak stain. Let it sit just a couple of minutes and wipe it off with a rag.
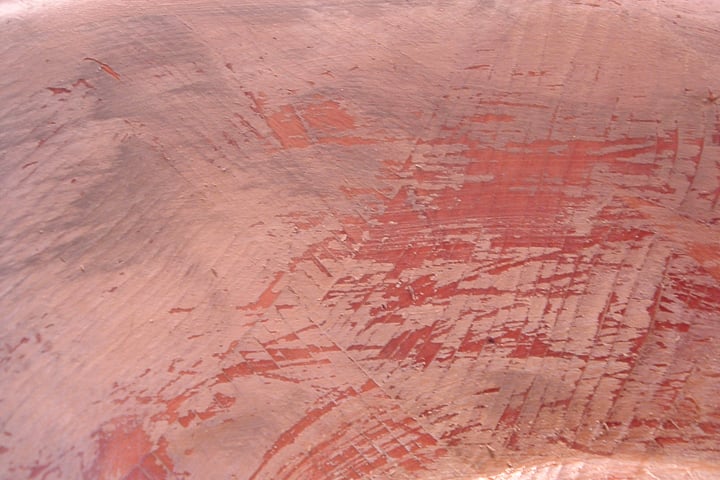
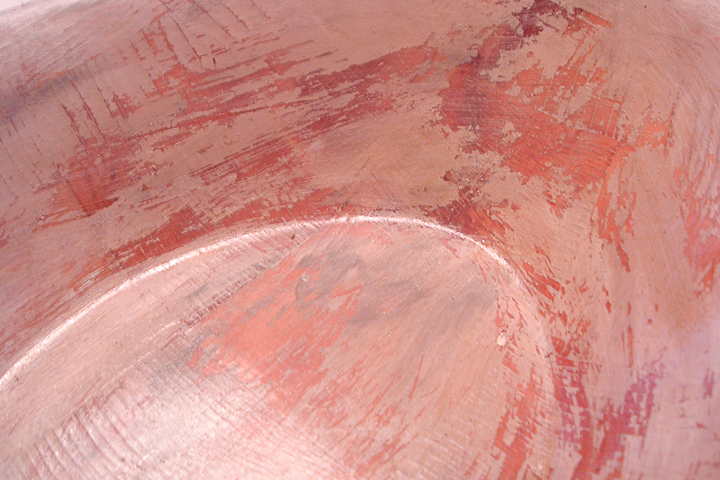
Because the paint is not cured it will come off in areas.
Which leaves even more texture and character! Let that dry for about 24 hours. The next time you don’t want the paint coming off.
Ready to finish this off? Add another light, light, light coat of white on the top. Allow that to dry and you are DONE!
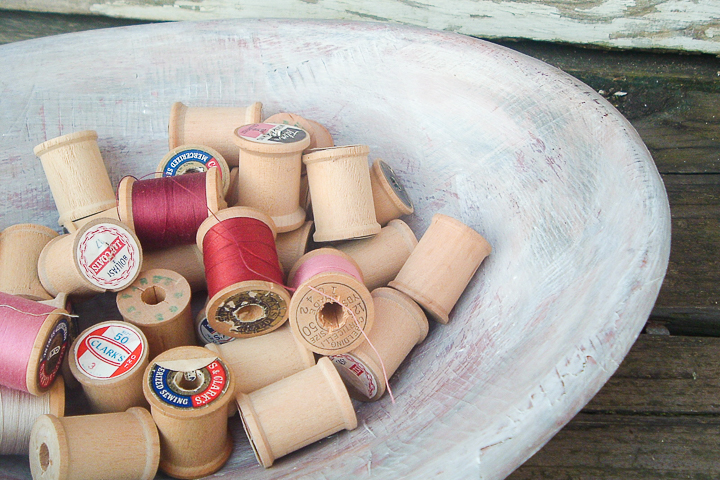
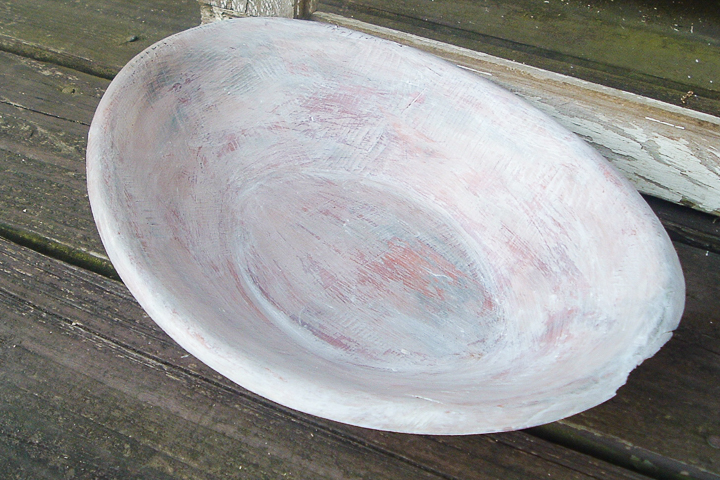
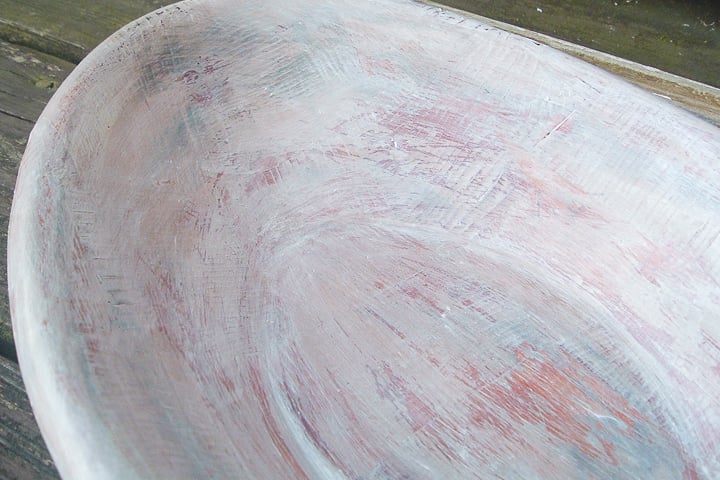
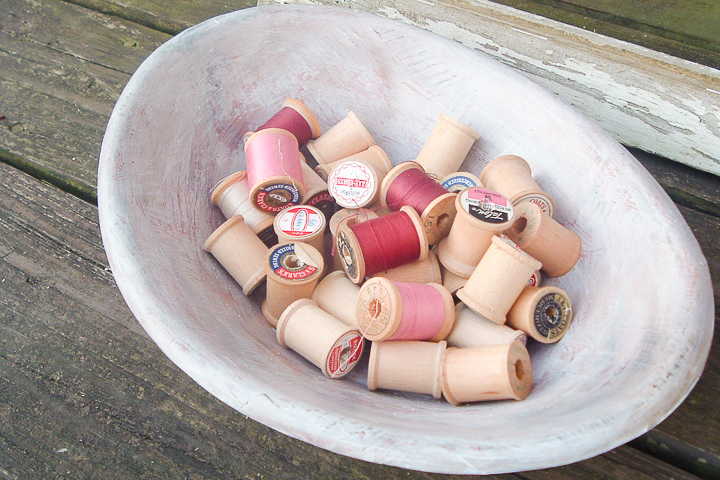
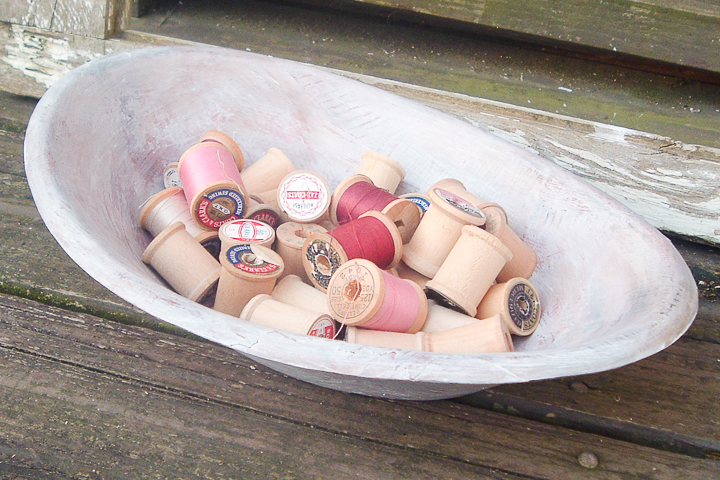
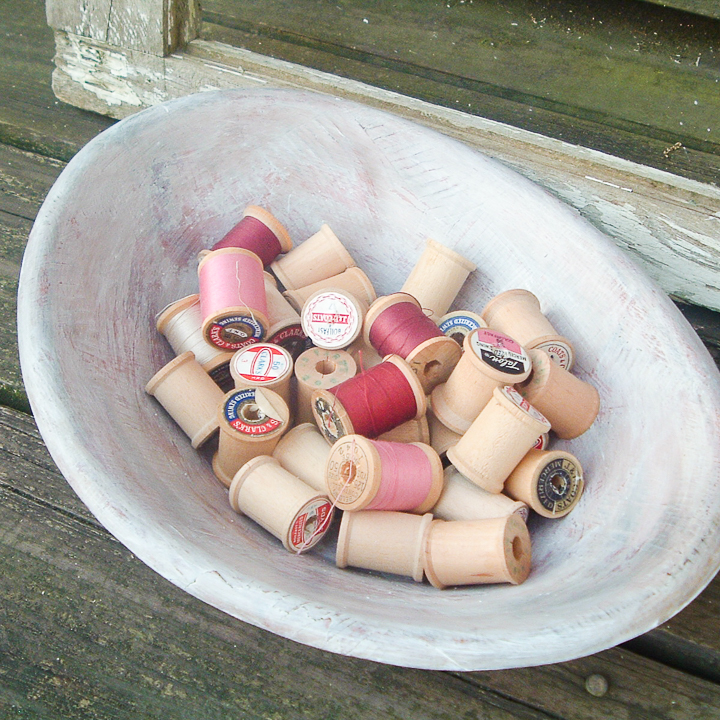
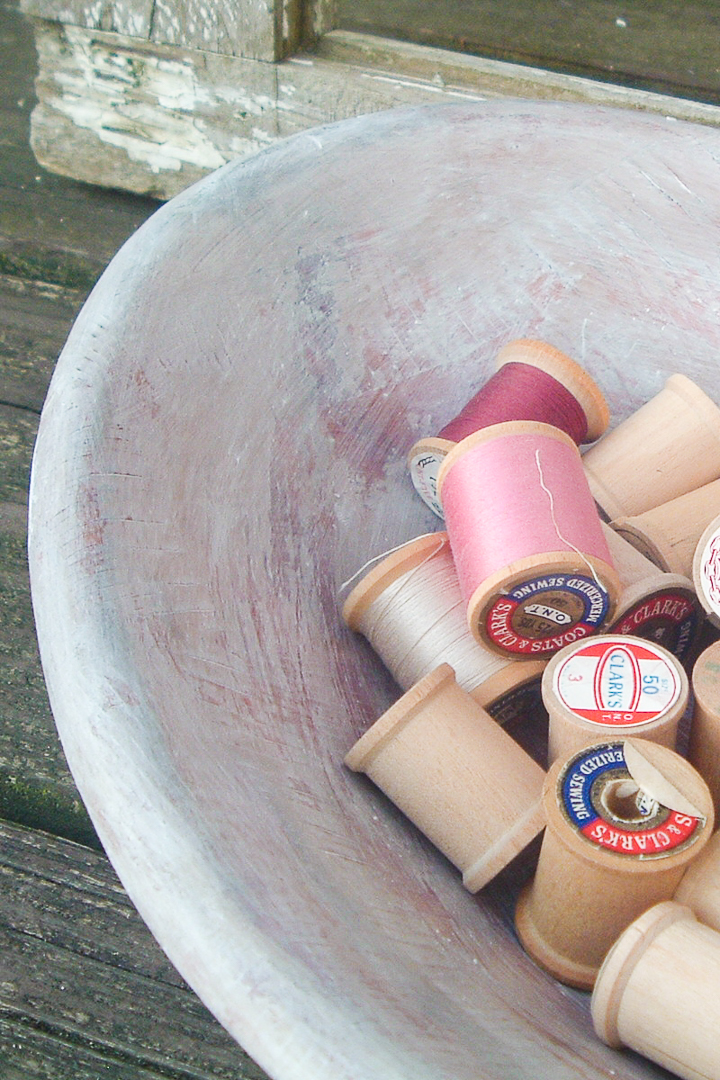
See all that character! A DIY wooden dough bowl with farmhouse style all for $1.
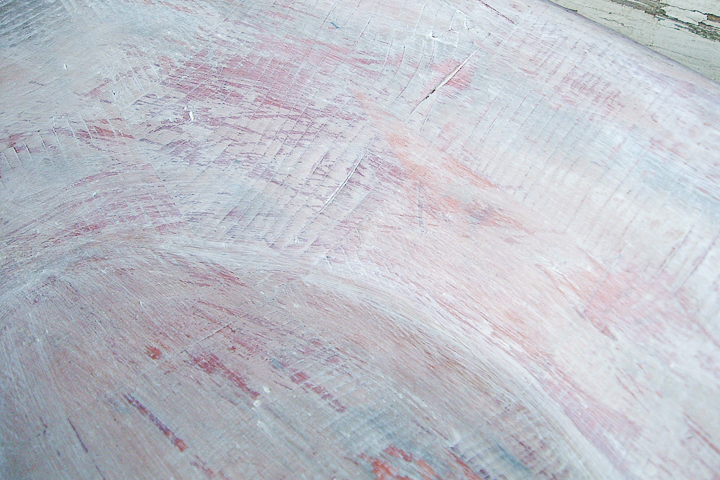
It was almost like the grain on the wood pieces opened up some. Which I think is amazingly perfect.
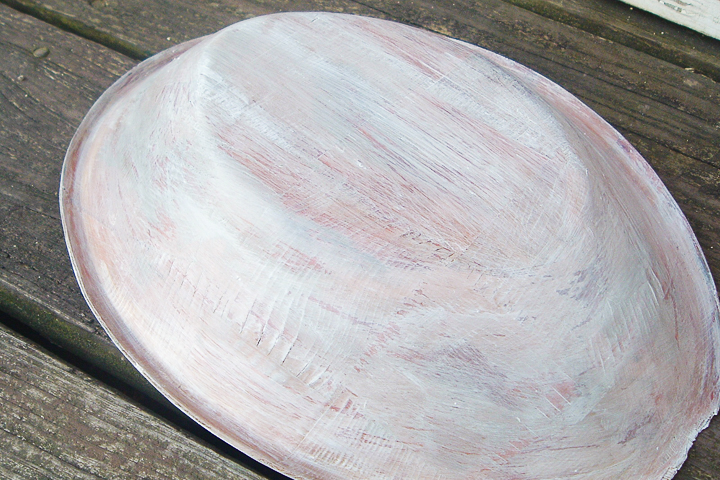
And yep I did the bottom the same way.
What Can You Add to a Farmhouse Style Dough Bowl
I threw in my wooden spools and started snapping pics!
You could add just about anything this to gorgeous wood dough bowl, however. It would be great filled with lemons and limes. Maybe a few faux flowers. Magnolia leaves? Yes, please!
I think it is perfectly imperfect. And at $1 compared with the $200 of the Pottery Barn version…I am happy as a lark!
If you love farmhouse style, a DIY wooden dough bowl will be the perfect addition to your home’s decor.
Go and stake out your thrift store now! And send me your pics if you make one!



oh how cute! that looks so great! 🙂 I love it. Definitely a great transformation thursday project! just stopped by from shabby chic!
thestyleprojects.blogspot.com
Your wooden bowl is fantastic. I love this idea. I’ve always wanted one of these bowls but they were to expensive. I will have to keep my eye out for a bowl like yours.
Ruth
Angie – I just adore the wooden dough bowls and love your version – what a brilliant idea! The finishing technique is fabulous! Thanks so much for linking to The Sunday Showcase Party – I greatly appreciate it. I have featured this Sunday. Have a wonderful week.
~ Stephanie Lynn
I never would have dreamed of getting that bowl, or imagined that it could be transformed like that. Amazing, Angie!
Thanks for joining my party 🙂
This comment has been removed by the author.
This is a fabulous piece!!! I’m loving it! Last year I bought a ceramic bowl that looks ‘similar’ in technique… but paid over 60 bucks! duh. I have a very old teak bowl I think I’d like to try this out on… Thanks for the great tutorial, much appreciated!