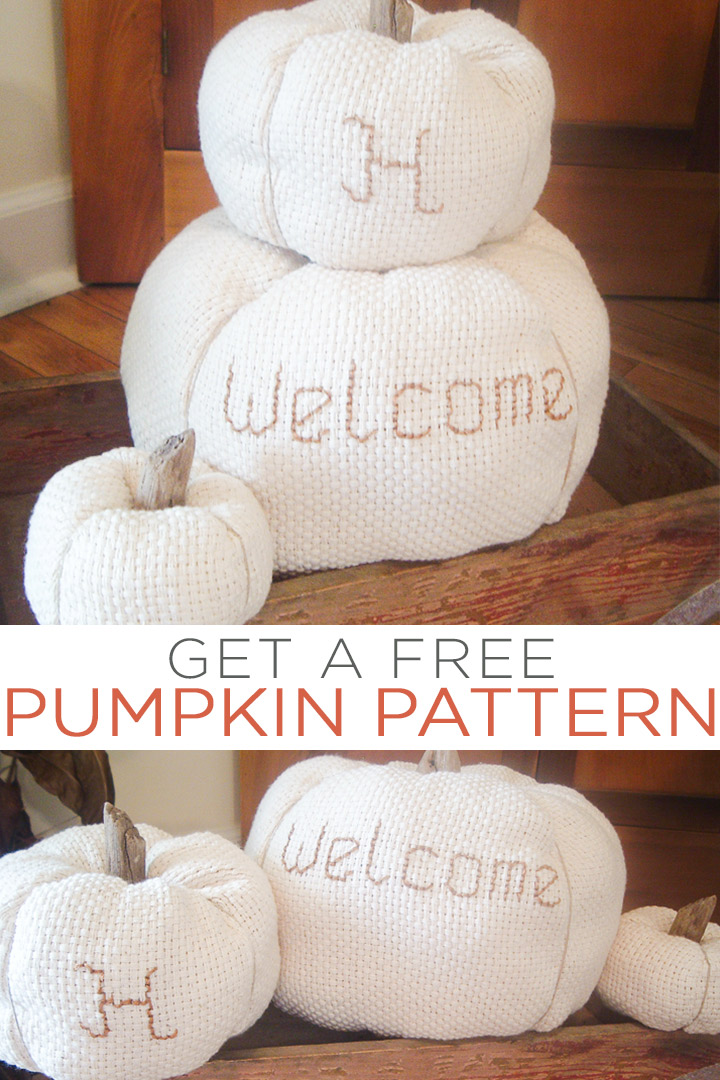
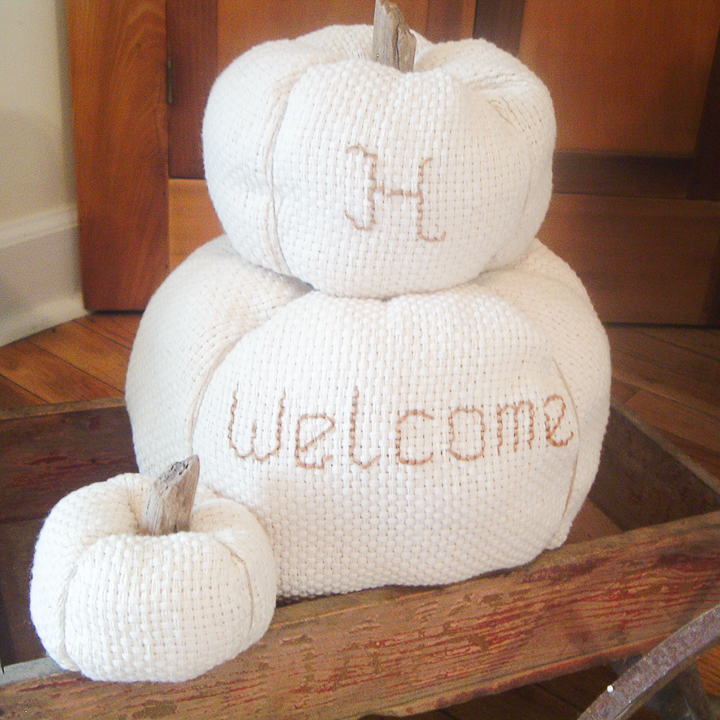
Are you ready to learn how to use fabric pumpkin patterns? We have the patterns and instructions so you can sew your own pumpkins in minutes. I am in LOVE with my monk’s cloth version but you can use any fabric you want with this same technique. These great pumpkins will look fabulous in your fall home decor. Make them and re-use them year after year!
This post was first published on October 13, 2010 but I am republishing with more information to include options for using a Cricut Maker to cut the fabric.
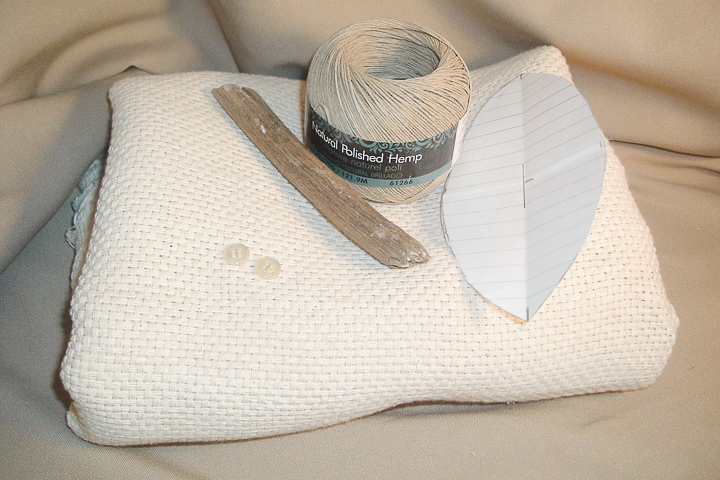
Supplies needed:
- Monk’s cloth or any other fabric
- Hemp cording
- Buttons
- Embroidery floss
- Fabric scissors
- Driftwood
- Hot glue and a glue gun
- Sewing machine
- Thread
- Needle
- Fiber or foam filling
- Pumpkin template and SVG files (download below)
- Cricut Maker (optional)
- Cricut Rotary Blade (if using your Maker)
Fabric Pumpkin Patterns
Here are the patterns for making all sizes of these cute cloth pumpkins.
Please note these approximate finished sizes when choosing which to make:
- Small 10 1/2 inches around, 2 1/2 inches tall
- Medium 18 inches around, 4 inches tall
- Large 27 inches around, 6 inches tall
How to Make Cloth Pumpkins
Step 1 – Cut fabric
Cut your fabric using the pattern. You need four sides for each pumpkin. NOTE: If you are using the pattern, the large pumpkin sewing pattern is to be cut on the fold.
Cutting Fabric with a Cricut Maker
If you haven’t used your Cricut Maker to cut fabric, what are you waiting for? Upload the SVG files to Cricut Design Space, if you need more info on uploading files, I have a video to help! The sizing for each design is in the shape. You’ll need to hide or delete the text before cutting.
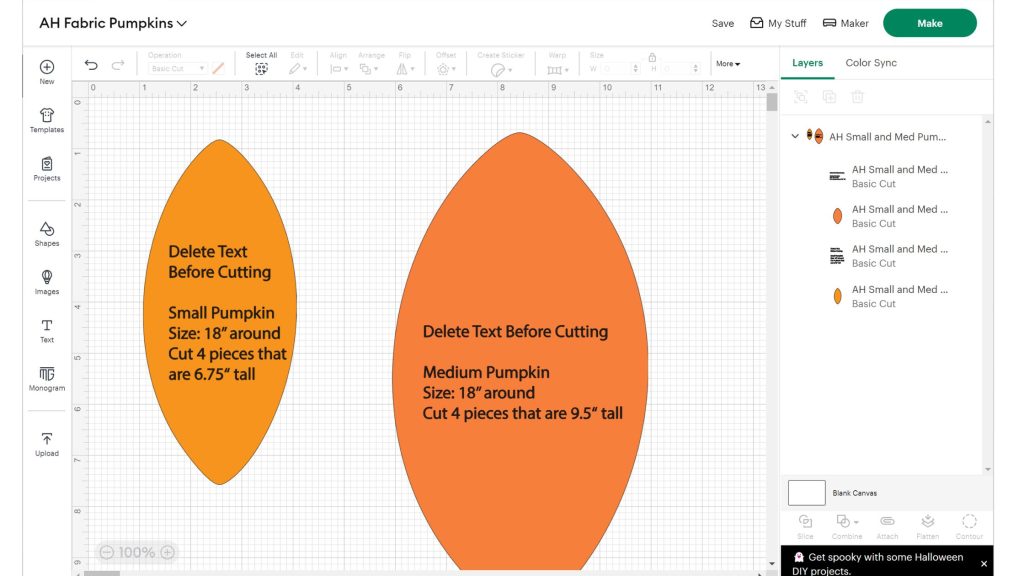
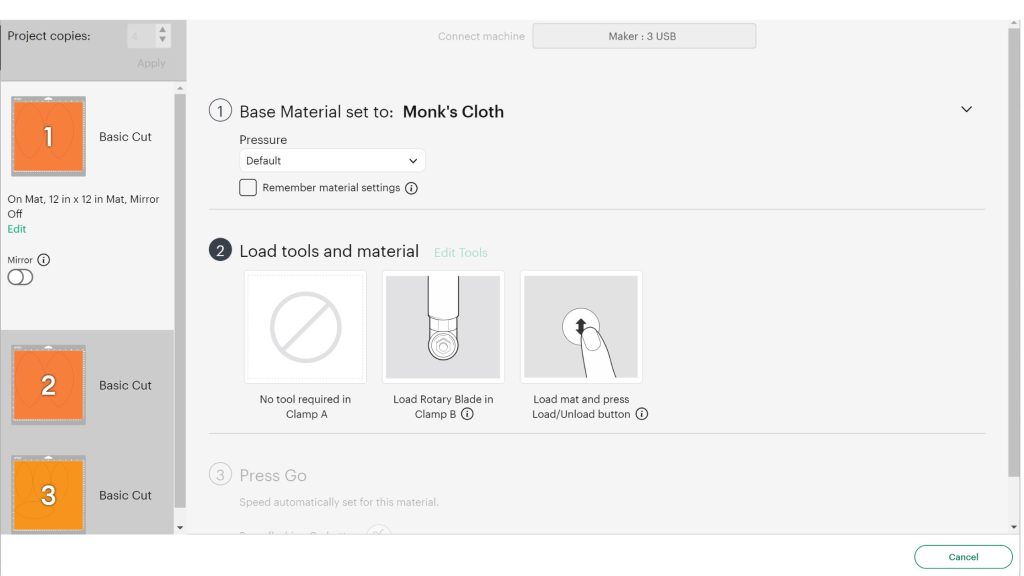
Once you have the text deleted or hidden, click Make. Change the number of project copies to 4 and then select Monk’s Cloth (or whatever fabric you are using) as your material. Cricut Design Space will prompt you to use your Rotary Blade into your Cricut Maker.
Step 2 – Start sewing
Then put two of your pieces together and sew around one side. I used a very fine stitch and sewed it twice (right beside each other.) This is required for the monk’s cloth but other fabrics may be fine with one seam.
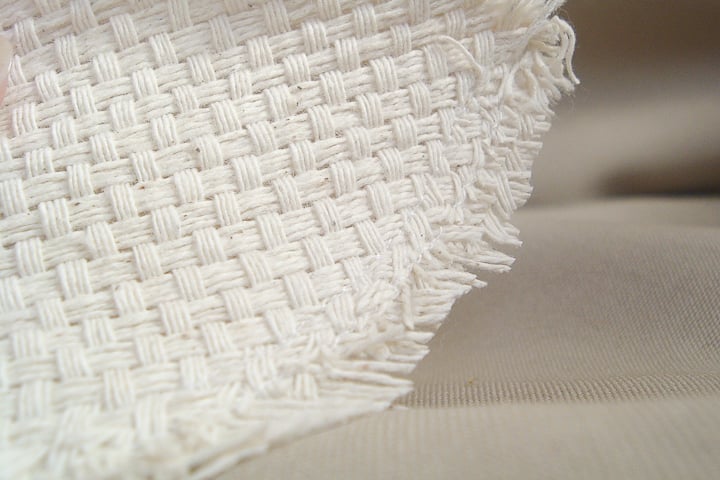
Keep putting on your pieces, sewing each one with a double stitch. When you get to the very last “side” and are sewing it “closed” leaving a slit (about 2 inches is good).
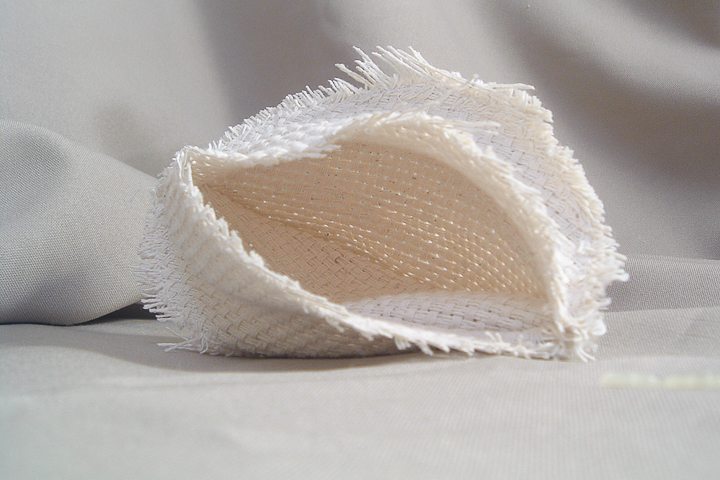
Step 3 – Turn right-side out and add stuffing
This is IMPORTANT!! Learn from my mistake! If you are using a fabric like monk’s cloth, sew around both sides of that slit BEFORE you try to turn and stuff your pumpkin. The turning process will make the monk’s cloth fall apart. So after you sew down both sides of your slit, turn your pumpkin right side out and stuff it until you love it!
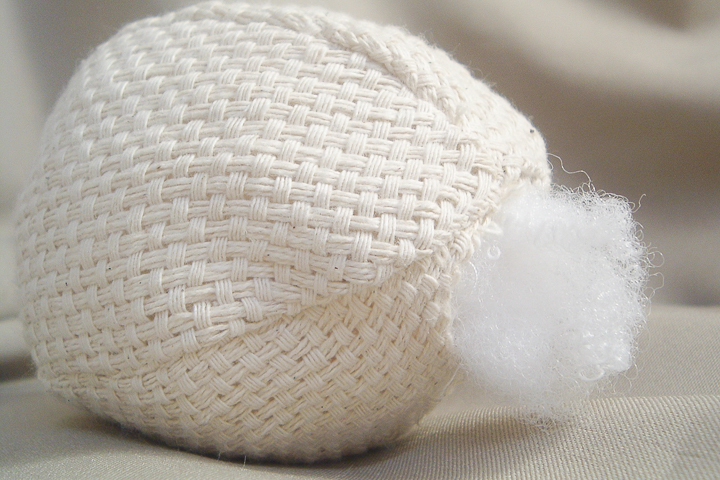
Step 4 – Embellish (optional)
If you want to embroider something on your pumpkin, do this after you turn right side out but before you stuff. After you complete the stuffing, sew up your slit either by hand or with a machine.
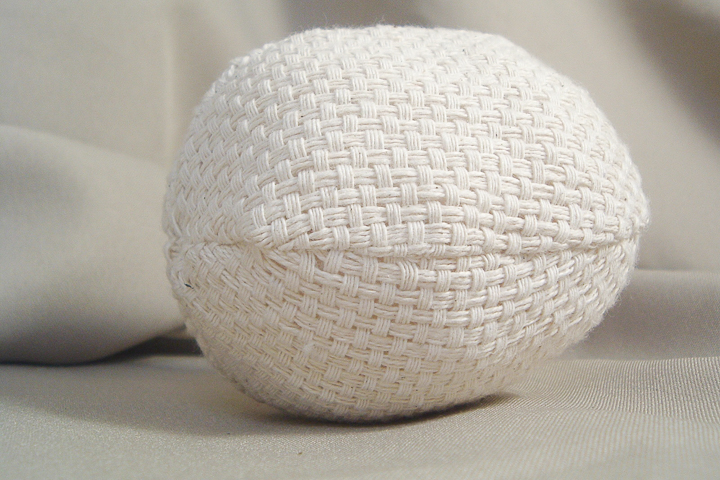
Step 5 – Add hemp cording
Grab a big needle to thread in your hemp cording. Tie a knot in the end and go through a button and then all the way through your pumpkin. You will want to go through a button on the other side as well. Each pumpkin will need two buttons.
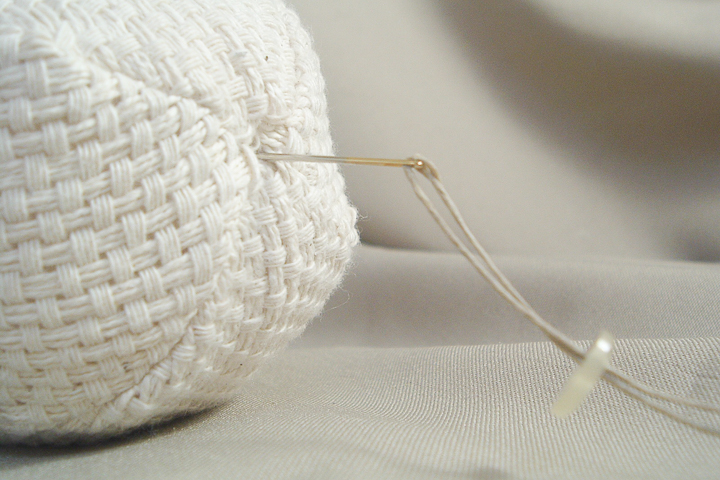
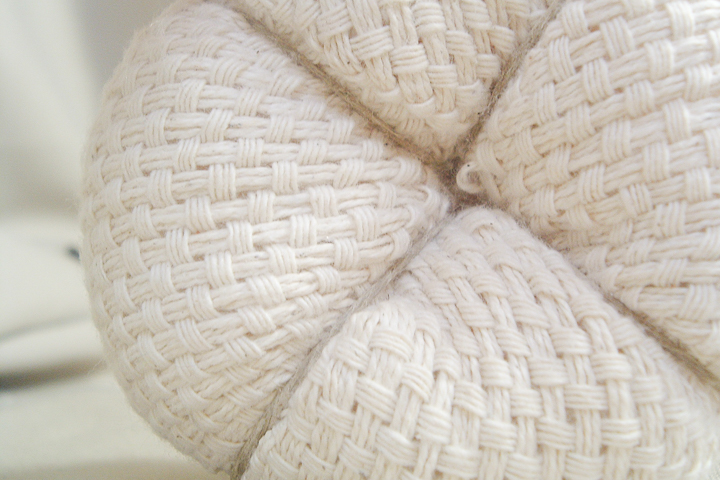
Run the cording around one of the seams then back through the next buttonhole in the first button. Pull TIGHT!! All the way through the pumpkin again and to the button on the bottom. Repeat this down all 4 seams.
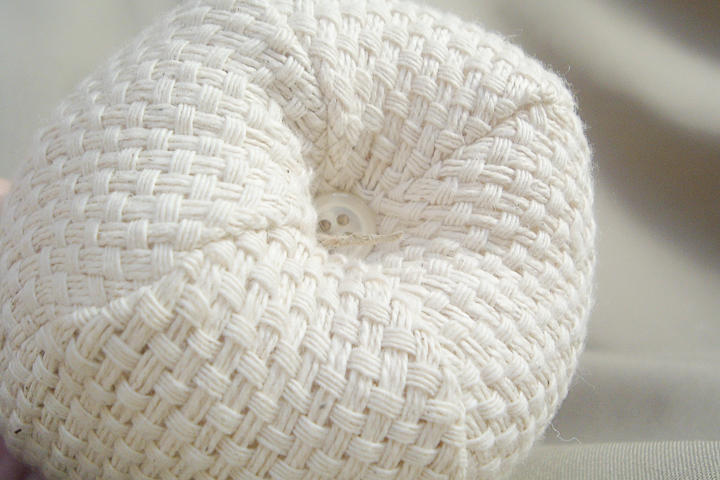
See you pull TIGHT! That gives you that pumpkin look. The button keeps your thread from going all the way through the monk’s cloth. Then you can tie off your hemp cording after you complete all 4 seams.
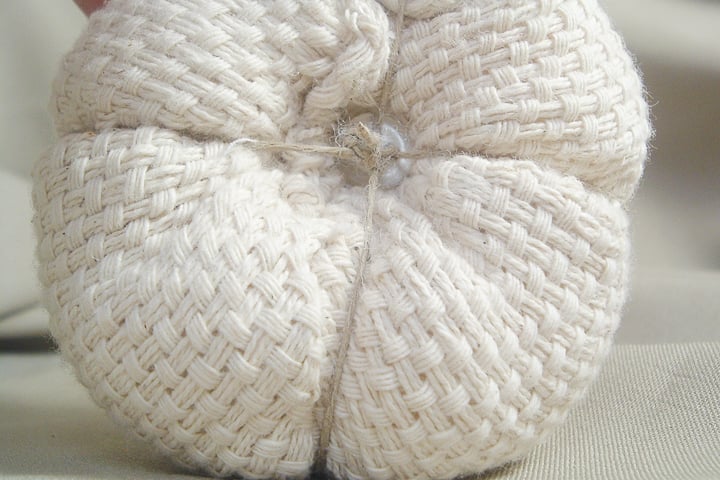
Your buttons will almost disappear inside your cloth pumpkins.
Step 6 – Glue the stem
Now all that is left is to cut off a piece of driftwood and use hot glue to secure it on the top.
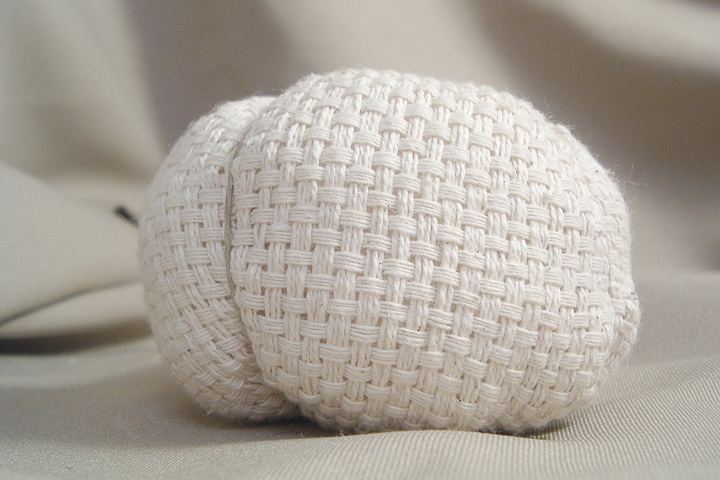
You can make one or two or three of these with a copy of our fabric pumpkin patterns. They are so easy to make that you might just make a few for every room.
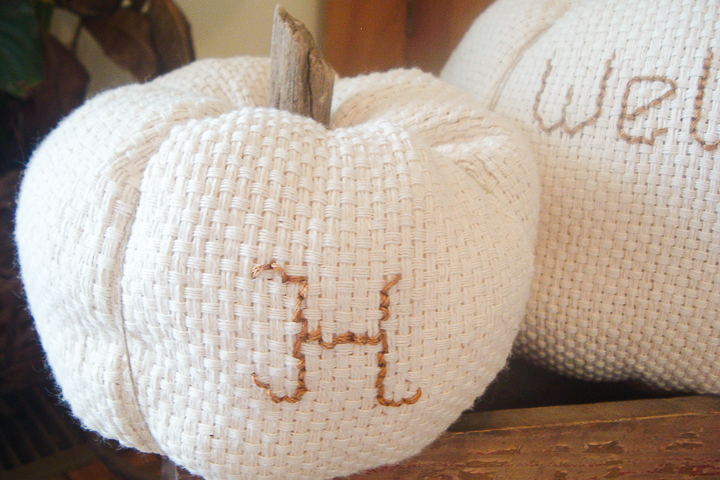
Then you can welcome in fall with some gorgeous pumpkins that you made yourself!
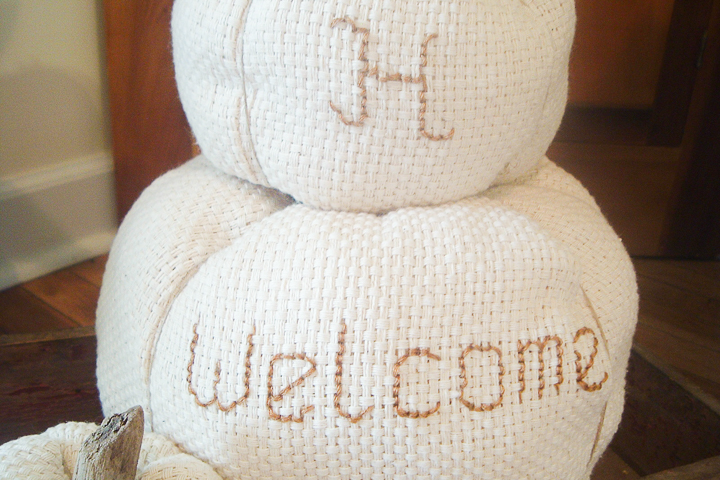
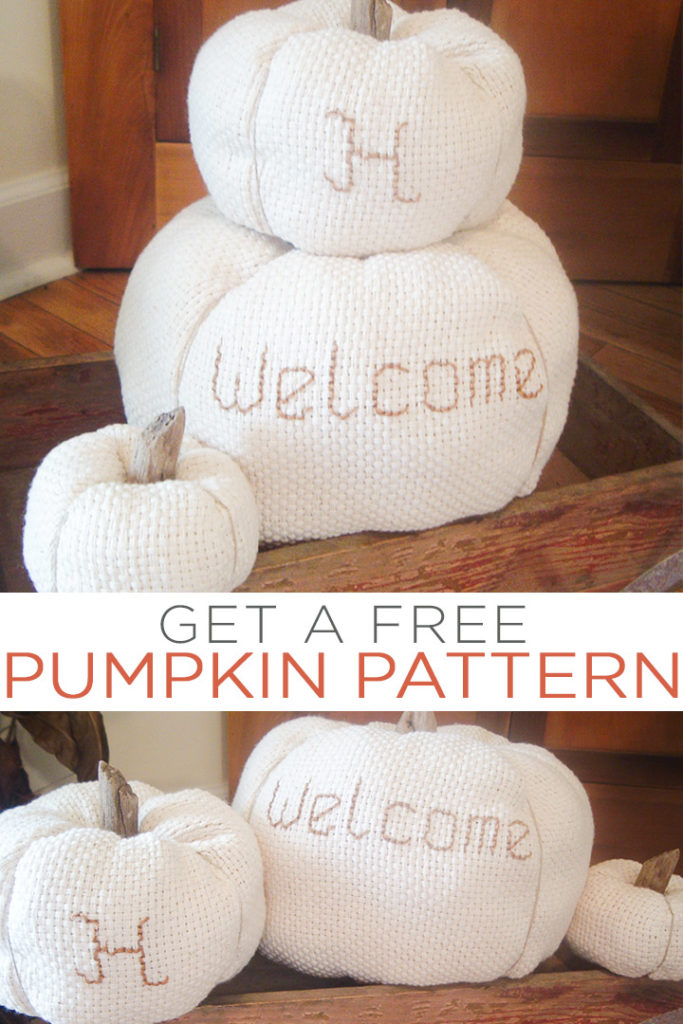
These farmhouse style pumpkins are creamy-white gorgeousness! Y’all be sure to let me know if you make any like these!
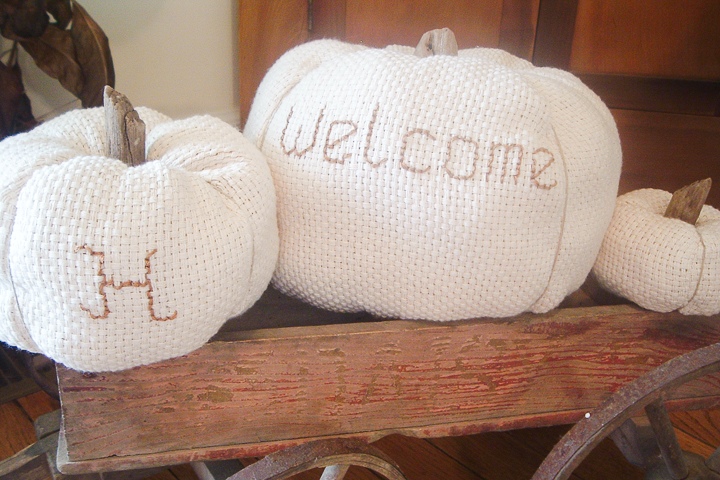
I personally love the monk’s cloth with the embroidery but you can choose to sew these out of any fabric that you choose.
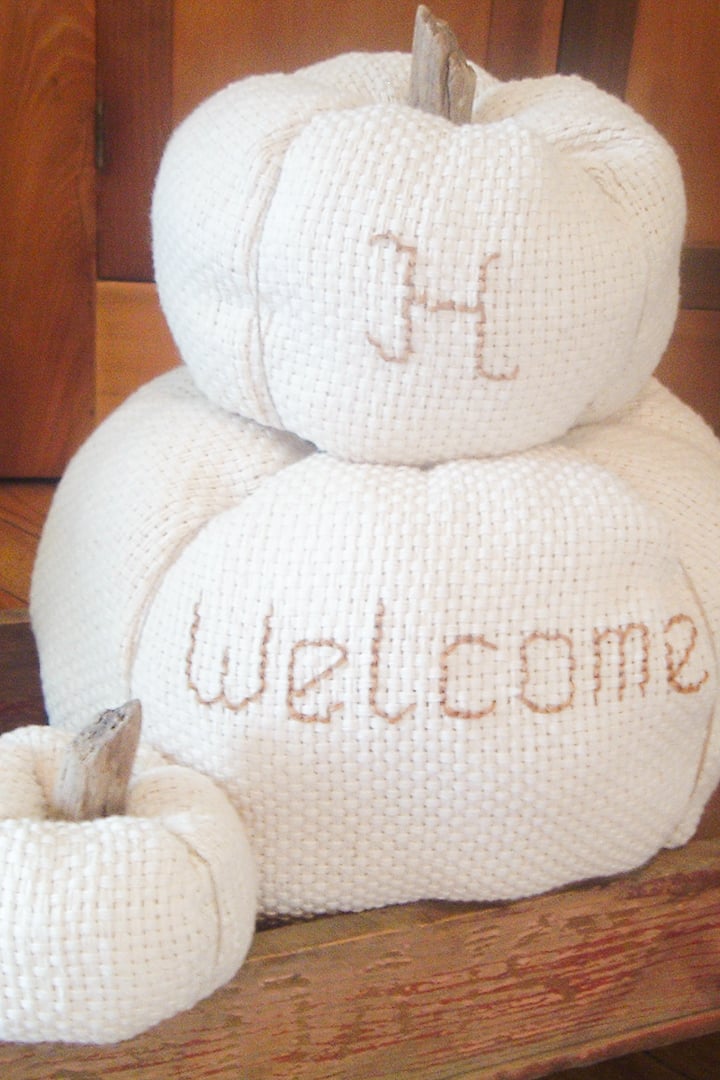
Have some scrap fabric in fall colors? You could also upcycle some flannel shirts or old tablecloths to make some unique pumpkins. This might just be the project you have been looking for!
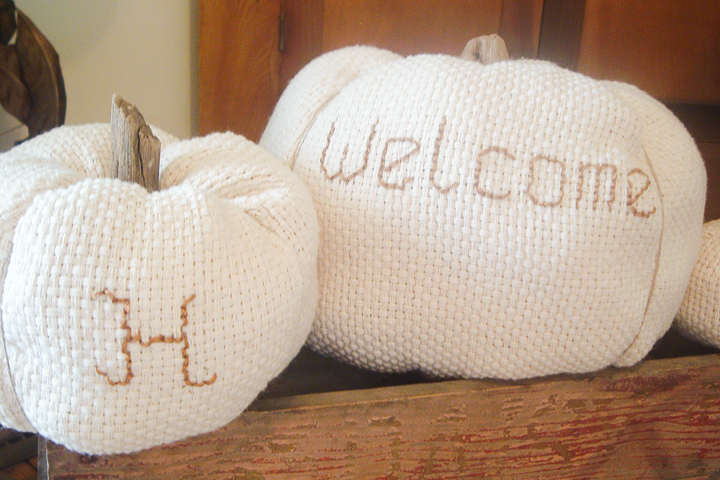
Do you think you can’t possibly sew a pumpkin? You are wrong! Making cloth pumpkins is so much easier than you think.
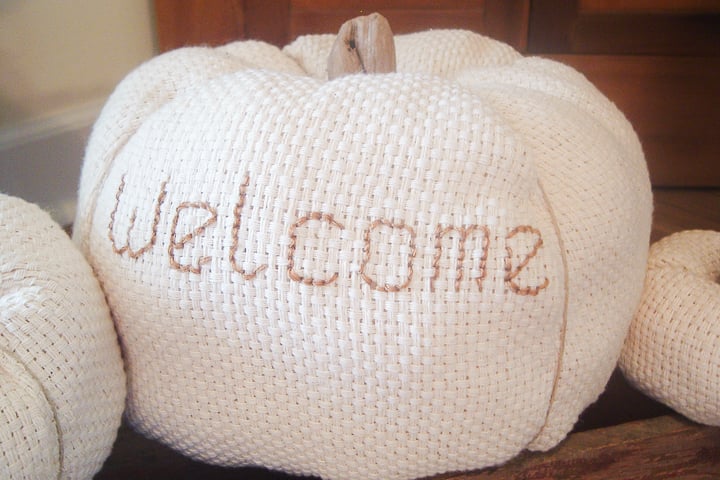
You can start with the littlest guy and work your way up to the larger pumpkins if you wish.
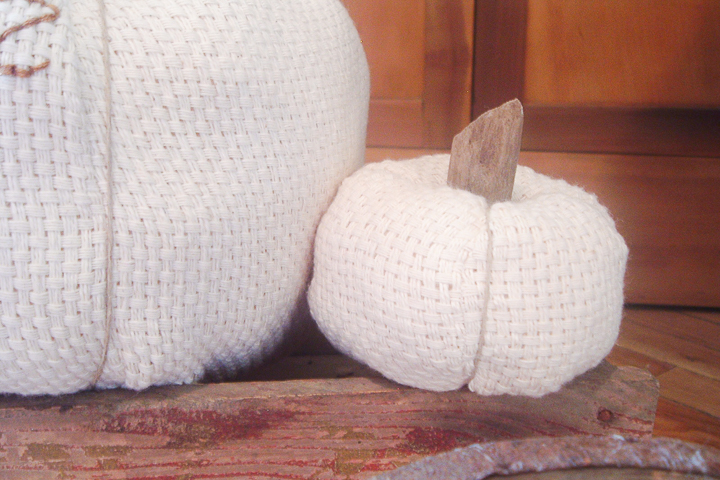
However you start, just print these fabric pumpkin patterns and add this craft to your must-make list this year!
More Pumpkin Projects
So, do you love this tutorial on how to sew pumpkins and want more? Try the links below as well!



LOVE these ~ super cute!
How yummy! I love them. So original!
Can I just say I was totally surprised that your pumpkins got the lowest number of votes? I’m in shock because I love them. AND can I say that I am totally bummed that you got eliminated!!!! When I saw that you got cut, I had to read it a few times to make it real. You rock and I just don’t get it. These are beautiful. Keep up the great work!
Love these pumpkins…simple white and lovely.
Angie, I love this material – what a perfect choice. These are adorable. I featured them today. Stop by and grab a featured button if you like. Thanks so much for linking to The Sunday Showcase. I greatly appreciate it. Hope you enjoy your week! ~ Stephanie Lynn
How CUTE!
Such a cute & original idea!
Such cute pumpkins! You fabric choice is fabulous — love the natural look of it!
I love that you did these in the creamy white monk’s cloth! They turned out so simple and classy!
These are so cute and I love the fact that they’re monogrammed….such a good idea!!
These are both fun looking and inspirational! May take a shot at making these sometime soon 🙂
Thank you for sharing love the simplicity.