Love this post? Be sure to subscribe to THE COUNTRY CHIC COTTAGE so you don’t miss a thing!
Be sure to check out all of our quick and easy craft tutorials for more inspiration.
Angie Holden The Country Chic Cottage
Learn about your Cricut machine, sublimation printer, or any other craft you can imagine! Angie Holden shares her crafting tips so you can craft like a pro!
Filed Under: Budget-Friendly Ideas
By: Angie Holden | | 45 Comments


Love this post? Be sure to subscribe to THE COUNTRY CHIC COTTAGE so you don’t miss a thing!
Be sure to check out all of our quick and easy craft tutorials for more inspiration.
For over a decade, I have been sharing Cricut tutorials and craft ideas here as well as on my YouTube channel. My passions include teaching others to be creative and learning as many new things as possible about crafting technology! Click here to read more about me!


And subscribe to the newsletter!
The Country Chic Cottage is a participant in the Amazon Services LLC Associates Program, an affiliate advertising program designed to provide a means for sites to earn advertising fees by advertising and linking to amazon.com. Amazon, the Amazon logo, MYHABIT, and the MYHABIT logo are trademarks of Amazon.com, Inc or its affiliates. Please note that some products used may be given to The Country Chic Cottage free of charge.
WOW!! What a great idea!!
Great idea, who would have know, nail polish remover!!
Tracey
Angie, you are always coming up with cute original items – great job!
I love this! I’ve wanted to do this for a while now, but didn’t really know how. Thanks for sharing! Love it!!!!
So clever. I have never heard of this before. I will have to try just for fun. Do the designs fade over time even if you don’t use the plate? Such a great idea for making custom designs. Thanks for visiting my blog and leaving such a nice comment. I hope you will come back for a second look!
I can’t wait to try this!
super job! brilliant for sure!
thanks for visiting and commenting on my cupcake stand (painted) and the match holder. I’ve gotten a lot of ideas, I like it sort of as is too. 🙂
gail
Genius! I never knew you could do that with acetone. It turned out beautiful, I’ll have to try this myself. Thanks for the tip and thanks for stopping by peppertowne.com
Really cool – I have some dishes that could be put to good use with this method!
Wow. Who knew what nail polish could do! What type of paper did you use? Love this! cheers, -susan
Popping over from Tip Junkie and so glad I did! This is such fun idea!!!
what a fabulous idea! Am going to give this a go for sure!!
alicia
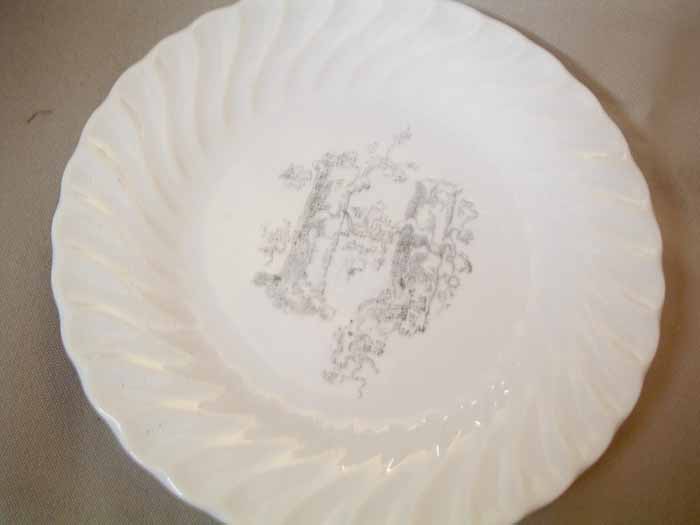
You just have to make a toner based copy of your image. So just copy paper works like a charm! Don’t know about the image fading. It seems pretty permanent to me. I will be finding out though! Heck for 25 cents — I can risk it!
Wow, that’s a great idea, and one that I think even I can manage to do 🙂 Love your site!
Can’t wait to try this! Thanks for linking up to Anything Related!
~Bridgette
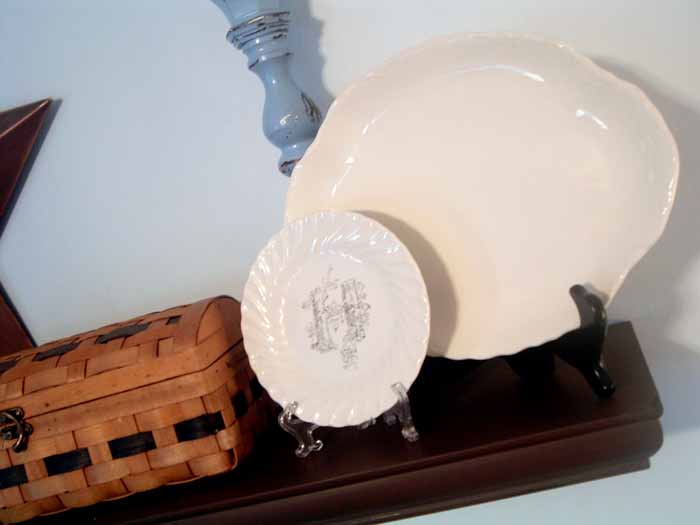
I found this SAME plate at DI…isn’t it so cute…we both have good taste I am thinking 😉
That is fantastic! Love it. Love your blog! New follower!
Holly
504 Main
I can’t wait to try this! I am looking to make some “spring/summer” not easter decorations for the house and this is going to be one of them! I’ll link back to you when I post my project!
So great! I love this tip. I am featuring this at somedaycrafts.blogspot.com
You are just too smart! Who would have thought. I will definitely be trying this!
Thanks
Rhonda