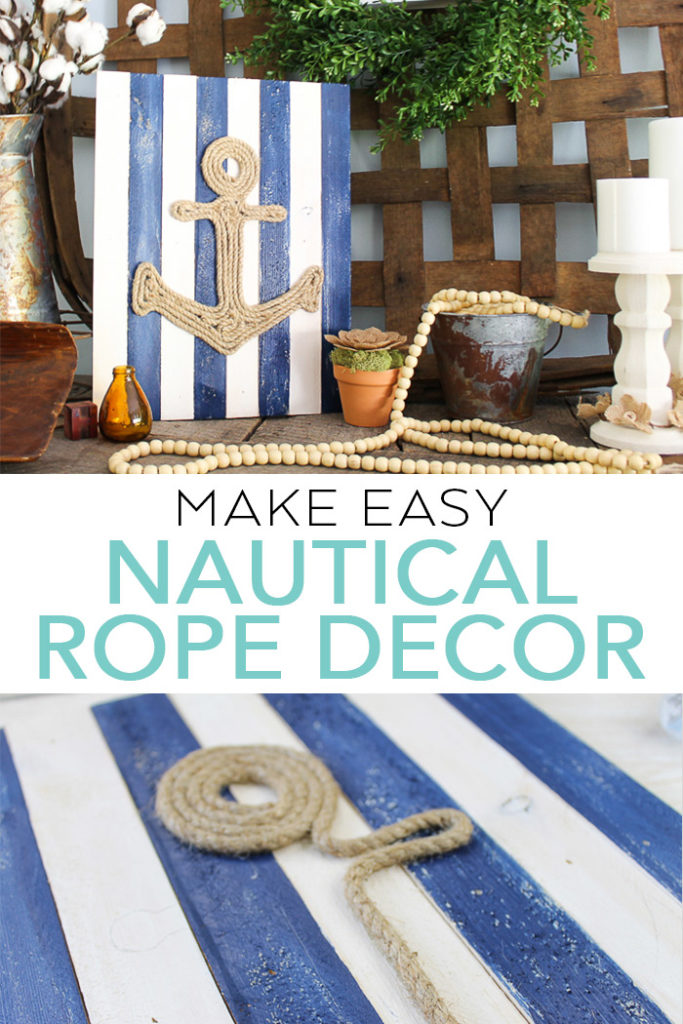
Nautical decor is a fun and restorative addition to any home, and it’s easy to turn any room (bathroom, bedroom, etc.) into a nautical retreat! Follow this tutorial to learn how to make cute nautical rope decor that you’ll love seeing in your home.
I love anything that reminds me of the beach. Since I don’t live near the beach (and don’t get there as often as I would like), I try to have a few coastal or nautical-inspired items nearby. Nautical rope decor is an inexpensive way to fill your home with beach-themed decor.
Add a design like today’s project, along with my DIY Starburst Mirror with Distressed Beach Paint, to a bedroom or a Beach Themed Bathroom. It’s also a great addition to your Nautical Themed Bathroom!
Note: If you want even more coastal or nautical crafting inspiration, be sure to check out my Beach Themed Shadowbox Art, Beach-Themed Lantern, and DIY Burlap Wreath.
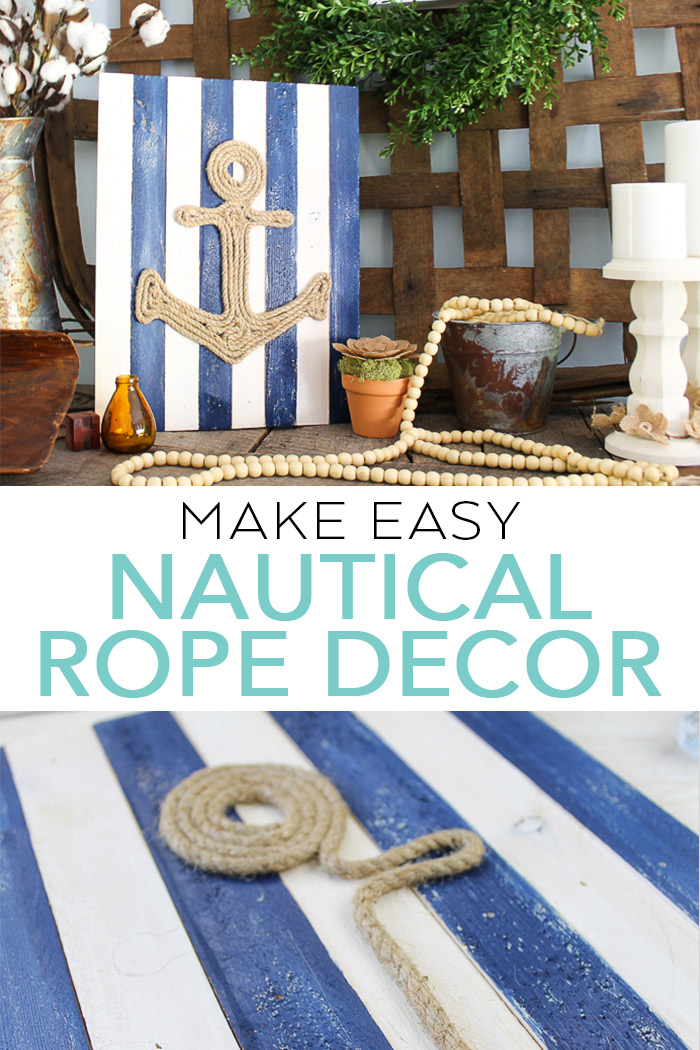
How To Make Nautical Rope Decor
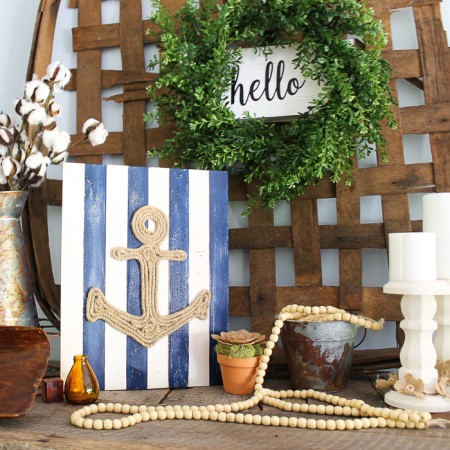
This rope wall art can actually be made in any shape that you like. I created an anchor, but you can make matching signs with fish, seahorses, starfish, and so much more! You are going to love this easy technique for making your own art.
Supplies Needed
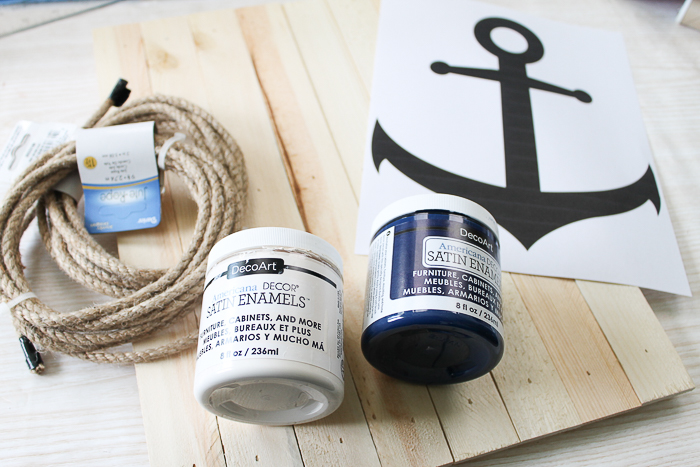
As with most of my project ideas, you won’t need a ton of supplies to make this fun craft. Here’s what you’ll need to gather.
- Wood pallet sign (the one I used is out of stock, but this one will work)
- Navy and white craft paint
- 1/4″ Jute Rope (approximately 18 feet)
- Hot glue and glue gun
- Scissors
- Pencil
- Paintbrushes
Nautical Themed Decor Instructions
This project is a very simple one to make. Just follow these step-by-step instructions and get ready to enjoy your own unique nautical rope decor!
Step 1
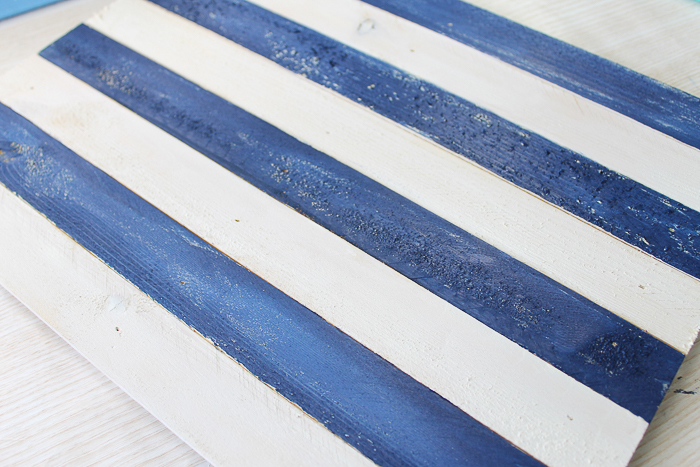
Start by painting the wood pallet sign with blue and white paint. I did a stripe design on mine, but you can make it solid if you wish. Allow this to dry completely before continuing.
Note: You can also use a dry brush paint technique if you want to make the sign more rustic. This involves getting very little paint on the brush, so you are left with areas that are unpainted after you finish.
Step 2
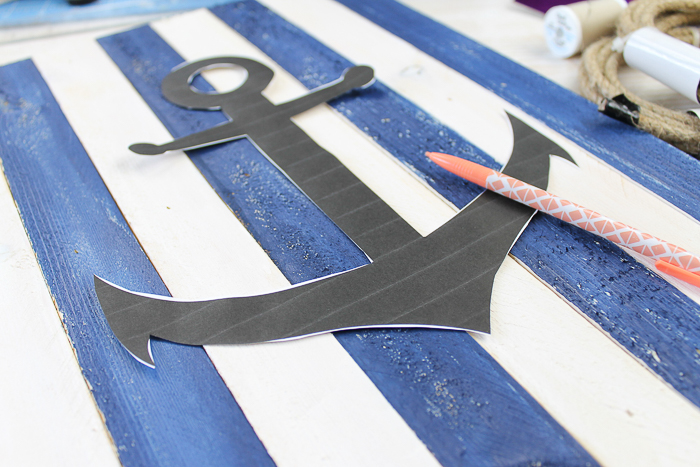
You will then need a shape to put on your nautical rope decor. Print an anchor or any other shape the size you wish on plain copy paper. Then cut it out and lay it on top of your sign. Trace with a pencil.
Step 3
Use your jute twine and hot glue to start filling in your shape with the rope. I found it easiest to start around the outer edge and work my way in.
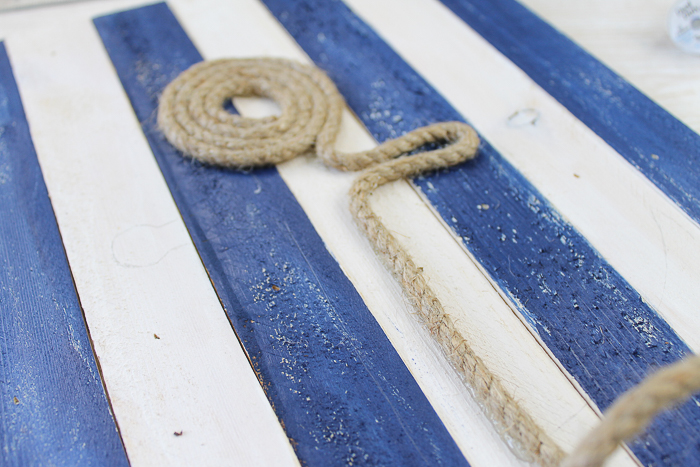
Pro Tip: You may need to cut the rope a few times to finish your rope wall art. That is okay! Just cut it with scissors and start again.
You can also use small cut pieces if needed to completely fill in your shape.
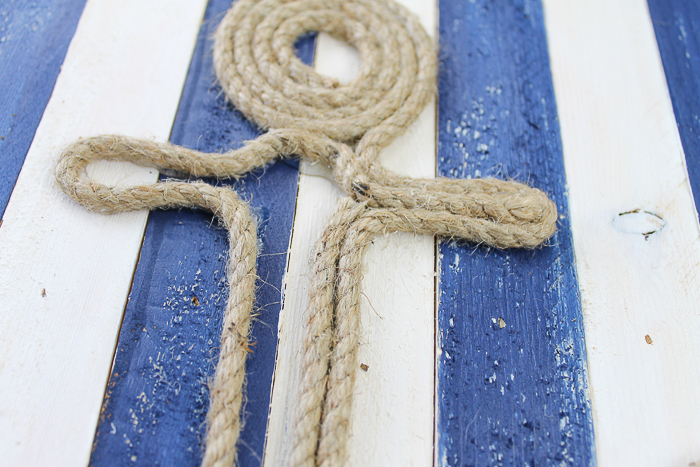
Step 4
Completely fill in your shape with rope then your nautical rope decor is ready to put anywhere in your home!
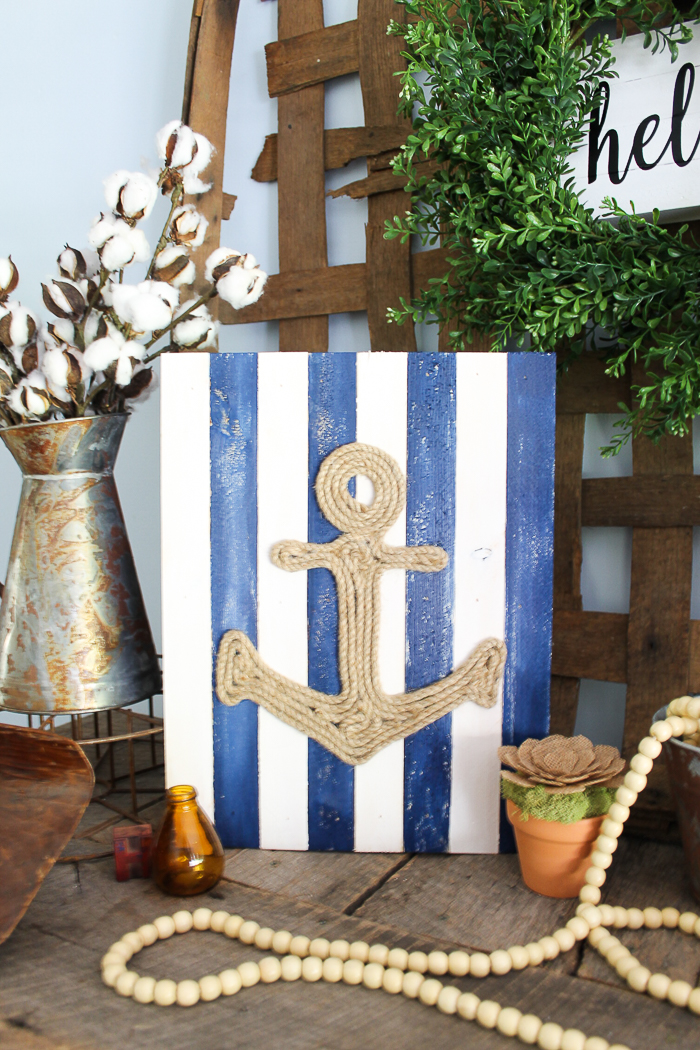
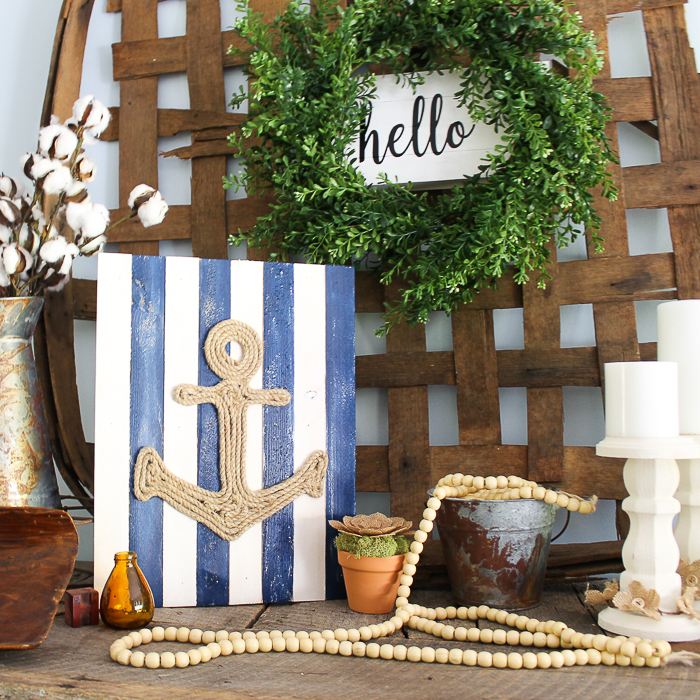
I love the rustic feel of this piece, and it is perfect for adding a touch of the beach to your home this summer.
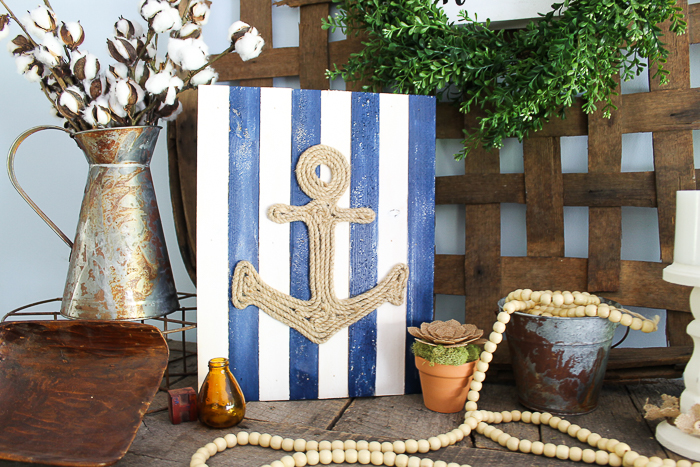
Rope wall art is an inexpensive way to decorate your home! Want to see the other projects on my mantel? Make that farmhouse wreath or that burlap succulent. You can even make your own rustic wooden candlesticks from table legs.
DIY Nautical Rope Decor FAQs
Here are a few questions I commonly see readers ask about this project and nautical decor in general. If you don’t see your question already answered below, please leave it for me in the comments!
Are nautical and coastal decor the same?
Great question! No, they aren’t exactly the same thing, although there’s some overlap. Nautical decor takes its inspiration from sailing and the ocean. Nautical rope, navy blues (with whites and gold), anchors, portholes, and boats are the type of images and colors you see with this style of decor.
On the other hand, coastal decor takes its inspiration from the beach and natural environment, so with coastal decor, you’ll likely see a wider range of colors inspired by both the sand and the ocean. You’ll also likely see other elements such as palm trees, shells, and wildlife like fish, birds, and starfish.
Note: I do tend to use the terms “nautical” and “coastal” somewhat interchangeably due to the overlap in the decor styles.
Can I use a different type of adhesive?
Yes, you can. However, I have found that hot glue works the best for projects like this because it dries very quickly, is bulky (which is great for larger items), and maintains a great hold.
But if you don’t have hot glue, you could use crafting glue. Just be aware that any other type of glue you use will require a longer drying time, so you’ll either need to hold your design in place or place something on it (carefully) to hold it while the glue dries.
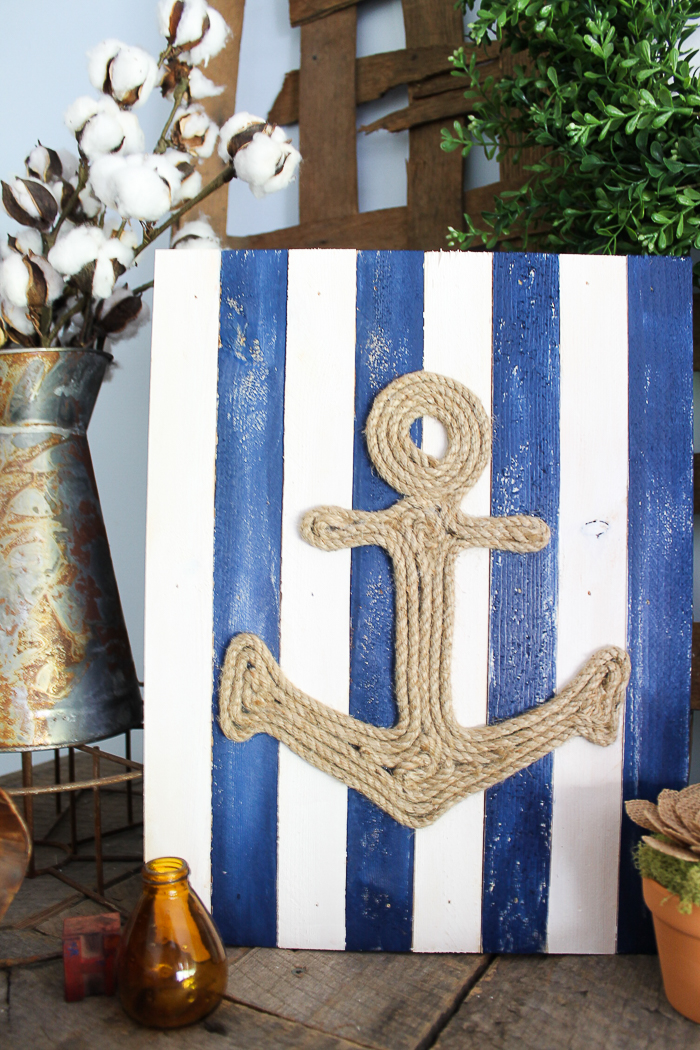
SWill you be adding nautical rope decorations to your home this summer? Put your own spin on this easy DIY project for art that is perfect in your space!
More Nautical And Coastal Crafting Inspiration
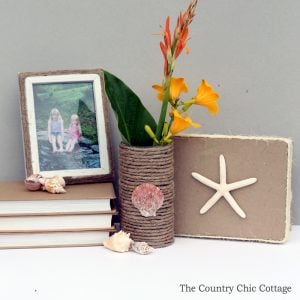
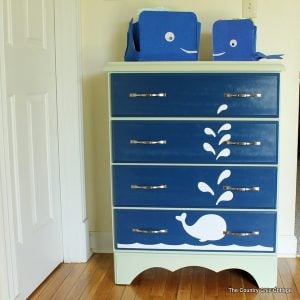
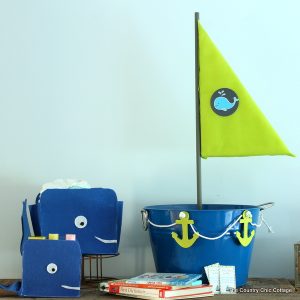
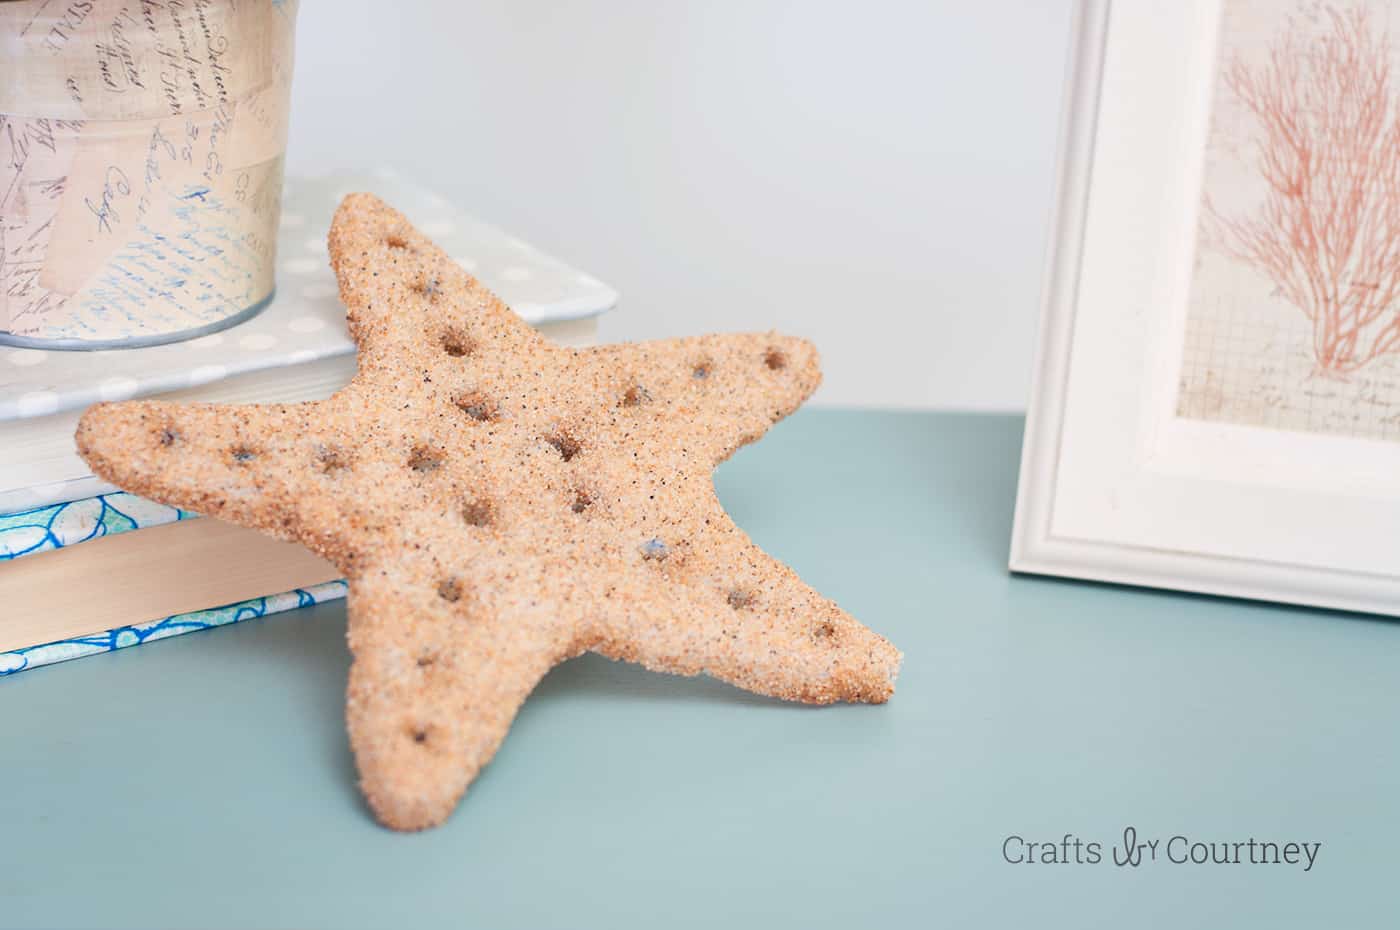
Do you love DIY nautical rope decor and want more ideas? Check out these popular posts!
Supplies
- Wood Pallet Sign
- Craft paint white and navy colors
- 1/4" Jute Rope
- Hot glue and a glue gun
- Scissors
- Pencil
- Paintbrushes
Instructions
- Start by painting the wood pallet sign with the paint. You can do stripes or a single color. Allow this to dry completely before continuing.
- Print any shape you want in the size you need on plain copy paper. Cut it out and lay it on top of your sign, then trace it with a pencil.
- Hot glue your jute twine to start filling in your shape with the rope. I recommend starting around the outer edge and working your way to the inside.
- Completely fill in your shape with rope, and your decoration is complete!

