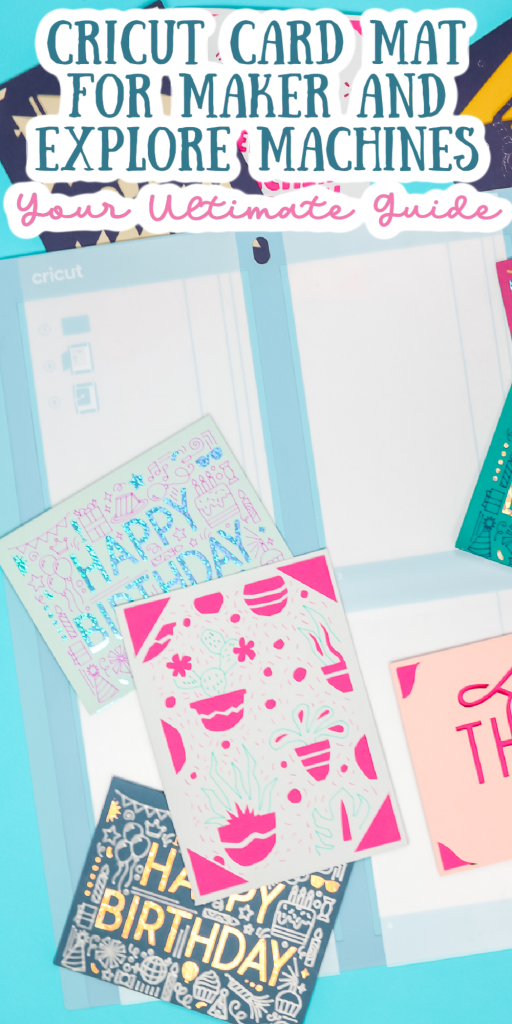
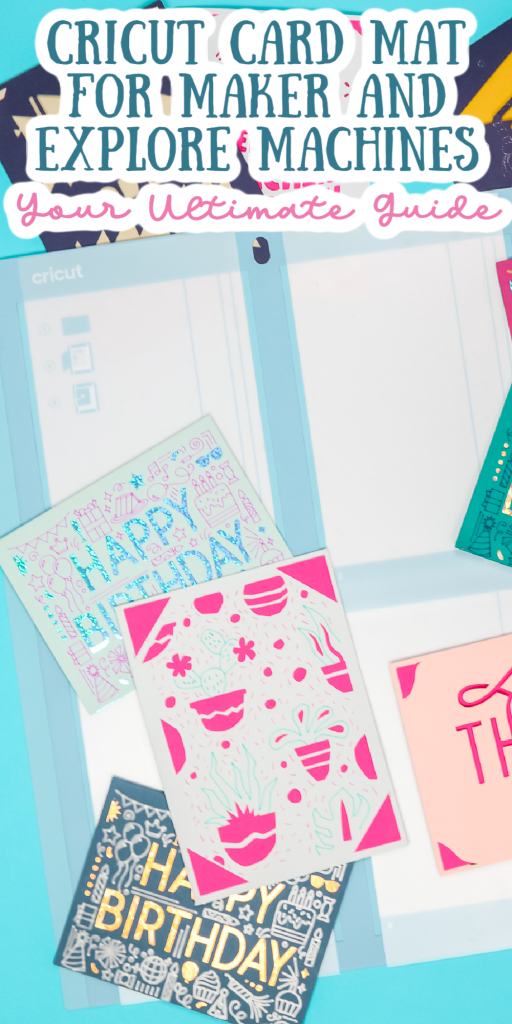
Today’s an exciting day I am going to show you the new Cricut Card Mat and how to use it. This Card Mat cuts up to four cards at a time, and it fits all your Explore and Maker machines. Keep reading to learn why you need this new Card Mat in your life!
Looking for the Card Mat for the Cricut Joy? Click here to see a post on that mat!
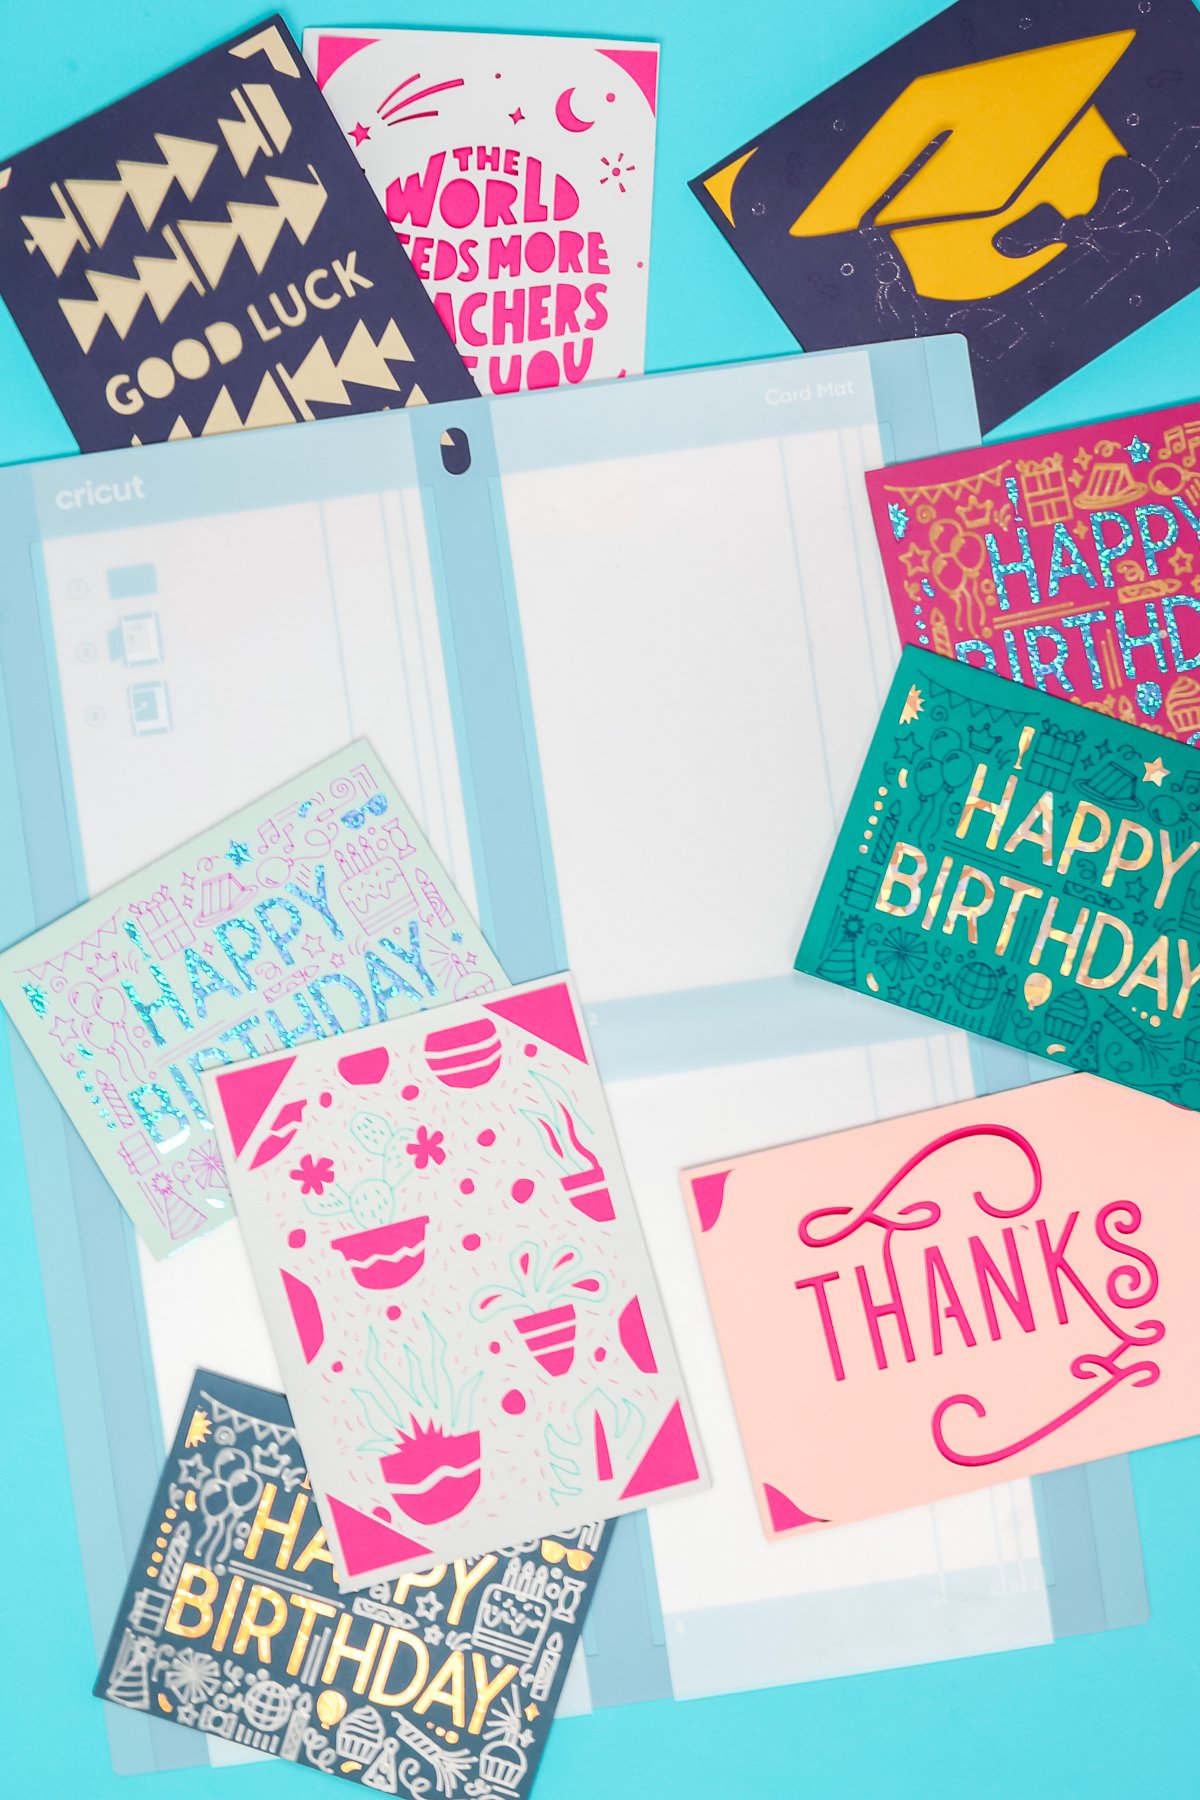
New Cricut Card Mat
You can actually watch me use the new Cricut Card Mat along with Insert Cards and Cutaway Cards in the video below. Just click play on the video below. Along with the new Card Mat Cricut released tons of new card options and sizes with this mat. So we’ll go over all the card options as well as sizes.
In the future, I’ll walk you through the Foil Card Kits that are also new. Make sure you follow along so you don’t miss that if you want to make the Foil Card option.
Supplies
- Card mat (for Explore and Maker)
- Cutaway Cards
- Insert Cards
- Cricut Machine
- Weeding tools (optional)
- Cricut Pens (if needed for your card design or writing inside the card)
- Spatula (good for removing cards from card mat)
- Scraper Tool (good for removing debris from card mat)
- This project is made with Design Space files. Click here for my profile. Once on my profile, find the image of the project you want to create, click it to open it up, and then you can make it yourself.
What is the Cricut Card Mat?
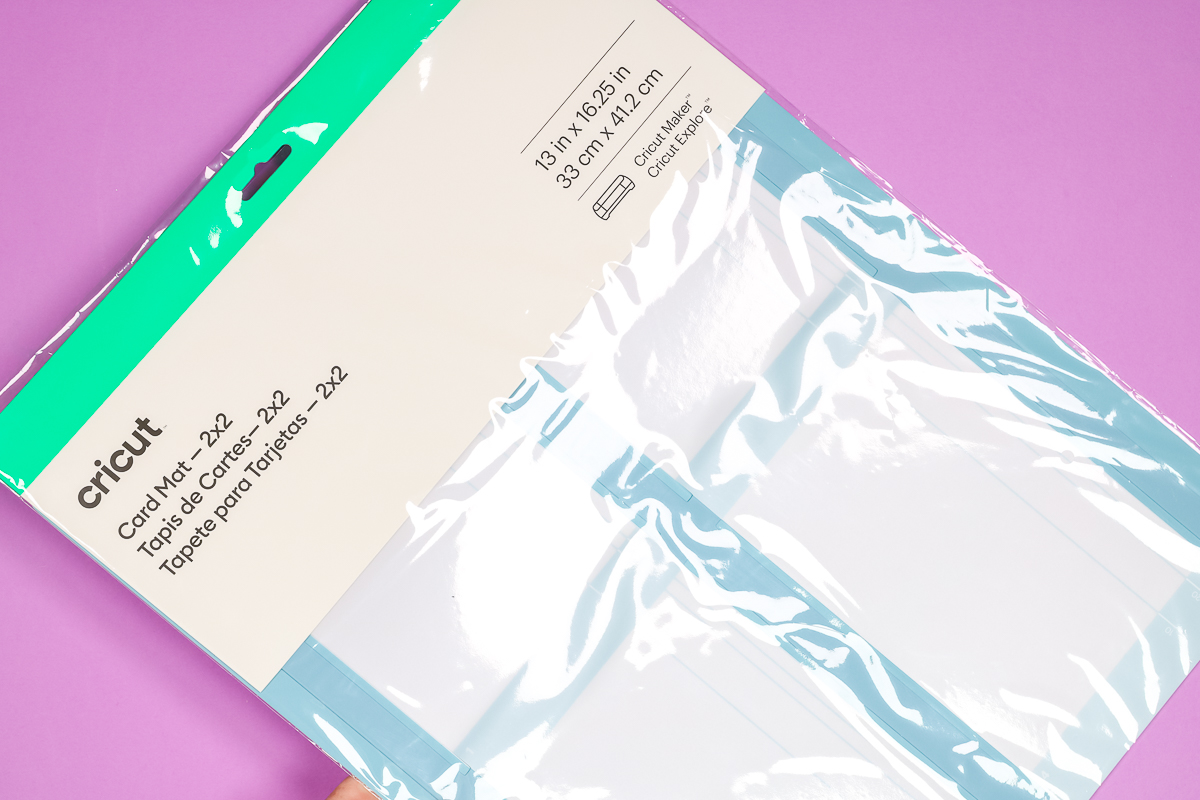
Let’s take a closer look at the Card Mat and how it works. This is the packaging you’ll look for in the store. This is the Card Mat 2×2. It’s 13-inches by 16.25-inches. This was made to work with all Maker and Explore machines and can cut up to 4 cards at once!
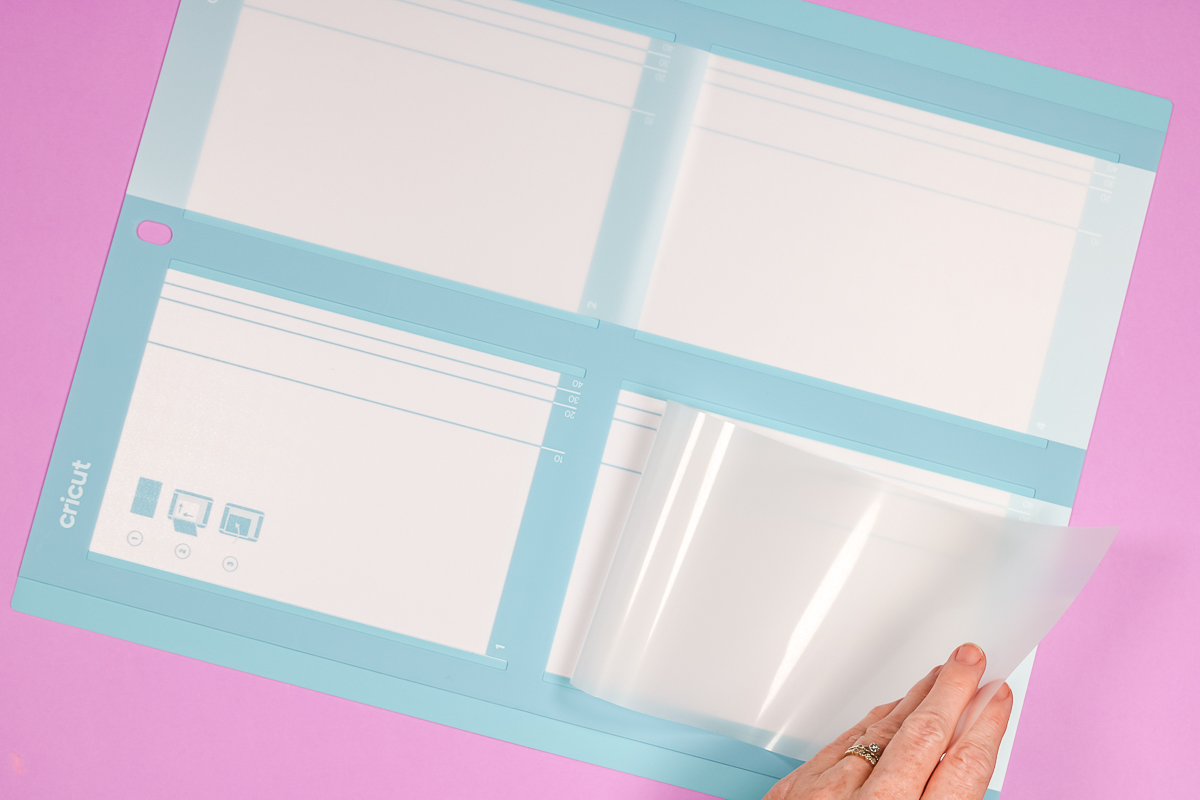
First of all, the Card Mat does come with a protective film over the card area. There are two pieces of protective film. You could leave one on if you were just cutting cards on one side, but you would need to remove the full film from that side. It is sort of an opaque film. They say to put the shiny side down on the sticky part of the mat for best results. But if you get confused, it’s not gonna hurt anything.
Why is it 13 inches wide?
You may be wondering how a 13-inch wide mat will work in Maker and Explore machines, let’s take a look. A regular (12-inch) Cricut Mat is actually 13 inches wide. The sticky area is what is 12 inches. You can see a comparison in the photo below.
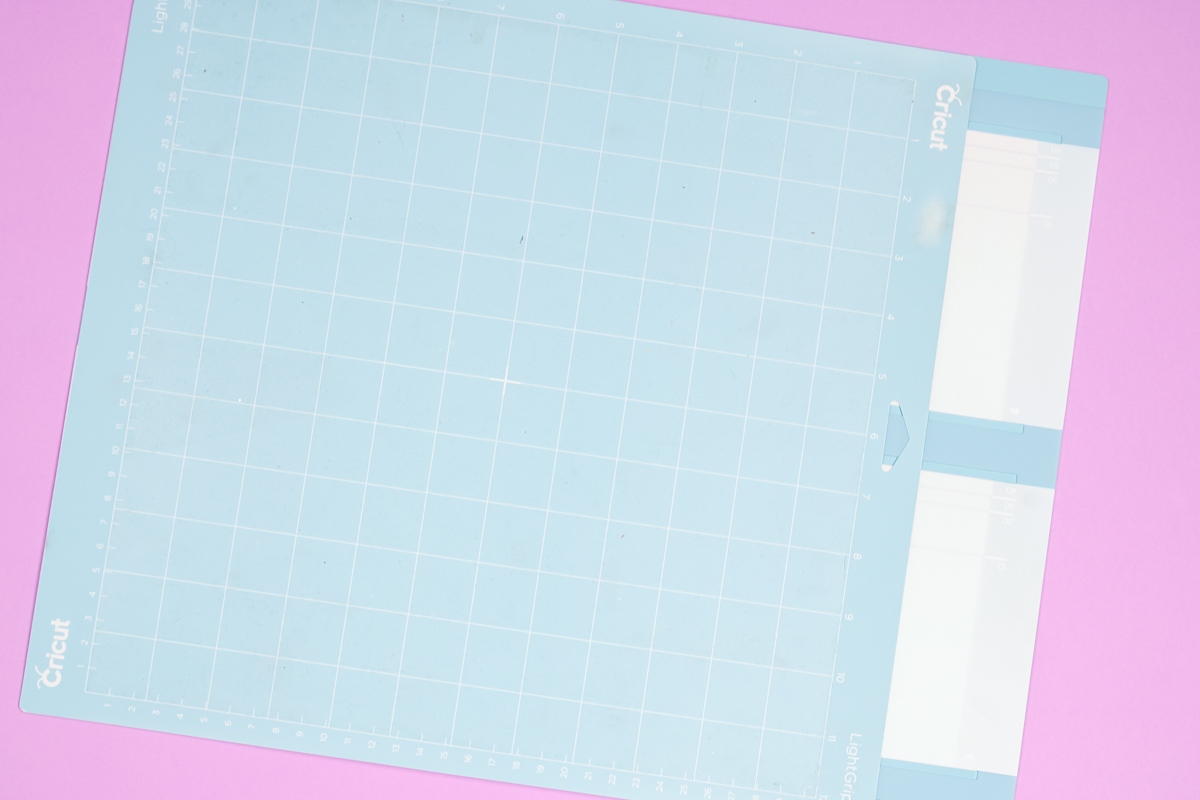
The overall length of the Card Mat is longer than a standard 12×12 Cricut Cutting Mat but since Cricut makes a 12×24 cutting mat the length of the mat is no problem at all for Explore and Maker machines.
Comparison to the Cricut Joy Card Mat
Cricut first released a Card Mat with the Joy machine. It was a HUGE hit. Such a huge hit that I had a ton of requests for how to use it with larger Cricut Machines. I created a hack so people could use the Joy Card Mat with Maker and Explore machines. The good news is we no longer have to make do with the Joy Card Mat and larger machines. You can see the two mats together in the image below.
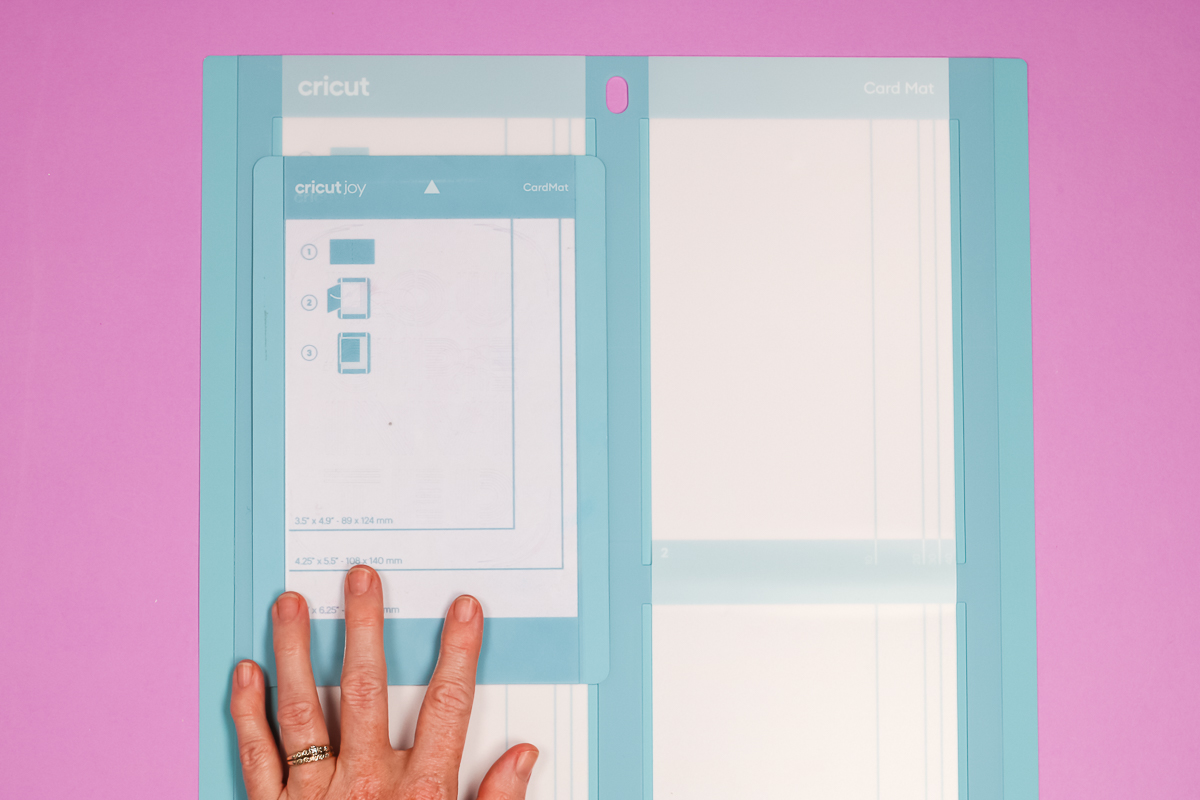
The main differences between the Card Mat for Joy machines and the new Cricut Card Mat are:
- Larger Size – new Cricut Card Mat can cut up to 4 cards at once. Joy Card Mat could only cut one at a time.
- Card Sizes – because the new Card Mat is larger it can accommodate not just more cards but it can also accommodate larger card sizes as well.
Cricut Card Sizes
The maximum card size Cricut recommends with this Card Mat is 4.75 by 6.6 inches. Cricut has released cards that size – they have labeled them as an R40 size.
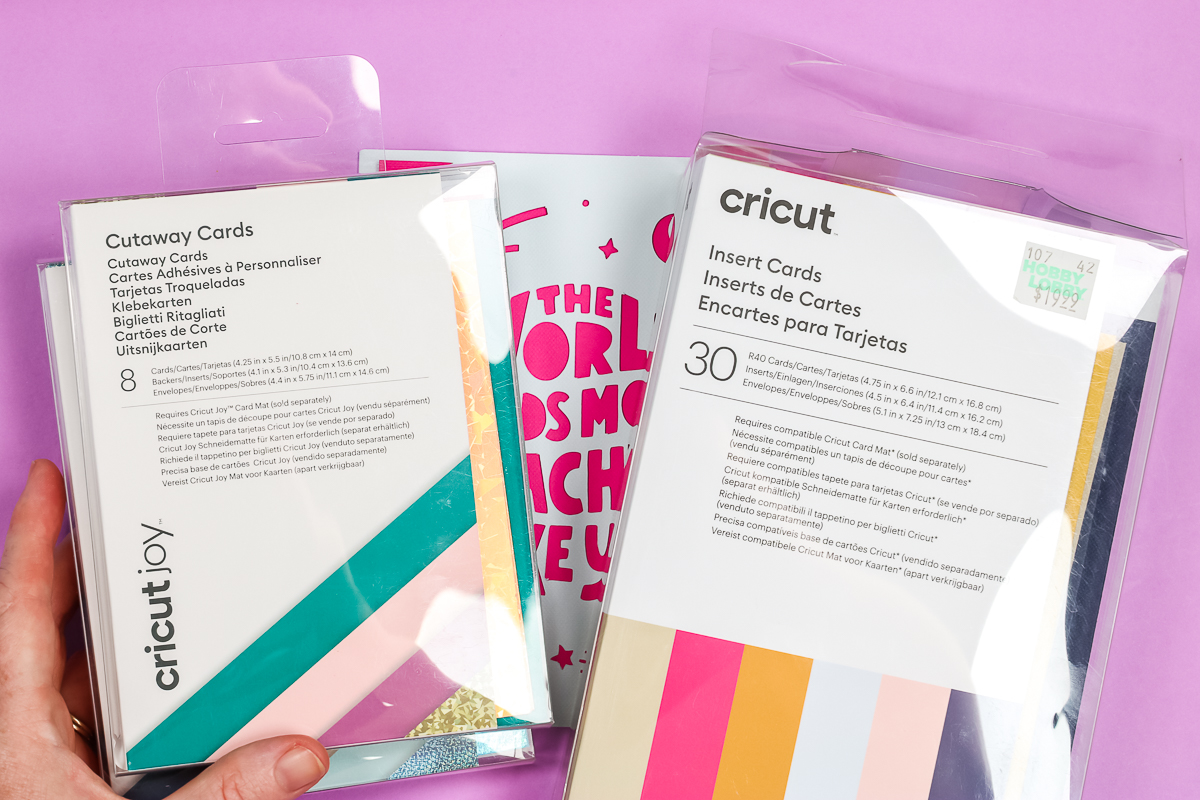
What are the other card sizes? You can use our list below to determine which cards you want to buy. (NOTE: R = rectangular cards and S = square cards.)
- R10 3.5 x 4.9 inches (all machines)
- R20 4.25 x5.5 inches (all machines)
- R30 4.5 x 6.25 inches (all machines)
- R40 4.75 x 6.6 inches (Maker/Explore machines only)
- S40 4.75 x 4.75 inches (Maker/Explore machines only)
It’s important to know the size of the cards because not all the cards available from Cricut are labeled with their R or S sizes, but in Design Space they are using the labels to dictate the card size. It’ll make your life easier to know what size card you are using.
Cricut Card Design Sizes
When it comes to what size your card image can be that will be dictated by your card size. Your design does have to be smaller than your card.
Here are the maximum sizes for designs:
- R10 card is 3.25 by 4.65 inches.
- R20 card is four inches by 5.25 inches.
- R30 card is 4.25 by six inches.
- R40 card is 4.5 by 6.35 inches.
- S40 card is 4.5 by 4.5 inches.
I found that taking a quarter-inch off the length and the width of the card size made it the perfect design size for all types of cards. If you go over the maximum card size, you will NOT get the option to cut on the card mat.
Cricut Card Cheat Sheet
Want to download a cheat sheet for the Cricut Card Sizes? Sign up for the newsletter in the box below and my cheat sheet will be sent directly to your email address. Already get the newsletter? Just add in your information again as you will not be signed up for anything further. This sheet is for personal use only and can be referenced or printed as many times as you would like.
Adding Cards to the Card Mat
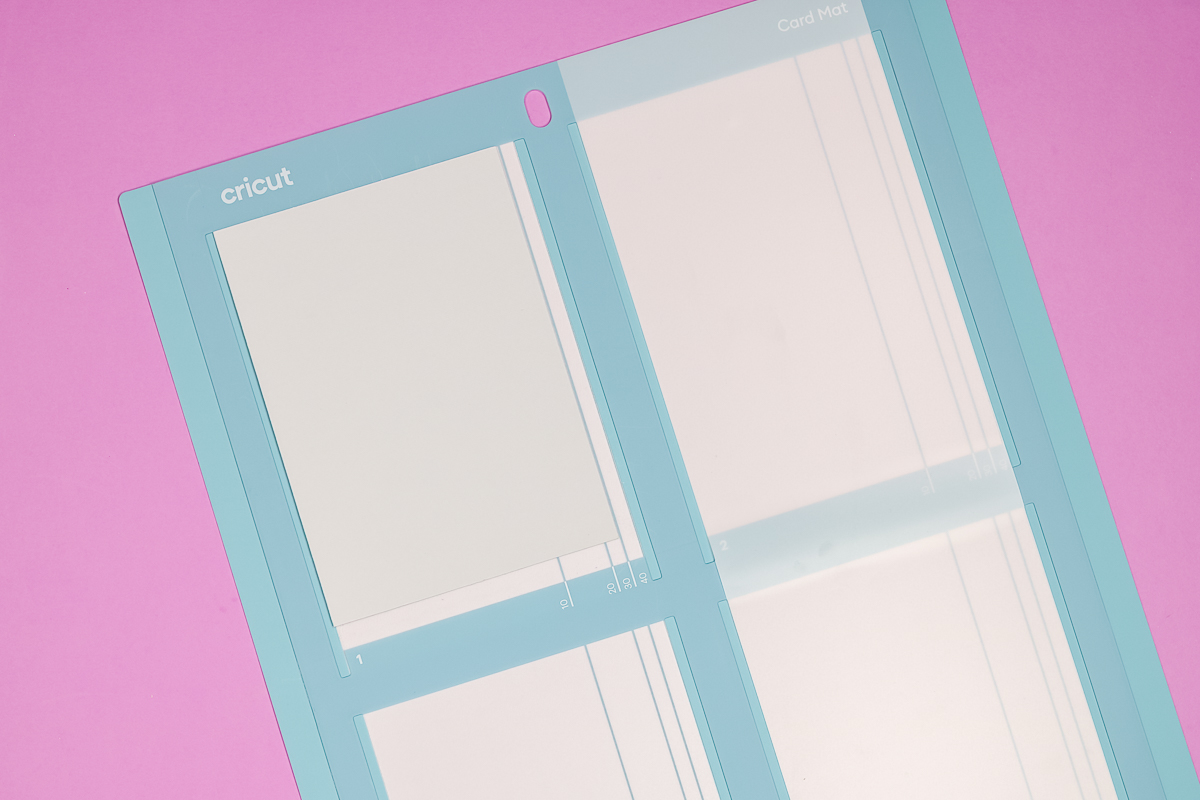
To add the card to the Cricut Card Mat, peel back the protective layer. On the Card Mat itself, you’ll see some grooves cut into both sides. If you put your fingers in those grooves, you will see that the mat will separate. You will slide the back of the card between these two layers.
The two layers are – the top layer of the mat, which is sticky, and the bottom layer of the mat, which is not. For any card you insert into the Card Mat, you want to make sure once it’s slid into the bottom part of the mat your card is slid all the way IN and UP so it’s in place when you fold it over onto the sticky portion of the mat.
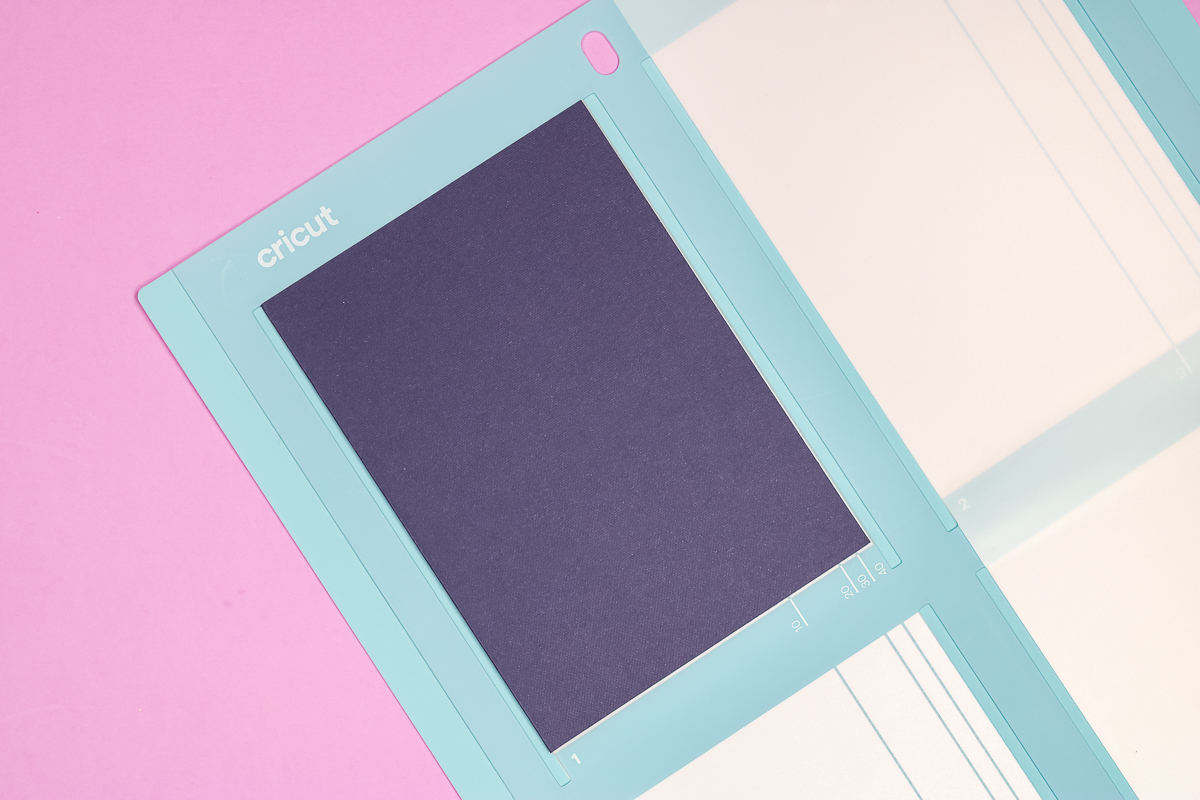
Make sure the card is stuck down really well, you can use a brayer to do this. There are numbers on the bottom of the Card Mat that corresponds to the card labels that Cricut has created. I am using a card that is labeled R40 and you can see that it comes over to the 40 line in the image above. To draw on or cut the front of the card you would insert it like this.
If I was going to write on the inside of the card, I would add the card so the top/front of the card is slid into the bottom with the top showing through the clear bottom part. You would then fold the back down onto the sticky part so the inside of the card is face-up on the card mat. You can now write your sentiment on the inside of the card.
Cricut Card Designs
Now that you’ve seen the Cricut Card Mat and how to add your cards, let’s head to Cricut Design Space and take a look at the designs and the special things that you’re going to need to do to get the Card Mat to work.
Picking Existing Designs in Design Space
Remember, the new Cricut Card Mat works with any Explore or Maker machine. You’ll pick your machine in Design Space in the drop-down and then search for card designs. When searching for card designs you can look under both images and projects. Let’s take a look at projects. From the projects screen, you can search cards in the search projects box. You can also select categories and then pick cards.
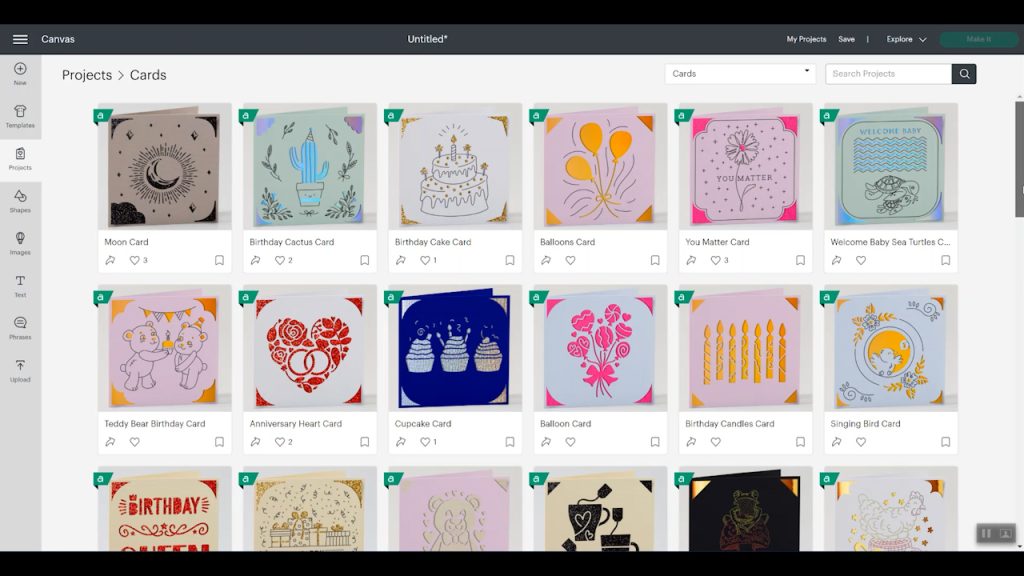
When in card designs you will see that there are square cards and rectangular cards. If you have the rectangle version of the card, you’ll want to look for rectangular designs. If you have square cards, look for square designs. You can resize the cards to be of different sizes. However, it’d be very difficult to change from a square to a rectangle.
Picking your Card Size
Let’s pick one as an example. I’m going to pick a card, and now we need to pick the finished size. As I mentioned before there are several different sizes of cards at this moment. Here in Design Space you’ll see an R10, R20, R30, and R40. On the new boxes of Cricut cards, they are indicated which number they are on the front of the box. If you have old boxes of cards, there is a reference table above for you.
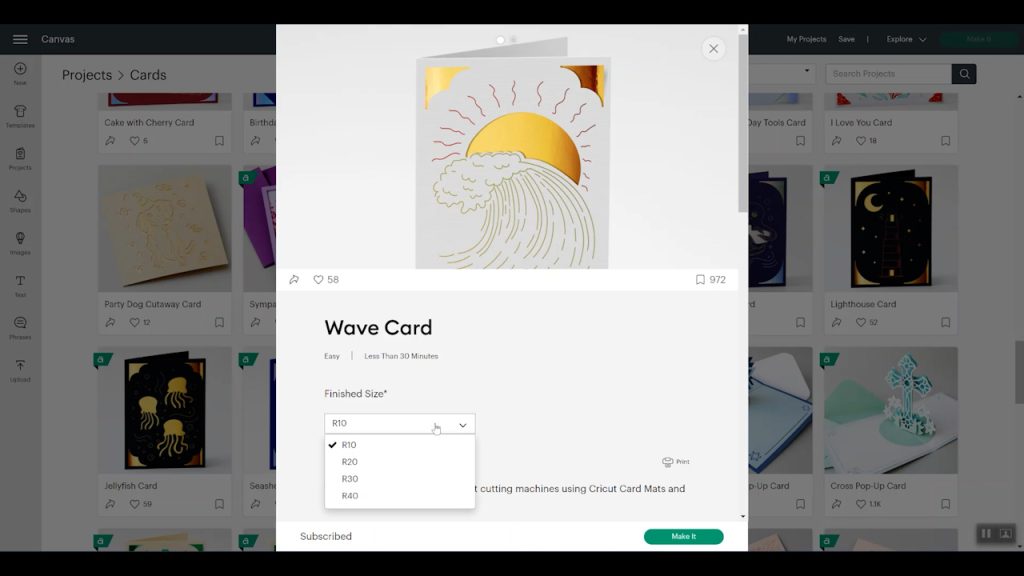
I am going to pick R40 as an example, and we’re going to go ahead and click make it. You can see that when I clicked to make it, it went directly to the Card Mat.
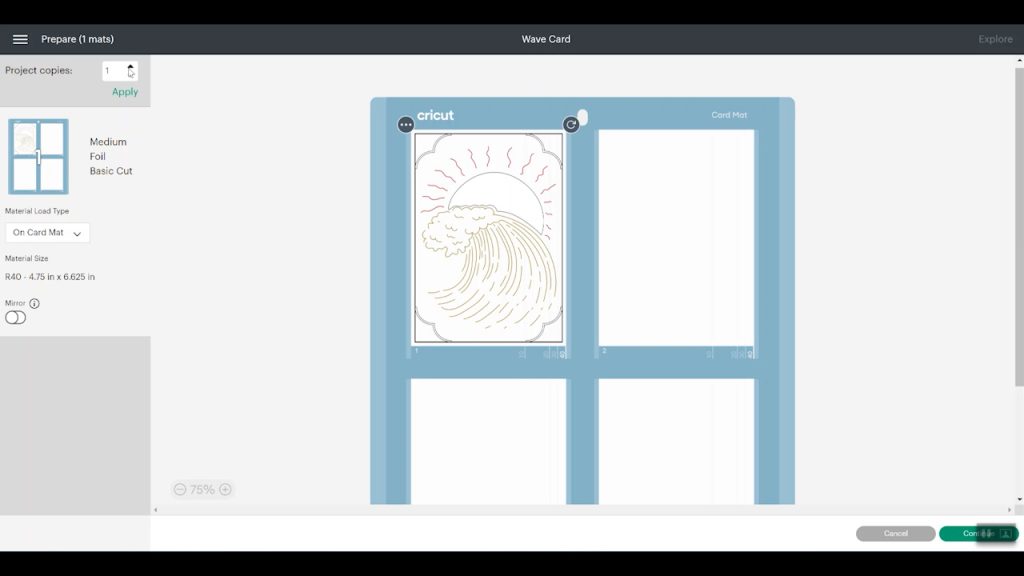
On the mat screen, I can change the number of cards I want to make and click apply. Something to note is that the size of the card is locked on the mat screen with project cards. That is because this isn’t a customizable card, it is set and I selected my size back on the project screen.
If you want to change your finished card size you will need to go back to the project screen and change it there. Currently, when using the Cricut Card Mat your entire mat will be set for the same size card. You can also currently only cut out one card *project* at a time. So if I was going to proceed with this ready-made card the only real customization I can do is to change my card or card insert colors.
Designing Your Own Cricut Cards
If you want cards you can customize we want to look under *images*. If I click images from my canvas and pick “cards” under project type there is a wide variety of cards to choose from.
Just like regular images I can select multiple card images and add them to my canvas and alter them as I would like. This is the option that allows me to make four different cards at once. Remember, with the current Design Space settings for the Cricut Card Mat you can only cut one size card at a time so as you’re picking your images make sure they’ll all work on the same sized card.
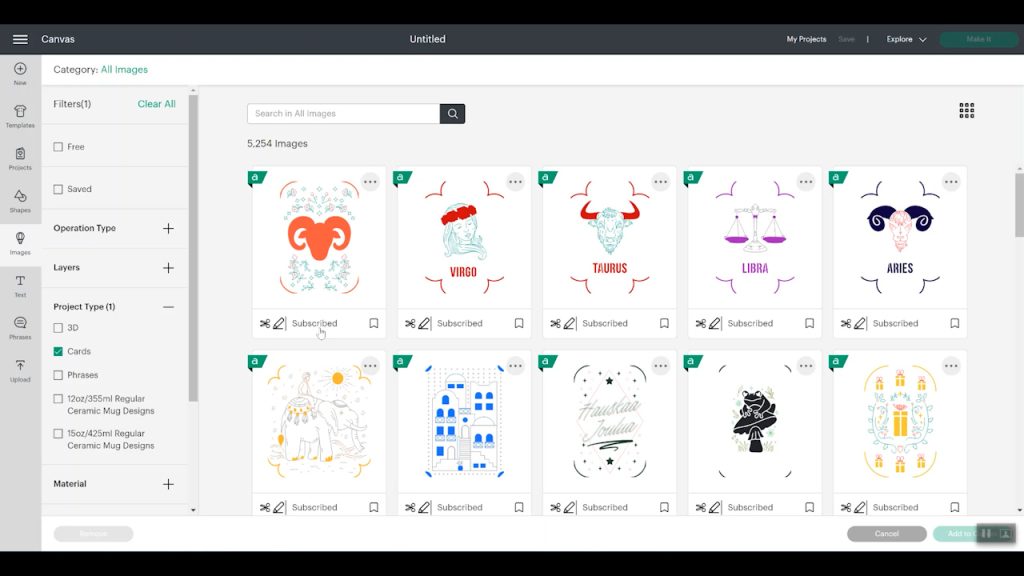
Don’t find what you want in the images section? Click free under filters on the left hand side and you will find several blank options with just the cut corners. You can add your own cut and pen designs to these templates to create any card you can imagine!
How to Change Card Image Sizes
When it comes to changing your card image size you have to do that on your Design Space canvas – you cannot do it from the mat screen. If you change your card size on the mat screen, the card itself will change but the image size will not, this could leave you with a small image in the center of the card that doesn’t work for your card insert.
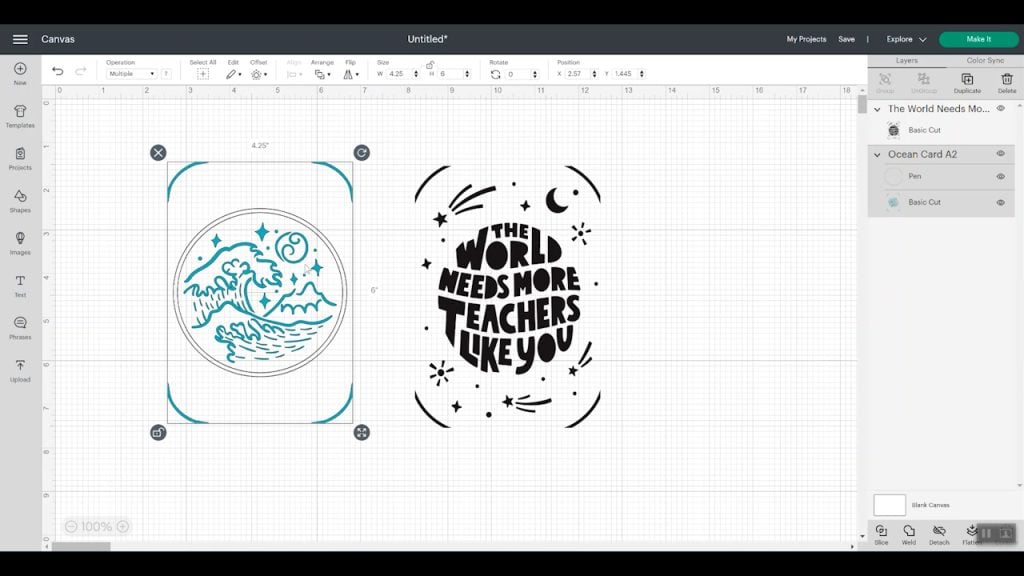
Here you can see I have two images on my canvas. They are both rectangle-shaped Insert Card images that I have resized to 4.25″x6″ which will fit the R30 card. Be sure to reference the maximum card design sizes above.
Cutting Multiple Card Images on One Card Mat
Just like any other project in Design Space, if I want to cut the images on the same mat they need to be the same color. Look at your layers panel and make sure you have the cut pieces all the same color.
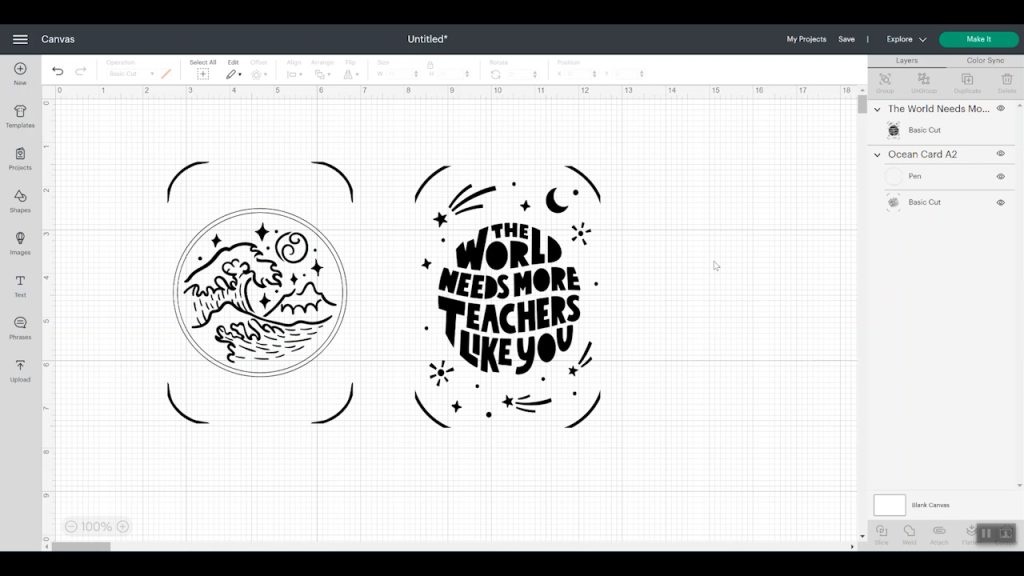
Your pen layers in the layers panel can be different colors, it is just the cut layers that have to be the same color. The great news here is that you can insert any color card you want onto the Cricut Card Mat. Your machine doesn’t check your cardstock color so you can have a different color of cardstock for each of your four cards if you want.
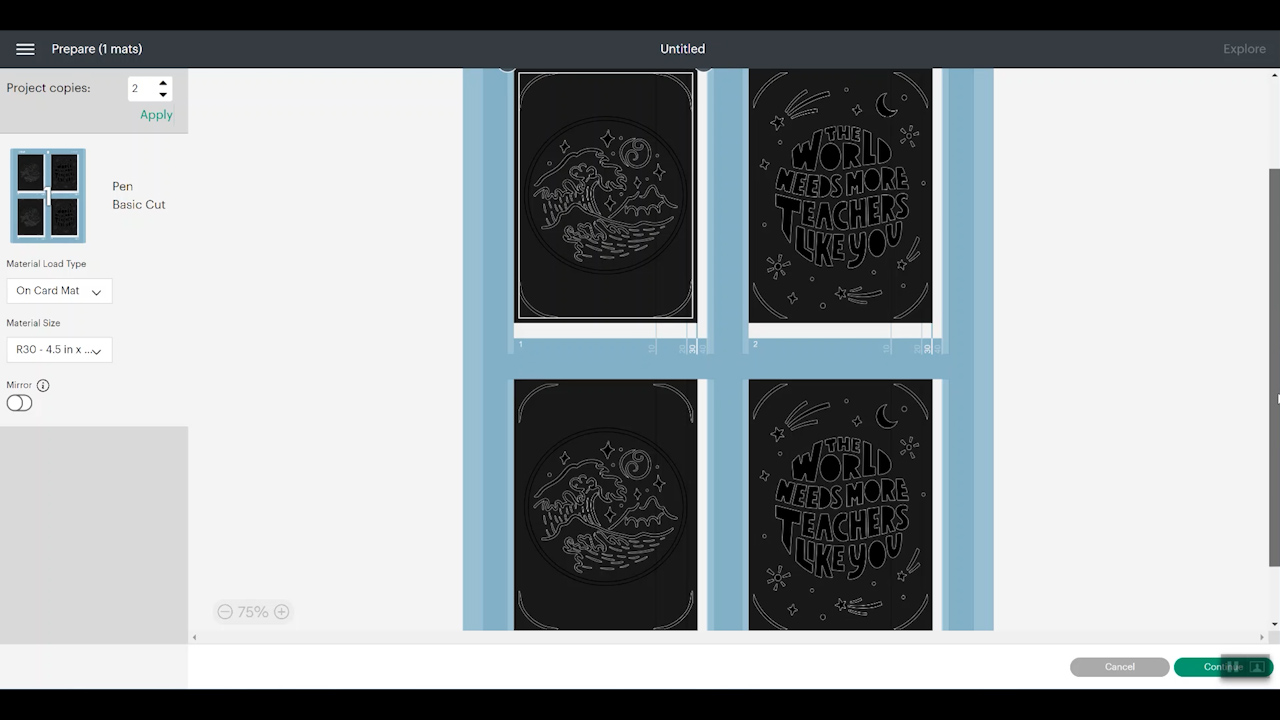
Once you have your cut pieces the same color we can proceed. Click make it then click on Card Mat, and you will see that they’re on the same Card Mat. If you want to cut multiple of each card just go to the top on the mat screen and at project copies, you can select how many you want to cut. If you want to keep it all on one mat (in this case) select 2 and it’ll add 2 more images to the card mat for a total of 4 cards.
How to Write Inside Your Card using Cricut Card Mat
Want to write on the inside of the card? Cricut recently released a new feature in Design Space called “Guides“. These are essentially an image you can add to your canvas that Design Space knows not to cut. I’m going to add a square to my canvas and resize it to the size of my card which is 4.5″x6.25”. Now I am going to change the Operation from cut to guide.
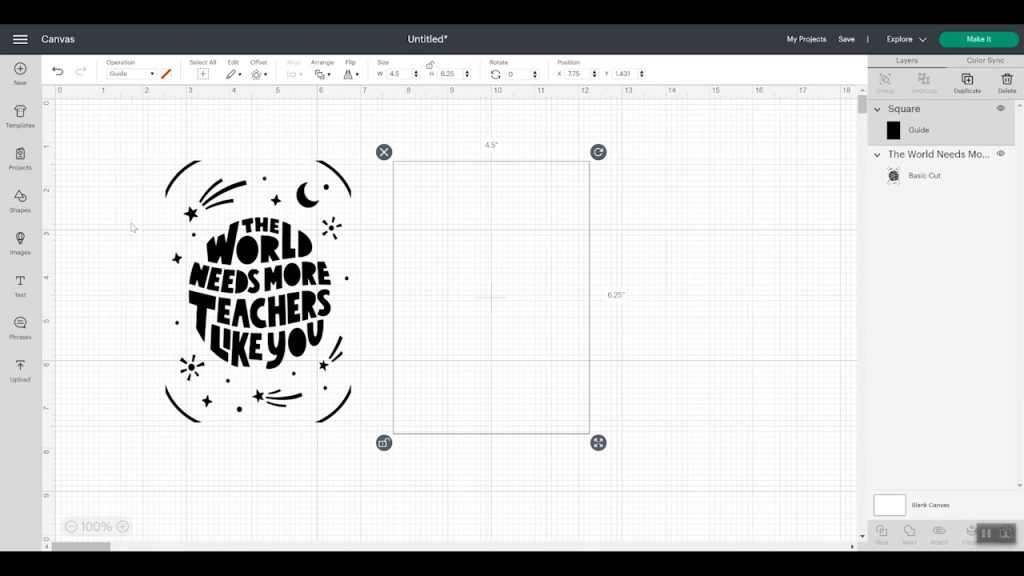
This will allow me to size my message to fit inside my card and helps me see how it will look. When writing with your Cricut machine to avoid having bubble-looking letters you want to filter your fonts to fonts that have a writing style. Now that I have my font selected and my message typed up I can size it to fit inside the guide on my canvas.
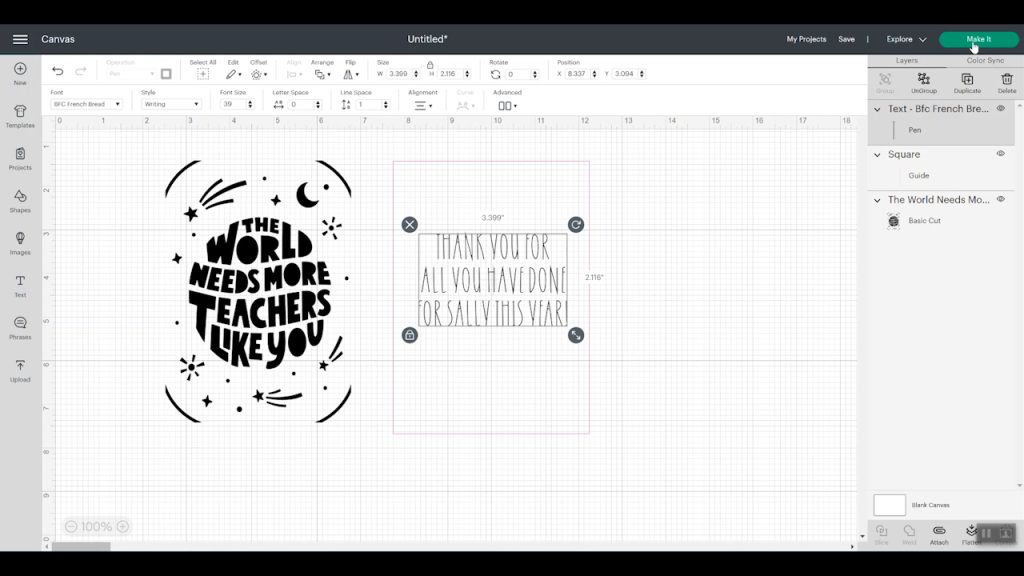
When I click make it and then select card mat it’s going to center my writing to the center of the card. You can adjust the location of the writing here on the mat screen by clicking on the writing and dragging it to where you want it to be.
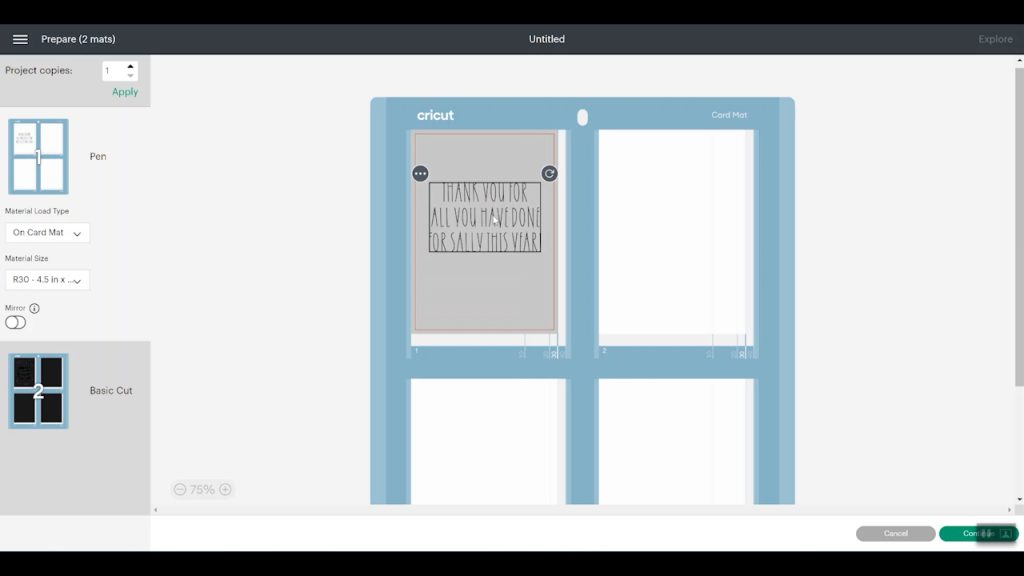
How to Make Your Card on Cricut Card Mat
Once you select make it and then on card mat, you should see any cut or writing on the front of your card on one mat and anything you want on the inside of your card on a second mat. If yours does NOT look like this, cancel and go back to your canvas. You may need to attach any writing or foil lines to the cut lines on a card that you designed yourself to get them to be on the same mat.
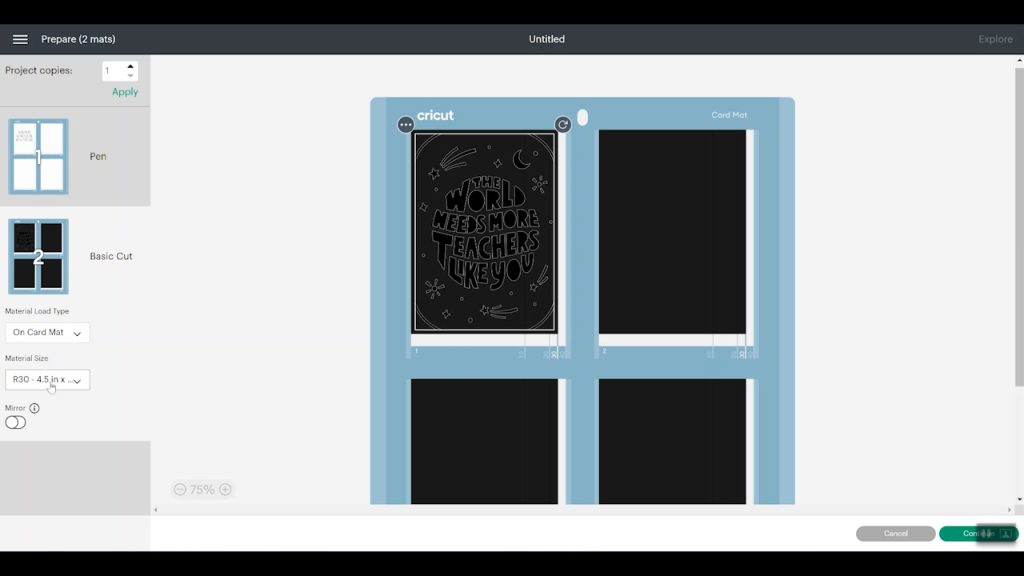
Let’s break out the machine and make a few cards. I’m going to write on the inside first. I’m going to apply the card with the inside face up on the mat.
NOTE: The Cricut Card Mat always needs to go into the machine with the hole at the top. It’s not designed like other mats where you can flip it around 180 degrees and use it that way. Make sure you’re always loading the mat the appropriate way.
I’m using the R30 card and you’ll see it comes to the 30 line on the Card Mat. So that’s another way to know what size cards you have. Now we’re going to write on the inside of this card. The Cricut Explore Air 2 is what I’m going to use.
Following the steps in Design Space, you need to select the material that you’re using. I have selected Insert Card Cardstock because I am using a Cricut Insert Card.
Moving the Star Wheels
Next Design Space is going to prompt me to move the star wheels. Every Explore or Maker machine has little star wheels that can be moved. We need to move the star wheels to the middle of the bar so they line up with the area of the mat between the two card slots.
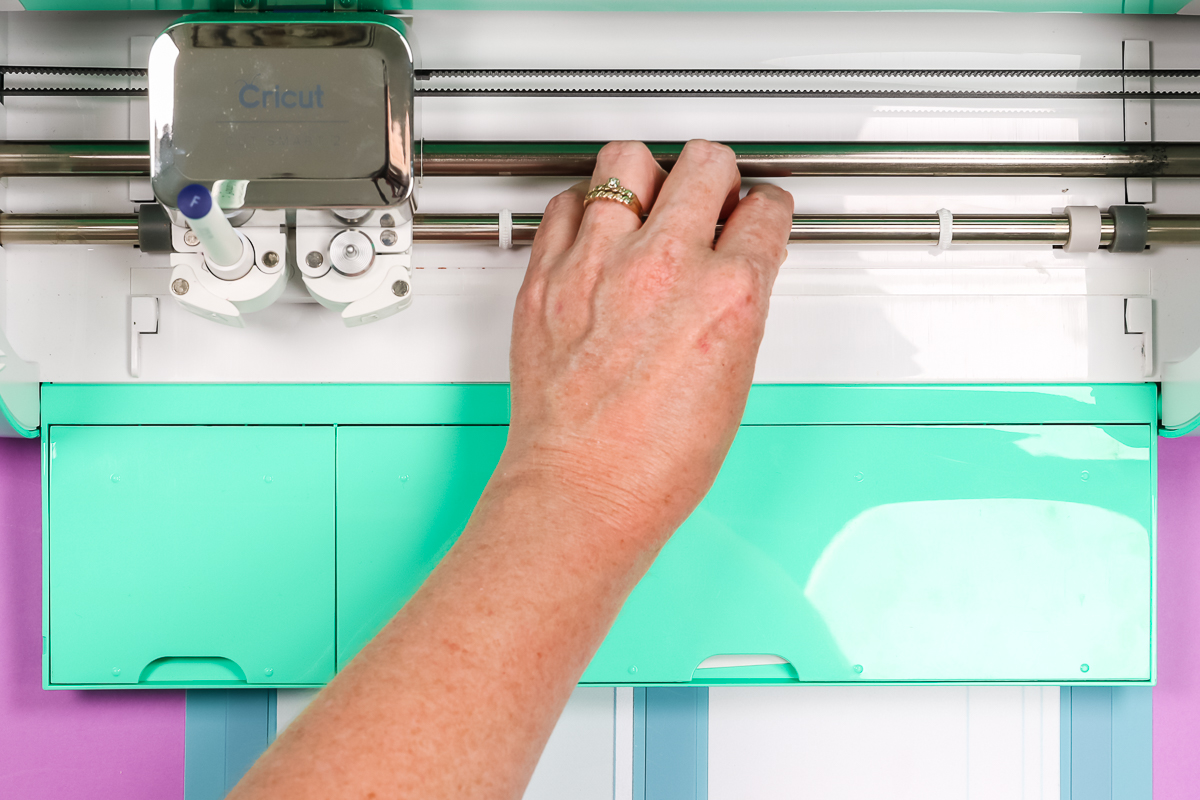
On the Cricut Explore Air 2, the wheels can be difficult to move. They will move, you’ll just have to work at it a little bit. If your carriage is in the way of moving the wheels, you can slide it to one side or the other.
Make sure you line your mat up to make sure the star wheels are in the appropriate place to run down the center. If you don’t take the time to move your wheels you can end up with marks on your card. The mat itself is thick, adding the cardstock to the mat it’s even thicker. The wheels have little ridges and can mark up your card. I would go ahead and move the wheels to the center anytime you’re using the Card Mat.
Loading Card Mat into Cricut Machine
Then you want to make sure to push the Card Mat to the left, against the left guide. Press the unload/load button to load the machine into the mat. I have the pen installed, as you’ll remember, we’re going to write first.
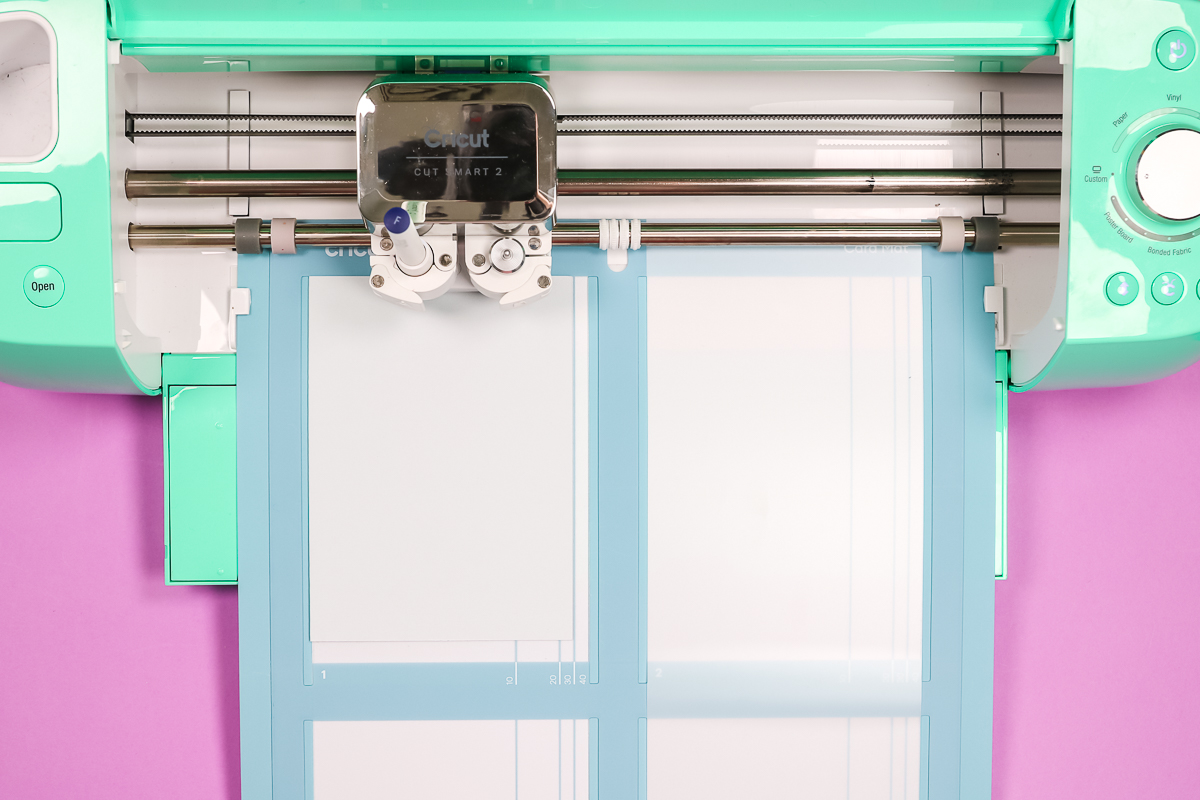
Once that’s loaded, you just press go to start. Your Cricut machine will write your message into the Insert Card.
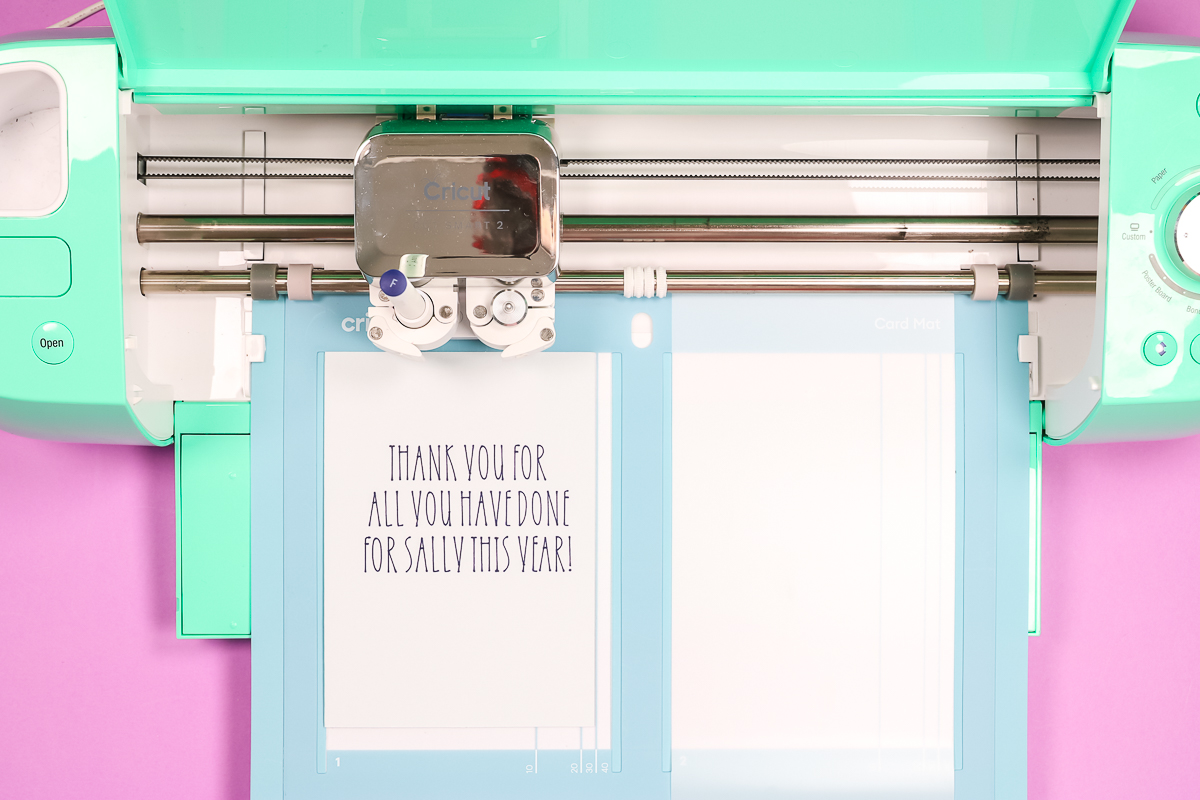
Now that the writing is complete we’re going to remove the card from the mat. To remove the card you want to gently pick up the inside edge (you can use your spatula if you need help getting under the edge) and carefully lift it from the adhesive of the mat.
Now we are going to load the card back into the Cricut Card Mat with the front of the card face side up. Push the card in all the way up, all the way over, and press it onto the mat. It should come to the line for the 30 card in this case. Press it down well and load it into your machine as you did before.
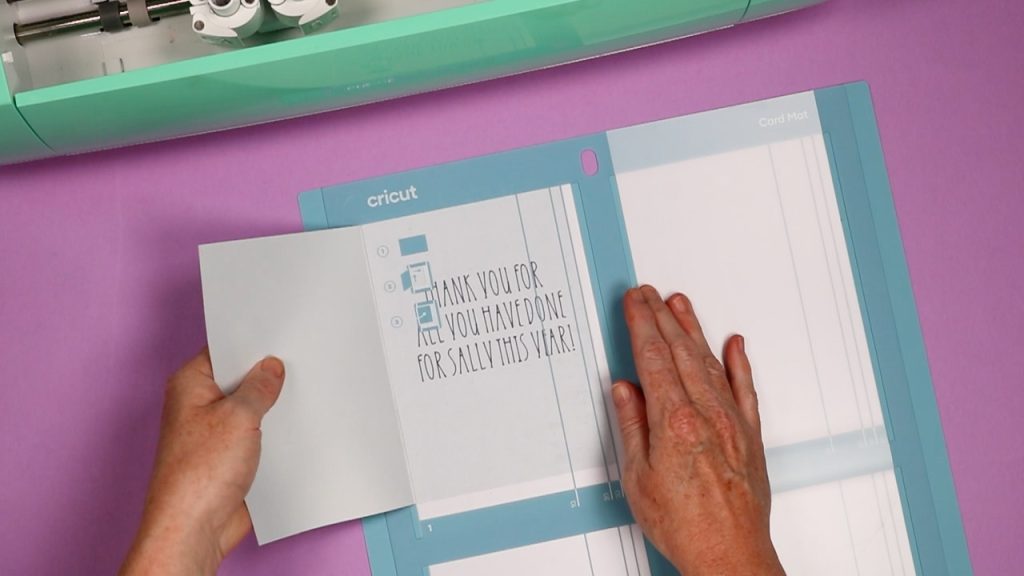
Once your Card Mat is loaded you can press go to cut. Because of the layer between the two parts of the card, your Cricut will only cut through the front of the card, and the inside/back piece of your card will stay intact.
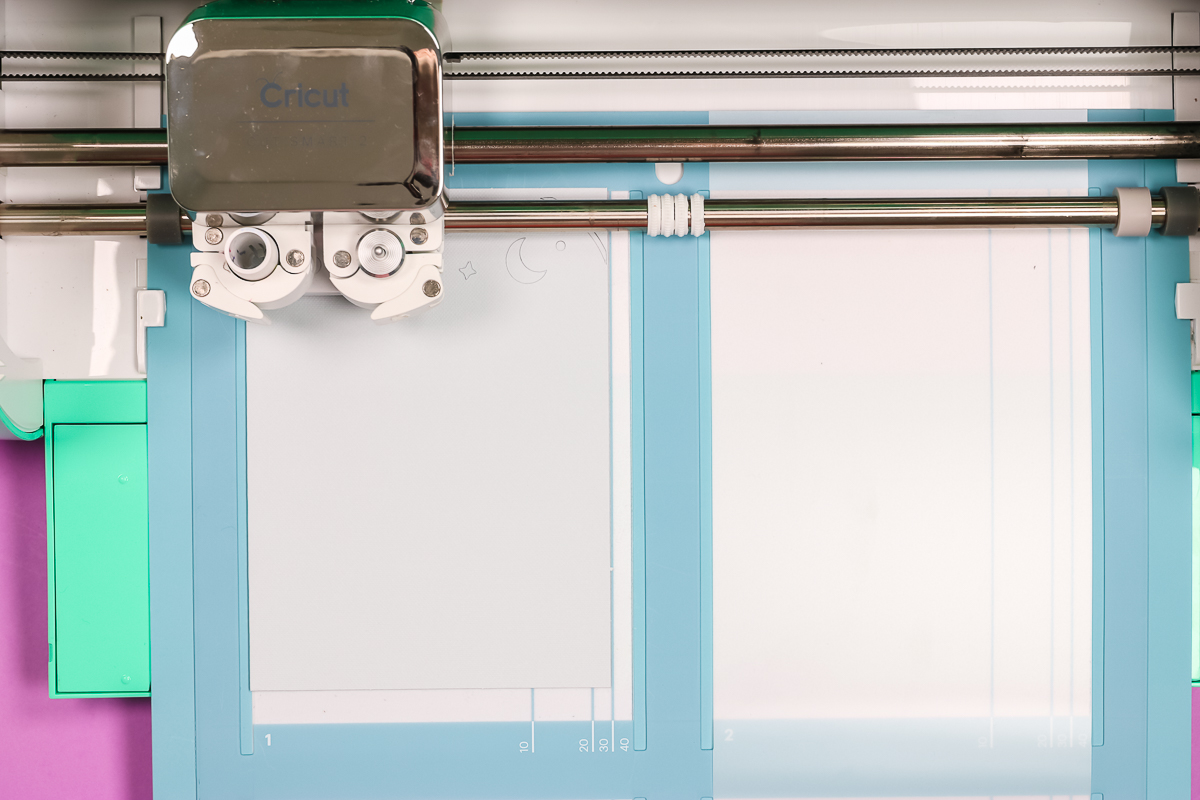
Here’s a look at the cut card. It did okay, even though the location’s not perfect. This has been a common issue with Insert Cards, sometimes, some machines don’t cut them in the right place and because the corners, where you need to add the insert, are often close to the edge, they can cut off the edge. This is why I don’t love the Insert Cards.
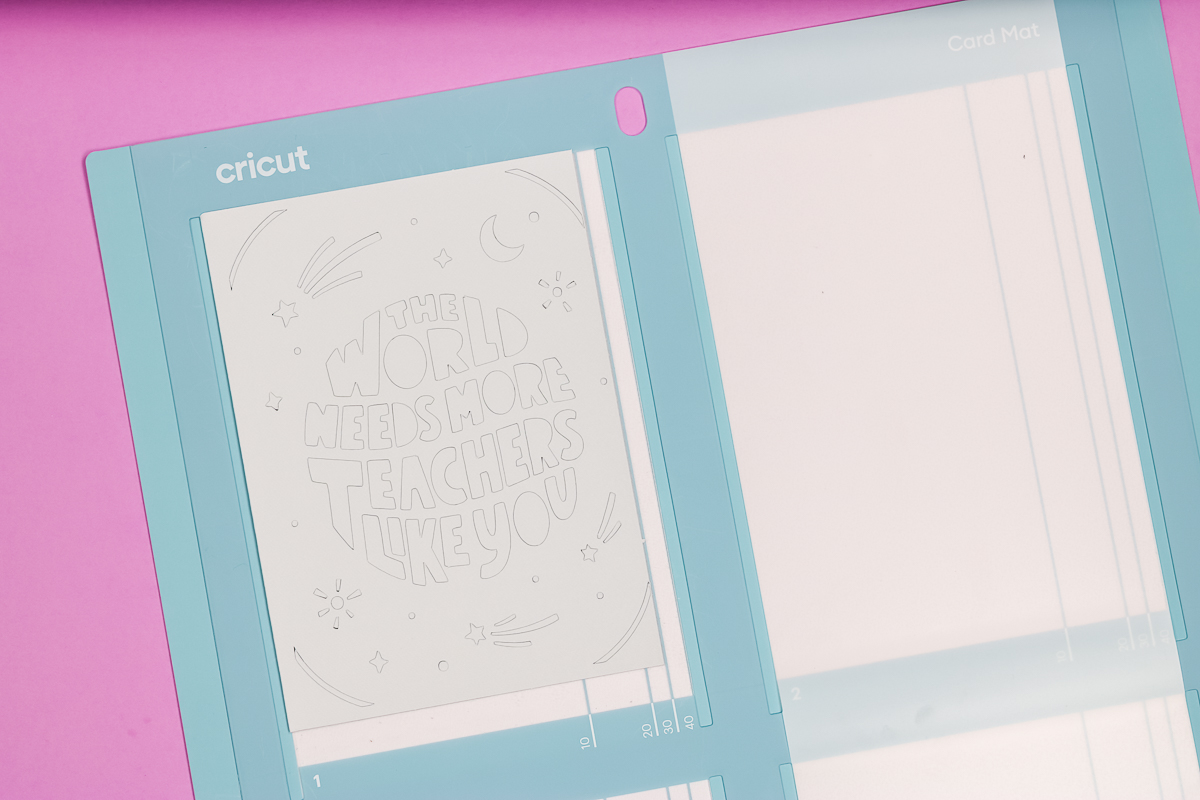
Removing Insert Cards from Card Mat
To remove this card I’m going to gently pull it up from the mat leaving all the bits and pieces on the mat. Since it cut so close to the one edge I am going to use my spatula to get under the edge to remove the card itself. This will help prevent tearing any delicate cuts.
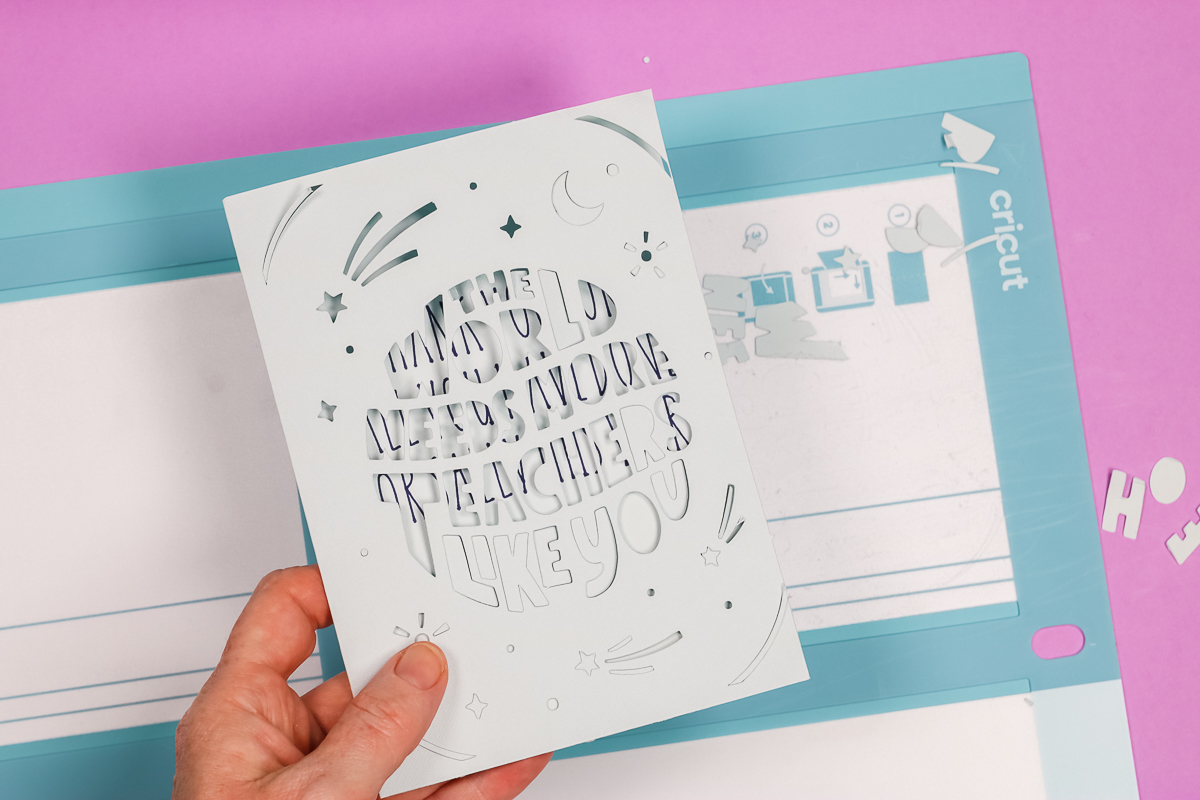
After removing the card from the mat you’ll want to remove the pieces stuck to the Card Mat. I recommend using your spatula or scraper tool to remove the pieces from the adhesive.
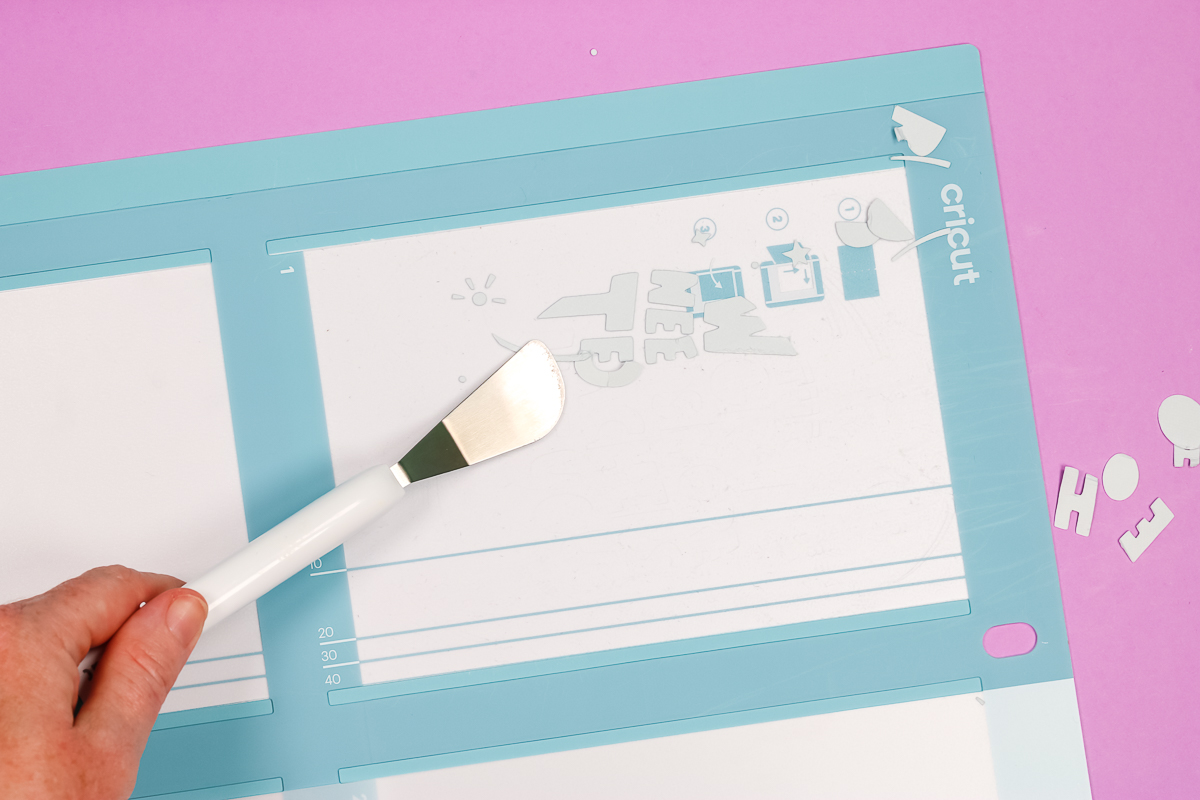
I highly recommend scraping the pieces toward the top or bottom of the mat so they don’t get caught in the grooves on the mat. It can be a pain to remove them if they get stuck in there.
Adding Insert to Insert Card
Now that we have our Insert Card cut out and removed from the mat it’s time to add the insert. To add the insert you will place the corners of the insert into the corner cuts on the card itself from the inside.
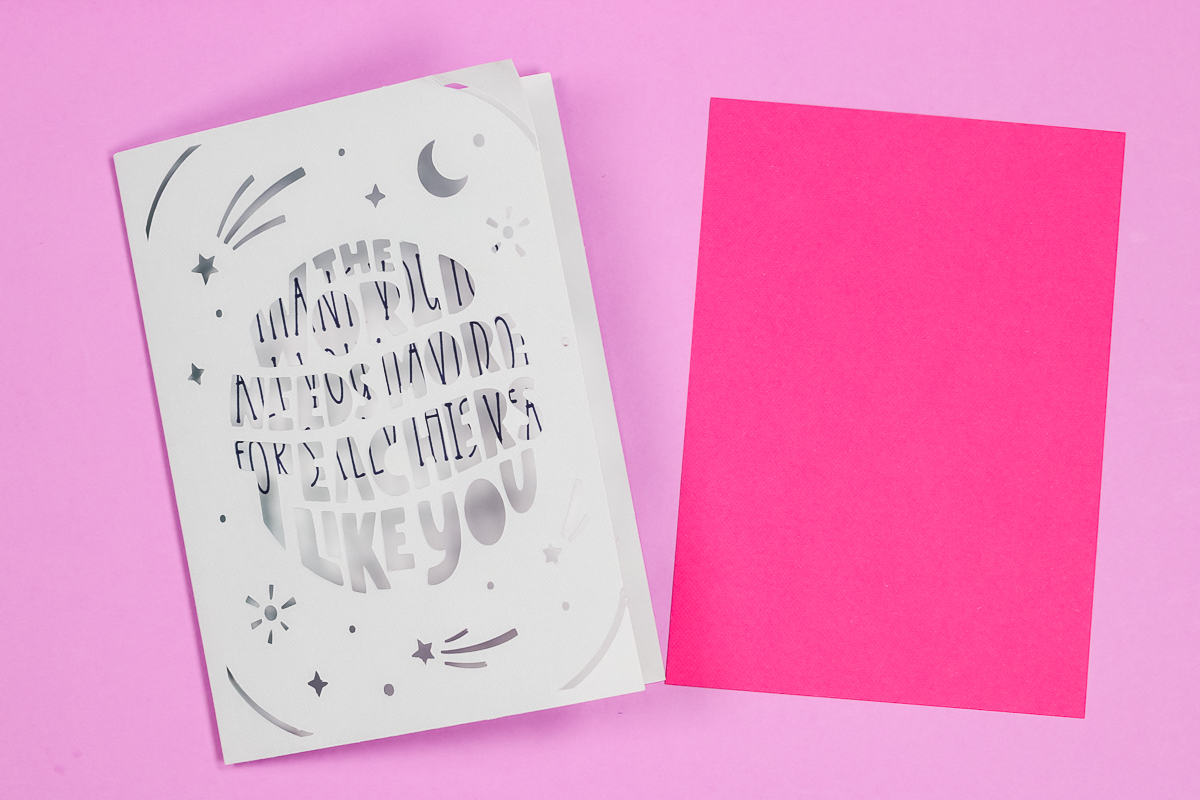
As I mentioned, the card did not cut perfectly on the mat. The lower right corner is cut through the edge so to salvage this card I will use a dot of adhesive to hold that corner in place. You still get the look of the Insert Card and that insert won’t fall out from that corner.
With the Insert Cards, the location is super, super critical. When it gets off just a little bit, your whole card is thrown off, which is the reason I don’t use Insert Cards anymore. Definitely check and test your machine. Some machines cut perfectly every time, others do not. This goes back to the Cricut Joy having these same issues.
Making A Cutaway Card
I just said I don’t use Insert Cards anymore so you may be asking what I need a Cricut Card Mat for. Let’s talk about Cricut Cutaway Cards!
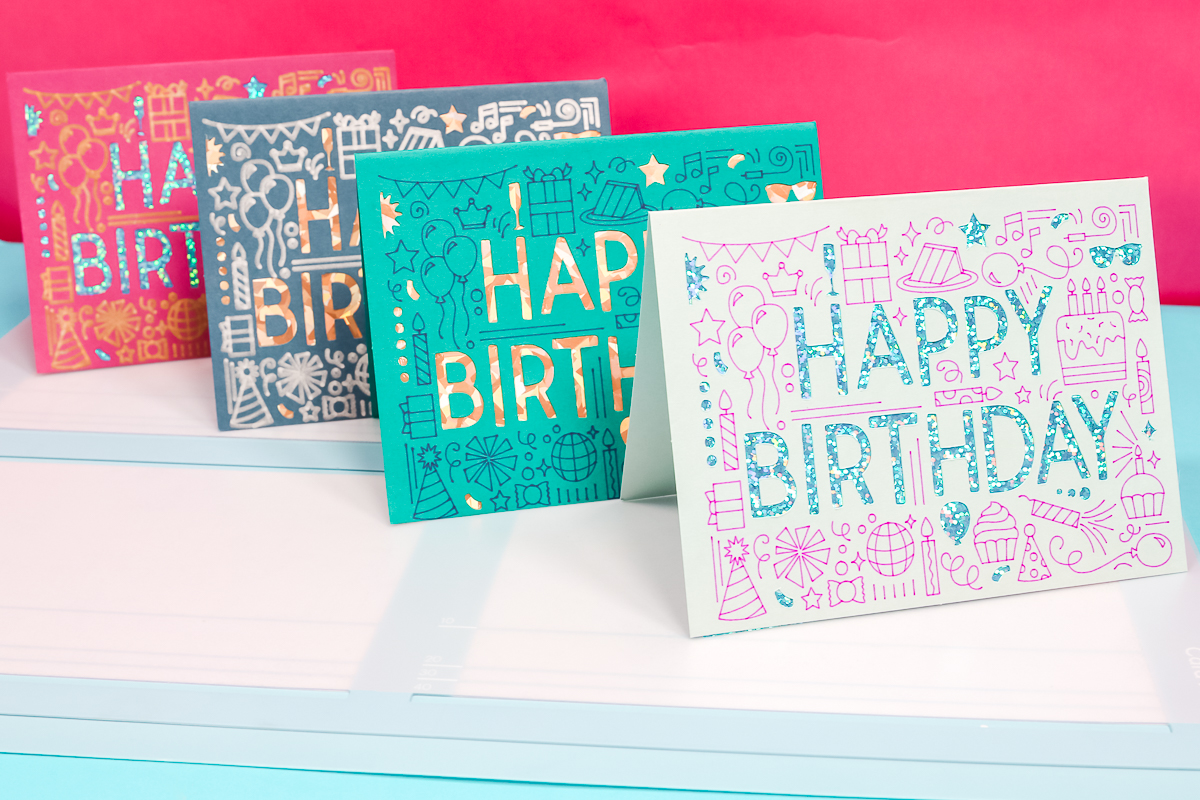
Let’s take a look at how the Cutaway Cards work. I have a full video on those if you want to check it out. I’m going to go ahead and use my Explore Air 2 with Cutaway Cards on the new Cricut Card Mat so you can see how that works.
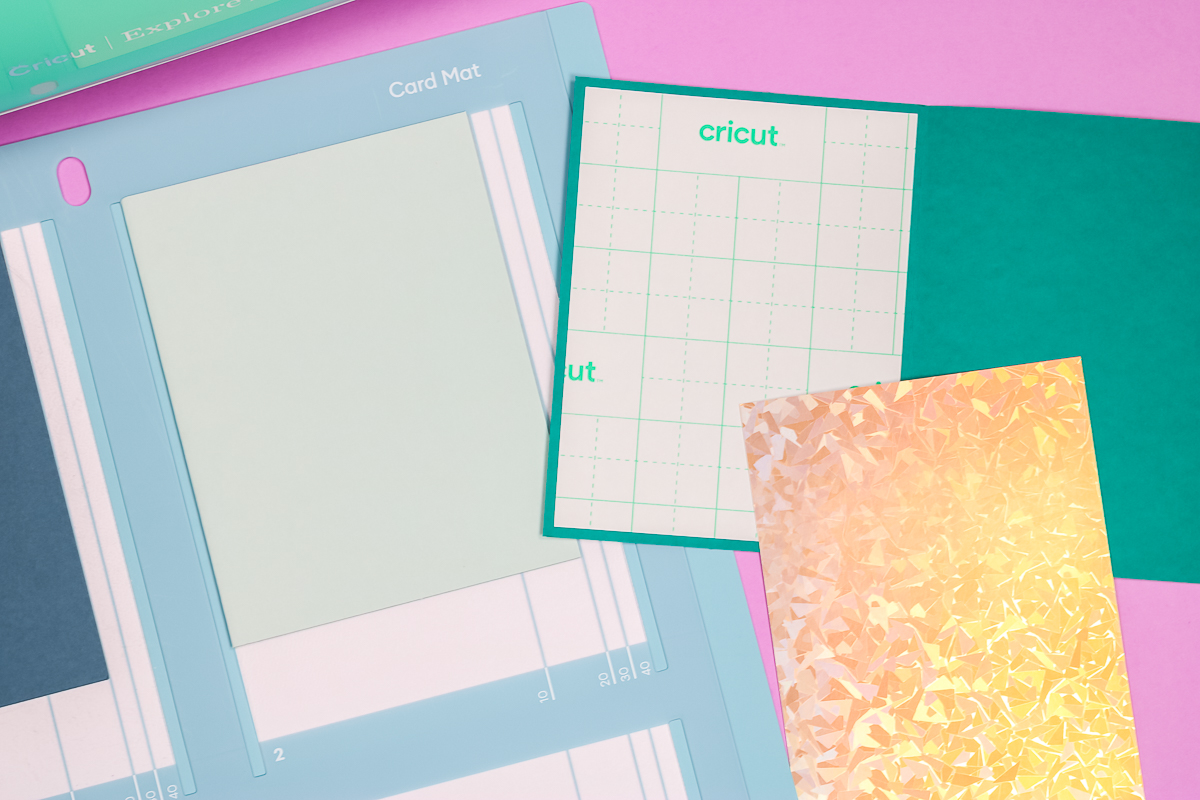
On the inside of the front of the card, there is an adhesive sheet. Peel off the liner and it will reveal a sticky adhesive. Inside the box of Cutaway Cards, you’ll find pieces that look like inserts from the Insert Cards. These are backers and you’re going to take the backer and press it pretty side down onto the adhesive inside the card.
Take your time doing this making sure you have it nice and centered and then press it down well. We’re going to put these on the Cricut Card Mat the same way we did the Insert Card.
Cutting a Cutaway Card
For this demonstration, I’m going to cut four of the same card. They’re all the same happy birthday card image but I’m going to change them up by using different pens and different colors of cardstock. Just search for “cutaway” in either projects or images to find card designs that will work.
To do this I need to duplicate my image 4 times. I will make all the cut pieces in the layers panel the same color as we talked about with the Insert Cards so they will be on one mat but I am going to change the pen colors. This will make sure that Design Space prompts me to change the pen from card to card. I’ll change the pen out 4 times, one for each different card.
Load the Cricut Card Mat into the machine just like we did for the Insert Cards. I have found that pressing the mat firmly against the rollers before pushing the load button helps provide the best cuts.
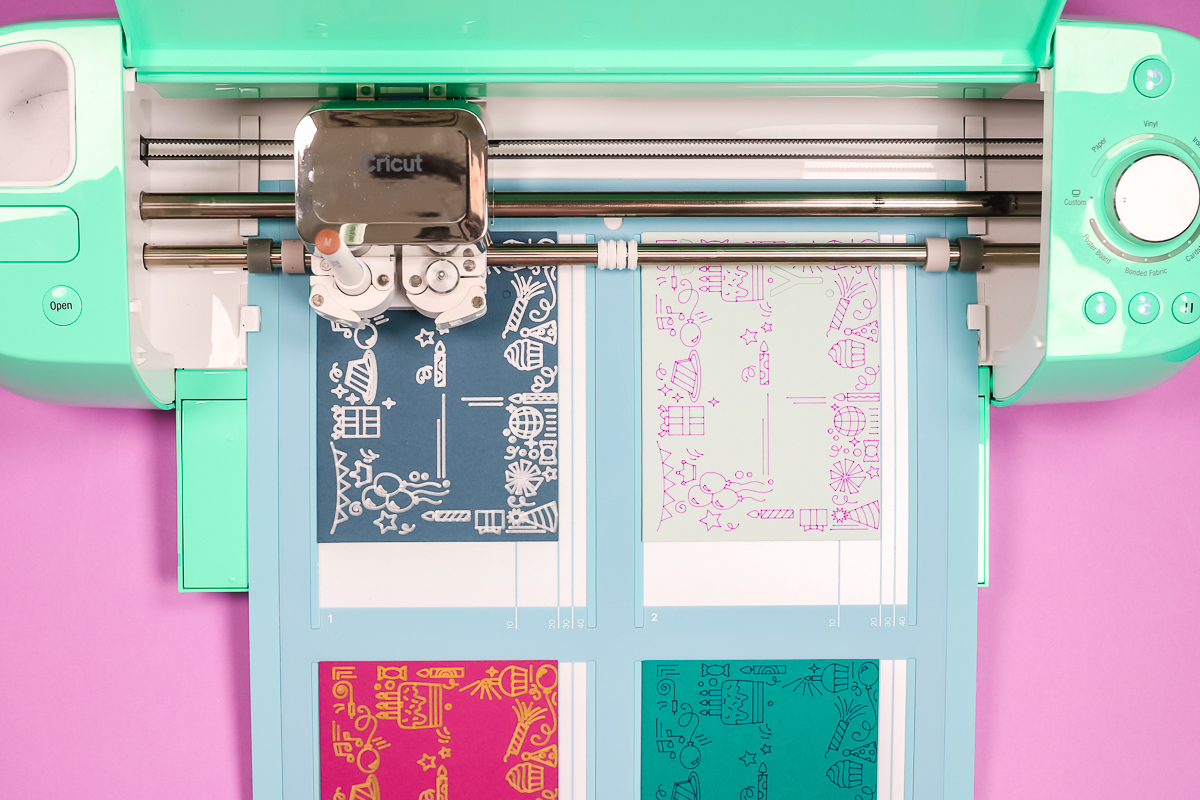
Before pressing go make sure you have the right color pen loaded into your machine. Once you press go your machine will draw the first card and then will prompt you to change the pen before proceeding to the next card. Design Space will do all the writing before it does the cutting so don’t walk away too far because you have to change the pen and press go each time it prompts you to change the pen color.
Something to note is the difference between the fine point pen and the medium point pen. This really comes down to preference but I thought this was a good example to showcase the difference. After the last color is drawn your machine will begin to do all the cutting. You do not have to do anything for this step.
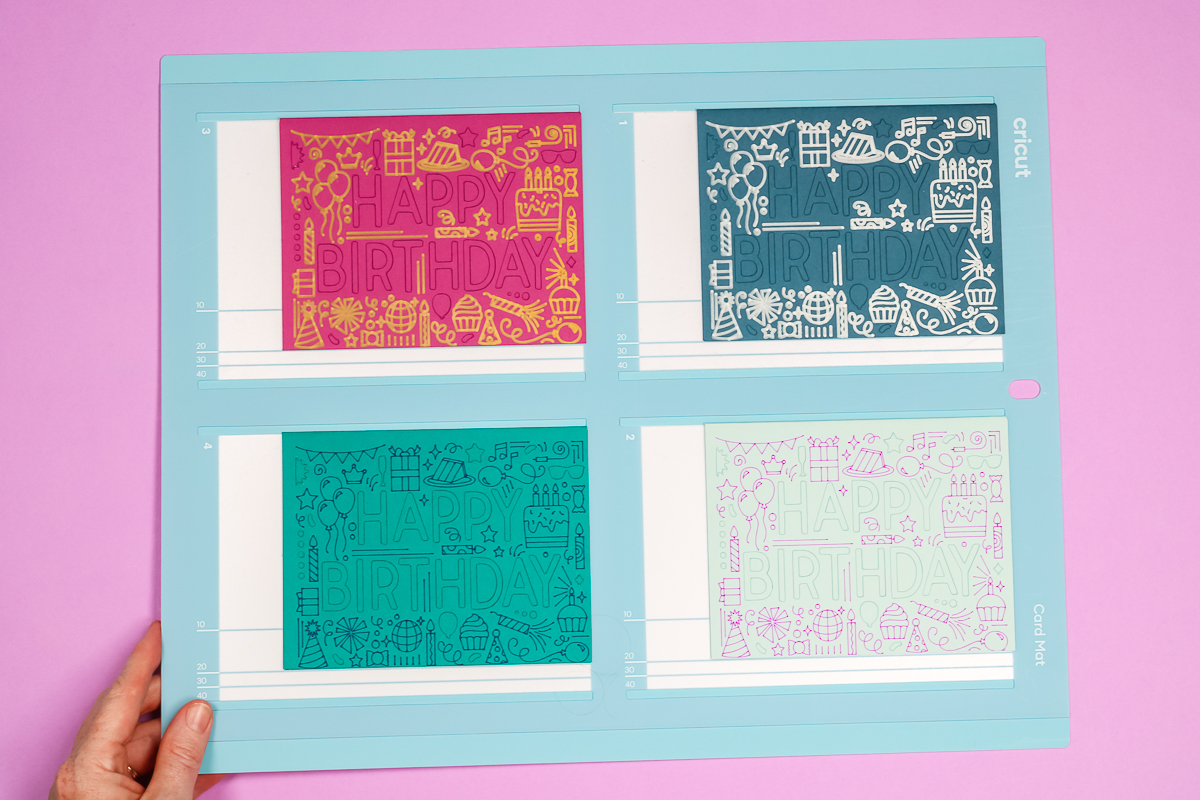
After it’s done cutting we’ll unload the mat as normal and then we can check out our cards.
How to Remove Cutaway Cards from Cricut Card Mat
I remove Cutaway Cards just like I do Insert Cards. You want to lift a little from the edge of the card, using a spatula if needed, and gently work it up off the adhesive curling as little as possible. If you notice a little curling this can usually be remedied by gently rolling the card in the opposite direction that it is curling.
Using the Correct Cut Setting for Cutaway Cards
Because Cutaway Cards are cutting through just one layer of cardstock in what is called a “kiss cut” you want to make sure you’re using the Cutaway Card setting in Design Space. What this will do is cut the cardstock layer but NOT the backer. If it’s cutting all the way through both layers you’ll need to adjust your pressure.
Finishing The Cutaway Card
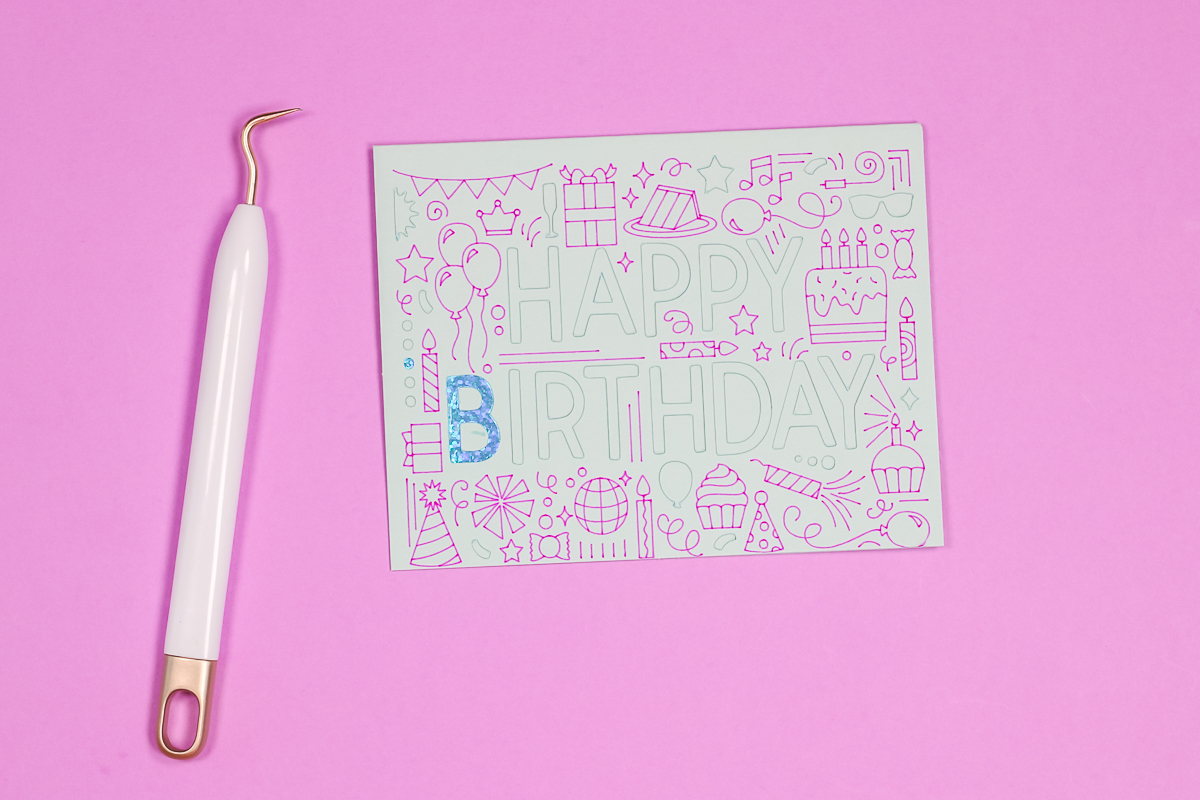
To finish your Cutaway Card we need to remove all the cut pieces. I found using a weeding tool helpful, especially with the little pieces. Make sure you don’t just stab your weeding tool into the card, you don’t want to scratch the backer layer. For larger pieces, you can easily use your fingers to remove the cut pieces.
If you notice the cardstock trying to peel and leave part of it on the card that’s likely the adhesive layer, usually if you try the other edge you can get it. If not, gently use your weeding tool.
Troubleshooting the Cricut Card Mat
Have issues with your cards? Let’s take a look at how to fix that!
How to Fix Your Card Location
You may notice on the Happy Birthday cards above, they are a little bit off. It is shifted a little bit down and maybe a little bit off left to right. With the Cutaway Cards, I feel like these are much more salvageable than Insert Cards.
This design is the maximum it can be for this size card. You don’t have a choice of where it will be on the card itself. You can’t move it around if it’s the maximum size. The solution is to make it a little bit smaller. That way, I could move it up and over a little bit, now that I know what location my machine puts the design on the Card Mat. This will take some trial and error, however.
I do recommend really taking the time to make sure your card is in the Card Mat all the way in and to the top of the slot for the best results.
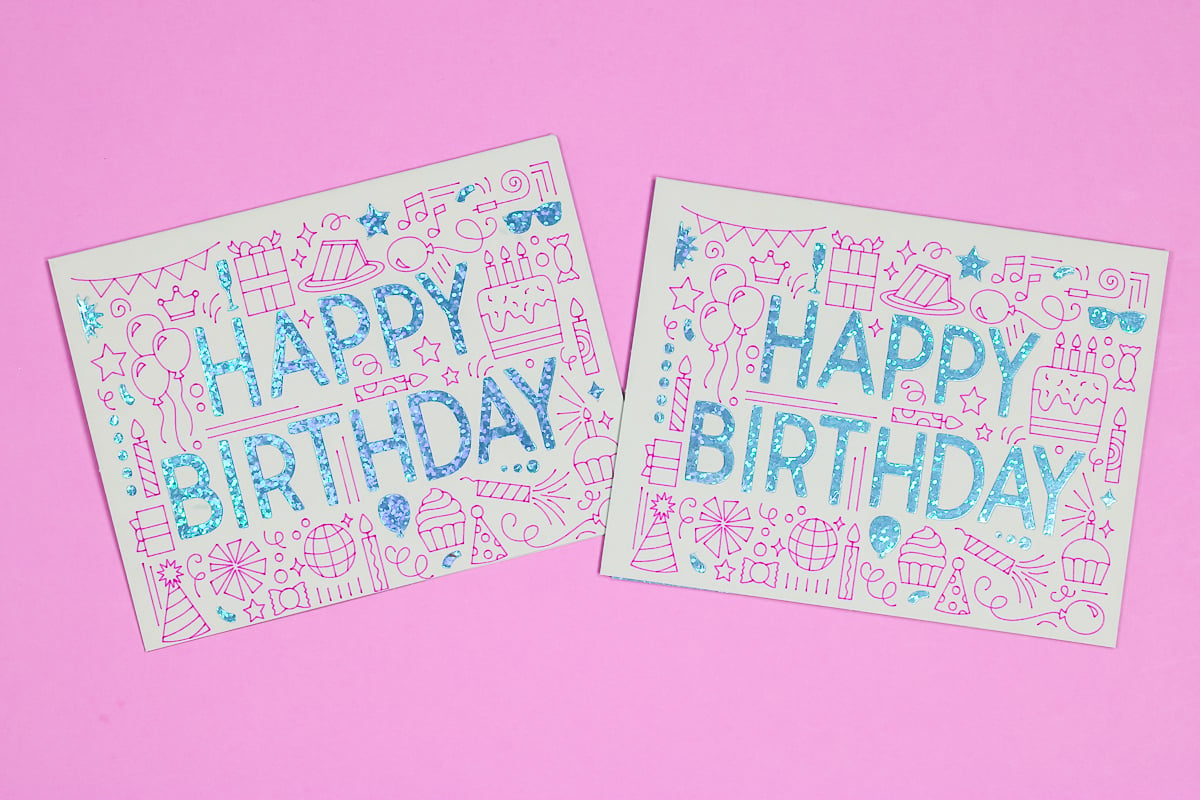
Here are the two cards. In one version, I just let the Cricut Explore Air 2 place it where it wanted to. In the other version, I made the design slightly smaller and on the mat screen, I moved it around to adjust the image to where I knew my machine was drawing/cutting.
You can see that the design is off less and it’s almost centered horizontally. With this hack, you could get your design in the right location. However, it would need to be smaller. You would not be able to take up the entire card.
This hack does only work with the Cutaway Cards. If you were to make the Insert Cards smaller, the inserts would not fit, so you cannot do this hack with the Insert Cards. You’re just left with wherever it puts it.
Card Mat Option Not Visible
If you have finished your card design and clicked make it only to find that Card Mat isn’t an option it is likely your card size. Unfortunately, Design Space doesn’t tell you your image is too large it just takes away the Card Mat option. If you’re not getting the Card Mat option, as a troubleshooting step, make sure that your design is not too large.
How to Get Perfect Cricut Cards
These are Insert Cards but the same thing would apply to Cutaway Cards. How did I get it to be perfect? Well, I changed machines. These were all made in my Cricut Explore 3, and not my Cricut Explore Air 2. It may be the age of my machine, the condition of my machine, or that the Explore Air 2 is not going to do as well.
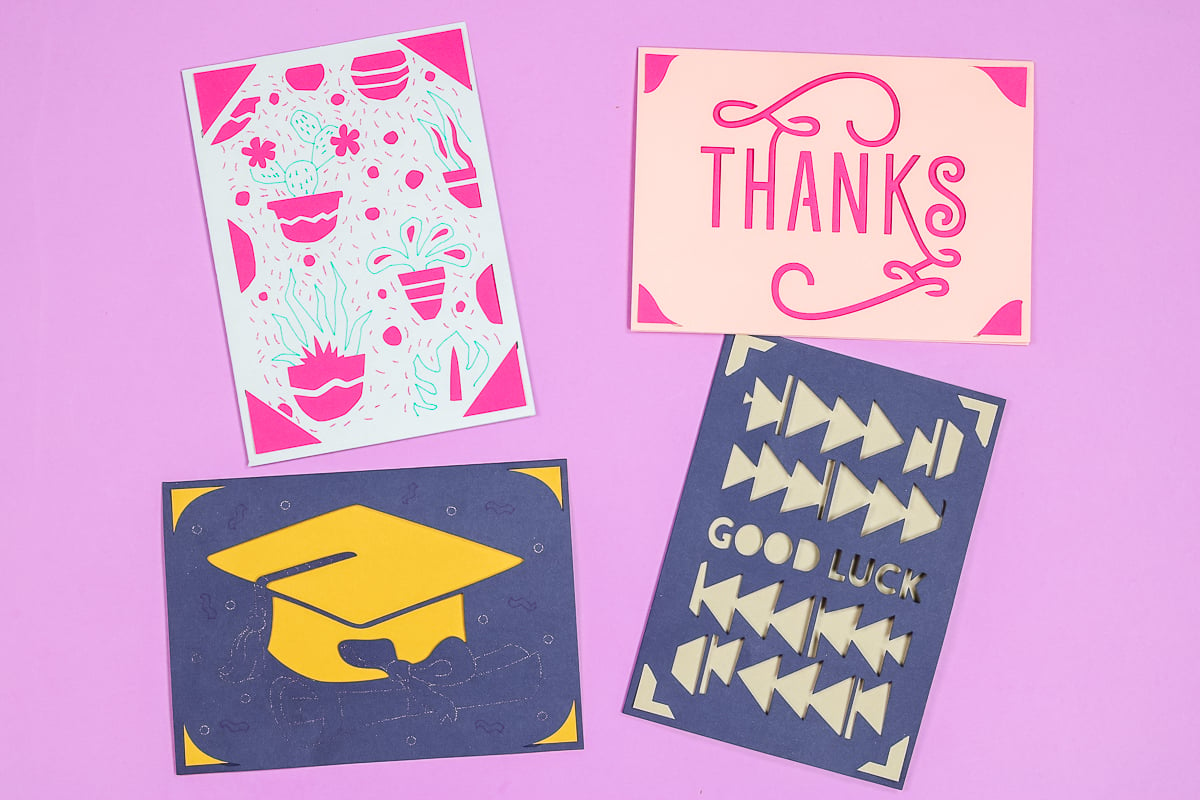
These cards are perfect and I did nothing. I selected the card in Design Space and told it to cut these 4 different cards. The location came out perfect, it was cut perfectly, and drawn perfectly. If you’re having a really hard time getting the location right with your machine it’s always a good idea to check to make sure your Design Space program and Firmware is up to date.
With the Insert Cards, it’s not nearly as simple to adjust. The only way to really change the size is to also cut down the insert and this will again be some trial and error. That is an option if you’ve already purchased the Insert Cards and you’re finding your machine is not cutting them in the right location. You could adjust the size, move it over, down, or wherever you need to move it, and then cut the inserts to fit the new size.
Why did some of my cards fail?
I think that it was the machine. Whether the machine is worn out, or whether all Explore Air 2 machines will do this, I am not sure. I only tried the one Cricut Explore Air 2 machine and it was off location every single time. I could get the Cutaway Cards to work on it, however, so all hope is not lost. If you invest in the Card Mat, and you invest in some Cutaway Cards, you could make them work in the Cricut Explore Air 2 regardless of if the location is off or not.
When you see those perfect cards on social media, just know that you might not get those the first time or maybe at all with your machine. It will depend on your machine type and your machine condition. However, with my hack, hopefully, you will be happy and make some cutaway cards of your very own.
Final Cricut Card Mat Review
I personally think the Cricut Card Mat for Explore and Maker machines is a wonderful addition to the Cricut mat collection. It makes writing inside cards easier than ever and I love how quick and easy cards are to make with it. I definitely think this one is well worth it if you want to make quick and easy cards that are already cut and folded.
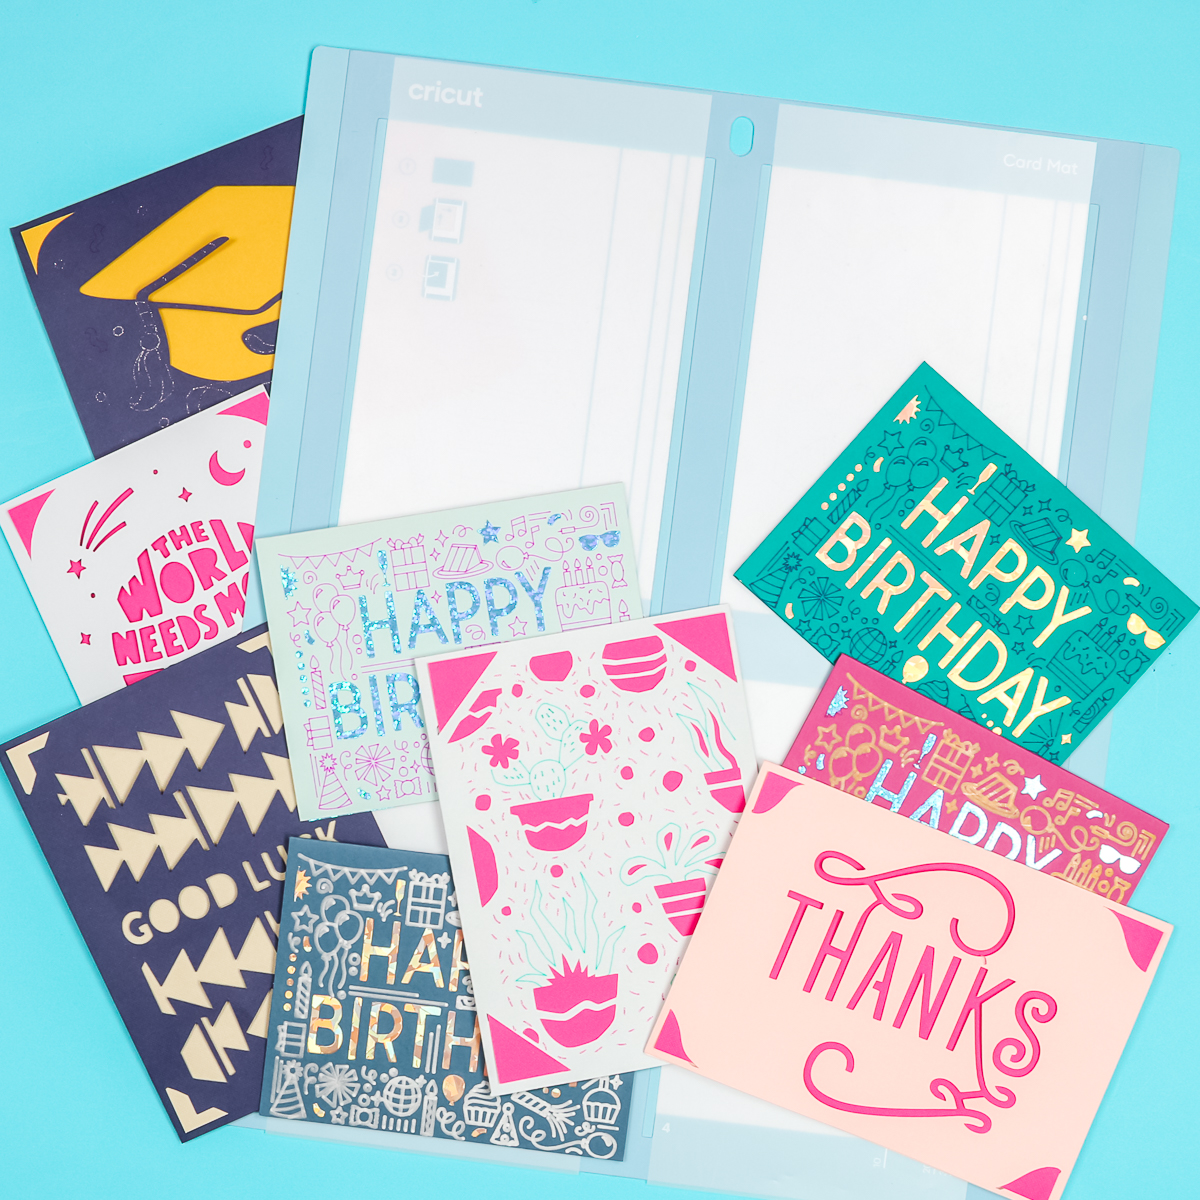
Be prepared to take your time learning how your machine works with the Cricut Card Mat and follow all the steps to help ensure beautiful end results! I think you are going to love this new Cricut product as much as I do!



Hi Angie, a question, can you cut the cards before you add the sticky decorative backing card so you don’t have the weeding issues? Just adding it after that cycle in the process.
You would have to place any small cut pieces individually if you do it that way.
I am wondering if i can make my own blank cards, the actually card. Seems all the designs in want to make are R40 and I only have R20 insert cards. could i take cardstock, double the width and cut the rectangle shape? Guess I will try and see what happens….thanks for the info on insert cards with card mat.
I would just make cards without the cardmat if you are using cardstock.
I was just wondering if I can cut my own cardstock without buying the insert cards or cut away cards from Cricut?
You can just make cards with your Cricut without this mat.
Hello,
I am trying to make 4 different cards but If I go to images and go under cards, i am getting thousands of options and none seem to be the insert card images. I have a maker machine selected. how can I find the insert card images quickly like you did?
I am not sure why people’s search things show up differently. You can now customize most insert card projects so you could look at the insert card projects and select the one you want and then click customize. By opening multiple tabs you could copy/paste different ones onto one canvas. Hopefully that helps.