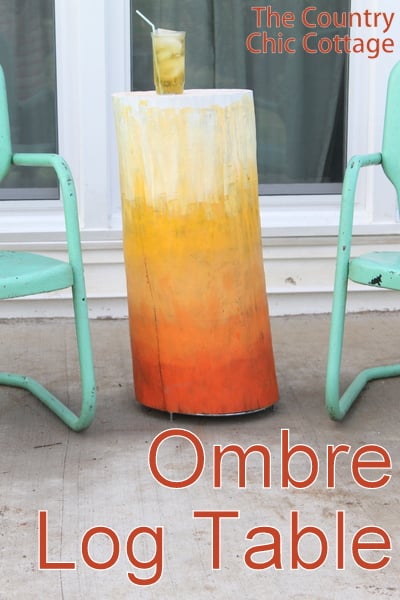
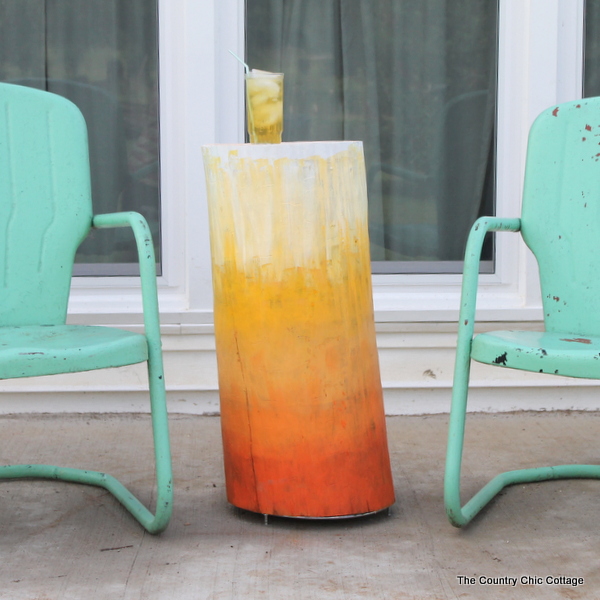
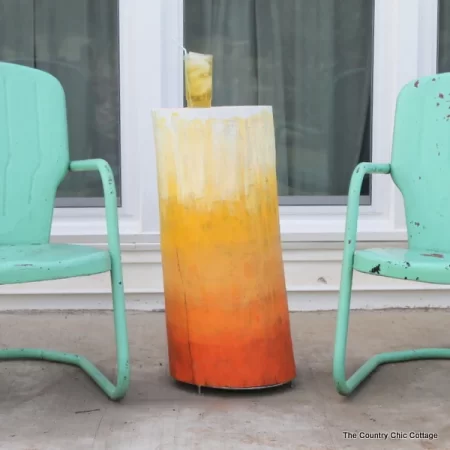
Add a bright pop of color to your outdoor living space with this DIY ombre log table. It’s easy to create and makes a joyful addition to any front porch, balcony, or backyard.
I have a fun afternoon project for you this morning! My ombre log table for outdoors is a quick and easy project that will add a touch of fun to any outdoor space at your home.
Yep, we are turning just a regular log into a fun table with just a little paint (make sure to tell everyone you know that you are looking for a log this year).
I am a member of the DecoArt design team, and this post is in conjunction with that. All projects and opinions are my own, however. This project was posted last year over at the DecoArt blog, but I wanted to put it here as well in case y’all missed it.
This is a simple and affordable way to add a wonderful splash of color to your outdoor area. I am happy to report that I have now had this table for a year, and it has been sitting outside the entire time. The paint is still on it, and it still looks great!
So sit around and drink a glass of sweet tea on your own ombre log table.
How to Make an Ombre Log Table
Ready to get crafting? This project is equal parts beautiful and functional. Guests will awe over your one-of-a-kind side table!
Supplies Needed
Here’s everything you’ll need to make this log side table:
- Wooden Log
- Paint Brush
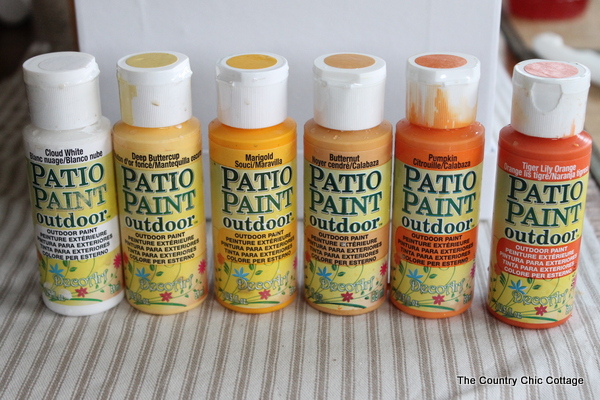
- Patio Paint 2oz – Cloud White
- Patio Paint 2oz – Deep Buttercup
- Patio Paint 2oz – Marigold
- Patio Paint 2oz – Butternut
- Patio Paint 2oz – Pumpkin
- Patio Paint 2oz – Tiger Lily Orange
DIY Ombre Log Tables Instructions
While it looks super impressive, any of y’all can make this ombre log side table, no matter your crafting skill level.
Here’s how to get the job done:
Step 1: Prep the Log
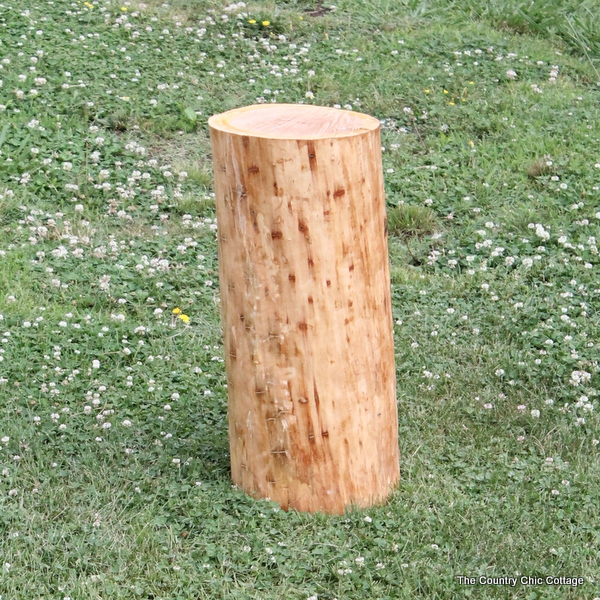
I started with a plain log from our wood pile. I chose one that was the right height and diameter for a table. Hubby then stripped the bark from the outside for me – that definitely makes it easier to paint!
We pressure-washed the entire log to remove all the sap and anything else that was living on the log. Be sure to clean your log very, very well before continuing with this project.
Step 2: Start with White Paint
I recommend the patio paints exclusively for this log table. They are meant to be used outdoors and are also formulated to adhere well to porous surfaces.
Your unfinished wood log is very porous and will absorb quite a bit of any other paint.
You can purchase patio paint online here!
You can, of course, use the colors of your choice.
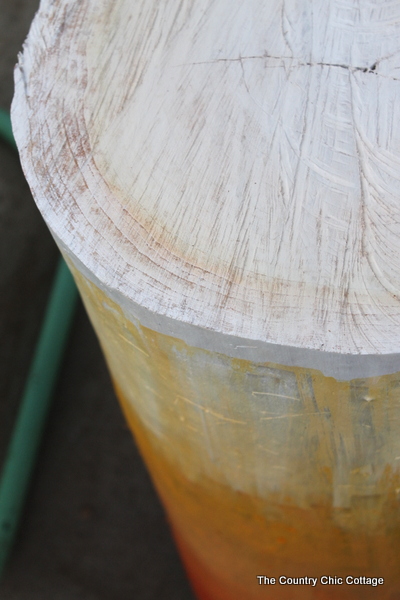
Start at the top of your log with white paint, approximately ⅙ of the log.
Step 3: Continue Your Ombre
Divide your log approximately into as many paints as you have (6 in my case). Each area will get two coats of paint.
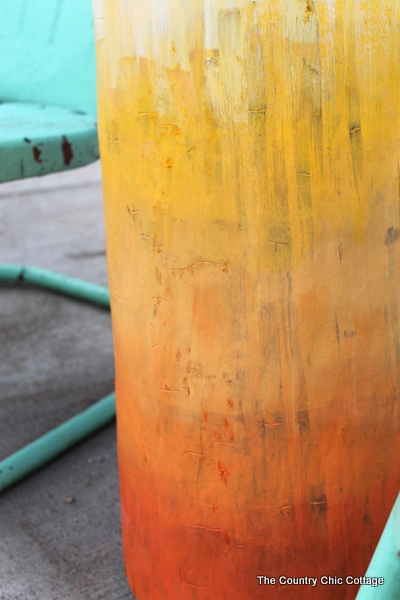
As you apply each new color, blend it in with the color above it. This gives you more of that ombre or gradient effect.
Step 4: Allow Paint to Dry and Cure
Allow the paint to dry completely and cure for 72 hours before moisture exposure. I put my log table on top of a plant stand from the store so it is not sitting directly on my patio.
FAQs
Have log table crafting questions? I have the answers! And if you have any more questions, please leave them in the comments down below.
What’s the best way to seal a log table?
There are a few steps to sealing your DIY log table for long-term enjoyment.
- Step 1: Start by prepping your log table, cleaning the log thoroughly, sanding it with fine grit sandpaper, and wiping away any dust and debris.
- Step 2: Choose an outdoor sealant like spar urethane or teak oil.
- Step 3: Apply thin layers of sealant, allowing drying time within coats.
- Step 4: After the final coat, allow the log side table to cure before putting it outdoors.
How do I waterproof a log table?
Applying a proper sealant can waterproof your DIY log table, keeping it safe outside through all sorts of weather conditions.
- Polyurethane sealant is durable and water-resistant.
- Spar urethane is water-resistant while also providing UV protection.
- Epoxy resin is trickier to apply but would give your table a glossy, waterproof coat.
Where can I get a log to turn into a table?
The trickiest part of this DIY project is sourcing the log! Luckily, there are plenty of places where you can find one for your crafting needs.
- Forage for one in a local park or forest
- Ask neighborhood community groups
- Check online marketplaces
- Ask friends and family
- Contact local sawmills or lumber yards
- Search for firewood suppliers
More Craft Ideas
Still have the crafting itch? Check out more of my favorite outdoor craft projects:
- Outdoor Lawn Games: Checkers and Tic Tac Toe Board
- Make Your Own Outdoor Pillows
- Rustic Outdoor Furniture: Farmhouse Style Options
- Decoupage Outdoor Serving Tray
- Easy Painted Clay Pots with Marbling Technique
Equipment
Supplies
- 1 Wooden log
- 6 Colors of paint
Instructions
- Prep your wooden log, stripping the bark, washing away any debris, and sanding it smooth.
- Start with your lightest paint color on top, painting about 1/6 of the log.
- Continue painting down the log, applying a new color every 1/6. Each section should get two coats. As you apply each new color, belnd it in with the color above to achieve a gradient.
- Allow the paint to cure before moisture exposure.
- Apply an optional sealant for extra weather protection.


This is gorgeousssssssss!