I have been working on my organized Cricut craft room, and today I’m going to take you on a craft room tour! It’s been two years since I’ve done a tour, and really two years since I’ve done anything major here. However, I definitely changed this room up a lot. I have some great ideas for Cricut craft room organization, your Cricut machine, sublimation supplies, and any other craft that you might tackle.
Organized Cricut Craft Room
Take a video tour of my space by clicking play below. I will walk you through each area and you can even see a bit behind the scenes of where I film my videos.
Can’t watch the video or miss some of the information? Follow along below!
Supplies Used
- Cricut shelves
- Cricut tool organizer
- White bins with bamboo lids
- Pen organizer
- Wood pegboards
- Clothes Hanger for Mats
- Vinyl storage
- KEA Alex drawers
- Ribbon holder (unable to find the one I have online)
- Wood IKEA Unit
- Wood Magazine Holders
- Cube Organizers
- Cube Dividers
- Wicker Baskets with Chalkboard Labels (unable to find these online)
- Cube Desk
- Tilt Out Bins
- Rainbow Drawers
- Rolling Carts
- Lazy Susan Organizer
- Video lights
- Ceiling brackets
- Butcher paper roll
- Butcher paper holder
- Cord Box
- Hobby Holster
- 3M Cord Hangers
- Stackable paper trays
- Top for paper trays
Cricut Machine Shelves
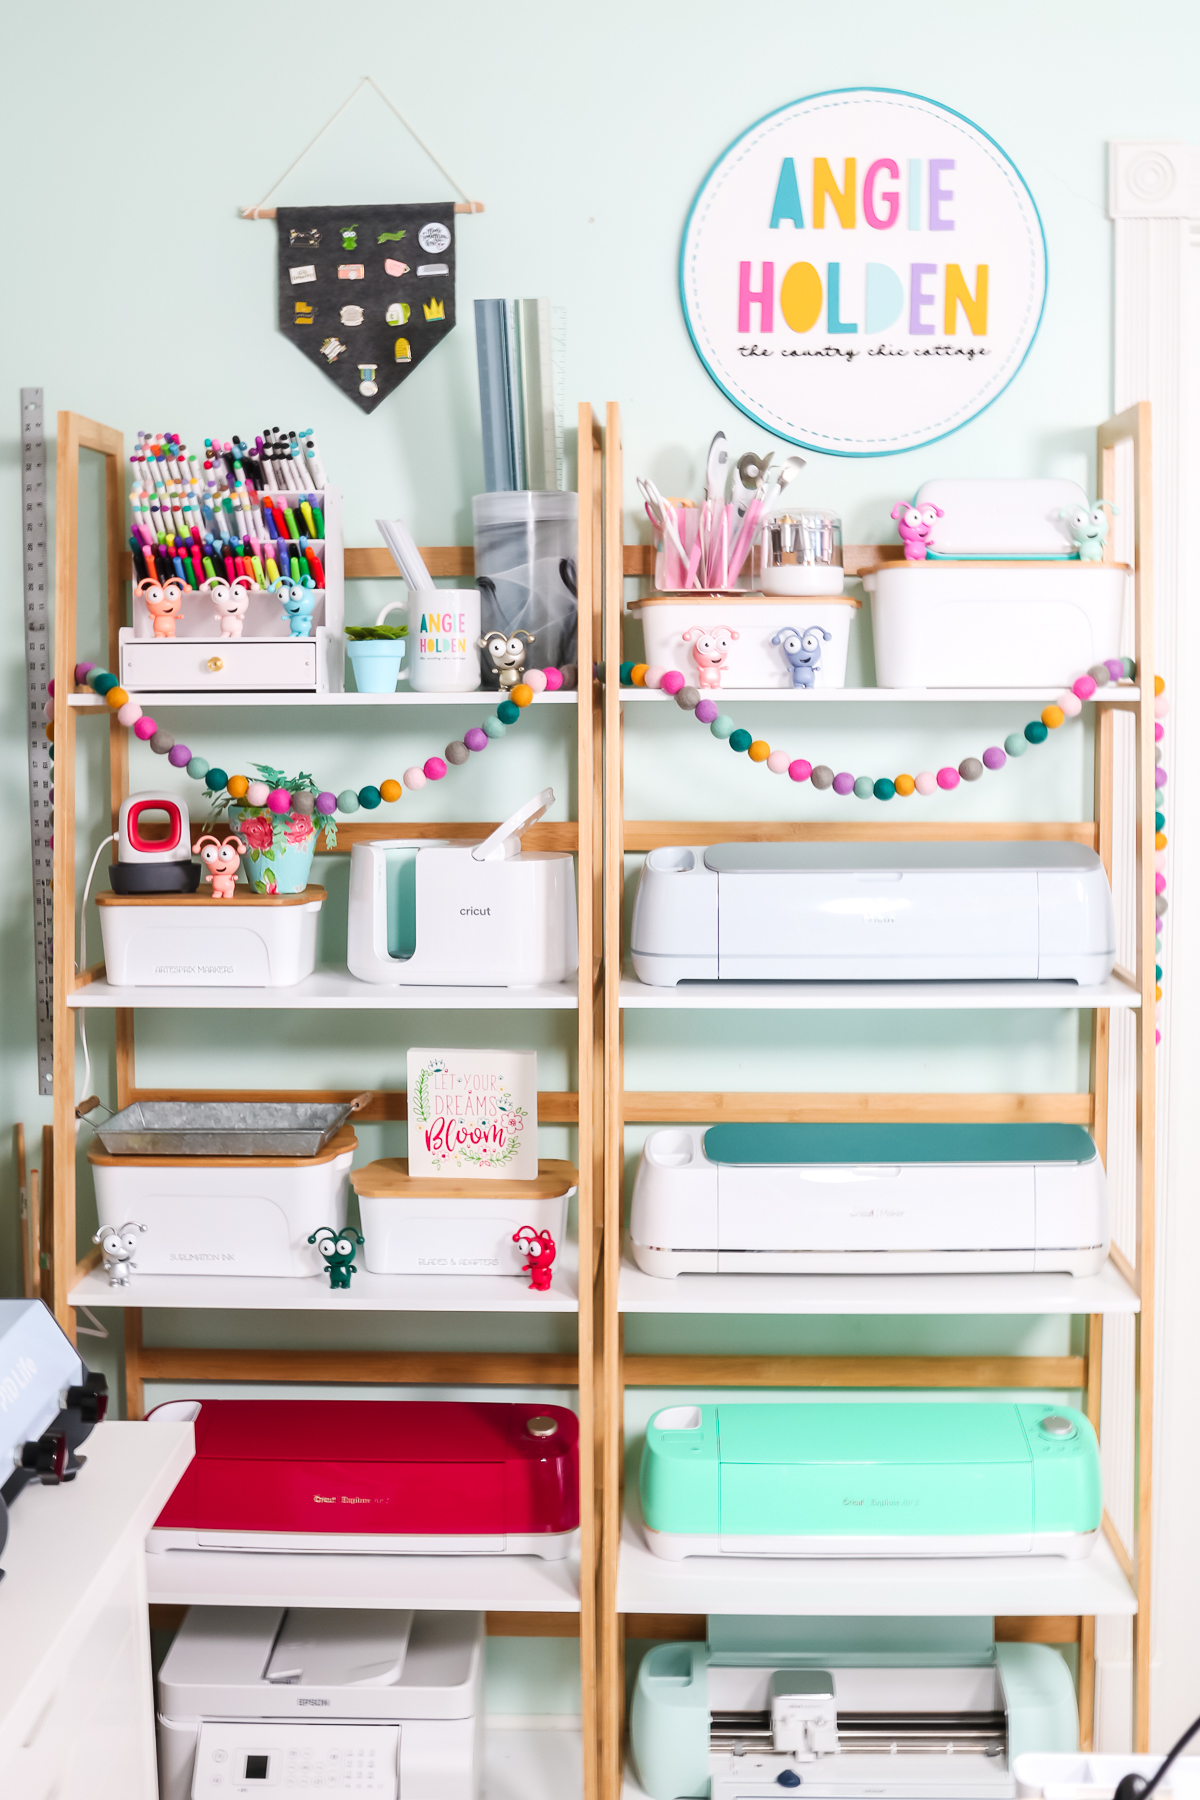
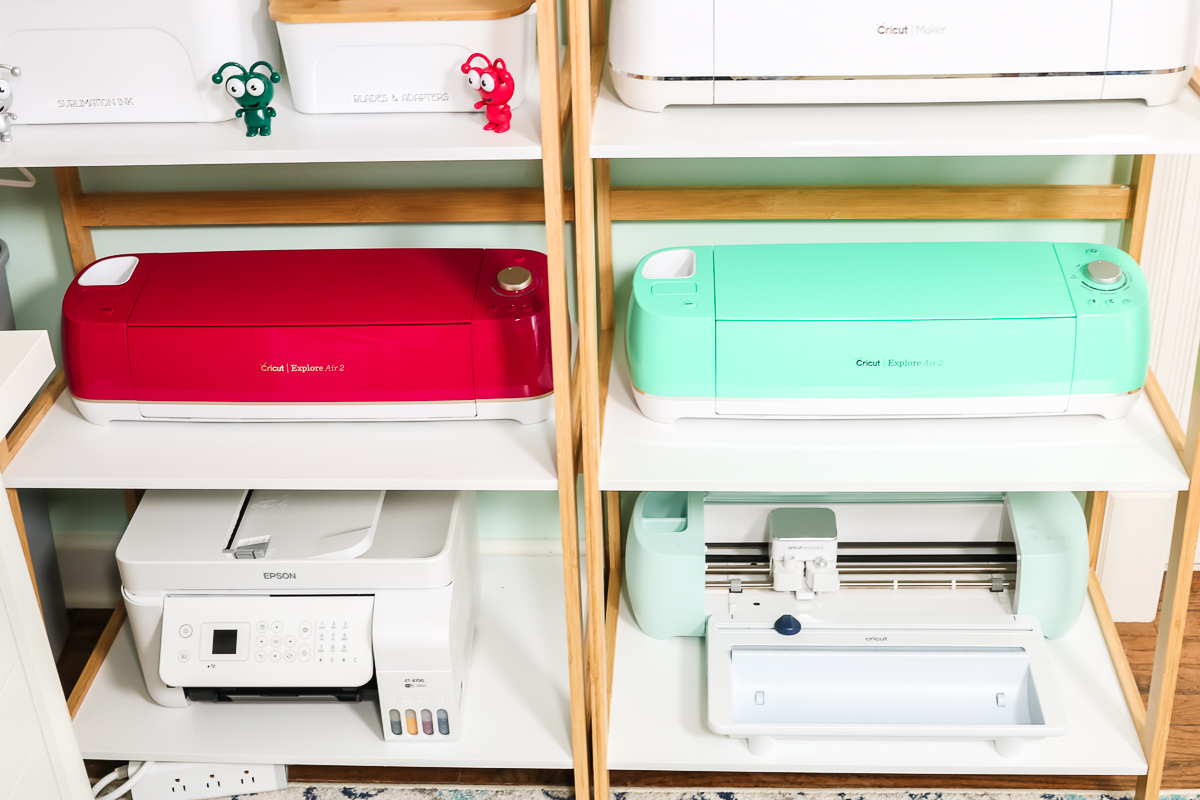
We’ll start in what I will refer to as the Cricut and sublimation corner. I bought the shelves from Wayfair specifically for my Cricut machines. Why is this? Because I have every Cricut machine on the market and they take up a lot of space. I needed a place where they could be on display, be organized, and be easily accessible. I like to pull these off of the shelves, take them over to my work table, film content, and then be able to just pop them back onto the shelf. It kind of makes my life a little bit easier having them all here together.
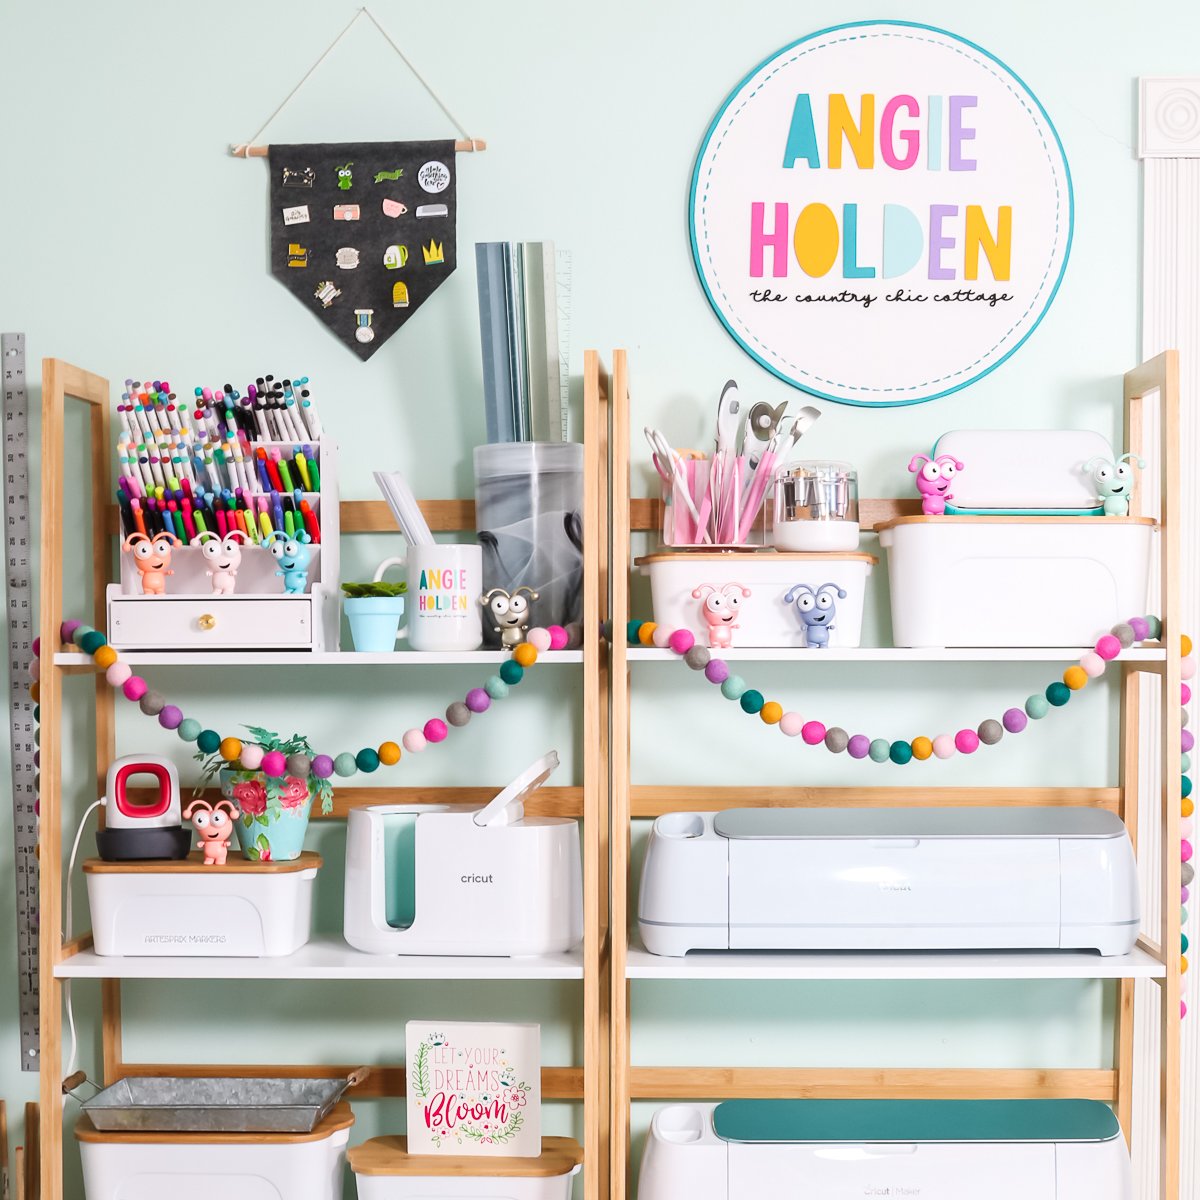
A good friend of mine cut out the letters for my brand sign, so shout out to Heidi from Happiness Is Homemade. I painted the sign and put it on a wood round. Over the other shelf is a pennant banner I made that has a variety of Cricut pins that I have gotten at various events.
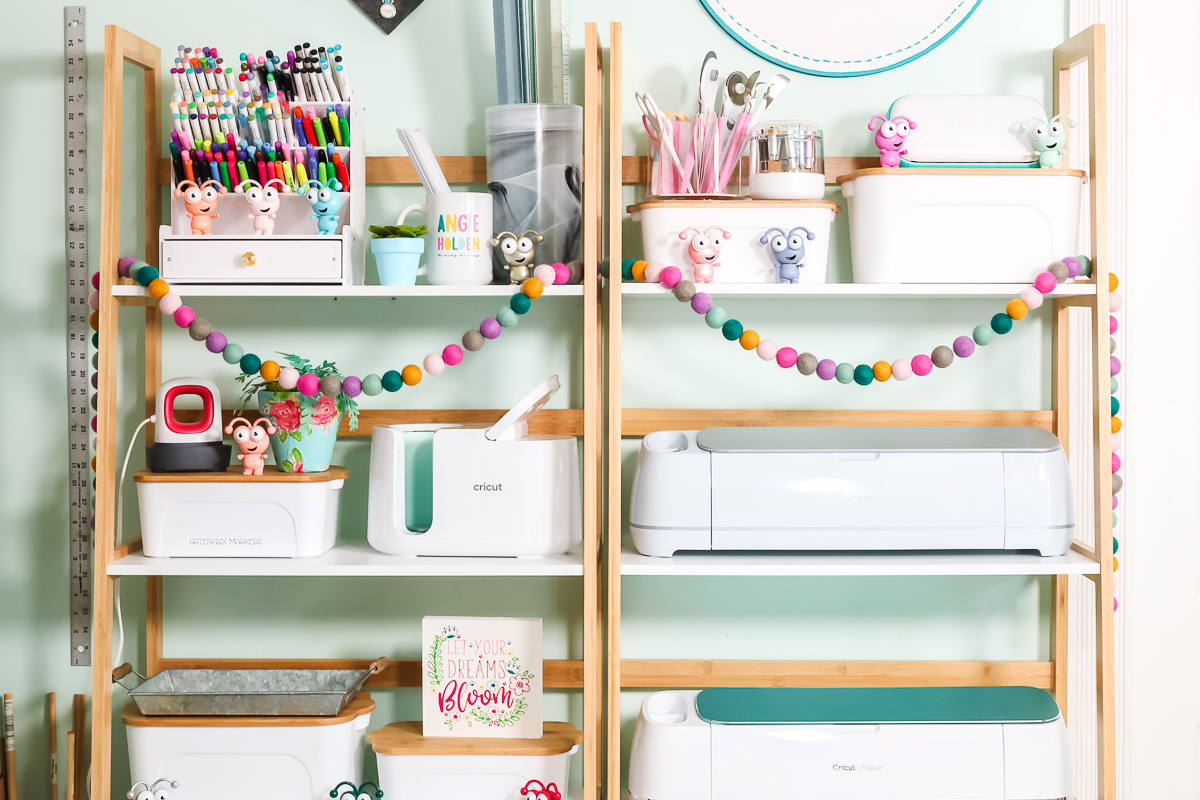
On the top shelf, I have my Cricut Joy, my Cricut tool organizer, and a lazy Susan organizer for some of my tools. There are a couple of bins and they’re actually empty, so I have extra storage for future projects that might come up.
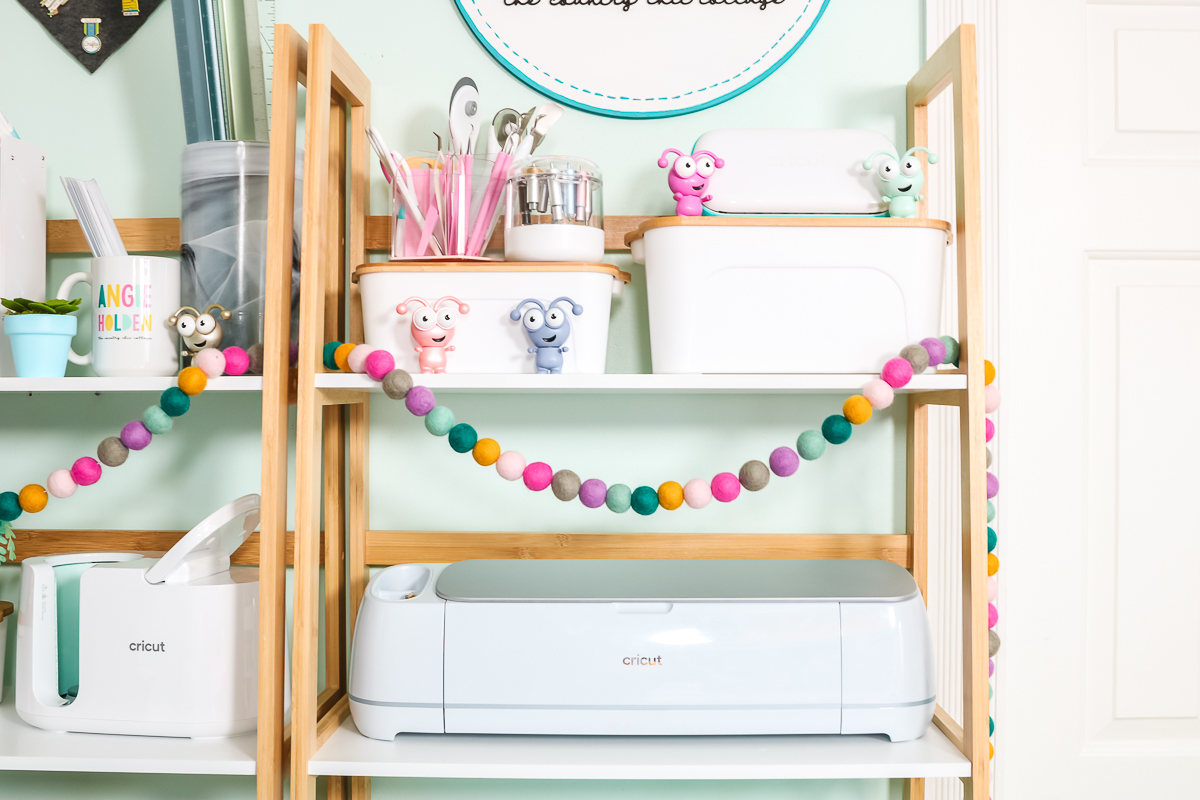
The next four shelves all house Cricut machines of various types. That bottom shelf is even large enough for my Cricut Explore 3 with the roll holder attached. The bottom of the other shelf has my sublimation printer.
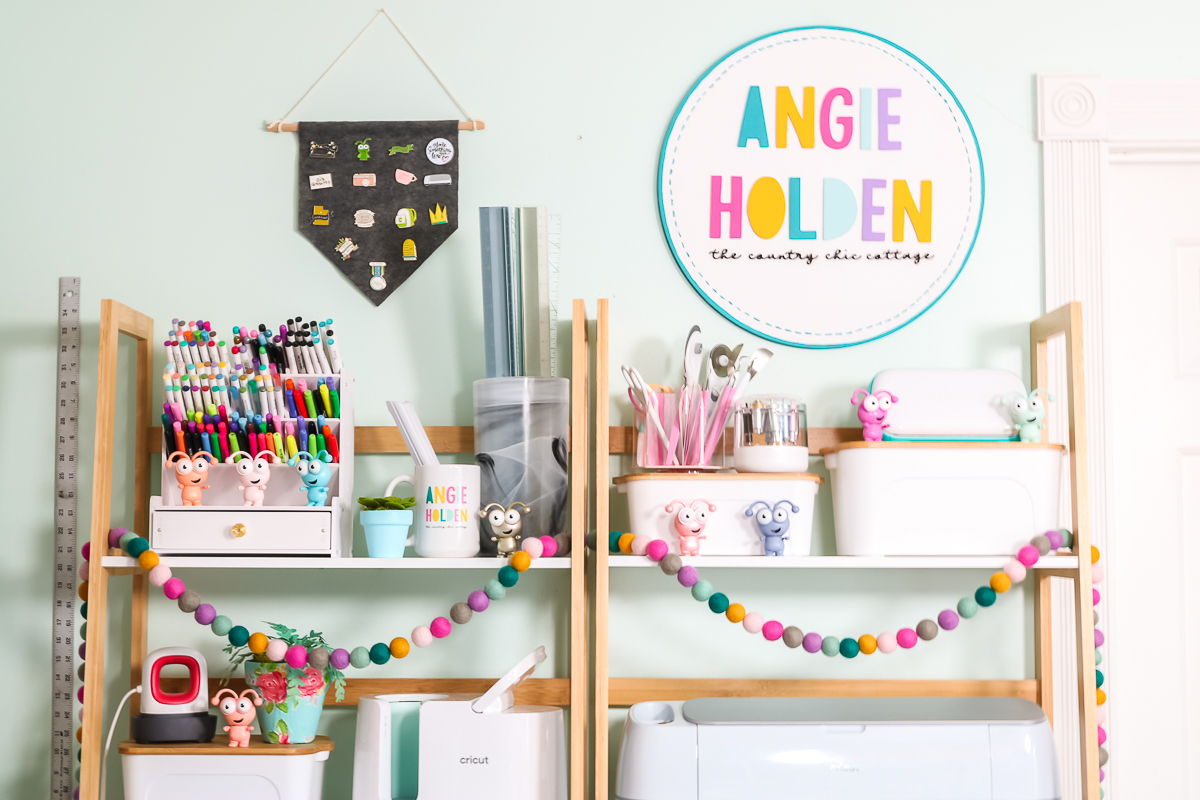
The top shelf on the other side has an organizer for my Cricut pens, a mug that has my slap bracelets in it, and then a large vase that holds my rulers. I like them to be in the vase so they’re easily accessible. This pen organizer is seriously so great. I can divide the pens up by category and type plus they can be stored tip side down which is recommended. The drawer actually holds the Infusible Ink free-hand pens which should be stored laying down.
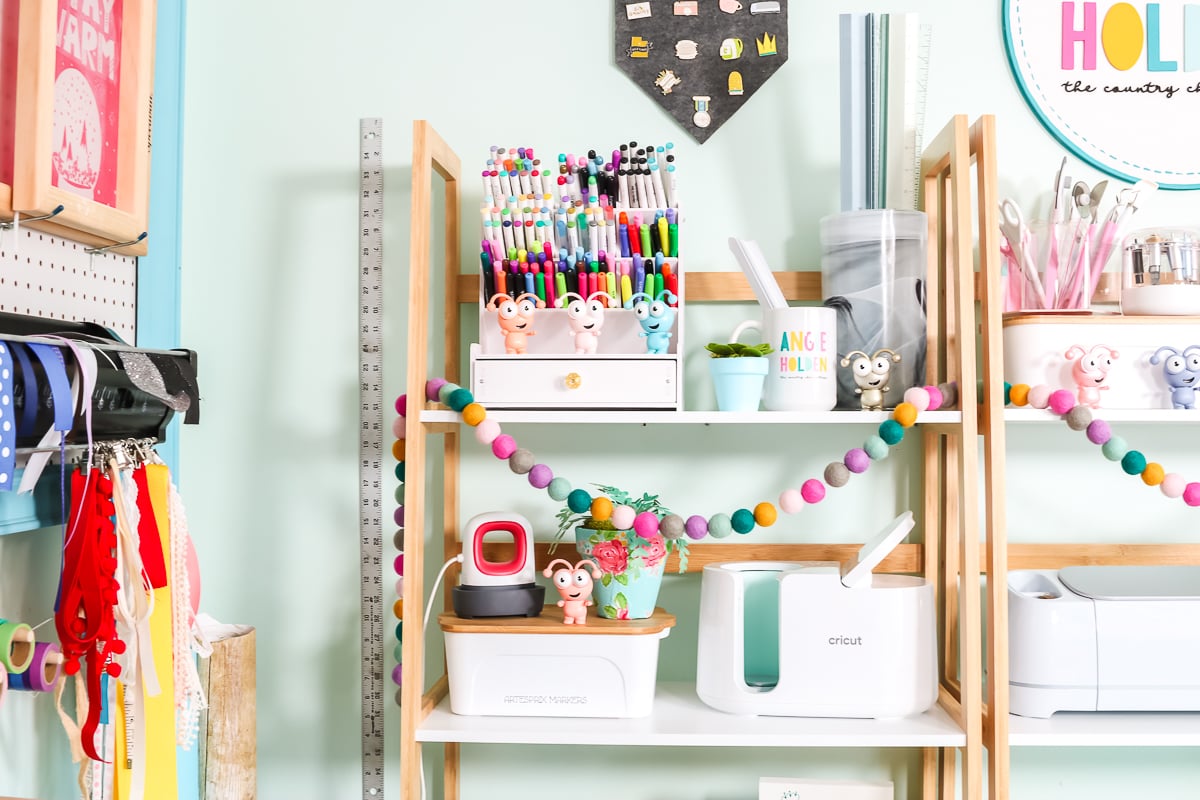
The next shelf has the Cricut Mug Press as well as my Easypress Mini, and then there is a bin filled with Artesprix markers. You may be wondering where I got all the Cricut Cuties. I’ve ordered them through mystery boxes over the years, so be on the lookout for Cricut mystery boxes. A lot of times they do contain a Cricut Cutie. This next shelf just has a couple bins with some extra sublimation ink, blades, and adapters.
Pegboard Organization
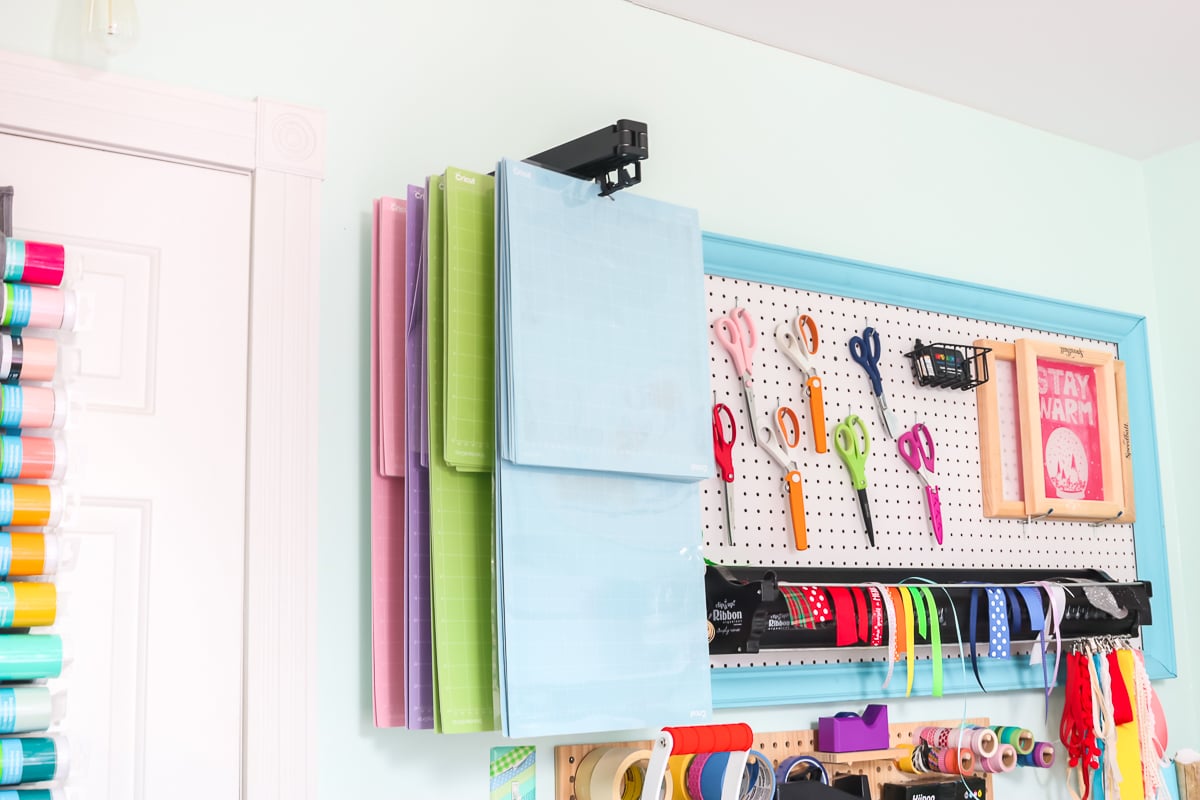
As you turn the corner, you get to where my heat presses are, as well as some pegboard organization. Up top is a large pegboard from Home Depot. I bought a frame from the thrift store several years ago, popped it in, and hung it on the wall. Now it holds several scissors, my Artesprix sublimation ink, and a ribbon holder. I also have my Speedball screens up there because they look cute, and that’s functional storage so they don’t get damaged.
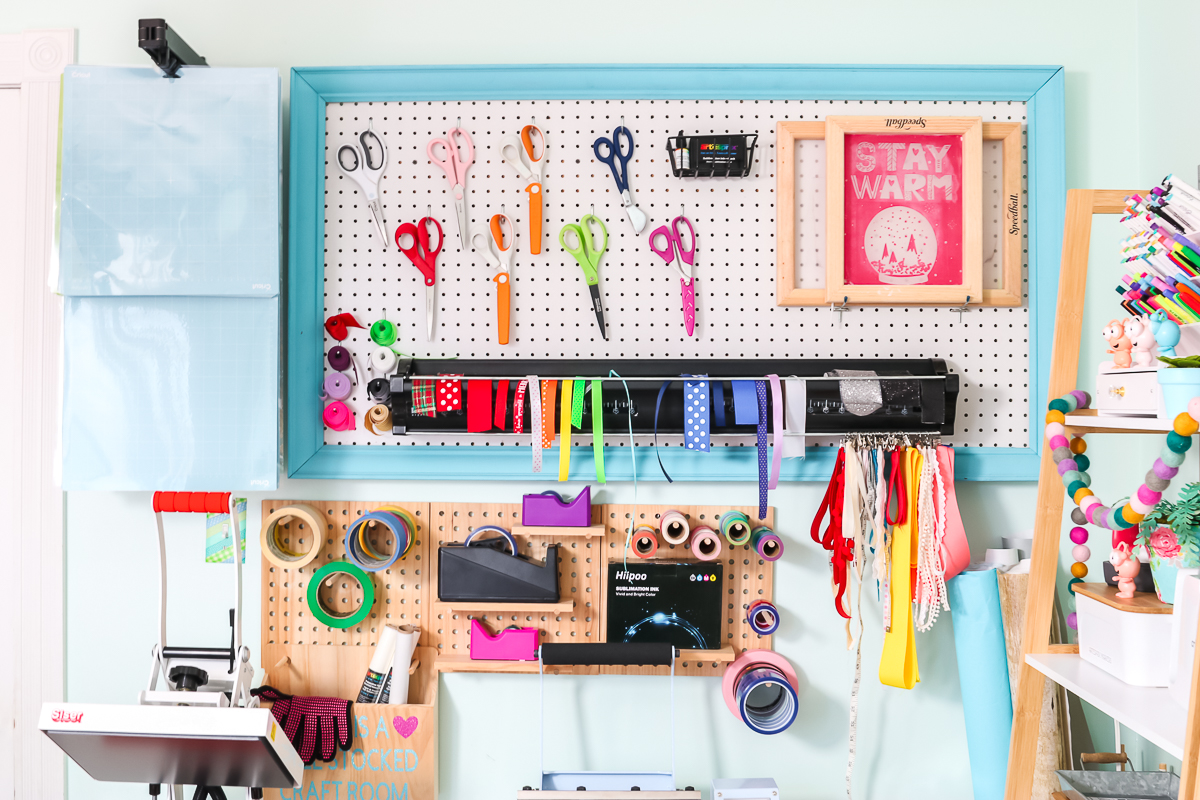
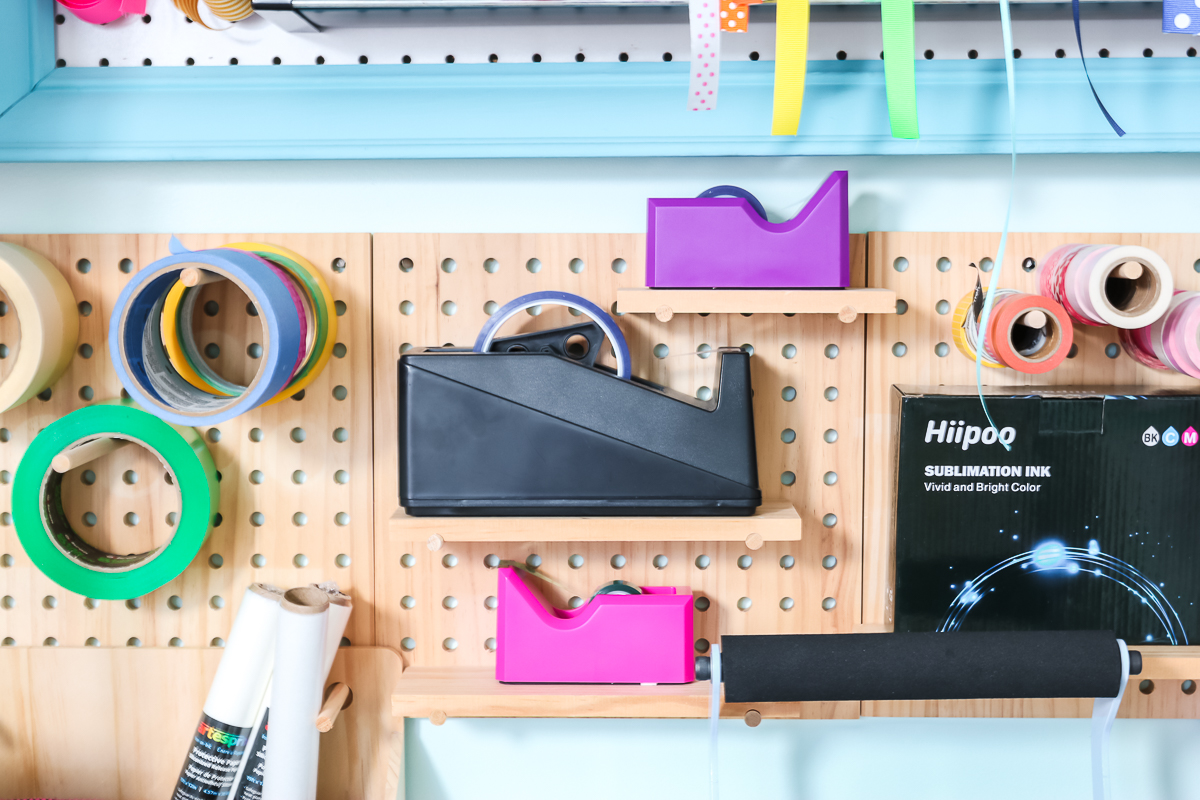
Below that large pegboard is a set of smaller pegboards. I love these pegboards that take wood dowels. This is basically a tape area. I have my heat tape, washi tape, painter’s tape, and masking tape. It’s easily accessible for my heat press especially, and then there is one bin that holds my Artesprix protective paper as well as my heat-resistant gloves.
Cricut Mat Organization
Next to that pegboard is one of my favorite ideas that I came up with when I redid the space, and that is my Cricut mat storage. This is just a clothes hanging bar from Amazon. I have my Cricut mats hanging on them by type and by size. The hooks move, so I can move out the mats as I need them, pull off the ones I need, and then just hook the ones back up that I don’t. It takes up very little space and it’s definitely my favorite way to store Cricut mats.
Heat Press Table
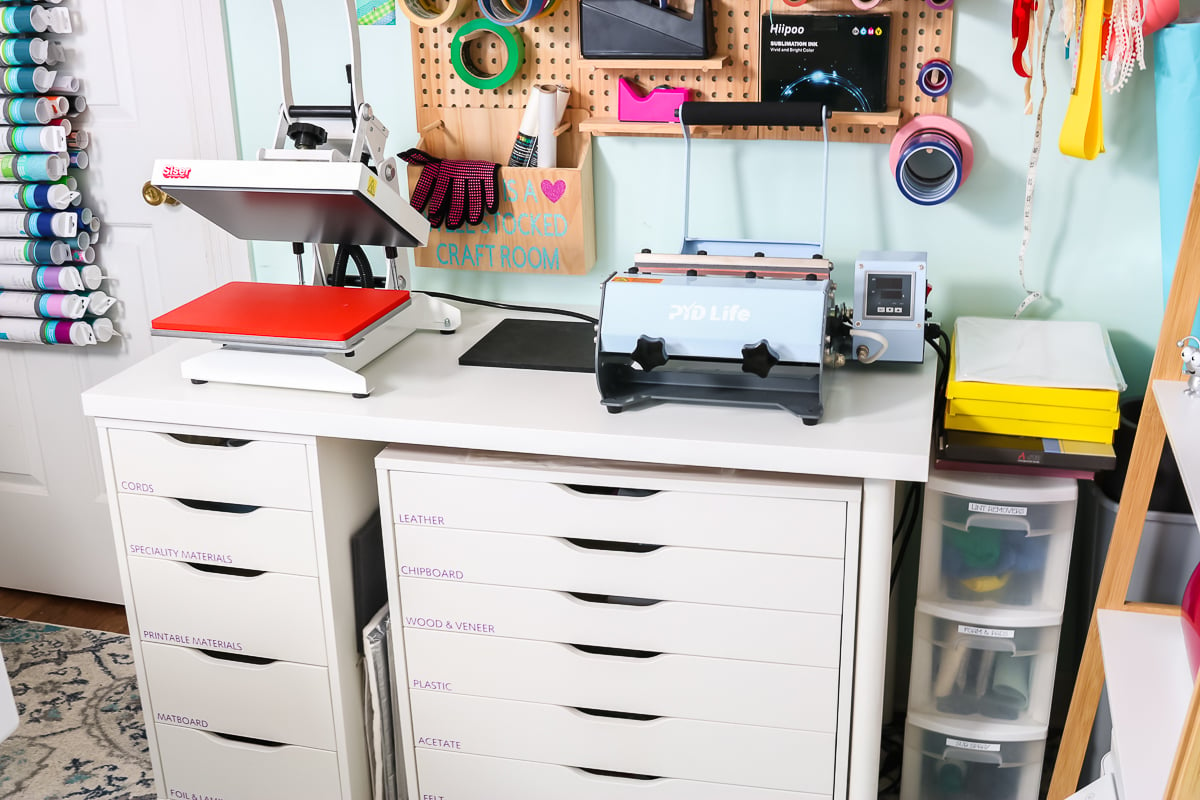
Below the pegboards is an IKEA unit with several drawers. It has my heat press as well as my tumbler press on top with a heat-resistant mat. It was a desk originally and then I slid a set of Alex drawers underneath it, so now it holds tons of different Cricut materials that I cut daily. They are easily accessible and labeled for great organization. In the corner beside this table, I have a large gray pail that has backdrops, wood dowels, and a roll of foam. Then a small set of plastic drawers full of sublimation supplies with sublimation paper on top. This is an area where all my sublimation supplies are easily accessible from my heat press.
Vinyl Storage
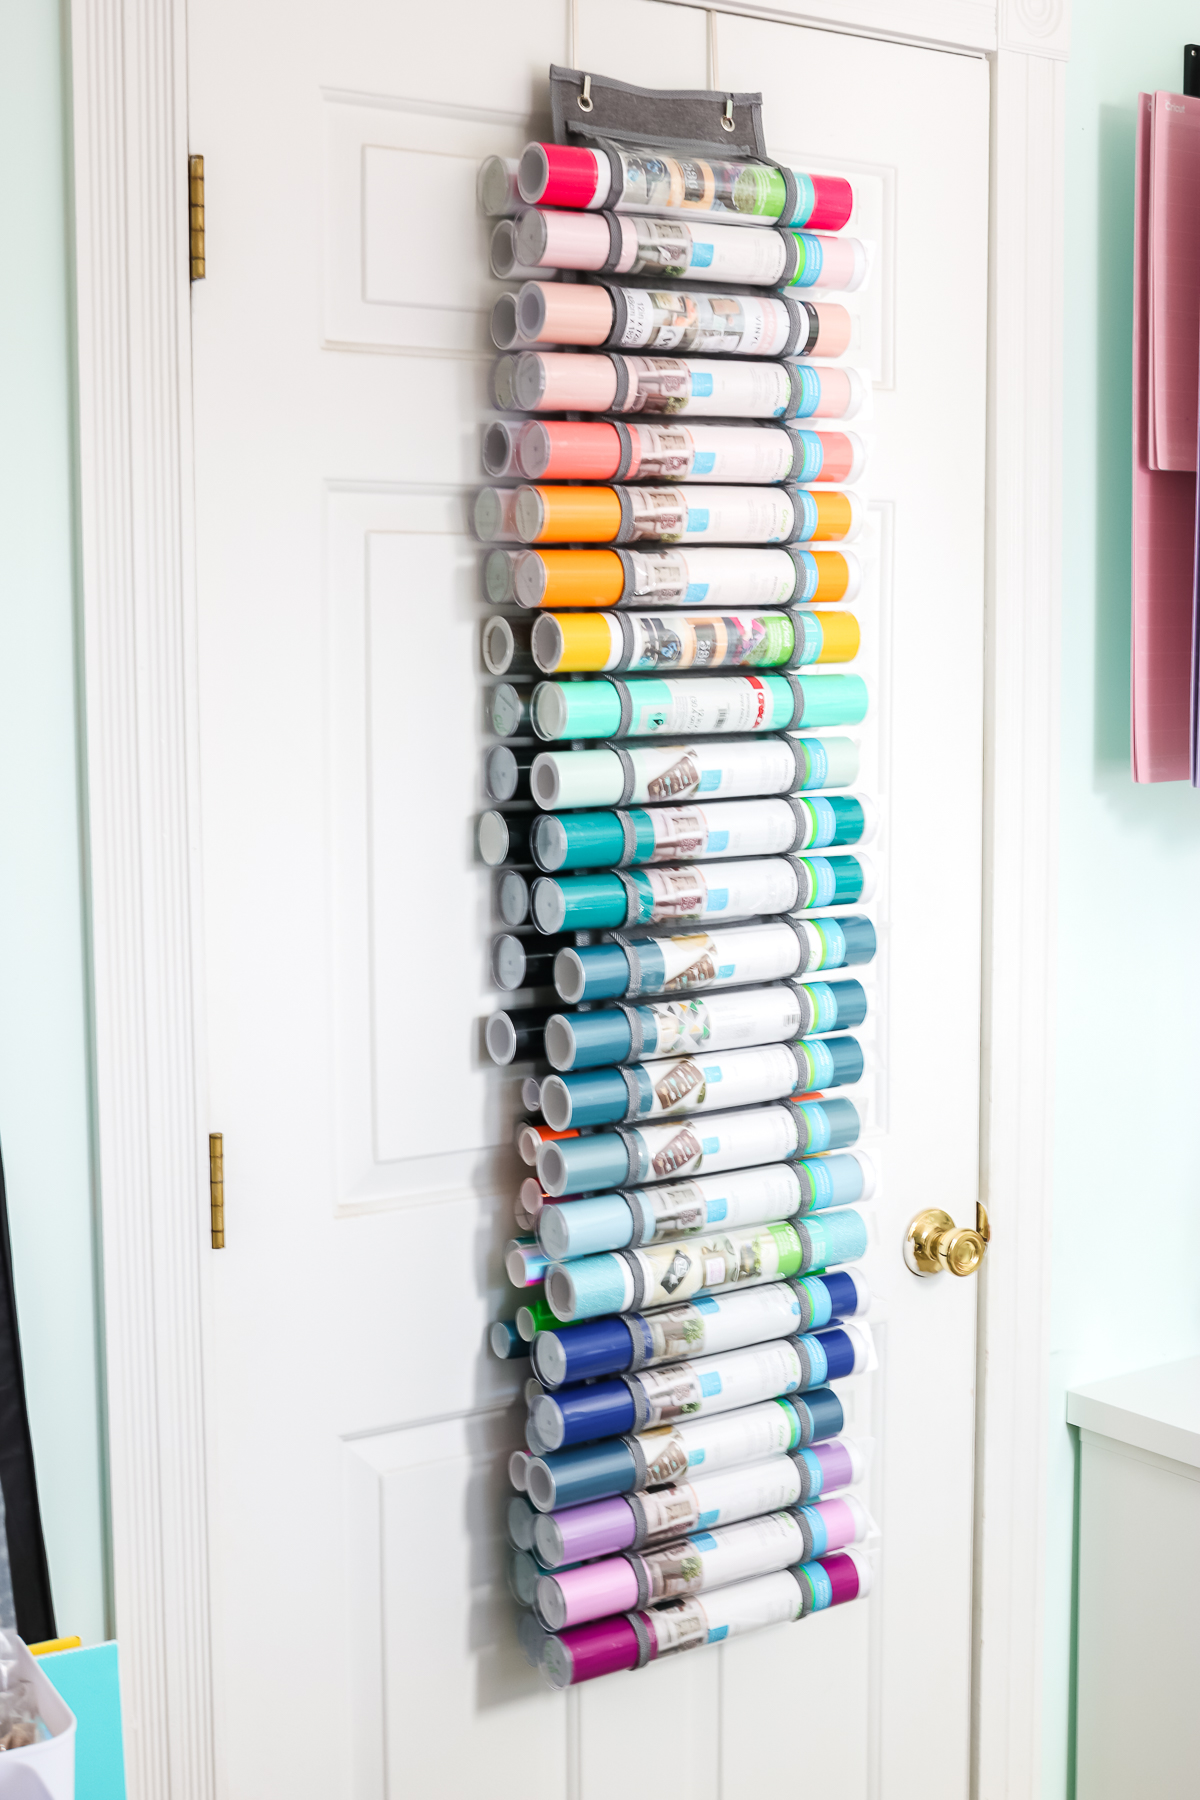
Turning from the pegboard and the mat organizer, there is a door. On the back of that door, I have my vinyl organizer. You can see more about why I chose this type of organizer here.
Incoming Craft Supplies
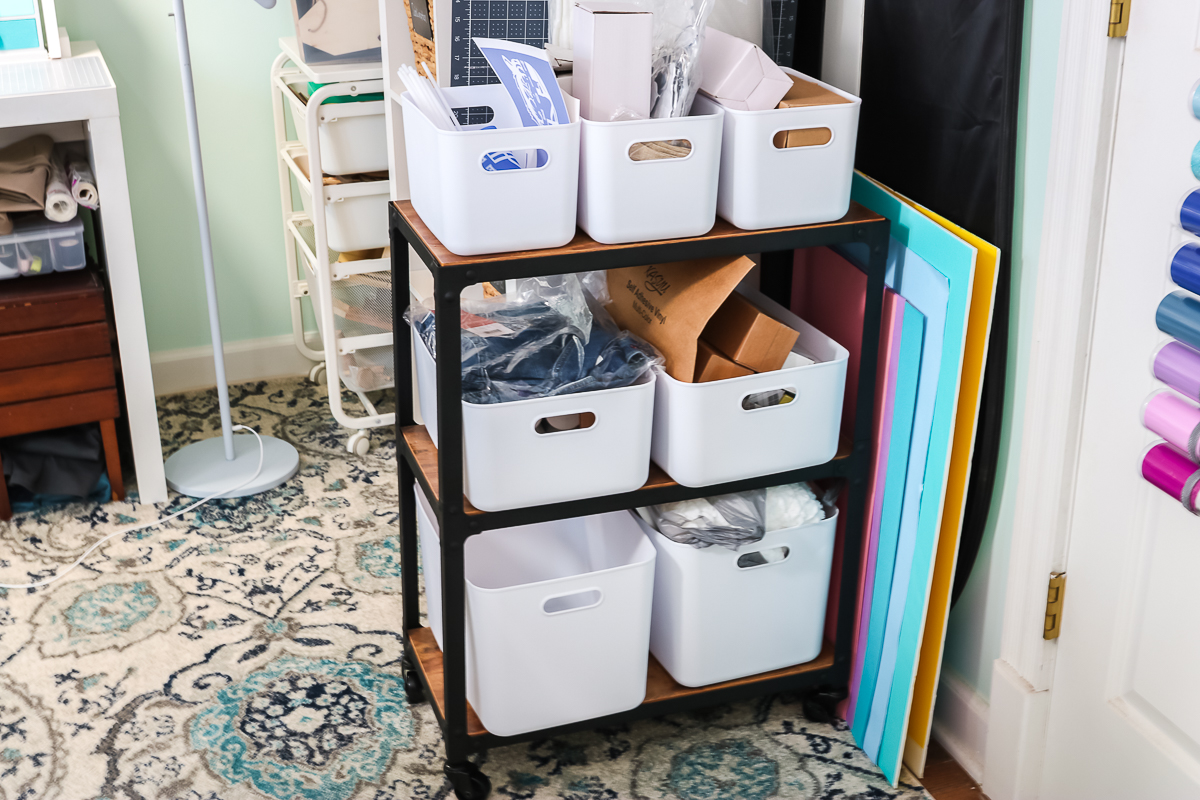
Tucked in behind the door is the old cart I used to use for my Cricut machines. I bought white bins for this cart, and this is my staging area for projects I need to do. As things come in that are for a project, I put them in the appropriate bin so I know that they need to be done. Behind that is a bunch of poster boards and things that I use for backdrops.
Blank Storage
Behind that cart is a cube organizer. On top, I have a wood organizer that is from IKEA and some standing organizers. There is a 3D printer that I have actually never used. My Sizzix is also on top of this cube organizer.
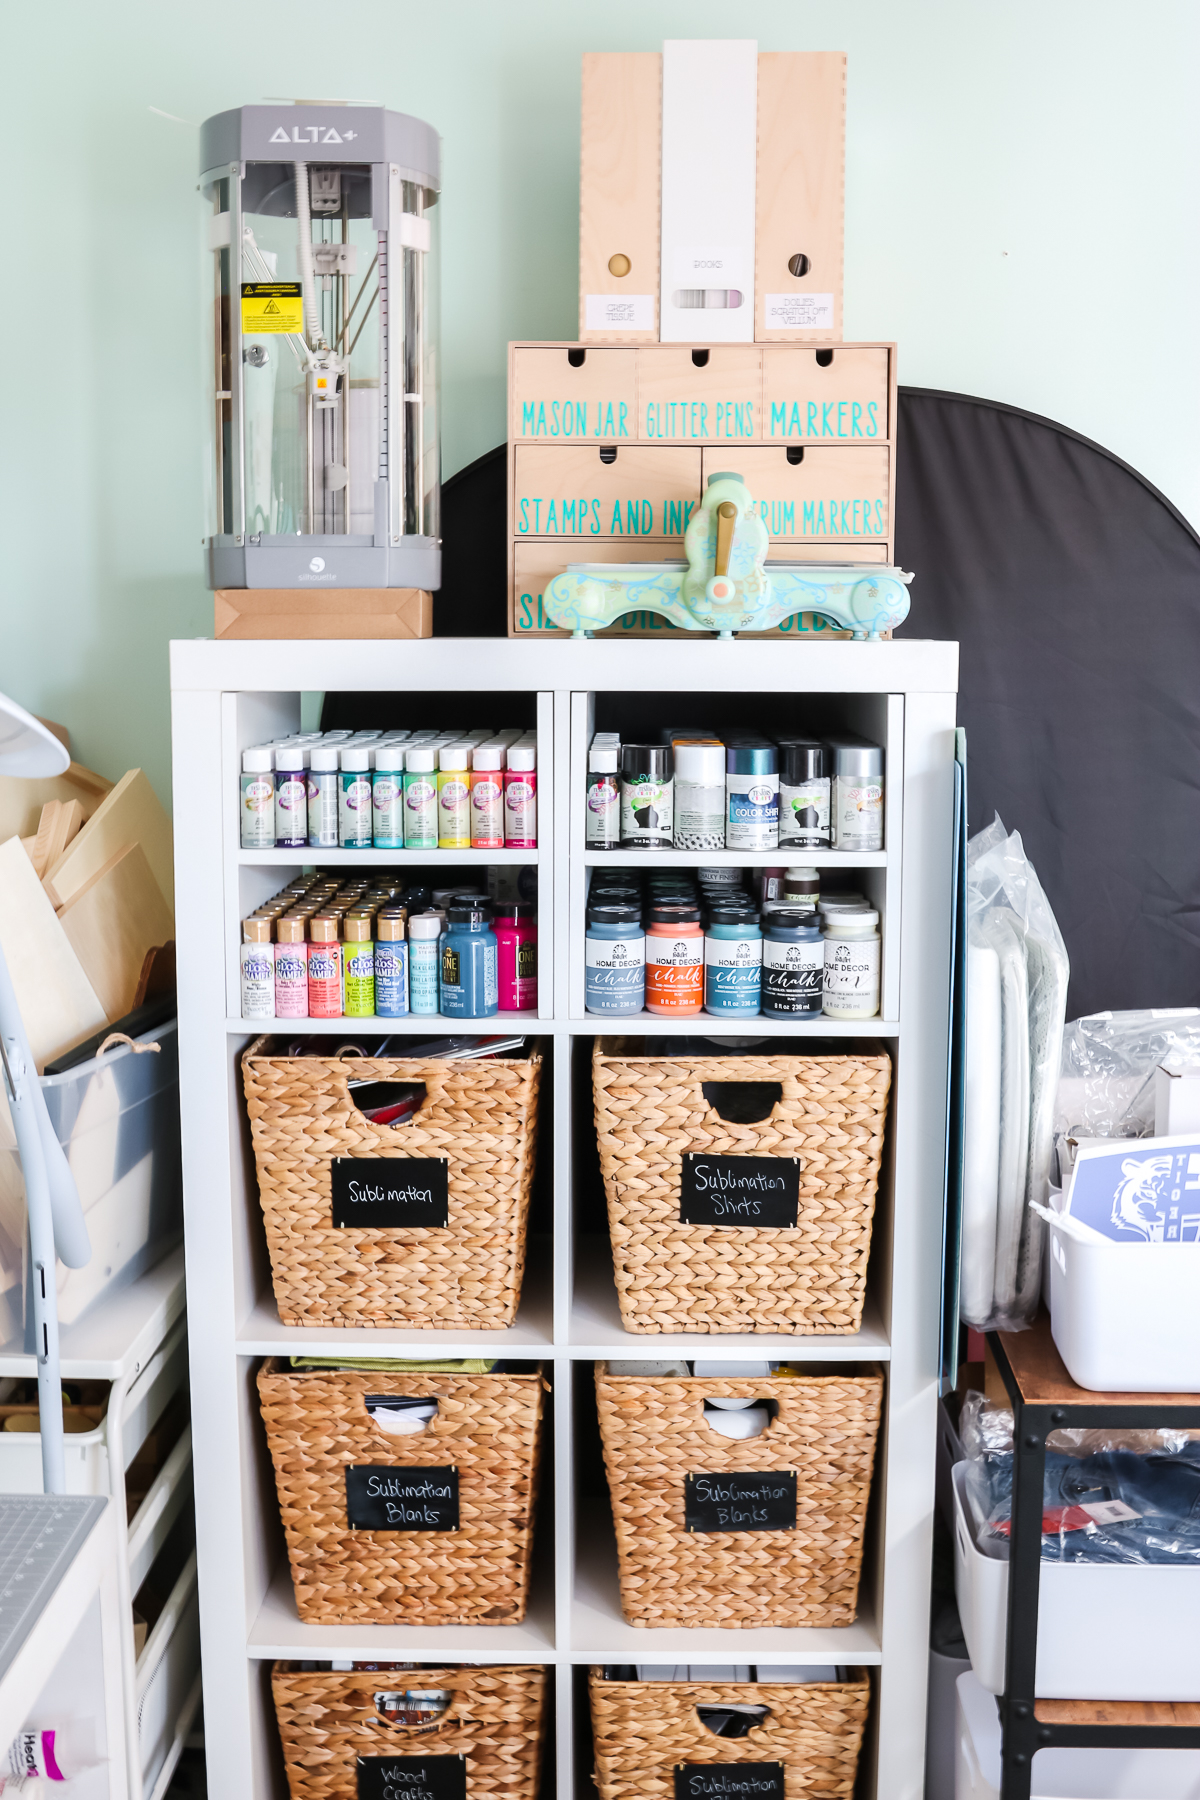
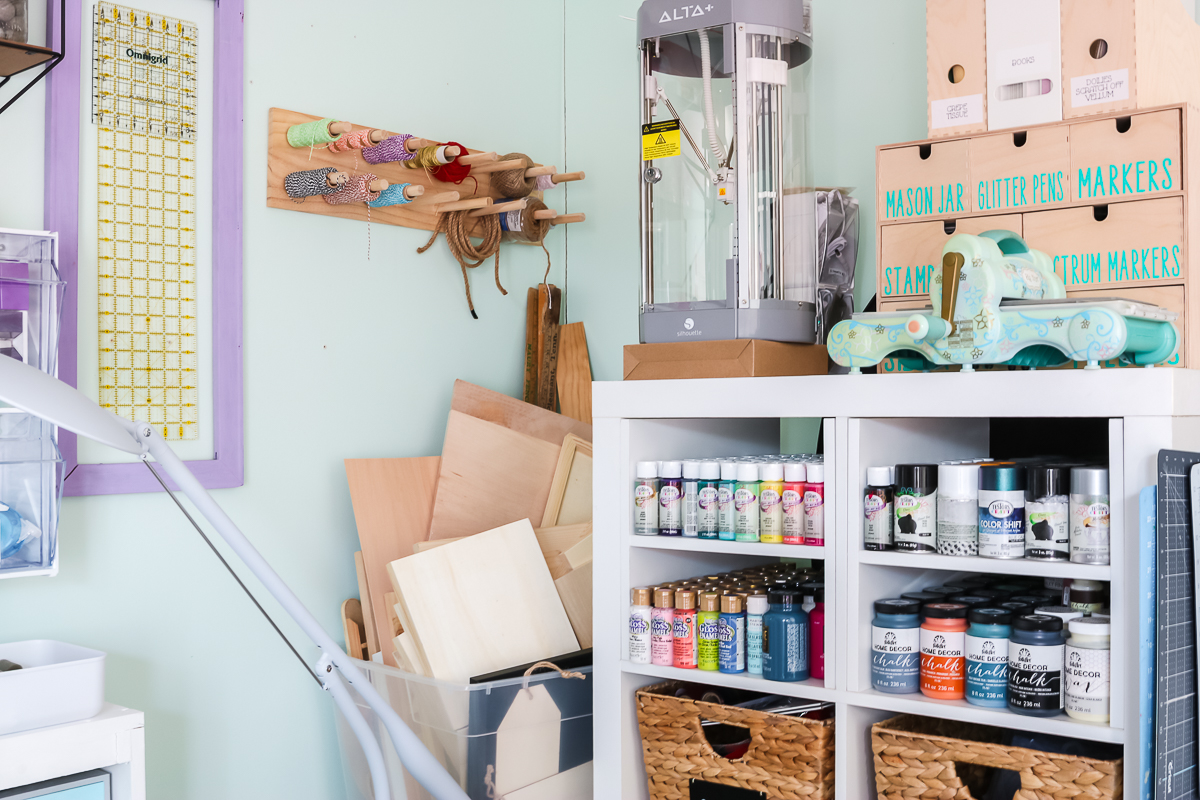
To the left, in the corner, you will see another pegboard with the wood dowels, and that’s where I have all my twine and rope. The cube organizer itself has a couple shelves of paint, and then most of this is basically just sublimation blanks in containers. I am planning on adding another sublimation blank area in another closet that’s close to this room, but for now, most of my sublimation blanks live there. Next to that, there is another IKEA cart. Again, it’s various blank storage. I tend to keep a lot of blanks on hand because we do live close to any stores.
Sewing Desk
Next up is my sewing desk area. I don’t do a ton of sewing, so this desk actually works great for me. I have glue in the baskets in the cubes. This is also where the Cricut Bright 360 will go.
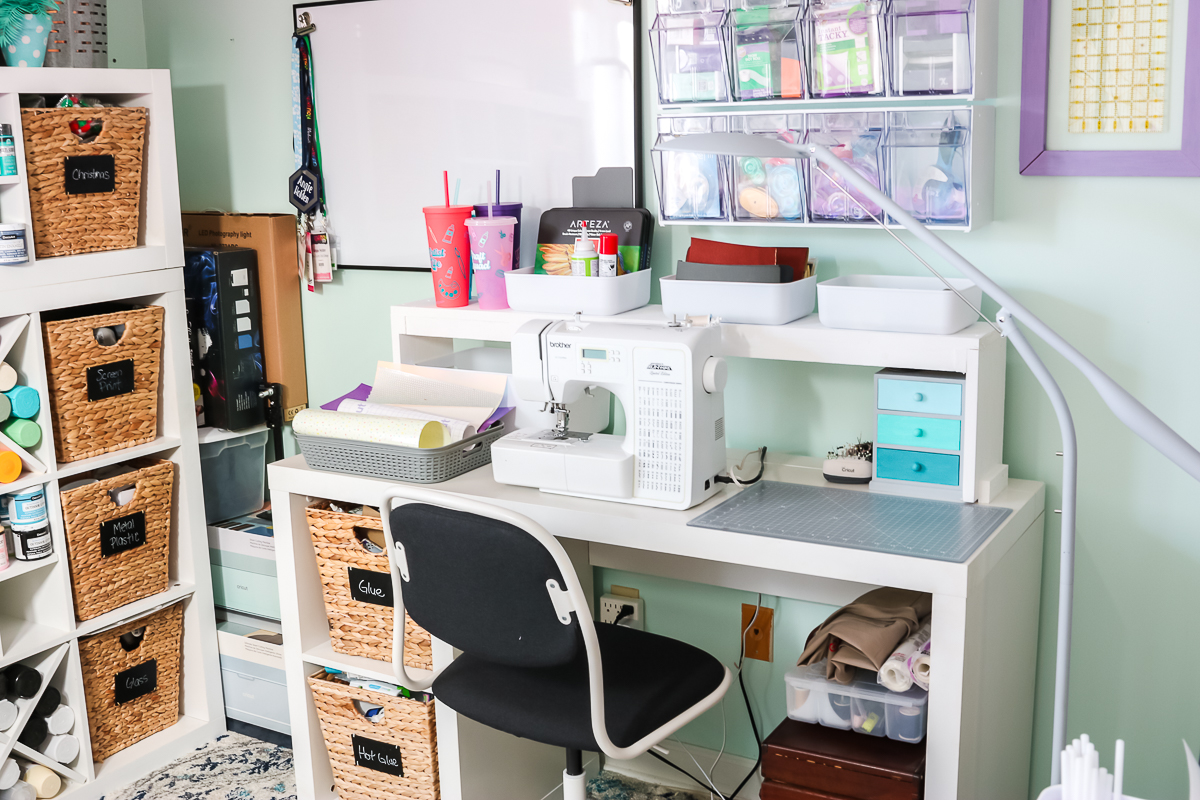
Above my sewing desk is a variety of storage. I have some sewing rulers on the wall. One of my top tips is to get a thrift store frame, paint it, and frame those rulers. It makes them look organized.
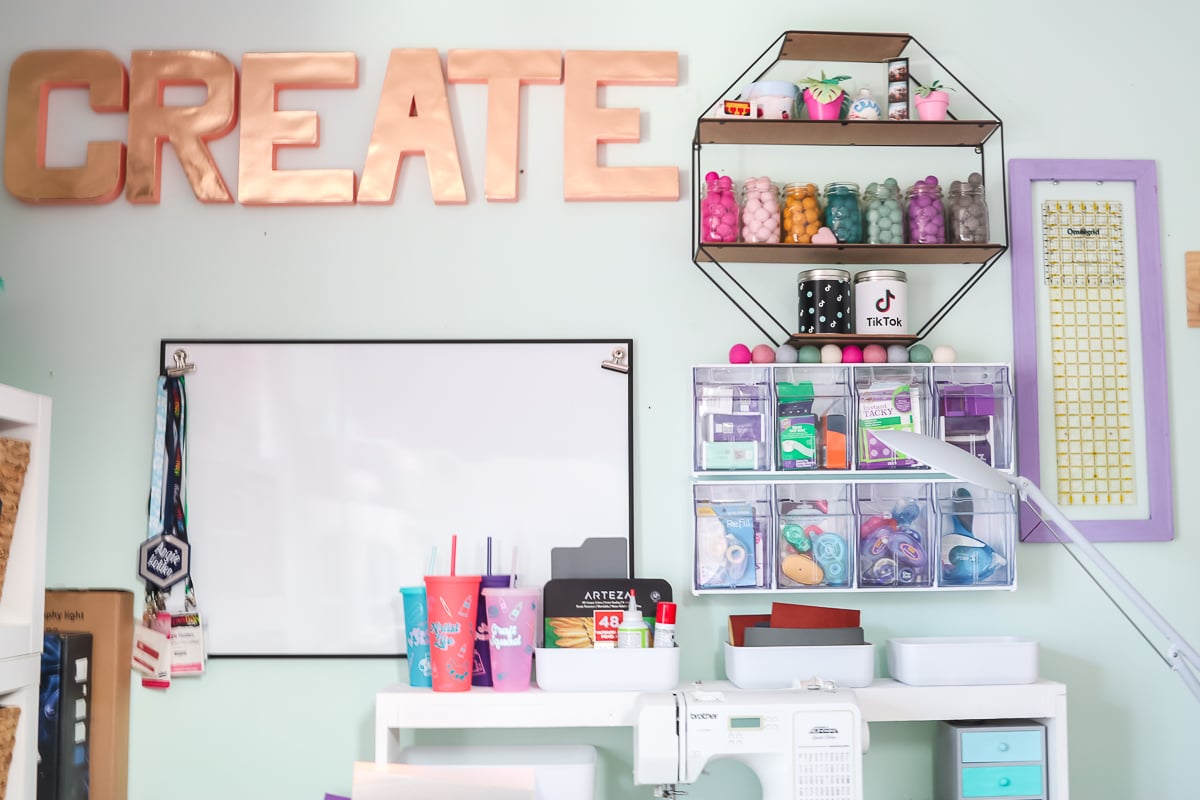
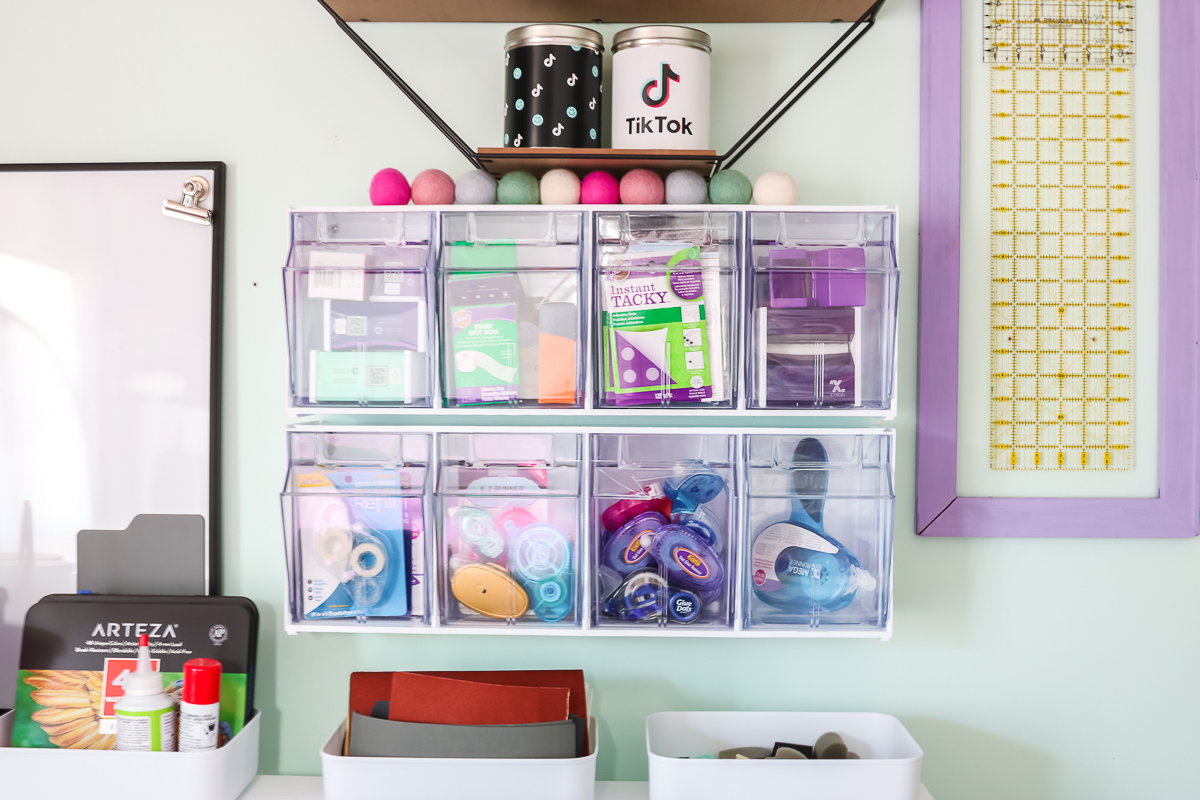
Then there are some hanging organizers on the wall that have all my dry adhesive. These bins tilt out, and then you can easily access what’s inside. I absolutely love these bins, so if you have a place in your organized Cricut craft room to use them, I would highly recommend them. There’s also a decorative hexagon shelf that holds some wool pompoms and a few other things.
Cube Organizers
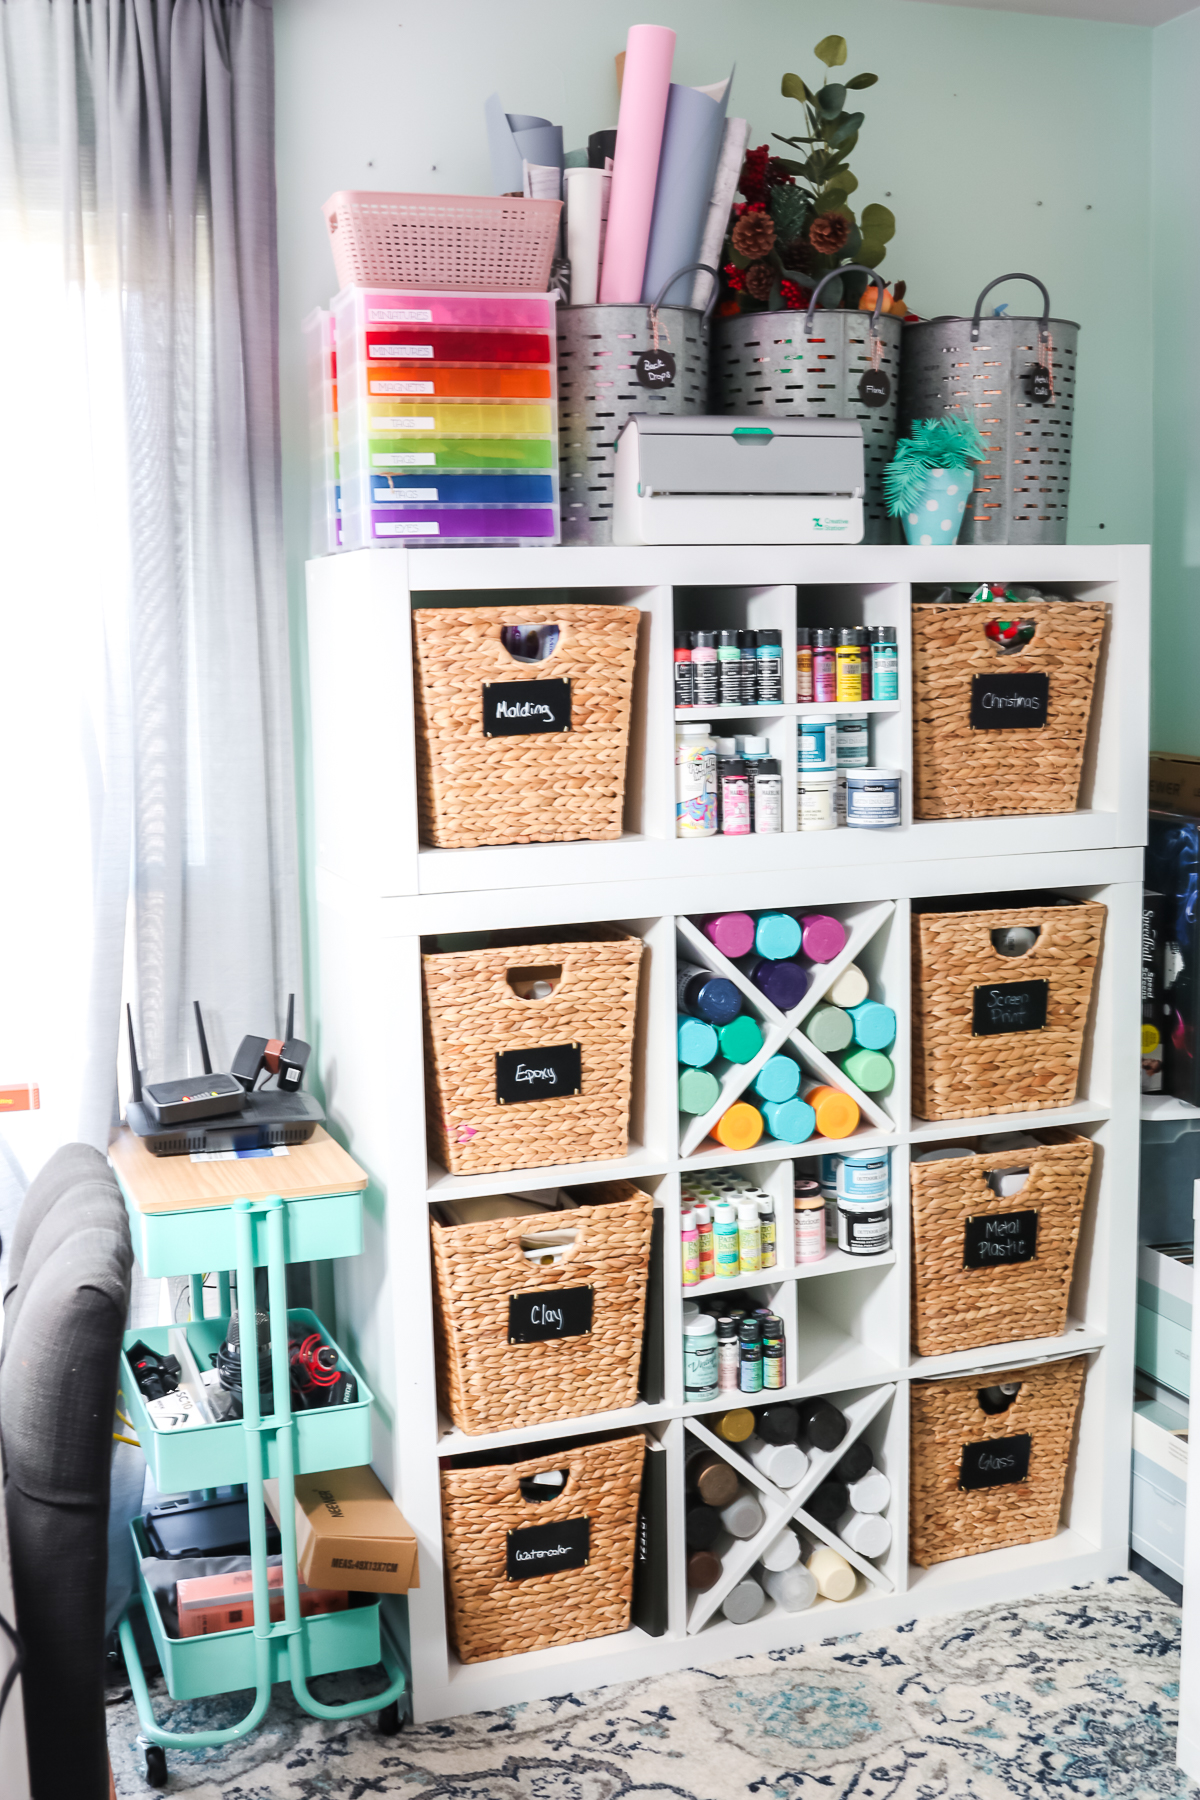
On the next wall beside that desk is another cube organizer. Up top, there are tons of different bins for different things. There are some rainbow drawers that I really like for organizing small things. The middle shelf basically holds paint and spray paint, and then the bins on both sides are divided up by category of either blank type or craft type.
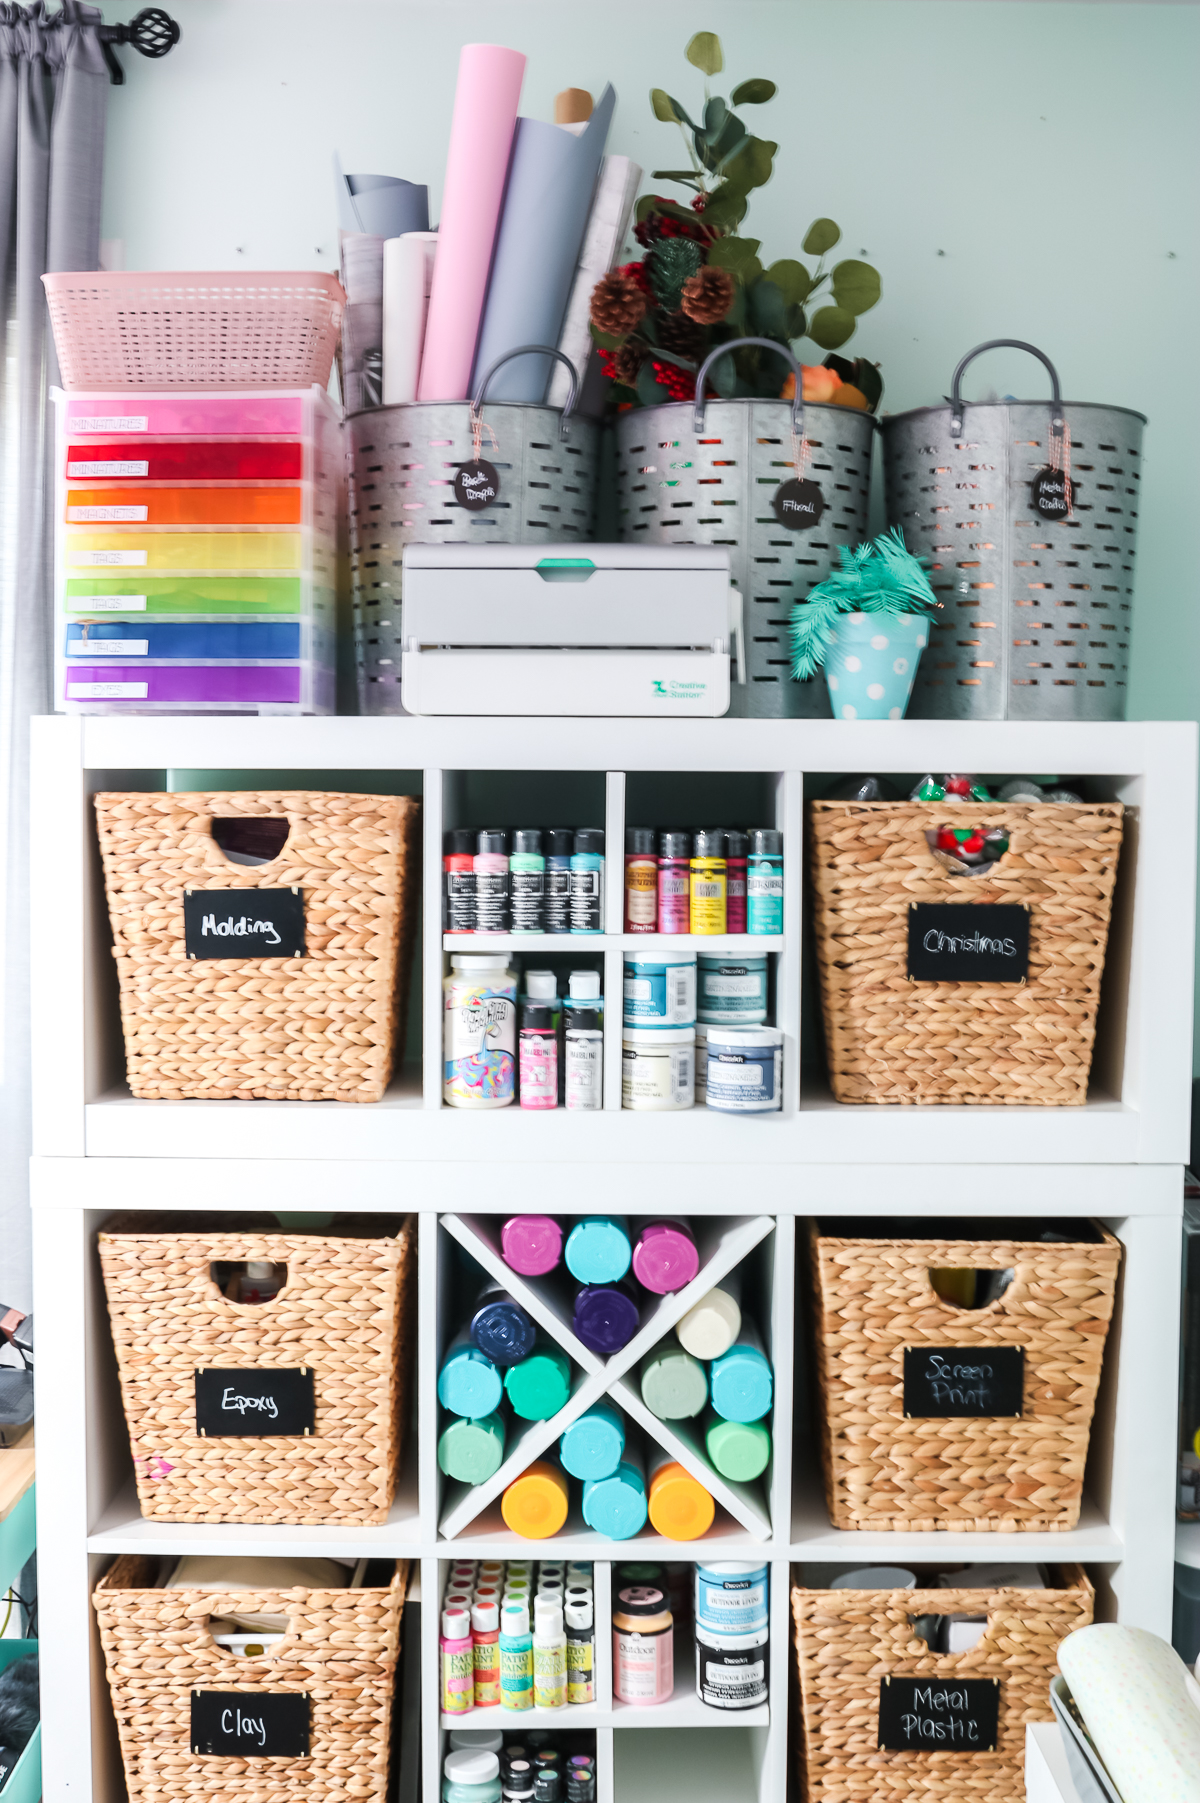
Beside that cube organizer, there’s a rolling cart and it actually contains all the tech stuff. When you are a blogger with a Cricut craft room, you have tons of tech stuff, microphones, and that type of thing. All of those go in that cart so I can wheel it around the craft room wherever I need it.
Craft Table
In the center is a craft table and this is where I work and film videos. There is a large work surface as well as a PVC pipe system that holds some backdrops. Above me are several video lights to light the entire area. The table itself was custom built by my husband, but it was just scrap wood we had lying around. Two people can sit at it and then there is storage on both ends.
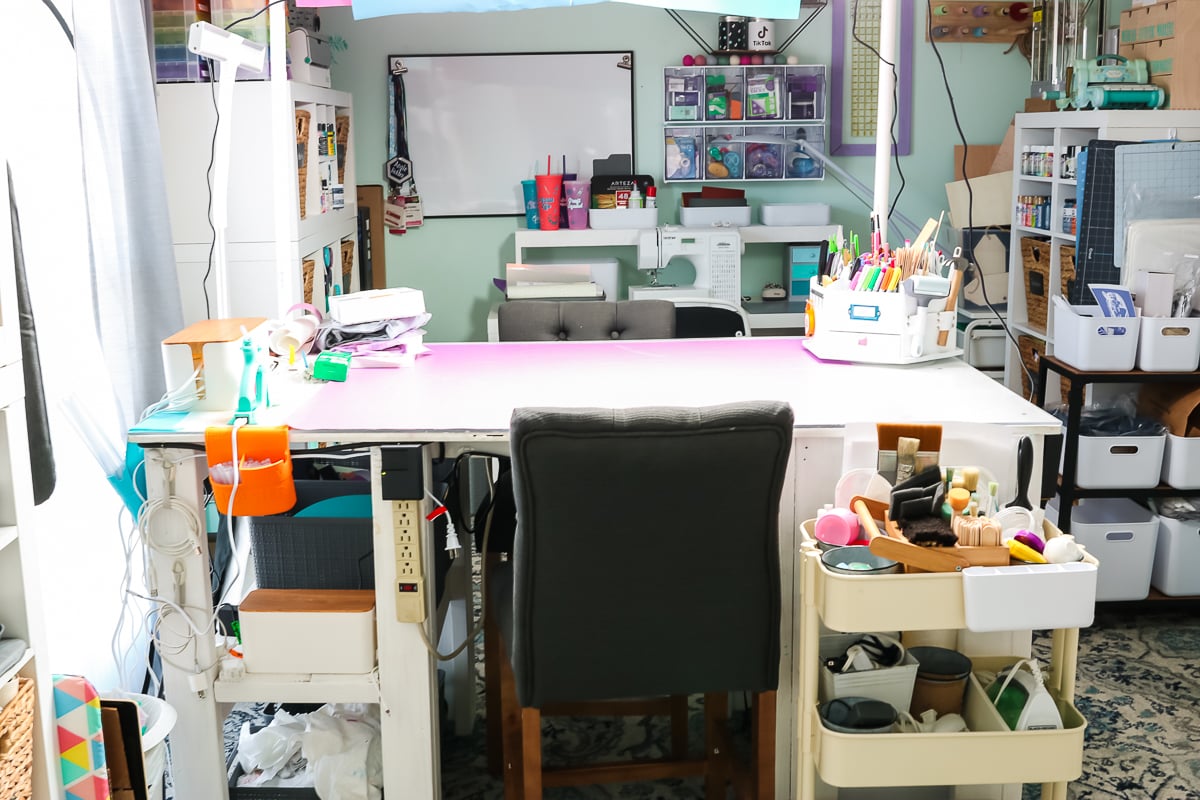
I have a variety of storage options that I use on both ends, and this is even where I store my convection oven. One of my favorite pieces is this butcher paper roll holder. I have it secured to the end of the table, and I keep a bulk roll of butcher paper in my organized Cricut craft room at all times.
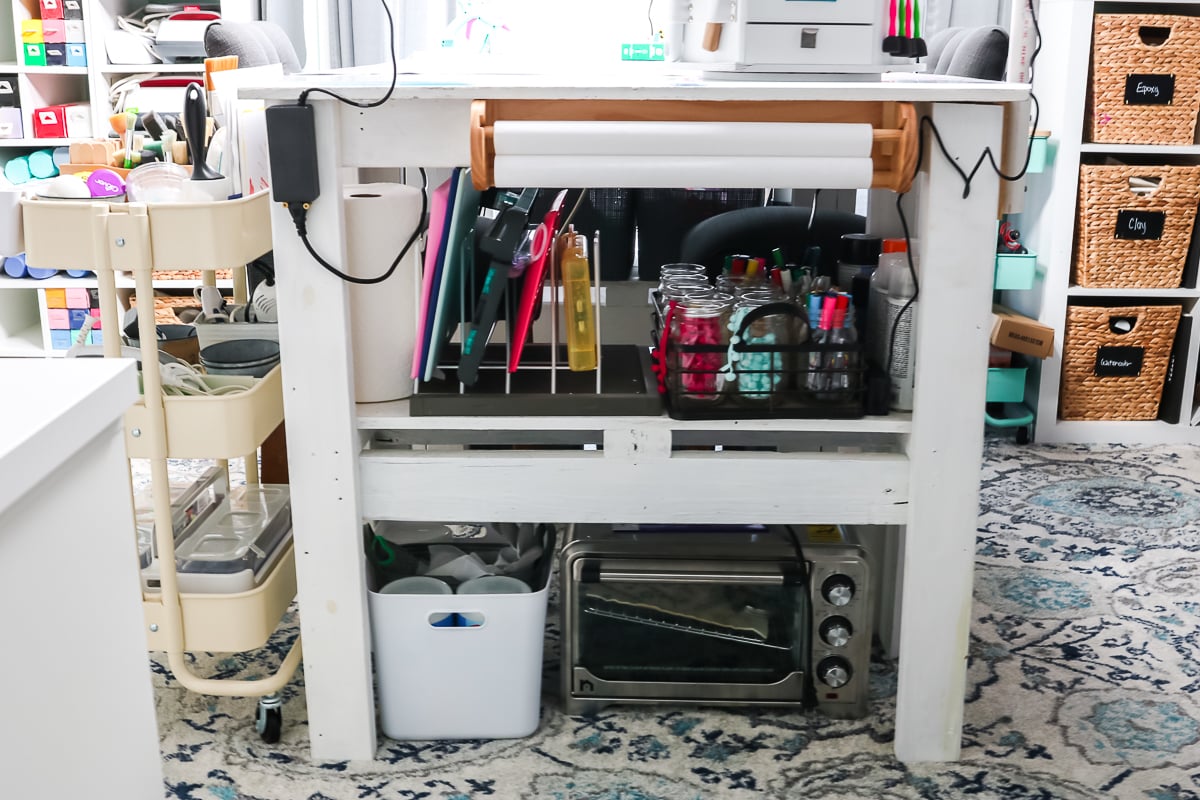
On the side of my table, I keep a rolling cart with commonly used supplies. These are things that I need easy access to, as I’m filming or I’m working.
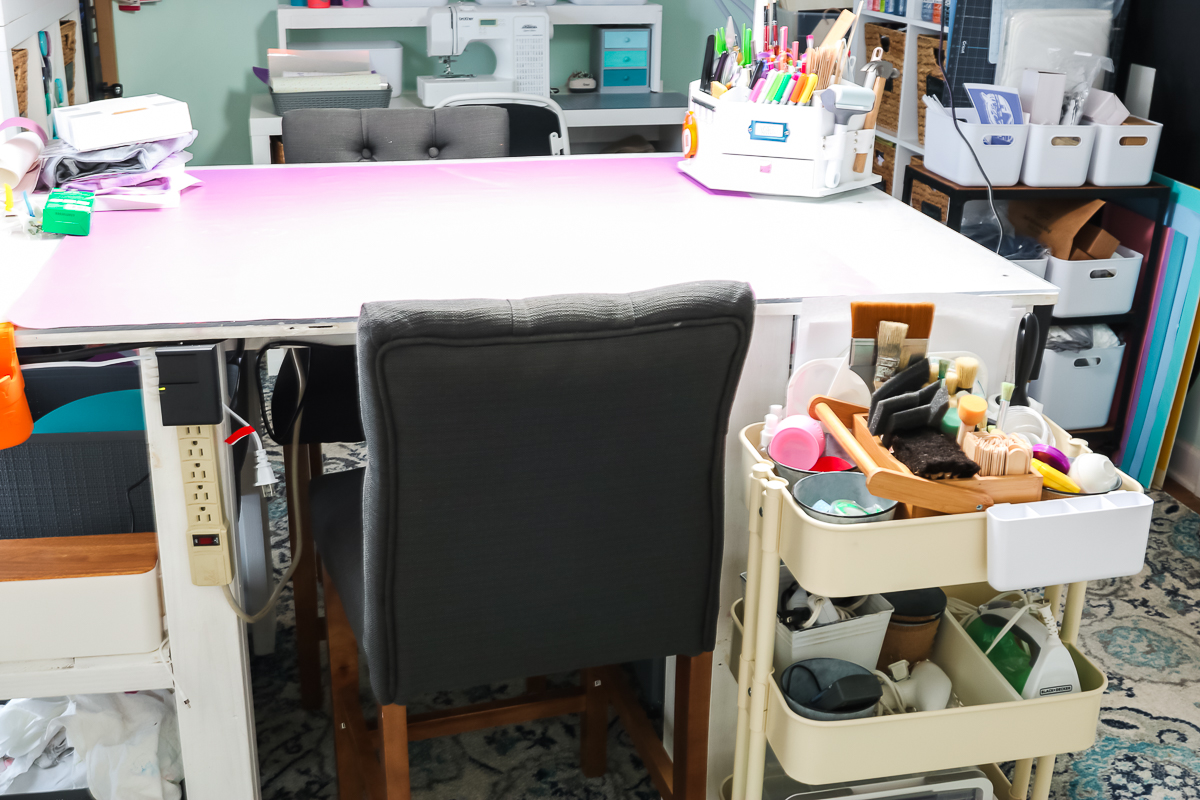
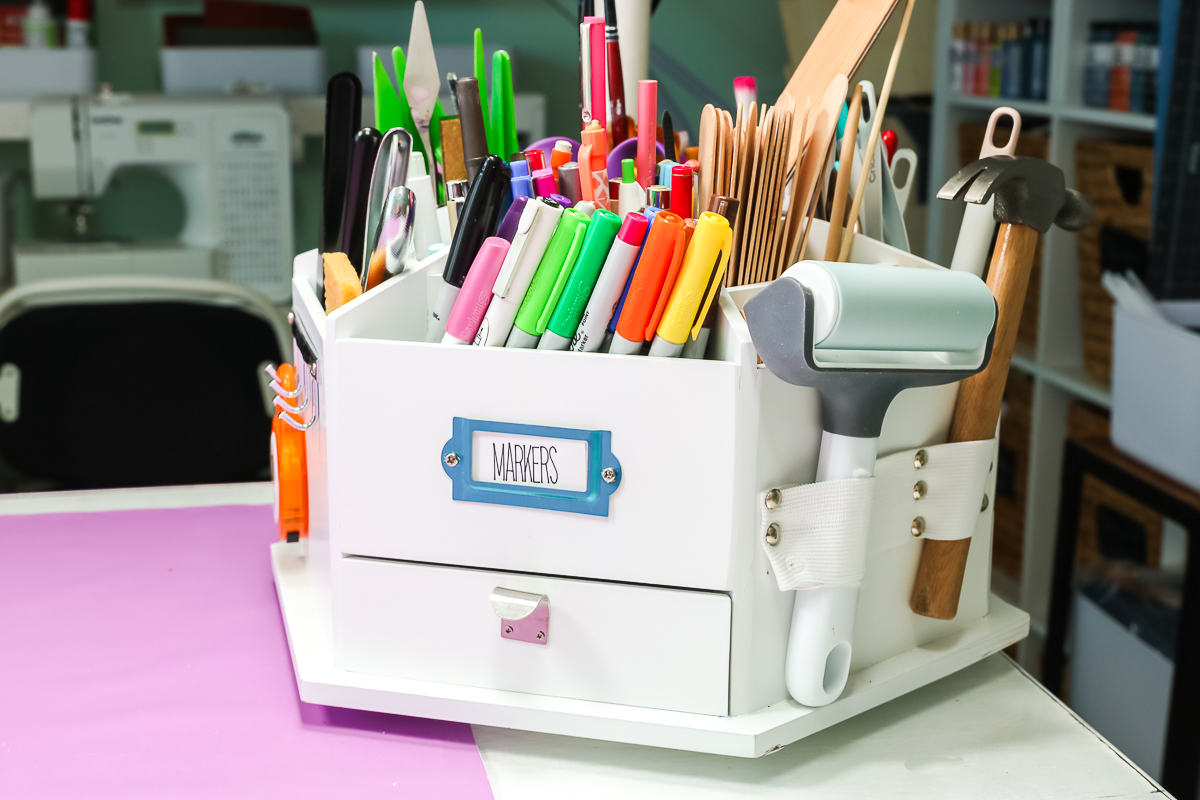
Here are a couple of features on top of the table that I love. The first is this organizer that spins. It’s from Michael’s. I use it every single day and I keep it on top of the table at all times.
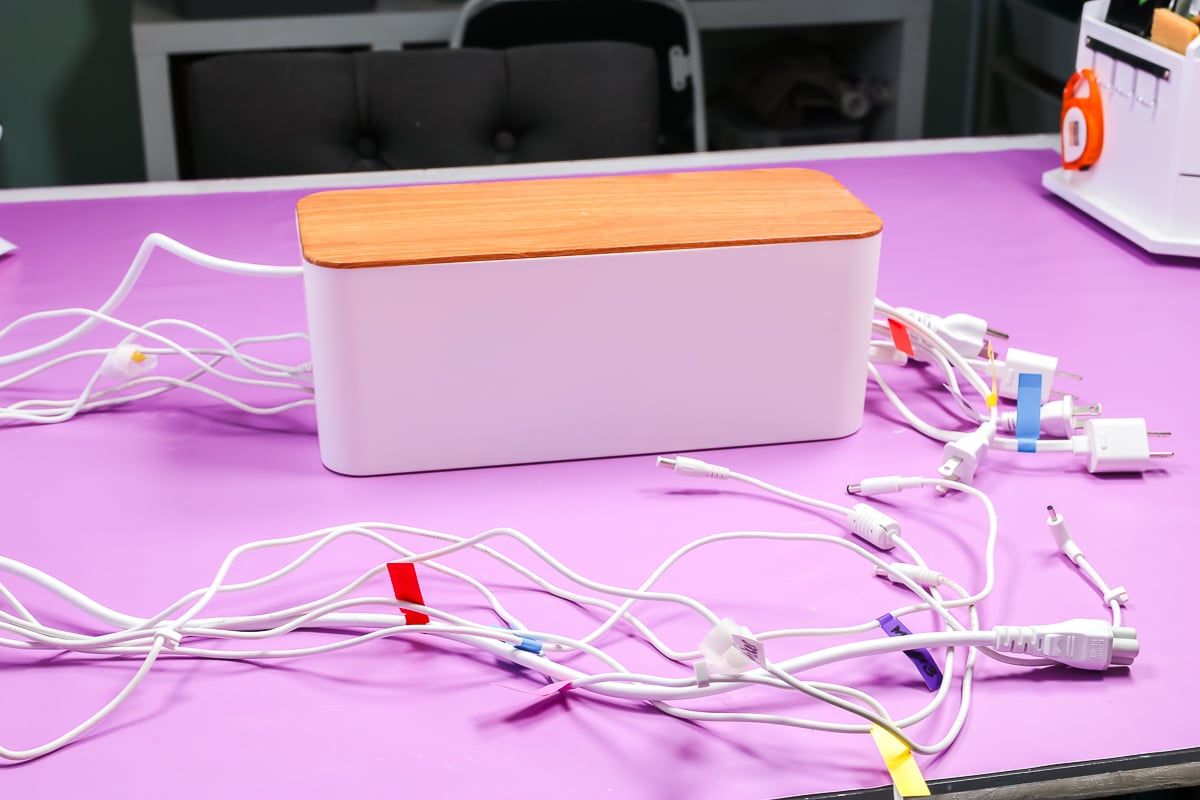
Next up is this cord organizer. This is a cord box, and it came in a set of three. This has all of my Cricut machine cords as well as my mug press cord. All the cords are in the box, and then one side has the plug end and one has the machine end. I labeled them with color-coded labels as to what they are. Then I just find the yellow Explore end, plug it into the wall, find the yellow Explore end on this side, and plug it into my machine. Everything is contained in this box as far as those big bulky boxes and the rest of the cord. I’ve always struggled with cord organization because I have so many machines so this has been a lifesaver.
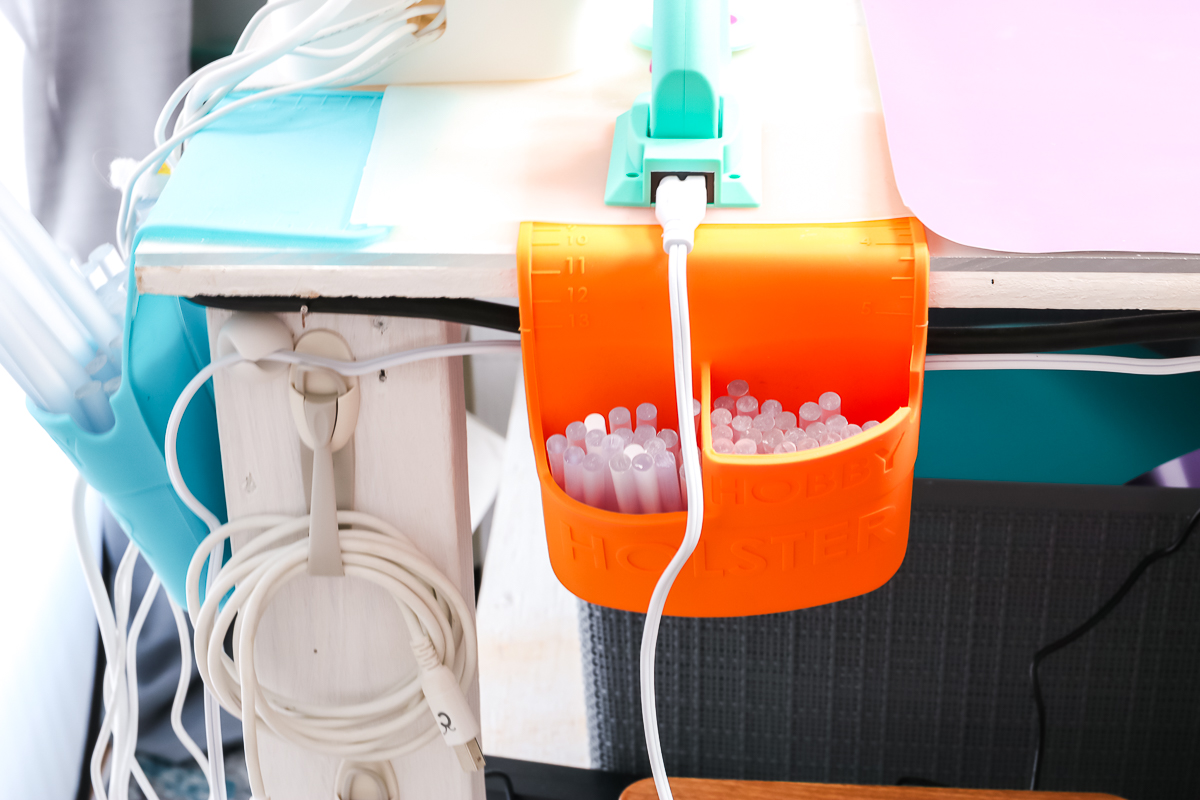
I talk about Hobby Holster every time I do a craft room tour. I’ve been using them for years. These just grip onto the side of your craft table, and you can put glue sticks in them, glue guns, whatever. I have them hanging over the side all the time. I also added some Command hook cord wraps that allow me to organize my cords and hang them on the side of my craft table.
Paper Storage
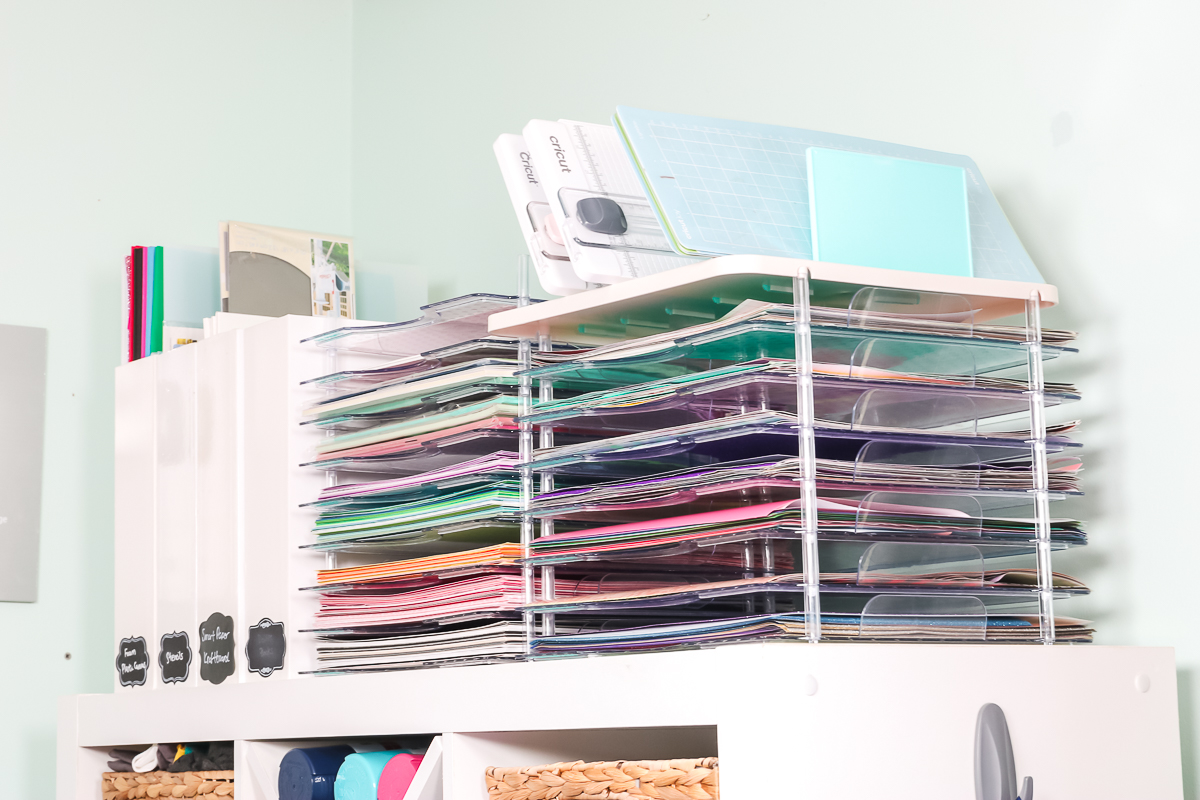
Finally, the last wall has another cube organizer. The top has the We R Memory Keepers stackable shelves. I showed those in my vinyl organization video, but I’m also using them for paper. They also have an accessory that you can add to the top that has some dividers on it. I have my Cricut Joy mats as well as my paper cutters up there.
Cube Organizer with EasyPresses
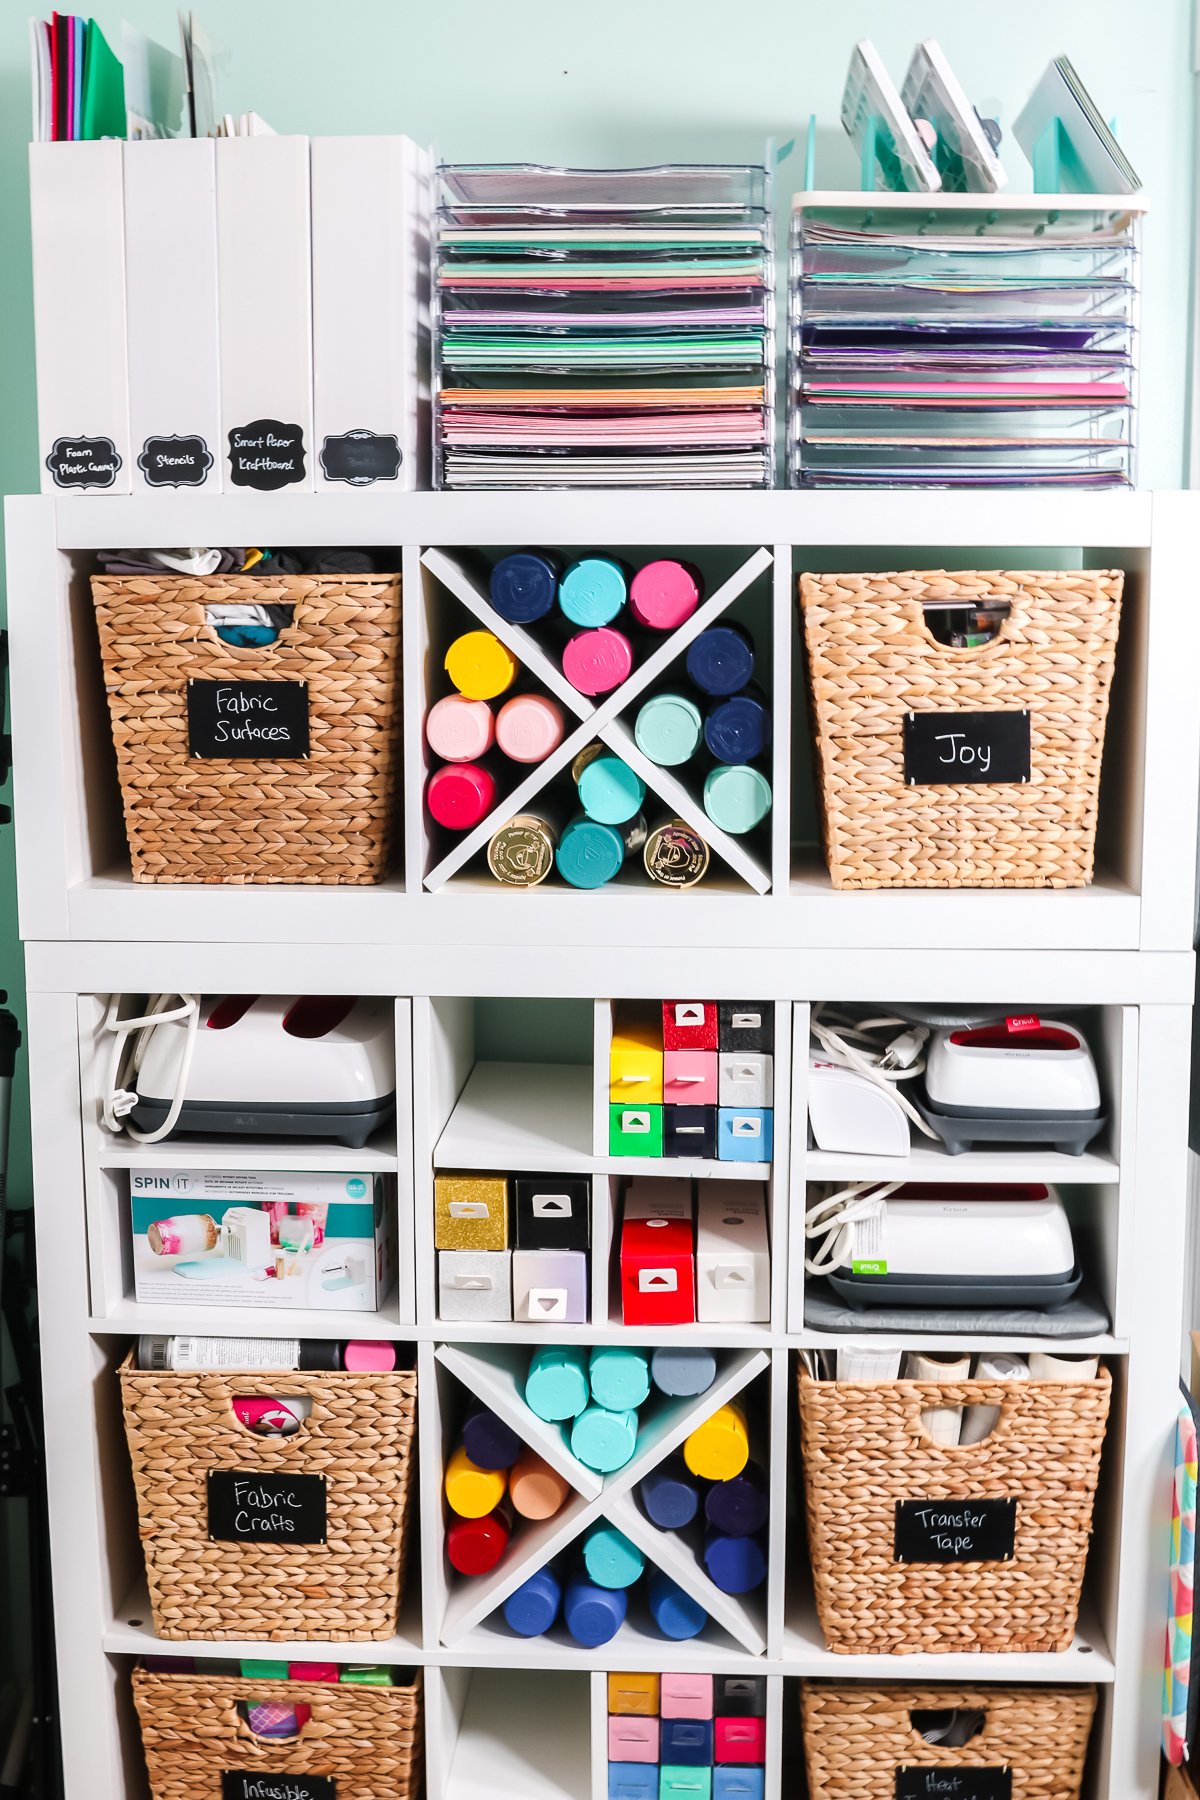
The cube organizer itself has tons of bins. It also has spray paint, my Easypresses, and then my Smart Vinyl and Smart Iron-On storage. It’s hands down the best way that I’ve found to store the Smart materials. The bins are full of things like transfer tape, heat transfer mask, Infusible Ink, stuff for the Cricut Joy, and things like that.
EasyPress Mat Storage
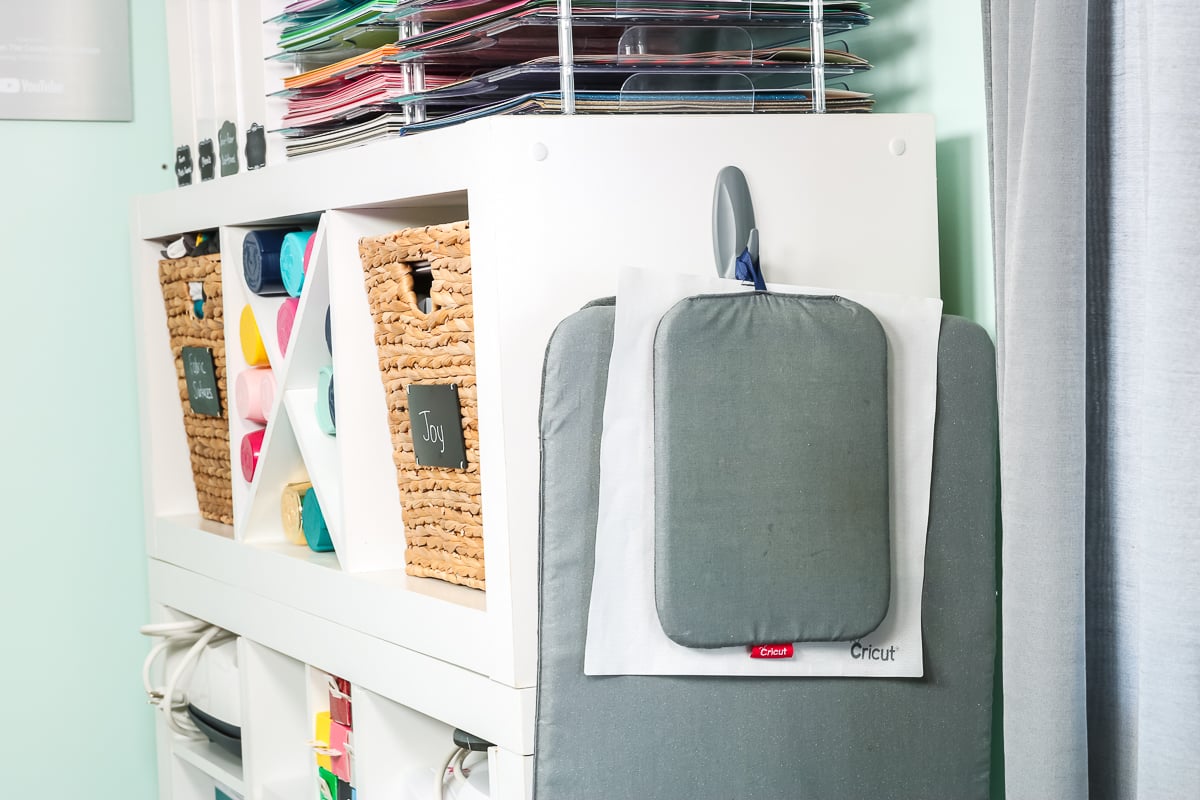
The side of this cube organizer has a Command hook where I store my Easypress mats. All I do is sew a loop of ribbon on each one, and then hang them on that hook for easy access and storage.
Craft Closet
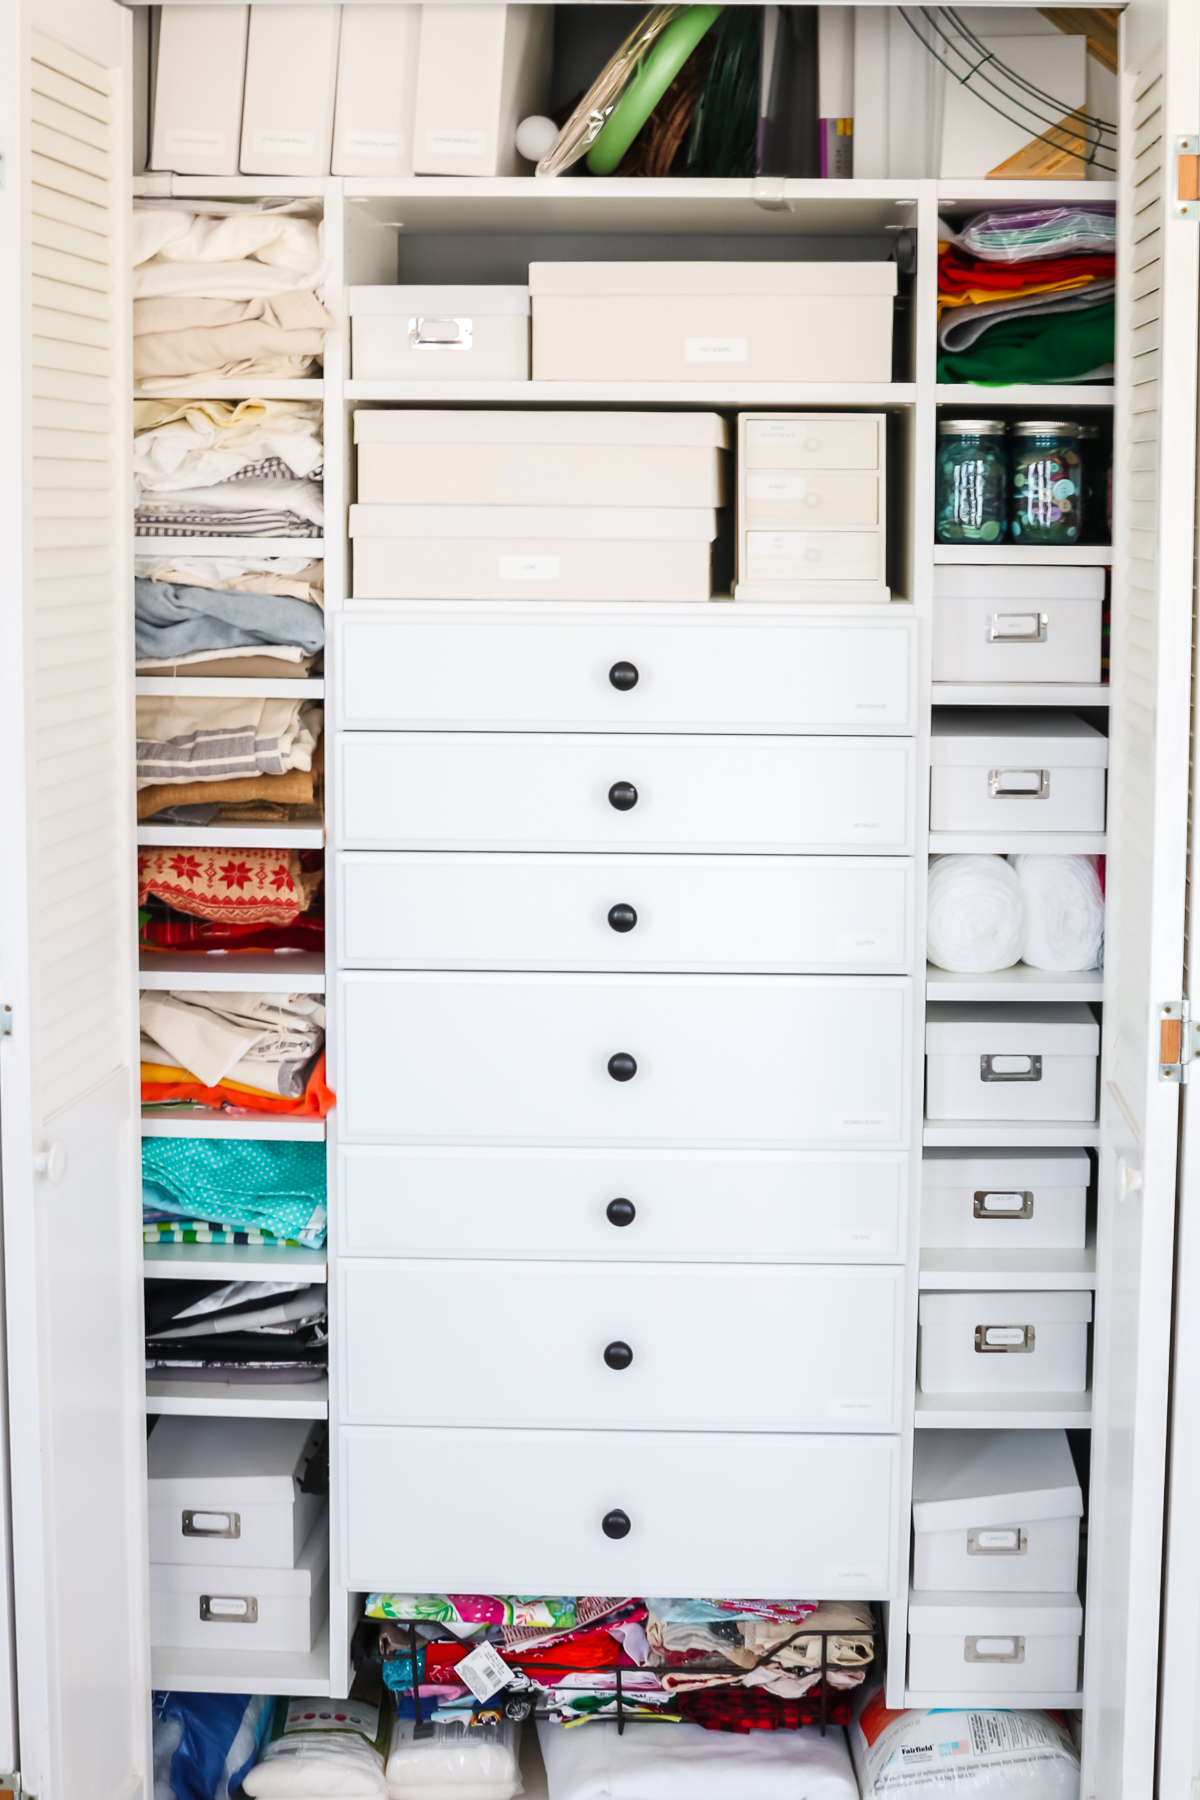
I am also lucky enough to have a craft closet in an adjacent room. This isn’t in the organized Cricut craft room itself, but the next room over. I have this great craft closet. A few years ago, I put a custom closet organizer in it, so it really is super organized. In this closet, I have fabric, different paints, tie dye, wreath forms, embroidery hoops, tons of styrofoam, buttons, and pompoms. There are just tons of miscellaneous craft supplies. I can keep them all organized and stored out of the way in a closet and close the bifold doors – it’s out of sight, out of mind.
I hope you enjoyed that look behind the scenes, and a little glimpse into my organized Cricut craft room. Maybe this gives you some ideas for your own space for storage and organization, and if you want to see anything additionally, just let me know in the comment section below.


Hi. I do envy you. Stunning craft room. I have a slight case of OCD and love all organization and storage Ideas. I have just started playing around with HTV and love every moment of it. My parents bought me my own sewing machine at the age of 10, because my Mom told my dad that she cannot use her machine at all due to me hogging it. In addition to all my different hobbies I also have a laser cutter and have recently been asked to make my designs available for others to use. Do you think you could show me the inside of your ribbon storage that has been discontinued? I would love to design a laser cut ribbon holder and make this plan available to others. I will not be exactly the same.
It is like a house gutter on the inside. So it is just a big plastic trough! I have seen people use gutters actually!