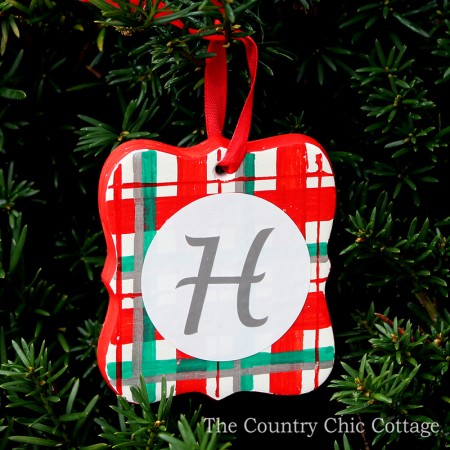
Personalized Christmas ornaments are fun crafts and make great DIY gift ideas. Learn how to make plaid ornaments for your own Christmas tree or to give them as DIY gifts this year!
Holiday crafting is so much fun! Inspiration abounds, and it seems like there is never enough time to create all the ideas I come up with to make.
I enjoy making all sorts of Christmas crafts, including snow globes, signs, wreaths, and more. But if you’ve been hanging around this site for any length of time, you probably know that Christmas ornaments are some of my favorite Christmas crafts to make. I love seeing them on our tree year after year!
Recently, I made a DIY Paper Reindeer Ornament and Custom Christmas State Ornaments. Today, I’m sharing with you a tutorial for making handmade Christmas plaid ornaments!
These plaid ornaments are different from other variations I’ve made in the past, such as my Plaid Christmas Ornaments with a Cricut and Printable Christmas Ornaments for a Rustic Tree.
Today’s ornament tutorial will leave you with a totally unique plaid ornament that you can easily customize.
Note: If you want even more Christmas ornament inspiration, check out my Vinyl Christmas Ornaments with a Cricut, Initial Ornament Made with Glitter Paint, and Clay Ornaments for Christmas projects.
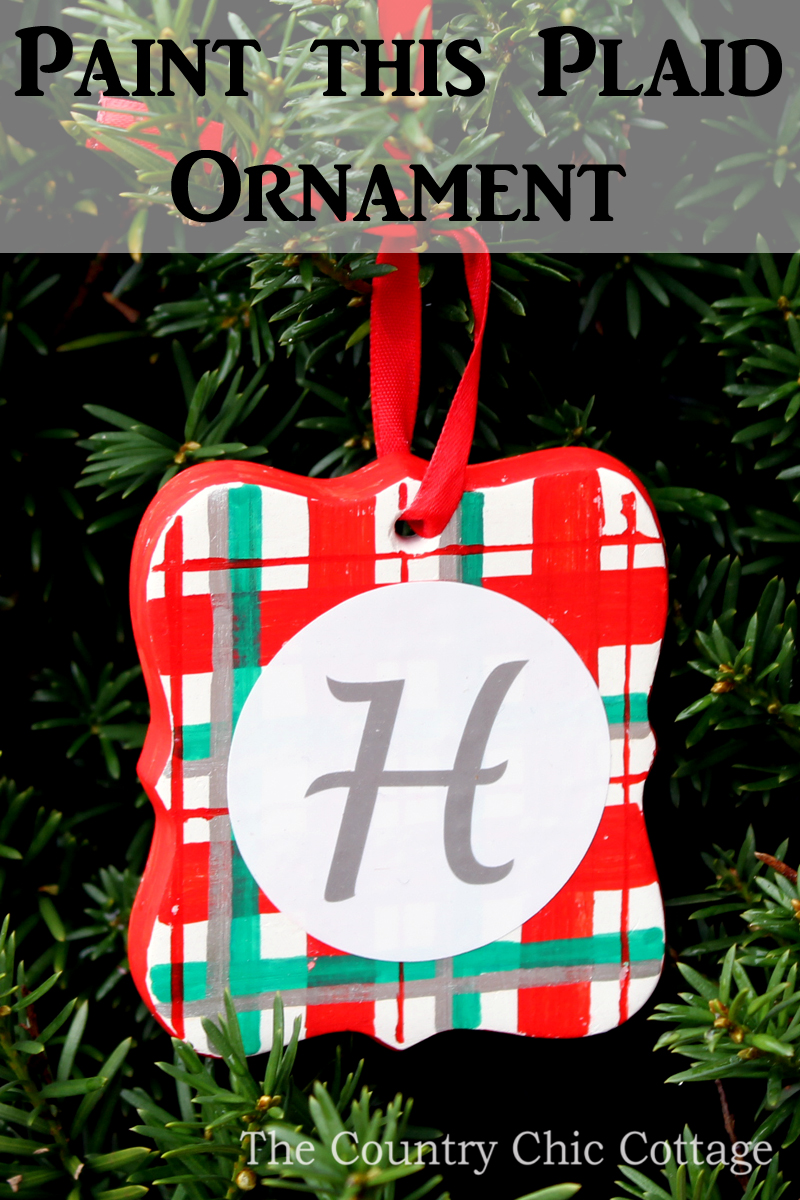
How To Make Plaid Ornaments By Painting Them
I’m so excited to share this tutorial with you! It’s easy enough for anyone to do, even if you don’t feel confident in your hand-painting skills. Trust me on this one.
Supplies Needed
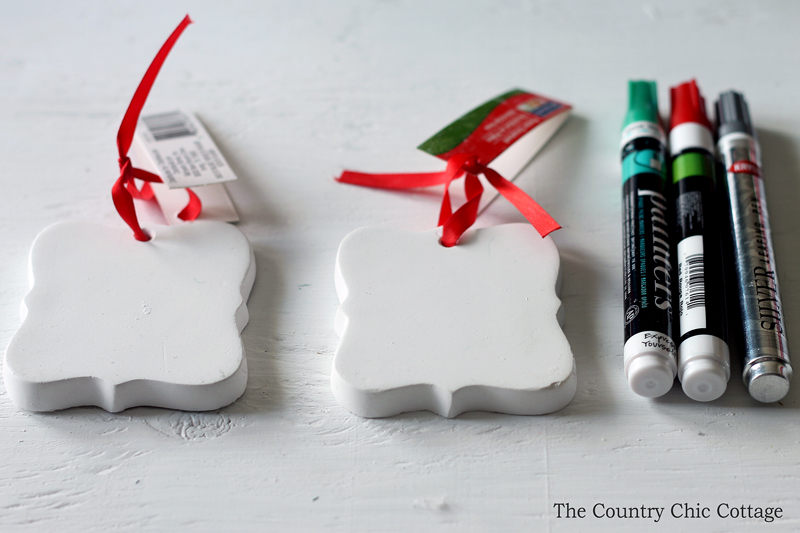
Here’s what you’ll need for this craft. I’ve even included a few handy links to help you find some items faster and more easily.
- Ceramic Ornament Base
- Paint Pens (in a variety of colors and widths)
- Ruler
- Vinyl (for the monogram)
- Craft Cutter or another way to cut the vinyl
Ornament Instructions
Follow along with these simple step-by-step instructions to guide you through the process of making your own painted plaid ornaments!
Painting plaid onto your ornament is simple enough that even older children can learn this easy painting technique. You just use a ruler and various widths of paint pens.
Step 1
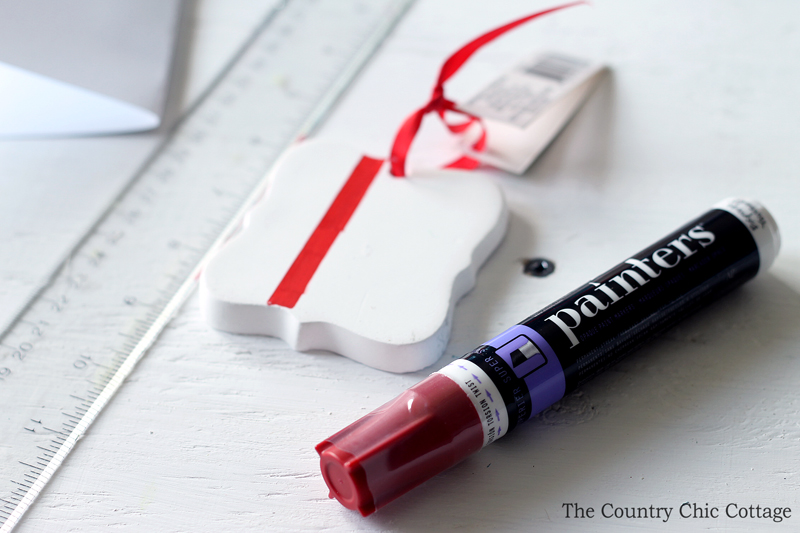
I started with a wide red paint pen and made lines in both directions, as shown below. I did not plan out my plaid ahead of time but did use the ruler to roughly measure spacing for the lines and make sure they were approximately evenly spaced.
Pro Tip: The paint pens dry quickly, but make sure the lines are dry before laying the ruler over the top to paint the next line.
Step 2
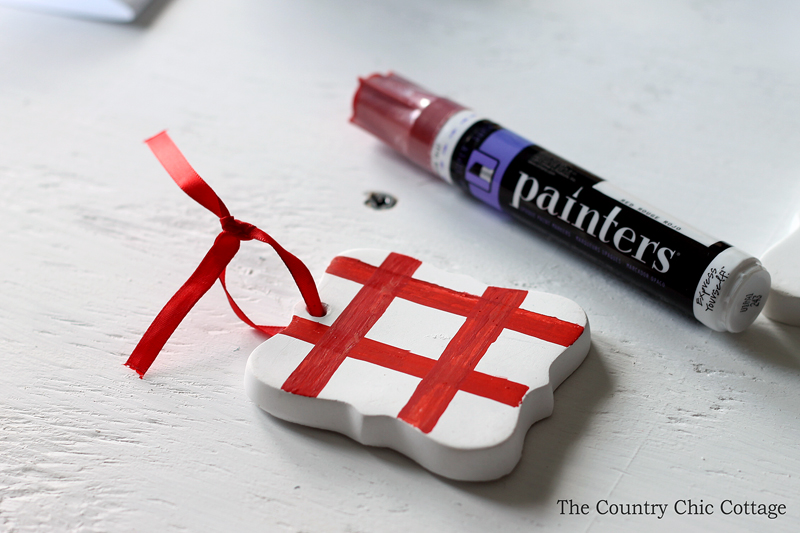
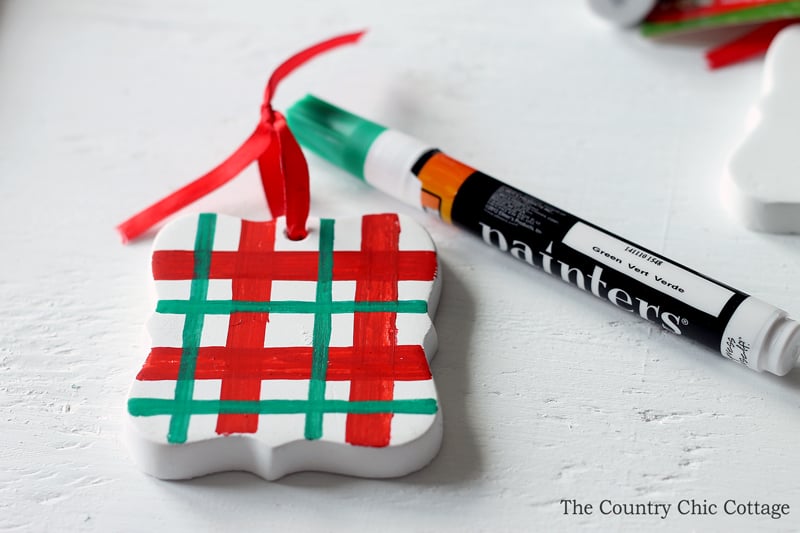
For the plaid portion, we’re basically layering lines on top of each other. Next, I used a medium-point paint pen with green lines.
Tip: Be sure to wipe off the edge of the ruler after painting each line. Otherwise, the edge will get dirty and ruin your ornament!
Step 3
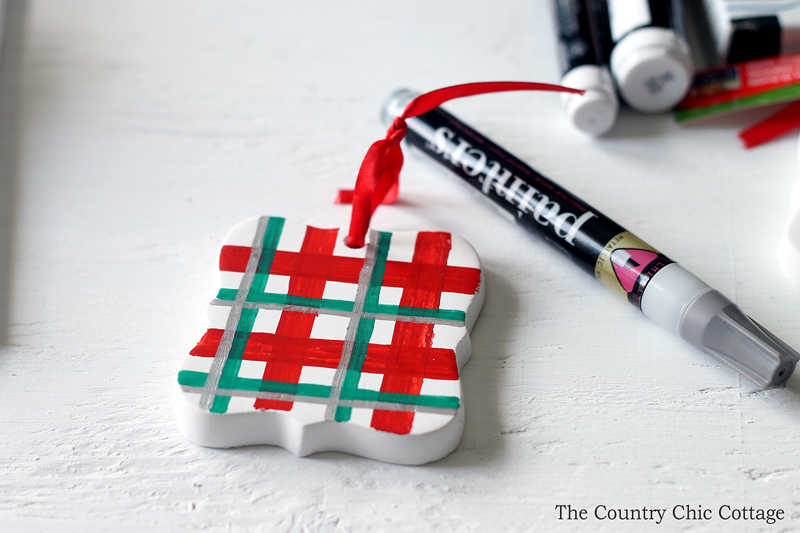
For this step, I used a metallic silver paint pen that had a chisel tip. I did these lines right next to the green.
You can play with the placement of your lines and the angle of the pen when making these plaid ornaments.
Step 4
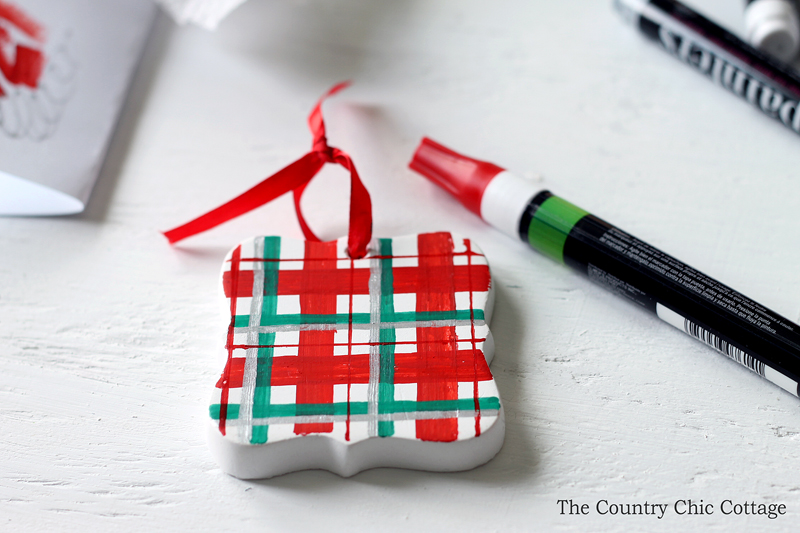
I finished up with a fine-tip red paint pen and added a few skinny lines. You gotta love a touch of plaid on your tree because it’s so eye-catching!
Step 5
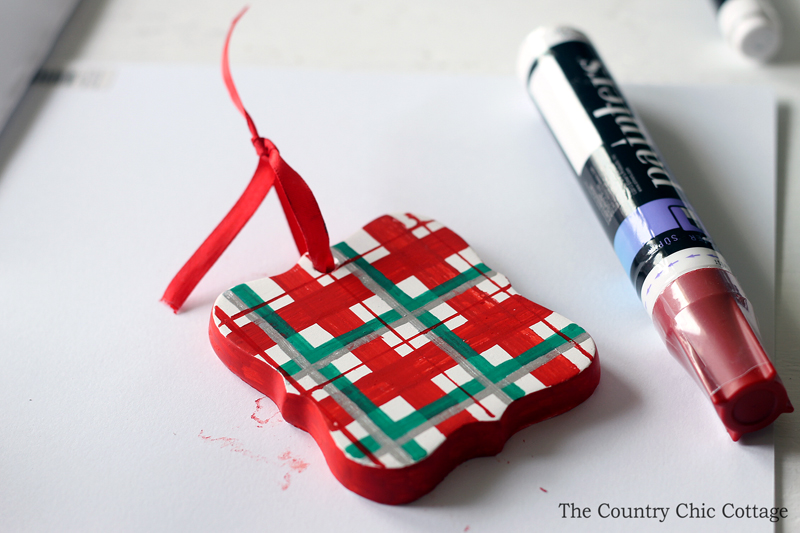
The plaid is complete, but it’s time to finish up the ornament. I used the wide paint pen to finish off the edges and make the ornament look clean and finished. Allow everything to dry completely before continuing.
You can add a spray sealer to the surface to protect your paint job at this point if you want (optional).
Step 6
I found that I wanted to add a little something to the center of the ornament for more detail, so I grabbed some vinyl and my craft cutter.
Note: You could also use a craft knife or scissors to cut out your vinyl for this part.
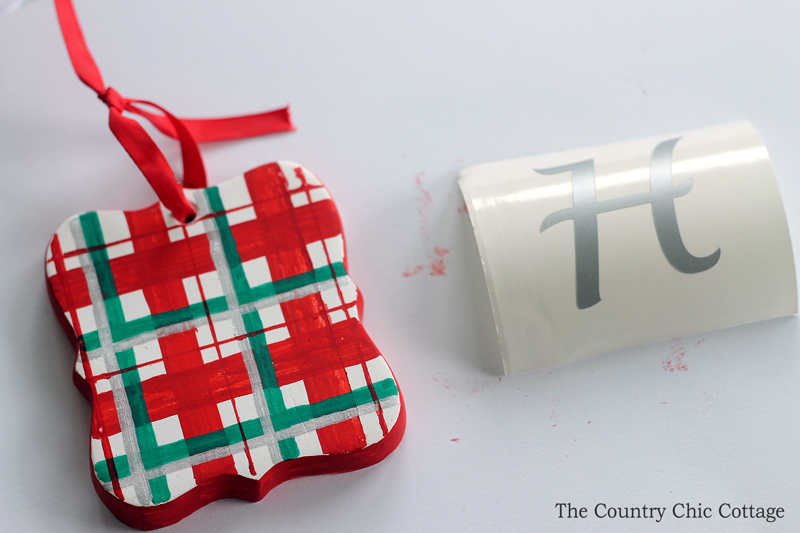
Step 7
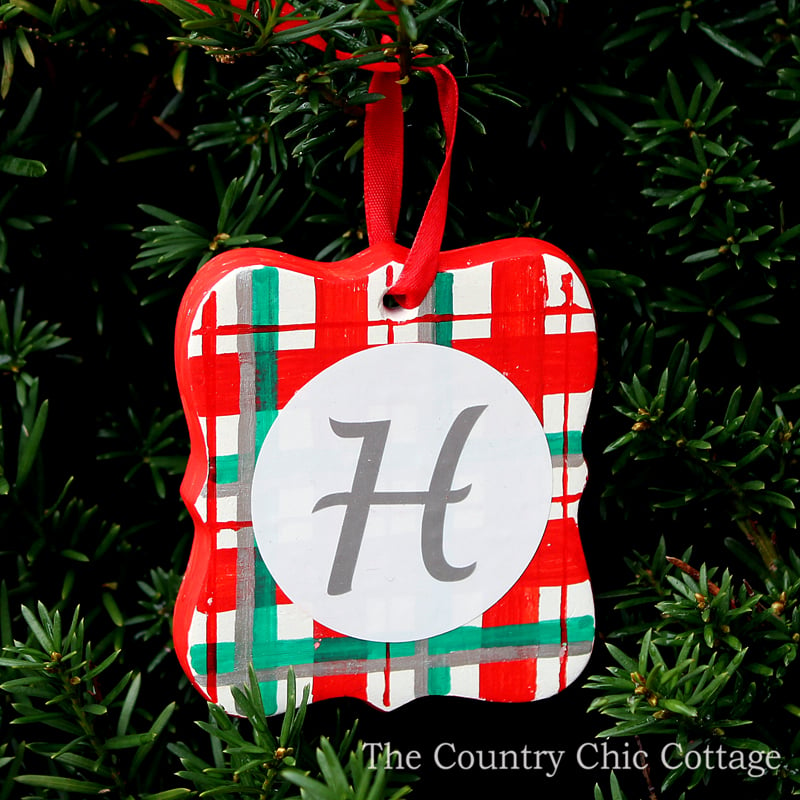
I added a circle and an “H” to the center in vinyl, and this ornament is ready to hang on the tree.
Include this plaid ornament on your holiday crafting list. You can create this fun project in minutes! Make several and have a plaid tree this holiday season, or give them as gifts with your holiday cookies.
Christmas Plaid Ornaments FAQs
Here are a couple of questions that I see readers ask about making custom-painted ornaments. If you have a question, please check to see if I’ve already answered it below. Don’t see your question? Leave it for me in the comments!
Will my ornaments look bad if I can’t paint straight lines?
No! If you look closely, my lines aren’t perfectly straight either. In fact, I think that’s part of the charm of these plaid ornaments. They look good enough without being so perfect that a machine clearly made them. They’re unique, handmade, and wonderful.
How can I personalize my plaid ornaments?
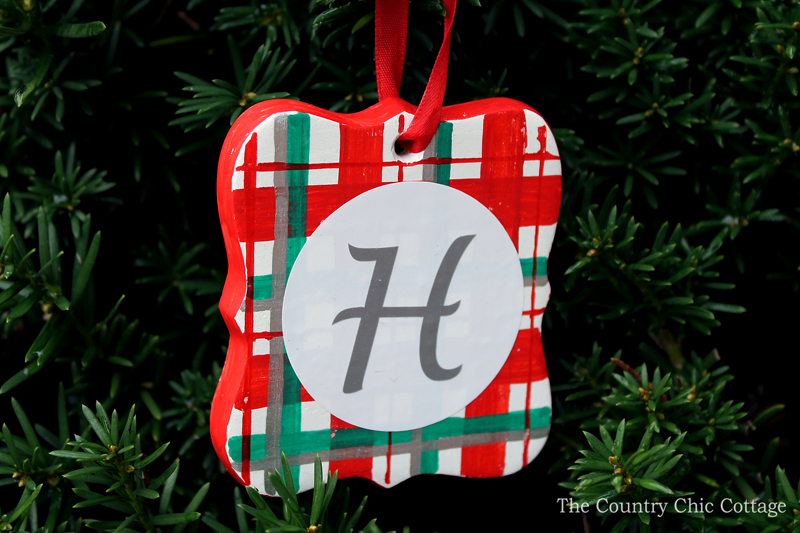
There’s a good amount of wiggle room for adjustment and personalization. Change the monogram to a different letter or shape, or change the colors you use on the ornament. You could even change the shape of the ornament!
More Holiday Crafting Inspiration
Do you love these plaid ornaments and want more quick and easy holiday craft ideas? Check out these links!

Supplies
- Ceramic ornament base
- Paint pens in a variety of colors and widths
- Ruler
- Vinyl for the monogram
- Craft Cutter or another way to cut the vinyl
Instructions
- Start with a wide red paint pen and made lines in both directions. Use the ruler to measure roughly and make sure the lines are approximately evenly spaced.
- Next, use a medium-point paint pen in green.
- Now take a metallic silver pen with a chisel tip. I did these lines right next to the green, but you can adjust the placement of your lines and the angle as you wish.
- Finish up the plaid portion with a fine-point tip red and paint a few skinny lines.
- Use the wide paint pen to paint the edges and make the ornament look complete. Allow everything to dry completely before moving forward. You can add a spray sealer to the surface to protect your paint job at this point. (optional)
- Take some vinyl and your craft cutter to cut a circle out of the vinyl. Attach the vinyl to the ornament.
- Add a monogram to the center of the circle and your plaid ornament is complete.


