Painting a stool can be an easy afternoon project that can give an entirely new look to an old piece of furniture. Plus it will look great in your bathroom, kitchen, or any other room in your home. Adding a custom stencil cut on your Cricut machine is a great way to get a personalized look right at home.
I am going to use my machine to make a simple stencil with lines, however, you can make a stencil with just about any shape you can imagine. Just follow my tips and tricks below then grab your Cricut and stencil material to make something amazing!
This was first posted April 26, 2014, however, I am reposting it with more information.
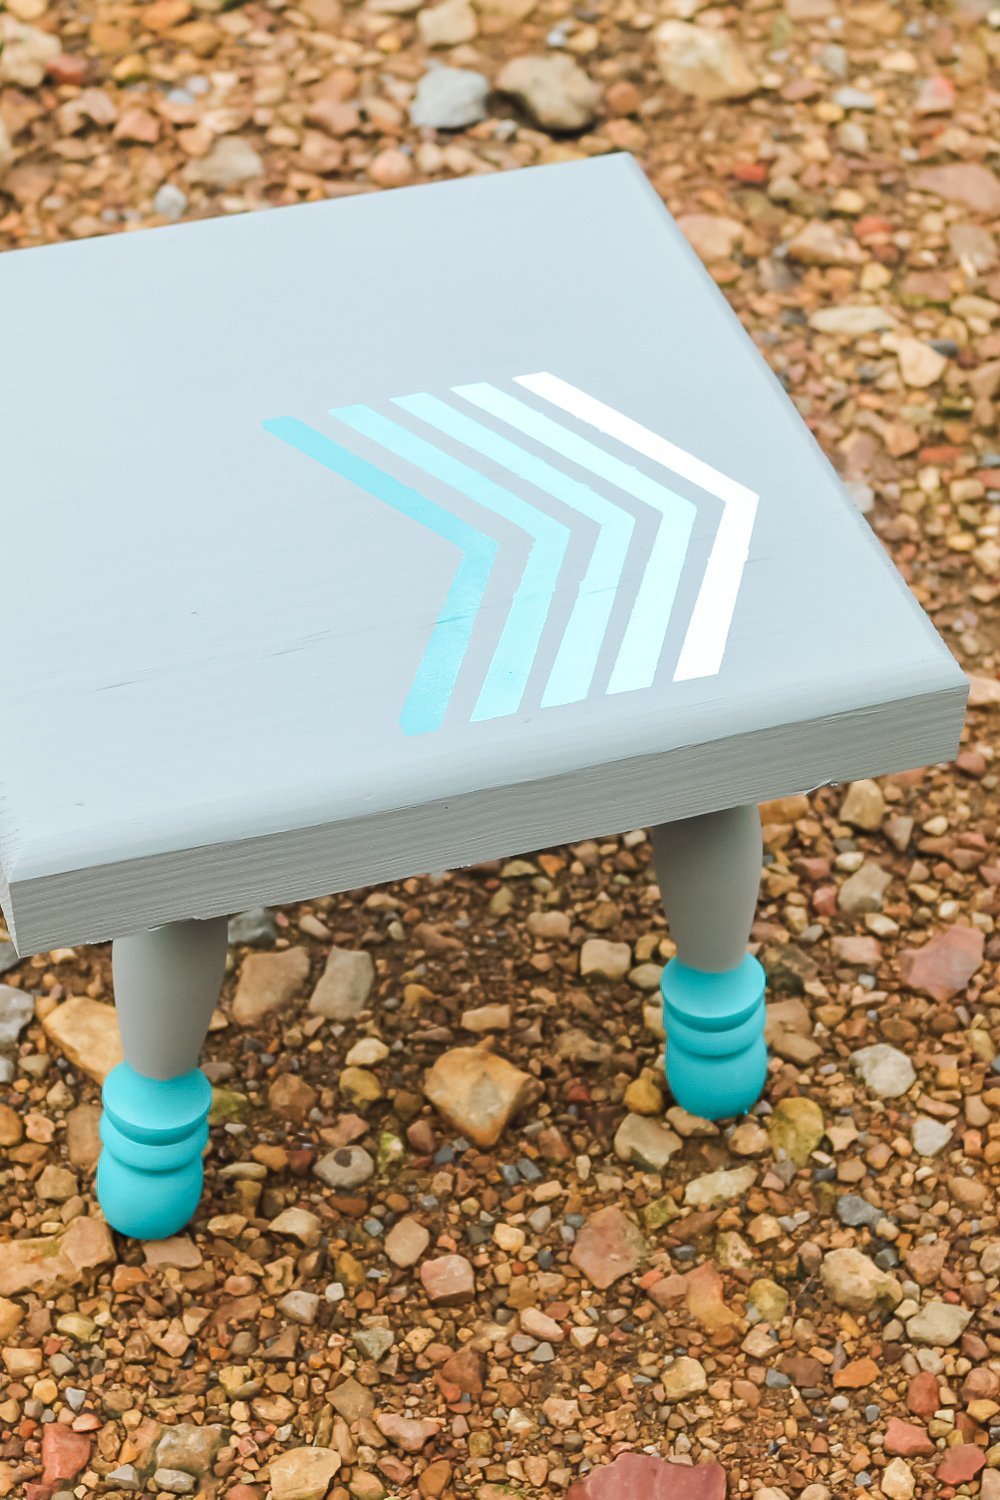
Painting a Stool
I choose to make a stencil for the top of my stool with my Cricut machine. You can also purchase a stencil that is already made from your craft store and complete the same project. Either way, you are sure to come out with a stool at the end of this project that you love!
Supplies needed:
- Paint (I used Americana Multi-Surface Satin Acrylics 2oz – Dolphin, Cottonball, Turquoise Waters, and Deep Turquoise.)
- Plain wood stool (or one you are repainting)
- Stencil film (You can purchase either stencil vinyl or a stencil film that can be used to make a reusable stencil.)
- Stencil adhesive (if NOT using stencil vinyl)
- Paintbrushes
- Stencil brushes
- Polycrylic sealer
- Cricut machine
- Weeding tools (if using stencil vinyl)
- Transfer tape (if using stencil vinyl)
- Scraper (if using stencil vinyl)
- Painter’s tape
How to Paint a Stool
Be sure to put a good basecoat on your stool. This is important if you have a stool that is unfinished or if you have one that has been painted before. Starting with a good base will ensure that your finish lasts for a long time.
Adding a Basecoat
I started by painting my stool in Dolphin. These Multi-Surface satin paints from DecoArt go on like a dream. I used only two coats on my raw wood stool and the coverage was perfect. Plus you can keep these paints on hand to paint any surface from wood to glass and everything in between.
Can’t find this brand of paint? Use any good quality multi-surface paint that comes in colors that will work for your project.
Designing Your Stencil
While your basecoat cures, design your stencil in Cricut Design Space and cut it with your Cricut. You can upload an SVG to Design Space or design right in the application. Here is how I made the simple arrow stencil design.
Use the free shape tools in Design Space and draw a long and skinny rectangle. Do this by adding the rectangle then clicking the “lock” button to unlock the shape. Drag the shape to size or use the boxes at the top to type in any size that you like.

Duplicate that shape. Then rotate one at 45 degrees and the other at -45 degrees. Align both where they meet in the center. I ended up with two rectangles 0.5 x 5 inches. Do not worry about the ends at this stage. Just get the middle correct.

Choose the two rectangles and use the combine menu to weld them together. Then draw a 6 x 6 inch square. Pick both shapes and click align then center.

Pick both shapes and click slice. Then delete everything except for the shape you need for your stencil. Duplicate this shape 5 times. Move the shapes approximately how you would like your stencil. Then pick all 5, click align, then align top, click align again, then click distribute horizontally. This will make your shapes equal distance apart.
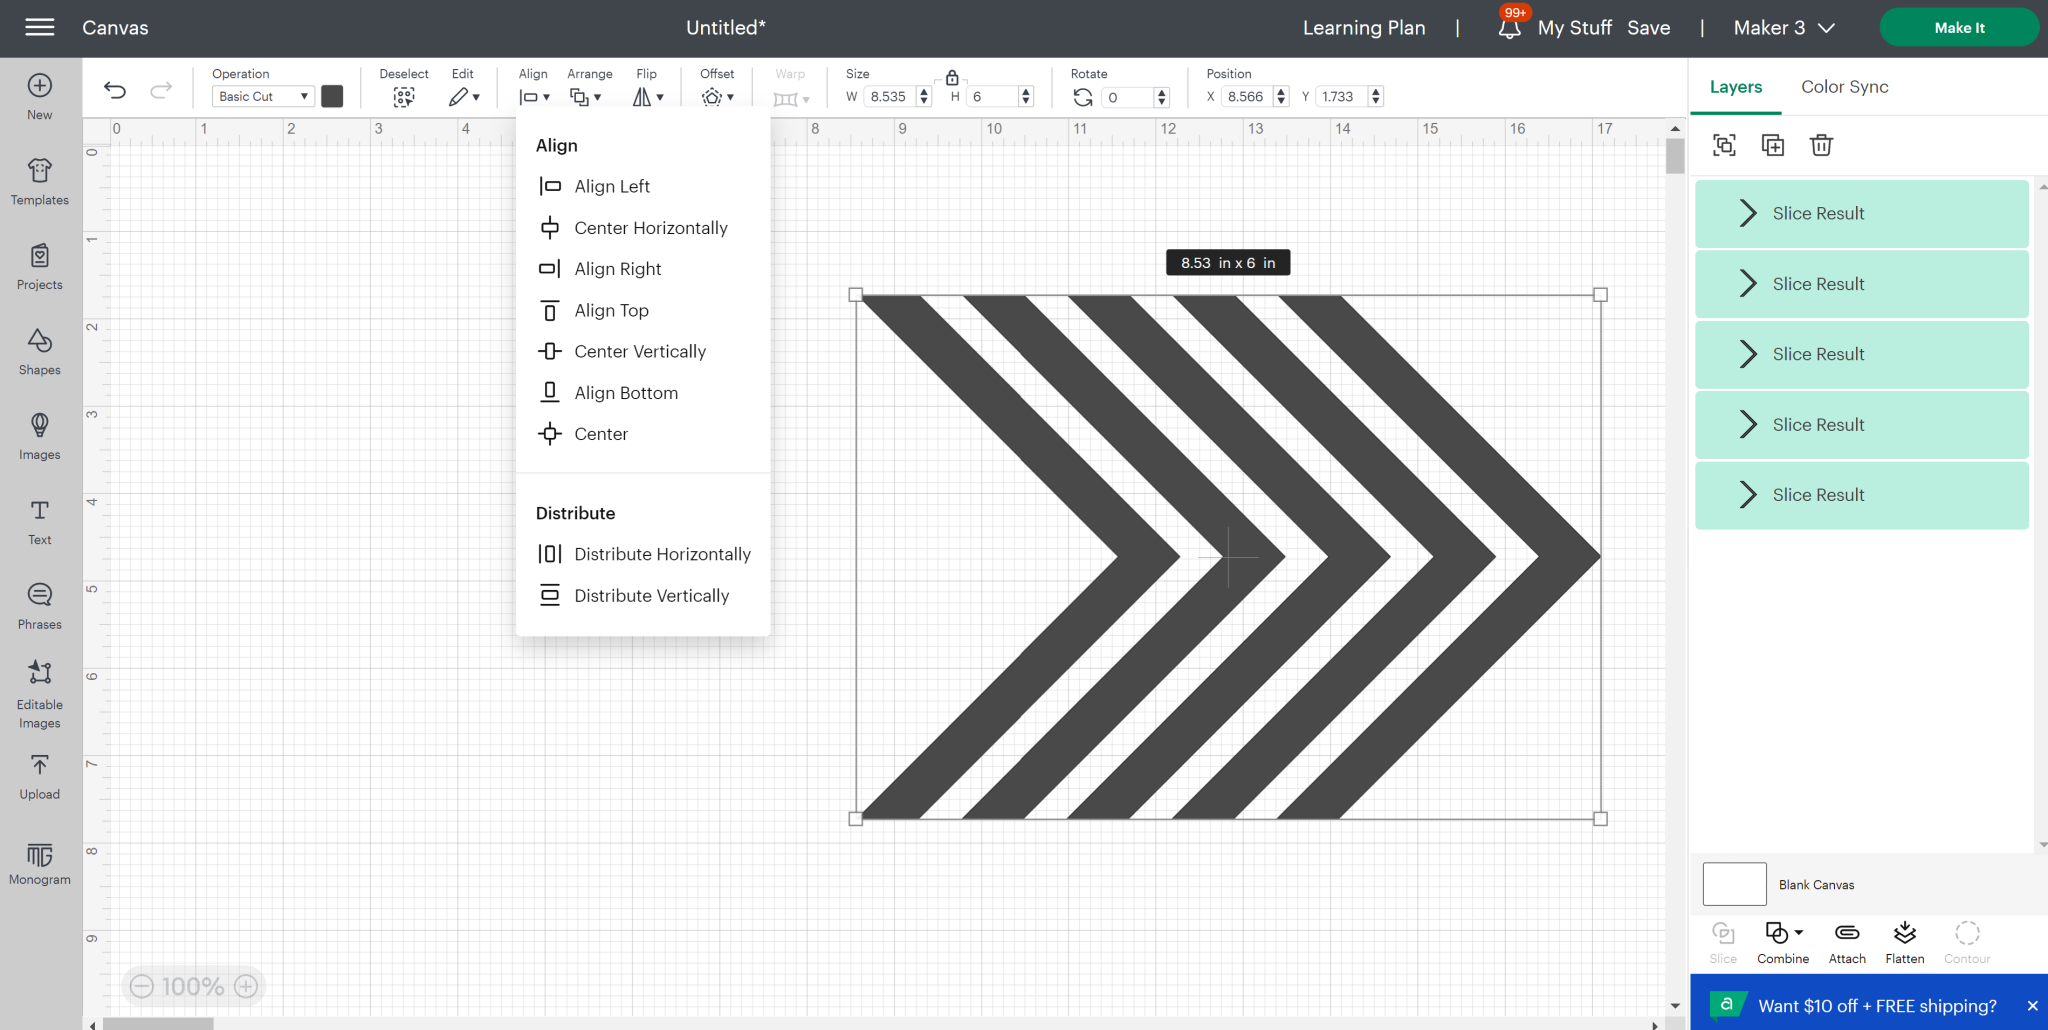
Draw another square. Put the arrows in approximately the center. Then pick everything and click attach. You now have a stencil that is ready to cut!

NOTE: If you are making a more complicated stencil design from stencil film, you may have to add bridges to keep things like the centers of letters in place. You can see how to do that here.
Cutting a Stencil on a Cricut
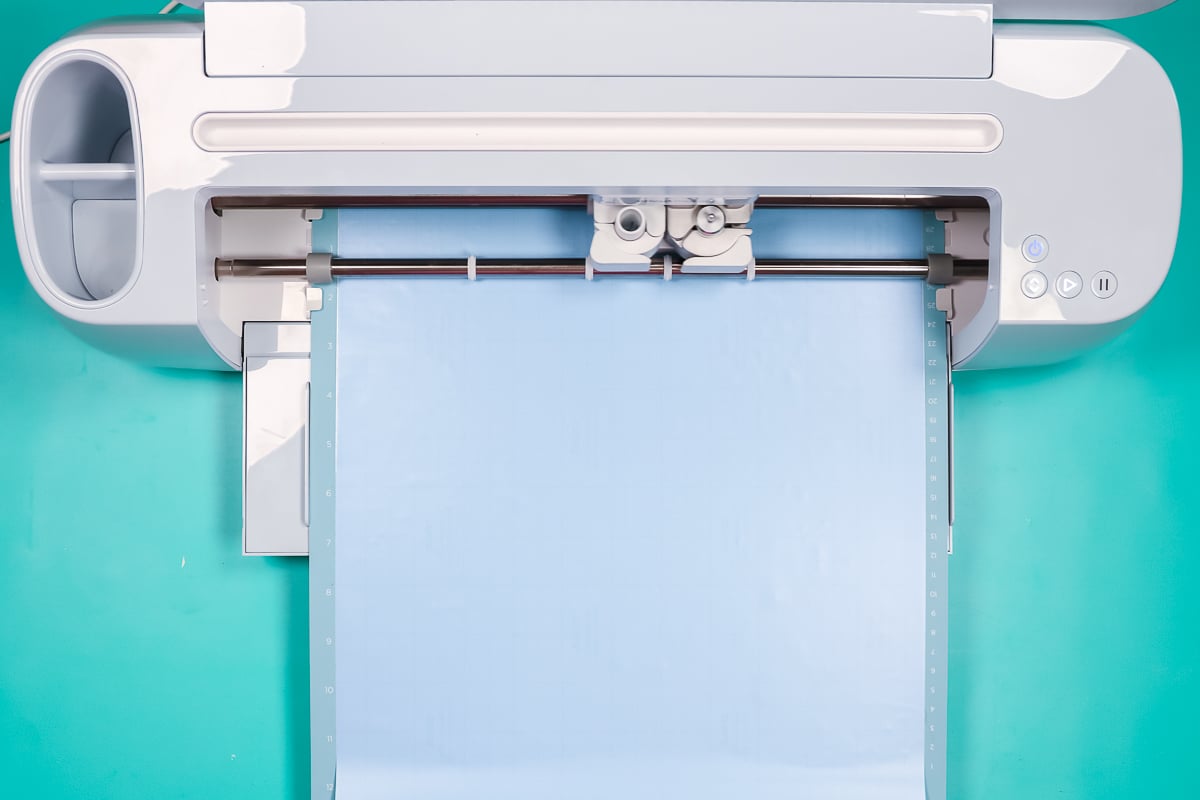
Now that you have your design, you can cut from stencil vinyl or even a stencil film to make a reusable stencil. Click make it in Design Space. Then pick the type of material you are using for the correct cut settings. Cut the material with your Cricut.
At this point, if you are using stencil vinyl, you will want to weed any parts that you want to paint on your stool. If you are using stencil film, the stencil is ready for painting a stool!
Adding a Stenciled Design to a Stool
If you are using stencil vinyl, you can use transfer tape to transfer your design to the stool depending on how complicated it is. If you are using a stencil film, you may want to use an adhesive spray on the back to stick it into place. You can use painter’s tape around the stencil either way to prevent mistakes during the painting process.
Once your stencil is in place on your stool, applying a one coat of the basecoat color to the stencil and allowing it to dry will prevent bleeding. You can skip this step but it will give you a more professional looking result.
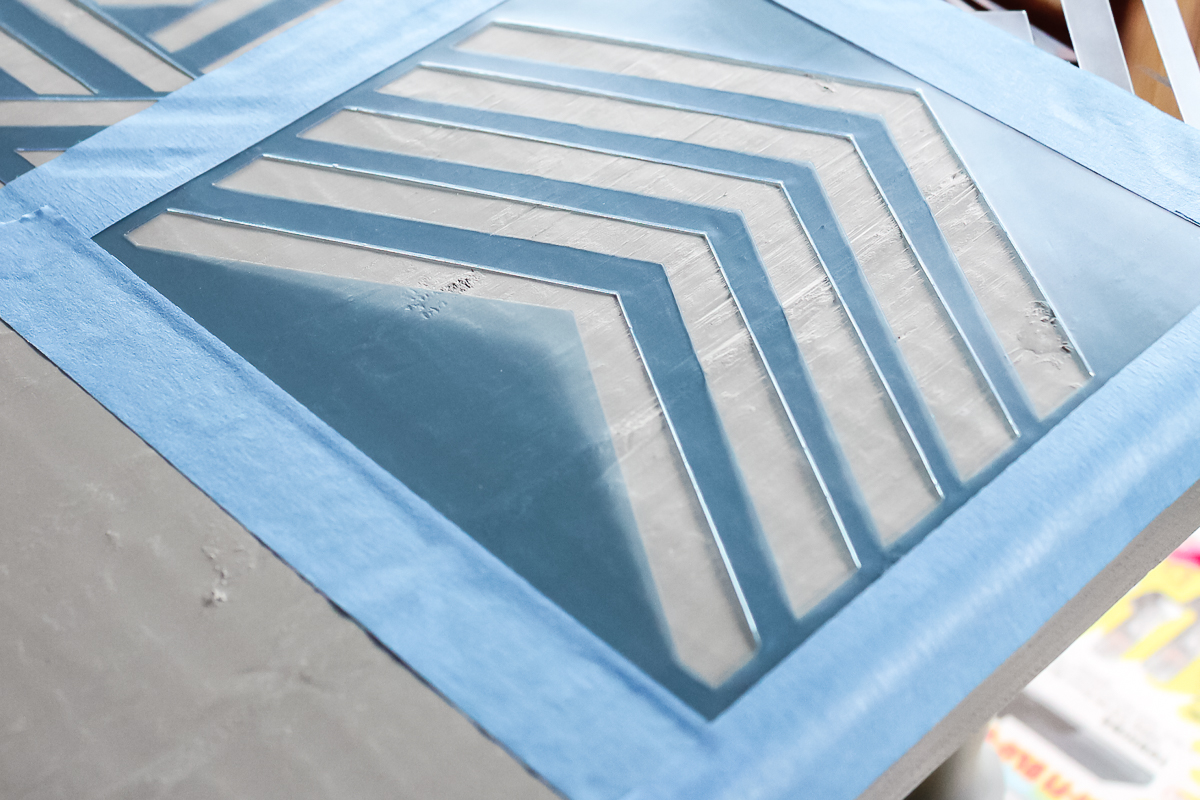
For the stenciled part of this stool, I used the Multi-Surface paints in Cottonball, Turquoise Waters, and Deep Turquoise. I started with the Cottonball on the rightmost arrow shape. I then did a gradient or ombre effect by mixing the different paints across my stencil.
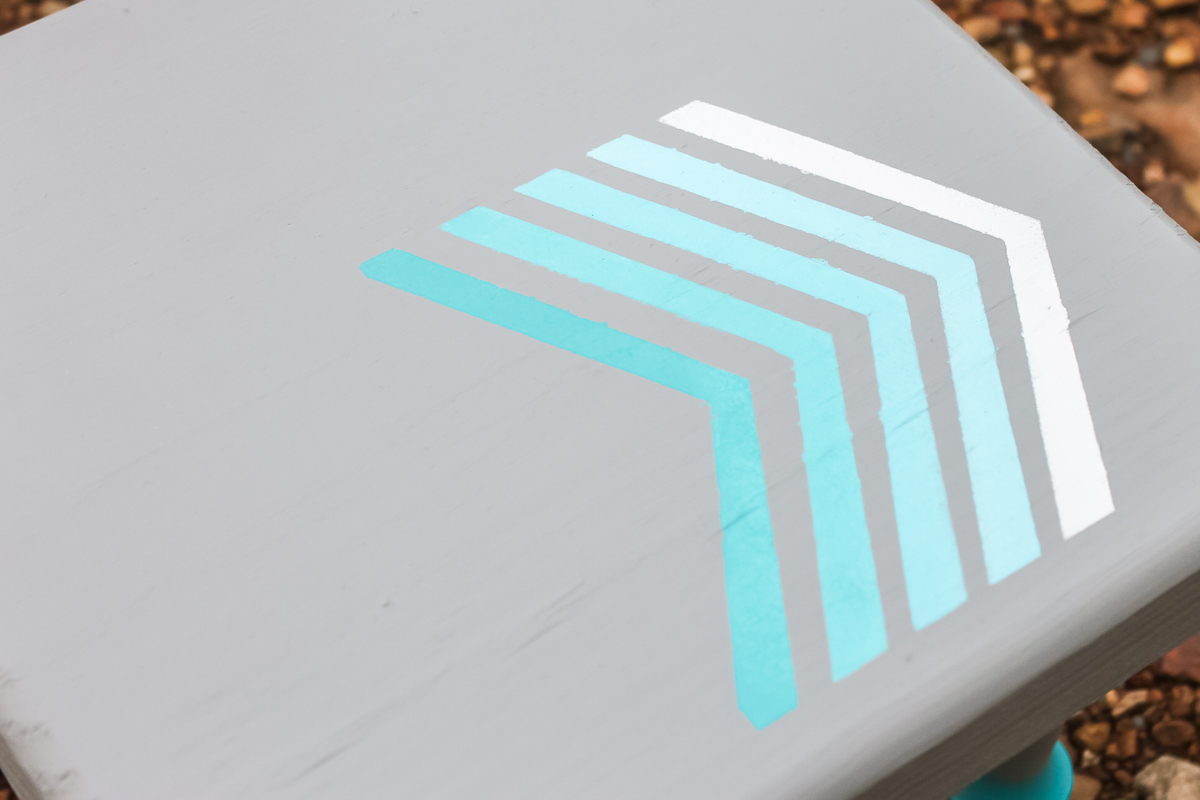
Several light coats of paint are best. Use a stencil brush and go over the stencil with a light coat. Then repeat until you have the coverage you desire. Remove your stencil from the stool. Use a paintbrush to touch up any areas that bled under the stencil if desired.
Painting Stool Legs
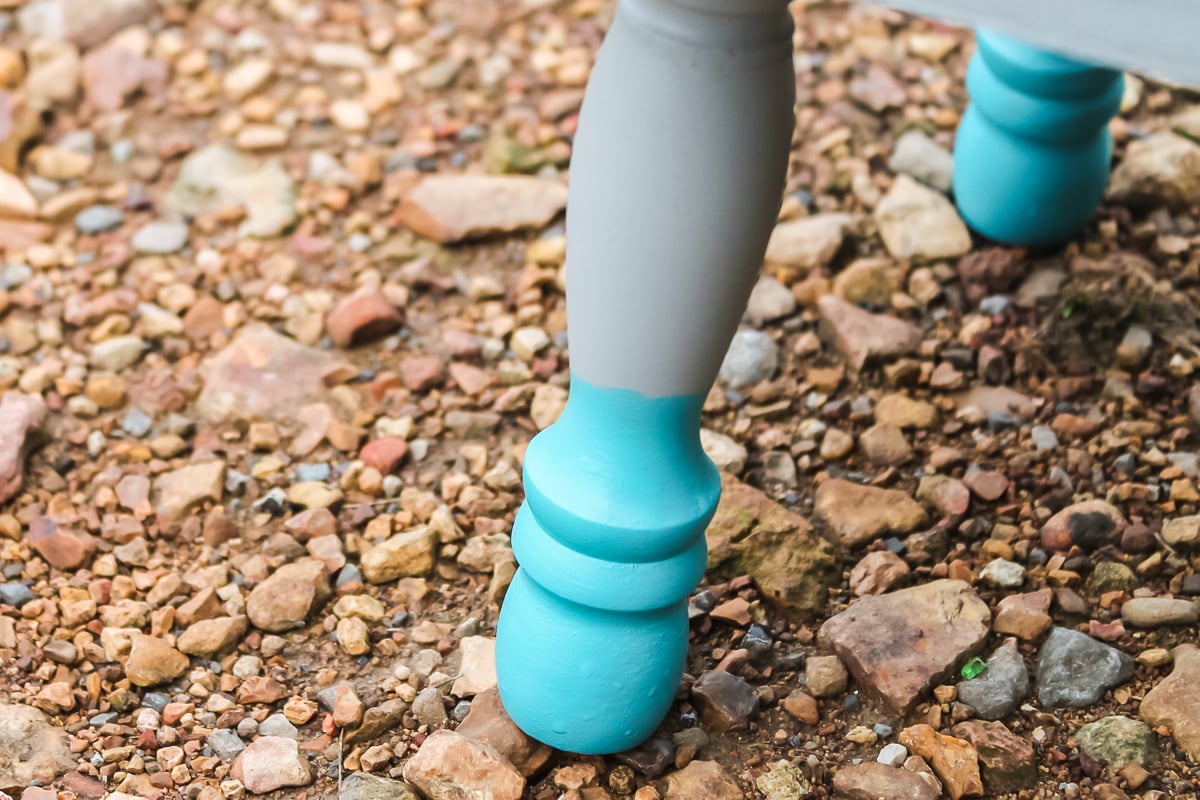
I wanted a little extra special touch to my stool so I painted just the ends of each leg with Deep Turquoise. It almost looks like I dipped the leg into the paint but actually I just free-handed the effect with a brush.
Finishing and Sealing Your Stool
Once my paint dried completely and I allowed it to air cure for 7 days according to the package directions, I sealed just the top with a few coats of Polycrylic. I want to make sure all of my hard work stays in place even with little feet stepping on this stool constantly. Allow the sealer to dry and this one is ready to use!
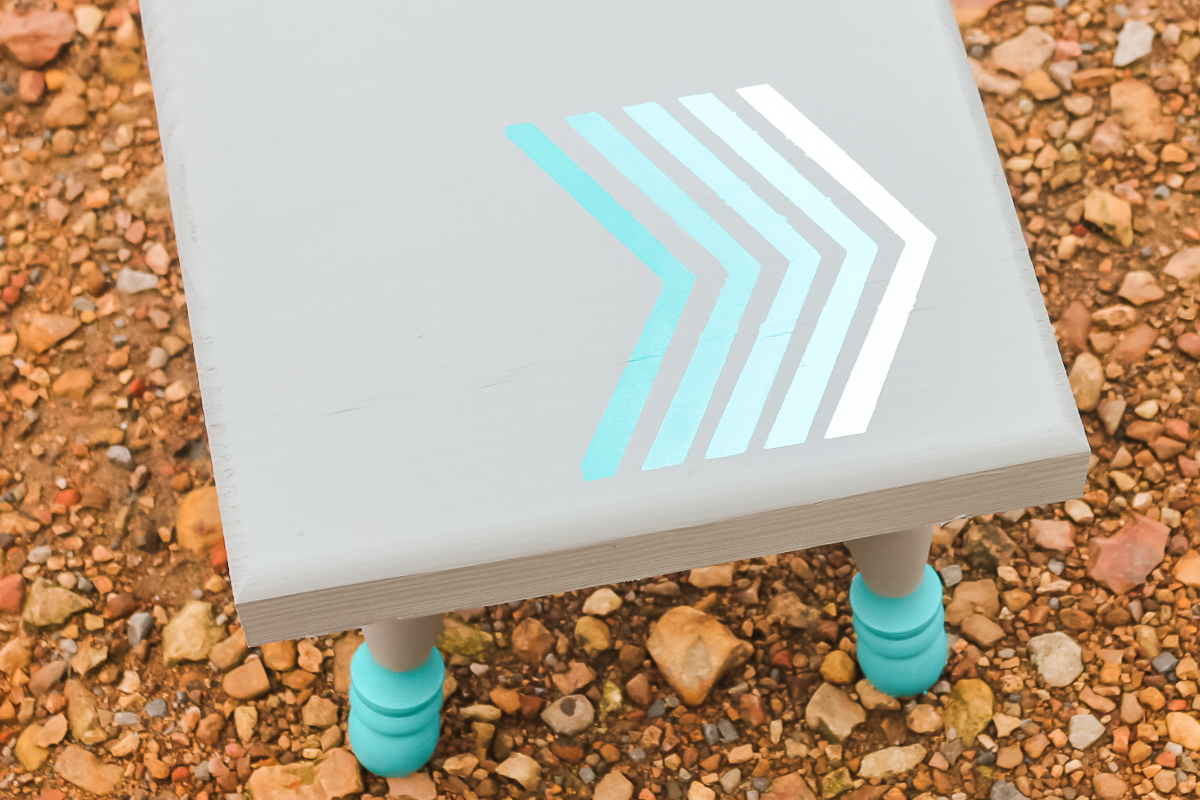
My lovely little step stool is holding up perfectly and it gets a ton of abuse in my home. Why not try painting a stool of your very own? Your home will look better and you can reach all those things in those upper cabinets!
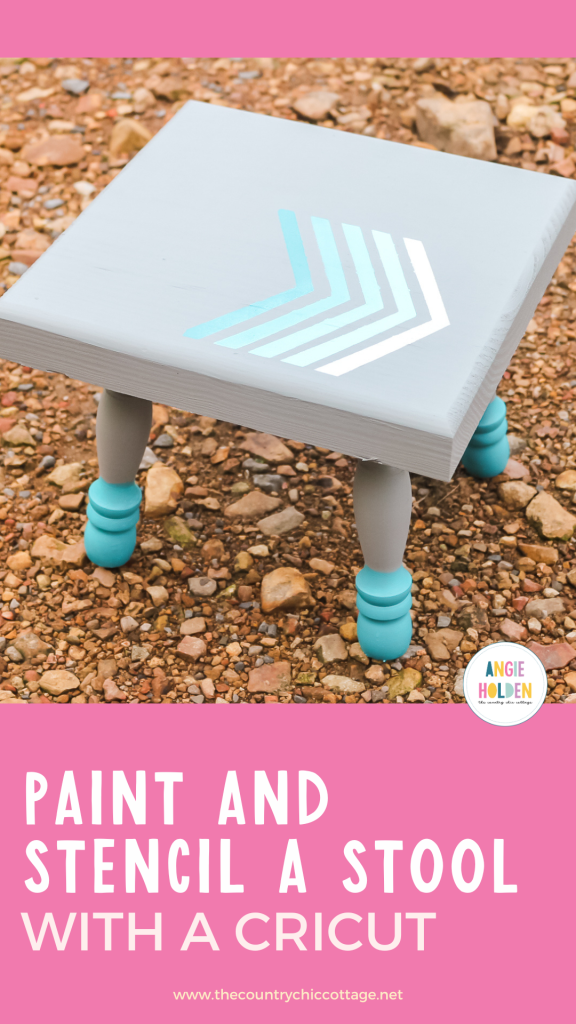
What else can you stencil with a Cricut? Try the links below!



This is adorable and very doable. It would be a lovely addition to any room. Blessings, Catherine