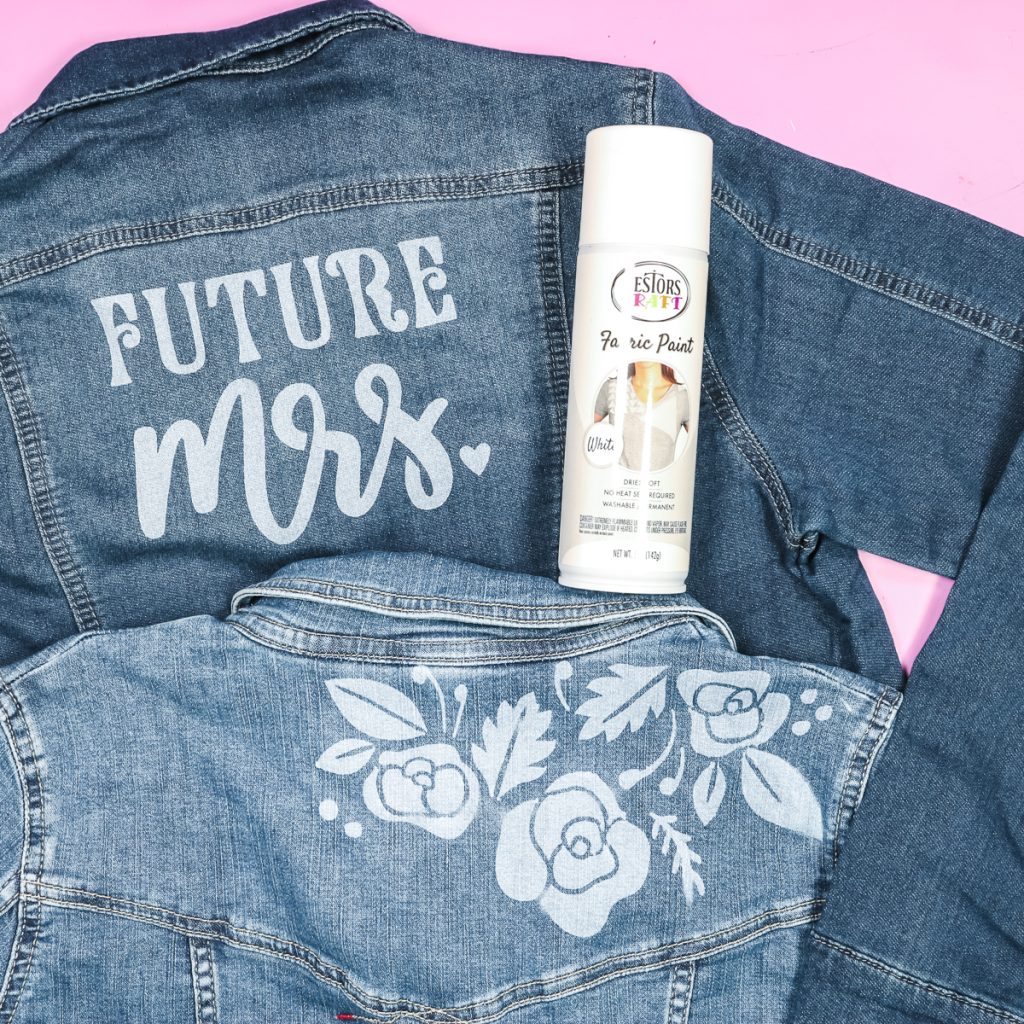
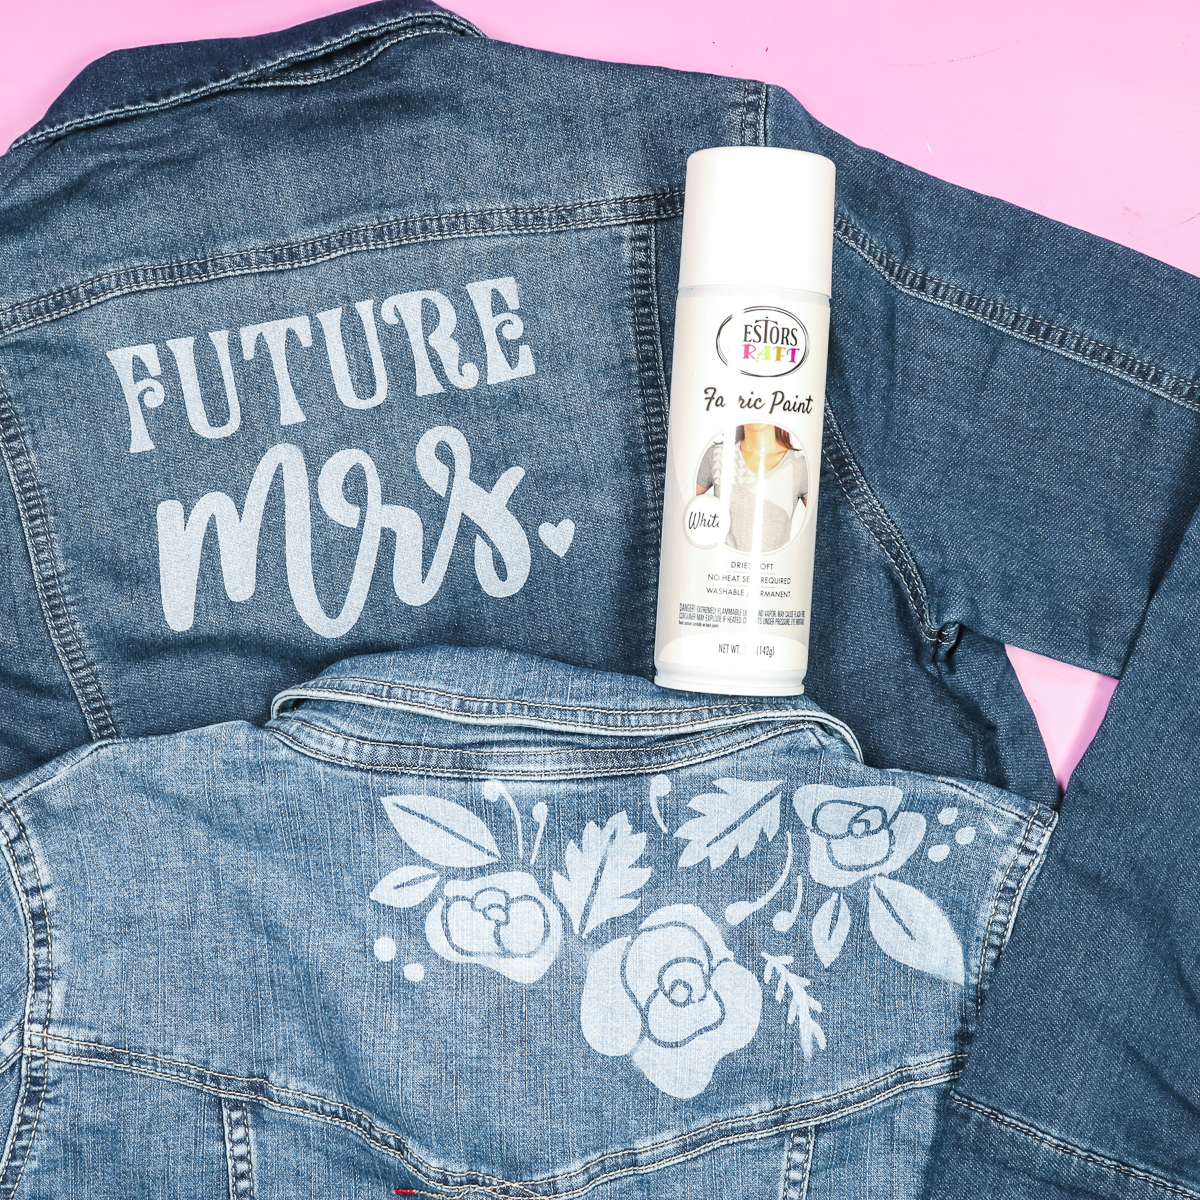
Have you ever wanted to learn how to paint a jean jacket? Well, you are in the right place because making a painted jean jacket has just gotten easier! Use fabric spray paint with a stencil to make your own custom jean jacket in minutes. This project is easy to customize by cutting freezer paper on your Cricut to make your own designs. Then add fabric spray paint in the color of your choice. You will love this DIY fashion idea for yourself or to make a wedding jean jacket for photos and more!
How To Paint A Jean Jacket Video Tutorial
Want to watch me paint a denim jacket? Just click play on the video below to watch the entire process from start to finish.
Can’t watch the video or miss some of the steps? You can also follow along below.
How To Paint A Jean Jacket
After you have your supplies, it is time to pick a design and start stenciling! This is actually a fairly easy project but you will want to follow the tips and tricks in this post.
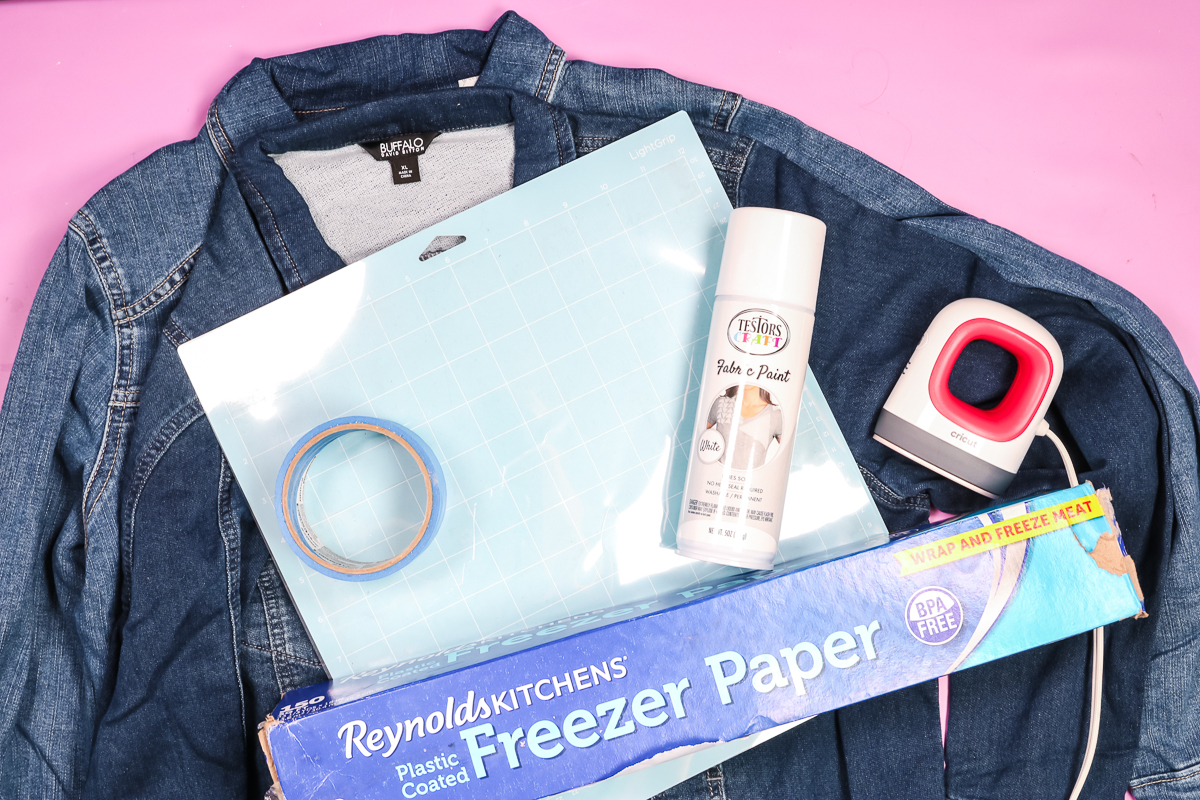
Supplies Needed To Paint Jean Jacket:
- Fabric Spray Paint – Unfortunately, the fabric spray paint I used in this project is no longer available. However, I did link to a great alternative!
- Cricut machine
- Freezer paper
- Jean jacket
- Painter’s tape
- Paper
- Cardboard
- EasyPress mini or iron
- Free Designs
Choosing A Design
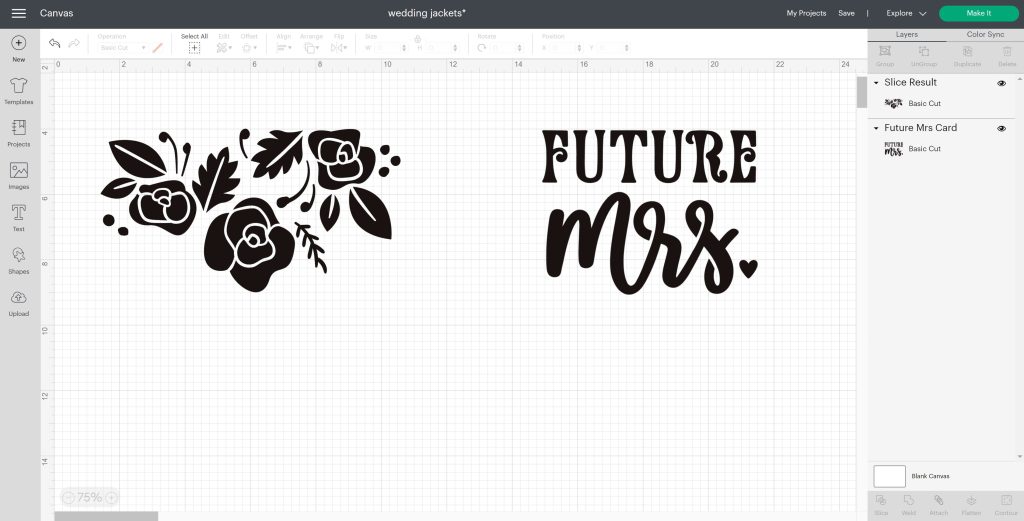
A few things to consider when you are choosing a design that will work with your project:
- Look for designs that will stay in one piece once you cut them. That means that any internal pieces should be connected to the edges.
- Fonts should be made for stenciling so that the centers of any letters are connected to the outer edge of the design.
- Consider where you will put the design on your jacket to determine sizing. This may influence your choice of design as well as many of these jackets have seams in odd places.
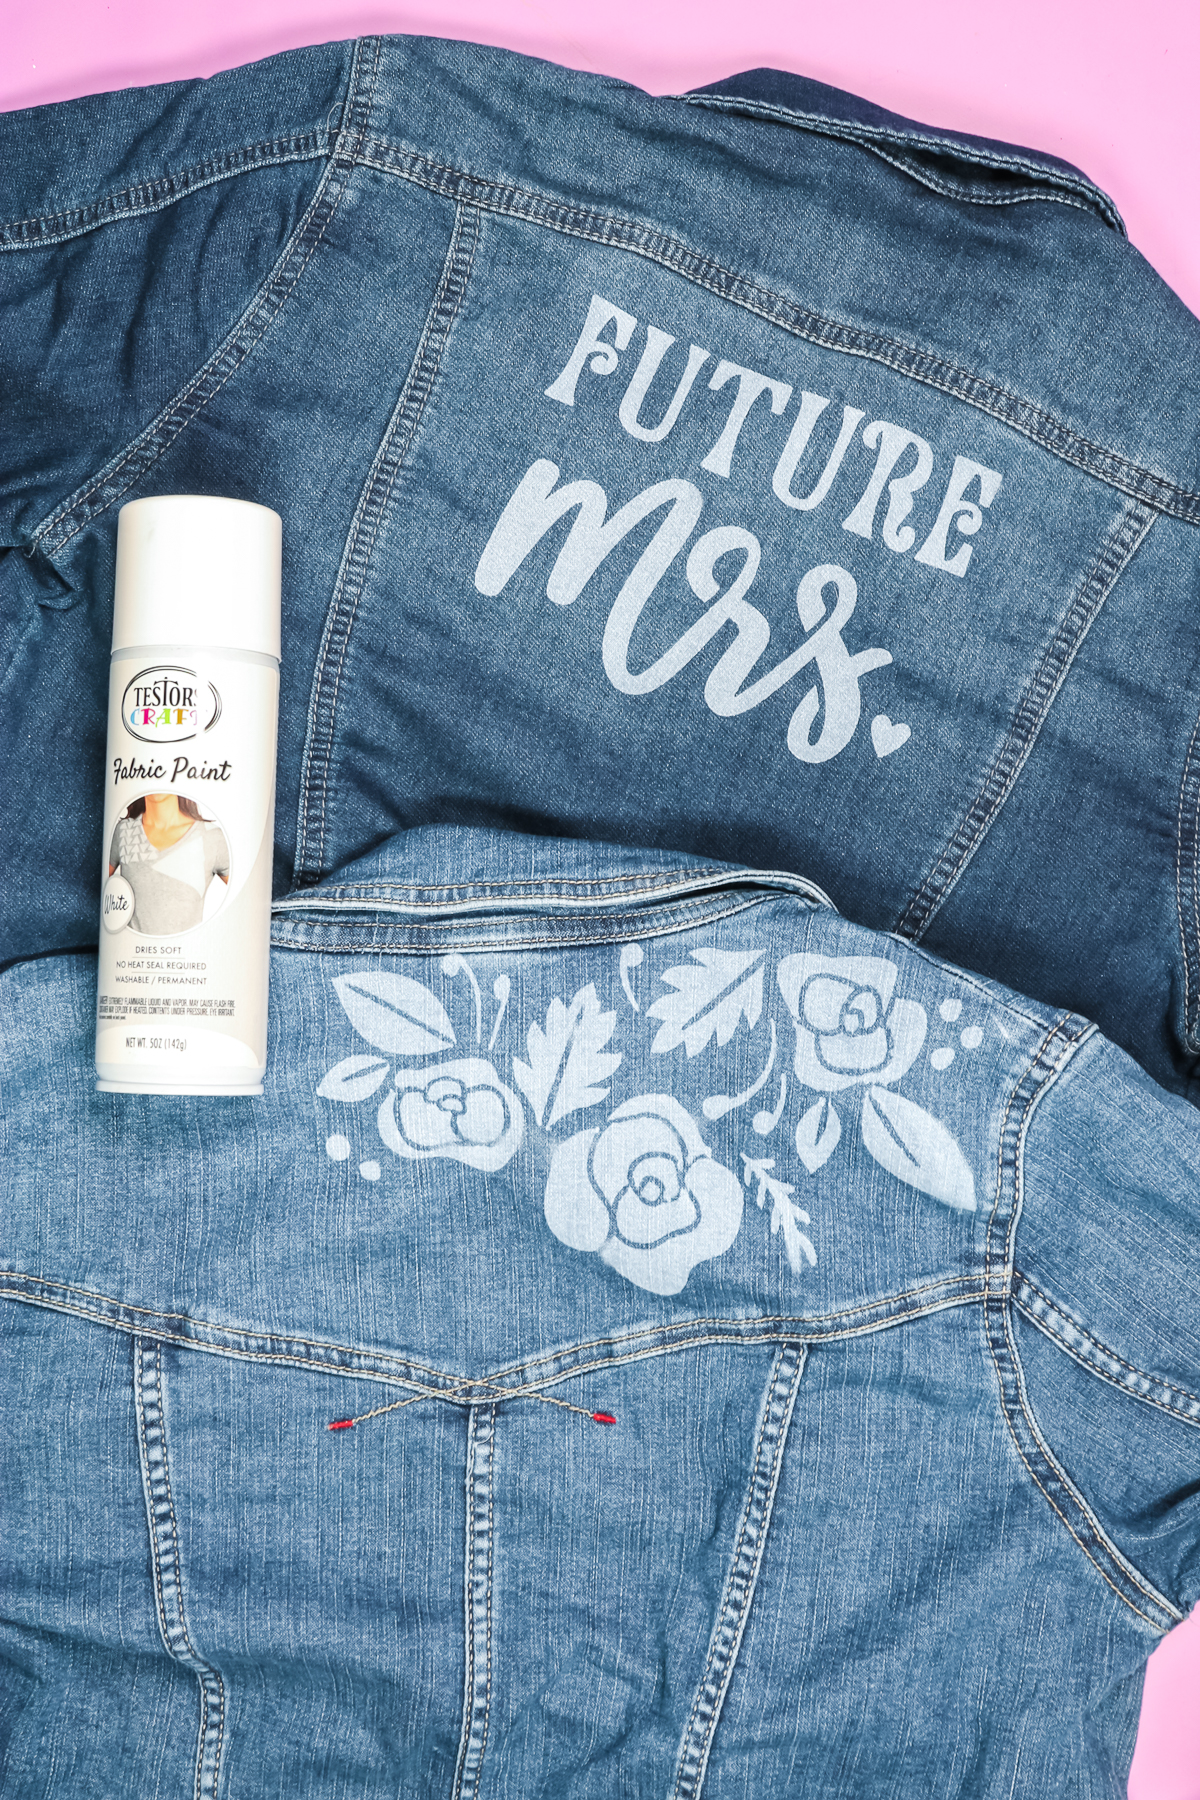
I chose both a floral and a lettered design for my examples. You can pick and choose something that works with your style as well as any event that you may wear this jacket to.
How To Cut Freezer Paper On A Cricut
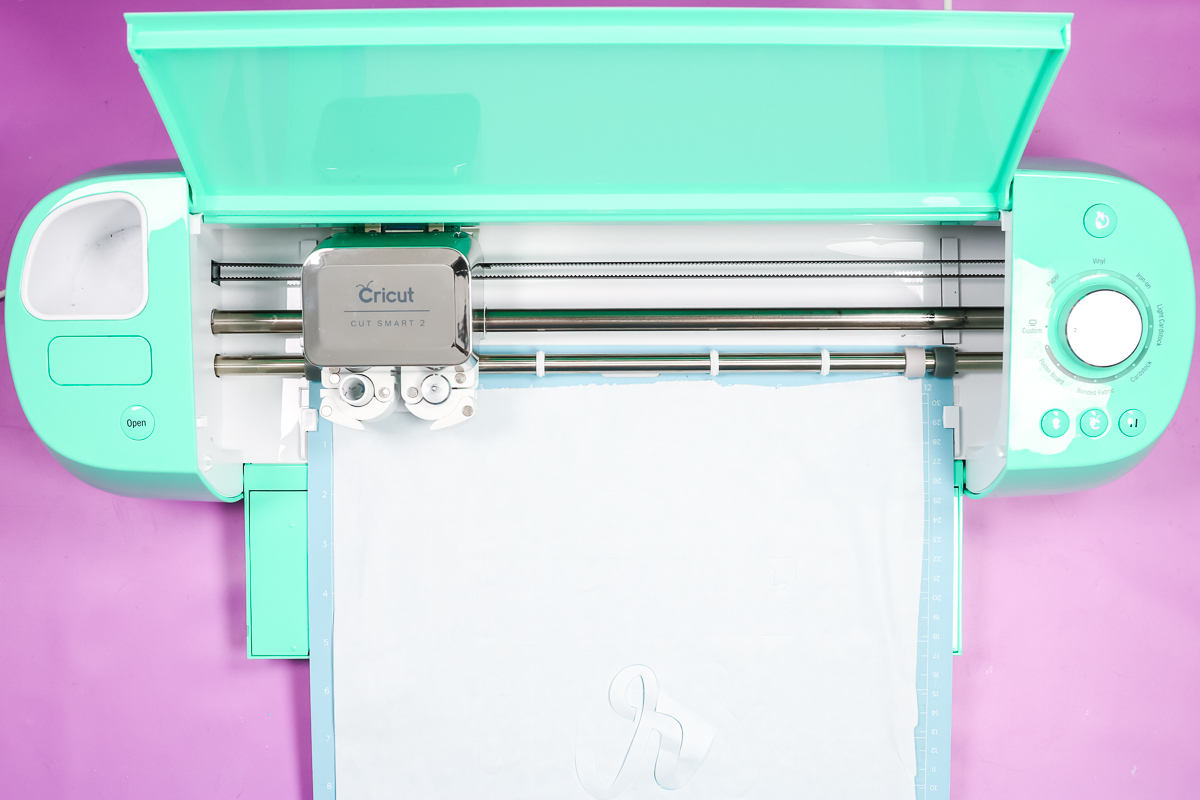
Add the freezer paper to a light grip mat with the shiny side down. I just trimmed my freezer paper to the size of my mat.
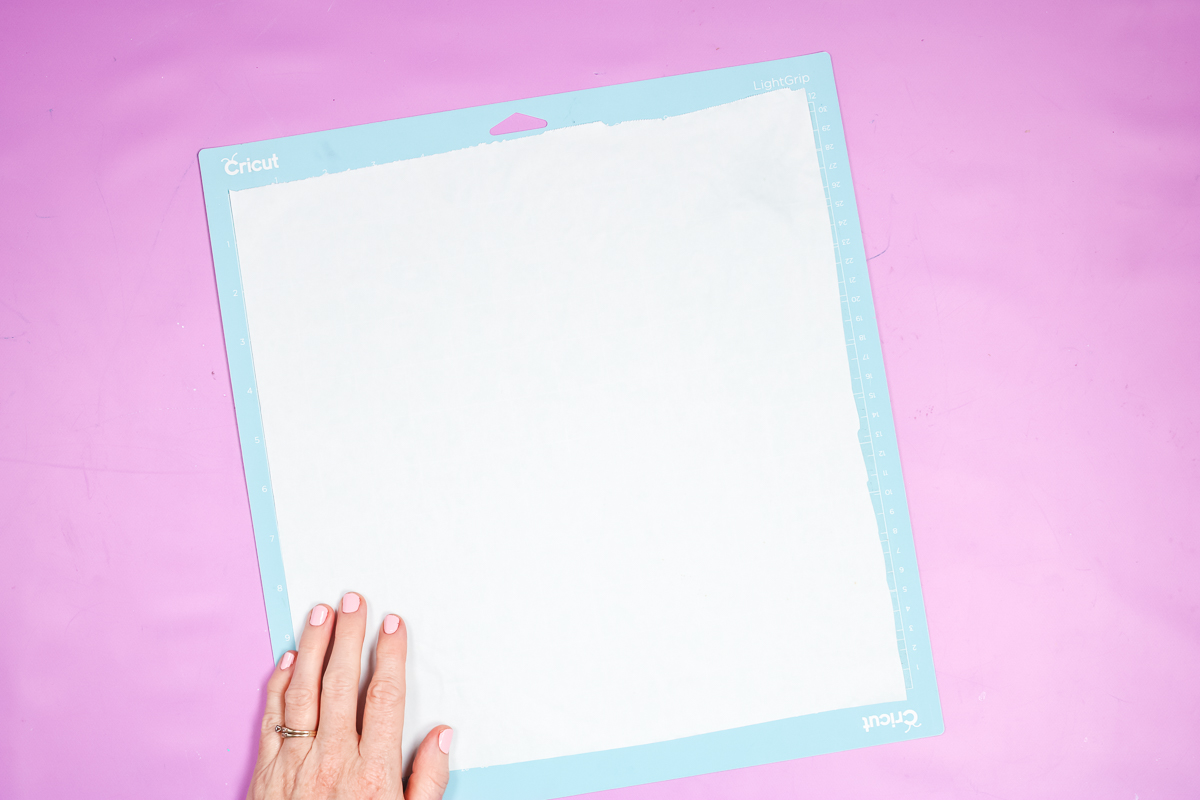
Then choose the 20 lb copy paper setting in Design Space or the freezer paper setting if you have it setup as a custom setting. Move the design to the middle of the mat before cutting. You do NOT have to mirror the design before cutting.
Adding A Freezer Paper Stencil To Fabric
Once your design is cut, flip the mat over to peel off the freezer paper. Remove it carefully so it does not rip. If you have your design correct, this should remove in one piece.
TIP: Put your jacket on some cardboard now so you can move the entire thing outside when it is time to paint.
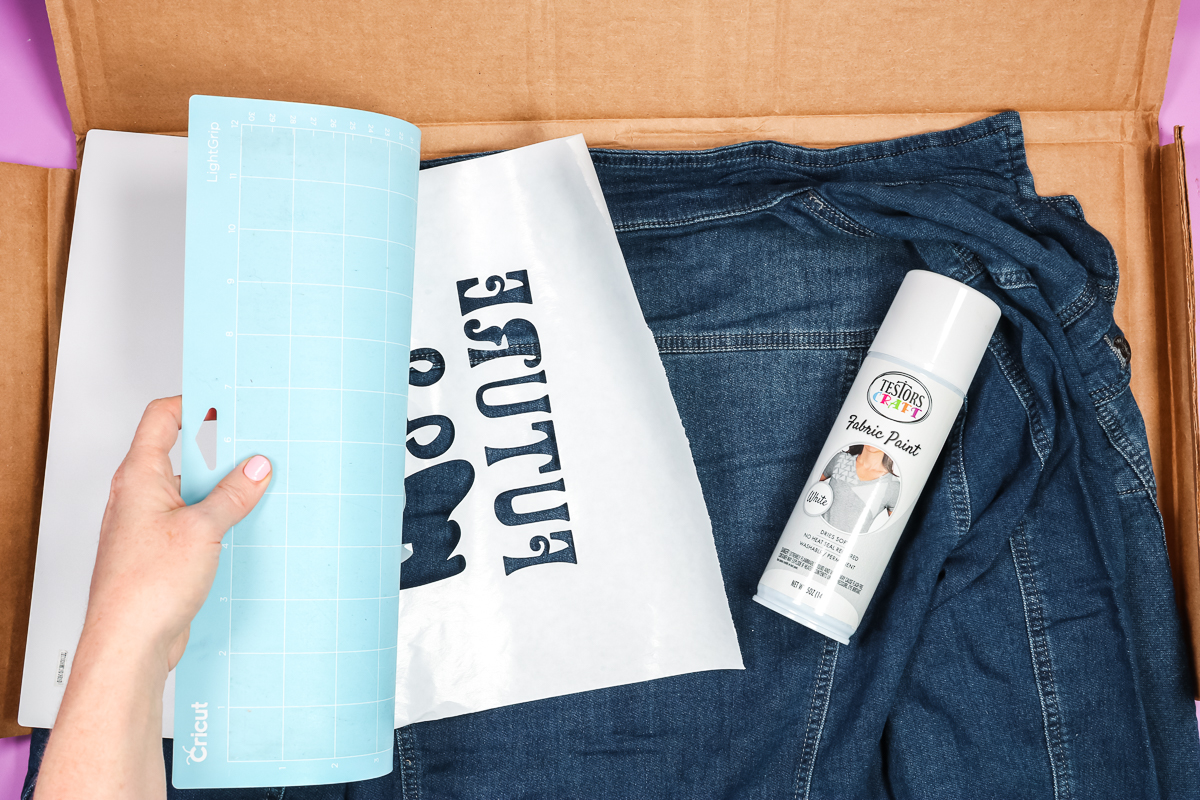
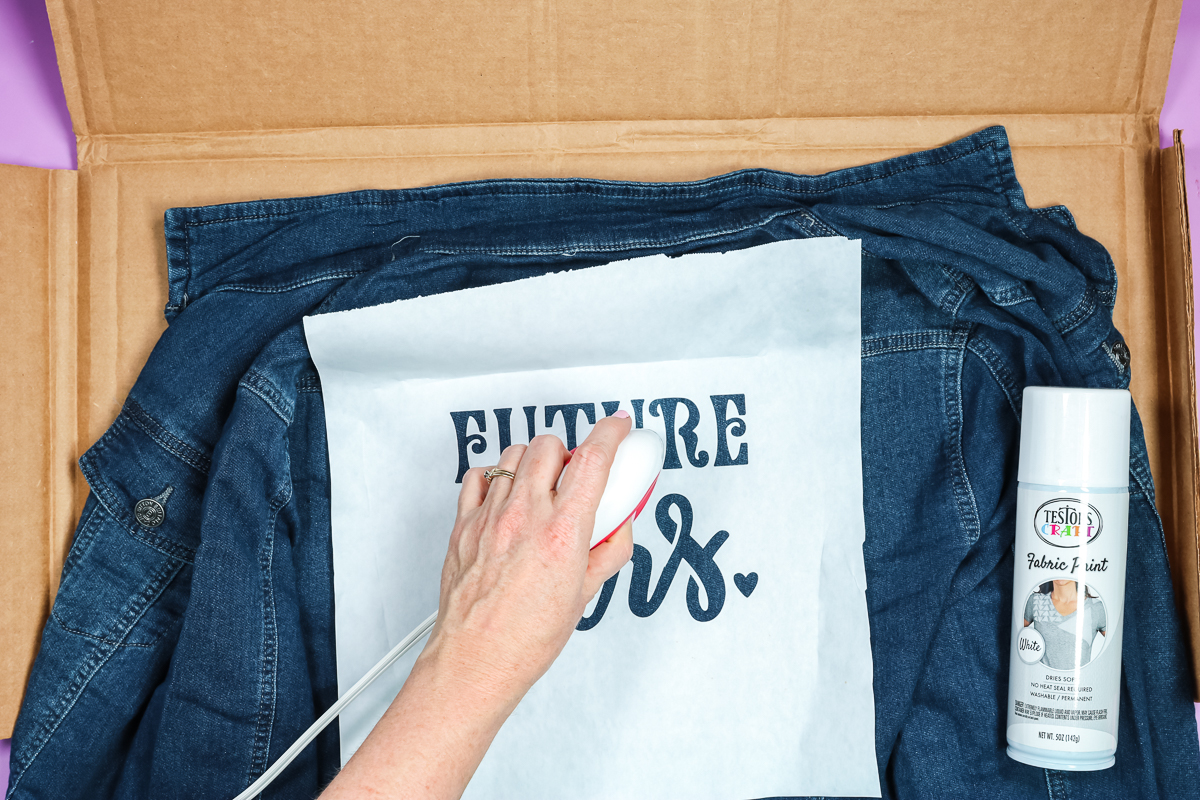
Press the jacket to remove any wrinkles then locate the stencil in place on your jacket.

Use an EasyPress mini or even an iron to adhere the freezer paper to the surface. It takes just a few seconds in each location.
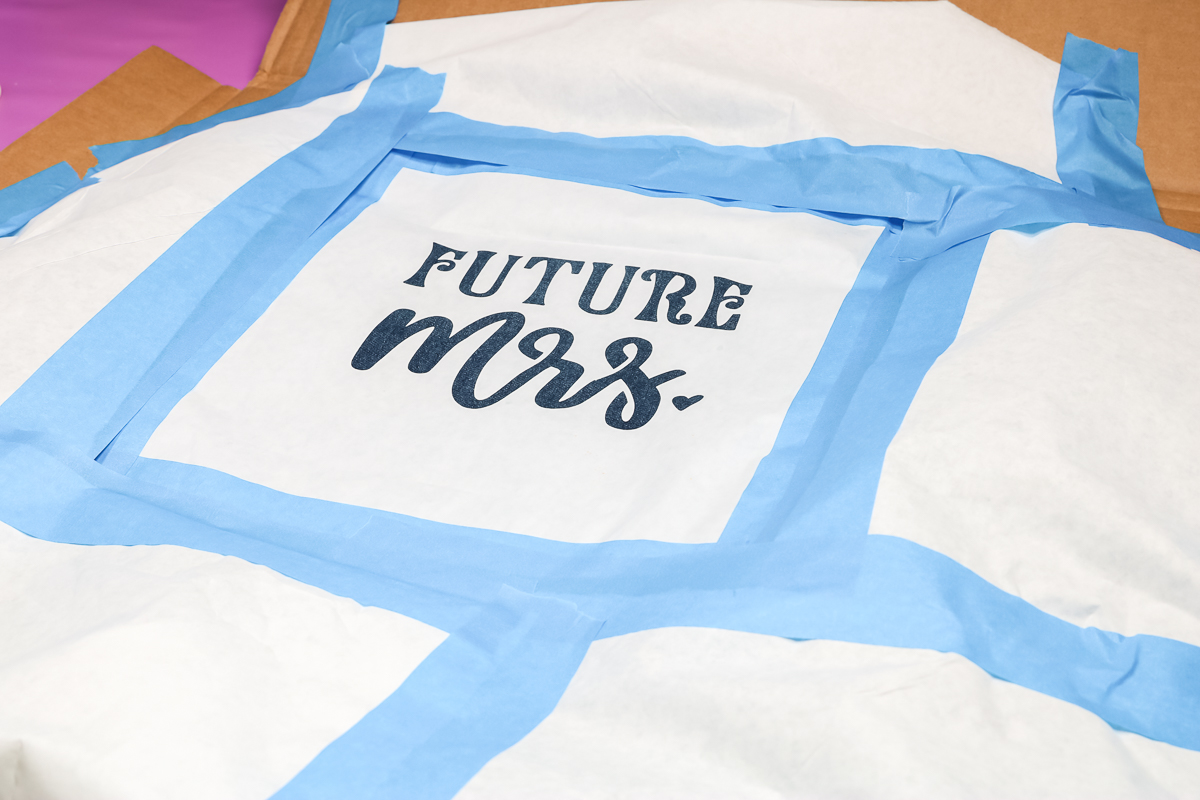
Add painter’s tape around the outside edge of your stencil.

Use the painter’s tape to hold scrap paper all the way around the outside edge. I find it best to cover up the entire jacket to protect it from overspray.
Using Fabric Spray Paint
Pick up the entire thing (including the cardboard) and take it outside to spray. Here are a few tips and tricks for spraying so your project is successful:
- Spray paint when it is warm for best results.
- Shake your can well before starting and frequently during application.
- Spray in light coats that are a few minutes apart. Spray one light coat. Wait 2 minutes then follow with another light coat.
- Overspray on both sides of the stencil. Start far to the left, spray over the stencil, and end the pass far to the right. That way you don’t have any pooling on the stencil itself.
- Stay 6 – 12 inches from the stencil when spraying and spray from the top straight down.
- I felt that 3 – 4 coats were adequate for the look that I wanted. You can, however, do more coats to make the painted area look more white in this case.
- After spraying, wait 5 to 10 minutes before peeling back the stencil.
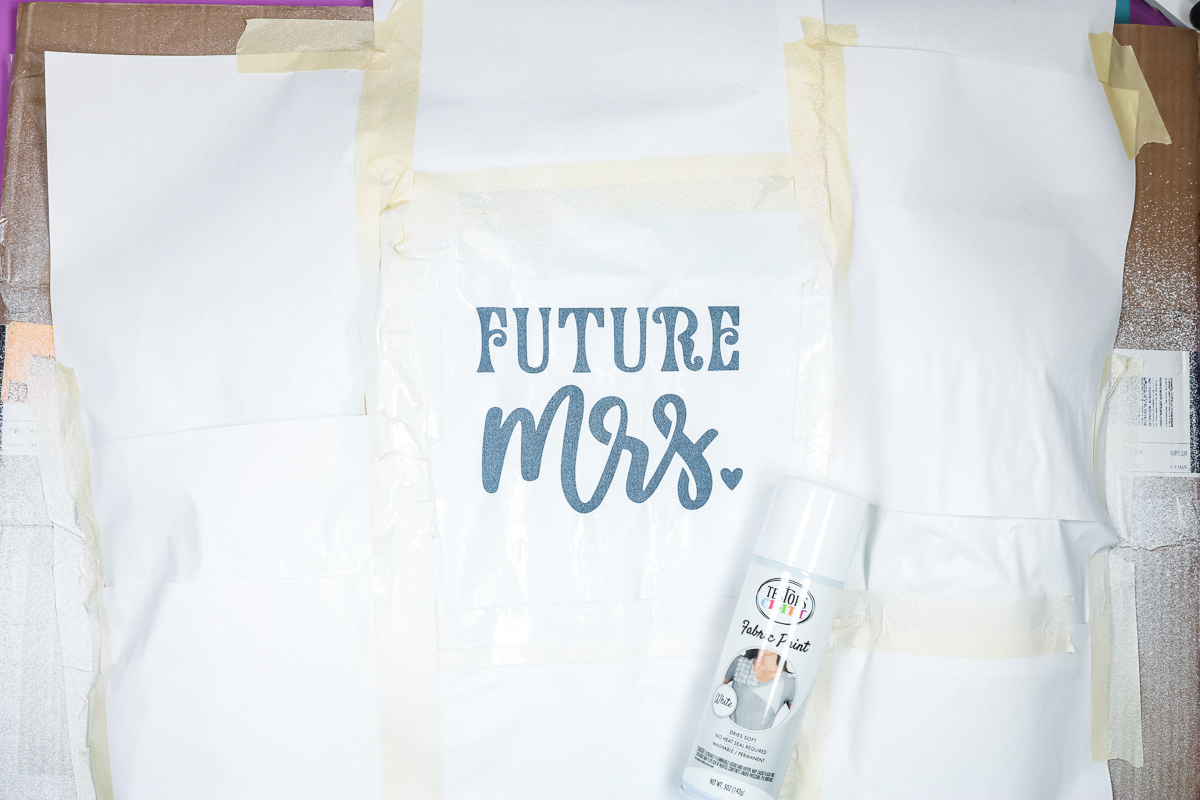
When you remove the stencil, just peel it back from the fabric. It will remove easily. It may rip and leave some small pieces on the fabric. Just lift these with some tweezers.
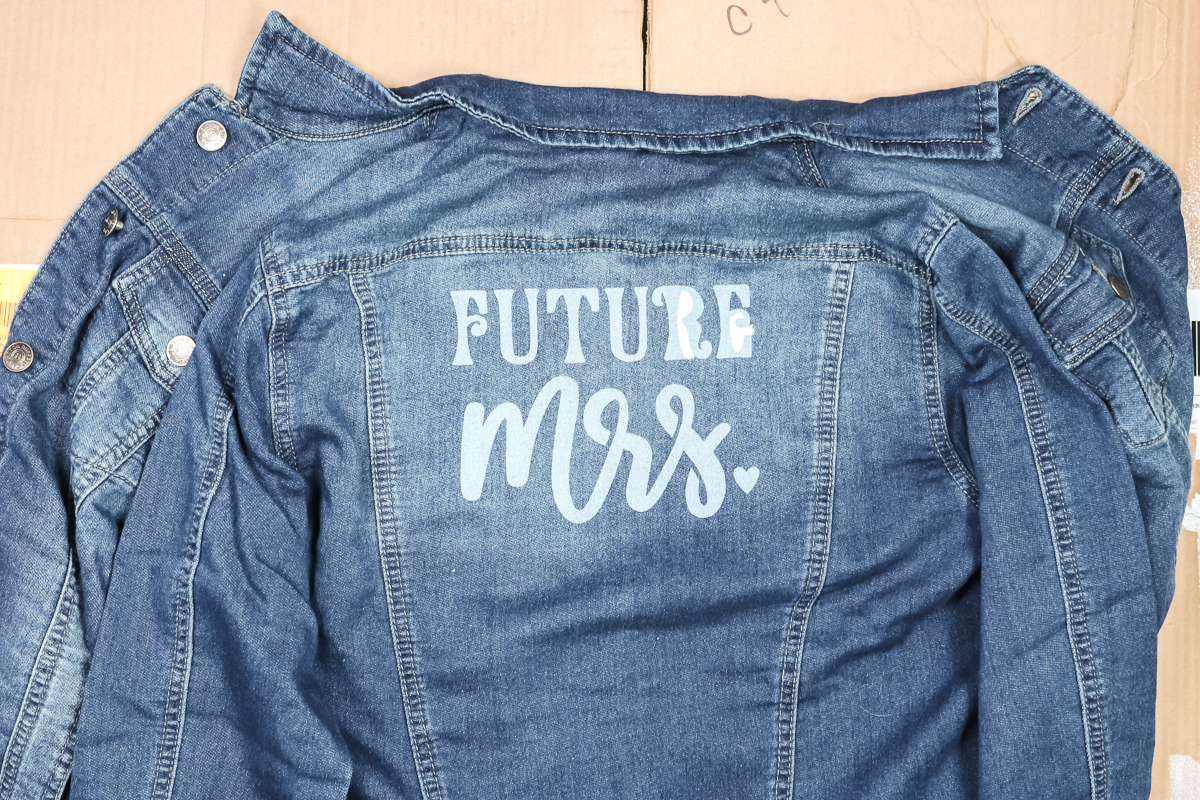
Painted Fabric Care Instructions
Once you are done, you will want to follow all directions on the can of fabric spray paint. That includes to wait 30 minutes before handling your project. It will be dry in 3 hours but you want to wait 3 days before washing. You do not have to do any heat setting with this product and it will dry soft to the touch.
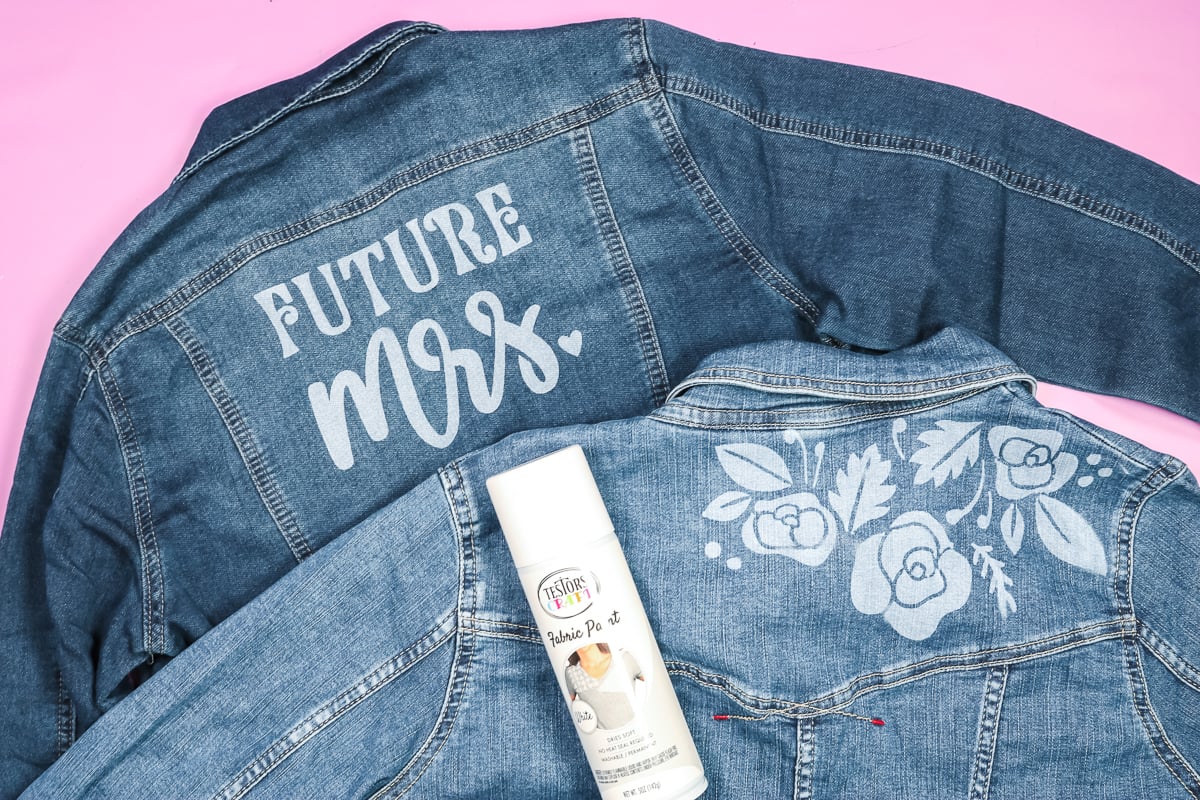
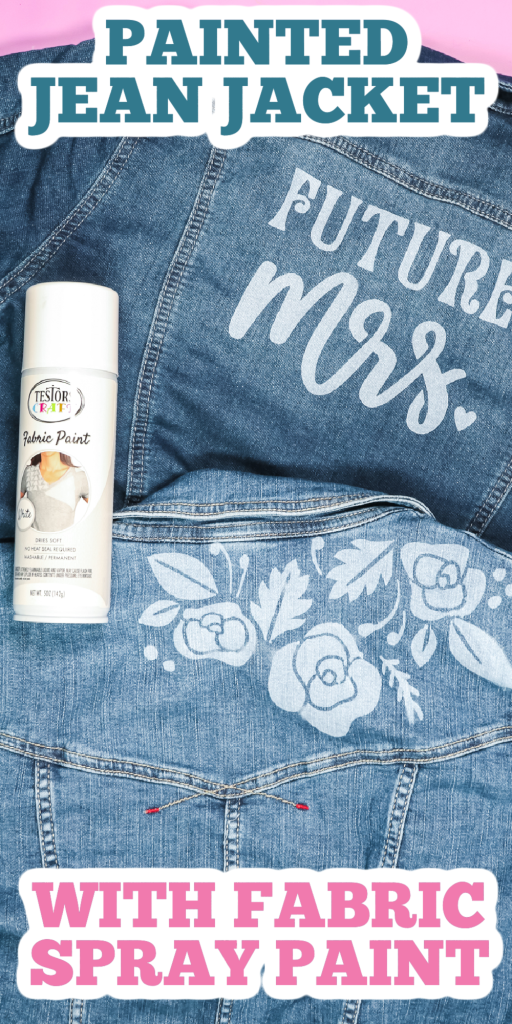
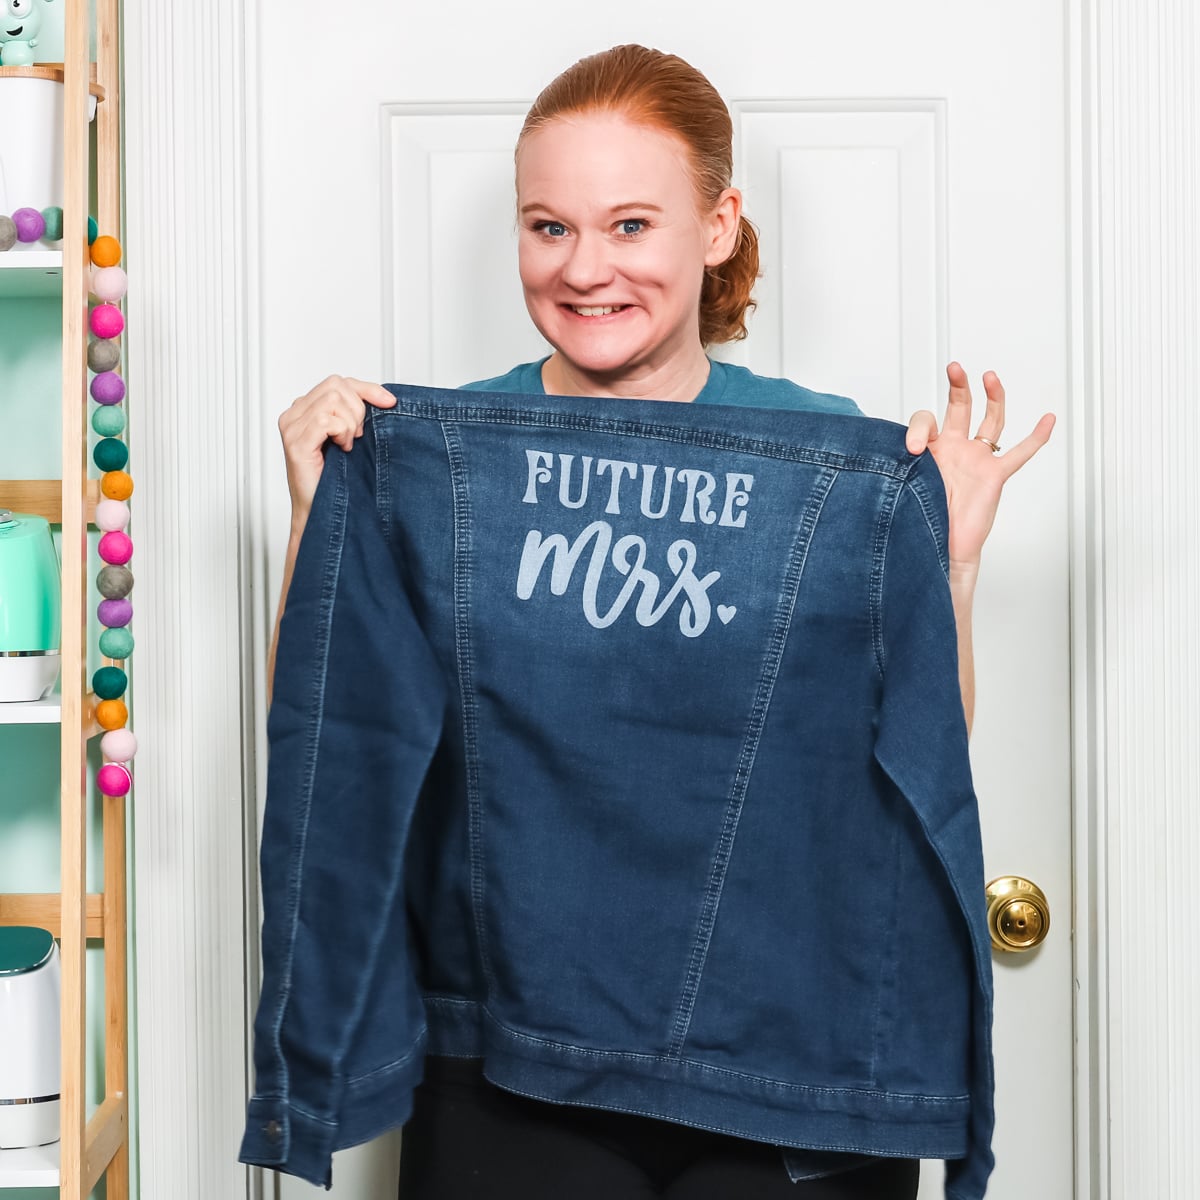
I did a few different designs as examples but you can choose any design you can cut with your Cricut. You can even choose to make a wedding denim jacket like this one for some cute pictures.
My personal favorite is the one with this floral design on the shoulder. I will be claiming this one for myself!

So, will you be making a painted jean jacket of your own? What design will you use? I can’t wait to see what you create!
I am just over here trying to think of more painted jean jacket ideas. What other designs can I use to make a stencil?
FAQS About How To Paint A Jean Jacket
Here are questions I frequently see readers ask about how to paint a jean jacket. If you have a question but don’t see it answered down below, please leave it in the comments so I can answer it for you.
Can This Technique Only Be Used On A Jean Jacket?
Oh no! You can use it on any fabric!
What Jean Jackets Did You Use?
I used two versions. I really loved this version and this one I personally didn’t like the feel of it, but you can substitute your favorite jacket or any other fabric
How Do You Print Them On Freezer Paper? Do You Do It Yourself From Your Own Printer?
I don’t print on the paper. I cut it into stencil designs with a Cricut.
What Cricut Machine Can I Use For This Project?
Any Cricut machine will work!
What’s The Advantage Of Using Freezer Paper Instead Of Vinyl As The Stencil?
It’s cheaper and I actually find it easier to use. Plus, I think it sticks better to the fabric.
I Wondered If You Have Done Any With Multiple Colors. I Know You Would Have To Block Off Some. Could You Do That With Freezer Paper?
I think so! I think I would have two stencils – one for each color. Paint the first, remove, then locate and press the second and paint after the 3-hour handling time.
Could You Use Adhesive Spray Instead Of Ironing The Paper?
I don’t like using adhesive spray on fabric. My personal preference.
What Is The Font You Used For This Project?
It was a design in Cricut Design Space.
Would This Procedure Work With Bleach? If You Put Bleach And Water In A Bottle And Spray Over The Stencil?
I have done something similar. It does work but the bleach does bleed under the stencil as it absorbs in the fabric fibers.
5 More Fabric Crafts
Did you love learning how to paint a jean jacket and are looking for more fabric crafts? Then check out the projects below!

