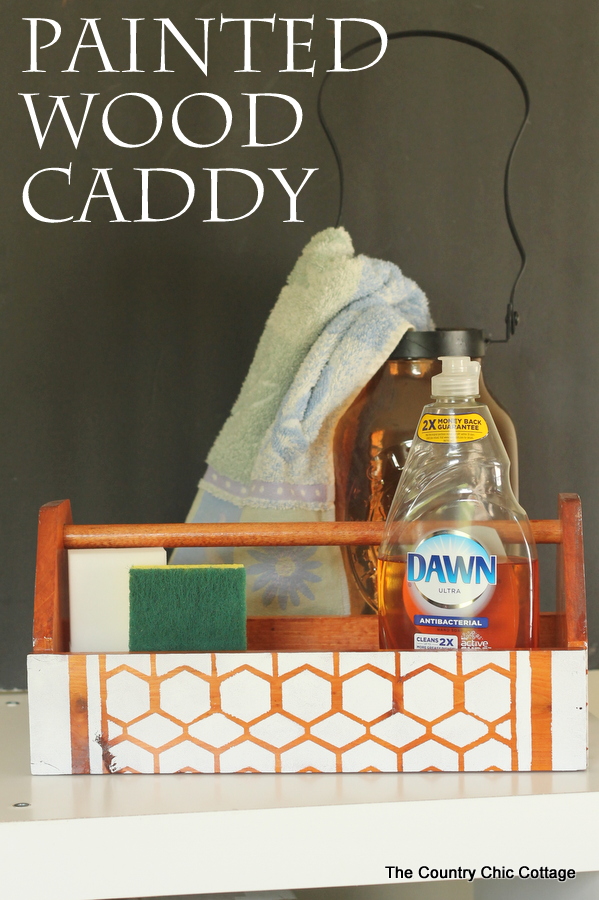
Learn how I made this painted wood caddy to use as a mudroom cleaning container. Brighten up your cleaning workspace with this easy craft project!
I recently completed this painted caddy and thought I would share how to stencil on wood with you today.
This post was originally written in 2014 using a premade stencil. It has been updated to include instuctions for making a stencil using a Cricut machine.
How to Stencil on Wood
Let me walk you through how to stencil on wood and customize this caddy with a few supplies and a Cricut machine.
I am going to use my Cricut machine to make the stencil. You can make a stencil with just about any shape you can imagine. Just follow my tips and tricks below then grab your Cricut and preferred stencil material to make something amazing!
Supplies Used
- Cricut Machine (see the difference between the machines in this post)
- Vinyl, stencil vinyl, or stencil film
- Transfer Tape (if not using stencil film)
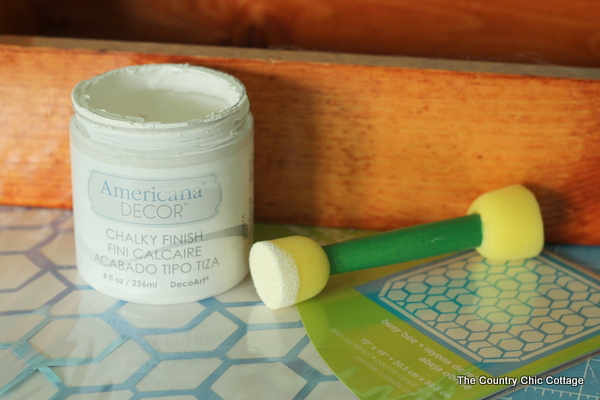
- Chalk paint
- Wood caddy
- Pouncer stencil brush
- Weeding tools (if not using stencil film)
- Transfer tape (if not using stencil film)
- Scraper (if not using stencil film)
- Stencil Adhesive (if using stencil film)
- Painter’s tape
- Americana Decor Creme Wax
Instructions to Stencil on Wood
Step 1 – Stain Your Wood Caddy
My wood caddy was nicely stained already. But if the one you have one that is unstained, or you’d like to change the color, check out how I used stain on another project.
Step 2 – Design Your Stencil
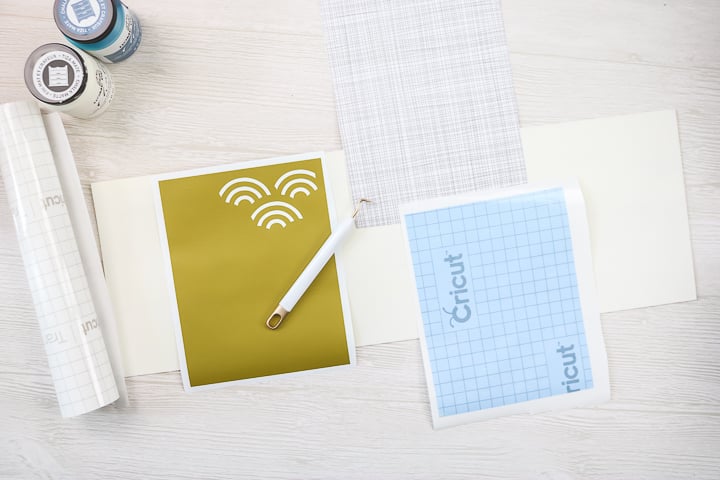
Then use Cricut Design Space to create and cut your stencil for your caddy. You can upload an SVG or design right in the application.
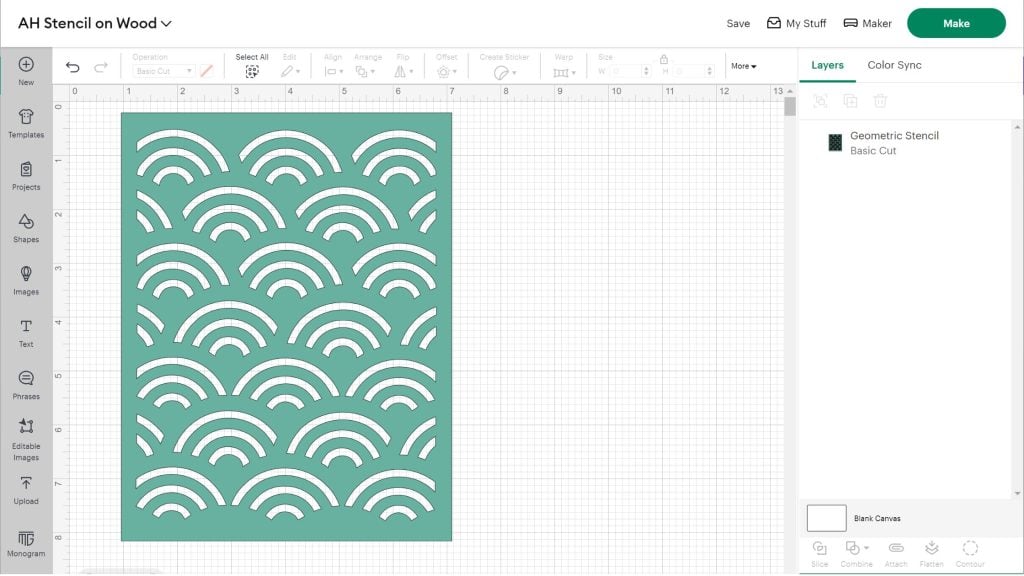
I found the above design by searching “stencil” in Cricut Design Space. It was already sized to 6×8 inches, but you may need to adjust your sizing depending on the look you desire and size of your blank.
Step 3 – Cut the Stencil
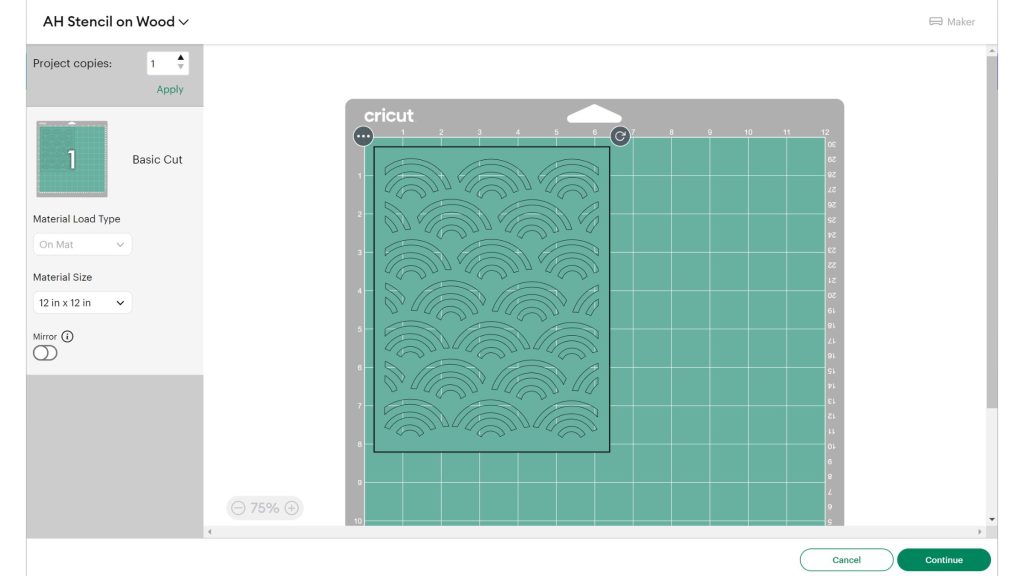
Once you have your design sized, cut it from adhesive vinyl, stencil vinyl, or even stencil film to make a reusable stencil. I’ve been making stencils using my Cricut for a while now. If you want more info on creating your own stencils, you may find this post helpful.
Step 4 – Weed the Stencil
After you cut your design, make sure to weed any parts that you want to paint on your caddy. If you are using stencil film, the excess pieces will stick to your mat, eliminating the need to weed.
Step 5 – Add the Stencil to the Wood Caddy
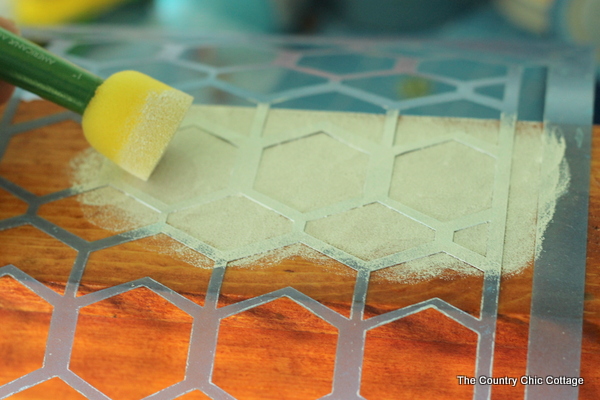
If using stencil film, spray the back of the stencil with removable stencil adhesive (do this outside!). Lightly tack to your surface and pounce with a brush and chalk paint. You can then readjust the stencil to the next area to be covered. In my case, I covered all of the sides but left the ends and inside unpainted.
If you are using adhesive vinyl or stencil vinyl, cut a piece of transfer tape to help place the stencil on your caddy. For this method you will probably need a new stencil for each section. You may be able reuse it, but they tend to tear easily and are pretty much single-use stencils.
Step 6 – Add Paint
The final step learning how to stencil on wood is adding paint. For either type of stencil, place a small amount to paint on your brush. You can always add another layer of paint after the first pass. You don’t want too much paint on your brush, as it may seep under your stencil and bleed onto your surface.
Step 7 – Admire your work!
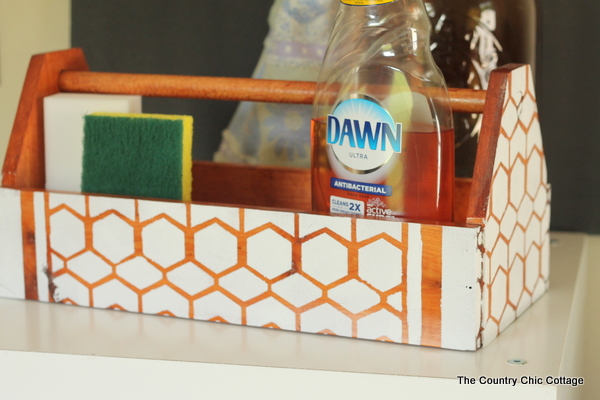
Once you have completed stenciling all of the sides of your caddy, allow the paint to dry completely before using it. You can wax the wood with Americana Decor Creme Wax to get a glossier sheen and protect your work.
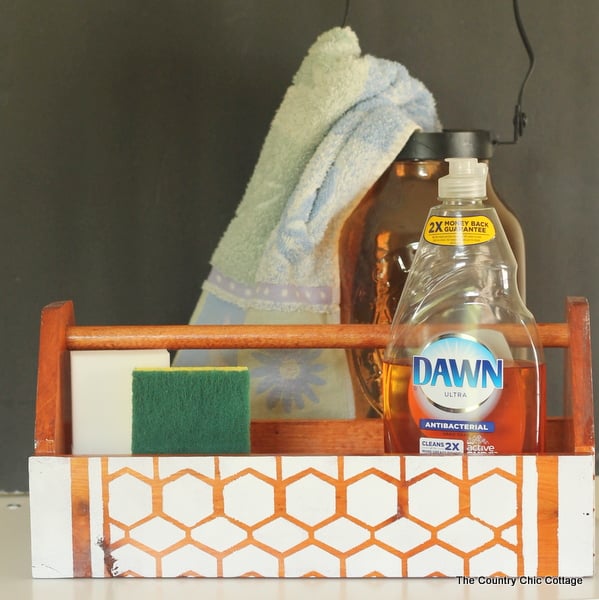
I am using this one as a storage cleaning caddy in our mudroom. It will sit next to the sink and store soap, sponges, etc. I love the wood showing through the stenciled surface. It really was just what this room needed.
More Stencil Projects
Now that you know how to stencil on wood, what will you make next? Here are some more projects you may enjoy creating:
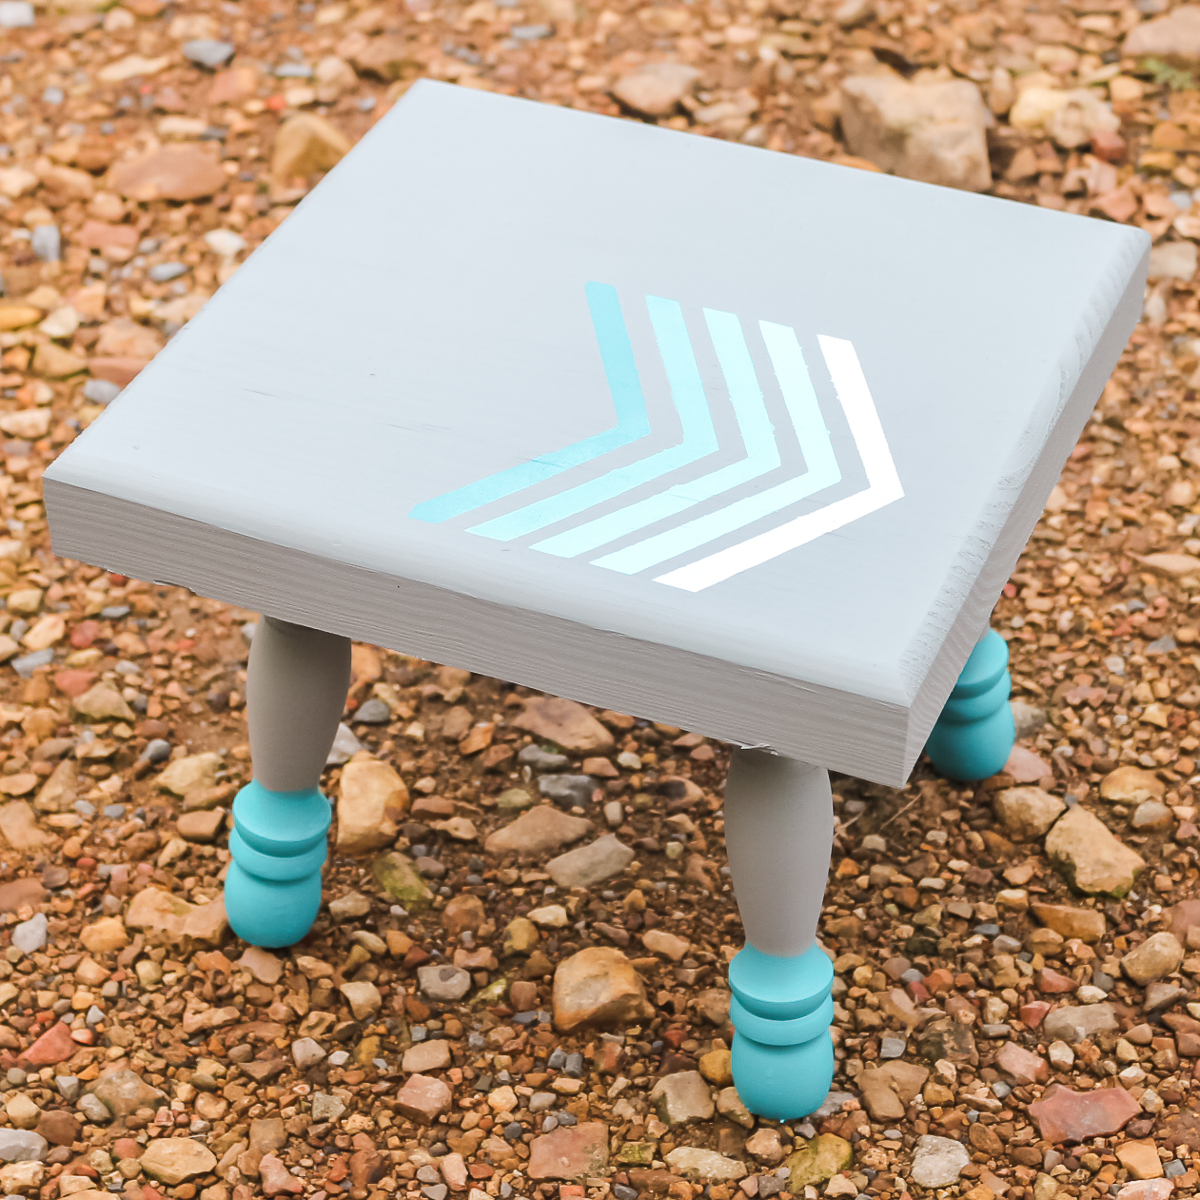
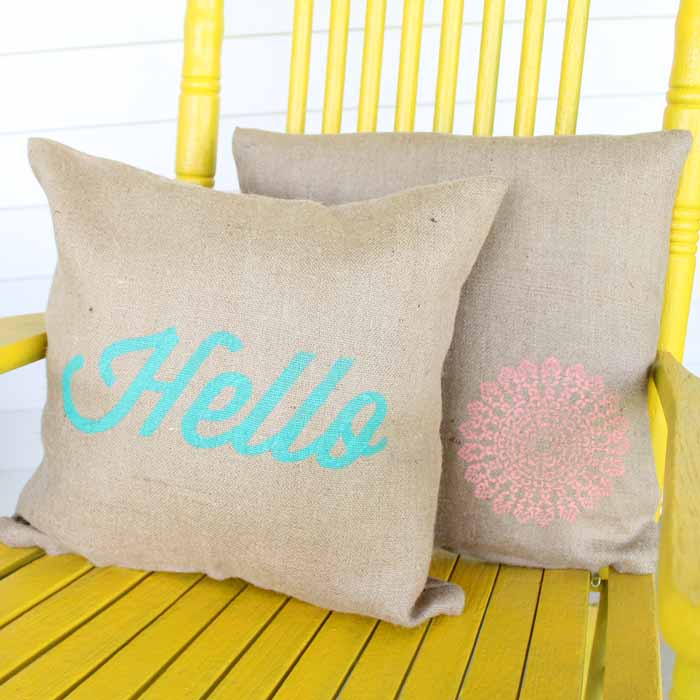
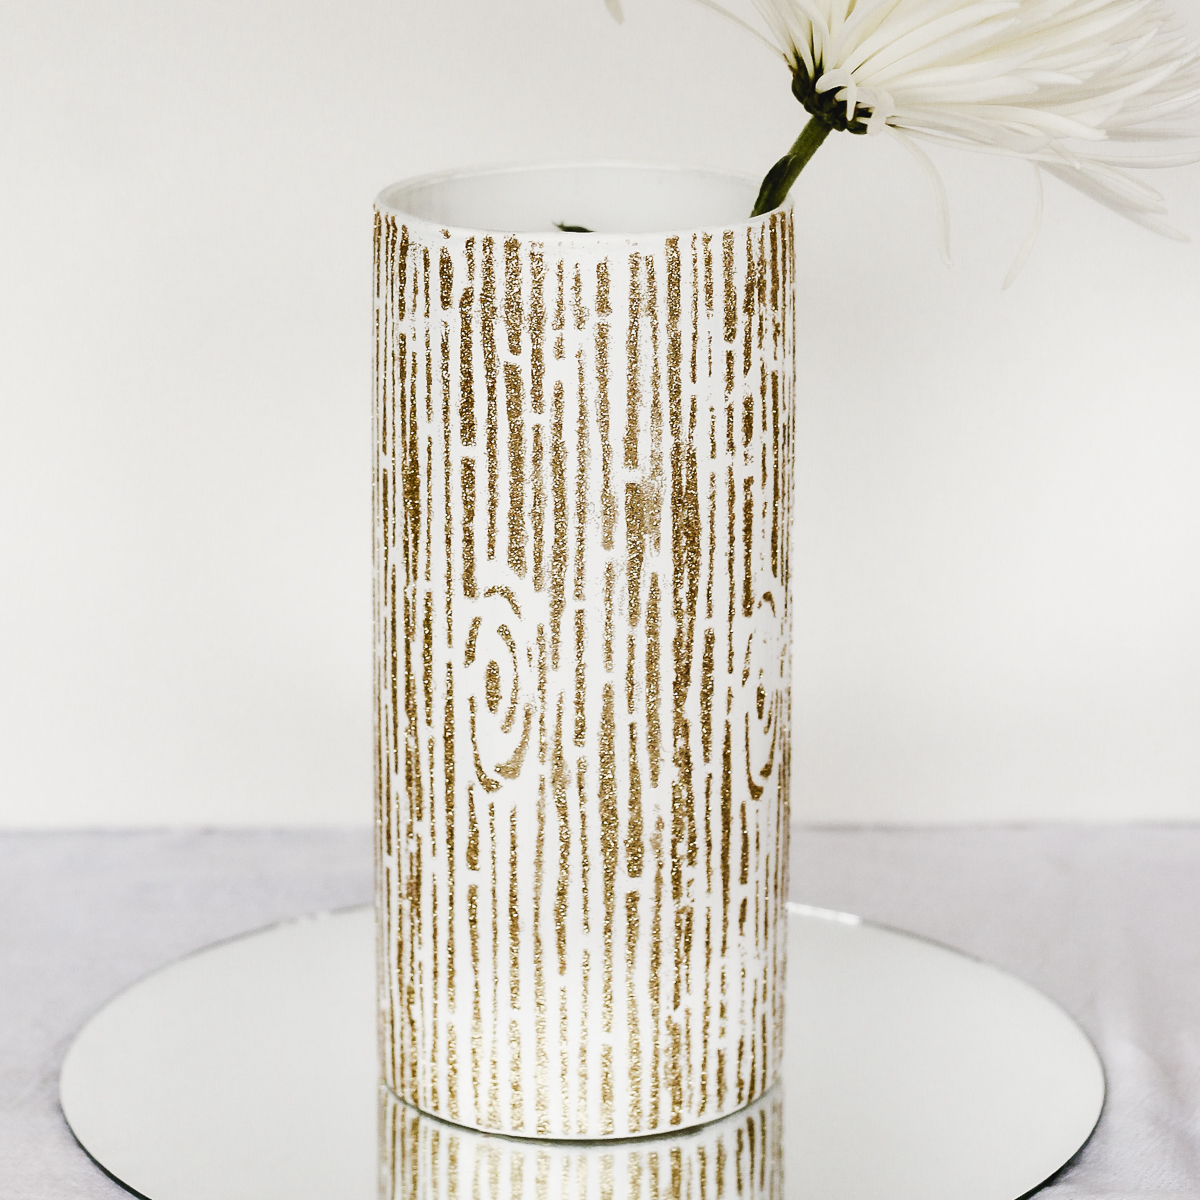


That caddy turned out so cute and would be great for so many uses. You could use it to organize something in every room of your house.
Question about stencil vinyl. I have been doing distressed wood signs where I stain the board, then paint over it with chalk paint, and then sand the edges to distress it. Lately I have been having a lot of trouble with my stencil vinyl. No matter what I seemed to do lately, when I pull the stencil vinyl off after painting, it keeps taking chunks of the bottom base coat of my board with it. I have tried cleaning the board before staining and painting it, I have tried sealing the chalk paint before our stencil over, but nothing seems to be helping lately. I have even tried pulling the stencil off against the grain. Any suggestions? I’m not sure if it’s because it’s chalk paint that it peels off the base coating or if acrylic paint works better.
How long are you allowing the paint to dry? I suggest at least overnight. Often the paint is dry to the touch but not completely dry. If possible let it dry for at least 24 hours or use a fan or something to help it dry faster. The only times I’ve had this problem is when my paint is not all the way dry.