Thinking of painting a clawfoot tub? Follow along with this tutorial to learn how to paint a clawfoot tub. Painting a clawfoot tub may seem intimidating. But with a little preparation, your tub can get a complete makeover! Learn how to paint the outside of the bathtub as well as the feet of the tub with a few easy steps.
This post is in conjunction with DecoArt and was compensated however all projects and opinions are my own.
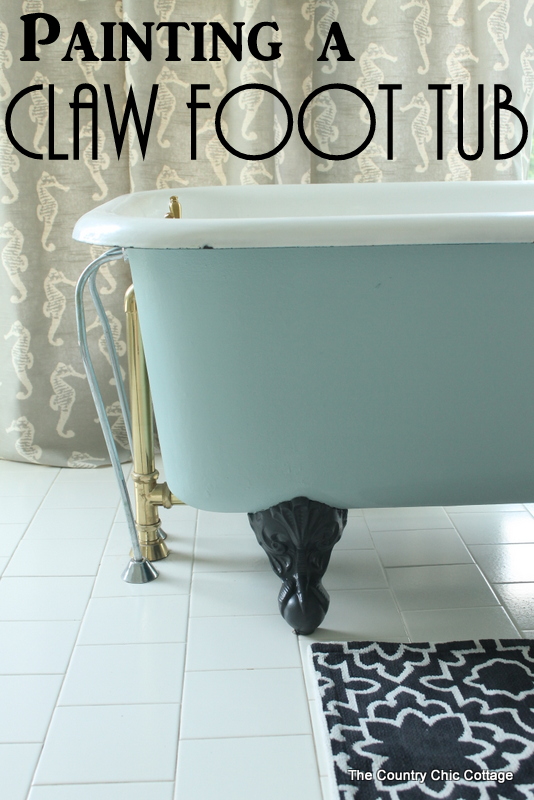
I have been working on painting a clawfoot tub and the results make my heart sing. This is the first step in a bathroom makeover that I hope you all are going to love. I did some research and painting a clawfoot tub is surprisingly easy.
Upon researching painting a clawfoot tub, I realized that often these were just painted with the wall paint when the bathroom was painted. There really aren’t any special methods or secrets. Just paint. Now don’t I feel silly for letting this go so long.
Along with this bathroom makeover, I had a lot of small bathroom storage ideas, too. This bathroom organizer that hangs on the wall was perfect for holding toothbrushes and makeup brushes. And our bathroom cabinet and drawers were in desperate need of organization! If you love farmhouse decor like I do, these rustic bathroom ideas would be perfect for you.
How to Paint a Clawfoot Tub
Supplies needed for painting a clawfoot tub:
(Affiliate links may be used in supply lists on this site. If you click and purchase a portion of the sale may go to support this website)
- Americana Chalky Finish Paint in your choice of colors, Vintage for the tub and Relic for the feet (All Americana products discussed in this post are available at: Homedepot.com)
- Americana Satin Finish Varnish (this makes the outside of the tub easy to clean!)
- Paint roller and small brush
- Cleaner
- Drop cloths or other method to cover the work area
- Painter’s tape
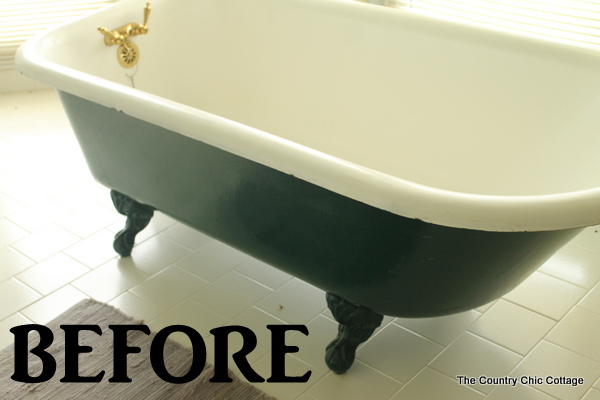
Let’s start with the best part — a before and after shot. Everyone loves those right. When we bought this house the tub was a lovely shade of hunter green and I never touched it.
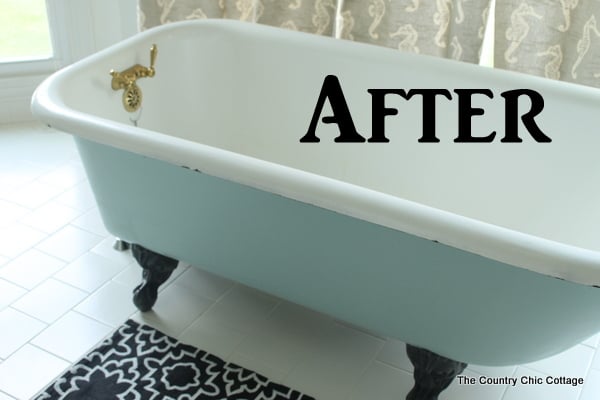
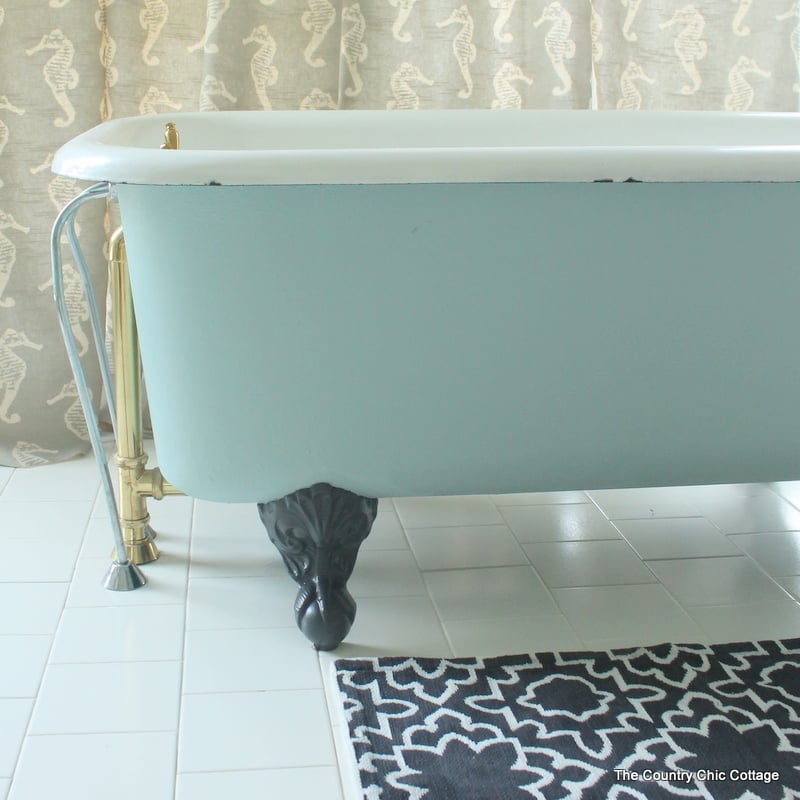
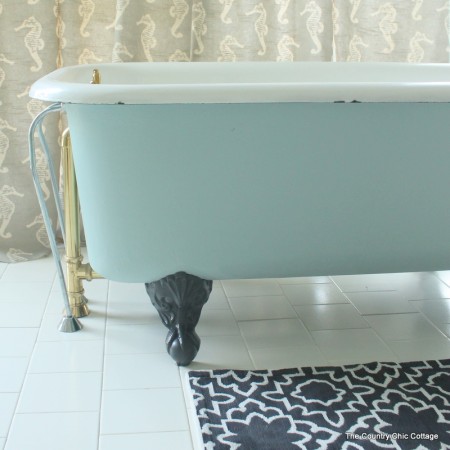
Until now! Look at that after y’all! What a difference a coat of paint can make!
Instructions
Before we get started, it’s important to note that any mention about painting the tub refers to the outside of the tub only!
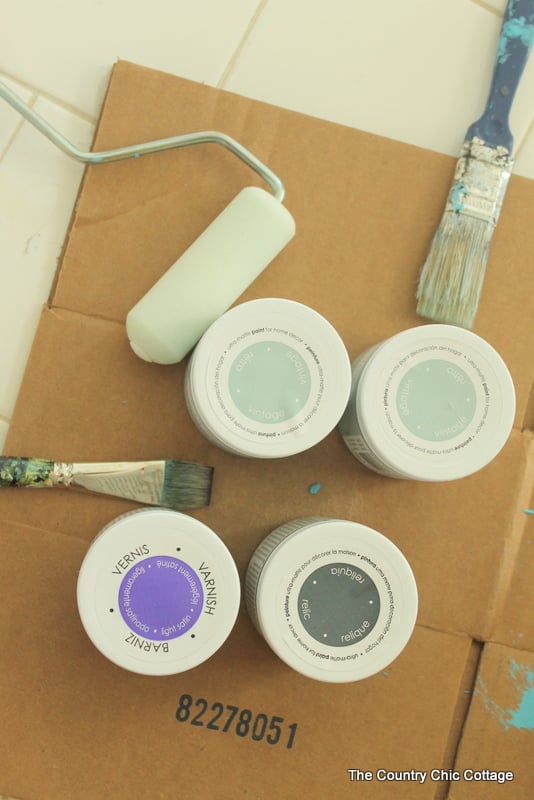
To start, make sure to clean the outside of the tub and feet well. Then, use a smaller roller to roll on the first coat of paint. Allow everything to dry and cure before adding additional coats.
The below picture is after one coat of Vintage. I actually painted this coat over another color so you can see how much coverage this paint provides.
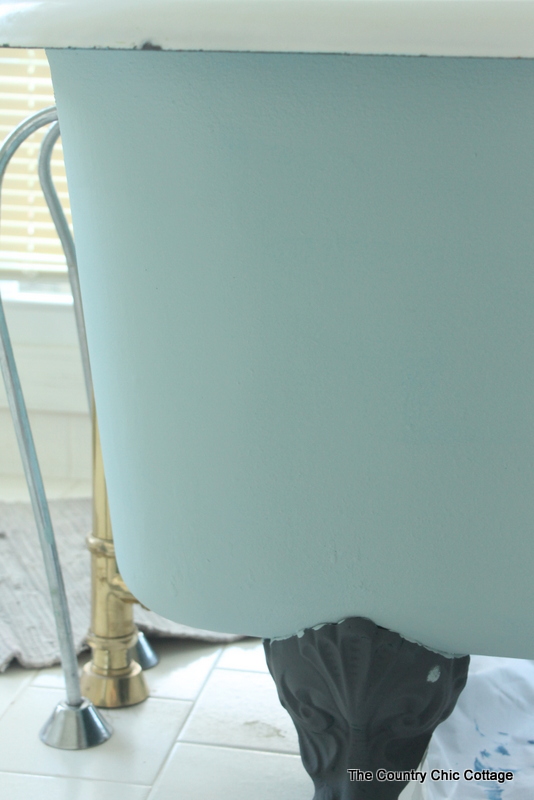
It was hard to capture with the camera but the outside of the tub definitely needed two coats before adding the varnish.
For the clawfoot tub feet, I used a brush dipped in the Chalky Finish paint. Again, allow everything to dry completely before adding additional coats. Since we don’t use this tub often, I only used one coat of varnish.
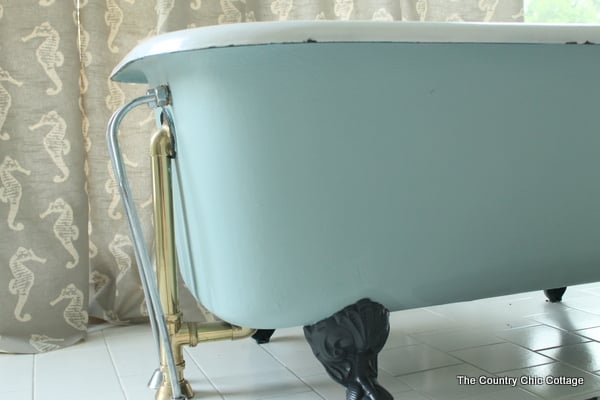
Seriously, it is a pain to wait for this huge tub to fill up so it sits unused. But if you are painting a clawfoot tub that gets used regularly, I would recommend at least two coats of varnish. I recommend allowing everything to cure for a few days before using the tub. After that, jump in and enjoy!
You can just see a little shine on those feet. It is just slightly shiny and I love it!
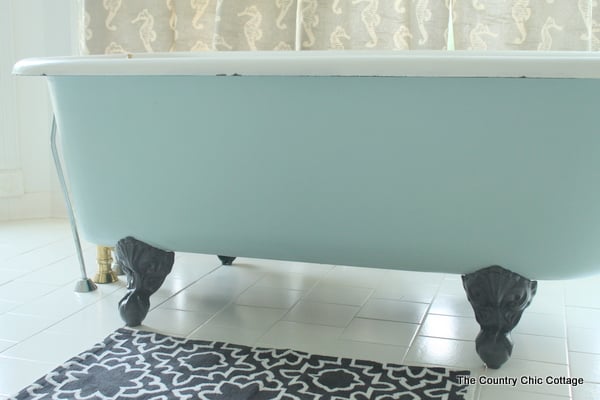
Are you planning on painting a clawfoot tub? Just jump in and do it! You will be so glad you did!
I was compensated for this post through DecoArt however all projects and opinions are my own.
Equipment
- Paint roller and small brush
- Cleaner
- Drop cloths or other method to cover the work area
- Painter’s tape
Supplies
- Americana Chalky Finish Paint in your choice of colors I used Vintage for the tub and Relic for the feet
- Americana Satin Finish Varnish this makes the outside of the tub easy to clean!
Instructions
- Before we get started, it’s important to note that any mention about painting the tub refers to the outside of the tub only!
- To start, make sure to clean the outside of the tub and feet well. Then, use a smaller roller to roll on the first coat of paint. Allow everything to dry and cure before adding additional coats.
- For the clawfoot tub feet, I used a brush dipped in the Chalky Finish paint. Again, allow everything to dry completely before adding additional coats.
- After everything has dried, apply one coat of varnish. Since we don’t use this tub often, I only used one coat of varnish. If you are painting a clawfoot tub that gets used regularly, I would recommend at least two coats of varnish.
- Allow everything to cure for a few days before using the tub.


I bought an claw foot tub but with rust stains on the inside. Thought I could get them out with a bit of elbow grease but that did not work! Is there a way of painting the inside? I want to keep the tub but I also want it to look good. Help!
I have a claw foot tub that needs the inside done. DO you have any suggestions for a paint I can use to cover the rust stains inside because I really do not want to get rid of it. Help!
Oh boy! There is a way you can redo it. Look up refinishing a claw foot tub. That should give you advice on the inside. That is an entirely different type of process!!
Hi!! I love your tutorial. 🙂 I’m about to paint the exterior of my (soon! Once we close) clawfoot tub! How much paint did you need for the exterior? (Excluding the feet.)
Thank you!
I think I used two of those small cans! Good luck!
Did you wire brush or sand 1st
No I did not. The chalk paint generally does not need preparation.
Can you please tell me the color?
I used vintage for the tub and relic for the feet. It is the Americana Chalky Paint from DecoArt.
Home Depot has bathtub paint kits for the inside of the tub’s also chip fix which works amazing.
Thank you so helpful 😊
I am curious if chalk paint is prone to chipping on this type of surface.
I haven’t had a problem with it. The top varnish coat helps protect the paint. My tub is not used often, if yours is I would make sure to do 2 coats of varnish and allow it to cure fully before using.