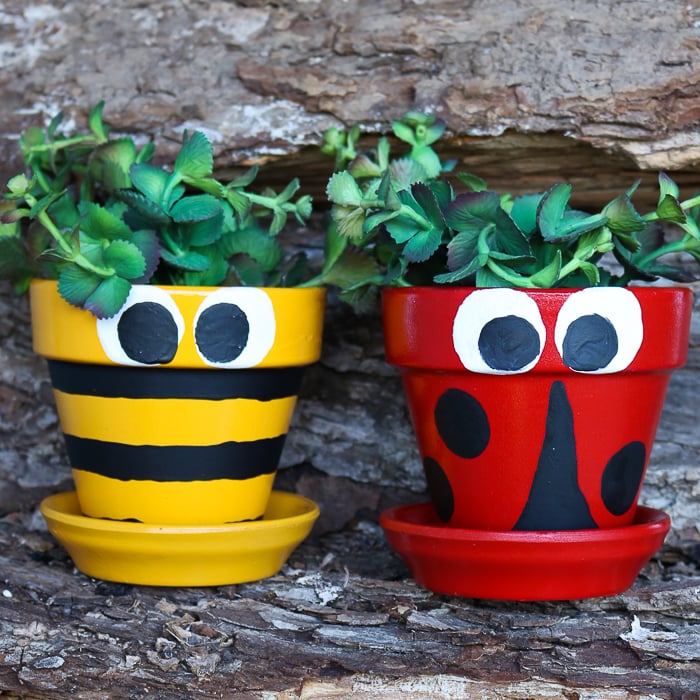
I am all about some easy tie dye. Regular methods are sooo messy and I usually end up never actually doing my project because I dread the clean-up. There has to be a better way right? Well, Testors Fabric Spray Paint comes to your rescue! Use it for some tie dye fun with your family and end up with some amazing shirts with almost no clean-up. Now that sounds like a dream come true, right? Make these shirts and some painted clay pots for a fun family afternoon of crafting.
This post is sponsored by Testors, however, all projects and opinions are my own.
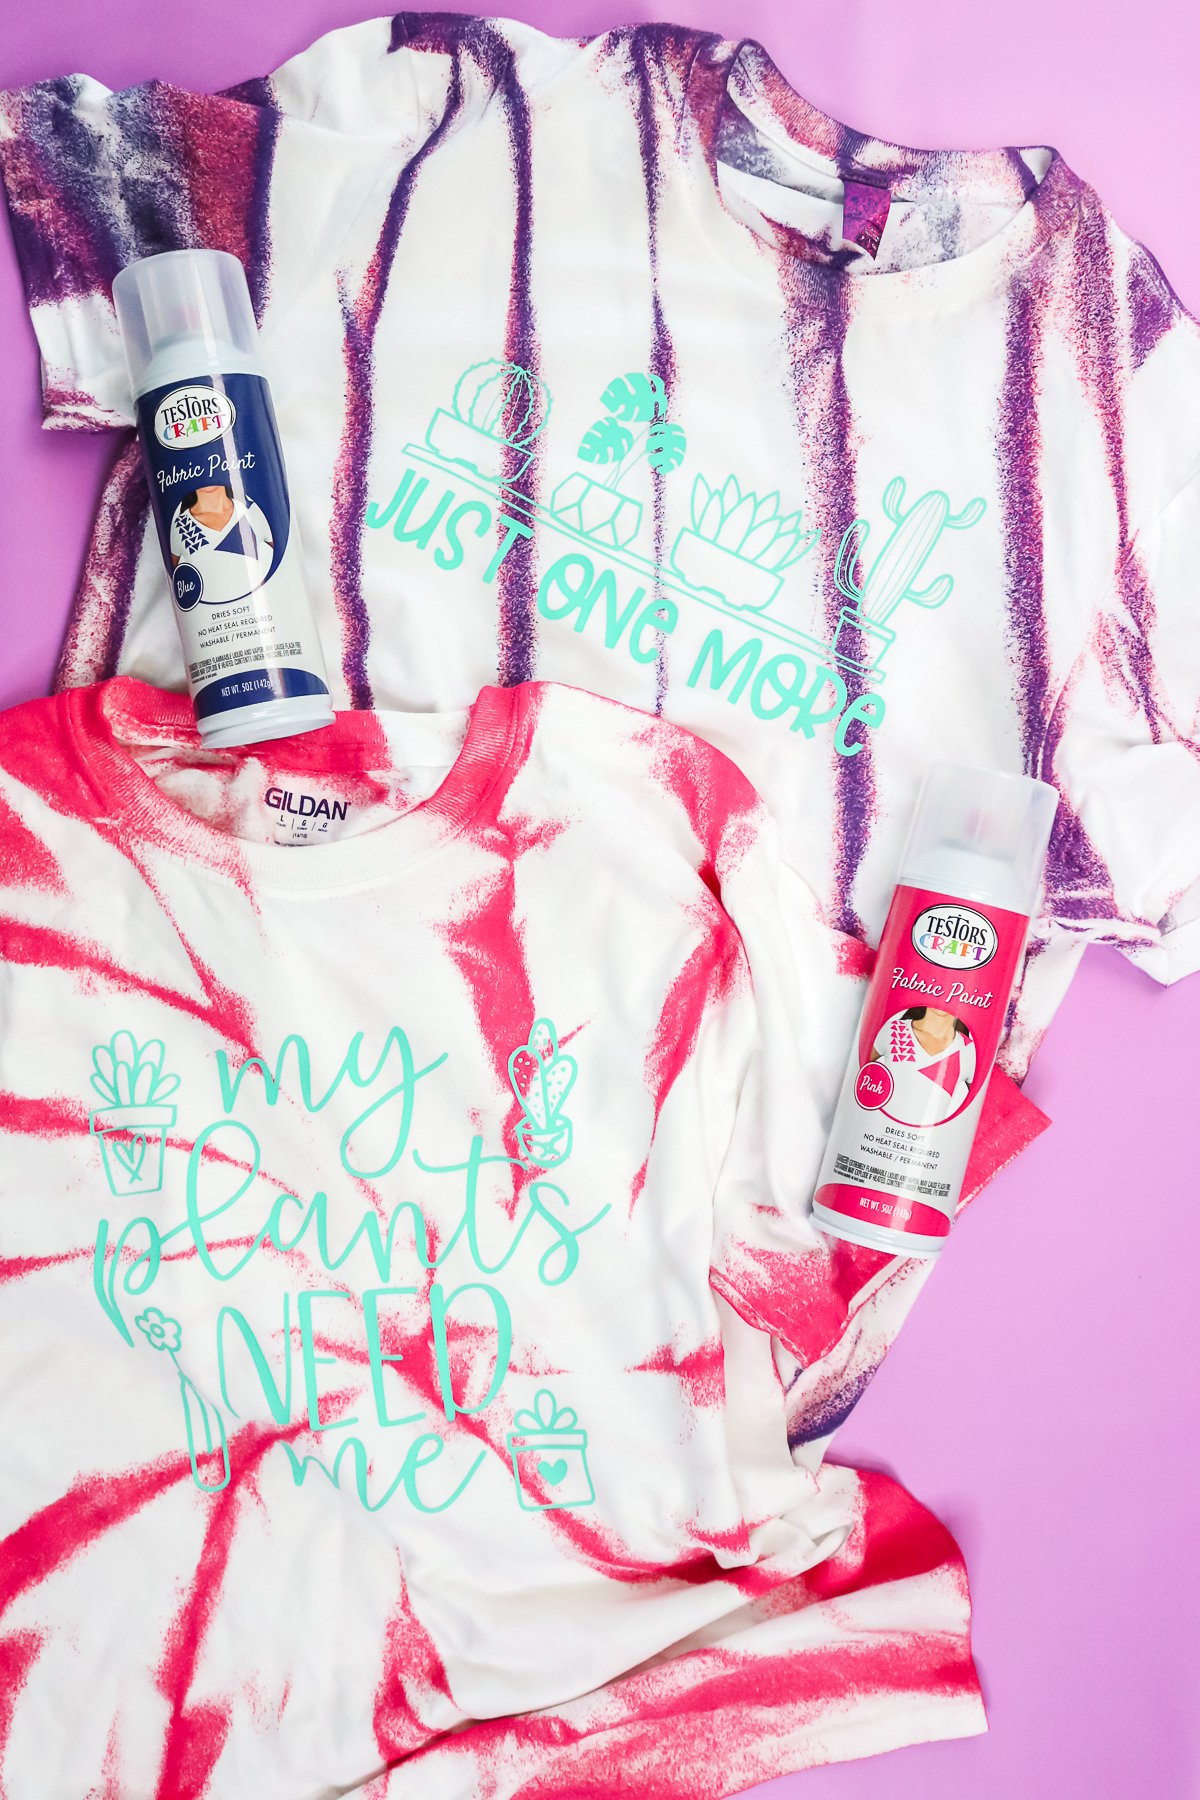
Easy Tie Dye with Testors Fabric Spray Paint
Fabric spray paint is a life saver as you can paint your favorite fabrics with ease. And, yes, that does include shirts. So, watch below as I use this product to make some tie dye shirts that you are going to love.
Can’t watch the video or missed some of the steps? You can also see my easy tie dye method below.
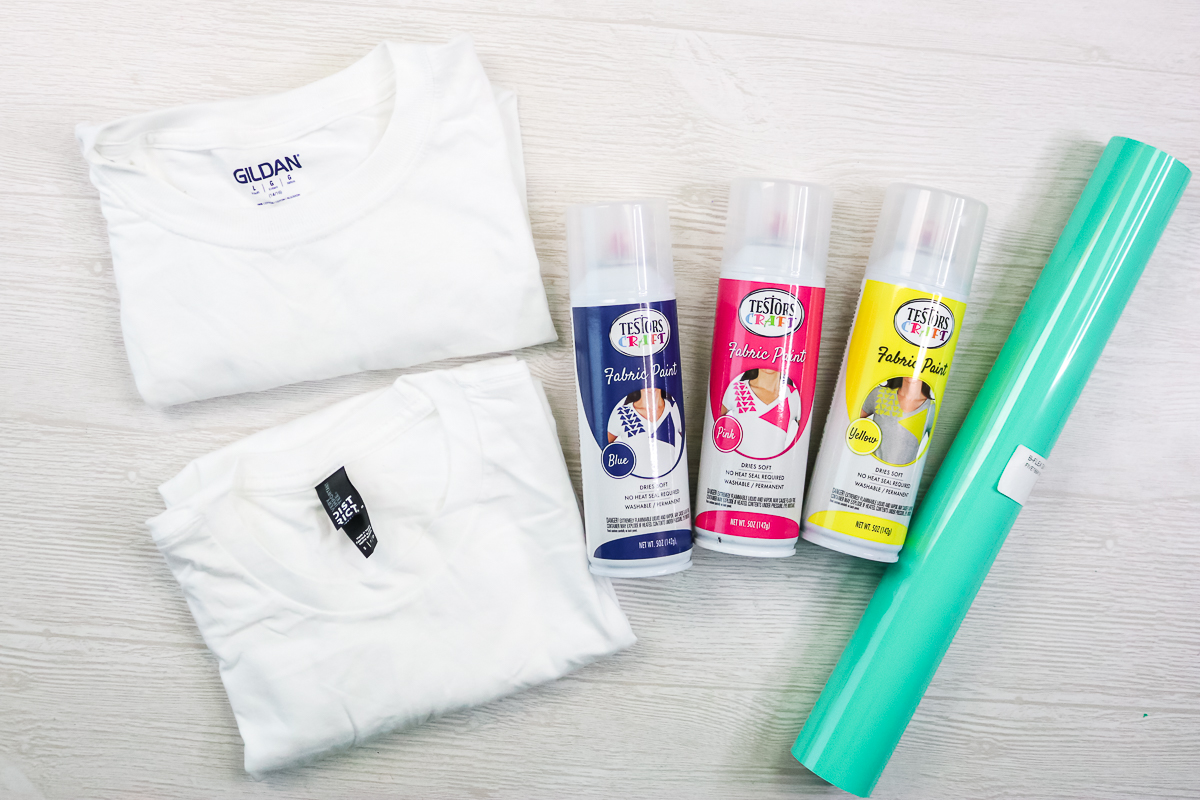
Supplies needed:
- Testors Fabric Spray Paint
- Shirts
- Cricut machine
- HTV
- EasyPress
- EasyPress mat
- Scrap cardboard
Designs Used:
Easy Tie Dye Method
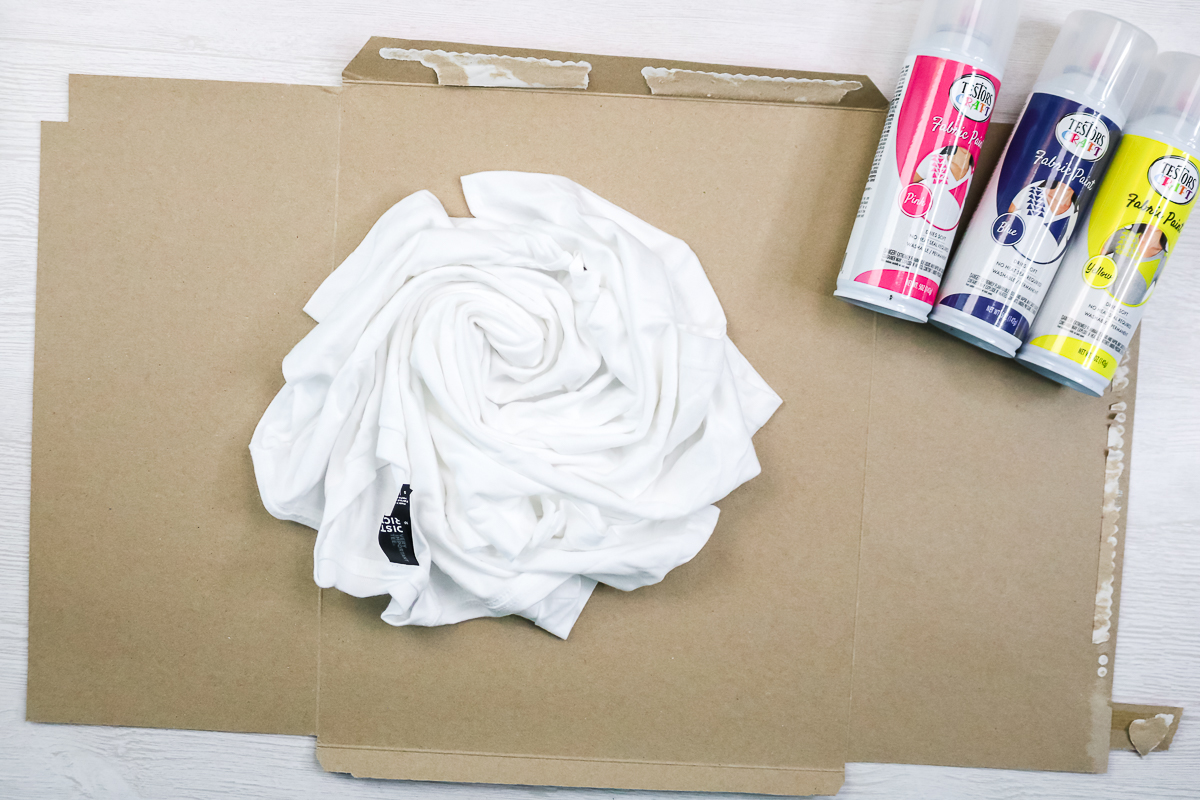
First, you will need to lay your shirts out on some scrap cardboard. I am going to show you two different folding methods below but this is where you can play with your designs. I would just caution you NOT to fold too tightly with this method. This paint will not seep down into your cracks so you want a fairly loose fold.
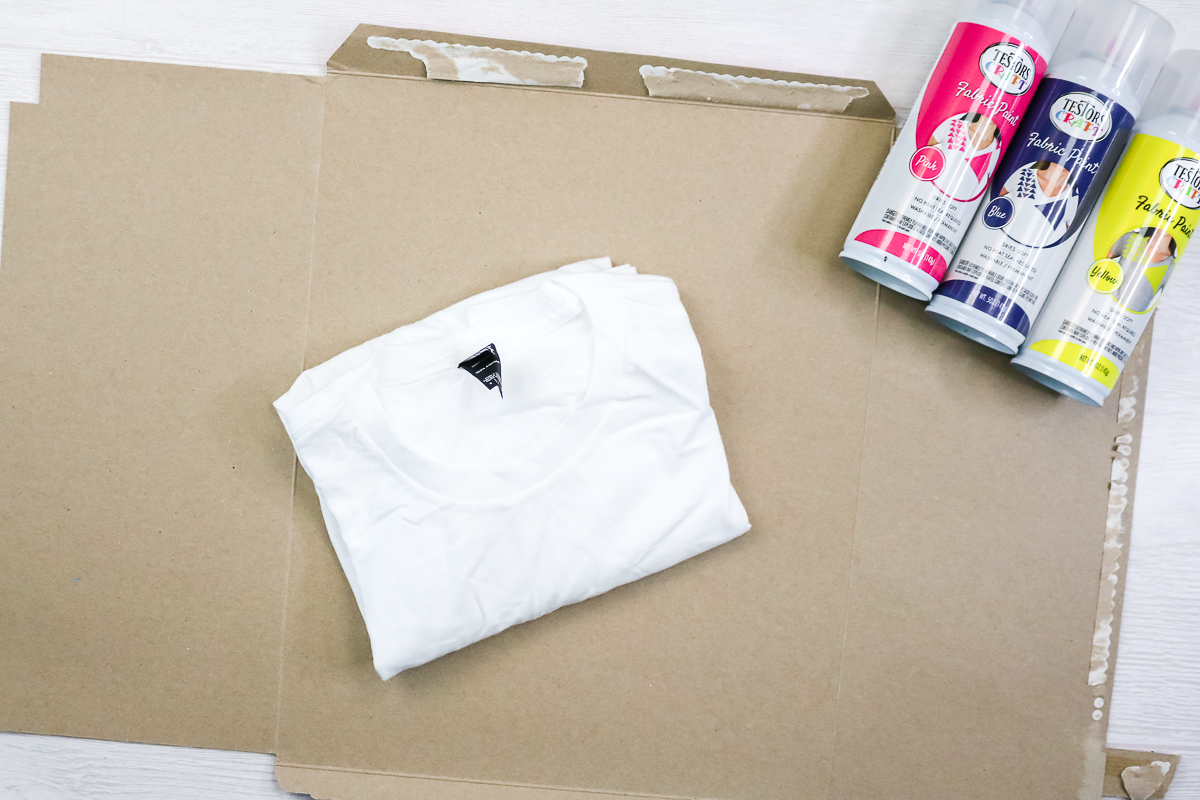
Folding Methods
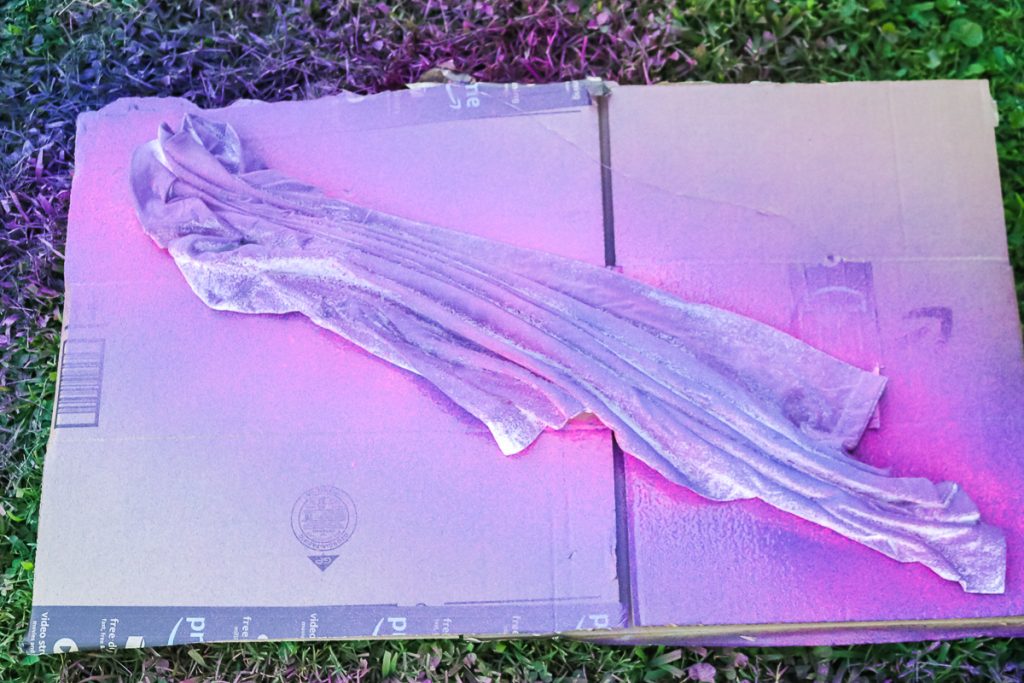
The first one I am going to use is an accordion fold. I went at an angle and loosely folded the shirt from one corner to the other.
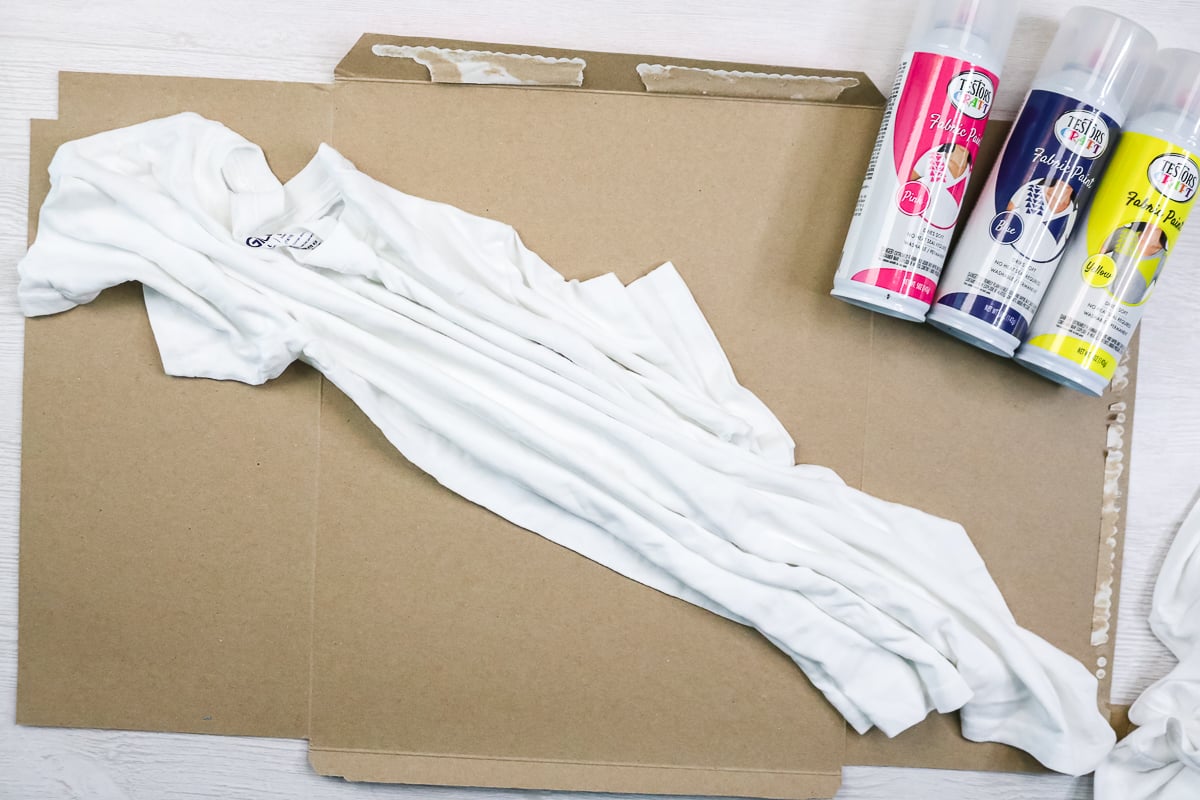
The second is a swirl. I just started in the center and twisted the shirt until it was loosely swirled on the cardboard.
Spray Painting Your Shirt
Now that you have your folds, it is time to spray paint. You will need to do this outside as with any spray paint project. This gives you ventilation as well as a place for any overspray. Just put the cardboard with the shirt on top in the grass and spray the front of the shirt first. You can do one color only.
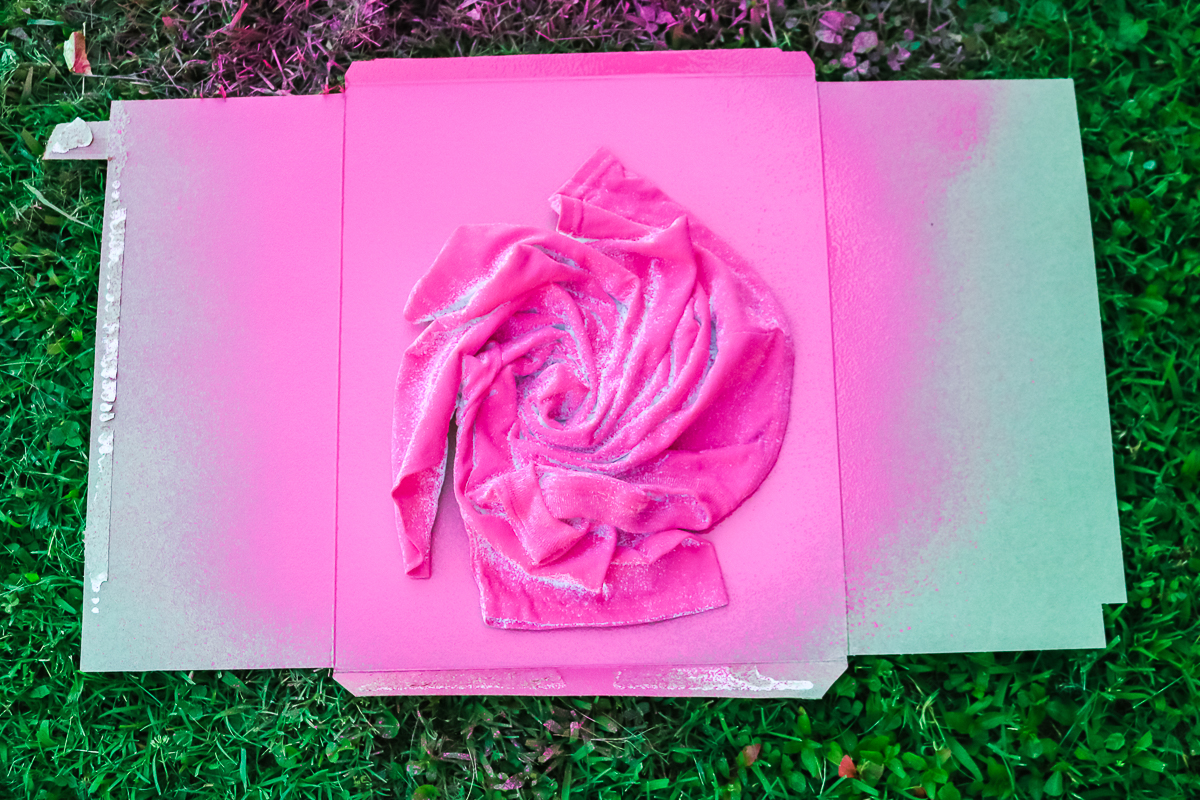
Or you can do a mixture of both colors. For my two-color version, I sprayed pink, then blue, then some more pink, and finally some more blue. I didn’t wait for my colors to dry in between coats so I got a slight mixing of colors. You can wait for the colors to dry for a different look if you would like.
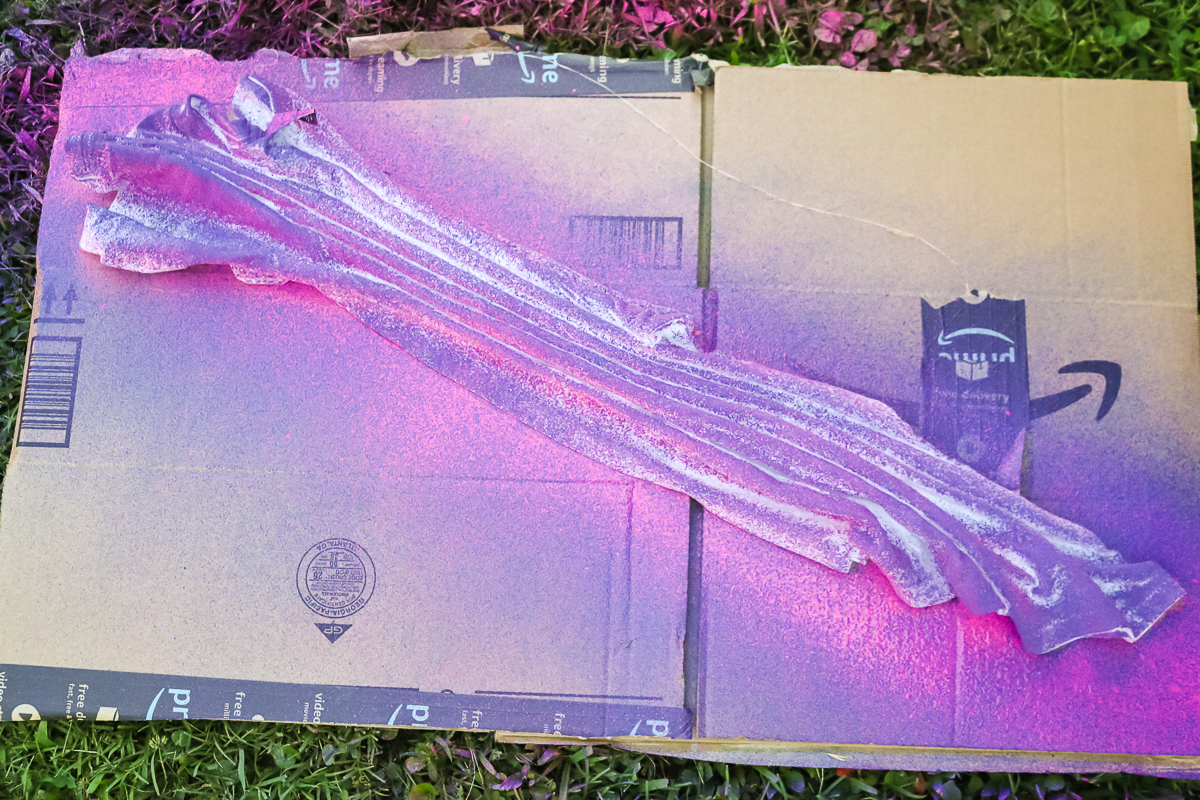
Allow the front to dry then flip the shirt over and repeat the same painting procedure on the back.
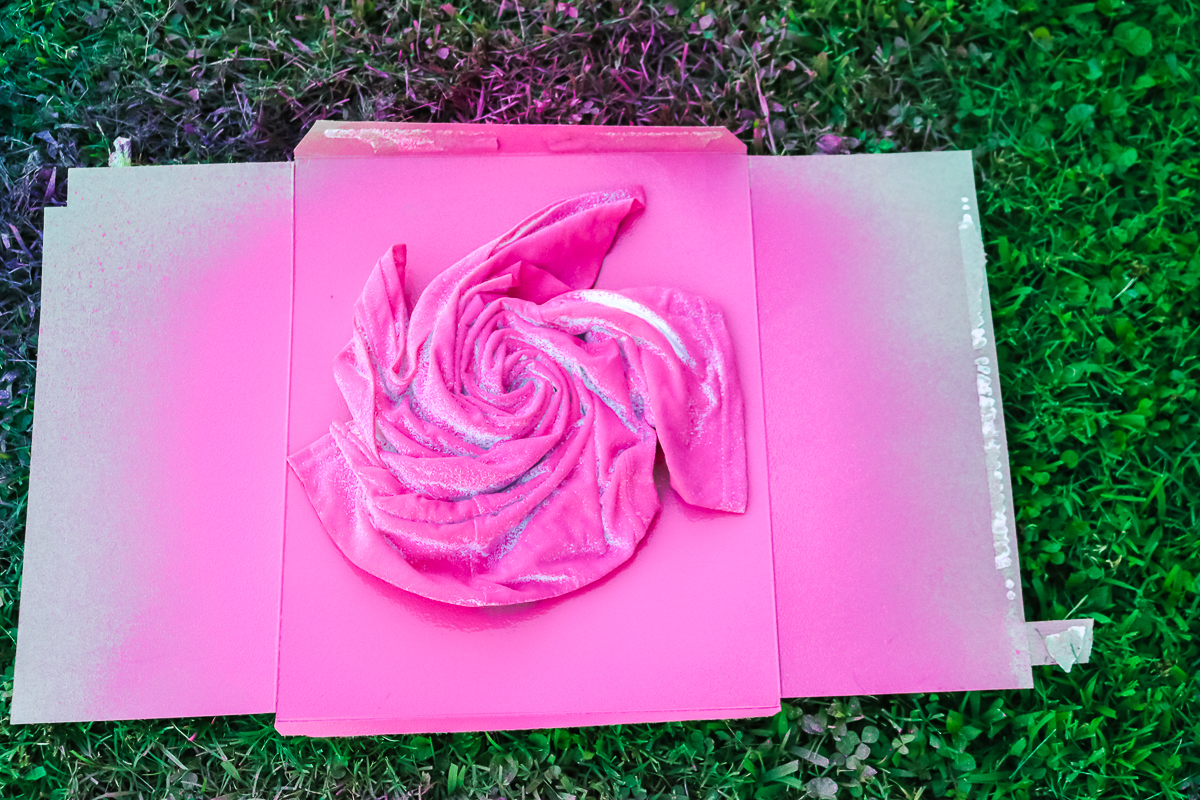
I also repeated the two-color design on the back of that shirt.
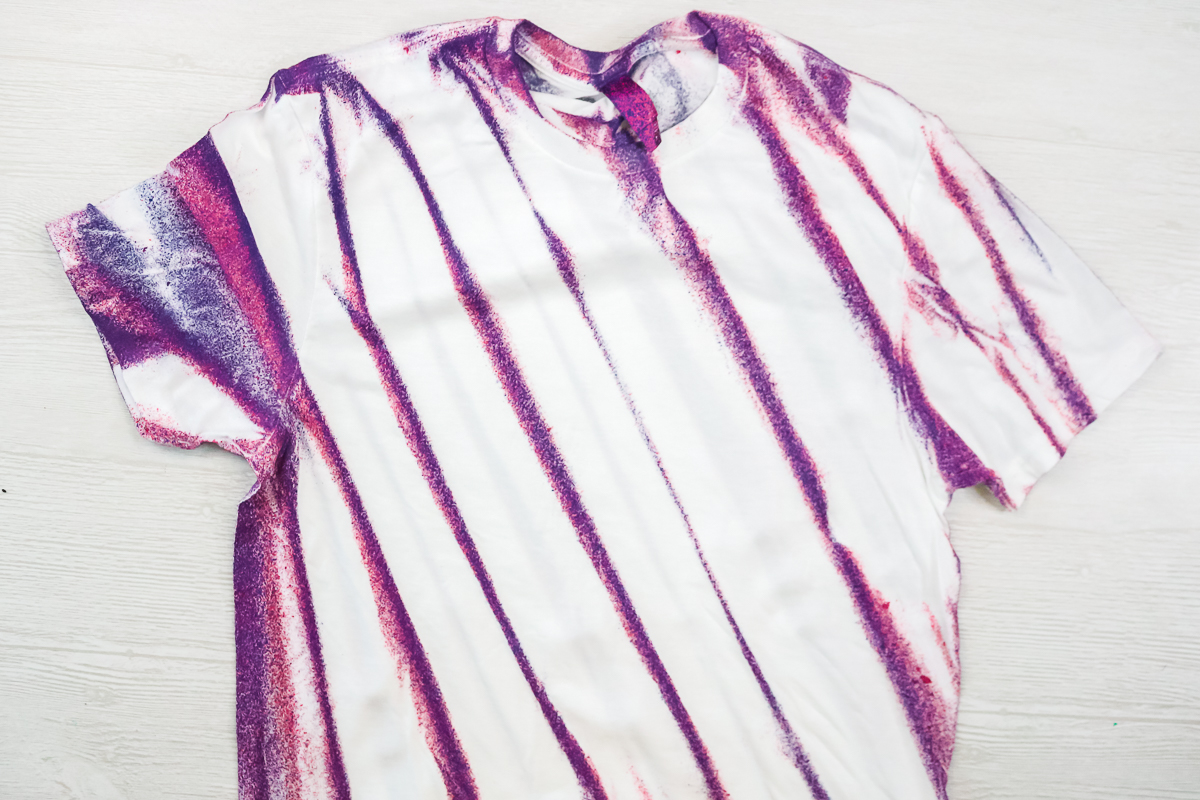
Once the shirts have dried for at least three hours, you can unfold them to see the results!
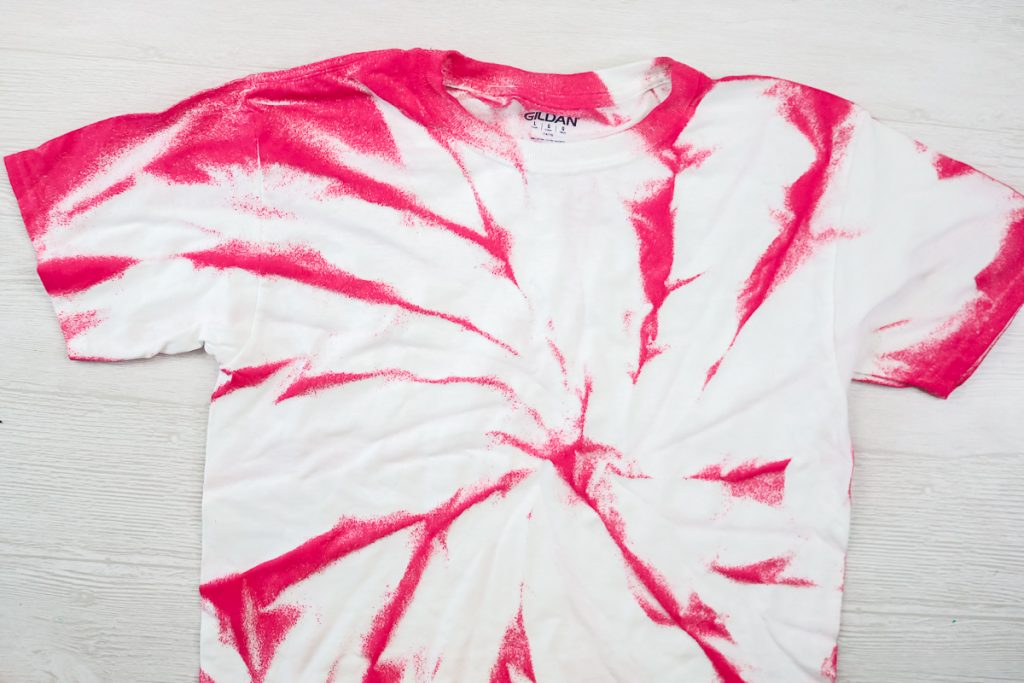
I am not sure which design I like more as they both turned out great.
Adding HTV to Tie Dyed Shirts
I thought I would take these shirts one step further with the addition of a design on the front in HTV. Just cut any design from HTV with your Cricut and weed away all of the excess. Then place it on the front of your shirt. Remember this should dry at least 3 hours before adding any type of design to the front. I also prepressed my shirt to remove any moisture or wrinkles.
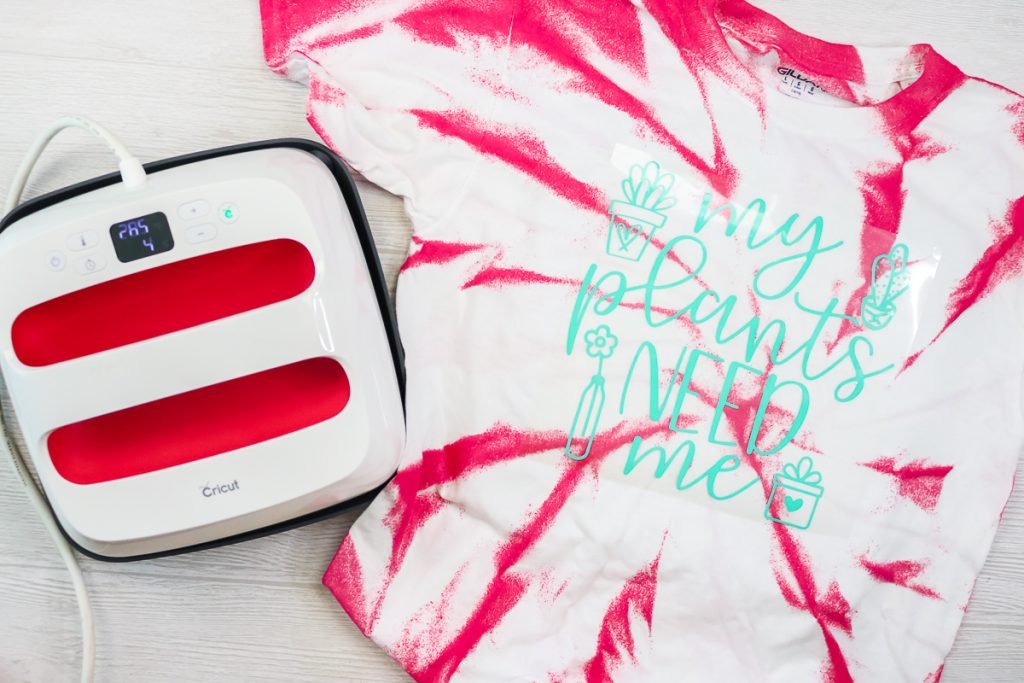
Press according to the directions for the type of HTV you are using then peel back the carrier sheet.
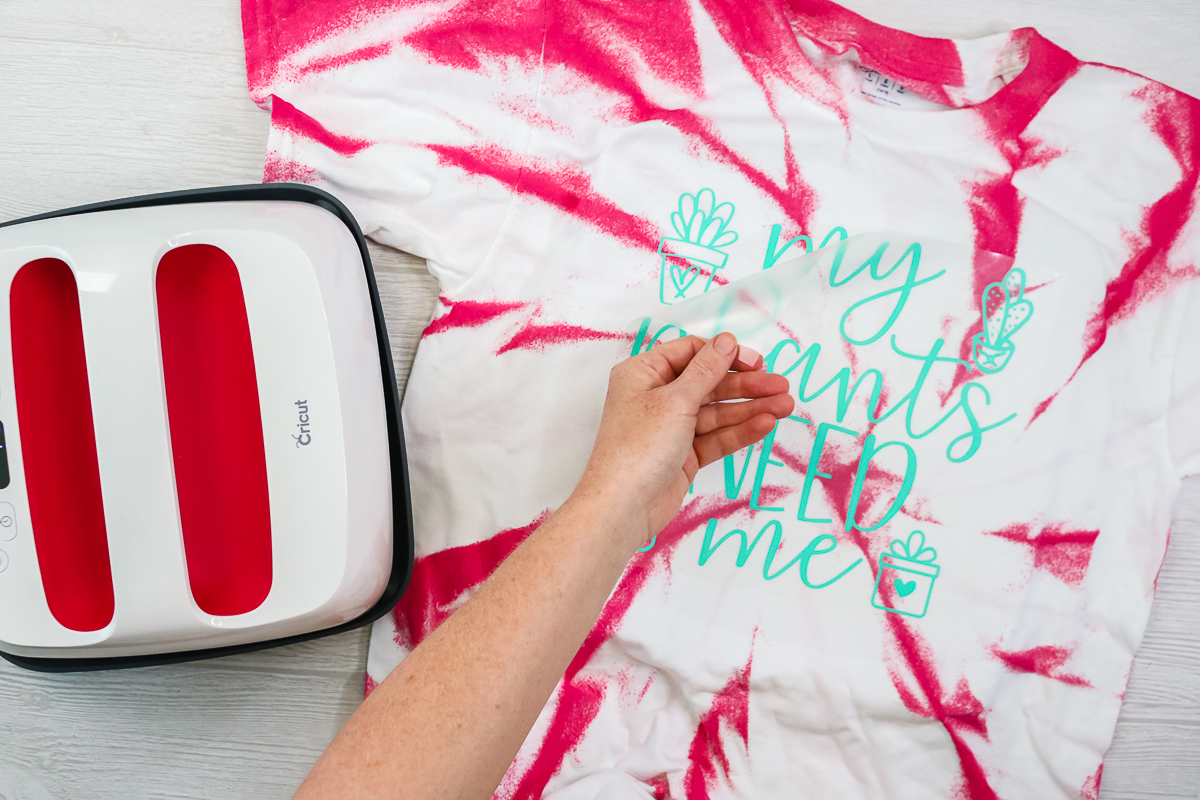
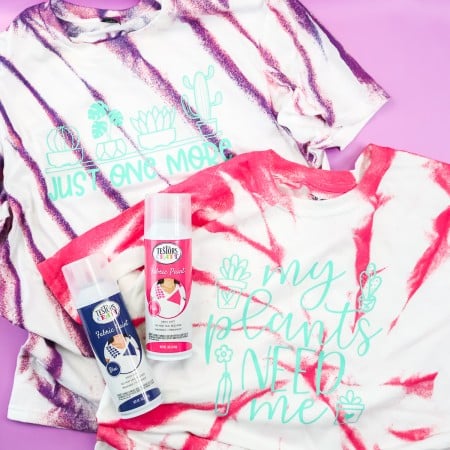
Then you have a really unique-looking shirt with a plant lover SVG on the front!
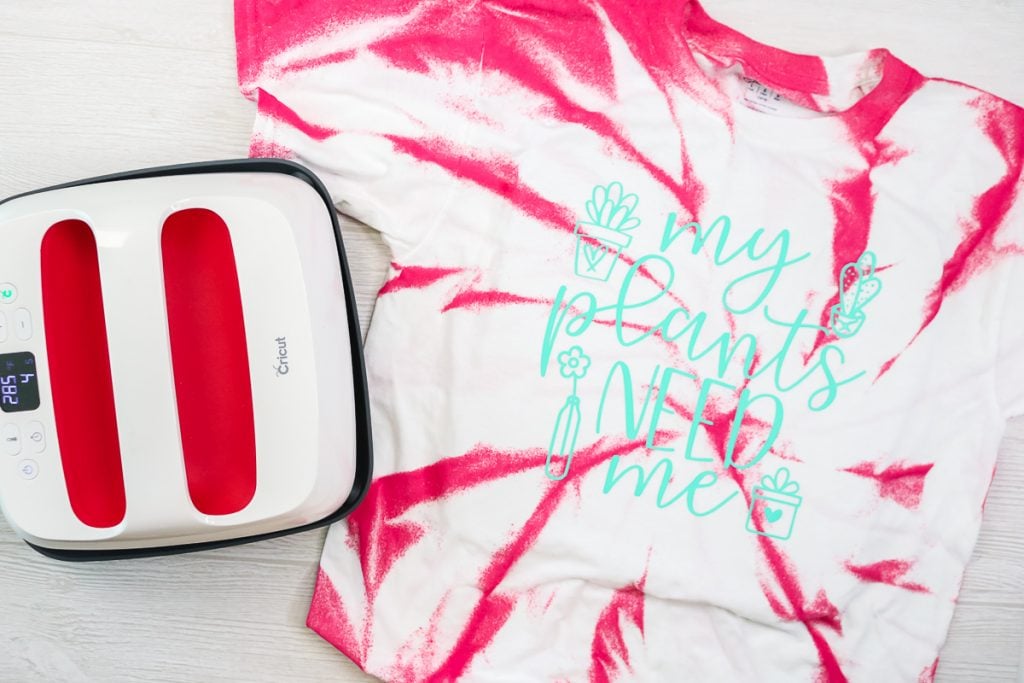
I just had to add another plant-themed design to my second shirt as well using the same method.
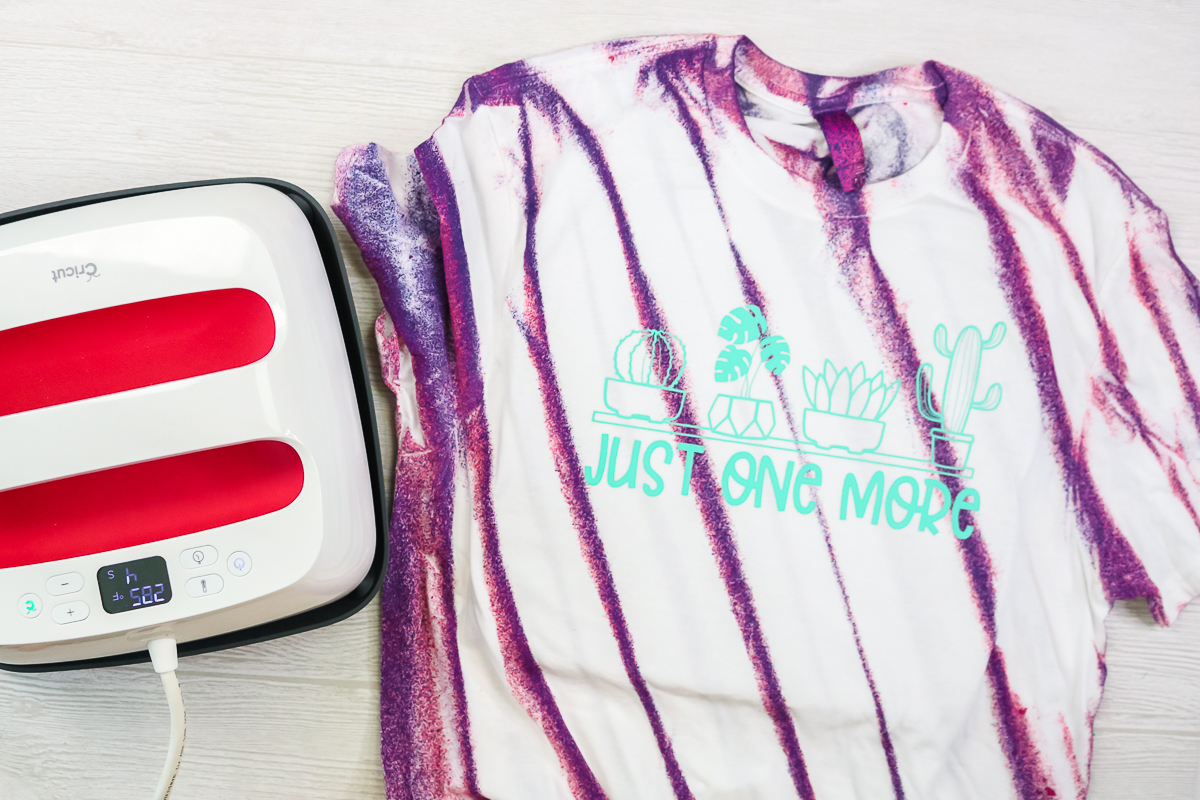
So, will you try this easy tie dye method for some projects this summer? I really think you will love the results.
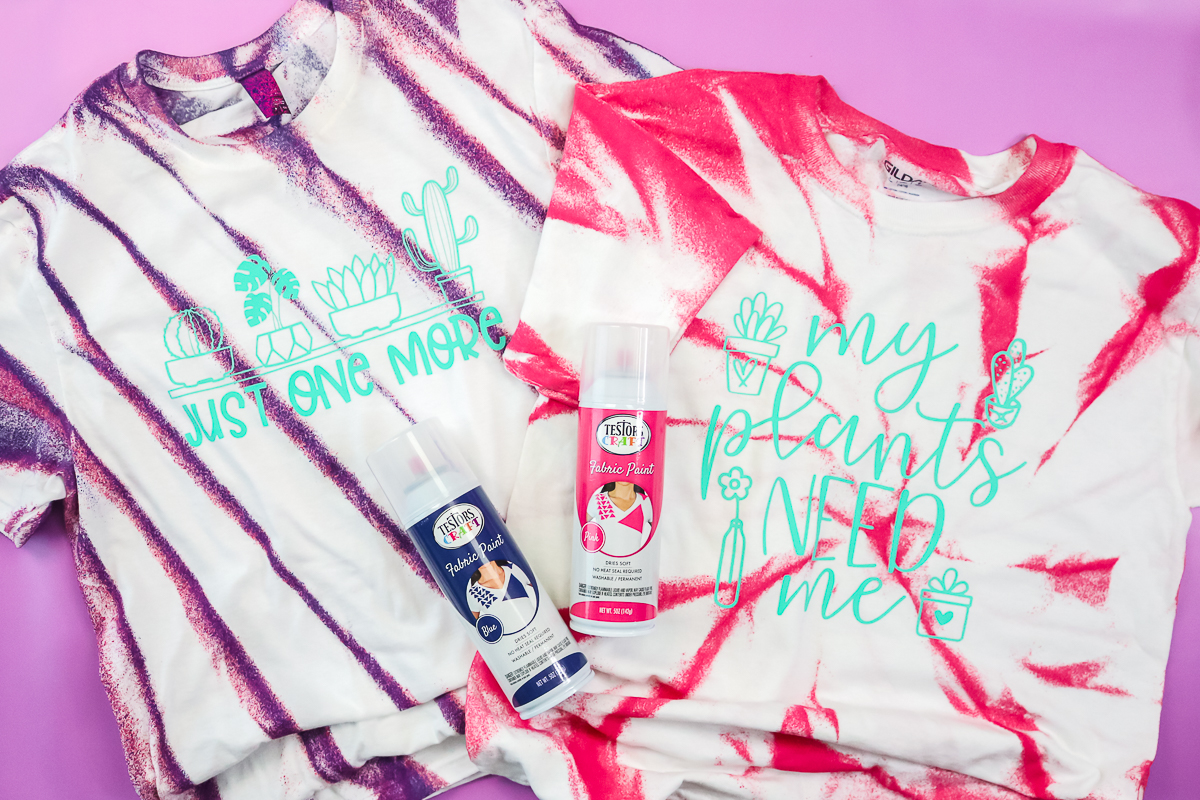
All I need are some more paint colors and I will be ready to experiment with even more shirts. This method is quick and easy in comparison with traditional tie dye. I love something that is easy and gives great results.
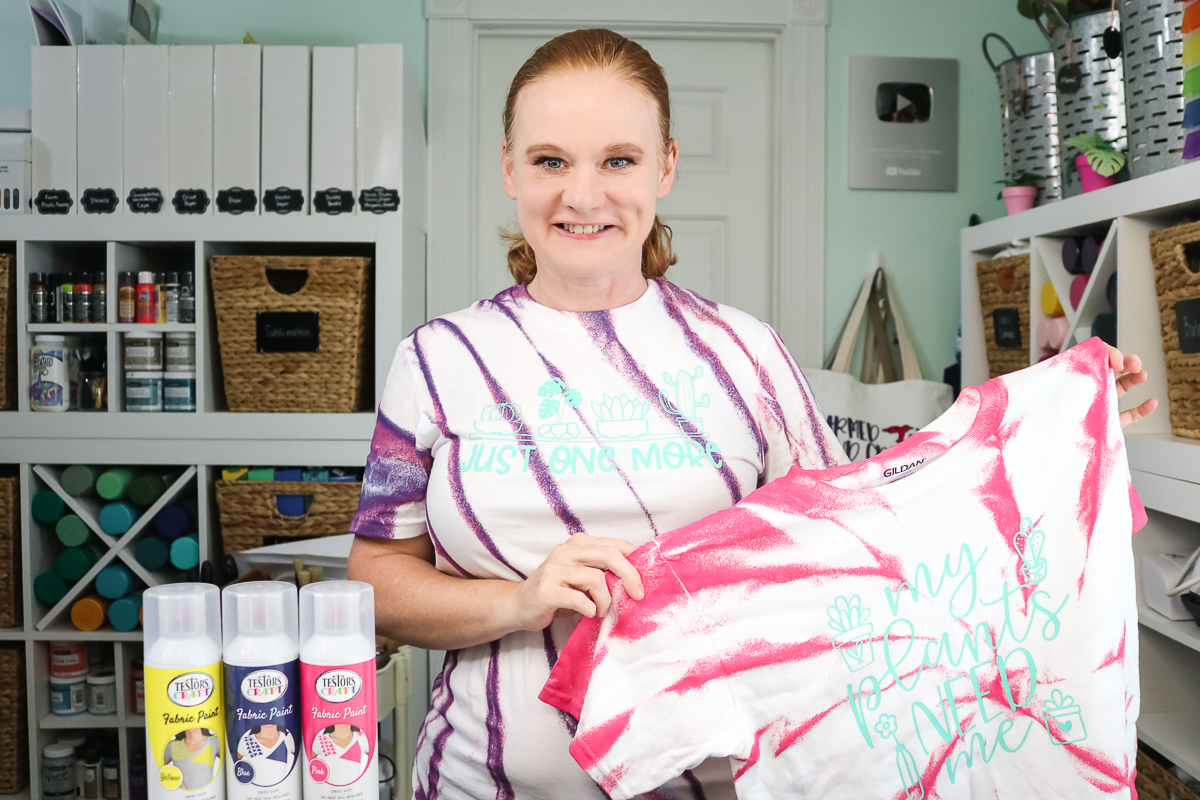
Be sure to pick up some Testors Fabric Spray Paint and get started on your own version of these shirts. Kids and adults alike will love to make them.
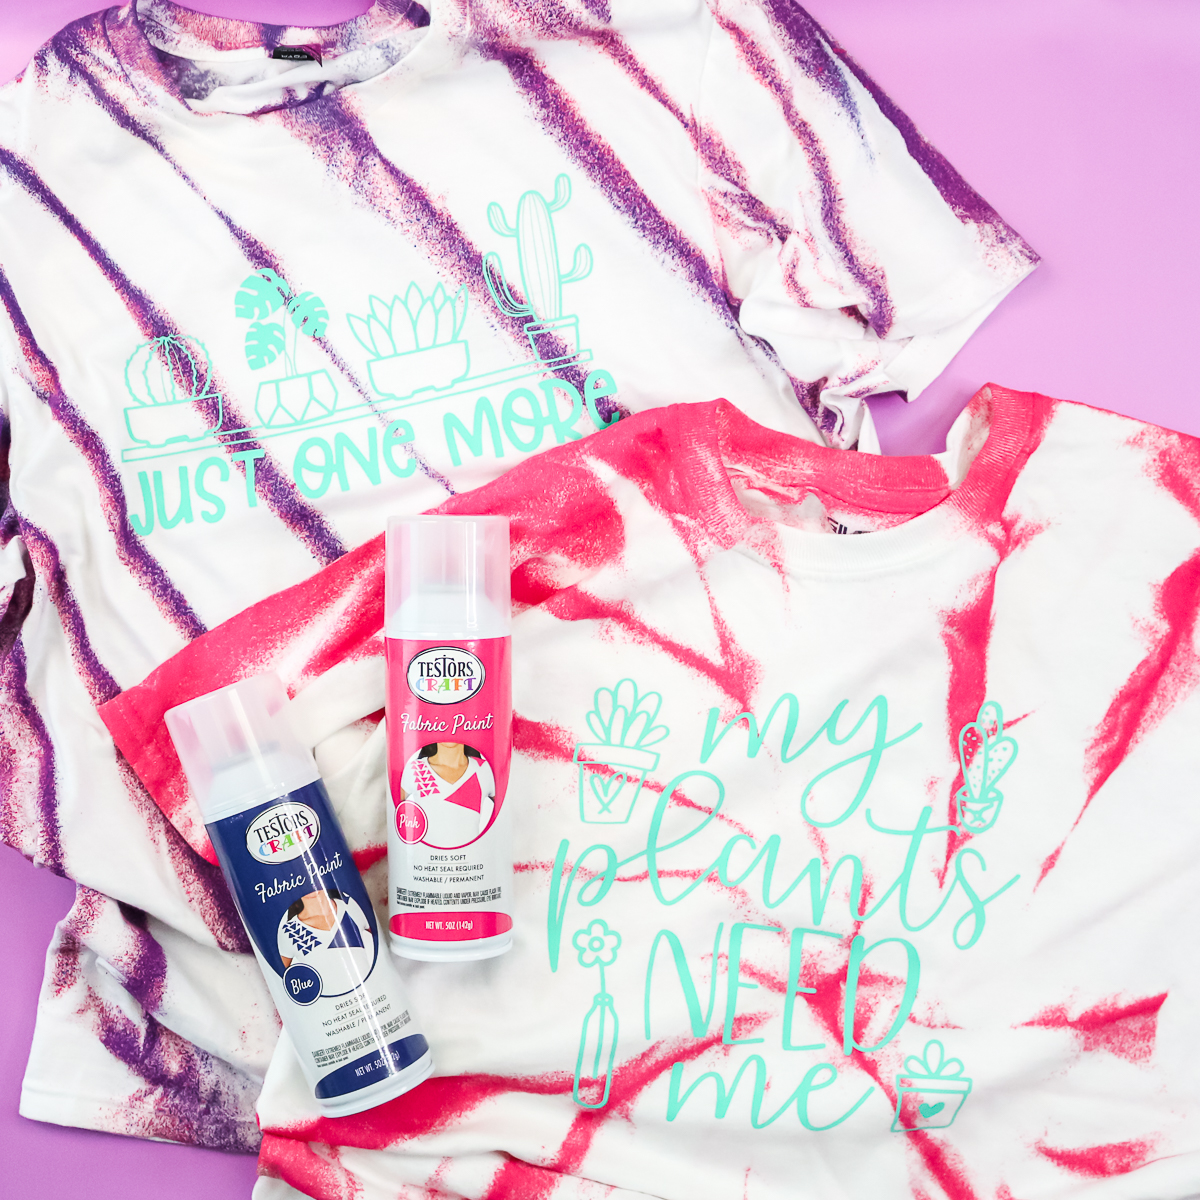
Easy tie dye is the perfect craft for summer but keep this one in mind for other times of the year as well. I know you will love the shirts that you can create.
Love this less mess tie dye technique and want more? Try the links below as well!
Love this easy tie dye method and want to print the instructions? Just use the card below!
Supplies
- Testors Fabric Spray Paint Find this at Menards, Do-It-Best, True Value, and Amazon.
- Shirts
- Cricut machine
- HTV
- EasyPress
- EasyPress mat
- Scrap cardboard
Instructions
Easy Tie Dye Method
- First, you will need to lay your shirts out on some scrap cardboard. I am going to show you two different folding methods below but this is where you can play with your designs. I would just caution you NOT to fold too tightly with this method. This paint will not seep down into your cracks so you want a fairly loose fold.
Folding Methods
- The first one I am going to use is an accordion fold. I went at an angle and loosely folded the shirt from one corner to the other.
- The second is a swirl. I just started in the center and twisted the shirt until it was loosely swirled on the cardboard.
Spray Painting Your Shirt
- Now that you have your folds, it is time to spray paint. You will need to do this outside as with any spray paint project. This gives you ventilation as well as a place for any overspray. Just put the cardboard with the shirt on top in the grass and spray the front of the shirt first. You can do one color only.
- Or you can do a mixture of both colors. For my two-color version, I sprayed pink, then blue, then some more pink, and finally some more blue. I didn’t wait for my colors to dry in between coats so I got a slight mixing of colors. You can wait for the colors to dry for a different look if you would like.
- Allow the front to dry then flip the shirt over and repeat the same painting procedure on the back.
- I also repeated the two-color design on the back of that shirt.
- Once the shirts have dried for at least three hours, you can unfold them to see the results!
- I am not sure which design I like more as they both turned out great.
Adding HTV to Tie Dyed Shirts
- I thought I would take these shirts one step further with the addition of a design on the front in HTV. Just cut any design from HTV with your Cricut and weed away all of the excess. Then place it on the front of your shirt. Remember this should dry at least 3 hours before adding any type of design to the front. I also prepressed my shirt to remove any moisture or wrinkles.
- Press according to the directions for the type of HTV you are using then peel back the carrier sheet.


