A patriotic windsock craft can be a fun kids’ project perfect for summer. Grab a few supplies you probably already have and turn the kids loose to make their own patriotic windsock craft. It will make a great decoration on your front porch this summer!
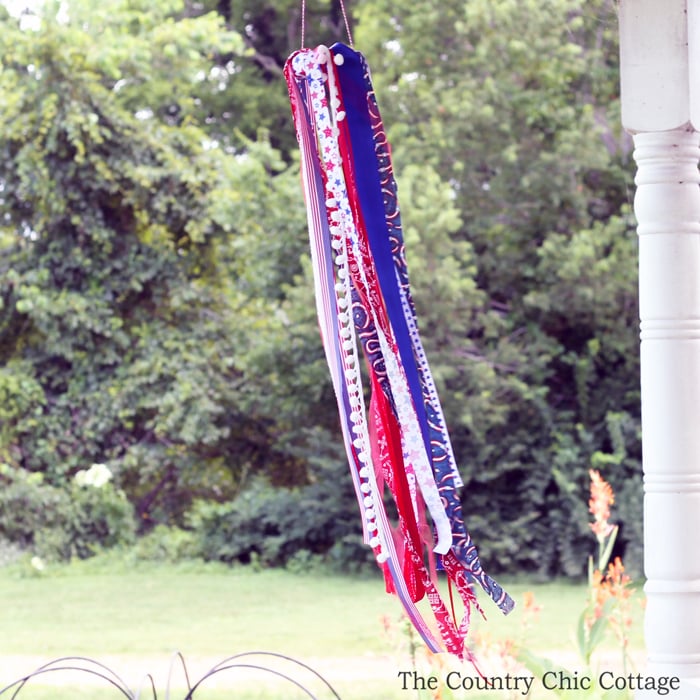
Video Tutorial For Windsock Craft
This project was lucky enough to be featured on the Hands on Crafts for Kids television show. You can watch the portion of the episode below where I was featured. It is thrilling to see your creations on TV!
Can’t watch the video or missed some of the steps? Just follow along below!
Windsock Craft
This is a great solution to the “bored” dilemma of summer. In fact, I have tons of great summer craft ideas for the kids.
This windsock craft would be great for a 4th of July decoration. Plus, it’s all made from your fabric scraps! So, start collecting red, white, and blue scraps for next year!
If you have plenty of fabric scraps in other colors, use those instead to make your very own colorful windsock. It will look beautiful!
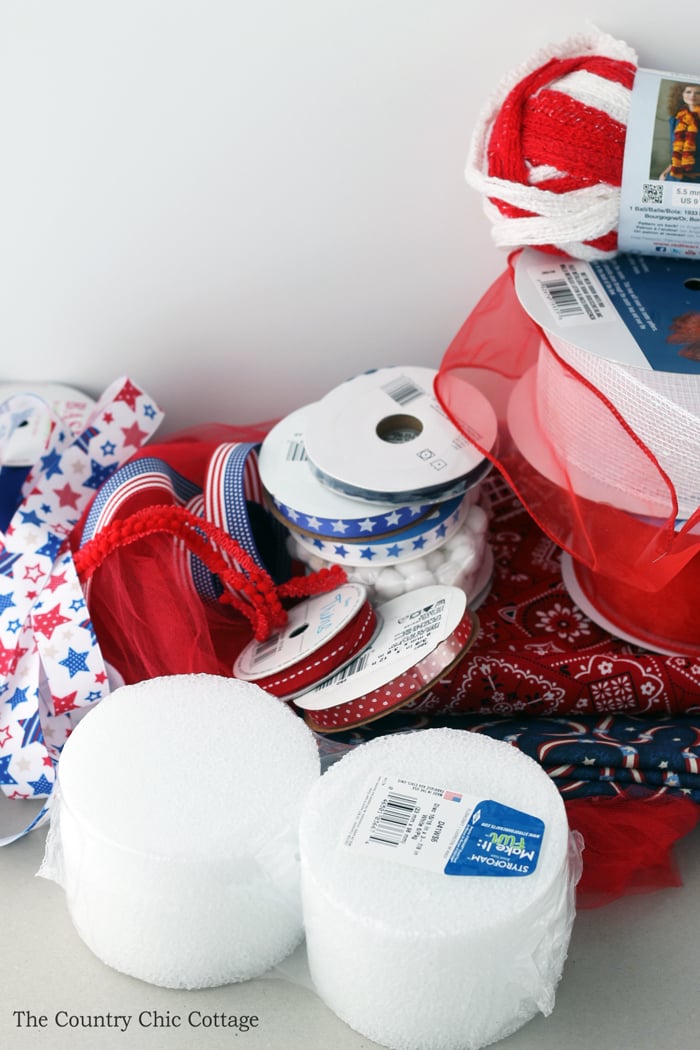
Supplies Needed To Make Your Own Patriotic Windsock Craft:
- Material (cut into approx. 1 inch strips) (perfect for scrap material!)
- Ribbon (any you have on hand)
- Trim (any you have on hand)
- Yarn (any you have on hand)
- Basically, ANY scraps that are in red, white, and blue
- Styrofoam disc (3 7/8” diameter)
- Serrated knife
- Mason jar lid or other round object
- Marker
- Glue
- Scissors
- Baker’s twine or some other twine to hang your creation
How to Make a Windsock Craft
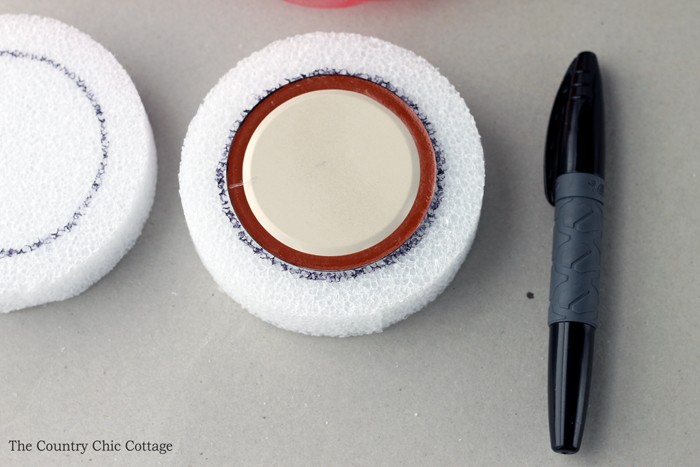
Step 1: Trace Around Mason Jar Lid
Trace around the mason jar lid or other round object in the center of the Styrofoam disc.
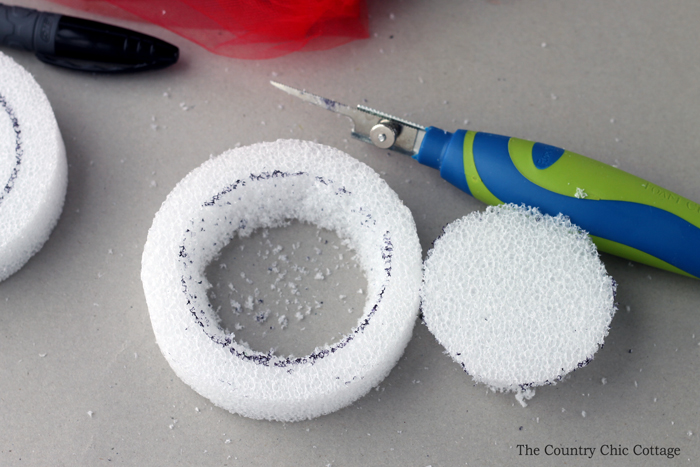
Step 2: Cut Out The Center Of The Styrofoam Disc
ADULTS ONLY: Use a serrated knife to cut out the center of the disc, as shown below.
Step 3: Wrap Styrofoam Disc With Fabric
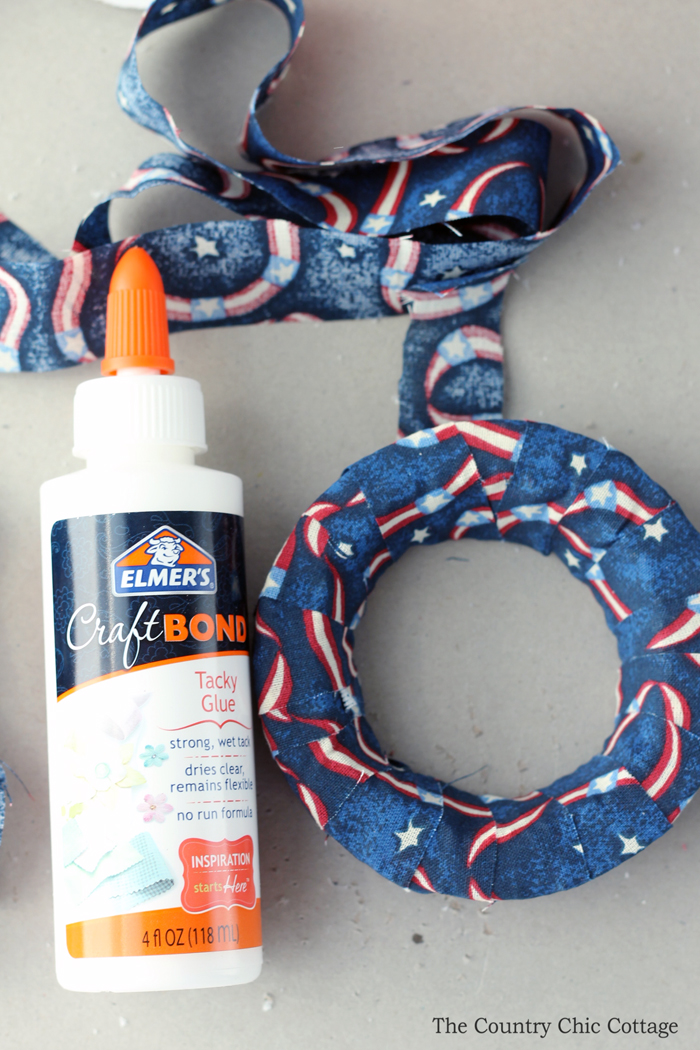
Wrap 1-inch strips of material around the cut disc. Use glue to adhere to the end. This is just to cover up the Styrofoam disc.
Step 4: Tie On Various Materials To The Styrofoam Disc
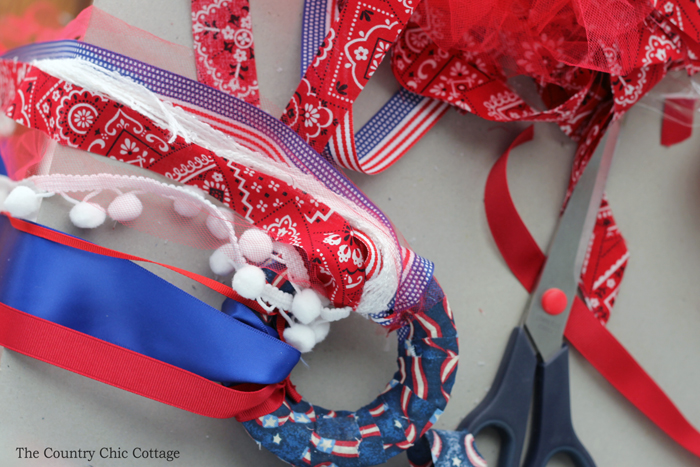
Start tying on various material strips, ribbons, yarn, trim, and more! Get creative and find items in red, white, and blue in your stash and scrap bin. Let the kids pick any materials that they like. Tie on the inside and drape material over to the outside to hide the knots. Trim any excess length with your scissors.
Step 5: Add Baker’s Twine Hanger
After you have all the materials on the windsock, use the baker’s twine to make a way to hang it. Hang your patriotic windsock outdoors to allow the wind to blow around the various strips of fabric and trim.
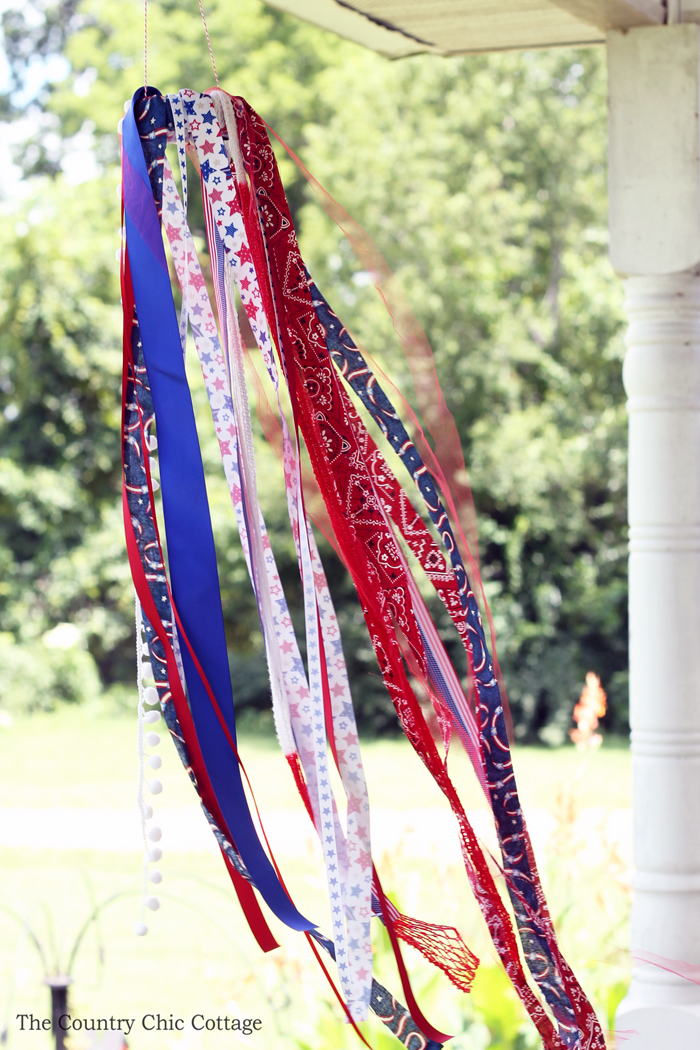
Fun right? Are you inspired to get the kids together and let them make their own patriotic windsocks? Don’t have any patriotic fabric scraps? No problem! Change up this project to make it in any color of the rainbow! The possibilities are endless!

Tips and Tricks for Windsock Craft
Now that you’ve seen this fun windsock craft, are you ready to make your own? Here are a few tips and tricks to ensure your project goes as smoothly as possible!
- Cover Your Work Surface – Since we are cutting out a hole in the styrofoam, you may have some ”styrofoam crumbs” that fall off of the middle portion of your disc (you can see this in step 2). Due to that, you may want to cover up your work surface with some paper, a mat, or even a Dollar Tree tablecloth that you can throw away later.
- Skip The Styrofoam – If you don’t have a styrofoam disc or if you would rather skip the styrofoam, you can use a wreath form for this project as well.
- Use What You Have On Hand – As I mentioned before, this project is great for your scraps! There is no need to buy new supplies for this project because you can use almost anything to create your windsock craft. If you are looking for more specific material ideas to get you started, I listed a few more options below!
- Fabric – Fat Quarters, Jelly Roll Fabric
- Ribbon – Satin, Grosgrain, Lace, Burlap, Velvet, Curling
- Trim – Ric Rac, Pom-Pom Trim, Tassels, Fringe
- Yarn – This could be thin or chunky.
- Cording, Embroidery Thread, String
- Add Embellishments – If you are working with older kids and want to add embellishments to your windsock craft, you can! For example, if you are using string or ribbon, you can easily add beads and tie a knot at the end.
- Recreate This Project All Year Round – You don’t have to make this project just for the 4th of July! This project would be so much fun to make for different seasons, holidays, sports teams, and even school teams!
4 More Kids Crafts
Do you love this windsock craft, and are looking for more kids’ crafts? Then check out the projects below!
- DIY Patriotic Tote Bag with Coloring Pages and Cricut Infusible Ink
- Bottle Cap Magnets: Easy Bug Craft For Kids
- Caterpillar Rocks for Your Garden
- Ocean Slime for Kids (Easy Recipe without Borax)


Really cute and fun idea, Angie! Can’t wait to share.
Aww…this is such a fun idea!
I would love for you to share this with my Facebook Group for Recipes and Crafts: https://www.facebook.com/groups/pluckyrecipescraftstips/
Thanks for joining Cooking and Crafting with J & J!
awesome patriotic wind sock! I just made some with cans, this would have been a bit easier! thanks for the tute!
Easy & fun!!! Nice BRIGHT colors!!! BEAUTIFUL, Angie!!! Many thanks for linking up at Small Victories Sunday!!!
This is so smart! I love how it turned out and how totally easy it is to make. Thanks for sharing with us at Merry Monday this week!