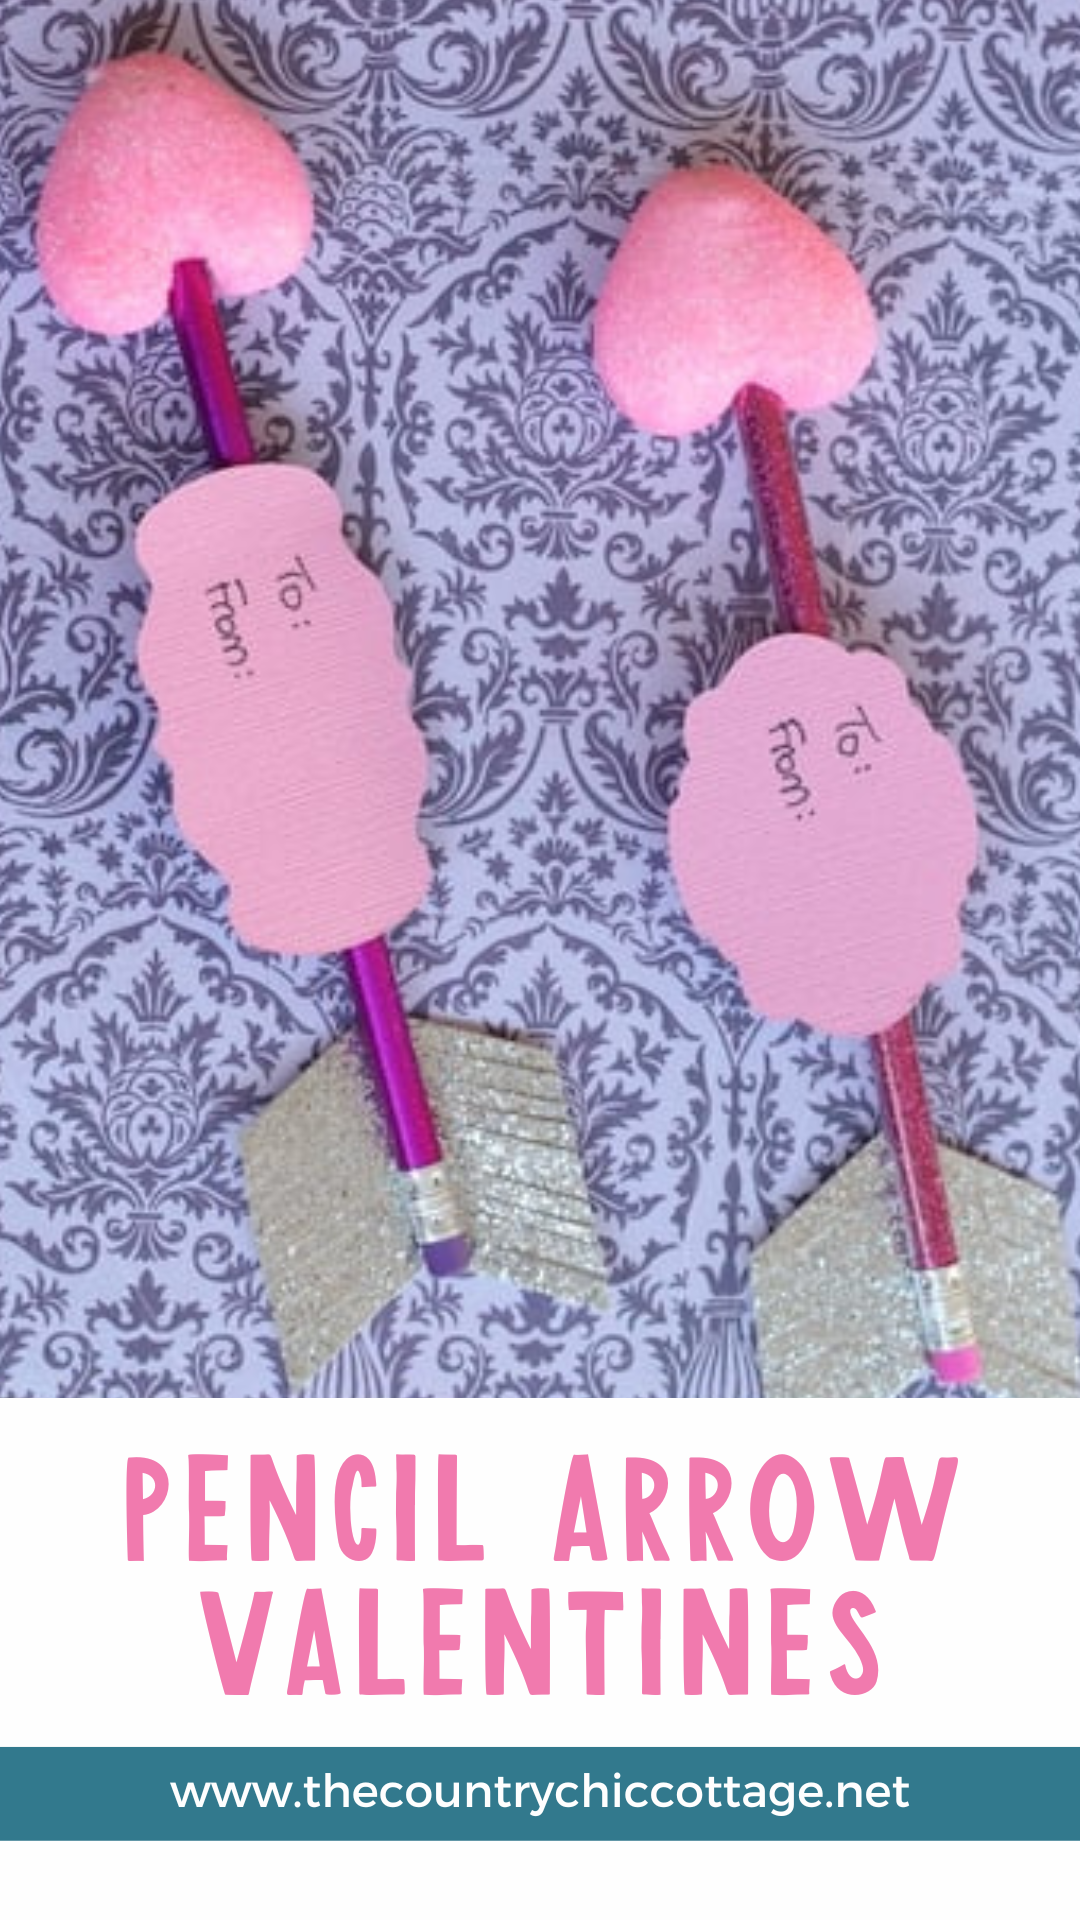
Pencil Valentines are the perfect alternative if you want to avoid giving candy to the class this Valentine’s Day. They make the gift of a pencil fun and creative! These quick crafts are simple and easy to make, and they will surely be the highlight of any party. This month, the supplies are provided by American Crafts, but all projects and opinions are my own.
Looking for more DIY Valentine's Day gifts? Check out my handmade Valentine's cards or these cute Lady Bug chocolate-covered Oreos.
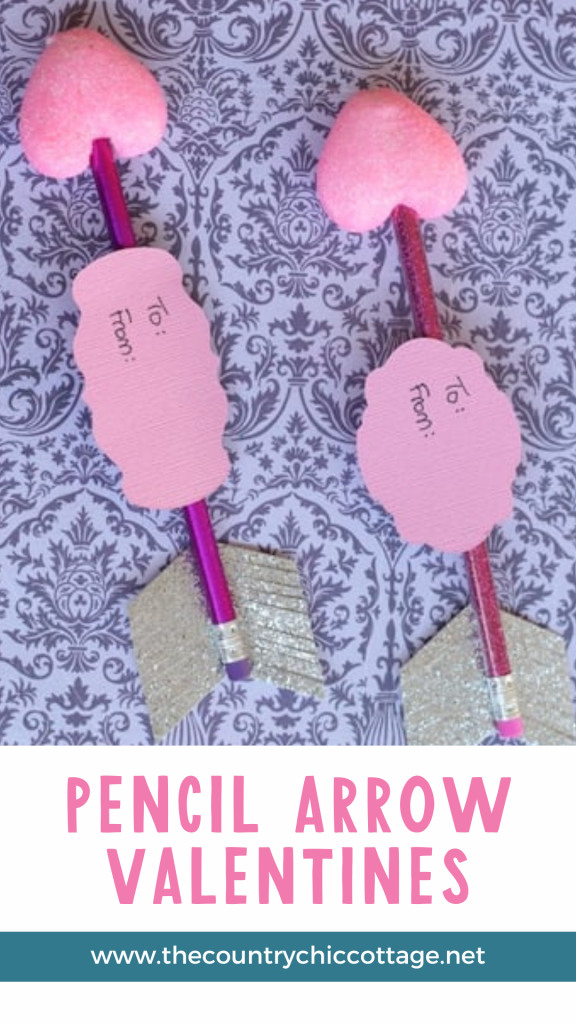
Make Your Own Pencil Valentines
Make these quick and easy pencil Valentines for the class this Valentine’s Day — it takes less than 20 minutes, requires minimal supplies, and is easy enough for kids of all ages! Everyone will love these unique Valentine's Day cards, plus they get the gift of a pencil at the end of the day — it's fun AND practical.
Supplies and Materials Needed
- Dollar Store Heart Wand or styrofoam hearts
- Cricut Machine (any type will work)
- Wooden pencil (I used glitter pencils)
- Cardstock (any color)
- Glitter cardstock
- Cricut pen (your choice of color)
- Glue strips or other adhesive
Be sure to visit American Crafts to buy your scrapbook supplies and embellishments for this craft.
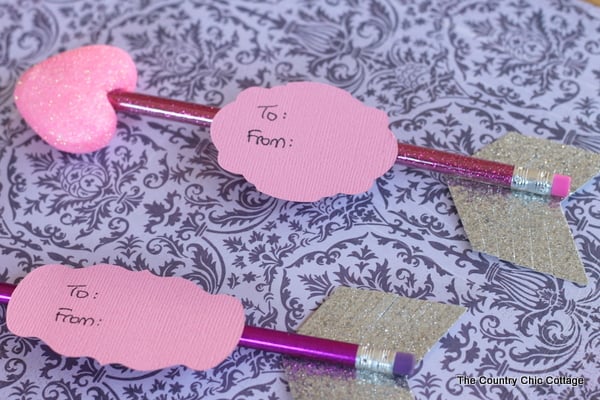
How to Make Pencil Valentines
Watch the 9-minute video below to see how to make this pencil Valentine. Carolina with 30 Minute Crafts also shares her Valentine bookmark, so you get a BONUS craft. We like to craft LIVE, so you never know what will happen — let's craft together today!
Step 1: Add heart to pencil
I used a heart wand I found at the Dollar Tree. I removed the heart from the wand and stuck it on the pencil instead. You can also use styrofoam or stuffed hearts if you cannot find the wands. (I found these by searching for “heart picks”)
Once you have your heart, insert the tip of your pencil into the top of the heart with the point out so it looks like the end of an arrow.
Step 2: Design the arrow and card pieces
Now it's time to grab your Cricut and log into Cricut Design Space. We will need to cut out the “feather” end of the arrow and make the card part of these Valentines.
Start by making the “feather” using basic shapes in Cricut Design Space. I added a rectangle, a triangle, and a line to my canvas.
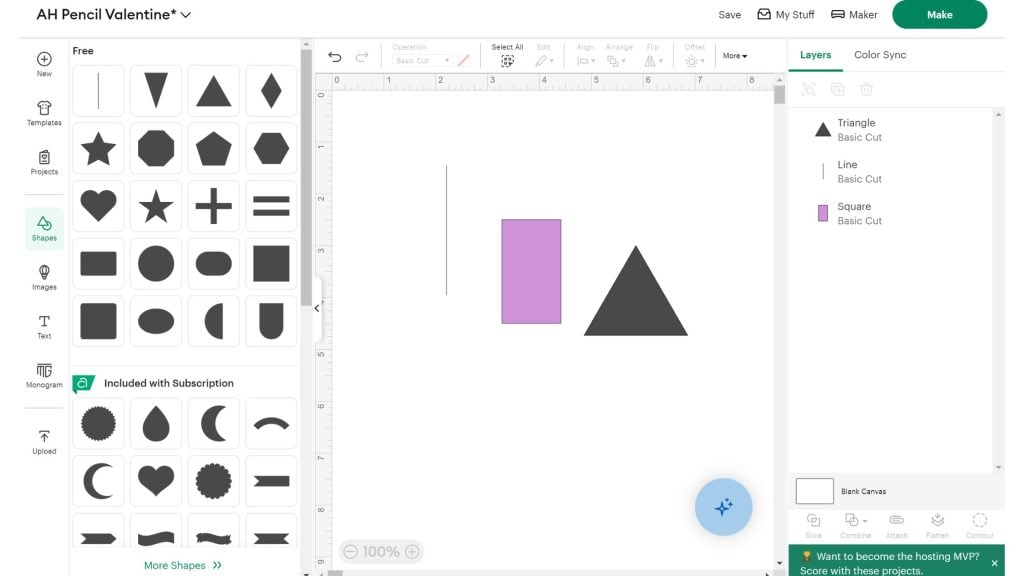
Then, I messed around with the look I wanted for the feather. I placed the triangle on the rectangle and used the align feature to center and then slice them.
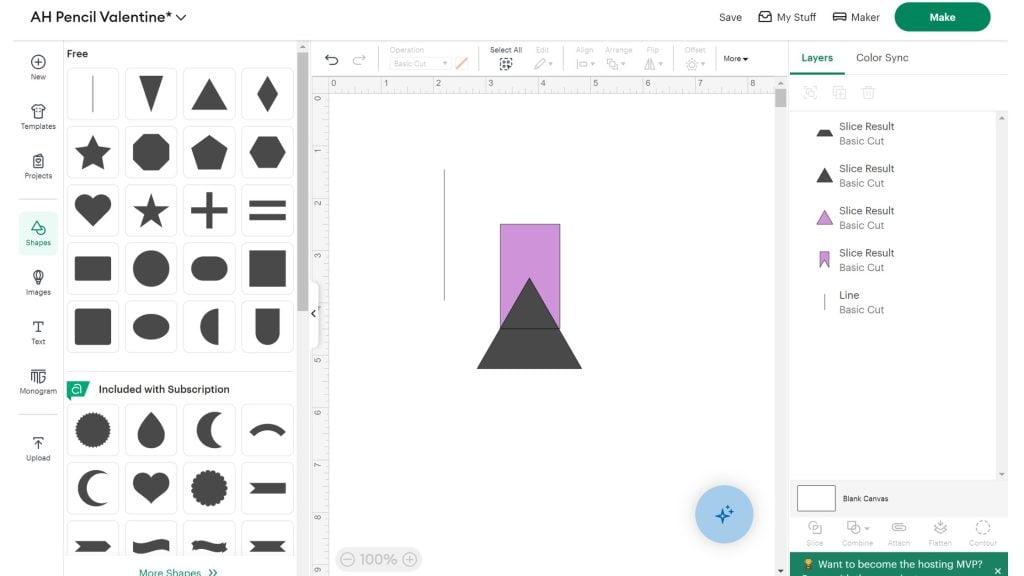
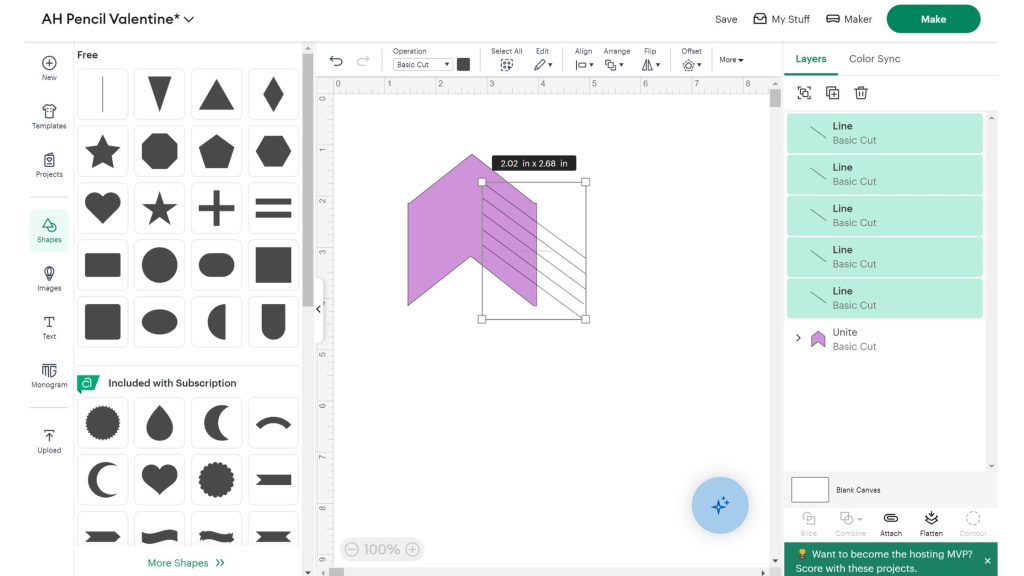
Once I had the shape I wanted, I added single lines to make fringe for the feather. Once I had all of the lines where I wanted them to cut, I selected everything and clicked Attach.
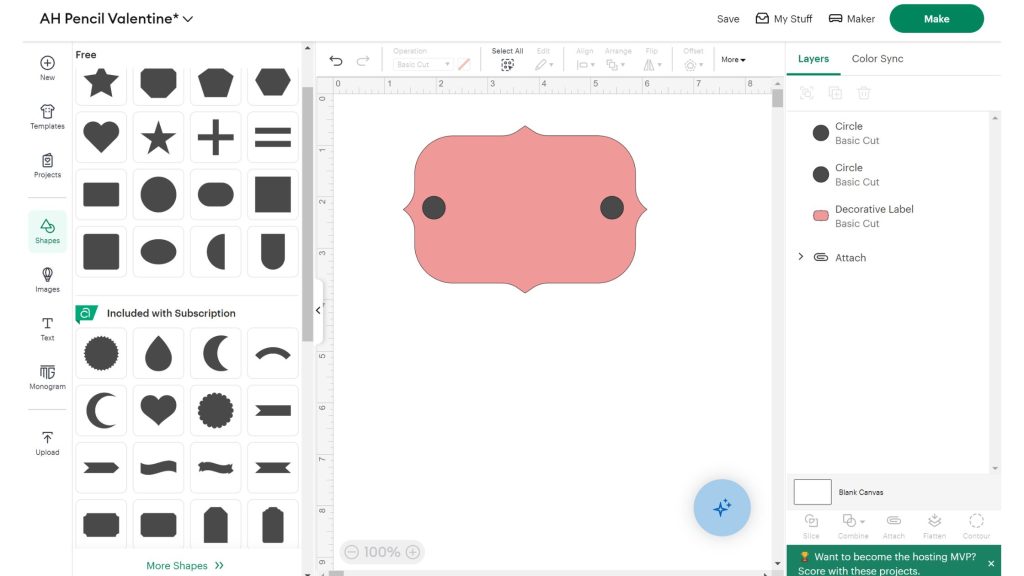
Then, it was time to make the card or tag portion of the pencil Valentine. I added a shape to my canvas for the card and added small circles on each end of the card to thread the pencil through it. Note: this is optional; you can also just glue the card onto the pencil.
Step 3: Add text to the card
Finally, add the text to the card. You can have your Cricut write your Valentine's for you! Pick a writing font and add the To and From on your card. If you want, you can personalize each card so you don't have to write anything yourself.
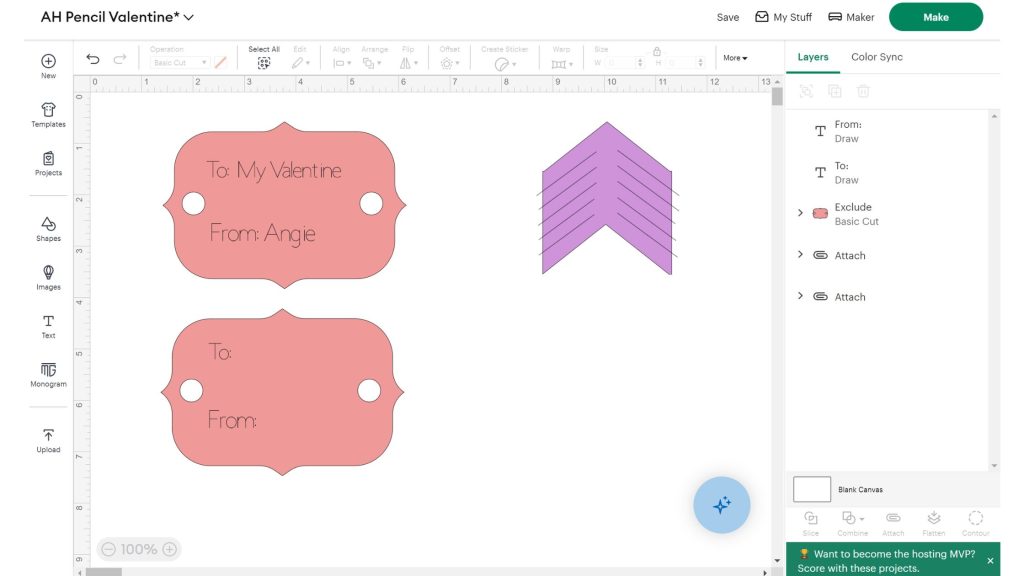
Before you click Make, be sure to Attach the card and text, also Attach your fringe cut-lines to your feather piece.
Step 4: Cut out of cardstock
You can use whatever cardstock you want to make these Valentine's pencil gifts. I used glitter cardstock for the feathers and plain for the card. You want to use something you can write on for the card. Cricut Design Space will prompt you to add the pen when needed.
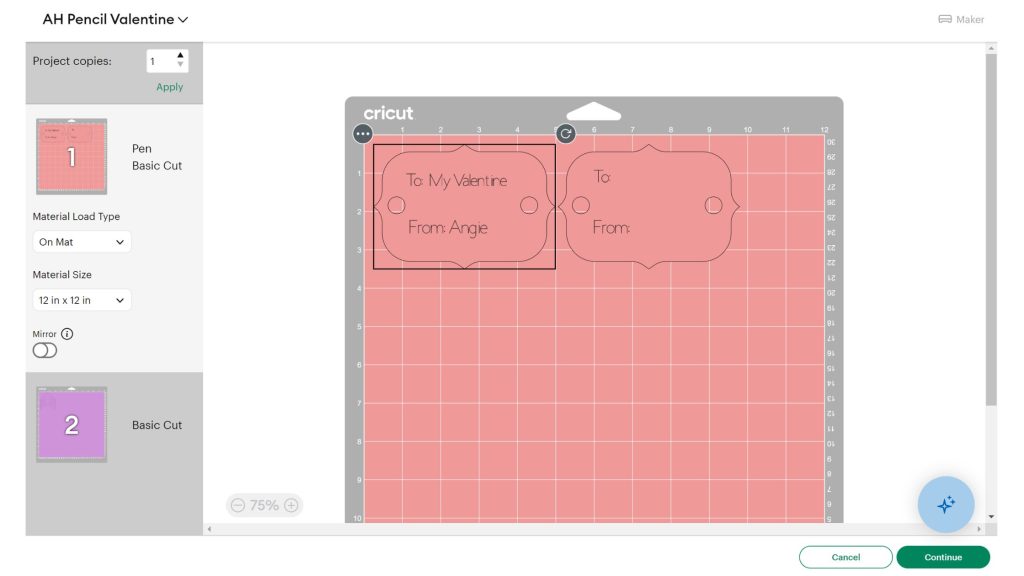
Step 5: Put together the pencil Valentines
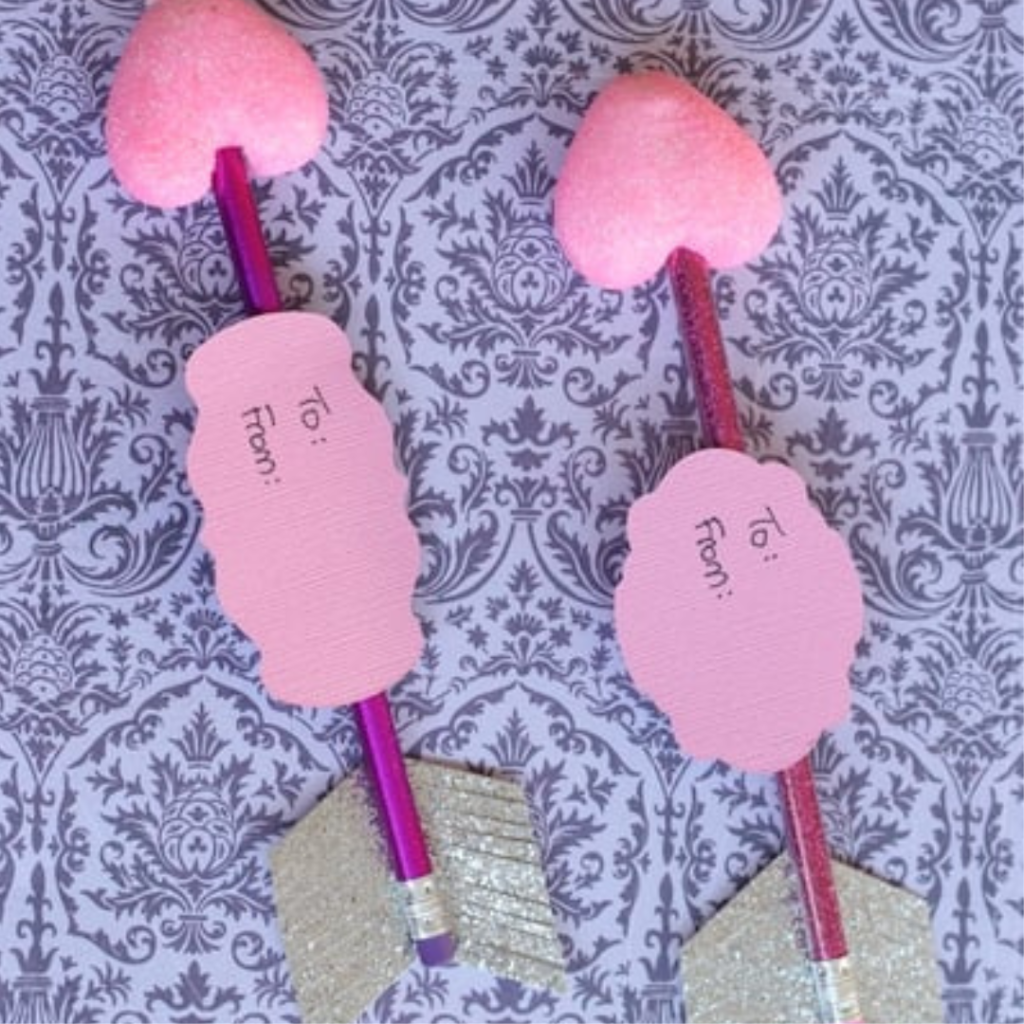
Finish writing on your Valentines, if needed. Then, if you added holes to the card, slide it onto your arrow before adding the fringe. If not, attach the feather fringe and tag to the pencil with glue strips.
Step 6: Make Someone's Day!
You are ready to give your pencil arrow Valentines! You can customize it by adding treats or a custom message to the gift tags.
More Valentine ideas
Do you love this idea for a pencil Valentine's Day gift and want more ideas? Try these fun, quick, and easy crafts!
