There’s no need to look at pencils and pens scattered all over the place when you can put them in pencil holders! Learn how to make your own DIY pencil holder with this super easy method using hot glue.
As a crafter, there’s a certain amount of mess that accompanies creativity. I know that with every project I create, there will be supplies scattered around until I get it finished.
And while I can accept temporary crafting chaos, I like to keep the rest of our home organized and clutter-free as much as possible. Seeing pens and pencils scattered around sends me straight into cleaning mode, and I recently noticed some pencils out on the counter.
As I was later brainstorming hot glue craft ideas for Craft Lightning week, a DIY pencil holder made with hot glue popped into my head and I knew I had to make it!
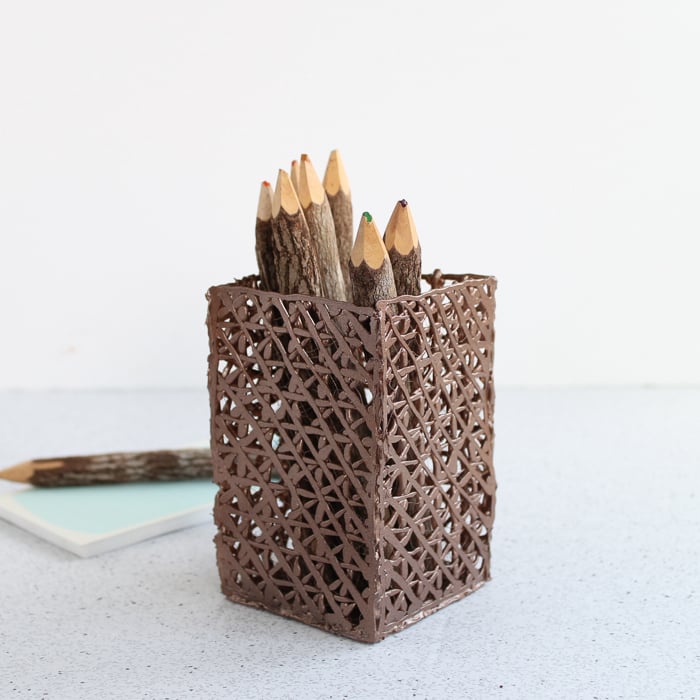
How To Make A DIY Pencil Holder With Hot Glue
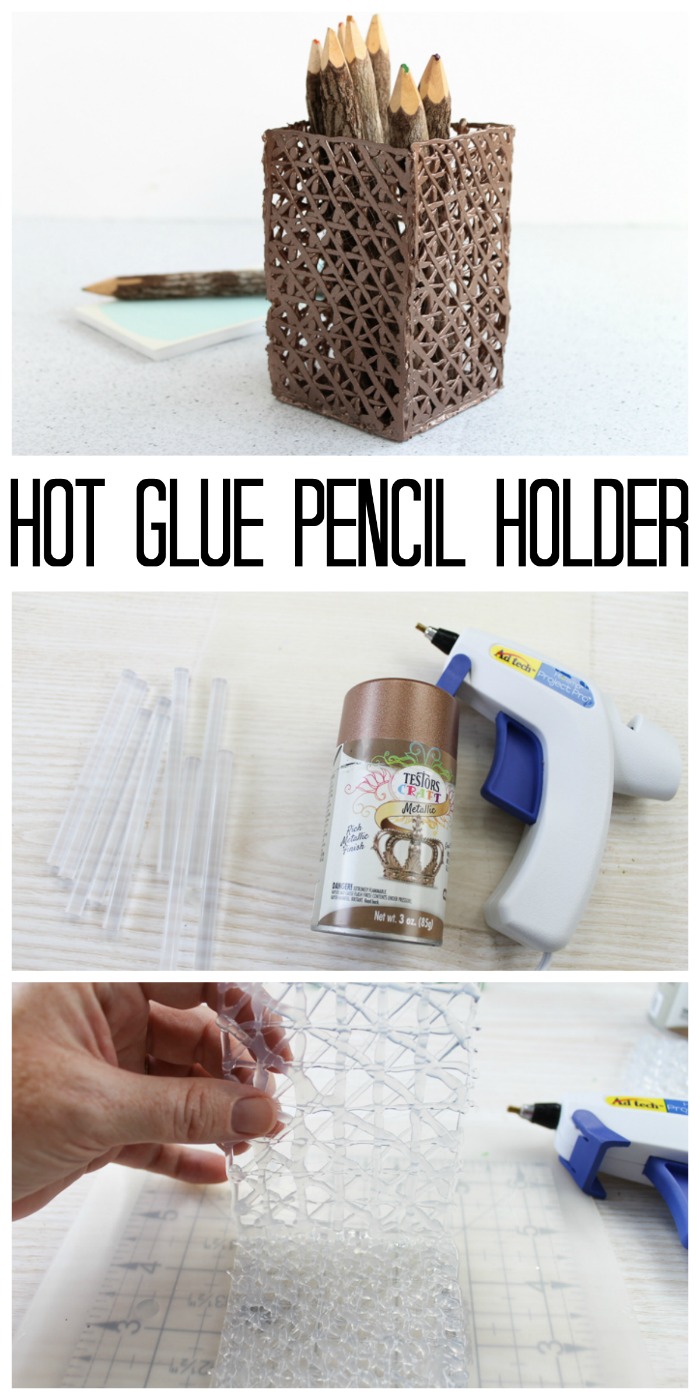
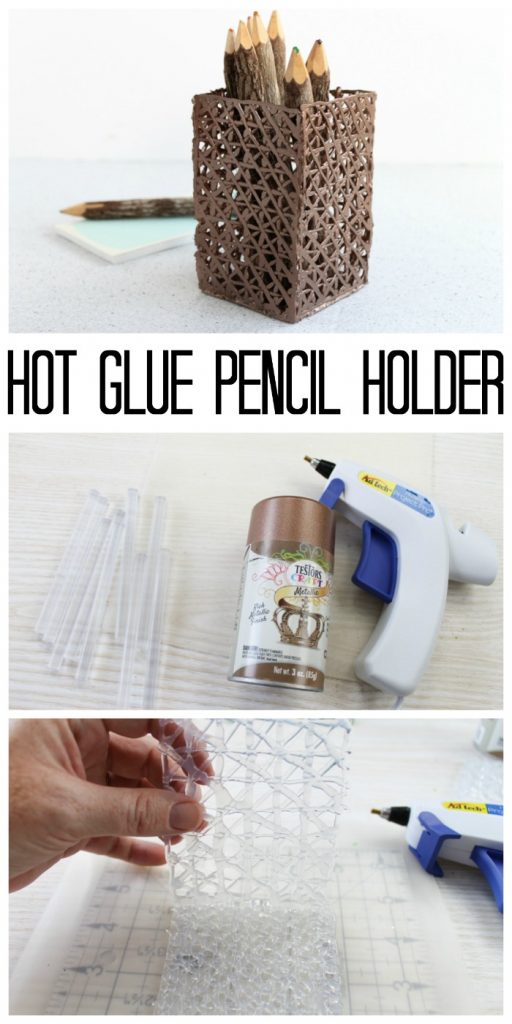
Yes, you can make a pencil holder from hot glue!
It might sound impossible, but I figured out this cool technique that results in a texture almost like a basketweave, and I love how it turned out. Plus, the best part, is that it is simple to make and can easily be customized!
So if you are ready to make your own DIY pencil holder, grab your favorite glue gun and check out the tutorial below! Also, make sure you scroll down to the bottom of this post to see details on our hot glue book if you like projects like this one!
Supplies Needed To Make DIY Pencil Holder
- Hot glue gun (one with a precision tip is ideal for projects like these)
- Regular hot glue sticks
- Non-stick hot glue mat
- Ruler (I used this easy square)
- Spray paint (in the color of your choice)
- Hot glue fingertips (optional but will prevent burns)
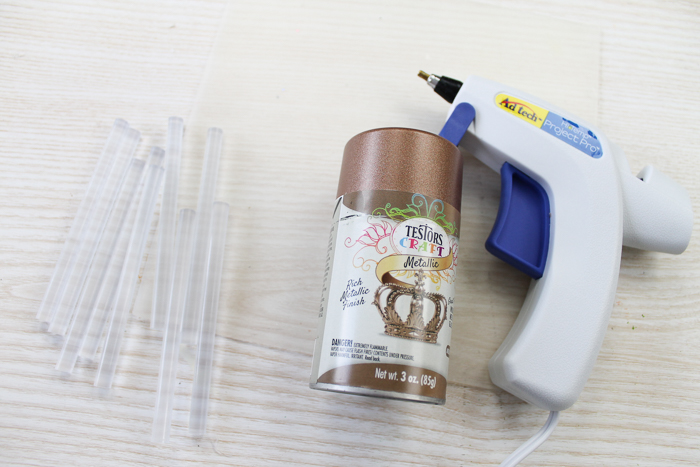
Step 1: Create Outer Edge
I made the sides of my pencil holder 3 inches by 5 inches. Lay a ruler or easy square under your non-stick hot glue mat then go around the outer edge (a 3-inch x 5-inch rectangle in my case).
Step 2: Add Lines Inside The Outer Edge
After you create the outside edge, lay lines in hot glue going diagonally, horizontally, diagonally in the opposite direction, and vertically.
Lay all of the lines in one direction then repeat in the next direction. You can just lay them one right on top of the other without waiting for the glue to cool.
NOTE: I placed my lines about 1/2 an inch apart.
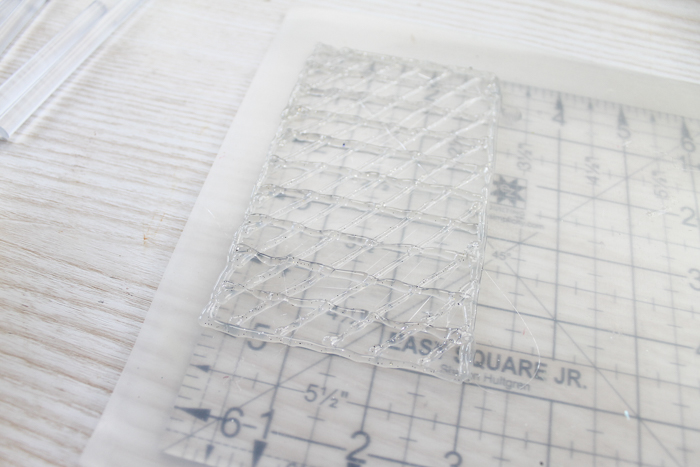
Step 3: Peel Hot Glue Panel From Mat
Let the entire side cool completely and peel from your mat.
You will have something that looks like the image below. Repeat the same hot gluing process three more times to get four of these sides pieces.
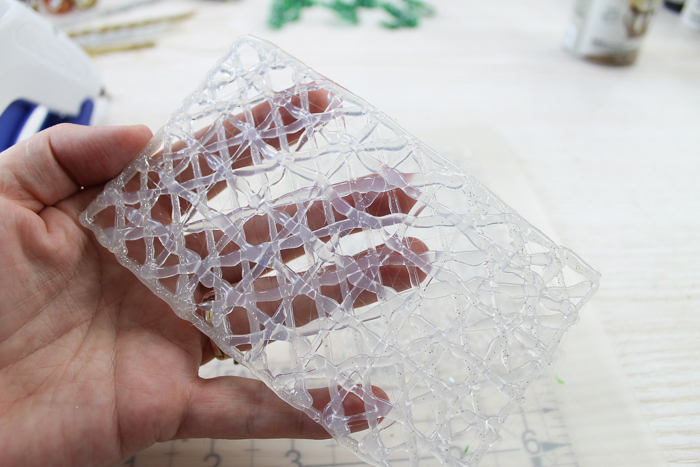
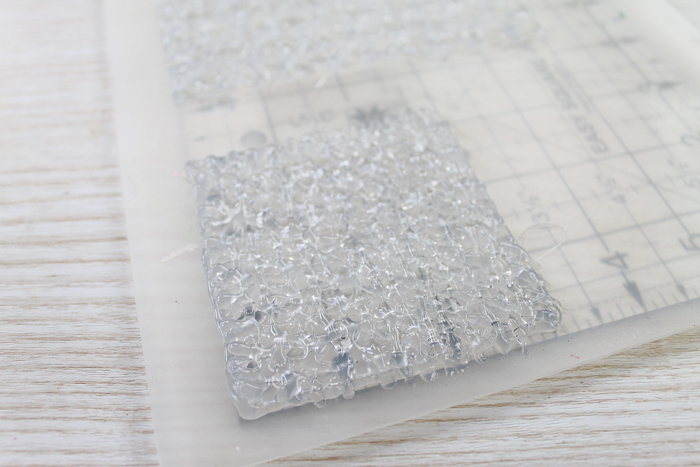
Step 4: Make Bottom Of DIY Pencil Holder
Now it’s time to make a bottom for your pencil holder!
I made a 3-inch x 3-inch square and this time I made the lines in the same directions as before but made them much closer together. This gave me a tighter weave so that no pencils would fall through.
Step 5: Assemble DIY Pencil Holder
Once all of your pieces are made and have cooled, you can start assembling the pencil holder. Just use hot glue along all the seams and hold them in place until the glue cools.
NOTE: I placed the “flat” sides to the outside as they looked more finished to me, but you can use either side you like.
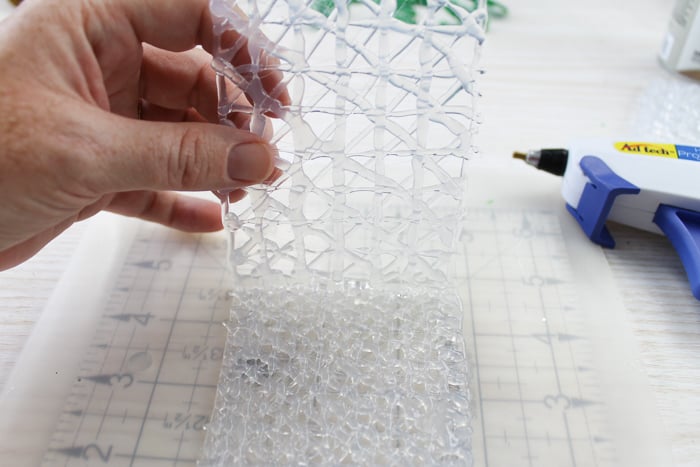
Pro Tip: This is where hot glue fingertips come in handy to protect you from hot glue burns. Glue the bottom and all sides together and hold them in place with your hands until the glue dries and cools.
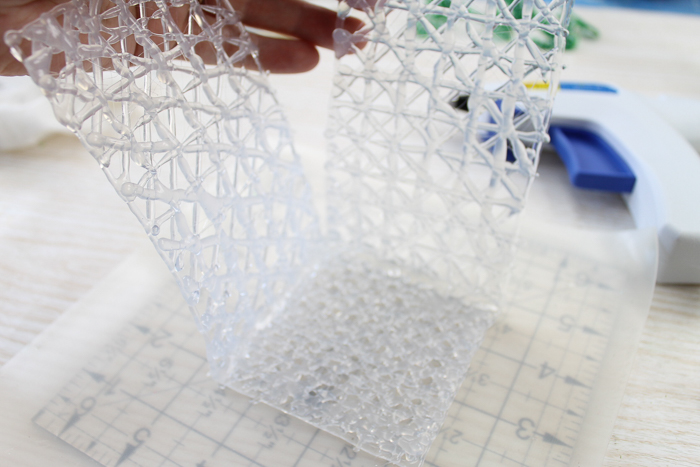
Also, be sure to complete these steps on the non-stick mat. This will keep your project from sticking to your work surface.
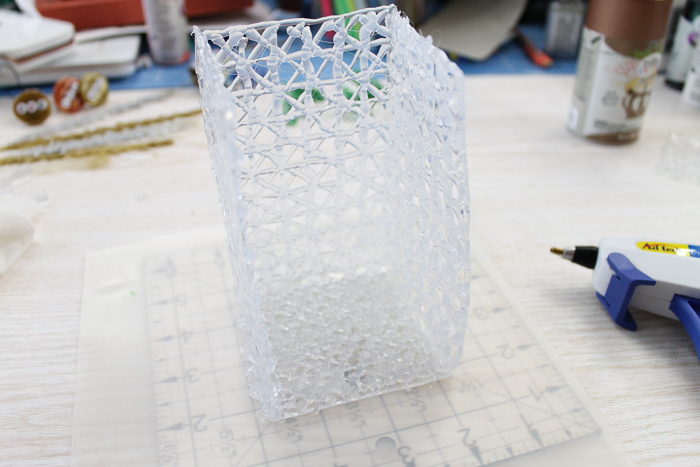
Step 6: Paint DIY Pencil Holder
Once you have assembled your DIY pencil holder, the final touch will be to paint it to give it a finished look.
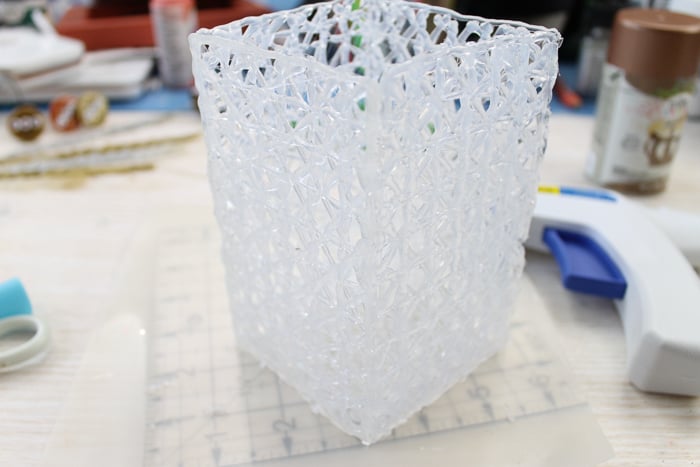
Spray paint all sides and allow to dry completely. Now your homemade pencil holder is complete!
Simply add in some pencils, pens, etc., and this project is ready to organize any room!
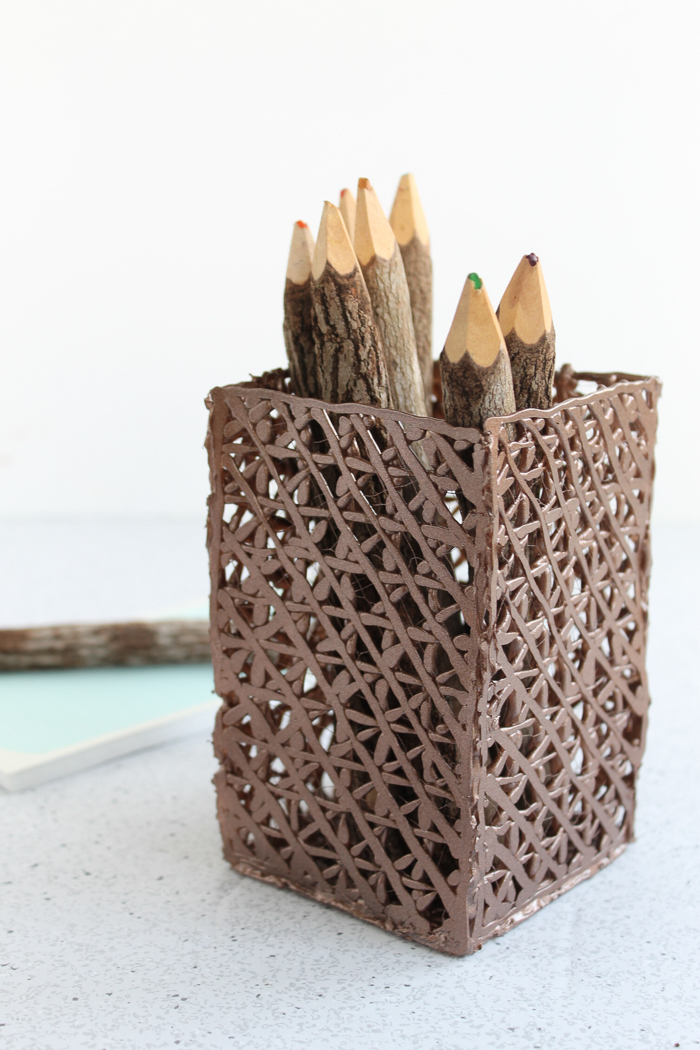
Look at that basket weave-like texture! It’s amazing to think that it’s made with hot glue!
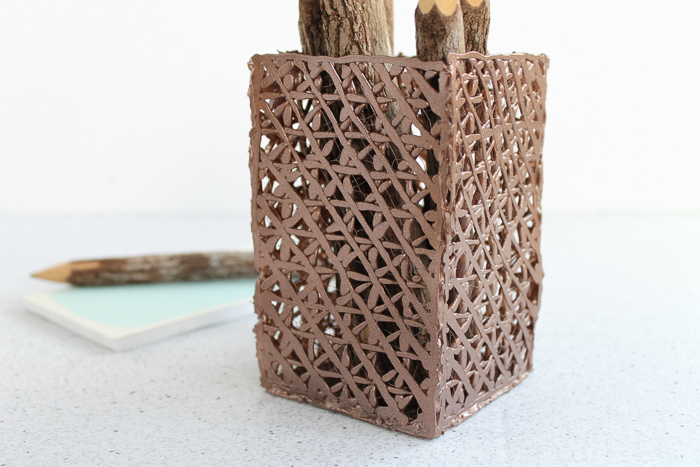
Grab some hot glue sticks and get started making a DIY pencil holder (or 5!) of your own. They make terrific projects for the home, as homemade gifts, or items to sell thanks to their unique look.
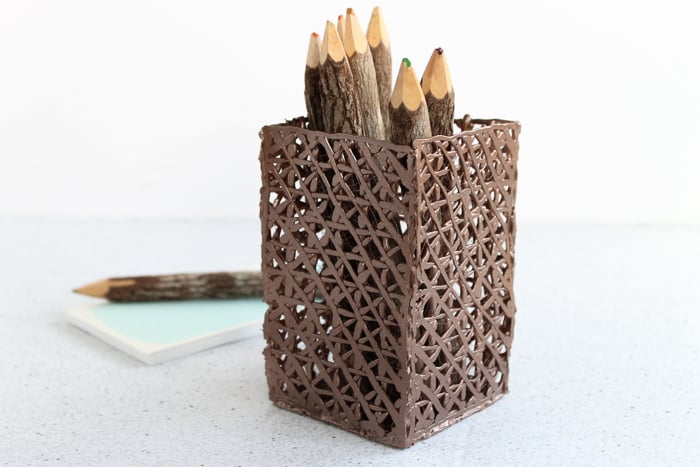
You could even take this same idea and adapt it to make containers in other shapes, sizes, and colors. Let your imagination run wild and your creativity soar!

Hot Glue Hacks And Crafts
Do you love how easy this project is? Perhaps you want even more project ideas with hot glue?
Well, I have the book for you!
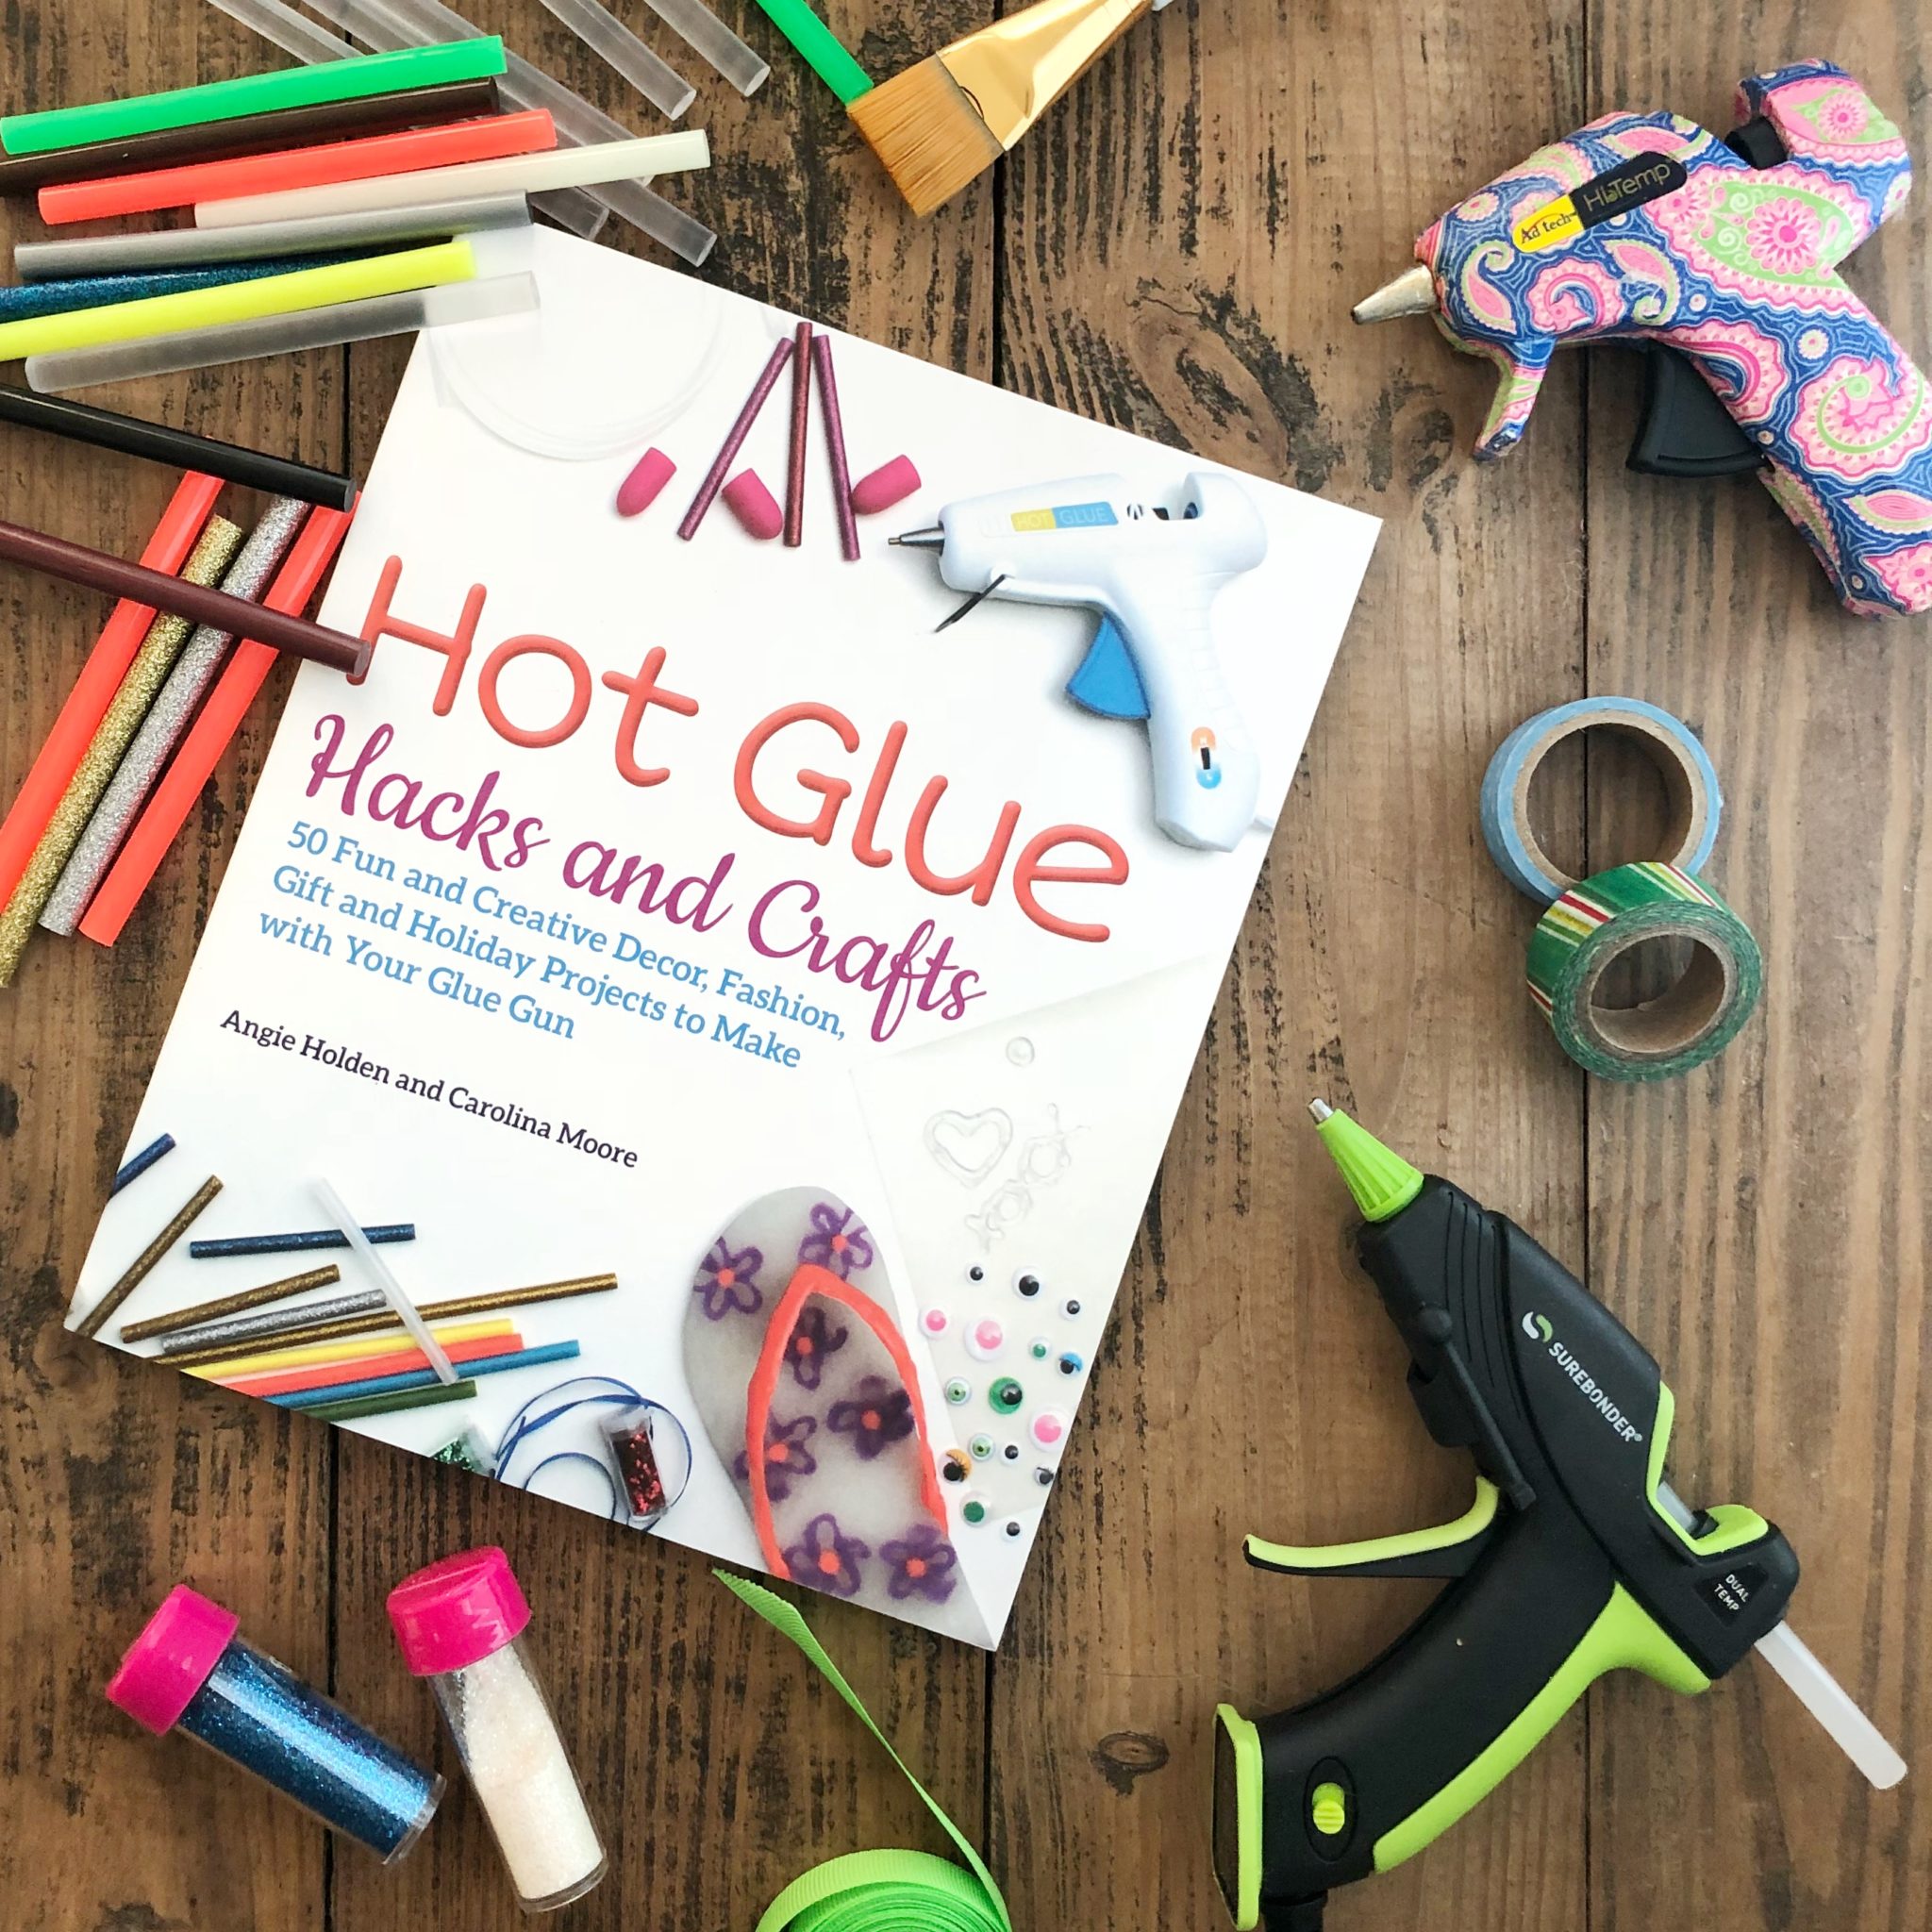
I partnered with Carolina Moore to write a book all about hot glue to bring you projects just like this one. We are using hot glue in ways that you never thought possible. Hot glue shoes? Oh yes! And so much more!
So are you ready to dive in and use your glue gun like never before? Then check out our book Hot Glue Hacks and Crafts!
Click here to order your copy of our book on Amazon!
Click here to order your copy of our book on Barnes and Noble!
FAQs About DIY Pencil Holder
Here are a couple of questions that I see readers ask about this DIY pencil holder. If you have a question, please check to see if I’ve already answered it below. Don’t see your question? Leave it for me in the comments!
Can I Adapt This Process To Make Different Pencil Holder Sizes?
Yes, you can actually make this any size that you like. You just need to make 4 sides all the same size (ex: 4″ x 6″) and a square bottom that has sides equal to the shortest length of the side pieces.
Will Other Types Of Glue Work For This Craft?
No, other types of glue won’t work. The reason hot glue works is because it is easy to form into a shape, it cools/dries quickly, and it holds its shape once dry. Other types of glue aren’t able to do any of these things, so they aren’t a good fit for making DIY pencil holders.
Can I Use Colored Hot Glue Sticks For This Project?
Yes! If you would rather skip painting, you can use colored hot glue sticks. However, with that being said, the only thing you will have to remember is that you will need enough glue sticks (in your chosen color) to make the pencil holder.
What Type Of Mat Should I Work On For This Project?
Complete this project on a non-stick mat to keep your project from sticking to your work surface.
Can Kids Make This DIY Pencil Holder?
This is not a project I would recommend doing with young children since they may reach out to touch the hot glue or glue gun and burn themselves. However, with some supervision, older kids can definitely complete this project!
Depending on your child’s skill level, you may need to help them put all the pieces together to avoid burns.
5 More Hot Glue Crafts
Did you love this DIY pencil holder and are looking for more hot glue gun crafts? Then check out the projects below!
- Decorative Cactus Push Pins (Made From Hot Glue)
- Hot Glue Gun Bowl
- Make Your Own Stamp with Hot Glue
- DIY Welcome Sign with Boho Farmhouse Style
- Statement Ring



Very cool! My daughter loves to use the glue gun so I could see her wanting to try this. Visiting from BFF Party.
I love this idea! What a great craft for older kids to make as gifts for grandparents.
Scheduling for Pinterest.
#SaturdaySparksLinkParty