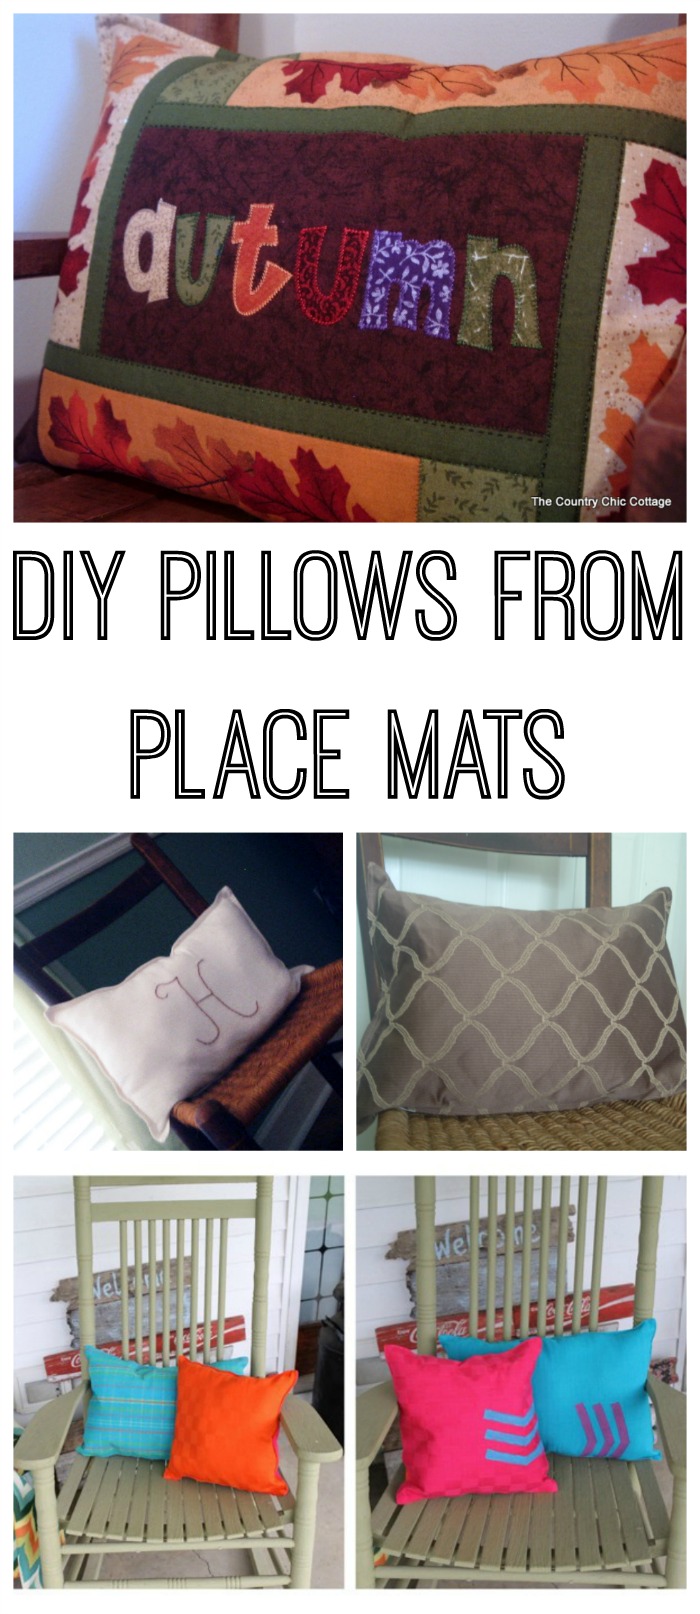
I have seen the placemat pillow all over blog land. It is such an easy project that I was itching to tackle my own version. Turning a placemat into a pillow is just about the easiest DIY project ever. Don’t believe me? See four ways you can turn a placemat into a pillow below. Then try one of these for yourself.
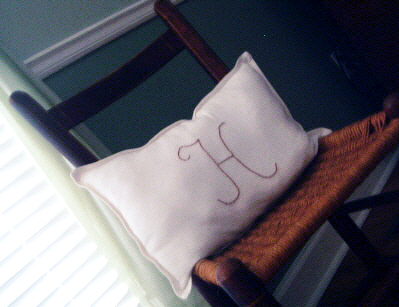
Read on for the how to instructions on making this monogram version. Then click over for the instructions for the other three versions.
How to Make a Placemat Pillow
Supplies needed:
- Placemat
- Seam ripper
- Embroidery floss and needle (to add monogram)
- Stuffing
Instructions:
- Start with a plain white linen placemat (mine was $1 at my local Big Lots). Any plain placemat that is a solid color will work for this project.
- Remove a portion of the seam from one side with a seam ripper.
- Use the opening to hand embroider a monogram on the front of the placemat. My “H” was done with brown embroidery floss.
- Use the opening you have created to stuff the pillow using stuffing from the craft store.
- Close the opening with a needle and thread or a sewing machine.
You have just created a placemat pillow! I just love this version on the chair in my bedroom! This is actually such a quick and easy DIY project that I made several versions. You can see the other ideas by clicking the links below. Y’all enjoy!
More Ideas for Making a Pillow from a Placemat
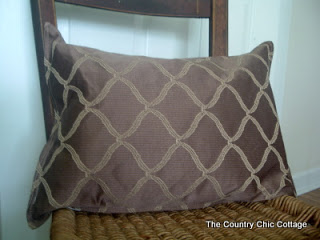
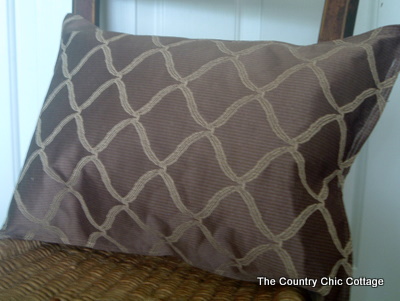
Modern Print Place Mat Pillow
Find a pillow with a modern pattern for a different look but still the same super easy method of making the pillow.
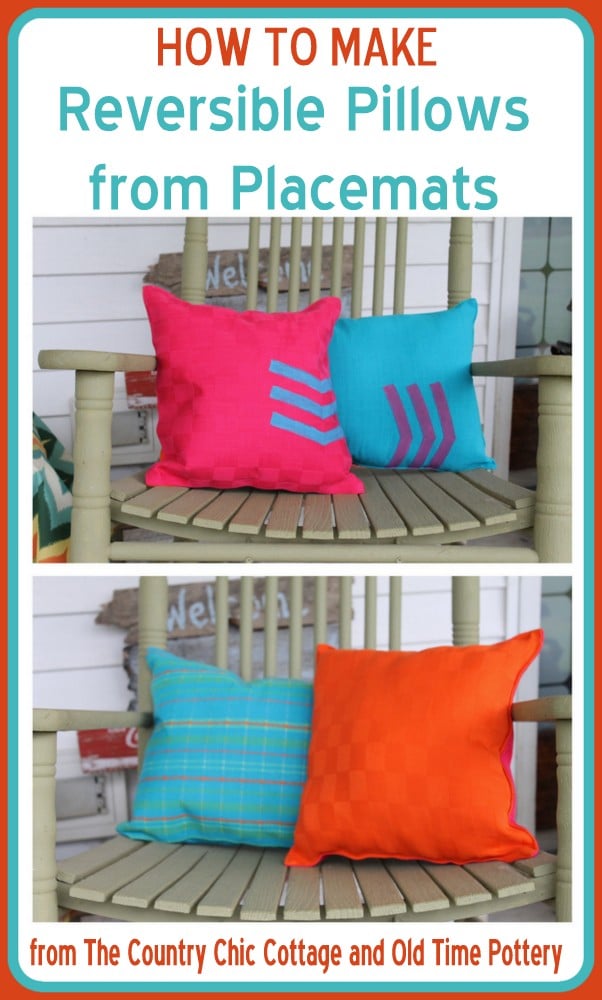
Reversible Pillows from Placemats
Find some pillows that are reversible or paint on one side to make decor that can be changed in minutes.
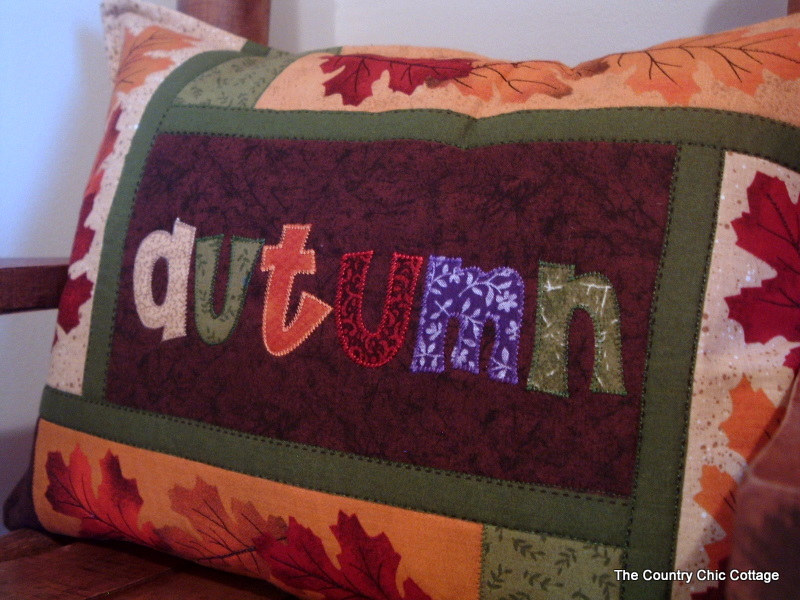
Seasonal Fall Place Mat Pillow
Yes, you can also go seasonal with this easy craft idea. Find placemats for the season and make your own pillows.
Awesome right? Start shopping for placemats and make a placemat pillow today. You can make many of these versions in 5 minutes or less. That is the perfect quick and easy DIY project. I think the monogram version would make a great gift idea as well. Cheap, cute, and easy….that is my kind of gift! Will you be turning a placemat into a pillow? Trust me…you will never look at the placemats in the store the same again!
Want to print the basic instructions for making a placemat pillow? Try the card below!
Supplies
- Placemat
- Seam ripper
- Embroidery floss and needle to add monogram
- Stuffing
Instructions
- Start with a plain white linen placemat (mine was $1 at my local Big Lots). Any plain placemat that is a solid color will work for this project.
- Remove a portion of the seam from one side with a seam ripper.
- Use the opening to hand embroider a monogram on the front of the placemat. My "H" was done with brown embroidery floss.
- Use the opening you have created to stuff the pillow using stuffing from the craft store.
- Close the opening with a needle and thread or a sewing machine.


Well, how creative you are. And how pretty your pillow is!
Brenda
That’s so pretty, and the H works perfectly for me 😉 Now I’m going to have to go check out my Big Lots.
Thanks for your comment on my blog!
Angie, This is such a simple and creative idea. So great. I love the hand embroidered lettering. I am going to try this!
Thanks for the inspiration.
Yvonne
Hi Angie
Such a simple idea and yet so classy looking with the initial on it. Great idea! Thanks for joining the party today.
Hugs, Rhondi
That is so nicely done! Does that require a sewing machine? If it does I can’t do it. I can’t sew a stitch… I think i made a c in my home ec. class in high school.. lol
Thanks for stopping by come by any time…
I’m having a party on Thursday’s called “get your craft on” and I would love for you to link to it.
Beautiful pillow! I’m a huge fan of Big Lots and their dishes; I’ll check out the placemats for sure.
I love your pillow and how you personalized it!
Great job!
Thanks so much for coming by my blog and enjoying the new advice series!
I love pillows BTW! The one you have in your post today is lovely!
Paula Grace 🙂
Lori — Just buy a placemat that is “two ply”. In other words — has fabric on front and back. Open up the seam on the “bottom” about 3 inches. Then you can hand embroider the initial like I did or you could paint it if you did not want to embroider. Or buy a pretty placemat that already has a design and don’t worry about the initial at all! 😉 Stuff the pillow through the opening. And if you don’t want to sew just use that liquid stitch stuff to close your opening. Hope that helps!!
I love how this came out, great use for dollar placemats. This would be so expensive at a boutique! I can see you just started blogging, and you’ve already shared some great ideas. I can’t wait to see what you continue to bring us.