Are you ready to make your own mini planner? If you love organizing, Jen Goode with 100 Directions is back this month with a fun mini planner that you can make yourself! Get organized in the new year with this idea!
Organizing your to-do list can be quick, easy and personalized with your own style. Make your own mini planner with your own little art accents, favorite colors and fun embellishments. You don’t need a ton of supplies, you can use scraps from other projects or reuse materials you already have. Add your own personal flare and get yourself organized in no time!
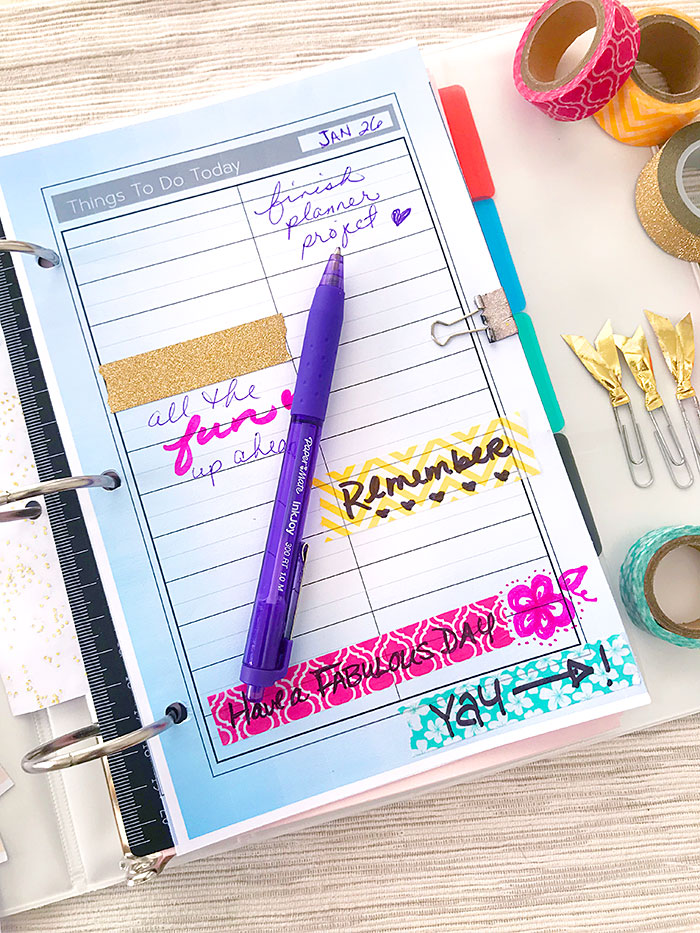
Make Your Own Mini Planner
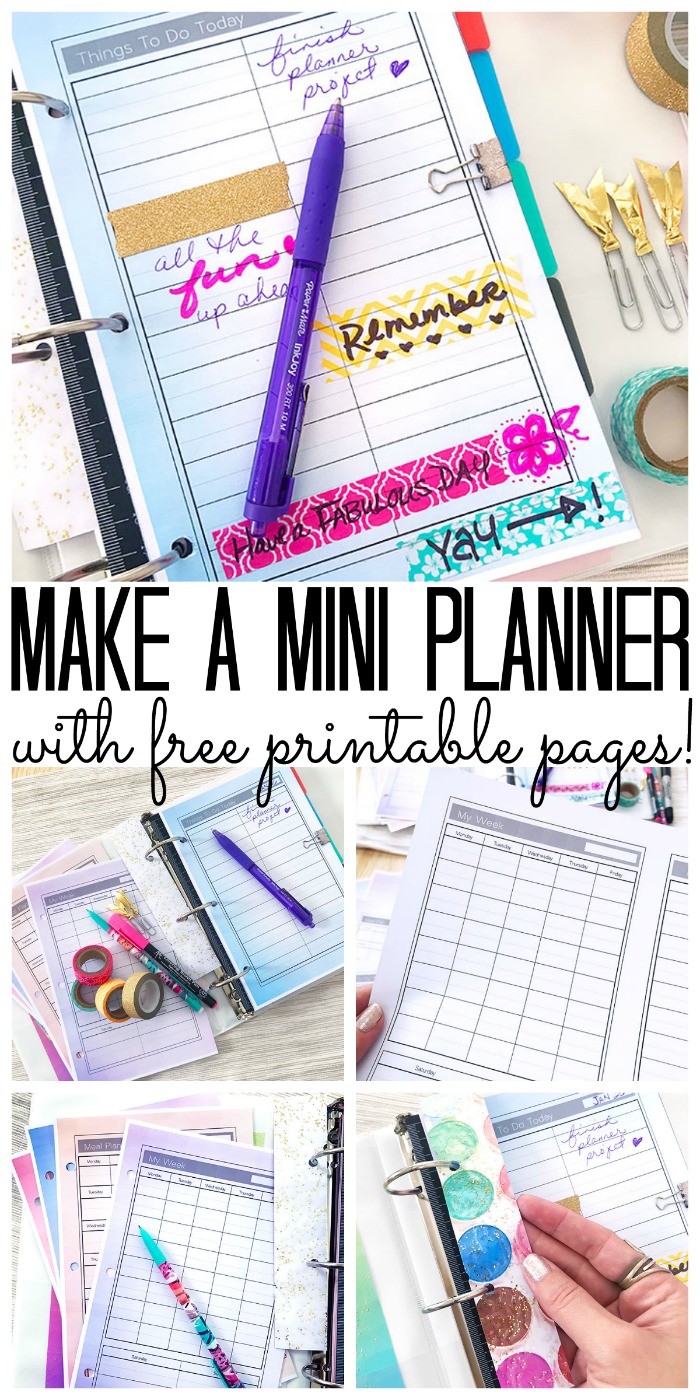
Today I’m sharing some tips and ideas to help you set up your own mini planner. So, grab a mini binder and print out the free mini binder planner pages I have for you. You can use these same tips with larger planners, just use a regular size binder. I’ve created a variety of printable planner pages to choose from. If you need help getting started with finding a binder and basic pages, check out my tips to create an easy DIY planner tutorial.
Materials needed:
- A mini binder
- Printable mini planner pages (download them here)
- Washi tape, markers, glitter
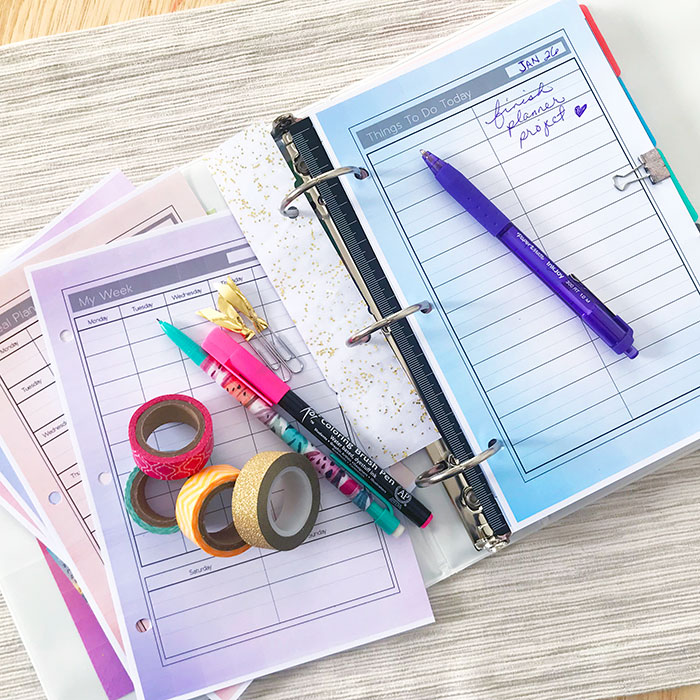
How to Make a Mini Planner
Whether you use printable mini planner pages or buy a pre-made set, the fun is in the decorating. Here are some ideas to add personality to your planner.
Add some color
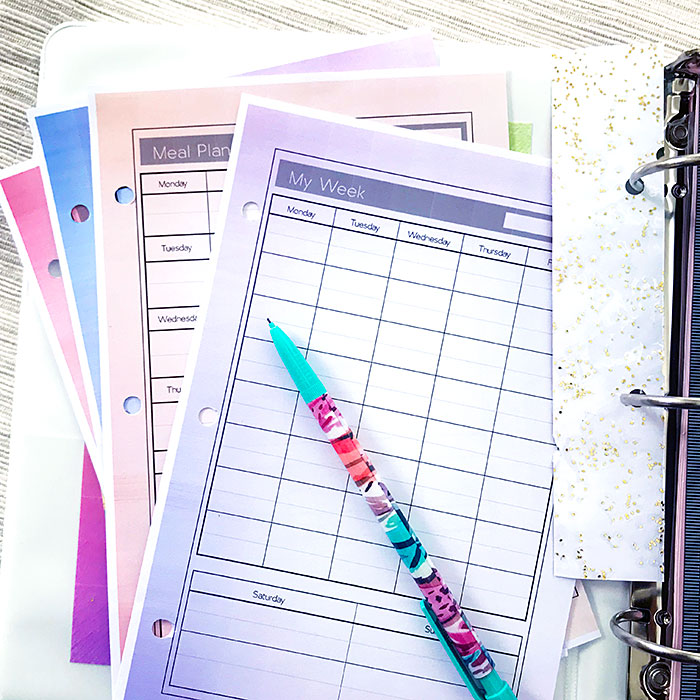
Customize your planner by adding extra color with drawings, pretty tapes, or stickers. Here’s a fun idea… print out a colored background, put the printed background back in your printer, and print the planner pages on top. You’ll have pretty, colored planner pages in minutes.
Add some sparkle
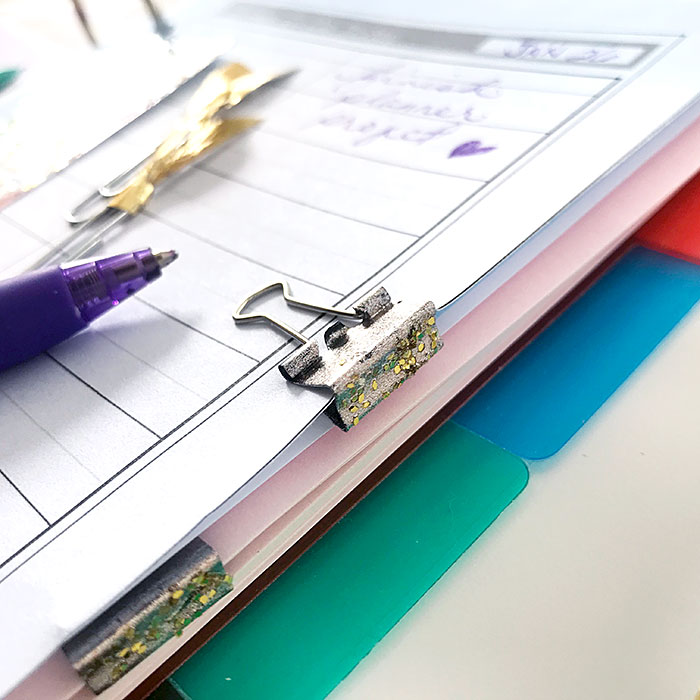
Use glitter accents for extra sparkle. I used a gold metallic nail polish to add some glitter to standard black mini binder clips.
Dress up basic supplies
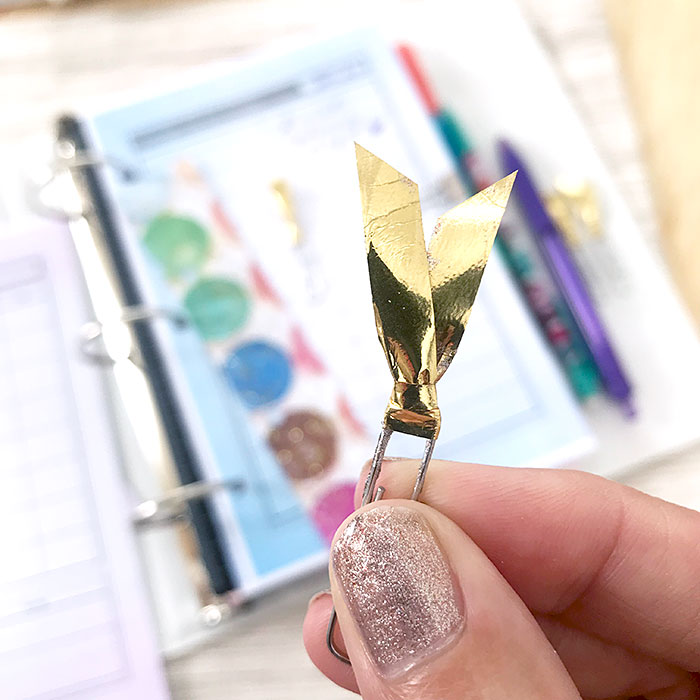
You can dress up basic paperclips by tying gold ribbon to the top.
Add your own personality
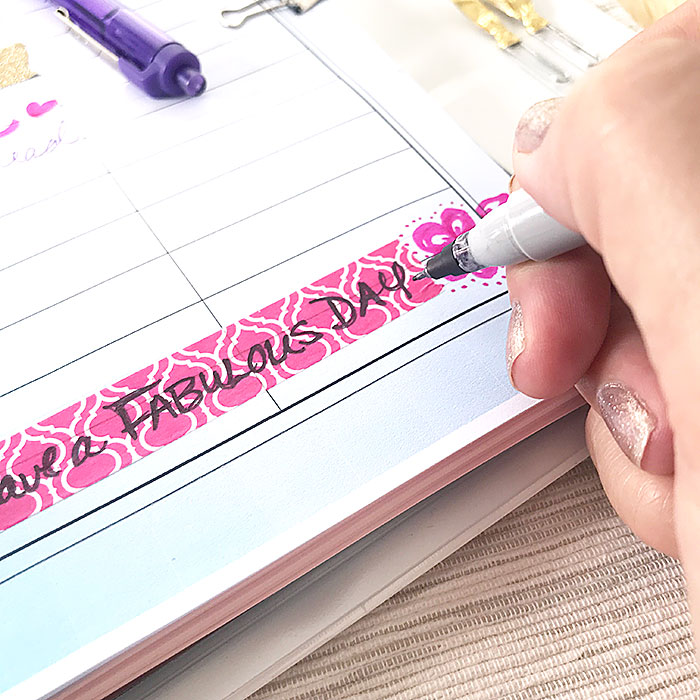
Draw little doodles on some of the pages to add your own style. I like to use washi tape to highlight and area in my list and then write on top of the tape.
Create your own paper accessories
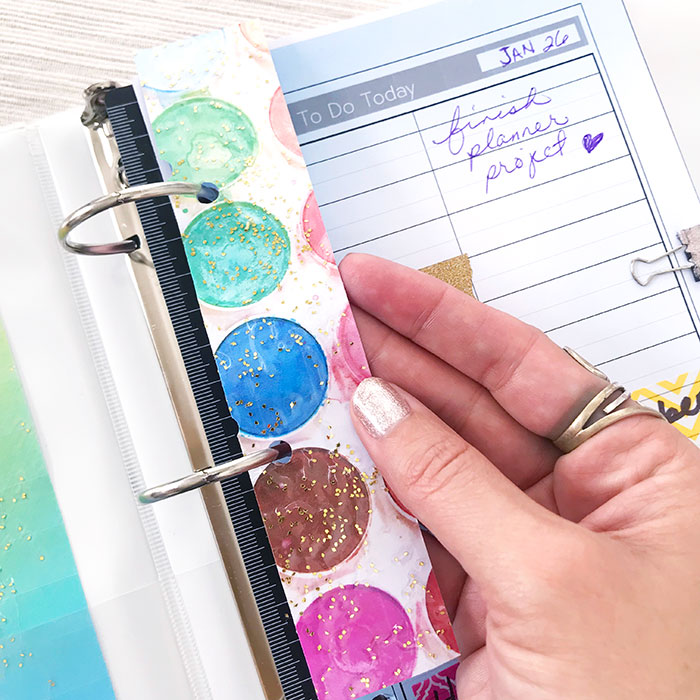
Make a planner divider with a printed design and packing tape. You can use pre-printed paper too. Add some packing tape to both sides of the paper, trim to size and then punch holes to create a quick bookmark style divider. Make sure you allow the divider to stick up above your planner pages a little so you can easily find it when you need it.
Mini Planner Printables
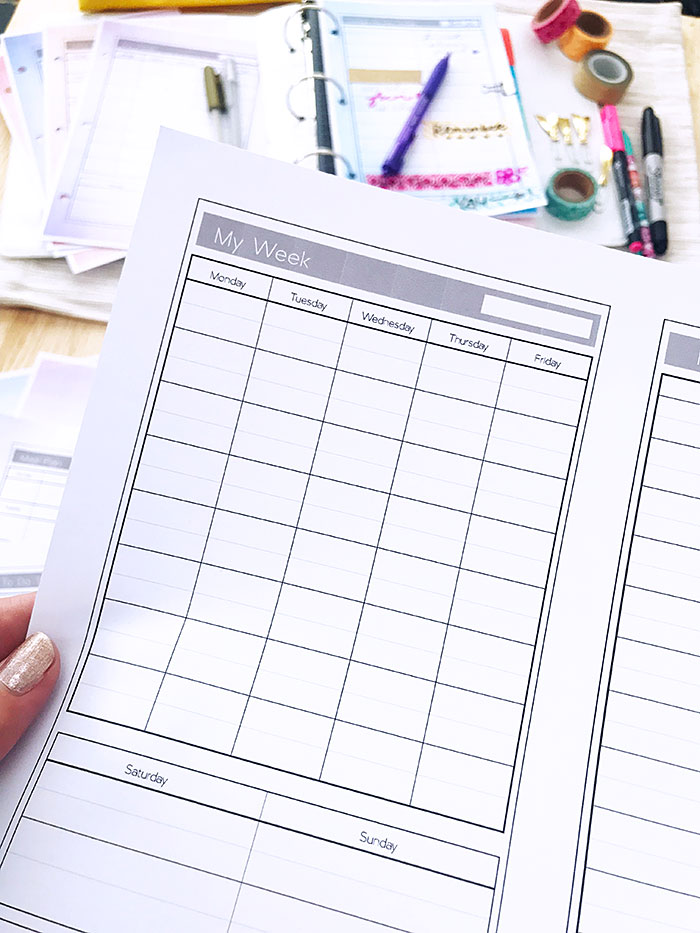
You can download these free DIY planner pages here. You can also use standard-sized printable planner pages and print them at half size, then trim them down to fit the binder you are using. This set includes the following pages: weekly planner, to-do list, grocery list, meal planner, and notes & ideas. If you have any special requests for pages to add, let me know!
Love this and want more? Try these other DIY planner tips and ideas:
- Planner accessories you need
- Printable ToDo List Planner Page and Stickers
- Weekly Menu Planning system
- Printable Special Dates Planner Pages
- 52 Weeks of Savings Printables
Declutter Your Home in 31 Days!

Clear the clutter and organize your home with our daily emails! Every day for a month we will send you a prompt to declutter! Sign up for our email list below to get started.


Those are nice ideas. I just started getting into bullet journaling myself and the paper clip idea will definitely be used. Thanks! #inspiremelink
I thought I was the only one that used packing tape as cheap laminate!
I’m a big fan of paper arts, so I love that these ideas don’t take a lot of effort to do. Love those glitter clamps, and the way you can shade your paper different colors.
I love staying organized using plannres and this one sounds awesome
come over se us at http://shopannies.blogspot.com
I enjoy making my own planners and bullet journals. Love your tips and ideas! Congrats, you’re featured this week at the This Is How We Roll Link Party.
I like how you dressed it up without spending so much time decorating that you aren’t getting to using the planner. Easy and effective.