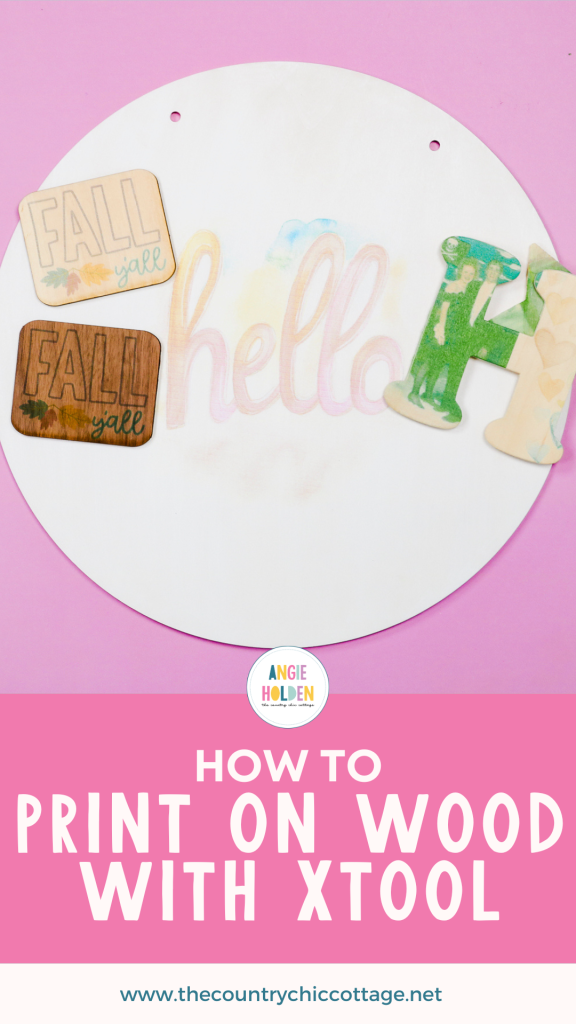
Recently I did a full tutorial on the xTool M1 Ultra craft laser. One of the features is the print head module. xTool states that the print head can print on any porous surface. I’m going to test printing on wood on a variety of different blanks.
If you’re trying to find the right laser for your craft needs, let’s look closely at this feature to help you decide if this laser is the one for you.
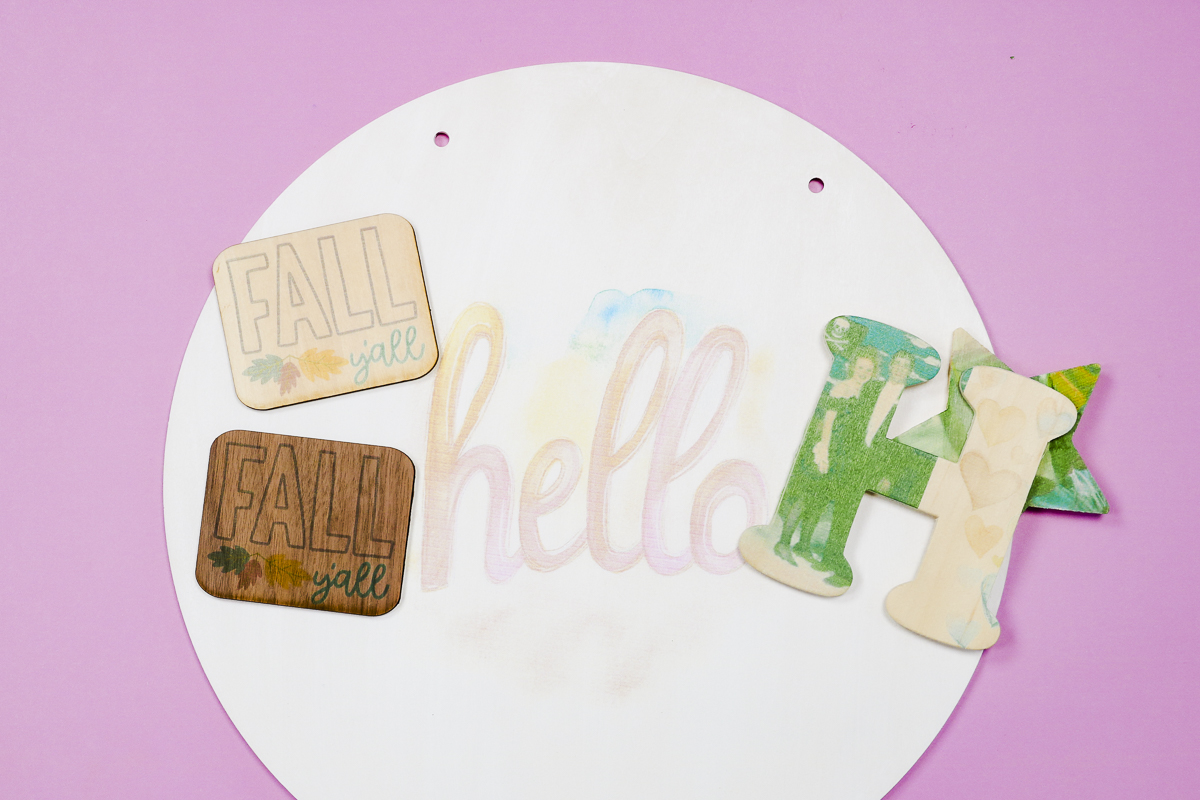
I’m going to test a variety of different wood surfaces including thicker blanks to see how well the print head module works.
You can watch me test each of these different blanks by pressing play on the video below.
Printing on Wood with the xTool M1 Ultra
I have several samples to test with this machine just to see what kinds of results we get.
Supplies Used
- xTool M1 Ultra
- xTool M1 Ultra Printer Head
- Various wood blanks and sheets
Print and Cut Laser Tags
The first project I’m going to make is a little tag. I’m going to print directly onto the wood with the printer laser head and then use the laser to cut out the shape.
Step 1: Create the Design in xTool Creative Space
Open xTool Creative Space and click on the Image button. Find the design on your computer and resize it to whatever size you want it to be.
I want to cut around the outside of the image so I am going to click Basic Shape and then choose the rounded square.
Unlock the measurements and resize the square to fit around the design.
Click on the screen away from the design and then click Multi Module Processing. This will allow you to do multiple things with the M1 Ultra.
Click on the square and I am going to select the laser module 10 watt to cut. Here I can set the power and speed for the material I’m using.
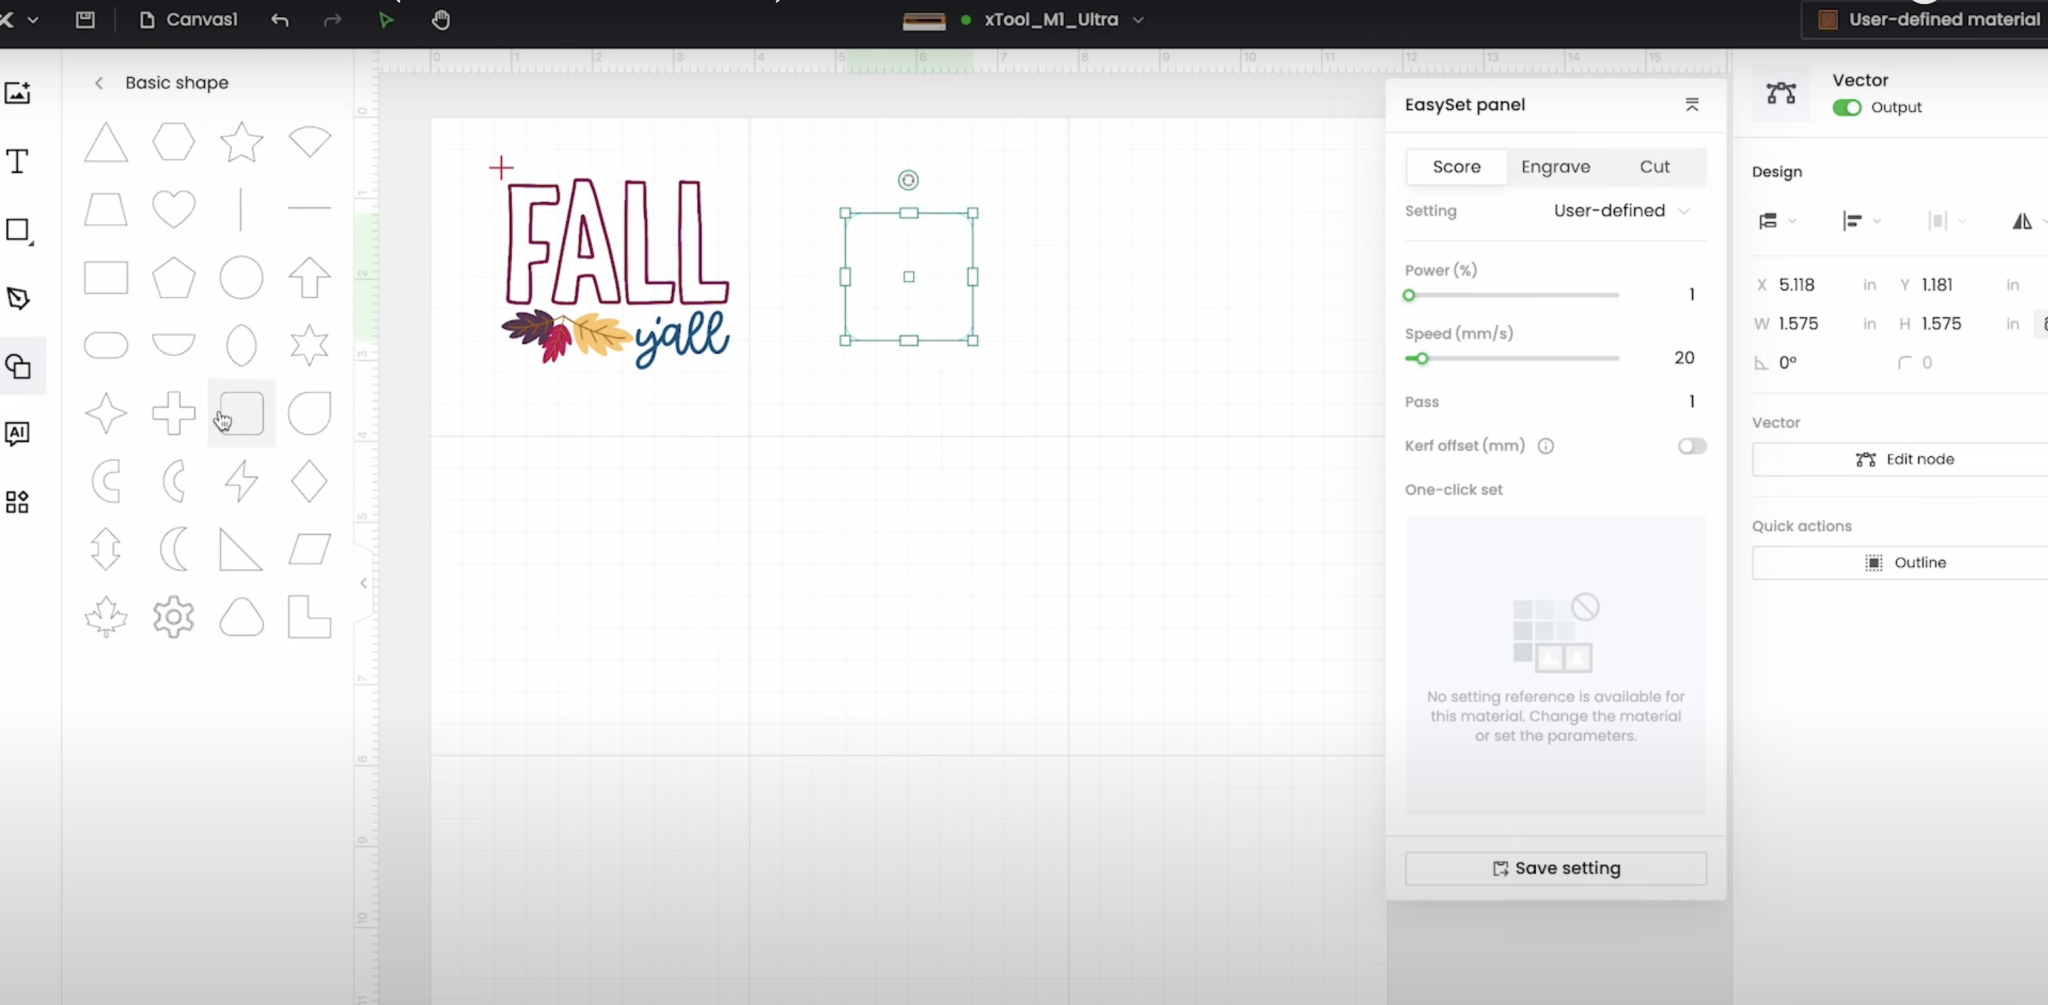
For the next layer, I’m going to change the module to the ink module. With that selected, I can change the intensity if needed.
Make sure the machine is connected and we’re ready to move over to the laser.
Step 2: Printing with the xTool M1
Within the machine, you’ll need to add the inkjet module first. Plug it in and make sure the base plate is installed.
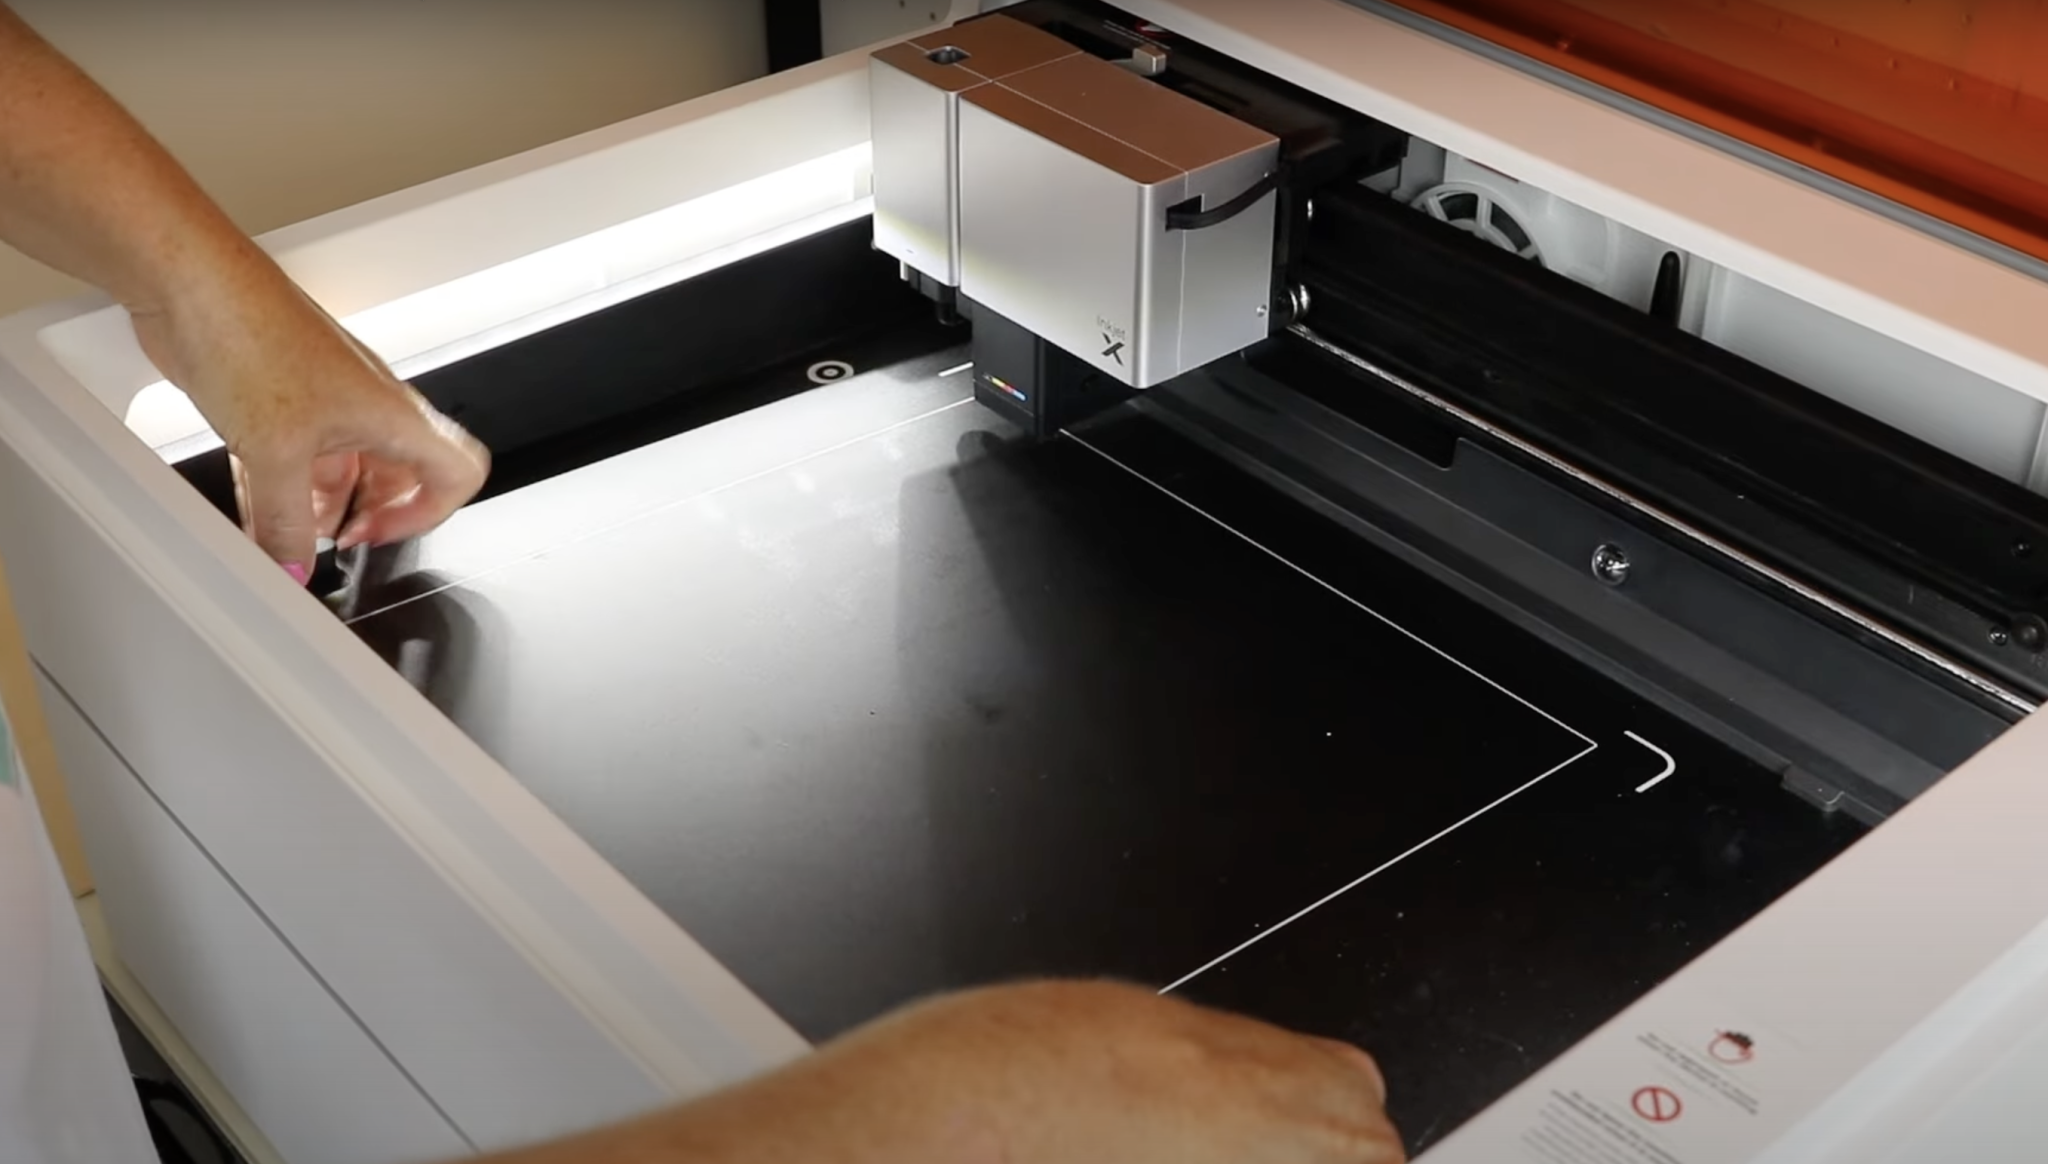
There is a plate that goes with the inkjet module. Put it inside the laser, remove the cap from the inkjet module, and place it on the plate.
Click Process and you’ll see there are two tasks. The tasks are the order in which you load things into the laser.
The first task is calling for the ink module which is why we put it in first. Click Start and the xTool M1 will measure the distance and it’s ready for processing.
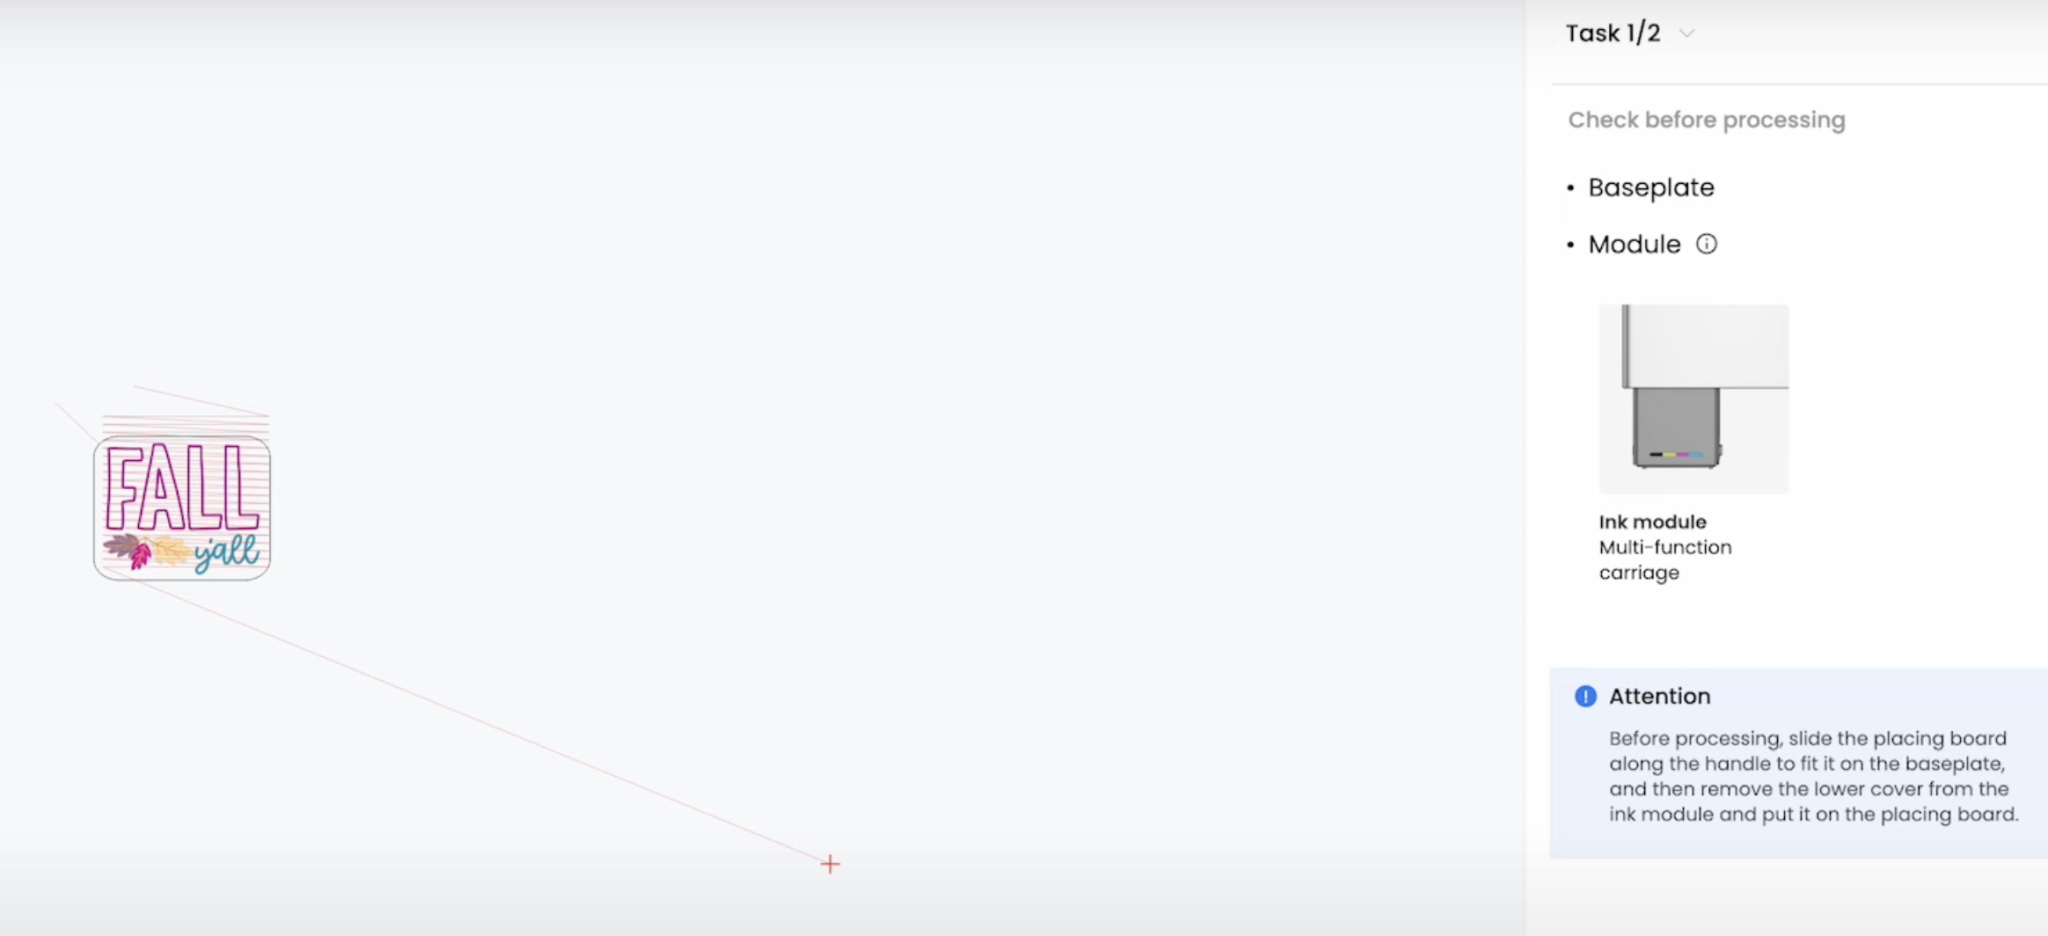
Click the button on the front of the laser to start the process.
First, the inkjet module will go to the side, and on the pad of paper, it will test the flow of the ink. If the ink is not flowing well on all colors stop the laser and go through the steps on the xTool website to get it flowing again.
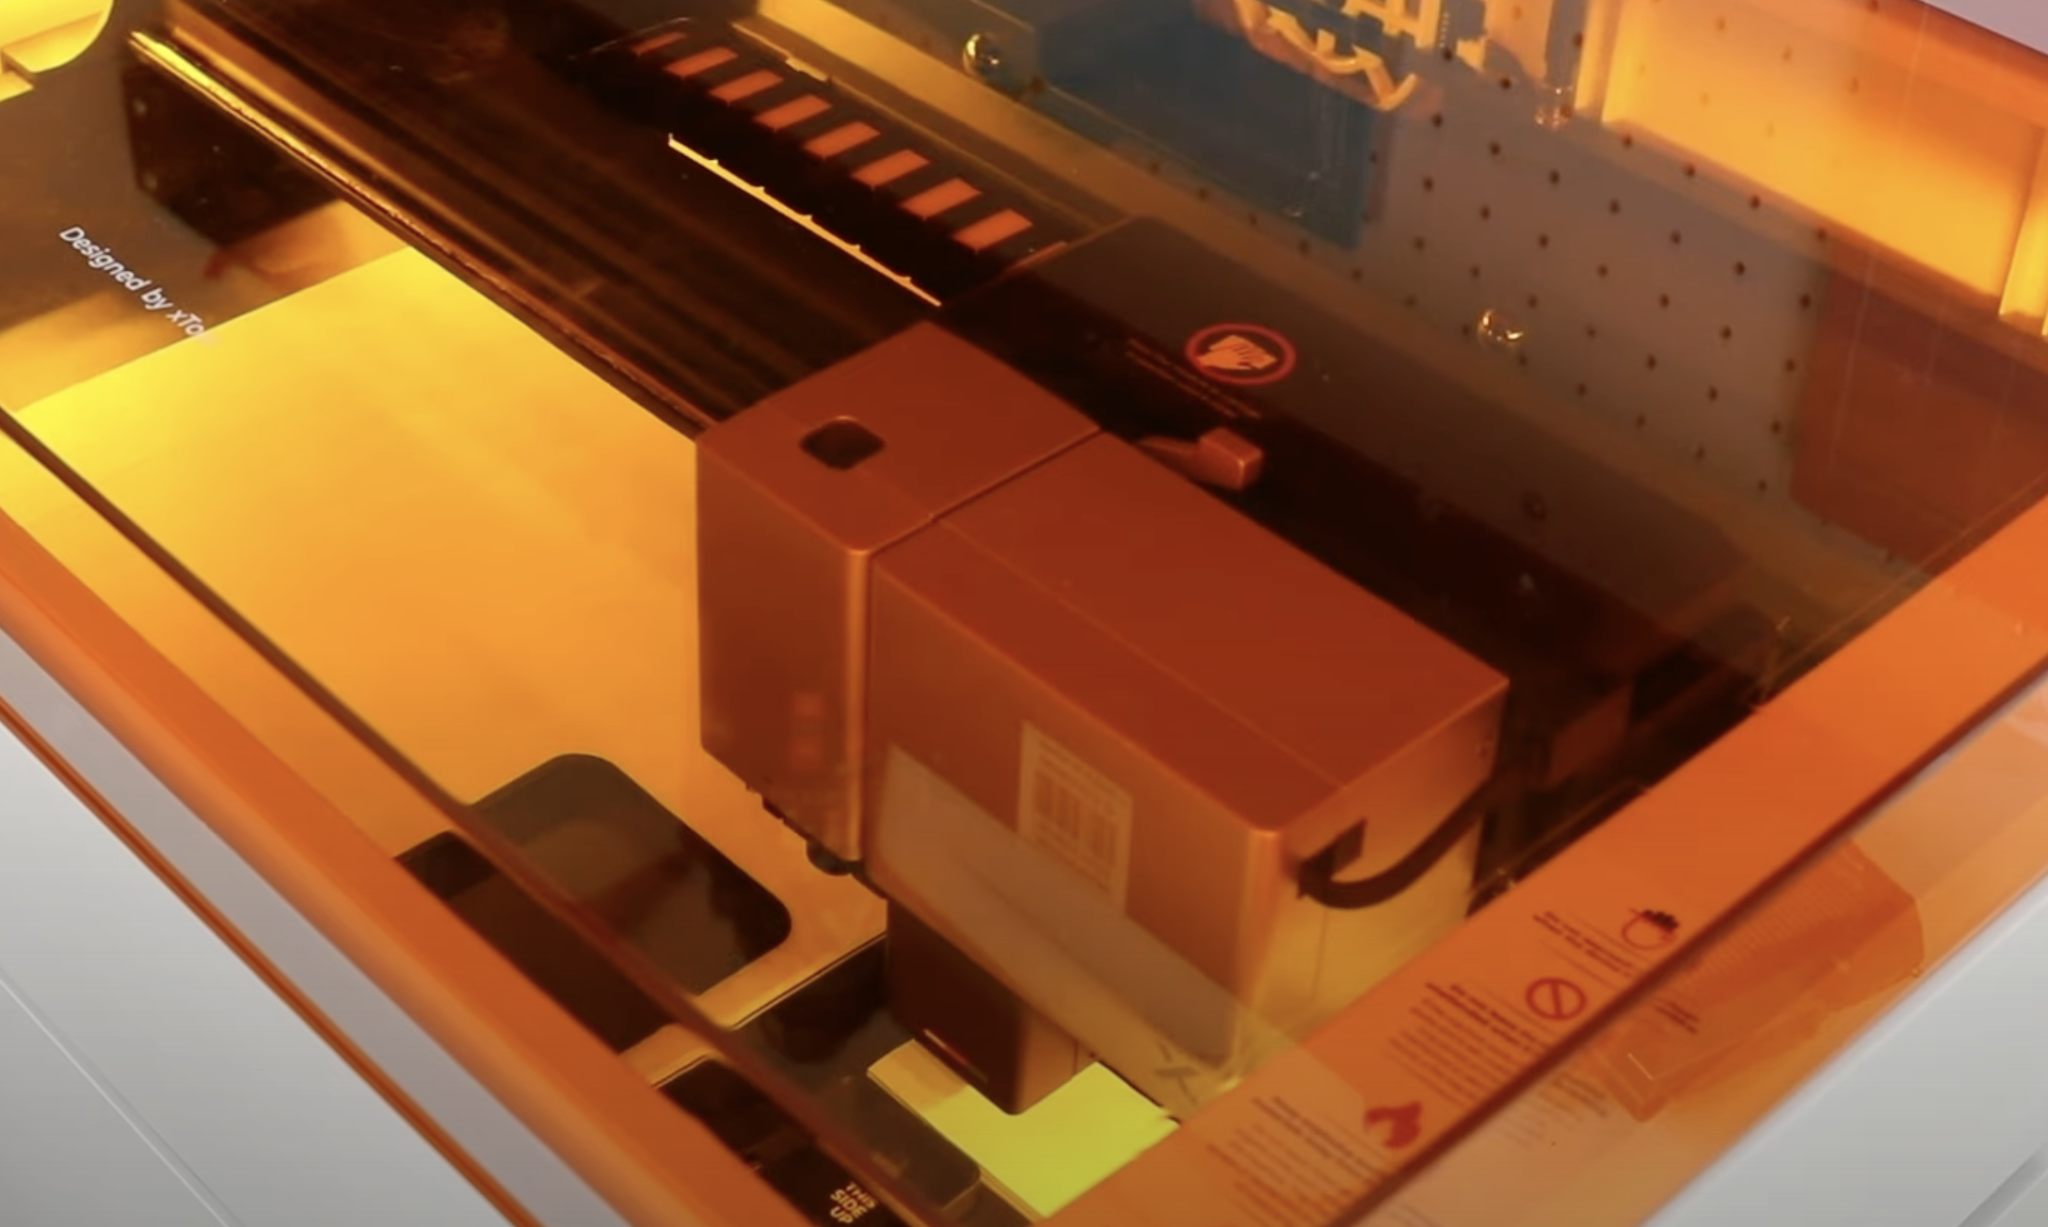
If your ink is flowing well, it will proceed to print and when it’s completed you’ll see it on your screen.
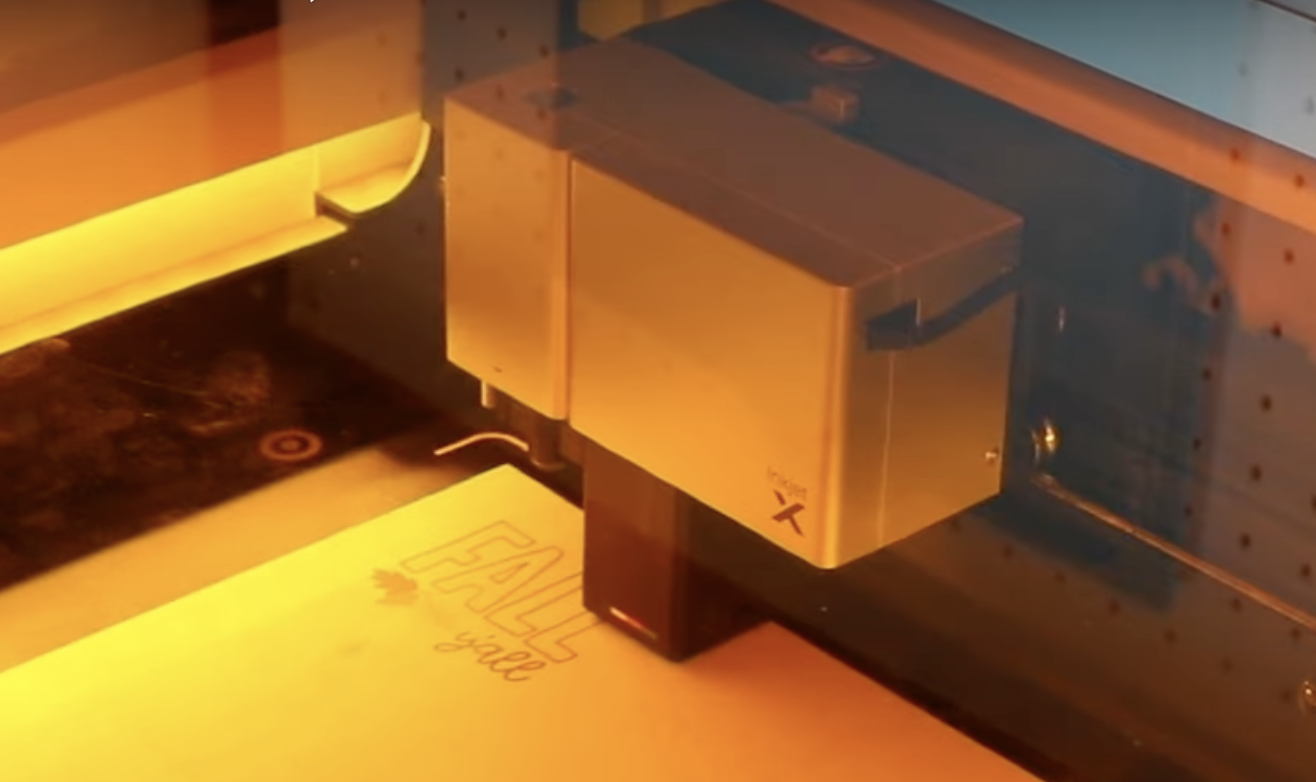
Now we’re ready to move on to the next task.
Step 2: Cut Out Tag with Laser
Click Next to proceed to the next task and you’ll be prompted to change the module. My project calls for the laser module so I need to remove the cable and lift the lever being sure to not disturb the printed wood.
Lift out the printer module and you’ll see that the machine replaces the cap for you. Add the laser module into place and close the lever.
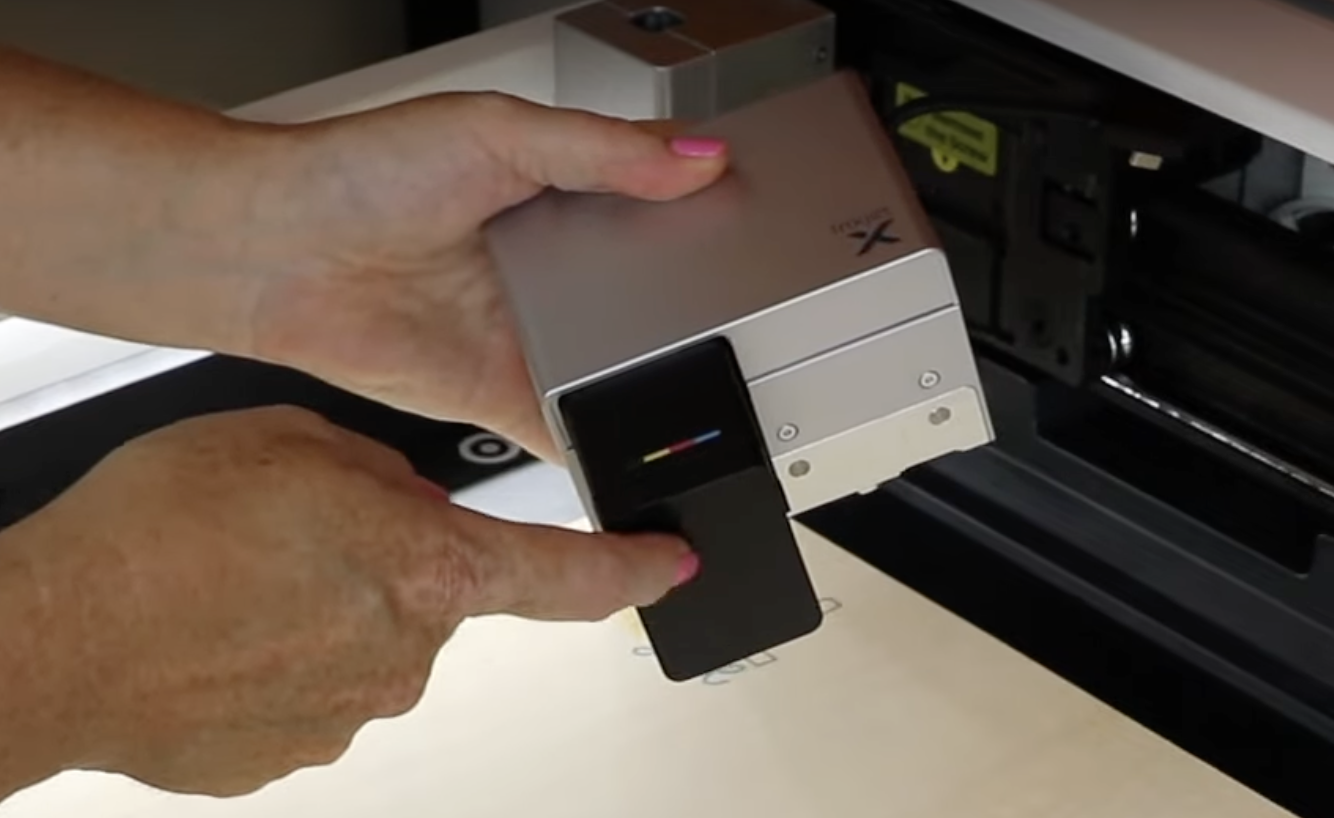
Close the lid on the laser and click Start. Your laser may home again since you changed the module.
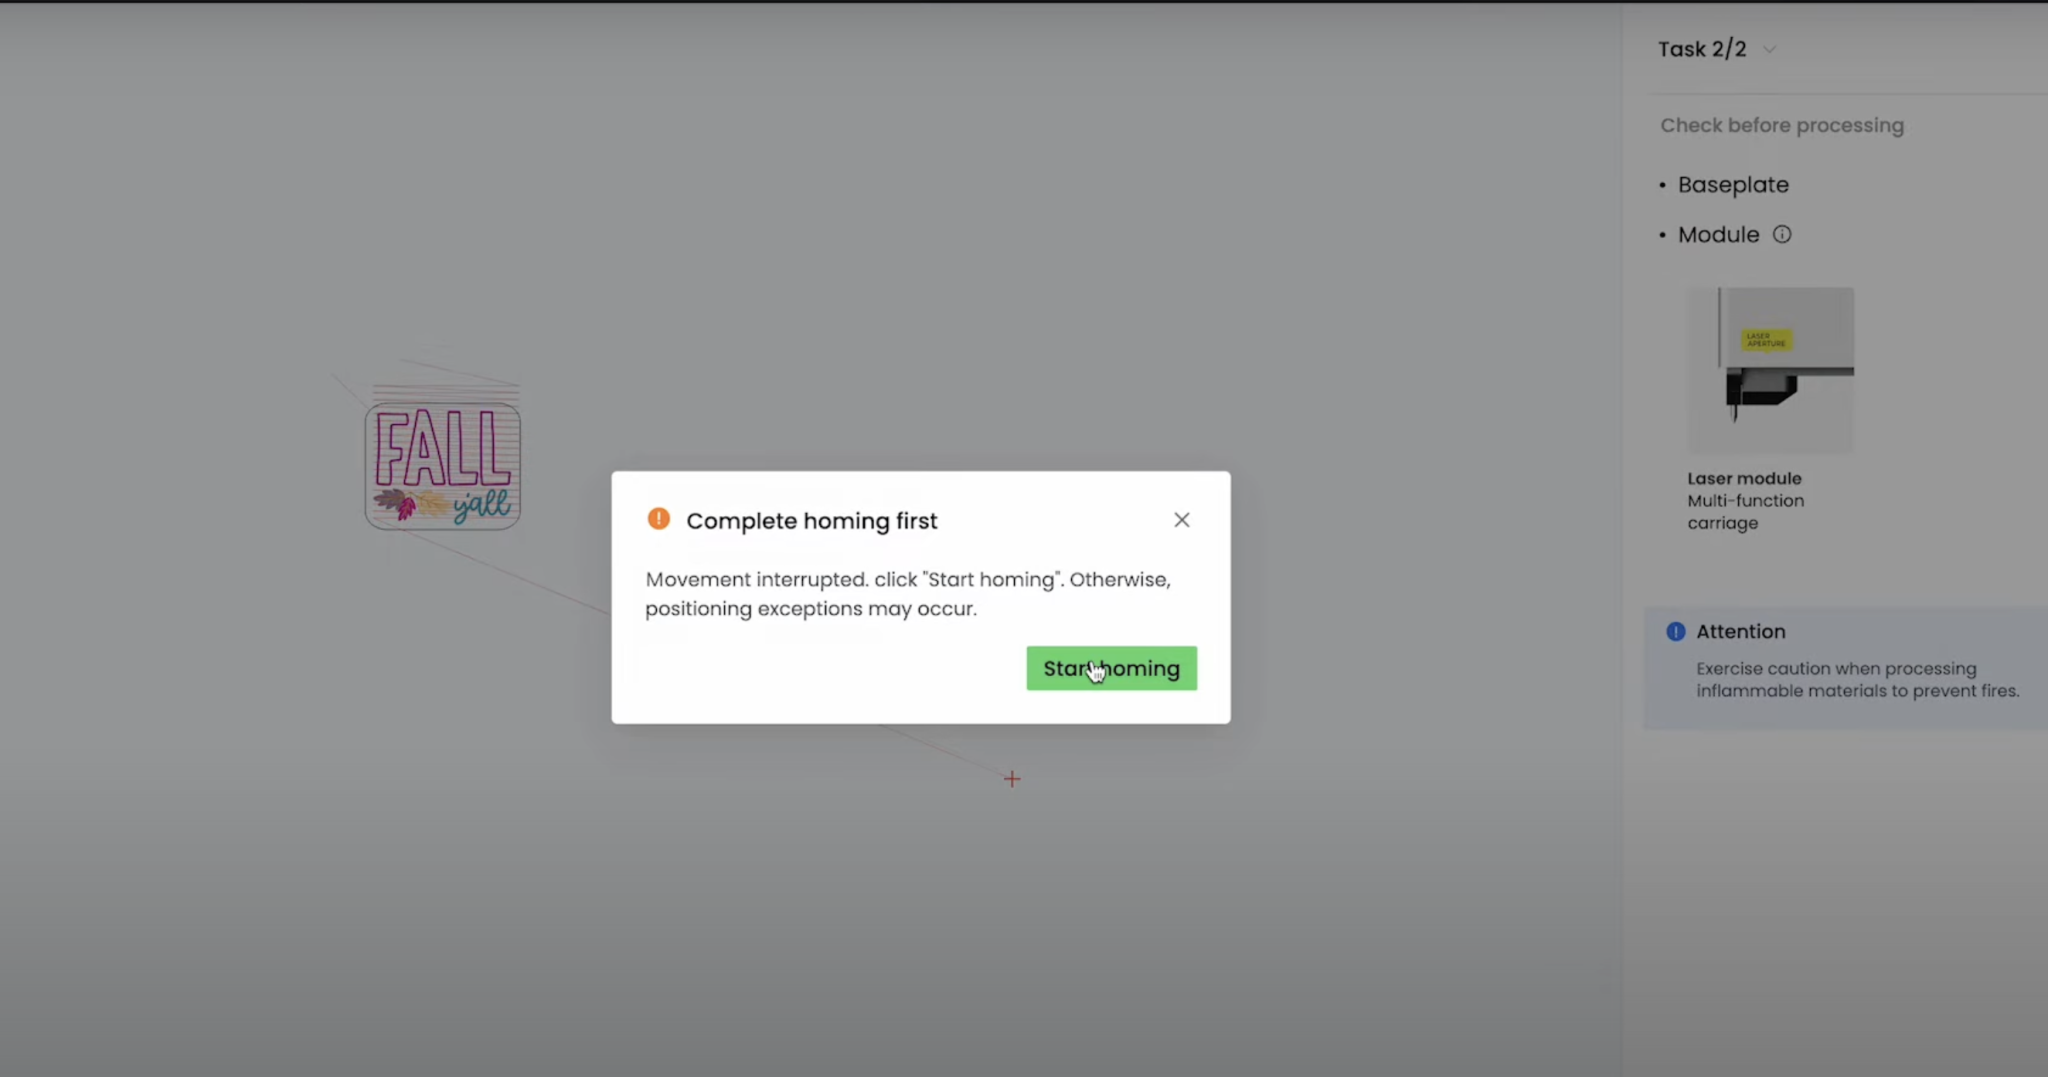
When it’s done homing click Start. The laser will auto-measure the distance then you can press the button on the front of the laser to start the cut.
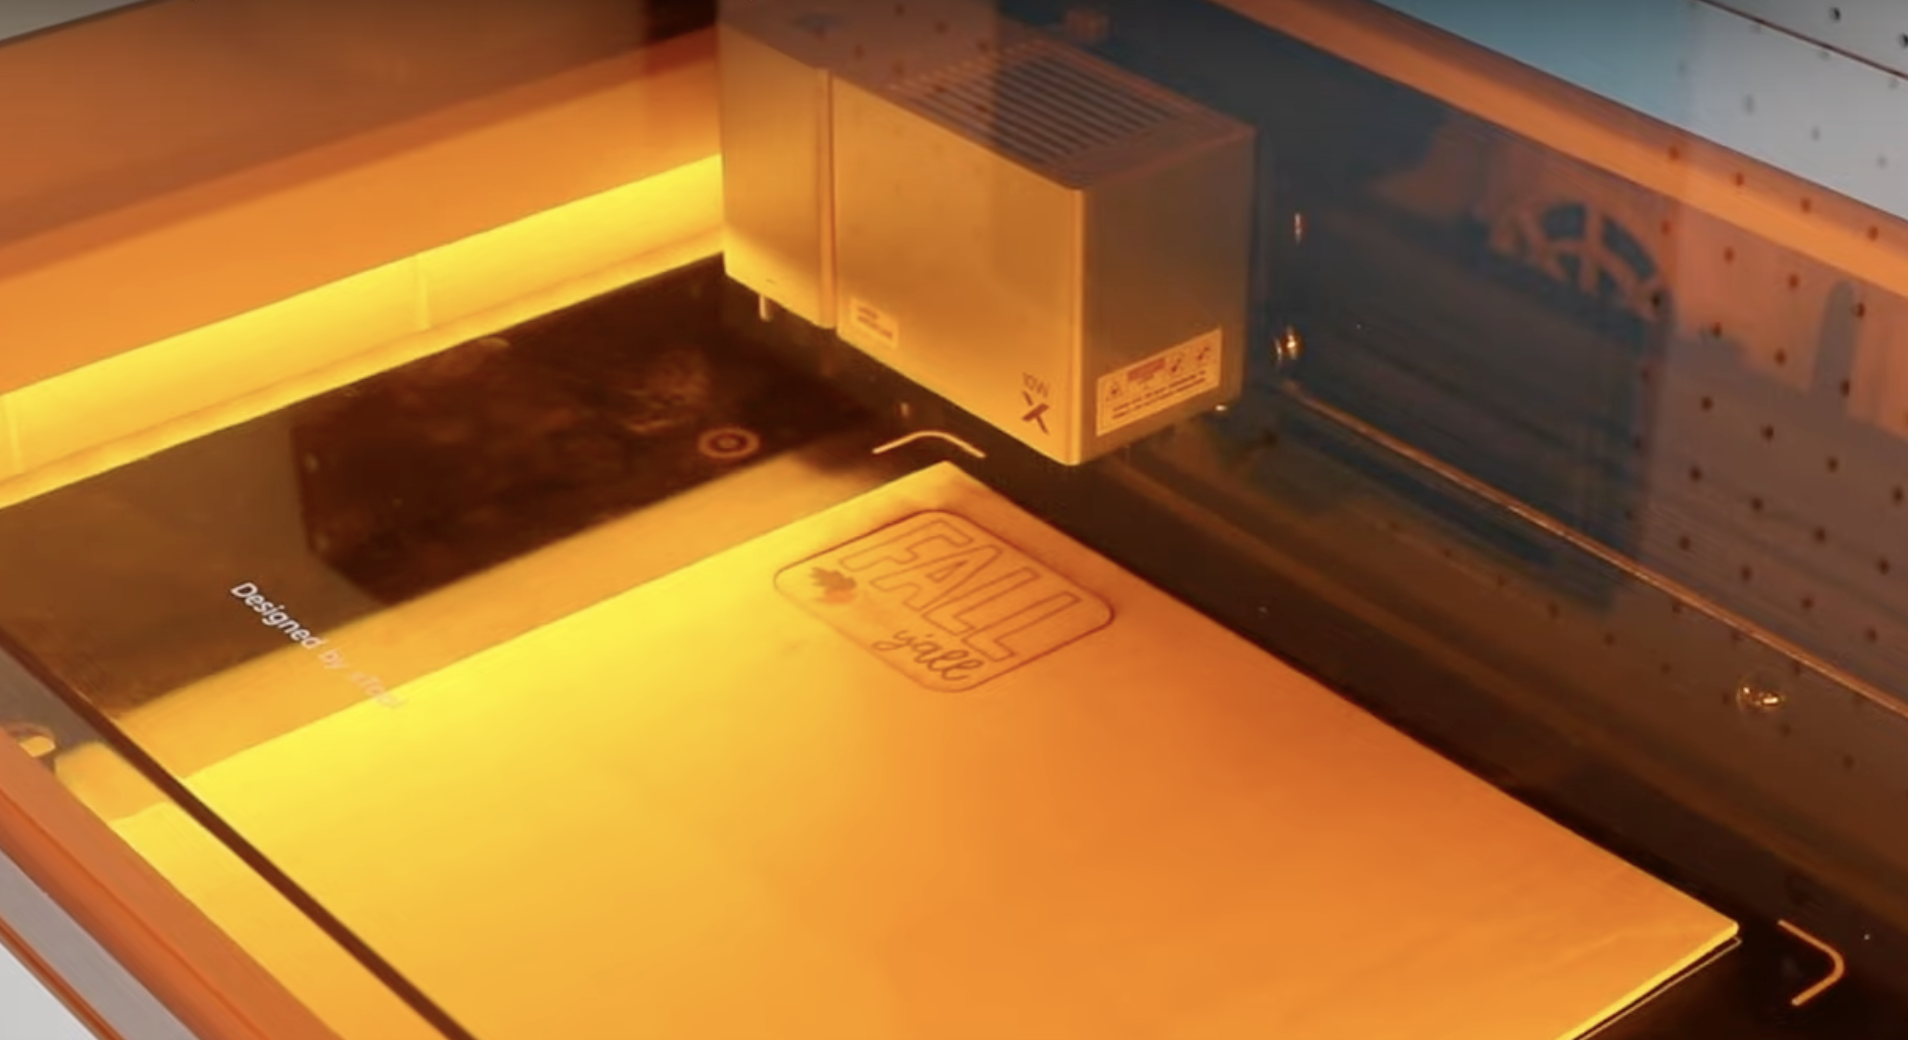
When the cut is complete, open the lid and remove the tag from the machine.
Printing on Wood Shapes
For our next project, I am going to test printing on wood that is already cut into a shape. For this project, I will not be using the laser to cut, just to print.
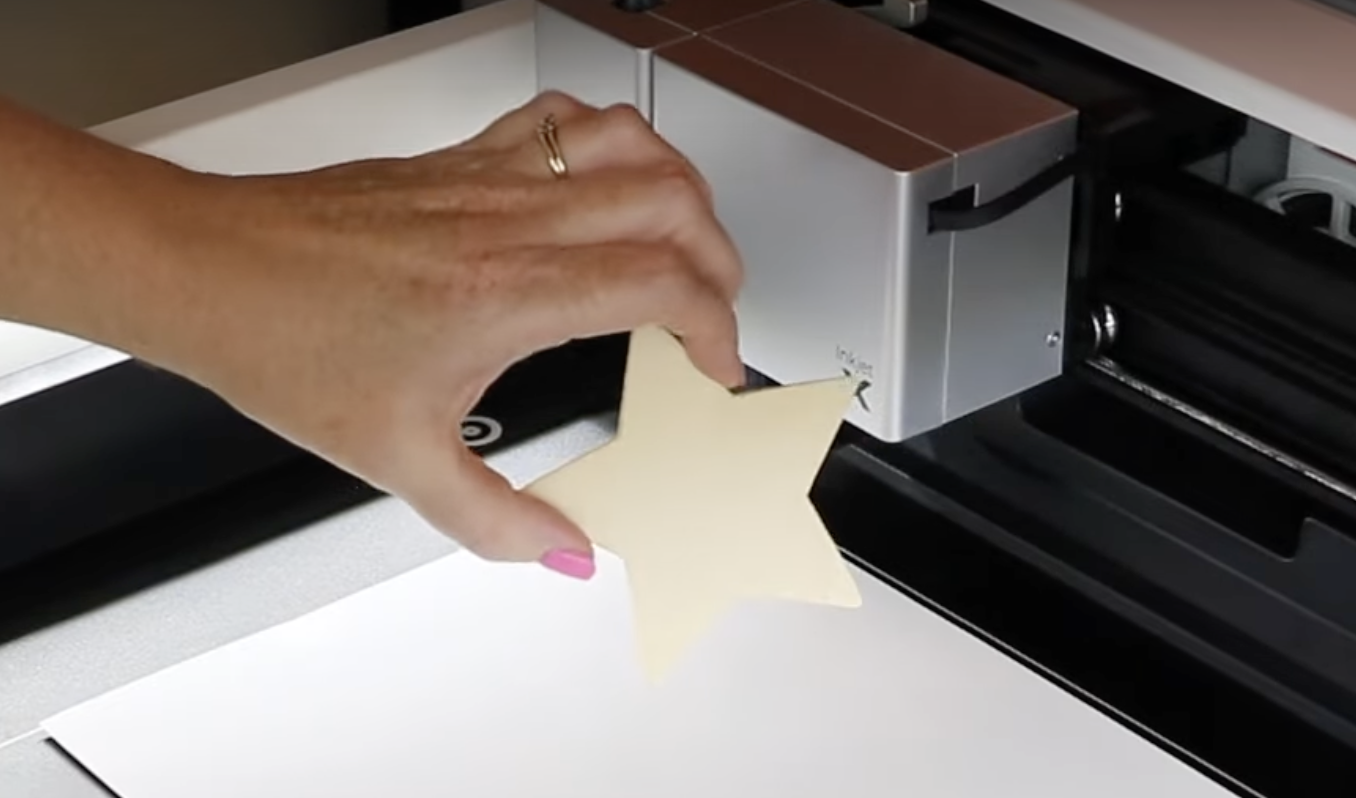
Step 1: Add Wood and Print Module to Laser
Because we’re printing, everything inside the laser should be set up as it was in the earlier project with the printer module and other pieces in place. I placed a sheet of plain paper under the wood shape.
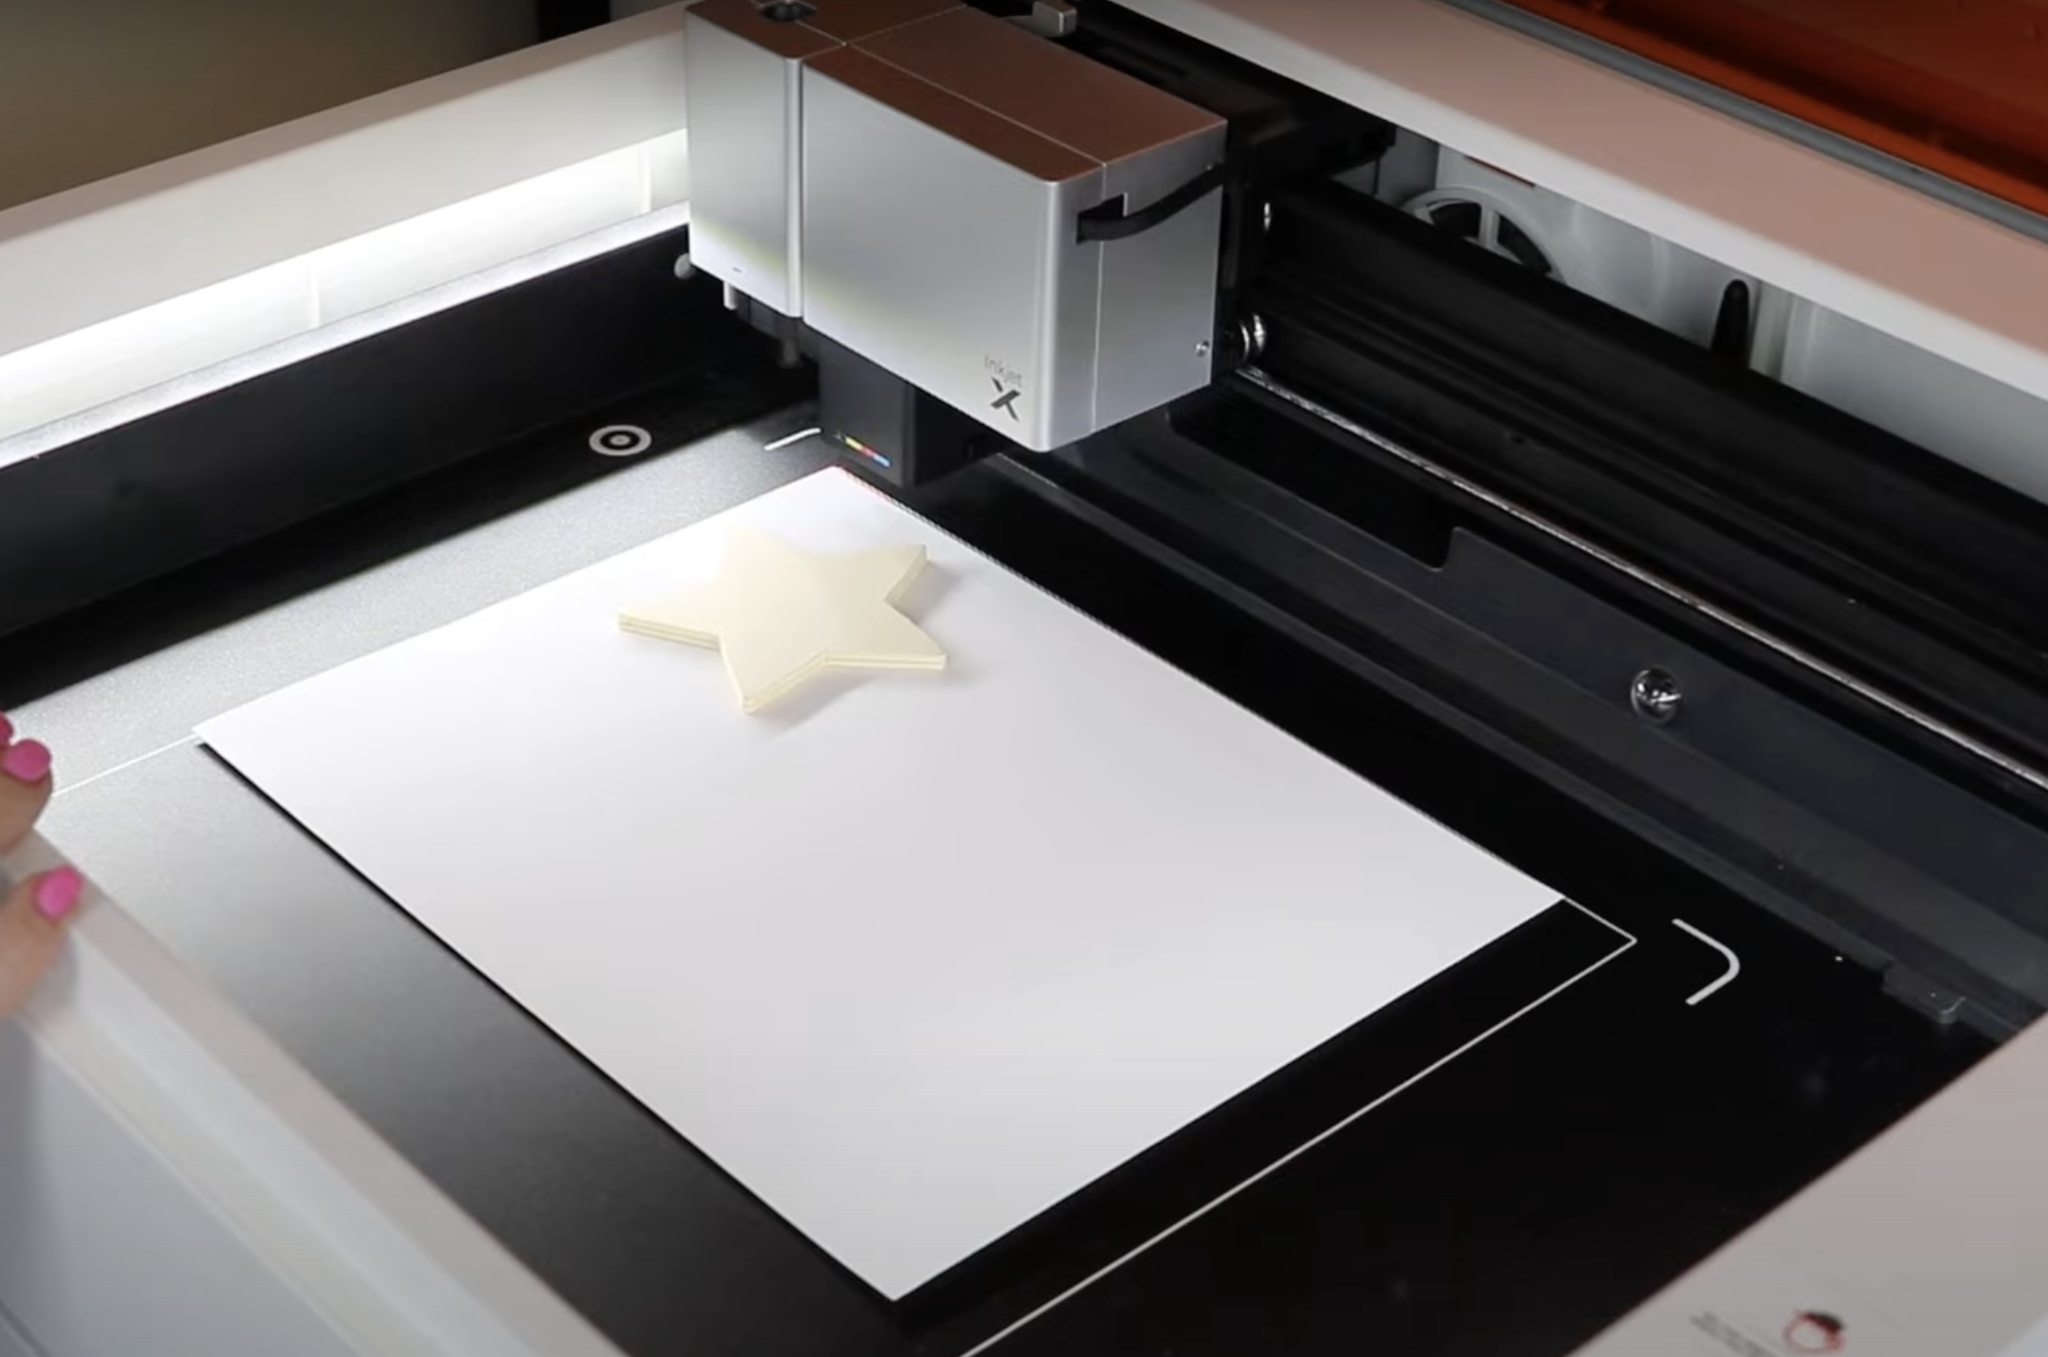
Step 2: Upload Image and Send to Laser
First, we need to upload the image into Creative Space like we did before. For this project, the machine needs to know where the shape is located.
If you click over on the right toolbar, you’ll see where it says Obtain Background. Click that button, and you will need the xTool Creative Space app on a mobile device.
Click to add a new project, then click Snapshot. Next, you’ll take a photo of the bed of the laser making sure the entire base plate is included within the photo.
Click Send to Computer and then you’ll scan the QR code that is on the xTool Creative Space on your computer.

Make sure the laser you’re using is connected to Creative Space on your phone and that it’s the same laser that’s connected to Creative Space on your computer.
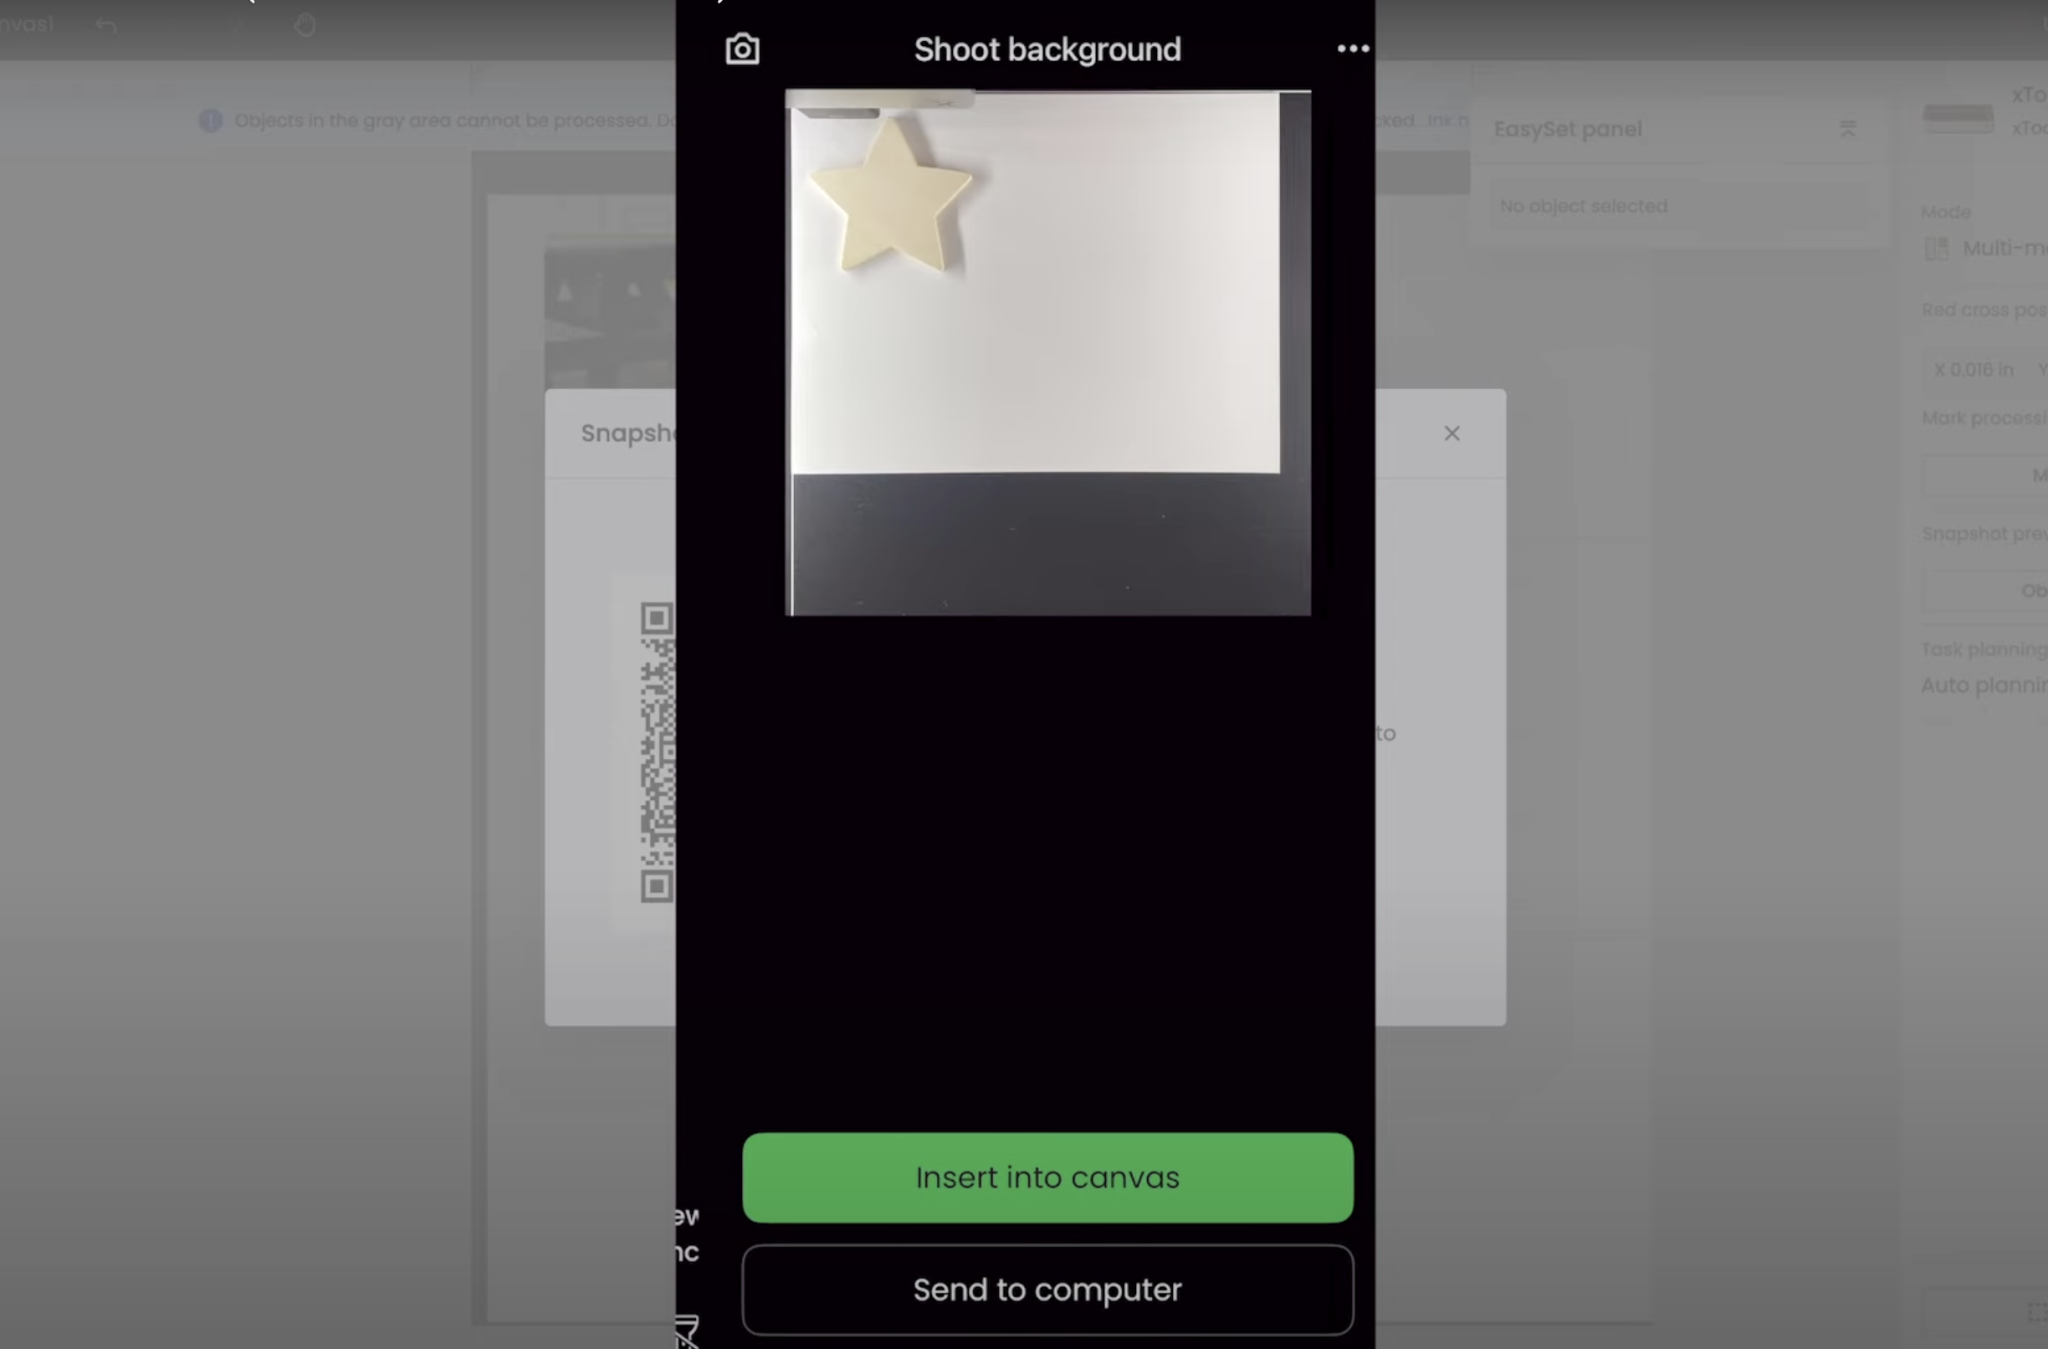
When those are all connected you can see the background on the screen and you can align the image so it fits on your blank and resize it as needed.
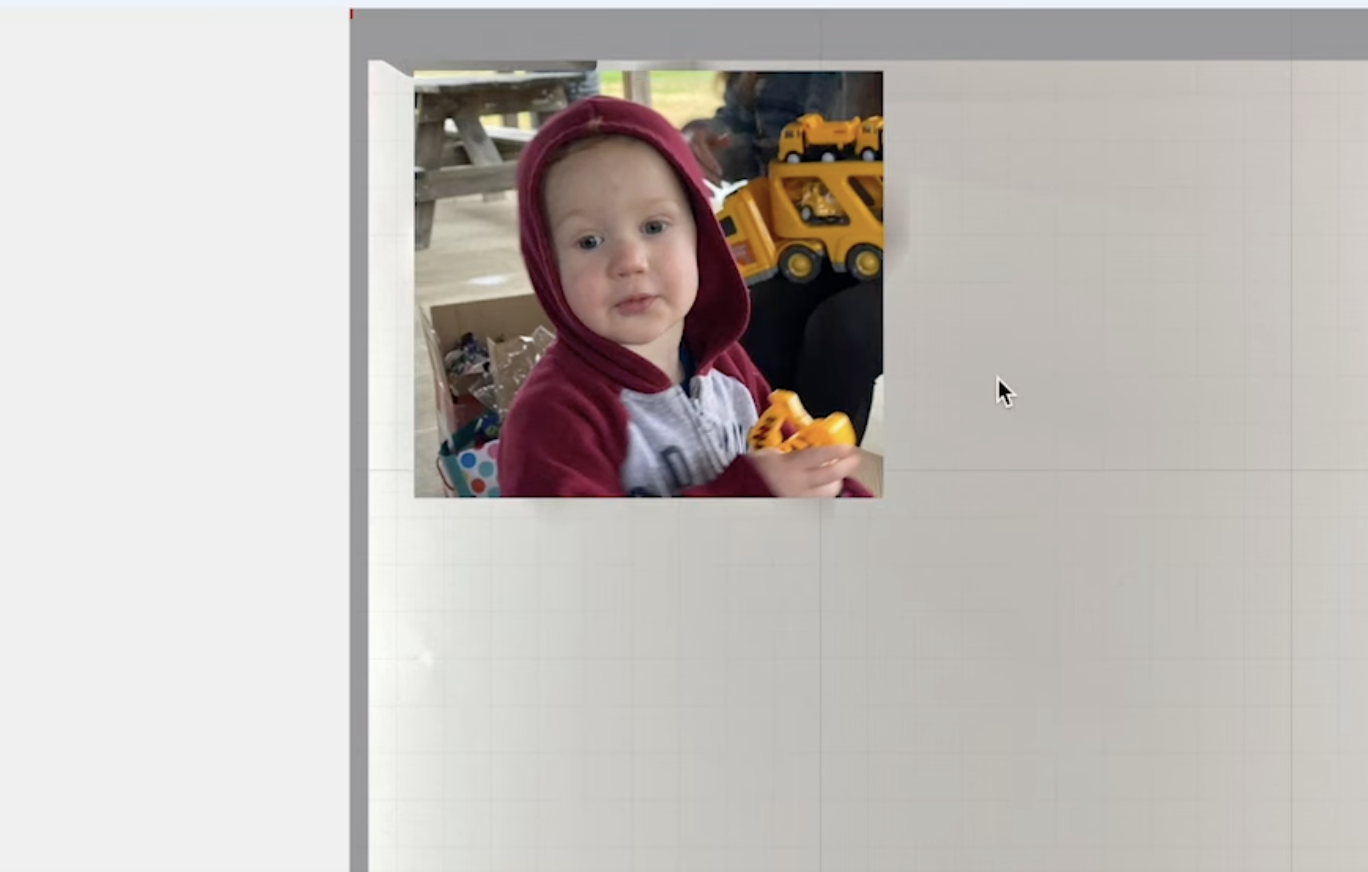
Step 3: Print on Wood Shape
Within Creative Space, you can crop the image to reduce the amount of ink used. Click on the image and ensure you have Ink Module selected. Click Go to process and then Start to print the design.
NOTE: This project DID NOT work well and I will go into details about why later in this post.
Printing on Wood that is Painted
For our last project, we’re going to print on wood that has been painted. I don’t need to cut this shape so I am going to use the other process for locating where the blank is.
Step 1: Add Design and Send to Laser
I have my design located approximately where I think it should be for my project. Click Framing within Creative Space and then press the button on the front of the machine to start the framing.
This will show us approximately where the laser will print. If needed I can make adjustments by moving the design in Creative Space and testing the framing again.
Step 2: Print on Painted Wood Shape
When you have it located where you want, proceed to print as we did before. Keep scrolling to see results from all of these projects.
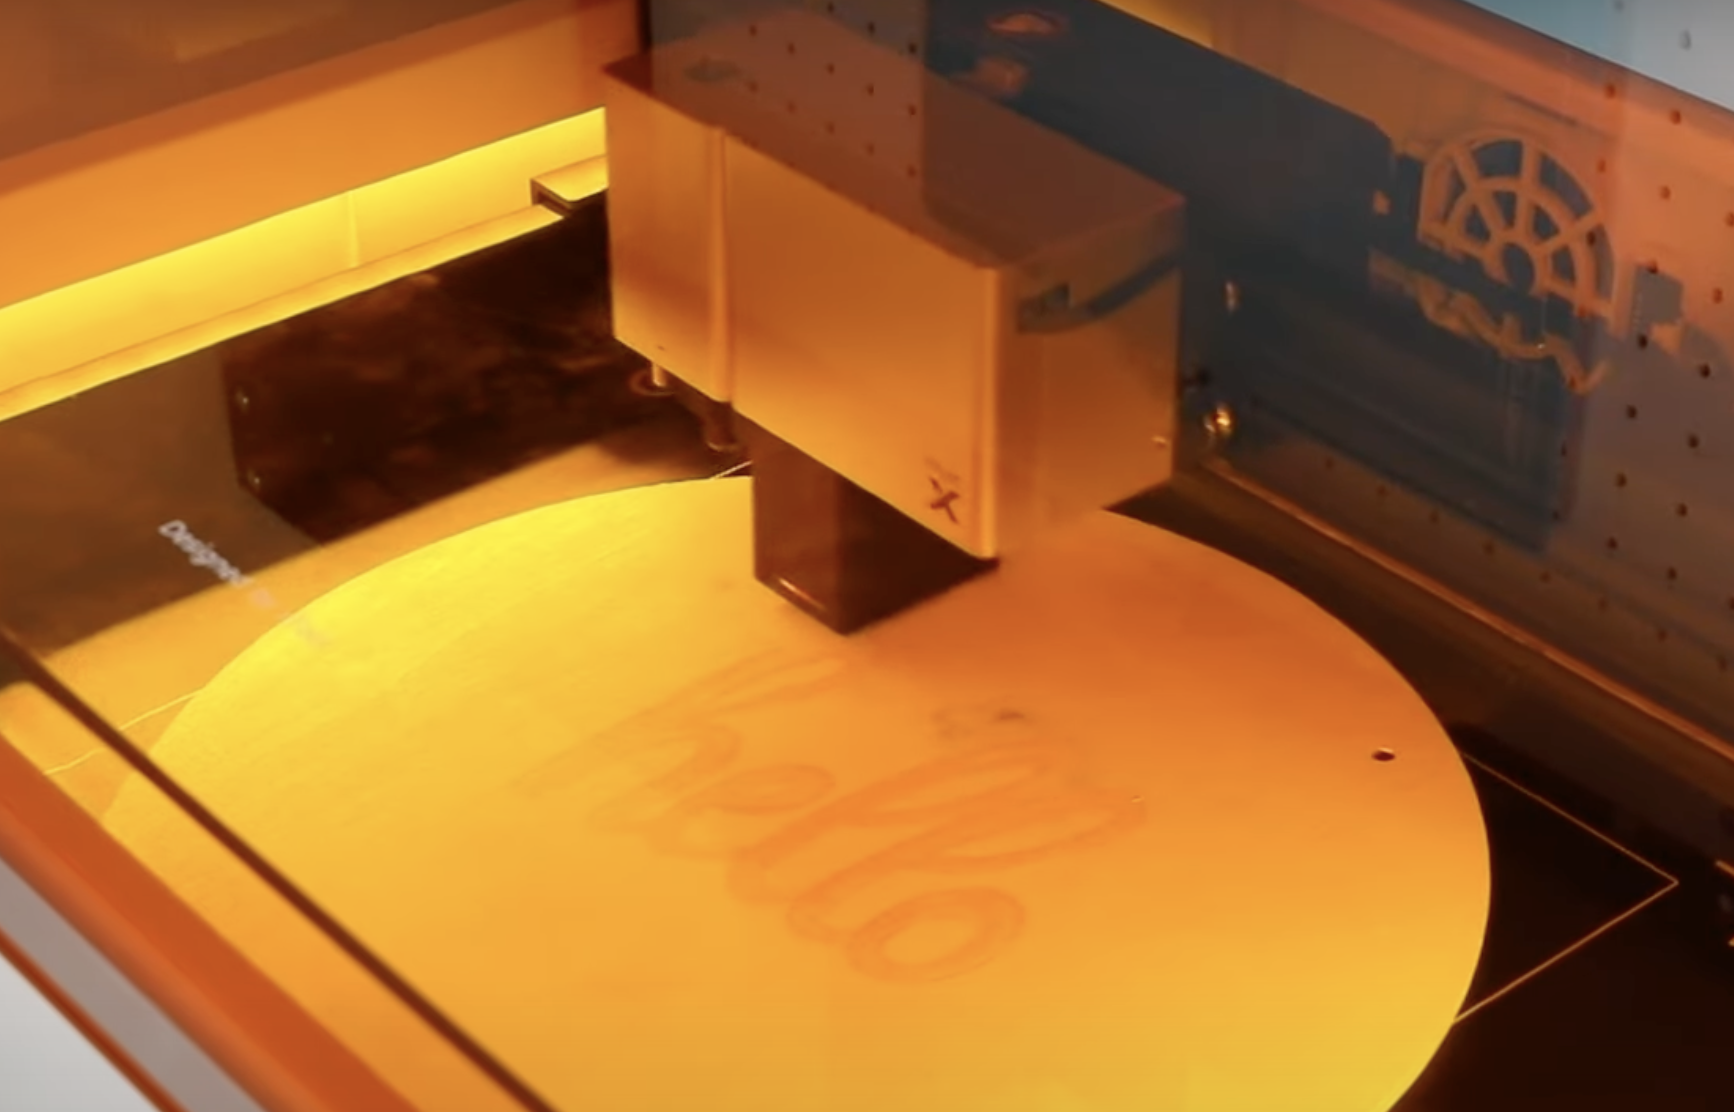
How Does the Printing Look?
First, we’ll look at the two pieces of wood I printed designs on and then had the laser cut out the shape.
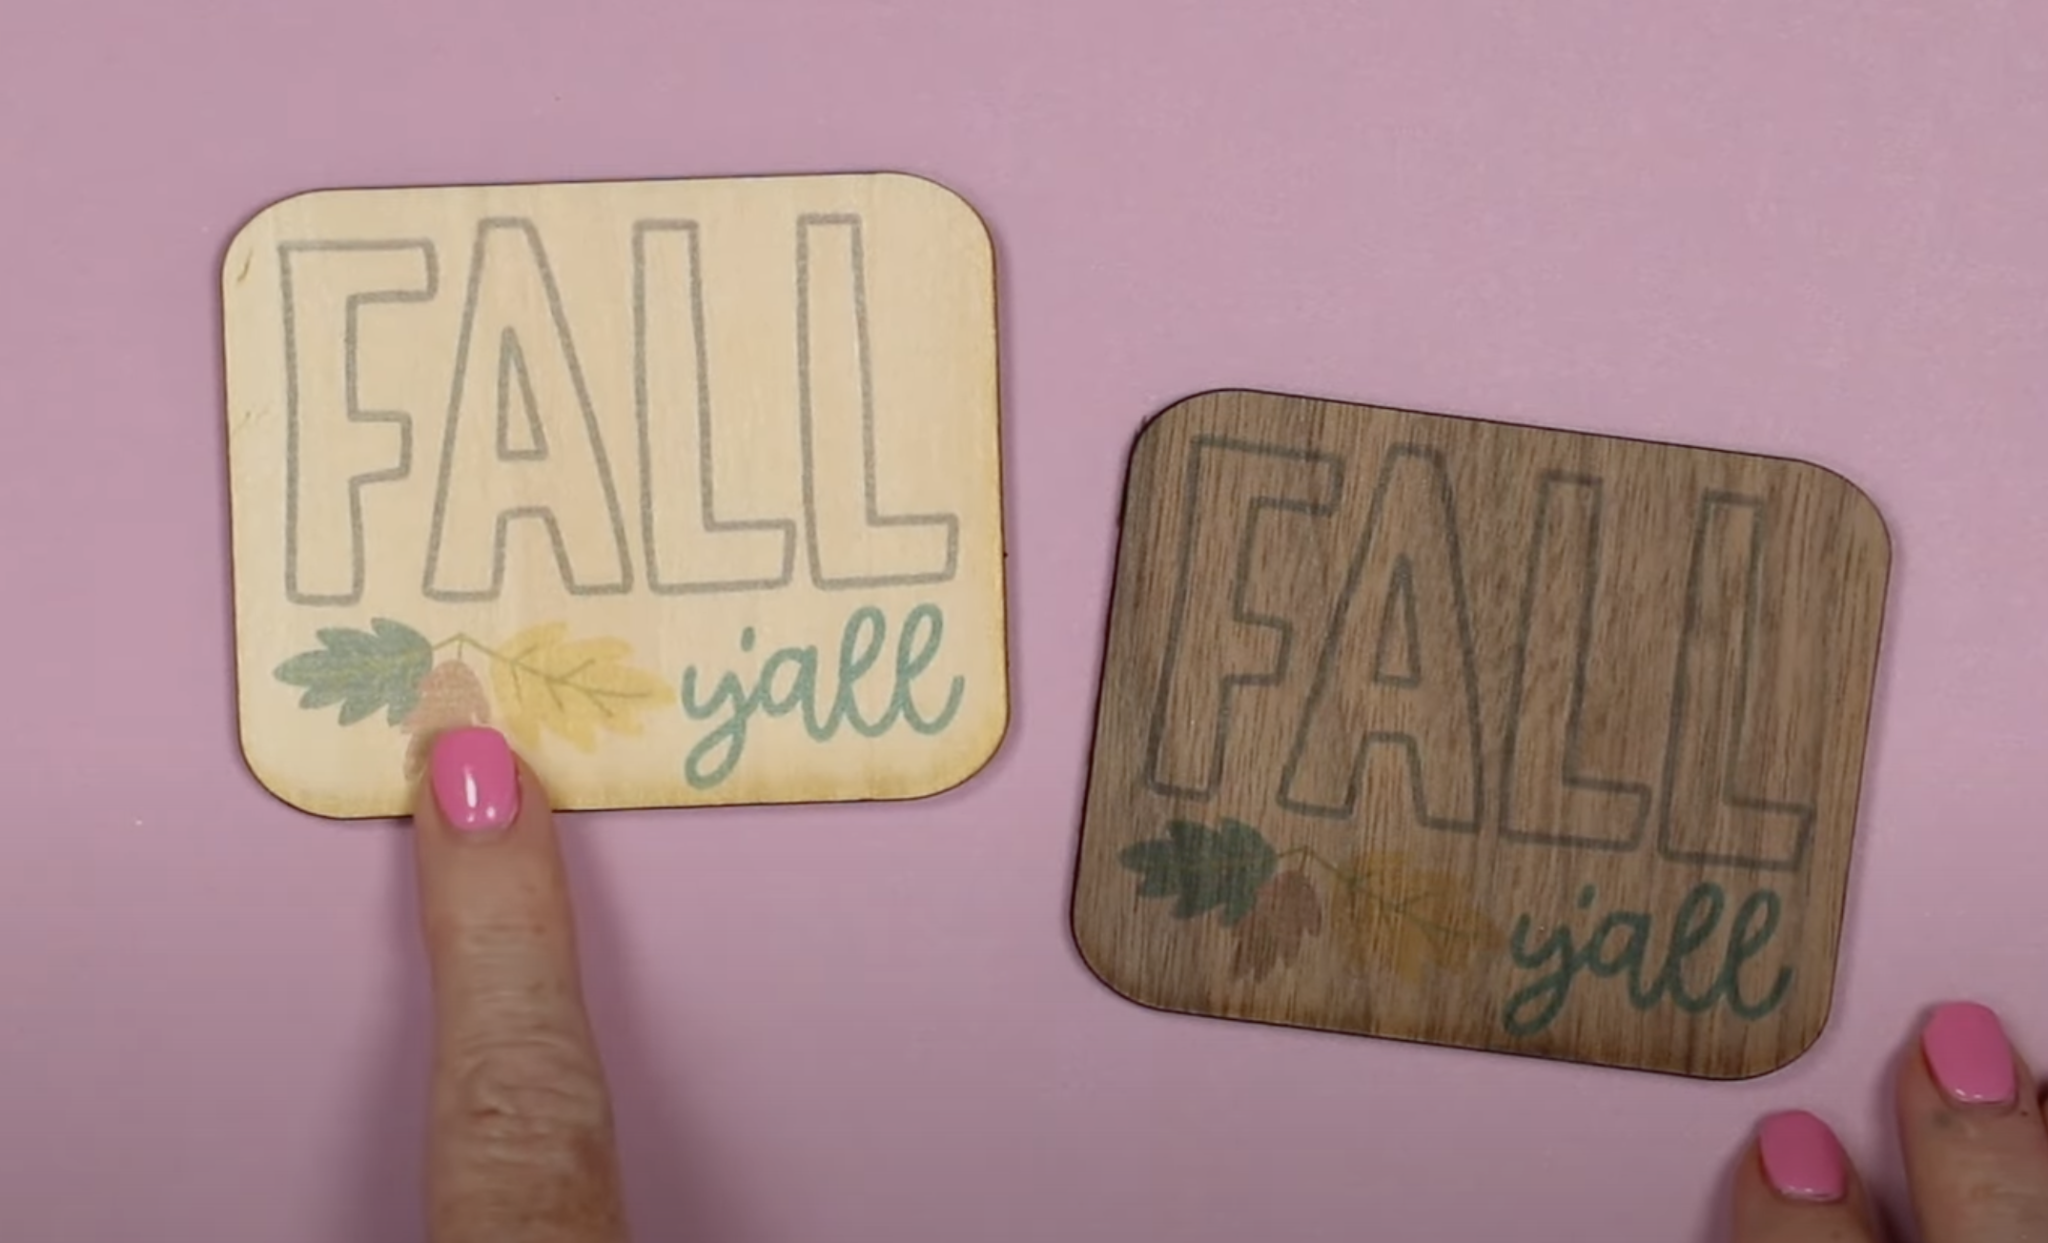
You can see that I have a lighter piece of wood and a darker piece of wood. Because the ink is translucent the design looks different even though they are both the same design.
The color of the wood will impact the colors of your design so keep that in mind when planning your projects.
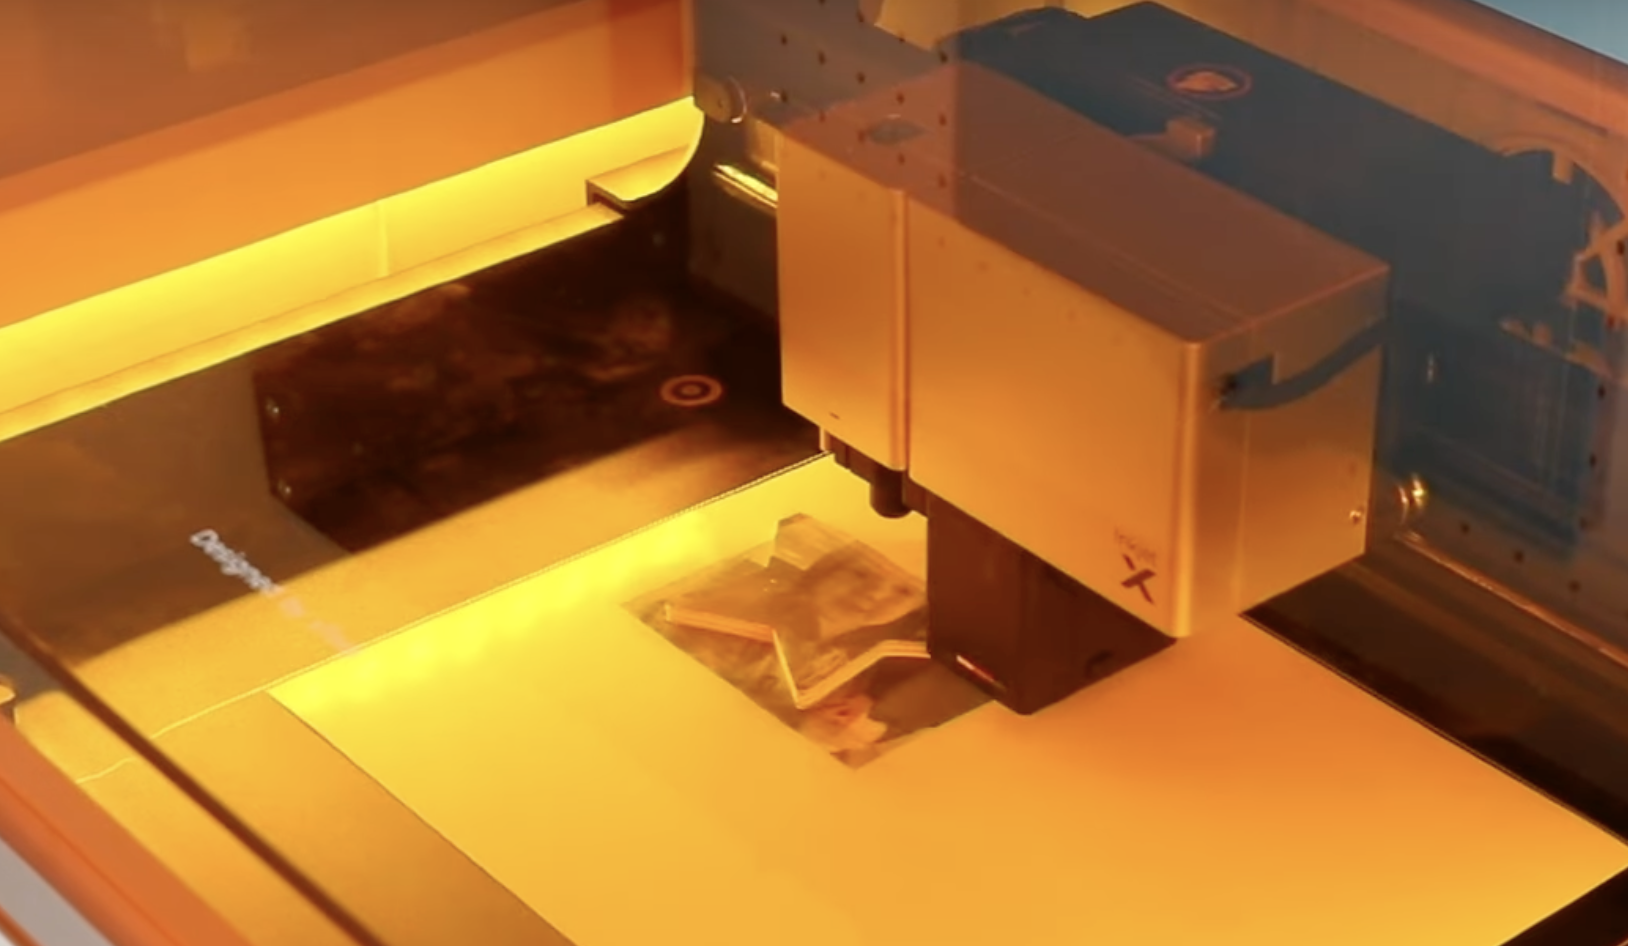
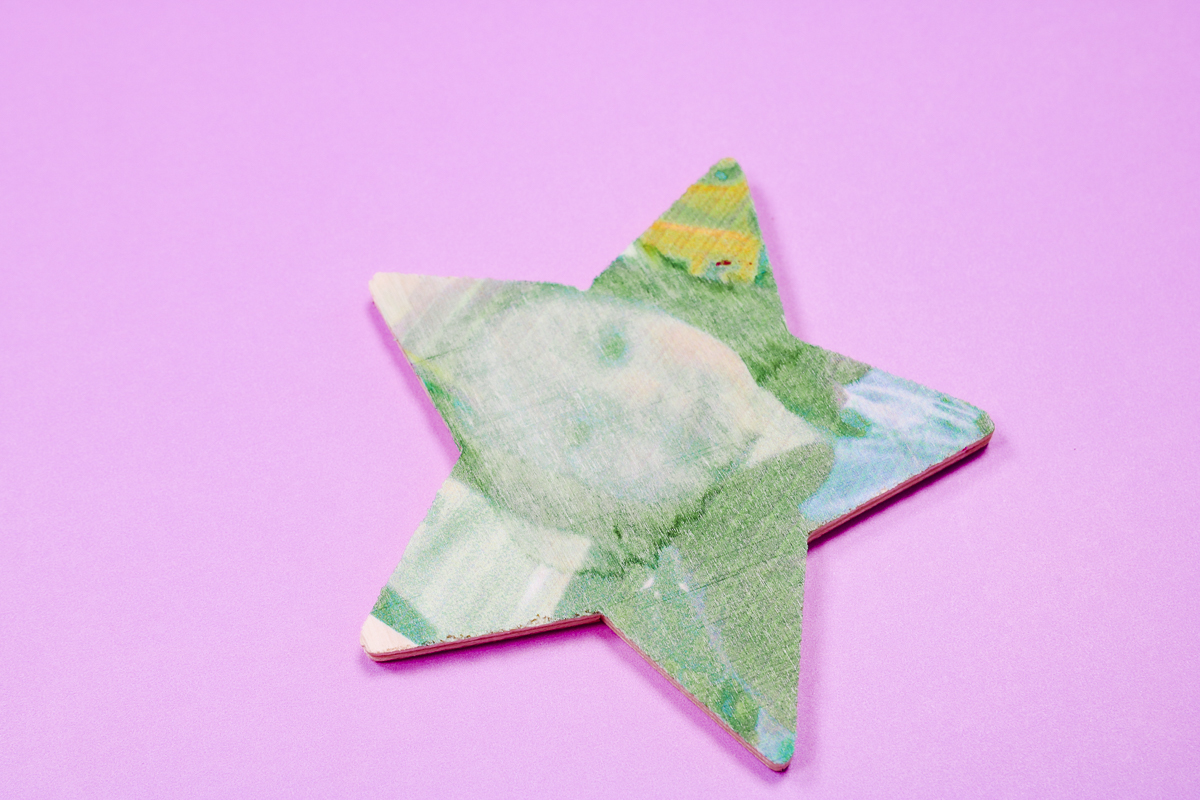
The xTool website says you can print on things up to 20 millimeters thick. The star shape I tested is nowhere near 20 millimeters thick but the print head was running right on top of the shape.
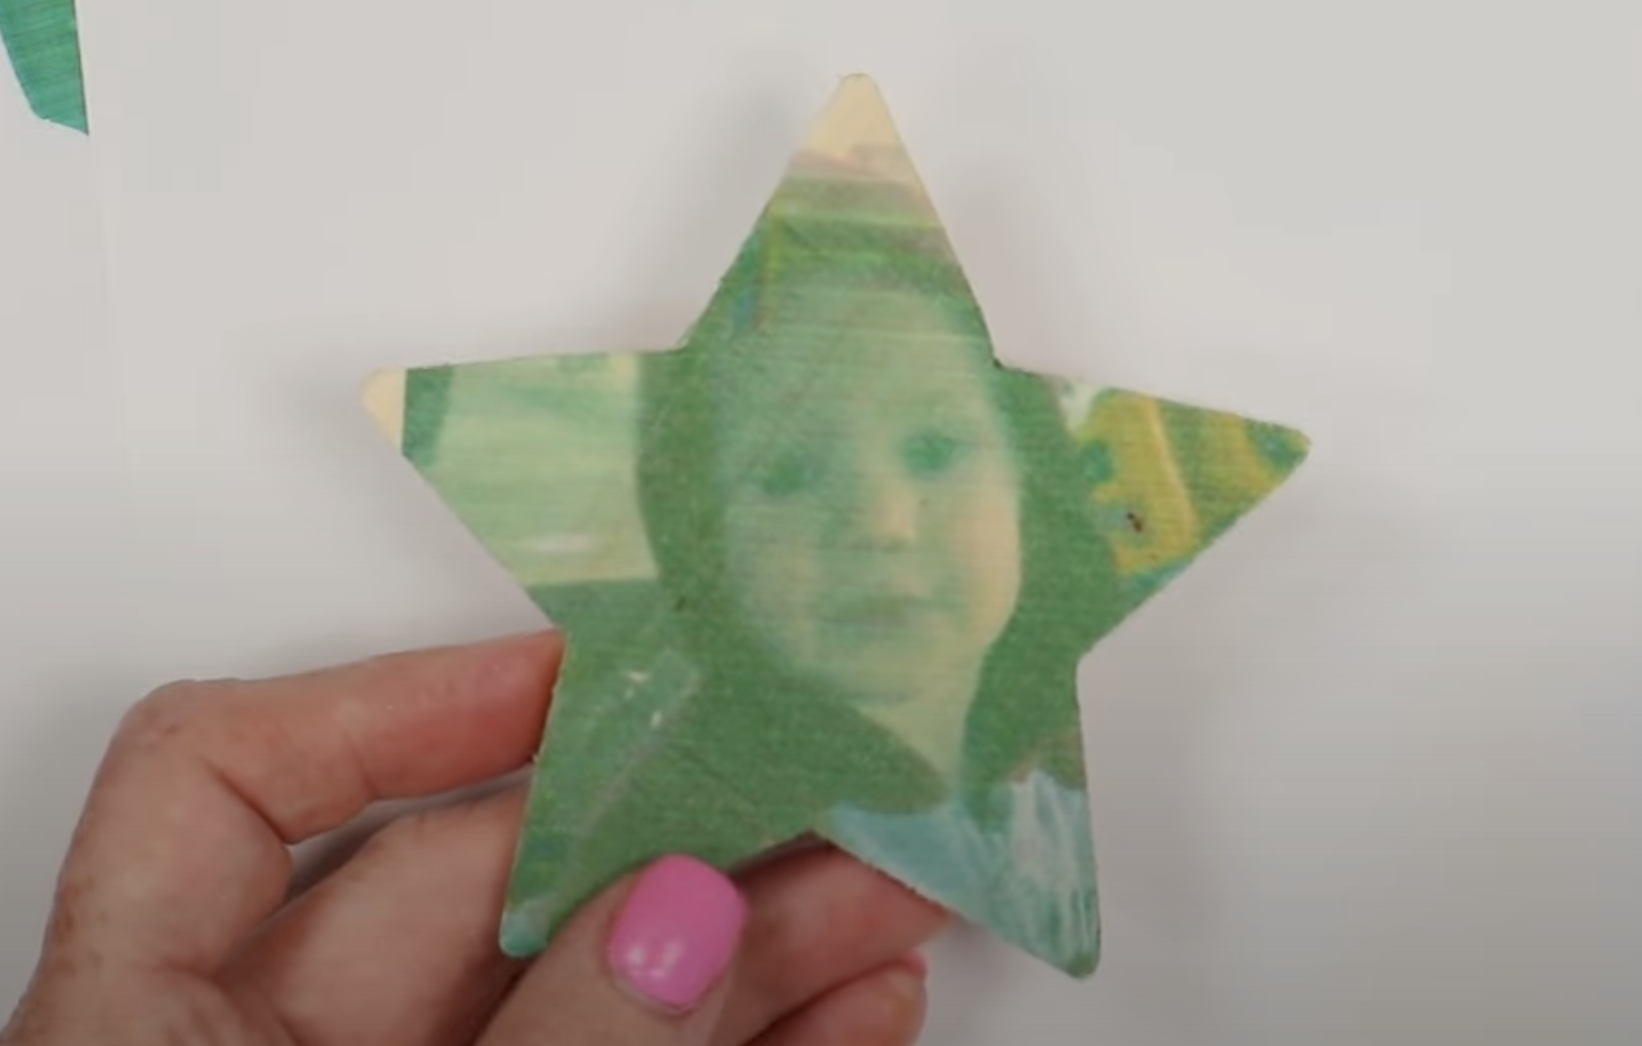
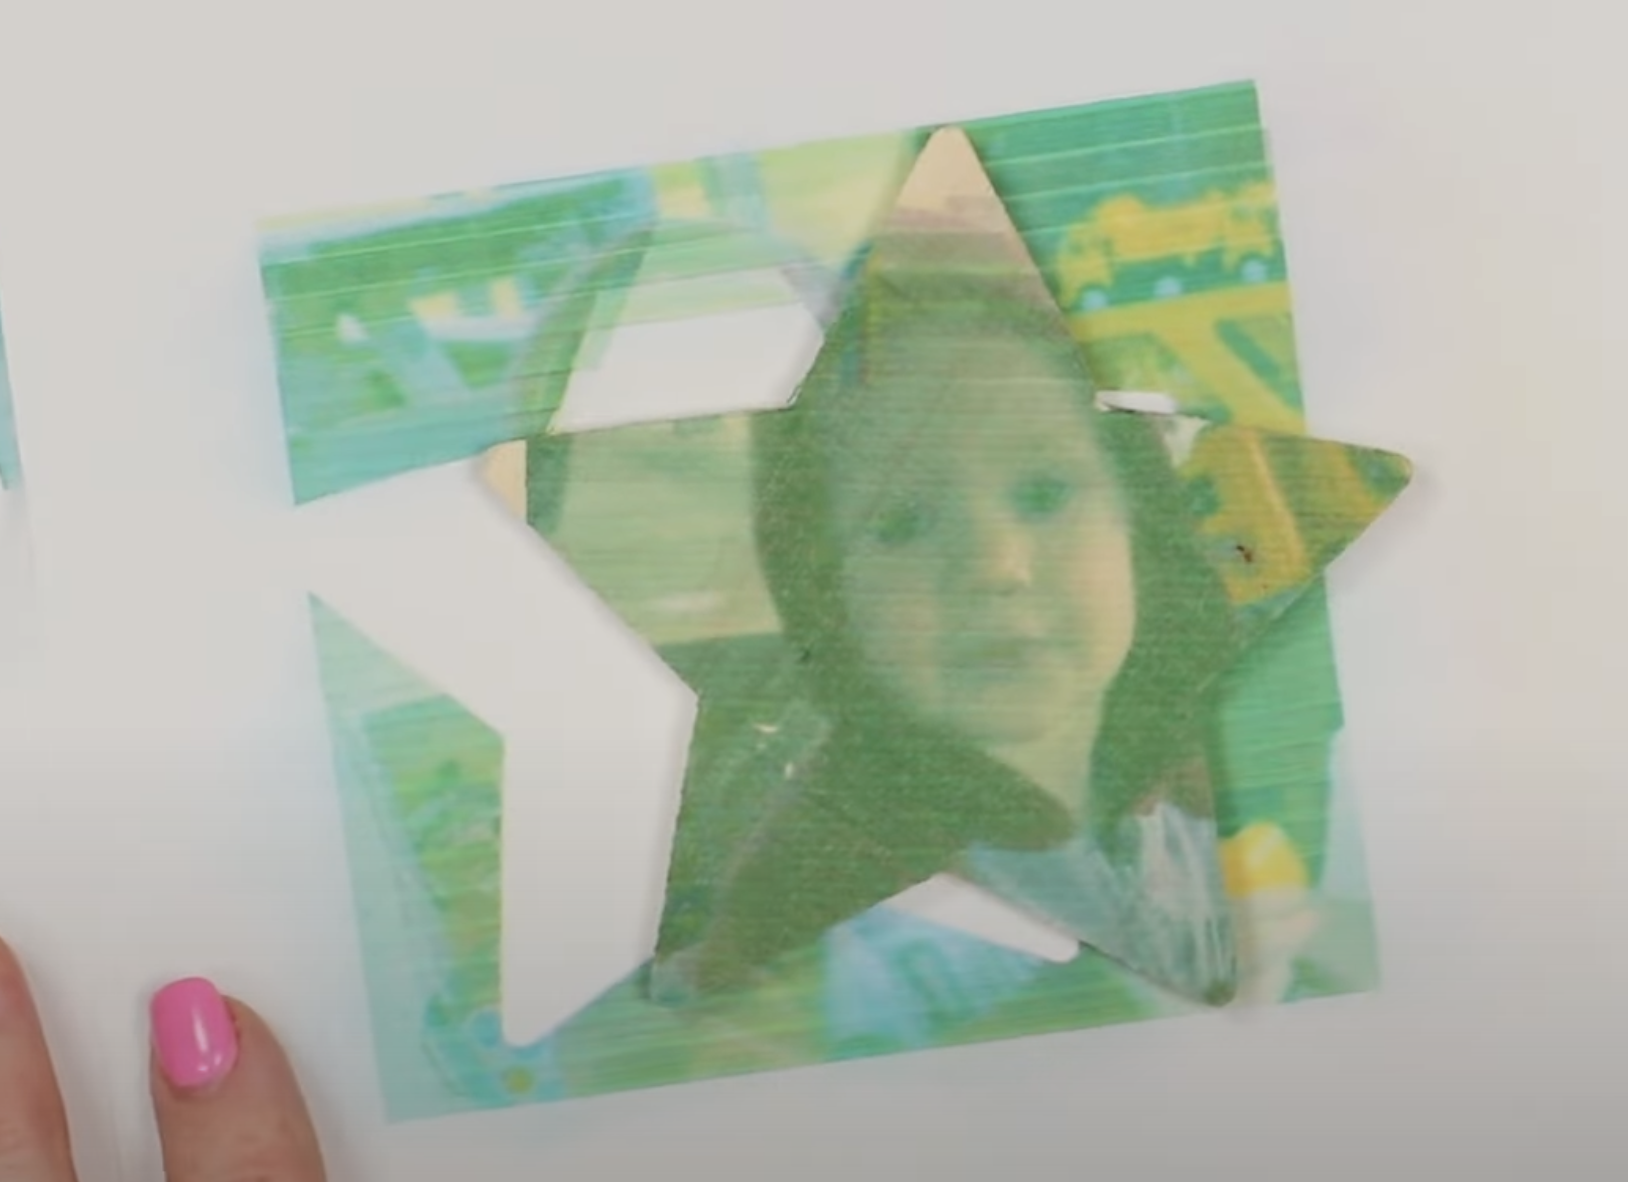
In fact, toward the end, it hit the shape and moved it. Because it moved it messed up the project so I stopped the printing process before it ended.
You can see what the overprint looks like when using these shapes. The printer does print onto the paper around the shape.
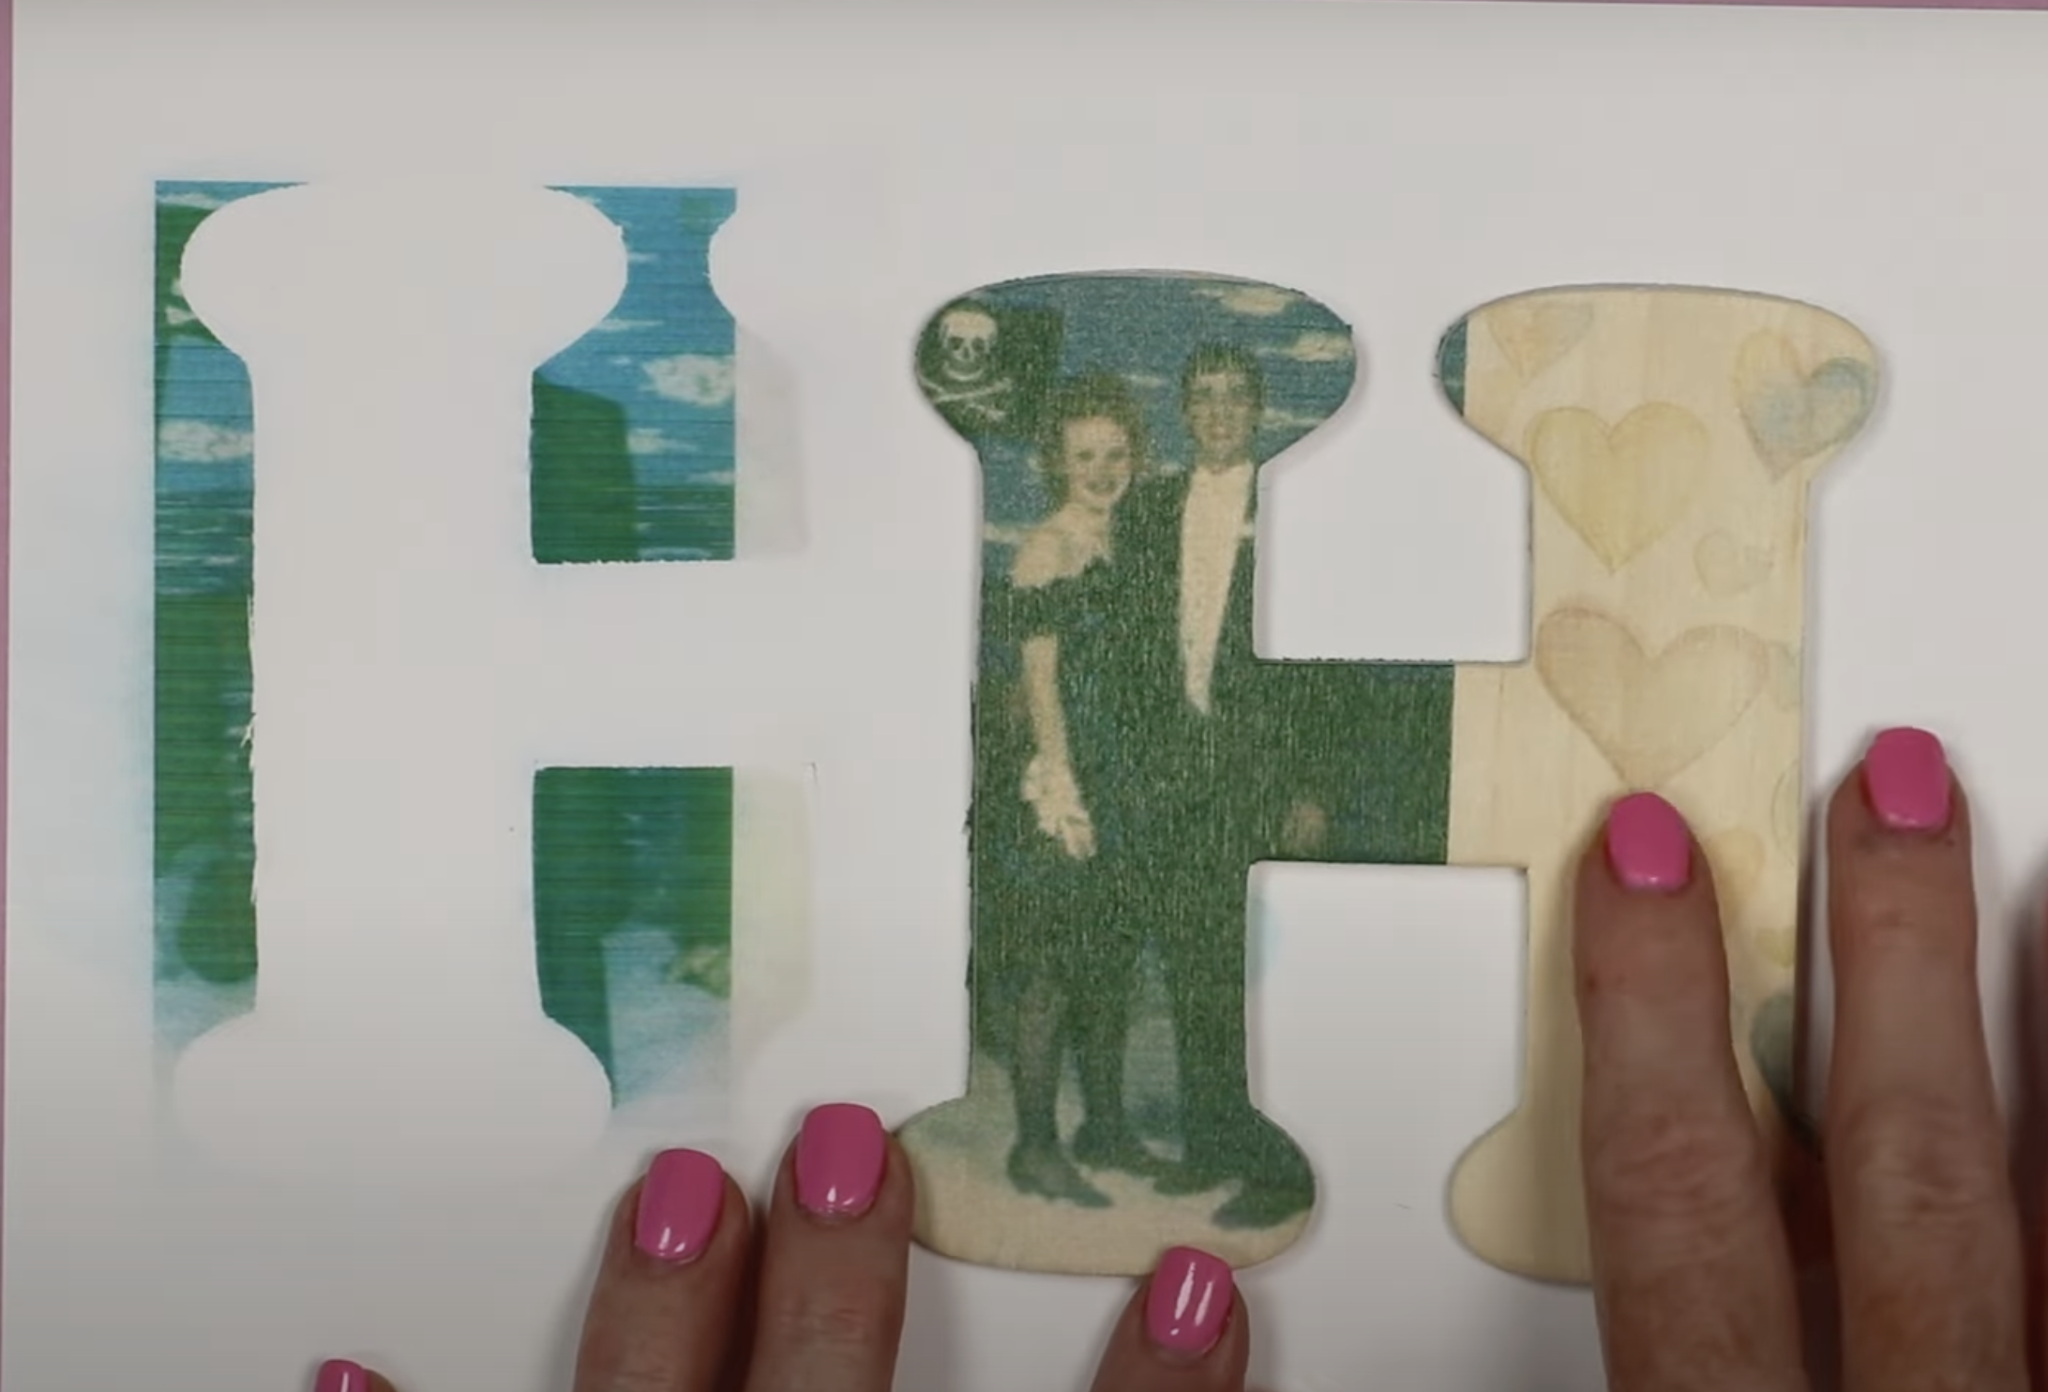
Next, I tried another shape that is a little thinner piece of wood and it did work a little better. It did not move during the printing process. I tried to print two different images on this one piece and I am not a fan of how the lighter colors look on the unpainted wood.
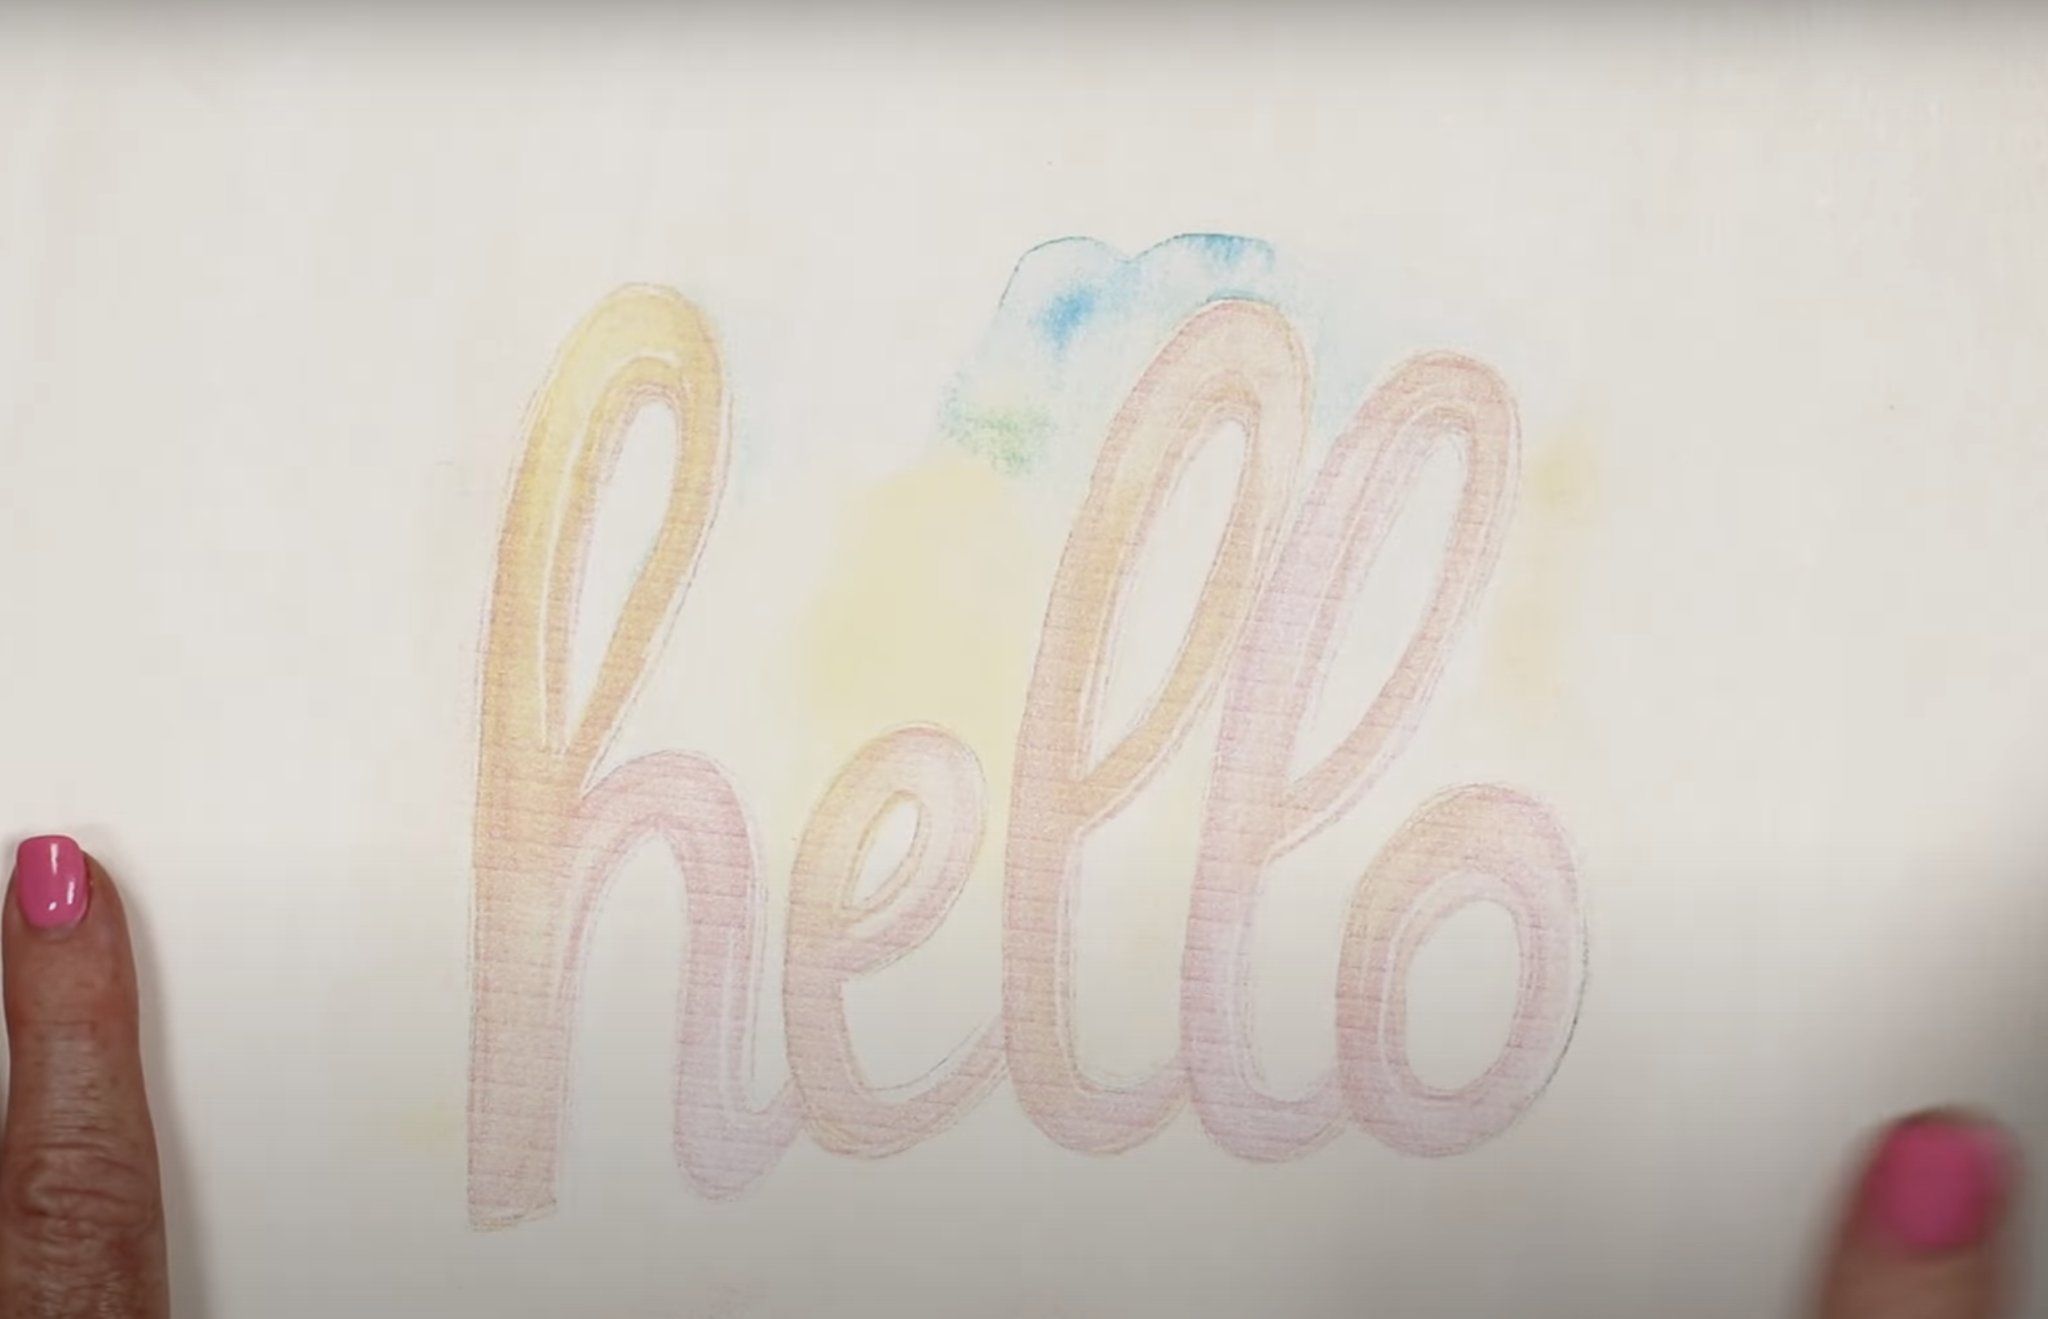
The final project I tried was printing on wood that is painted. Again, I don’t think the colors pop off the paint very well. If I was making this project again I’d increase the saturation and intensity. While the project didn’t turn out perfectly with the settings I used, it does prove you can print on wood that is painted.
Testing the Printhead
Earlier we talked a little about the ink not flowing through the printhead. Let’s talk about how to troubleshoot if the ink is not flowing.
When you start the print the print head moves over to the pad of paper and touches down. You want 3 solid lines of ink in Cyan, Magenta, and Yellow. As you can see, the Magenta is not a solid line.
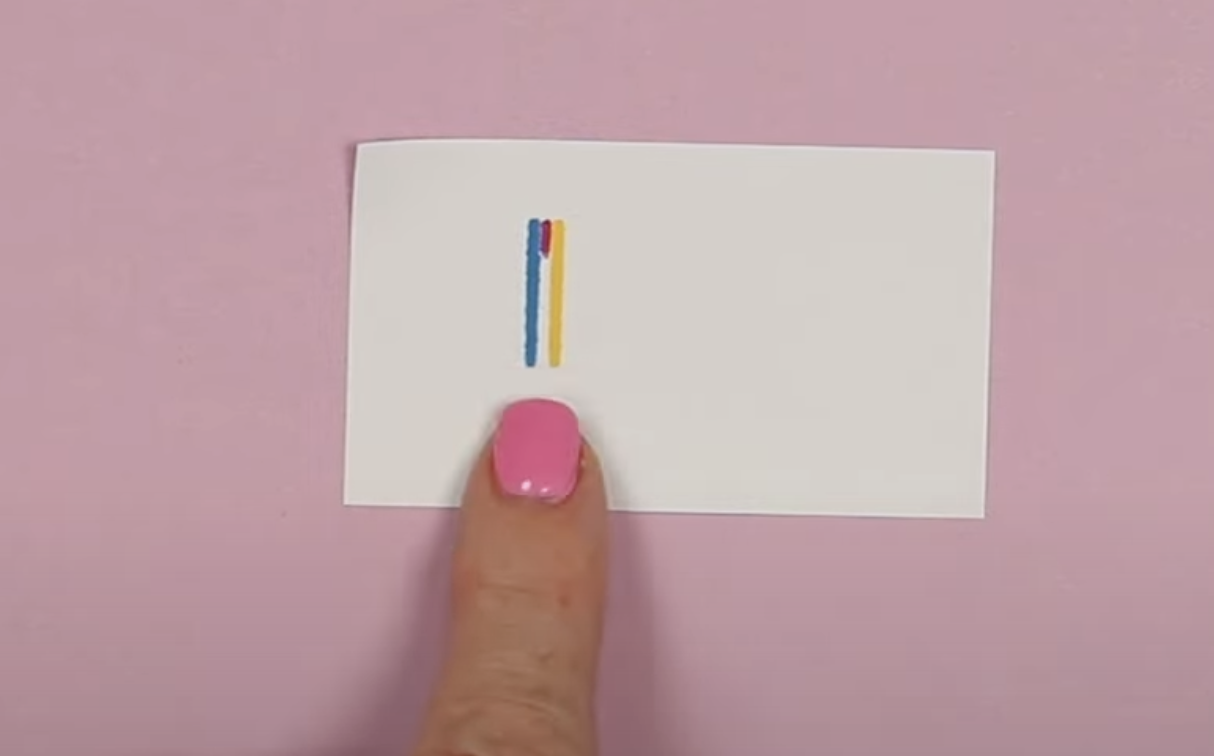
I immediately hit the button on the front of my xTool M1 Ultra to stop the printing process. You may have success starting and stopping the print process multiple times. This did not work for me so I am following the recommendations on the xTool website.
One of the recommendations is to place a damp tissue on the underside of the printhead. Another idea is to soak the printhead in a little water.
I tried both of those options and some of the others listed on their website and as you can see the Magenta is still not complete.
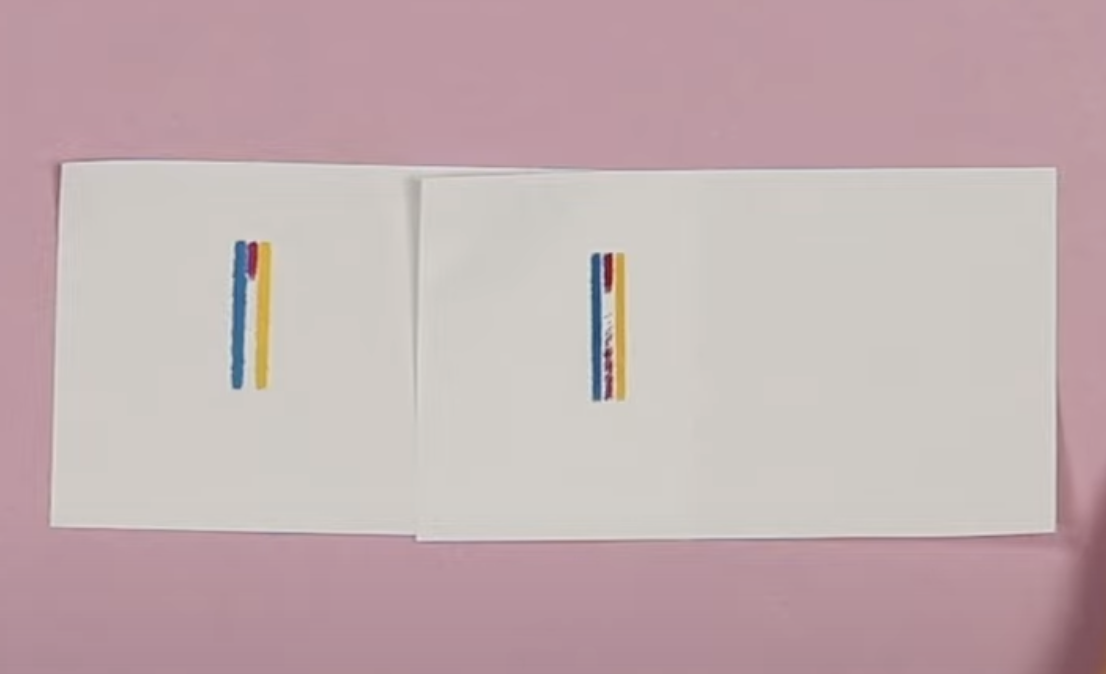
I worked on getting the ink flowing for over an hour and decided to try printing because none of the tricks were working for me.
It’s possible my finished prints would be more vibrant if all three colors were full lines. Even without the Magenta being a solid line I think my prints turned out pretty well.
Frequently Asked Questions
How Well Does the Location Method Work?
I prefer the framing method vs the method where you take a photo of the laser bed. With both the start and H shape based on the location from the photo I had things set up exactly and the print was off on both of those prints.
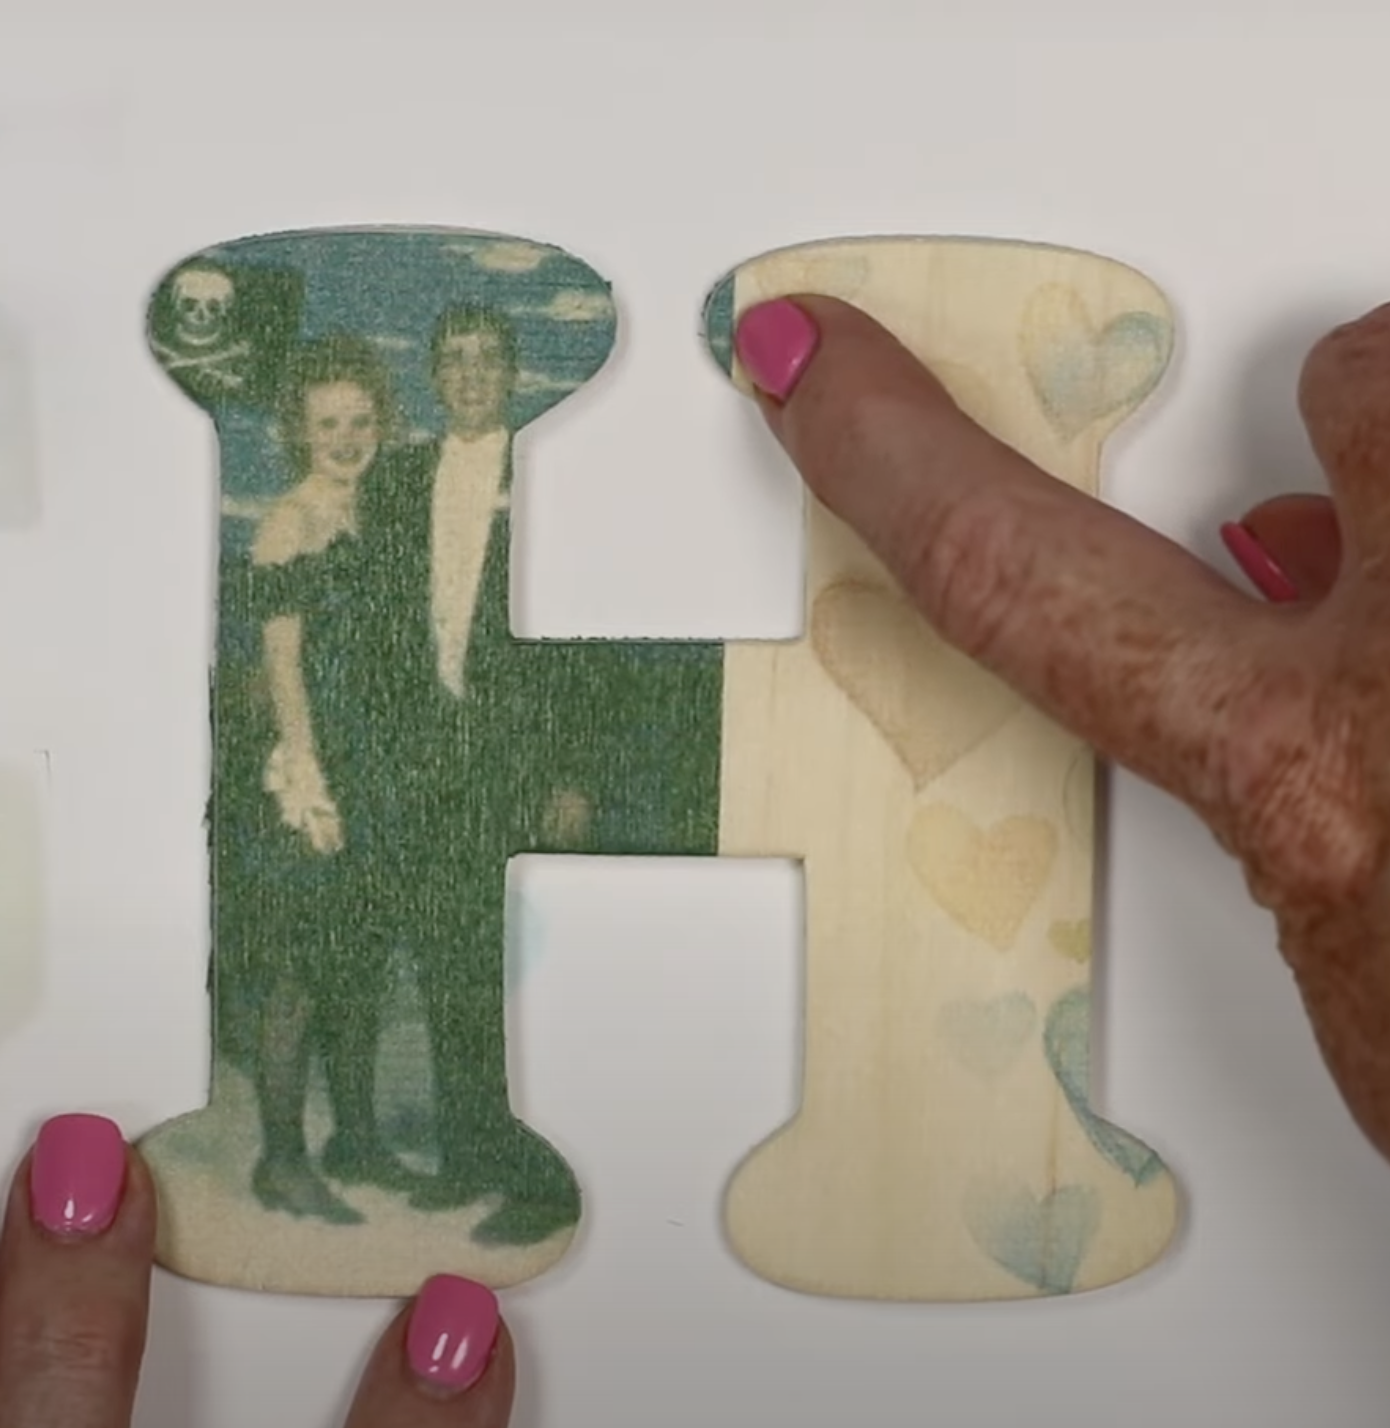
I would test this a few times first so if you need to make adjustments you know that before you start so you don’t waste a blank.
Is Printing on Wood Water Resistant?
Any project you make using the printer module with the xTool M1 Ultra will need to be sealed if you want it to be water-resistant.
I tested one of my prints with a damp cloth to see how it would perform. The ink started to come off in just one wipe.
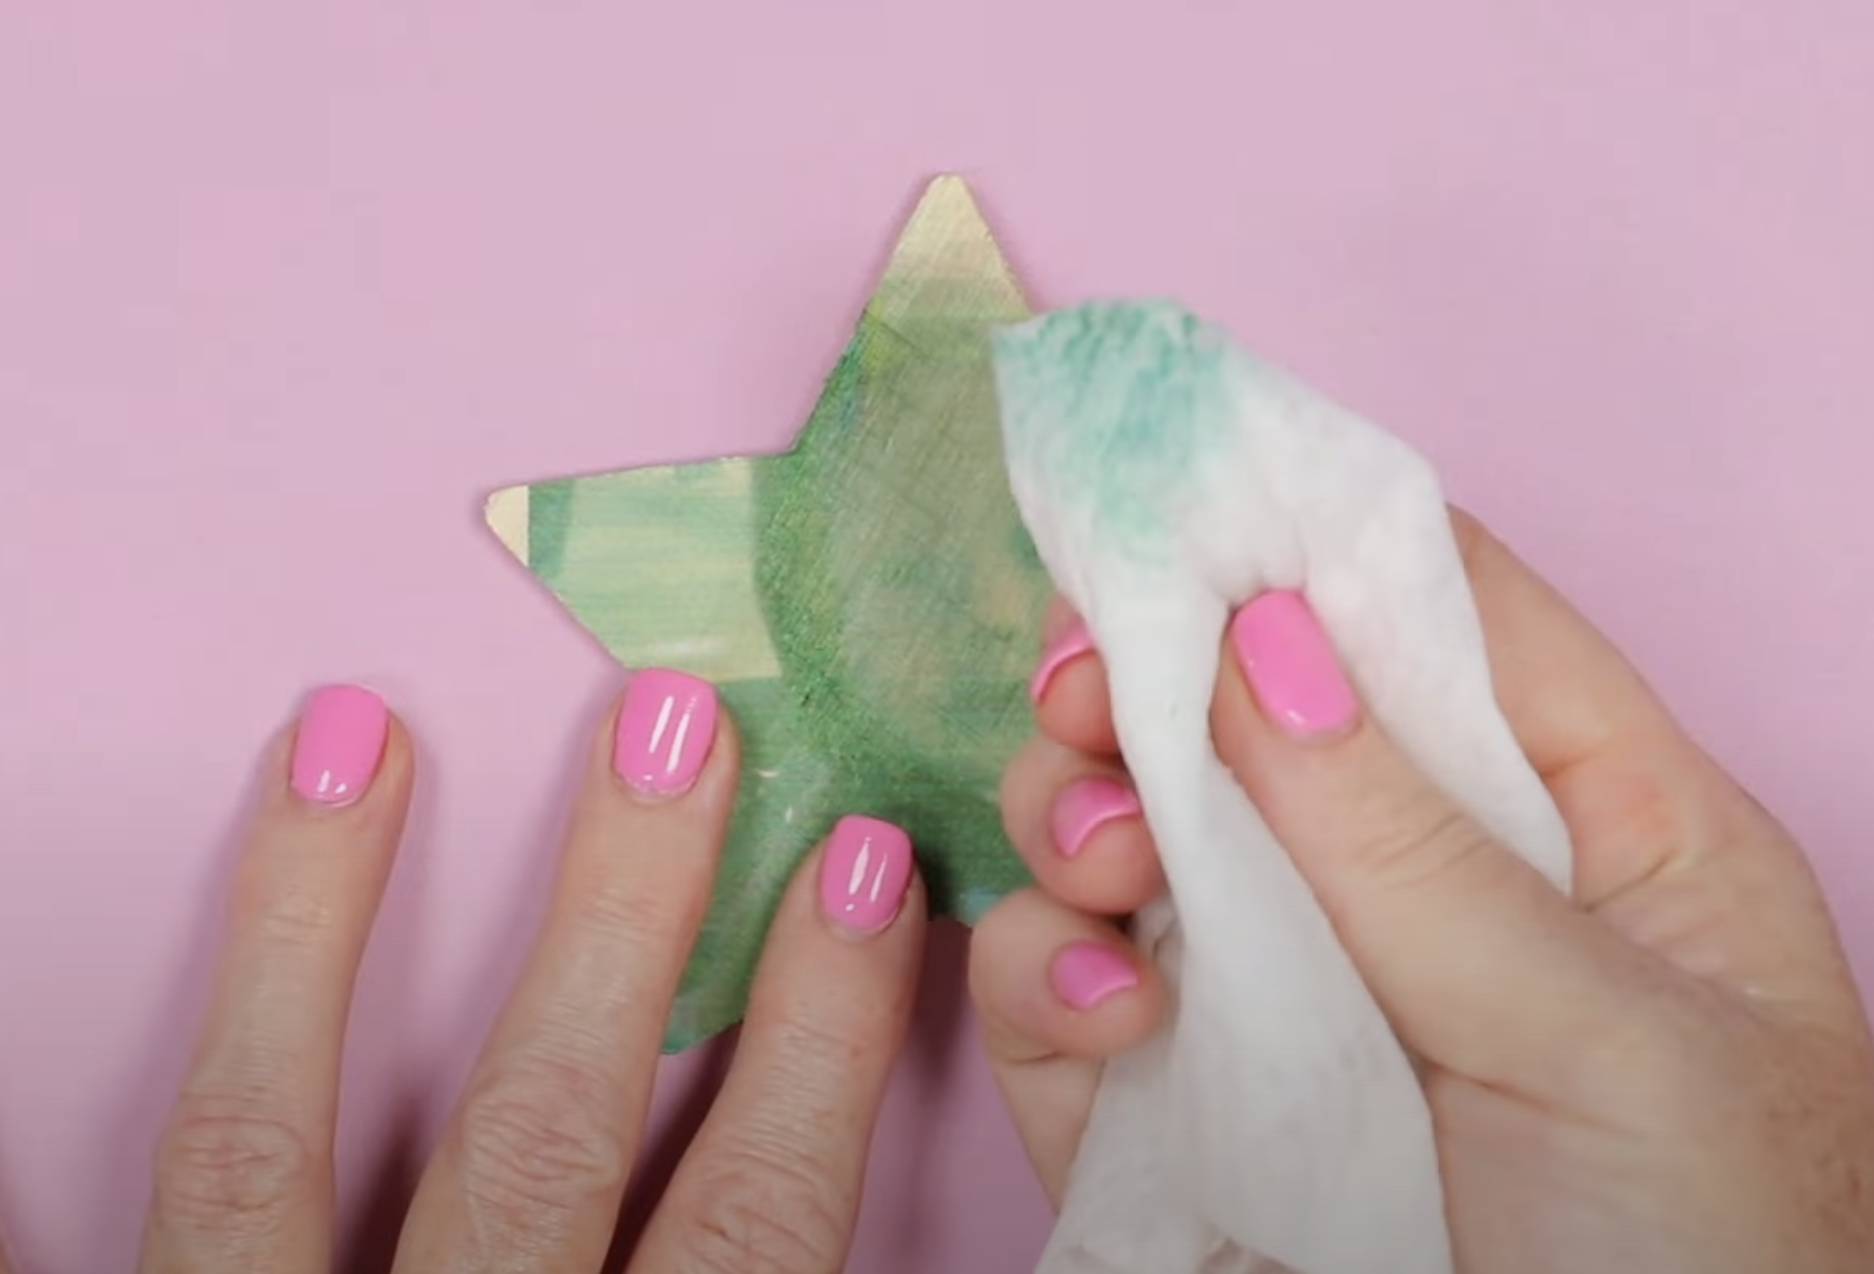
In order to use these projects anywhere where they may come in contact with water, you’ll want to use a sealer over the top.
Can I Print on Other Surfaces?
Today I only tried printing on wood. xTool says you can print on porous surfaces so I would stick to those surfaces.
There are tips and tricks in the video by Ashlee Falco here for printing on ceramic coasters and acrylic. If you’re interested in that check out her video.
Can I Prevent the Over Print?
After I finished filming, I did some research to see if I could find any tips for printing on thicker wood surfaces. I did not have luck with that but I found a video from Ashlee Falco that included a masking technique right in xTool Creative Space.
This technique allows you to mask off more of the area when printing on odd shapes so you’re not wasting ink by overprinting around the edges.
It’s a great technique and you can learn about it in her Print on Acrylic and Wood video.
How Well Does the xTool M1 Ultra Print on Wood?
I think when printing on regular wood the look is more rustic. The wood grain will show through the ink, giving it a more rustic look.
I would recommend testing your project if possible so you can make any adjustments to the color if needed. If your design is too light, you can increase the saturation and intensity to get more ink on the surface to see if that helps it show up better.
I think increasing the intensity and saturation would have helped all of my projects look better.
Locating the design by taking a picture of the xTool M1 Ultra base could use some work. Both of the projects I made with that process were not located correctly.
I tried adjusting it and was not able to get it right with that process. Personally, I prefer the framing method for locating the design. I would recommend trying both to see which one works better for you.
I was really happy that I could print on white painted wood. Being able to print on painted wood is a great feature. Remember the ink is going to be impacted by the color of paint you use.
Out of all the options I prefer the print on the painted wood. The light colors of my design showed up best on the painted wood.

In the beginning, I would recommend doing test projects so you can get a feel for how the prints look on different surfaces so you can decide which option is best for your project.
I hope I’ve answered any questions you have about printing on wood with the xTool M1 Ultra. If you have any additional questions, leave them in the comments and I’ll be happy to answer them for you.
