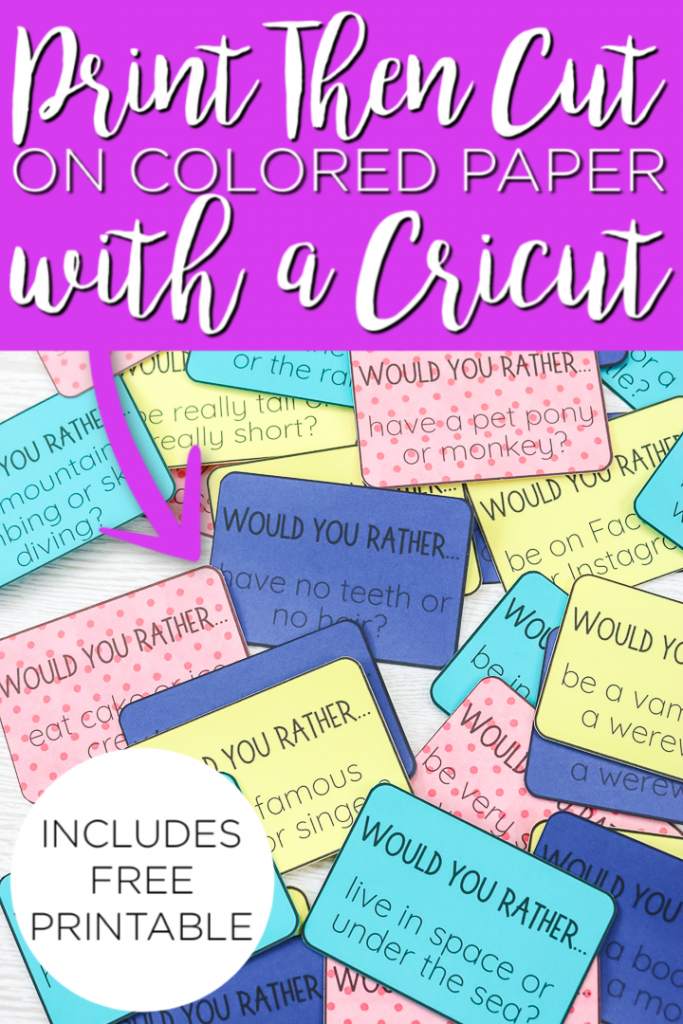
Did you know that the Cricut Maker can do print then cut on colored paper? I thought I would give it a test and see if it would work with different paper types. I grabbed some paper of different colors and even some patterned paper. Will the Cricut Maker cut them? Read on to find out!
This is also a part of an entire week of family fun Cricut ideas. You can see my hangman game idea or my vacation fund jar from earlier this week. You can also scroll to the bottom of this page for more ideas from our blog partners.
Supplies needed:
- Cricut Maker (the Explore series also does print then cut, however, it is only for white/light-colored paper)
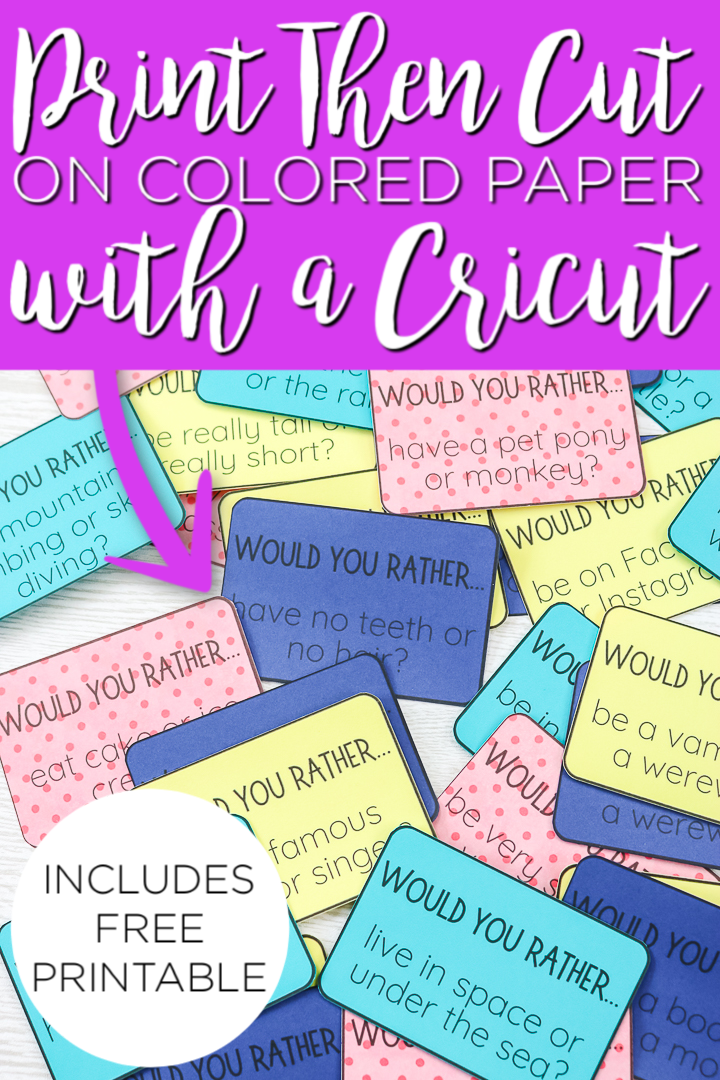
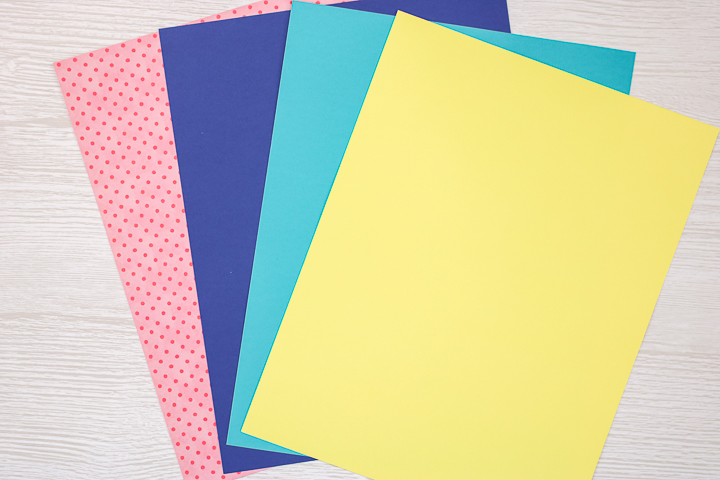
- Colored cardstock in 8 1/2 x 11 inch size or whatever size will work in your printer (see below for the colors I used and the results from my tests) (see size restrictions of print then cut below)
- Printer
- Would you rather download (you can get this below)
Would You Rather Game Free Download
To download the game, sign up for the newsletter in the form below. The game will then be sent to your email. I am including JPG, PNG, and PDF formats so you can actually use it for just printing and cutting with scissors if you would like. NOTE: I recommend uploading the JPG files as they are easier to use with print then cut.
Please note that this game is for personal use only. You can also email me if you are having issues with the download or need help. Keep reading to see how to upload and cut this with your Cricut.
How Does Print Then Cut Work?
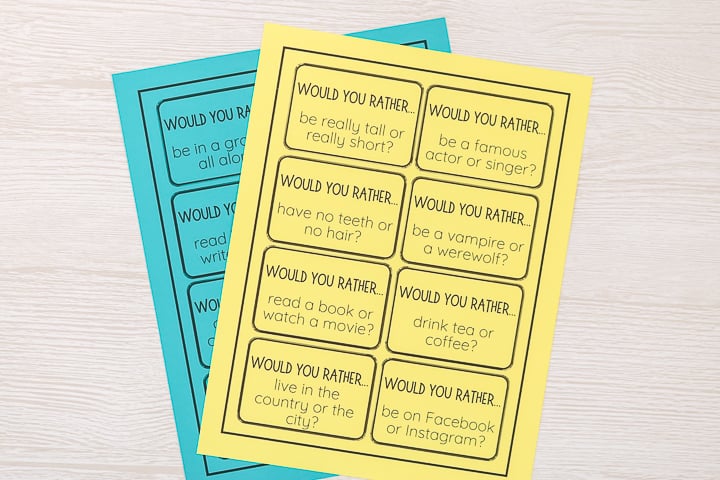
First, a little background information. Print then cut is a function on both the Cricut Maker and Cricut Explore machines. It does NOT work with Cricut Joy. When you choose a print then cut image, Cricut Design Space will prompt you to send the file to your printer and it will print with a box around the outside. This box is so that, when on the mat, the Cricut machine can locate your cut lines.
The Explore sensor was way less sensitive so it only worked with white or very light colors. The Maker, however, claims to work with colored paper and that is what I am testing in this post. You can see more about the print then cut function in general here.
Please note that if you have the auto bleed function on when doing print then cut you will have some extra area around your designs that looks “fuzzy”. That is okay! It is only there if your cuts are slightly off and should not show.
Using Print Then Cut on Colored Paper
Now it is time to put this function to the test using a Cricut Maker. I filmed a video of the entire test if you would just like to watch it below. In the video, I show you exactly how to import the files for print then cut as well.
Want instructions instead? Try our written tutorial below.
Importing for Print Then Cut
First, you will need to import whatever files you are going to use to Cricut Design Space. I will note here that these will need to be JPG or PNG files for print then cut. You cannot import a PDF file. I recommend importing a JPG as it is easier than a PNG!
- Click upload and find the image on your computer. If your files come as a zip file, you will need to unzip them before uploading.
- Once you find the image click anywhere from simple to complex depending on your image. Remember that you can go back and try again if one does not work.
- Then use the tools to make the background ONLY checked. You only want the background as your files need something to print on then to cut around. You can see an example of this in the video above.
- On the last screen, ensure that import as a print then cut has a green box around it and you are finished. Add to Cricut Design Space to finish your project.
Cricut Print Then Cut FAQ
- The maximum area is 6.75 inches by 9.25 inches. You will need to resize your image to smaller than this to work with print then cut.
- Print then cut can only be used on the Cricut Explore and Cricut Maker. It will NOT work on the Joy.
- The Cricut Explore is designed to print then cut on white/light paper. These experiments on darker paper were all on a Cricut Maker which has a better sensor for this function.
- If your Cricut is cutting around the printed design instead of around say a label size square, you will need to attach the words to a square to get it to print properly.
- I recommend uploading JPG images for print then cut as they are generally easier to use.
- If this is your first time doing print then cut or if you are getting cuts where they should not be, try calibrating for print then cut.
Cutting Colored Paper with Print Then Cut
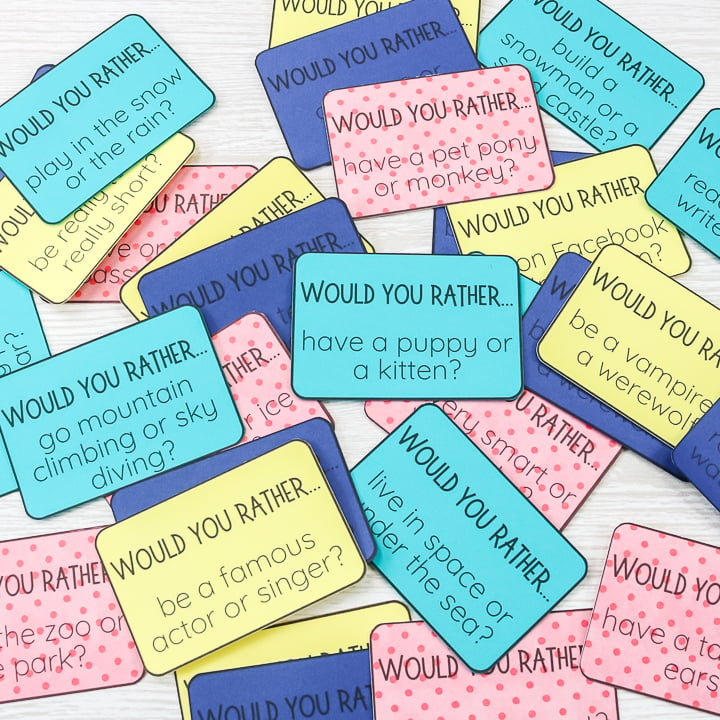
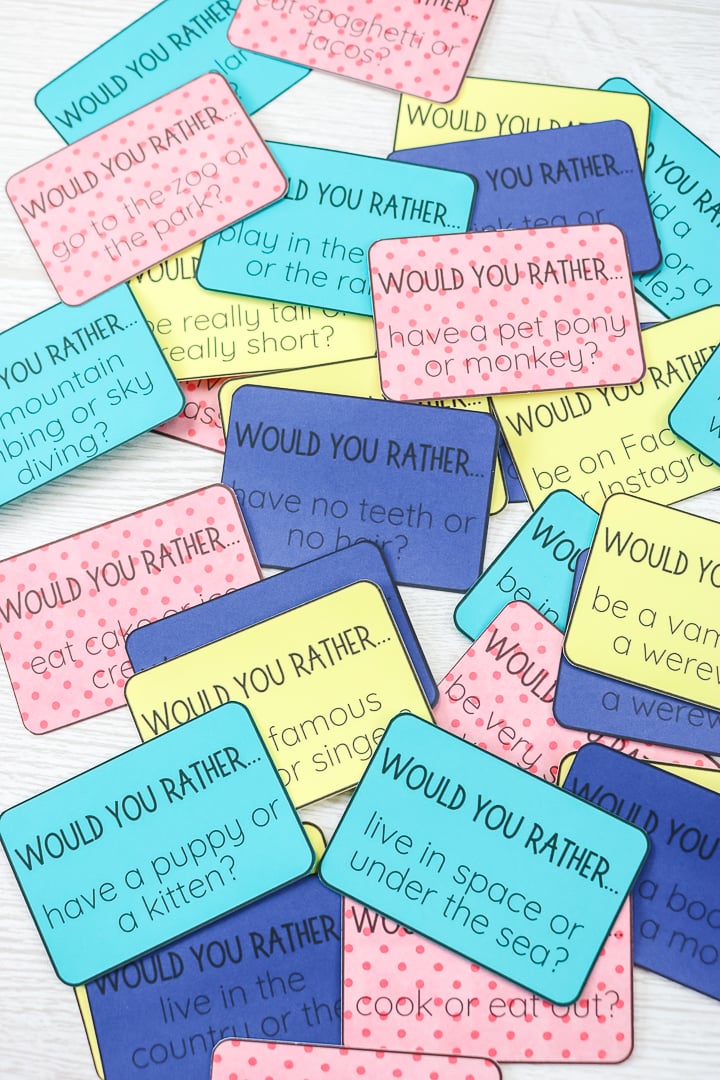
I ran some experiments on the paper colors shown. One light, one medium, one dark, and one patterned. First, print your design then add it to a mat. The mat type as well as the setting on your Cricut should all reflect the paper you are using. I added this regular cardstock to a light grip mat.
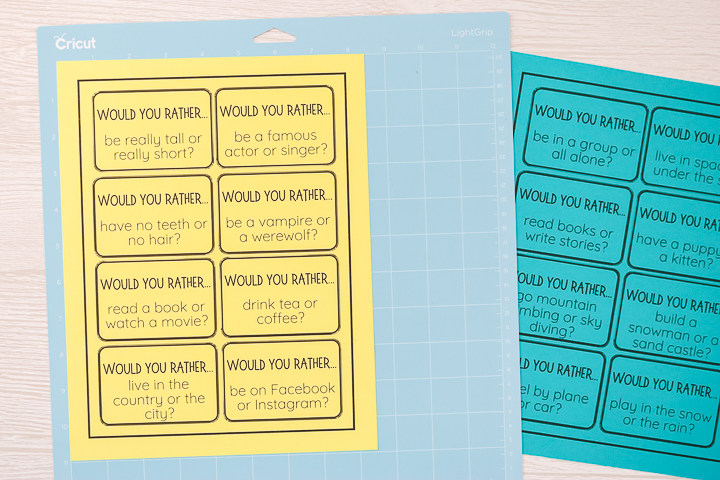
I started with this light yellow as I was positive that one would work. It may even work on an Explore but I did not test that in these experiments.
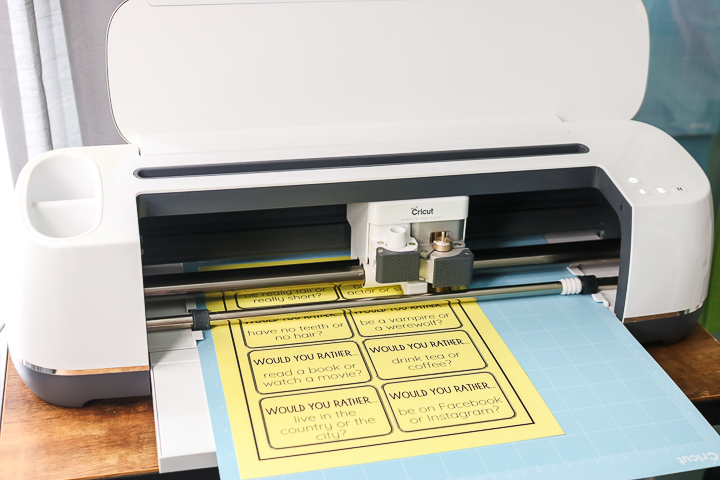
After those cut fine, I moved on a to a medium-colored paper.
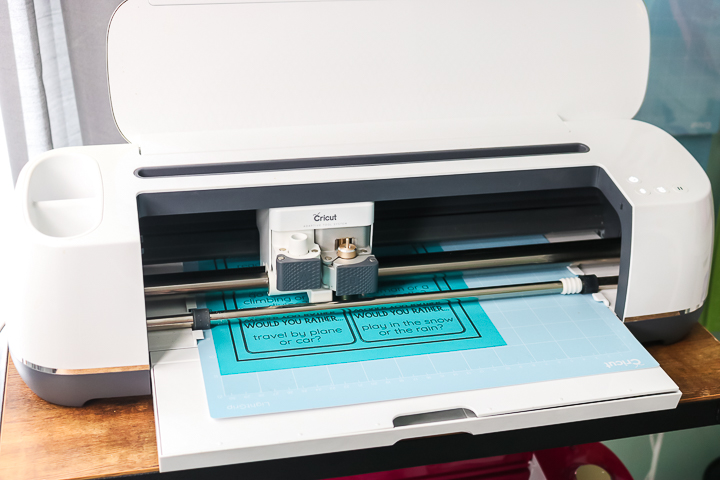
Those cut great as well! Now it was time to really put it to the test with some really dark paper. I actually didn’t have high hopes for this one.
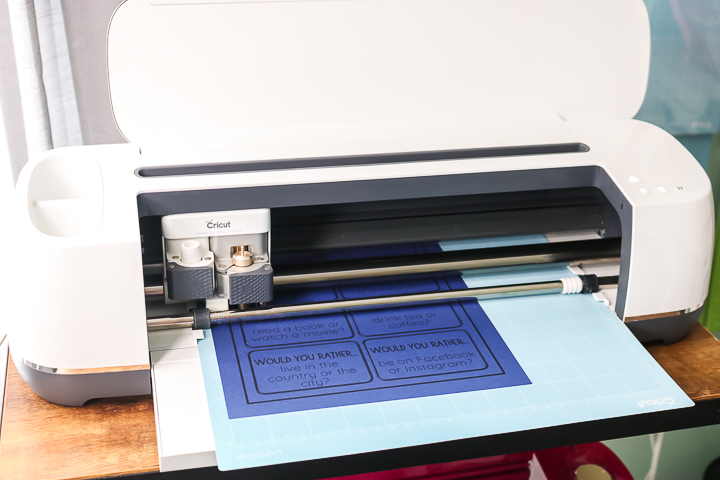
Boy was I shocked when it cut great as well. I am sure you can go too dark but then you couldn’t really read the printing so I am not sure how functional that would be anyway. But could I do a patterned paper?
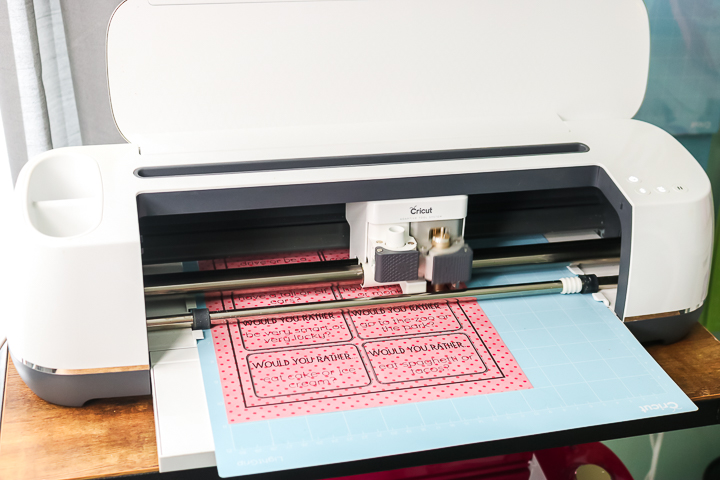
Yes, it worked! I didn’t have high hopes for this one either because I thought the pattern would throw off the sensor. So, I actually DID NOT find a paper that the Cricut Maker would not cut with print then cut.
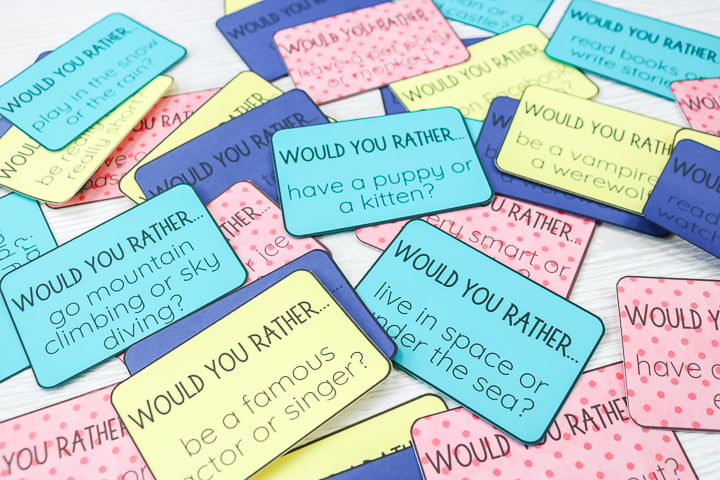
So, if you are thinking of using a colored paper on your next print then cut project, I say go for it! From my tests, I am confident that it will work great.
So, have you ever used your Cricut for print then cut on colored paper? How did it go? I would love to hear if YOU found a paper that will not work so I can try it next time.
Love this idea for your Cricut and want more family fun crafts? Try the links below as well!
New to Cricut?

Sign up for our email list to download the Beginner's Guide to Cricut Design Space for FREE today!
Sign up to get the guide emailed to you!



These would be great for the kids at my work! I subscribed but I have not received the link to download it! I also tried getting the 80s banner but never got an email. Please help!
I see that they were both delivered. Can you try checking your junk folder and if you still don’t see them send me an email at angie@thecountrychiccottage.net so I can try to figure it out 🙂
Does the maker cut on kraft cardstock?