

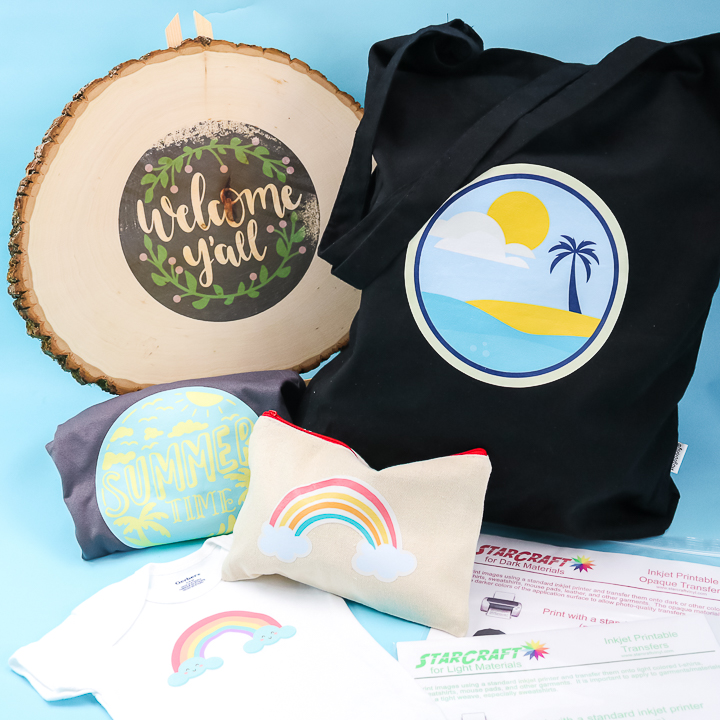
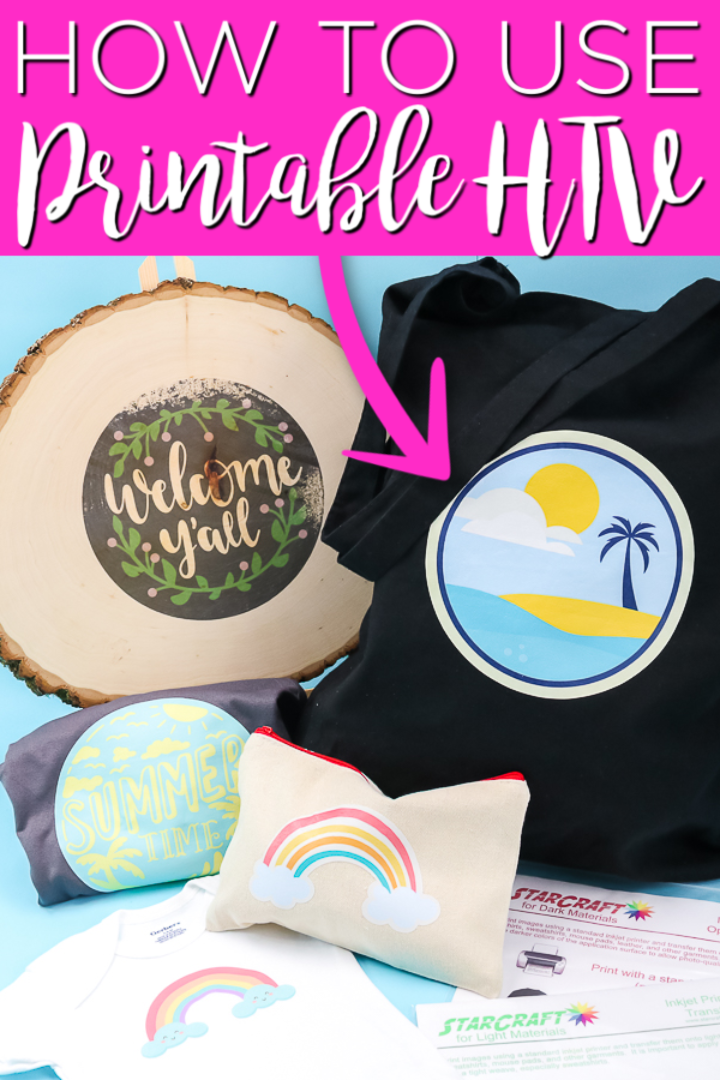
Have you ever wanted to try printable HTV? Well, now is your chance! I am going to cover two different types from StarCraft for both light and dark materials. Of course, I had to do some experiments. So, I am going to be adding them to a wide variety of surfaces. See my experiments below then give this product a try for yourself!
NOTE: If you are looking for other printable options for your craft projects, we have some for you! Check out this post to learn more about printable vinyl that is sticky on the back or check out this post that is all about Cricut Printable Iron-on!
Printable HTV Video Tutorial
If you love watching videos instead of reading text, I would encourage you to watch the video below. It has all of the information you need!
Can’t watch the video or missed some of the steps? You can also read the information below.
Types of Printable HTV
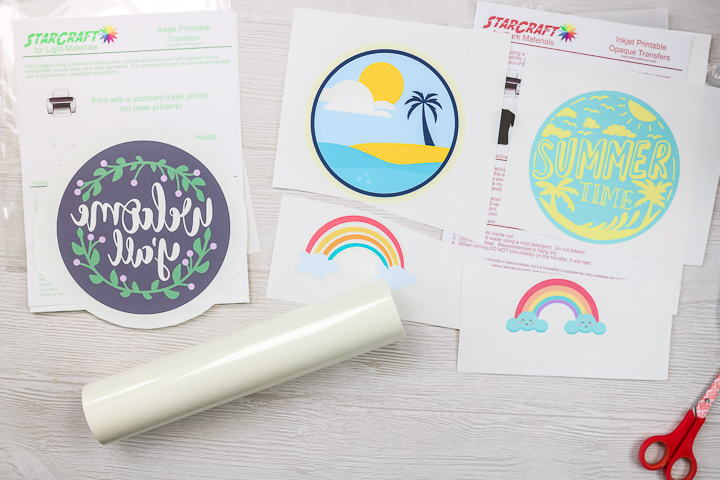
I am using two types for my experiments:
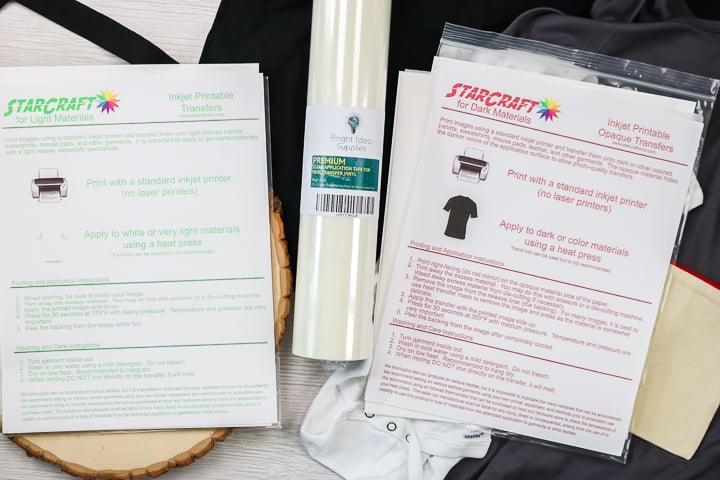
- StarCraft InkJet Printable HTV for Dark Materials
- StarCraft InkJet Printable HTV for Light Materials
The one for dark materials can be used on any surface. I actually prefer it for fabrics so I am going to use it for all of my fabric experiments below. The light material version, however, is actually fabulous for making rustic wood signs. Y’all know I love some farmhouse style so I had to play with that as well.
NOTE: As of 2024, this product is hard to find. Cricut now makes a printable HTV for both light and dark surfaces.
How To Use Printable HTV
Now that you have the types, we are going to do some experiments and make a few projects. First, let’s talk about some basics.
Printing Tips & Tricks
When you go to print, there are a few things you should know:
- This product is for InkJet printers only and will NOT work on laser printers.
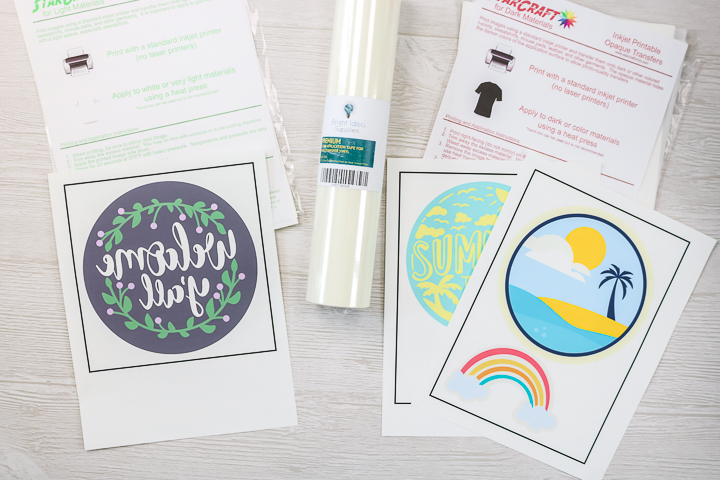
- The version for light materials MUST BE mirrored before printing.
- I would set your printer to photo quality prints to get the best print possible for transfer.
- Remember that the maximum size for Cricut Print Then Cut is 6.75 x 9.25 inches. I am using my Cricut to cut all of my designs. You could definitely print on this material and cut with scissors if you would like.
Do You Need Transfer Tape?
The answer is that sometimes you will want transfer tape. Now, you will need a special type of transfer tape for this material. It MUST BE rated for use with heat transfer vinyl. Please do not use the regular transfer tape with this product as you will have a huge mess. This is the transfer tape that I used for my experiments.
The StarCraft Printable HTV for light materials DOES NOT need transfer tape as you are going to leave it on the backing paper. The dark material version can be used without transfer tape but you may want it if you have multiple pieces to your design. I used it for some of my projects and for others I just peeled away the design and transferred it by hand.
Cutting On Your Cricut Machine
I used the print then cut function on my Cricut for all of the projects I made. I will note here that this function is only for the Cricut Explore, Venture, Joy Xtra, and Maker machines. For the original Cricut Joy, you cannot use print then cut.
I set my machine to printable iron on for dark fabrics for BOTH of the types of StarCraft printable HTV that I used. It worked perfectly for both. I love using my Cricut to get a really clean cut and the ability to cut around intricate designs is fantastic as well. Don’t forget that the light version of this product needs to be mirrored before printing to be used correctly.
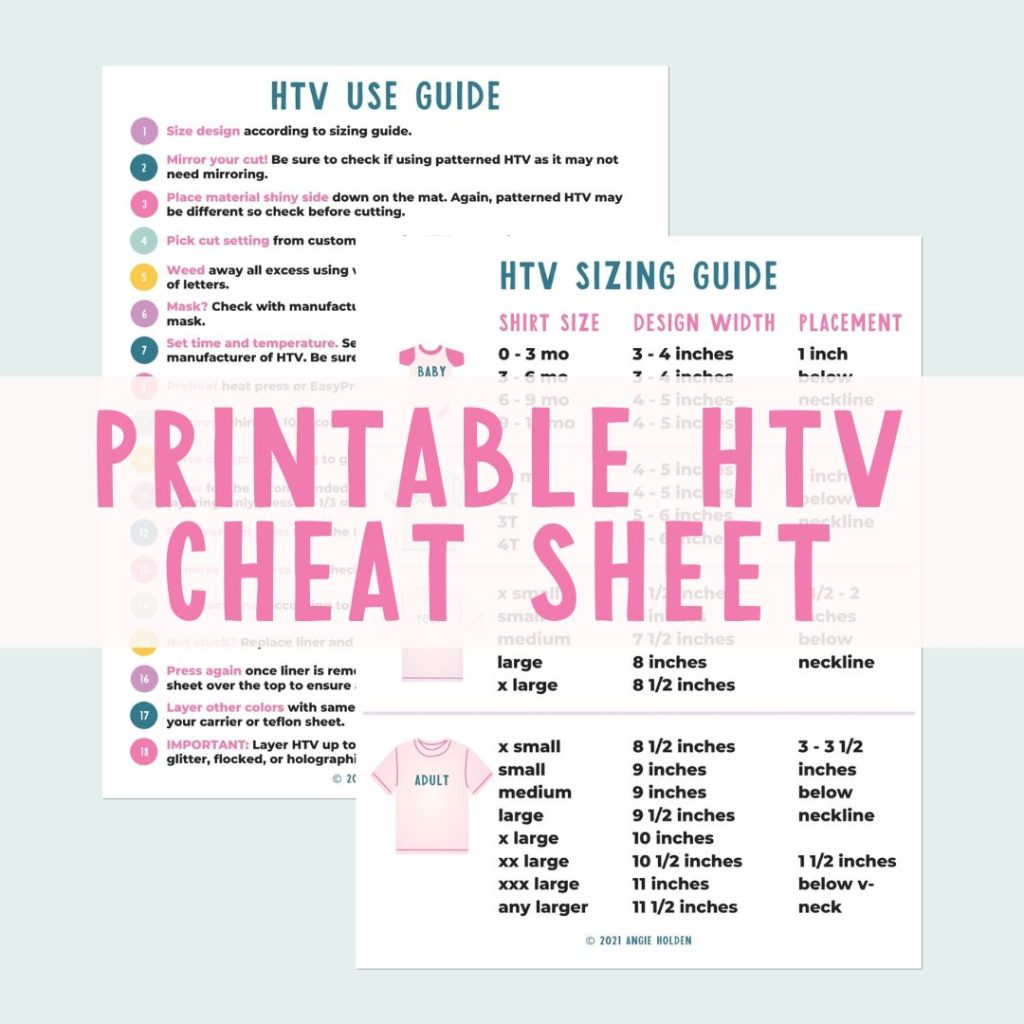
Free HTV Cheat Sheet
Get your FREE Printable HTV Cheat Sheet now! This guide has sizing and position recommendations for infant through adult shirts as well as a handy HTV use guide. Print this double sided guide and put it by any heat press you own!
Weeding Printable HTV
Now that the printable HTV is cut, you will want to weed away all of the excess material from around the edges or from the center of certain designs. I will note here that both materials are fairly delicate but the version for light materials will tear REALLY easily. Use caution as you lift the excess from the backing of both products.
How To Apply
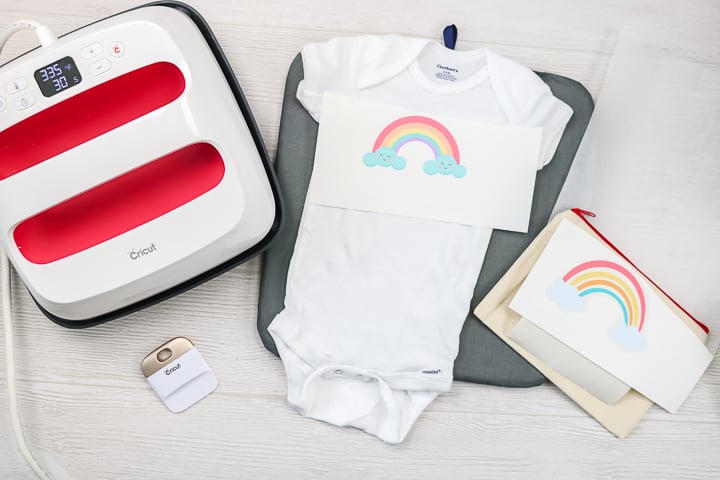
Now that you have the basics, let’s make some projects! You can find the cut file for all of the projects I am making in my Cricut Design Space Profile. Just scroll down to “printable HTV projects” and open the design. You can then resize and print these as desired. The two types have different methods for application and I am covering both below.
Applying StarCraft For Dark Fabrics
You can apply this by peeling from the backing paper or by using transfer tape. I actually did two projects both ways in the video above. I just wanted to see the differences and which way I liked better.
Peel & Apply
The first method does not use transfer tape and ended up being my favorite. This is great for simple designs with one piece but if you have a design with multiple pieces, you probably want to drop down below and see how to use transfer tape. But first, here is a brief overview of applying with no transfer tape.
Step 1: Peel Printed Transfer From Backing Paper
Peel the printed transfer from the backing paper with your hands.
Step 2: Lay Design Onto Surface
Lay the design onto the fabric surface.
NOTE: You may want to press your surface first to remove wrinkles and moisture.
Step 3: Cover Design With Butcher Paper
Cover the design with something like butcher paper. The StarCraft actually comes with a few sheets to use.
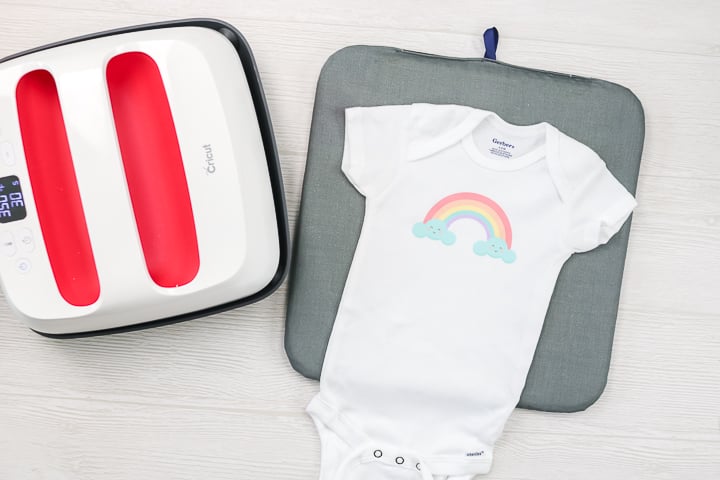
Step 4: Press Design
Then press for the time and temperature indicated on the packaging. This product calls for medium pressure. I actually used an EasyPress for my experiments but a heat press is recommended. I do not think a household iron would work.
Step 5: Remover Butcher Paper
Remove the butcher paper after your design is completely cool.
Your project is done and ready to wear! Be sure to follow all launder instructions found on the packaging.
Using Transfer Tape
You can also use transfer tape for this product. This is really important if you have a design that has several pieces so that you can keep them all together. Here is a brief overview of using transfer tape.
Step 1: Cut Transfer Tape
Cut a piece of transfer tape slightly larger than your design.
Step 2: Peel Away Backing
Peel away the backing and lay it sticky side up on a flat surface.
Step 3: Put Design Face Down Onto Transfer Tape
Put your design face down onto the sticky surface starting in the center.
Step 4: Press Design Onto Transfer Tape
Use a scraper to press the design onto the transfer tape from the center out.
Step 5: Peel Off Backing Paper
Then peel back the backing paper and your design should be left on the tape. I had quite a few problems with this and ended up having to grab the edge of the design with my scaper and work it to get it off the backing paper.
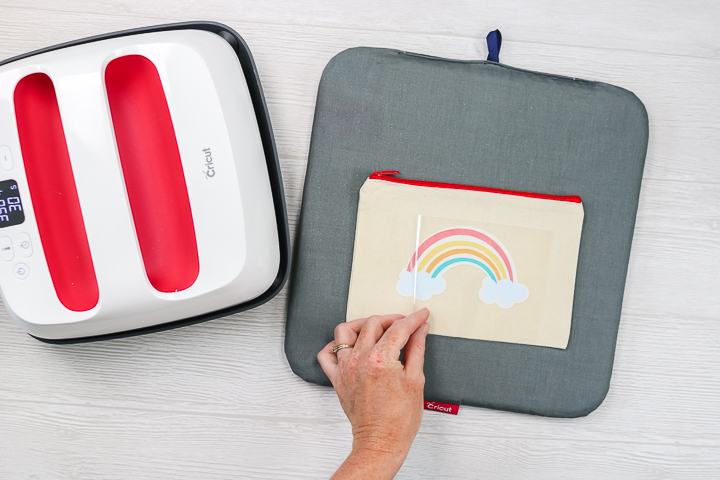
Step 6: Lay Design Onto Surface
Once your design is on the transfer tape, apply to your fabric in the correct location.
NOTE: You may want to press your surface first to remove wrinkles and moisture.
Step 7: Cover Design With Butcher Paper
I covered the entire thing with butcher paper once again just to be safe.
Step 8: Press Design
Then press for the recommended time and temperature. This product calls for medium pressure. I used an EasyPress for my experiments but a heat press is recommended. I do not think a household iron would work.
Step 9: Remover Butcher Paper
Remove the butcher paper after your design is completely cool. Then peel back the transfer tape.
Your project is done and ready to wear! Be sure to follow all launder instructions found on the packaging.
What Materials Does It Work On?
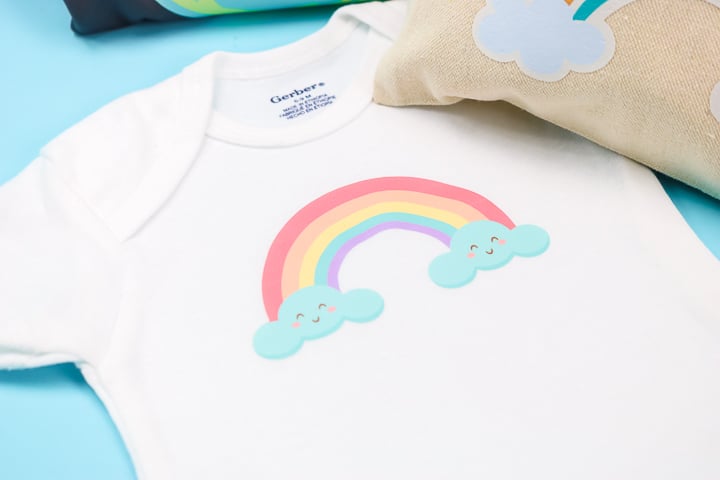
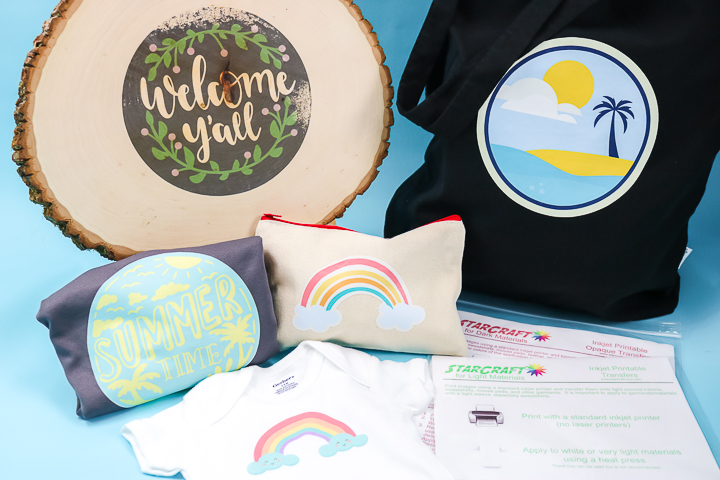
You can use the StarCraft printable heat transfer vinyl for dark fabrics on just about any fabric surface. I used it on the onesie which is a cotton blend with no issues at all. I was super impressed with the look once applied.
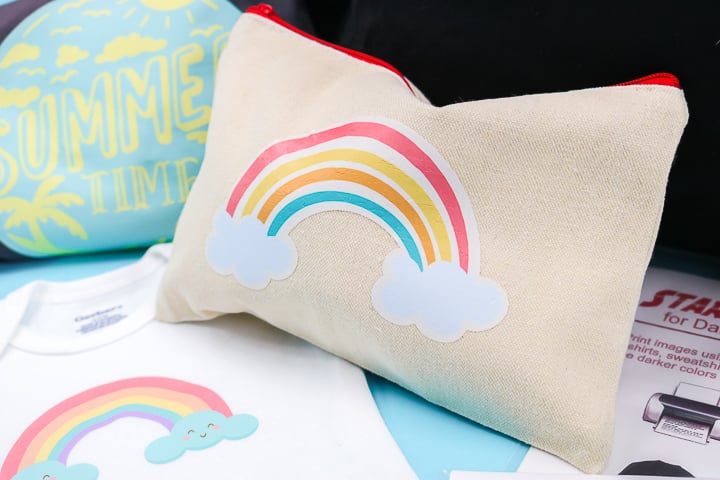
My second project was a canvas zipper pouch in a cream color. Again the product worked great.
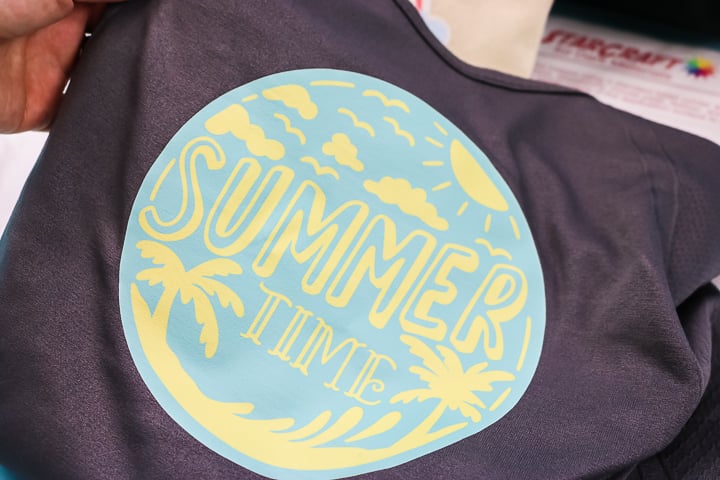
I did want to test some darker fabrics, however. I started with this grey workout tank. This is a stretchy nylon fabric. The printable HTV went on great but it does not stretch very well. So, just be aware of that when choosing a surface.
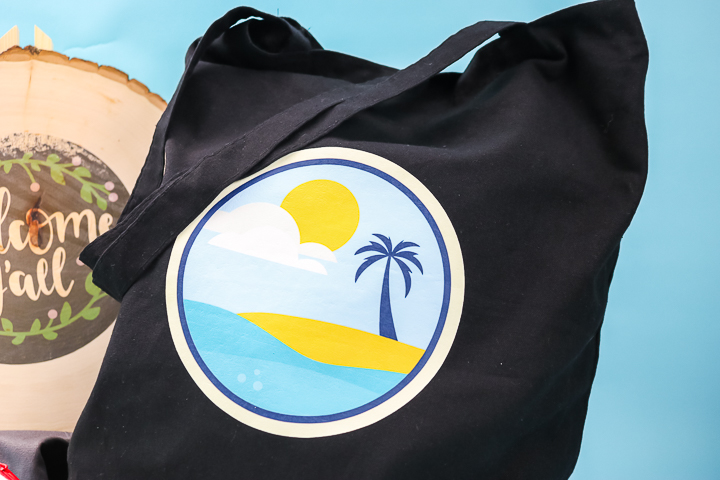
I also wanted to put this product to the ultimate test and use a black fabric. I actually did a design on the black that has a white cloud. That way we could see whether it would show through when applied to the dark fabric surface. I am happy to say this went on like a dream and the white actually looks white!
Applying StarCraft For Light Fabrics
Now that you have seen what the dark fabric version will do, let’s use the printable iron-on intended for light fabrics. The method of application is a bit different for this version.
NOTE: Please note that your design must be mirrored for this to work.
Step 1: Lay Design Onto Surface
Turn the weeded design over onto your surface.
Step 2: Press Design
Press for the recommended time and temperature. Note that this product calls for HEAVY pressure. I did the best I could with my EasyPress but it would probably transfer better on a heat press. I am making a sign and wanted a rustic look anyway so I was not concerned. Please note that I don’t believe a household iron would work for this product at all.
Step 3: Peel Off Backing Paper
Peel the backing paper away IMMEDIATELY while still hot. You might want to use some tweezers to grab it in order not to burn yourself.
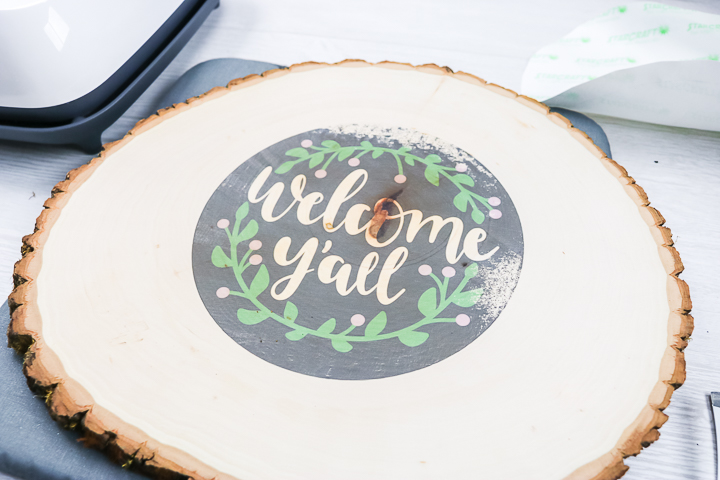
I love the way the ink infuses into the wood. You will also want to note that any area left white will have the wood grain showing through. I love this look and even the imperfections!

When To Use Printable Iron-on
If you have been wanting to try some printable designs, this may be the product for you. If you don’t have a sublimation printer and don’t want to invest in one, you can use printable heat transfer vinyl instead. This product also works on cotton where sublimation requires polyester content in order to work.
I hope you will consider picking up some printable HTV and giving it a try. You will really love the variety of projects you can create with this material.
I would recommend the dark material version for any fabric surface and the light version for wood. Otherwise, pick some designs and start experimenting. You will be amazed at what you can create!

FAQ’s about Printable HTV
Here are a couple of questions that I see readers ask about printable HTV. If you have a question, please check to see if I’ve already answered it below. Don’t see it? Leave it for me in the comments!
Can I Use Other Brands Of Printable HTV?
Yes! Since writing this post, there are other brands of printable HTV on the market. You can check out the Cricut brand of HTV, or Siser’s Printable HTV.
What Printer Would You Recommend For This Type Of Project?
I love using this printer! However, if you want more information about printers in general, check out our video titled ”The Best Printer for a Cricut”!
What Type Of Ink Did You Use?
Just my HP Inkjet printer.
Do You Use Sublimation Ink To Print Your Designs?
No, you do not use sublimation ink. Just a regular inkjet printer.
Can I Use A Laser Printer?
No. Most printable HTV is made for inkjet printers. Make sure you read the package details so you don’t waste any product.
What Color Blank Should I Use?
That is completely up to you! Take into consideration the colors of your design. You don’t want your design to blend into the background. Before adding heat to your project, take a look to make sure you like your color choice.
Does The Vinyl Sit On Top Of The Fabric, Or Does It Fuse With It?
It does sit on top.
How Did This Wash? Did The Print Fade? Did The Vinyl Crack At All?
To learn more about how long printable HTV last, check out our ”Sublimation vs. HTV: How long does sublimation ink last? What about printable HTV?” video!
5 Cricut Crafts
Did you love learning about printable HTV, and are now looking for Cricut crafts to make? Then check out the projects below!


I’m so glad I found your videos and blog early on after buying my Maker. You make it all so clear and do-able! I will be uploading some sewing patterns to cut out out my fabric, and etching glass for birthday and Christmas gifts mostly this year. I have already cut out face masks, and some 651 vinyl for organizer labels is next! Later, basswood! I also bought the Sport Flex, and want to know how to use it properly on a T-shirt. Some make it sound difficult. Do I really need the Cricut press? EEK! Hubs would freak out.
Nah you can use an iron. Here is a video on sportflex if you need it: https://www.youtube.com/watch?v=BhWBcjYvGrs or one on using heat transfer vinyl that is more generic: https://www.youtube.com/watch?v=-S6DzXe5p64
I love your videos!! Thanks so much for being thorough and repeating or emphasizing directions when needed.
Kathy Jo
Thanks!
Love your ideas. Great instructions
Hi Angie, would you have any idea as to why my htv is turning black after pressing? The htv is for dark fabric pressing at 190 for 12seconds. I have tried on both cotton and polyester.
What brand is it?
Hi Angie! Great tutorial, thank you! I tried the links above to purchase the Starcraft Printable HTVs, but they seem to be broken. Do you still use this retailer, or is there somewhere else we can purchase this same brand of printable HTV?
Oh no! They must be out! I don’t have anyone else I buy that from but I will look around.
Have you ever tried to use printable HTV on acrylic? Ive seen some printable HTV that isnt actually vinyl but rather a transfer sheet meant for shirts. Is the starcraft brand actually vinyl? 0:
I haven’t use it on acrylic.
Is Starcraft printable HTV actually a different transfer compared to printable transfer sheets? I’m not sure if my question makes sense 🙂 I’ve used printable transfer sheets on t-shirts, and they quickly fade and start to disappear after only a few washes. I’m hoping that printable HTV is different not just because it’s a better brand (Starcraft) but also a different and better process. For example, does it have a vinyl (which makes it last longer on the shirt) while printable transfer sheets do not? Hope that all makes sense. Thanks!! You are my “go-to” person for all these things 🙂
Printable HTV holds up better and is different.