Did you know that you can print directly on fabric? What a perfect project for inexpensive art! Printing on fabric is actually much easier than you think. Use your home printer to make gorgeous art in just minutes, and for only $1. See our step by step instructions below.
You might also want to try our idea for printing on sheet music for additional budget-friendly home décor options.
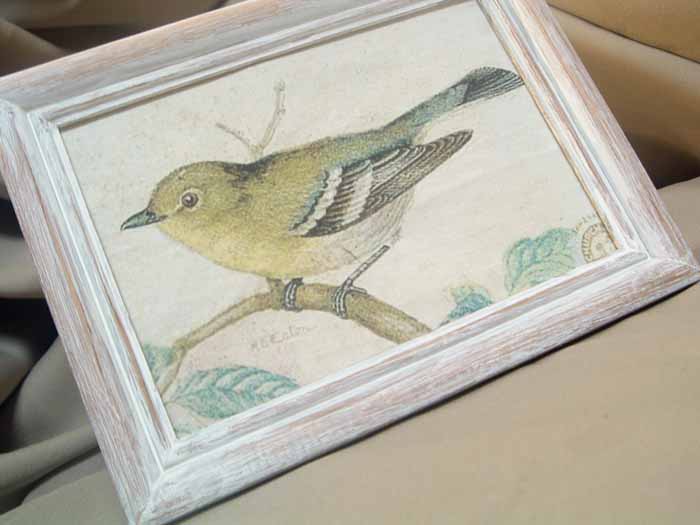
How to Print on Fabric
Supplies needed for printing on fabric:
- Graphic (I used a graphic from the Graphics Fairy to print a bird image to white fabric.)
- Heavy to medium weight cardstock
- Fabric
- Spray adhesive
- Scissors
Step 1: Add Fabric to Card Stock
Spray some heavy to medium-weight card stock with spray adhesive then add your fabric. Be sure to smooth it out and remove any wrinkles. The fabric should be around the same size as the cardstock or slightly smaller. The side you want to be printed on should face up.
ALTERNATIVE: If you do not have spray adhesive, you can also use freezer paper. Just iron the freezer paper to the back of the fabric.
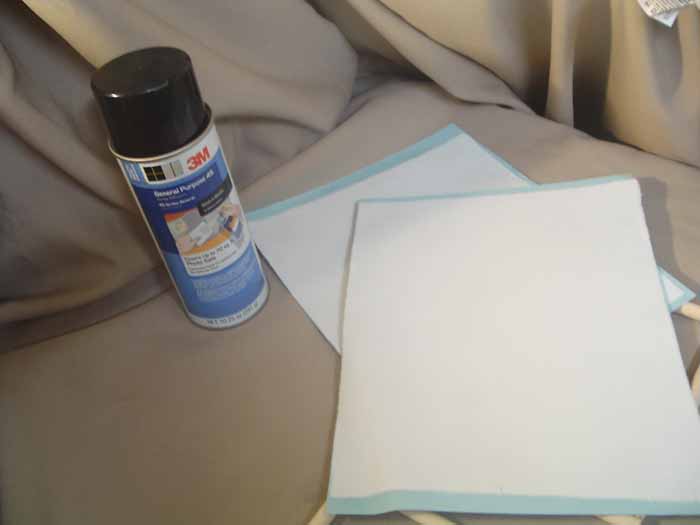
Step 2: Print Your Image
Print your image just like you are printing on paper. Ensure that the fabric will be the side that is printed on. You may want to print a test piece if you don’t know which side of your paper is the correct side for your printer.
NOTE: If you have a printer with a rear feed, use it for feeding in the paper. This is often better for printing on thicker substrates.
Print Settings
When printing art like this, I always like to adjust my print settings. Ensure that the quality is set to best and I find a matte paper setting works best for fabric. If your printer has a high speed or bidirectional option, then be sure to turn that off.
If you are getting lines in your print, the print settings need to be changed to fix that.
Step 3: Use Your Printed Fabric
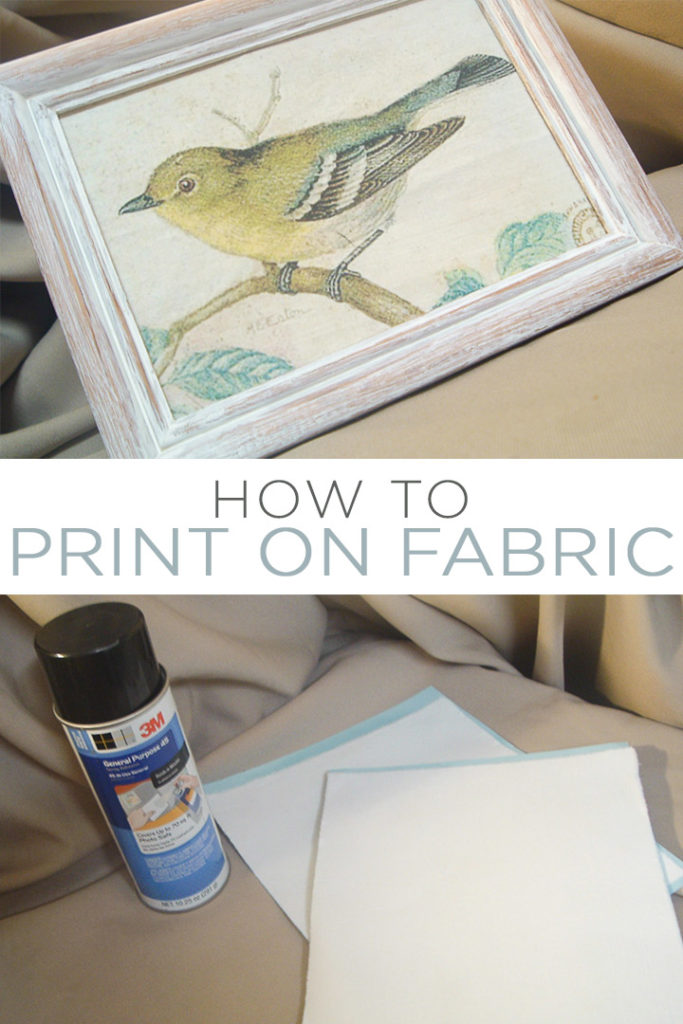
Yes, that is it! The only secret to printing on fabric is to add the fabric to cardstock so it will print just like on regular paper. Allow your print to dry for just a few minutes. Then pull the fabric off of the card stock after your ink has dried. Then you can add it to a dollar store picture frame.
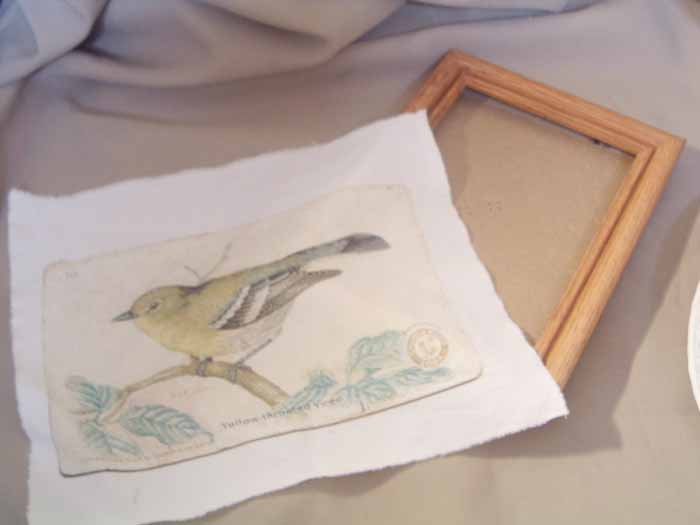
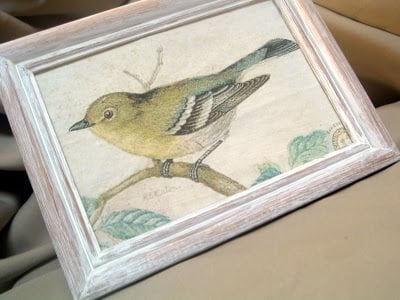
That picture frame was a little blah to me so I added a little whitewash and then sanded to get a rustic appearance. It looks so much better with my bird picture! So, now that you know how to print on fabric, what will you add to a frame?
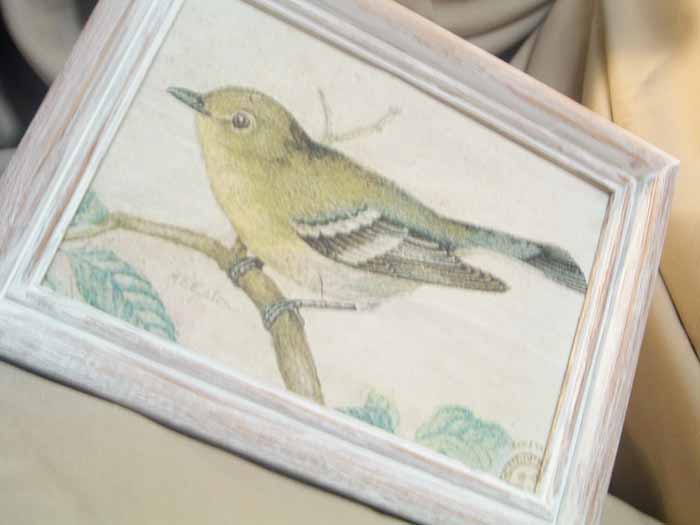
I left the glass off of my picture because it almost looks like a painted canvas. Gorgeous art for $1….that is my kind of project!
Now that you know printing on fabric is so easy, what will you make? Grab your spray adhesive and get started on your own project. They make an expensive printable fabric that you can buy but with this trick, you can print on fabric with less cost. Plus you will love the results and how budget-friendly this project is to make!
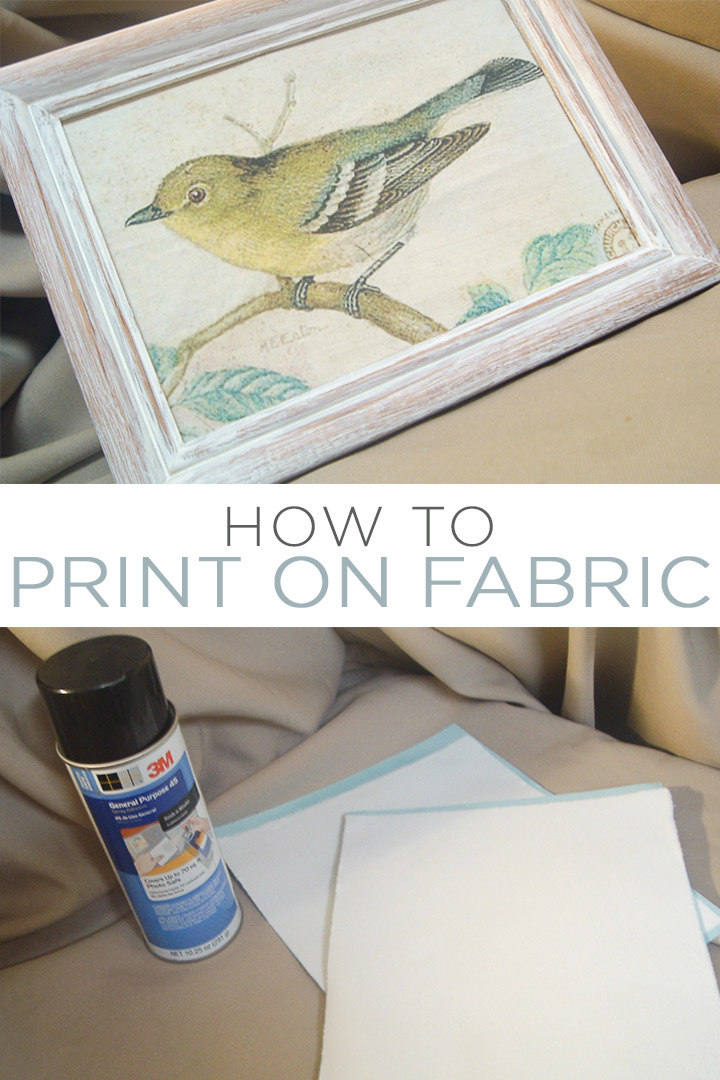
I love inexpensive home décor options. With so many trends these days, it’s hard to keep up! There are so many creative ways to bring inexpensive, stylish décor to your home…and this craft is one of them.
Whether you are strictly farmhouse or modern, you can use this tutorial to print your favorite pieces of artwork on fabric and frame them!
Love to print on fabric and want more ideas? Try these links as well!
- Printing on Tea Towels
- Printing on Dictionary Pages
- Printable Labels with Cricut for Organization
- Print Burlap Leaves
- How to Make Gold Foil Prints
Supplies
- Graphic of your choice I used a graphic from the Graphics Fairy to print a bird image to white fabric.
- Heavy to medium weight cardstock
- Fabric
- Spray adhesive
Instructions
- Spray adhesive onto heavy to medium weight card stock. Then, add your fabric to the cardstock and smooth.
- Now, place the cardstock into your printer and print your image just like you are printing on paper.
- Allow your print to dry just a few minutes. Then pull the fabric off of the card stock after your ink has dried. Then you can add to a frame.



So pretty!
Wow – what a great idea! I’m just loving the inventive and creative ideas people come up with. It looks great!
It looks fab, dahling. 😉 Neat “trick.” Thanks for stopping by to enter my Giveaway today. Hope you’ll come visit again soon. 🙂
That is so pretty and your visitors would think you paid a fair bit for it. It looks handpainted.
Okay, so I ADORE that bird and want to make a pillow using it. I tried printing on fabric by taping it to cardstock this weekend, but it didn’t work. So I’m going to try it this way, too! Thanks!
It turned out great. Love the GF too. She is the best. Have a lovely weekend.
~ ~Ahrisha~ ~
I looks great! You’d never know it only cost $1.00. Thanks for stopping by and visiting!
so sweet. love this little bird.
This is such a great look Angie!! I would never have thought to frame the fabric, but I love it!!! I definitely have to try this one. Thanks so much for linking this one up for “Brag Monday”!
BEAUTIFUL!!! I too would never think to frame the fabric.
This bird is one of my favourite images, it works beautifully as picture. Petra.
So cute! Nice white wash, too!
Love it! Graphics Fairy can’t be beat for images and such a cute use of it! Time to get my print on!
hi. I want to try this (the bird printed on fabric, but go a bit further by embellishing with bead embroidery…cute, huh?), but when I click on the link you posted for the instructions it is showing a page to sell that domain name. Do you happen to remember or know of another site that has that info? Please help! lol…thank you much!
Katina Howe
remembrance.quilting@yahoo.com
682-422-3359
I just went ahead and added some instructions to the post. It is super simple to do!
I have an inkjet printer. Is there any way to prevent the ink from running if it gets wet? I thought about incorporating this idea into decorative pillows.
I don’t know of a way to make this technique washable. Sorry!
This is super cute what type of fabric did you use?
Not positive. Just white cotton should be fine. Muslin perhaps. Anything should work!
i love this technique! You can also then use the fabric for a change purse or pillow. Set the ink with a white vinegar bath, and air dry. I’ve washed a few items I made and they hold up well! The only downside is that depending on your print resolution, you will burn through printer cartridges quick if you do a bunch.
What you did with the frame really makes the whole project! Just lovely.
Is the spray adhesive a temporary bond like a quilt basting spray or something else?
No it is a permanent adhesive spray.
When printing on fabric do not get near any liquid (water, etc) It will run. Ink jet is not permanent. There is a solution you can wash fabric in and it will be Permanent..
Thanks for the tutorial! Very pretty. Instead of using carstock and adhesive, you can iron the glossy side of freezer paper to fabric. It makes for a thinner over sheet that may feed through some printers more easily. If a laminated sheet is too thick, it can jam in the printer.
Yes! I have done this before as well!