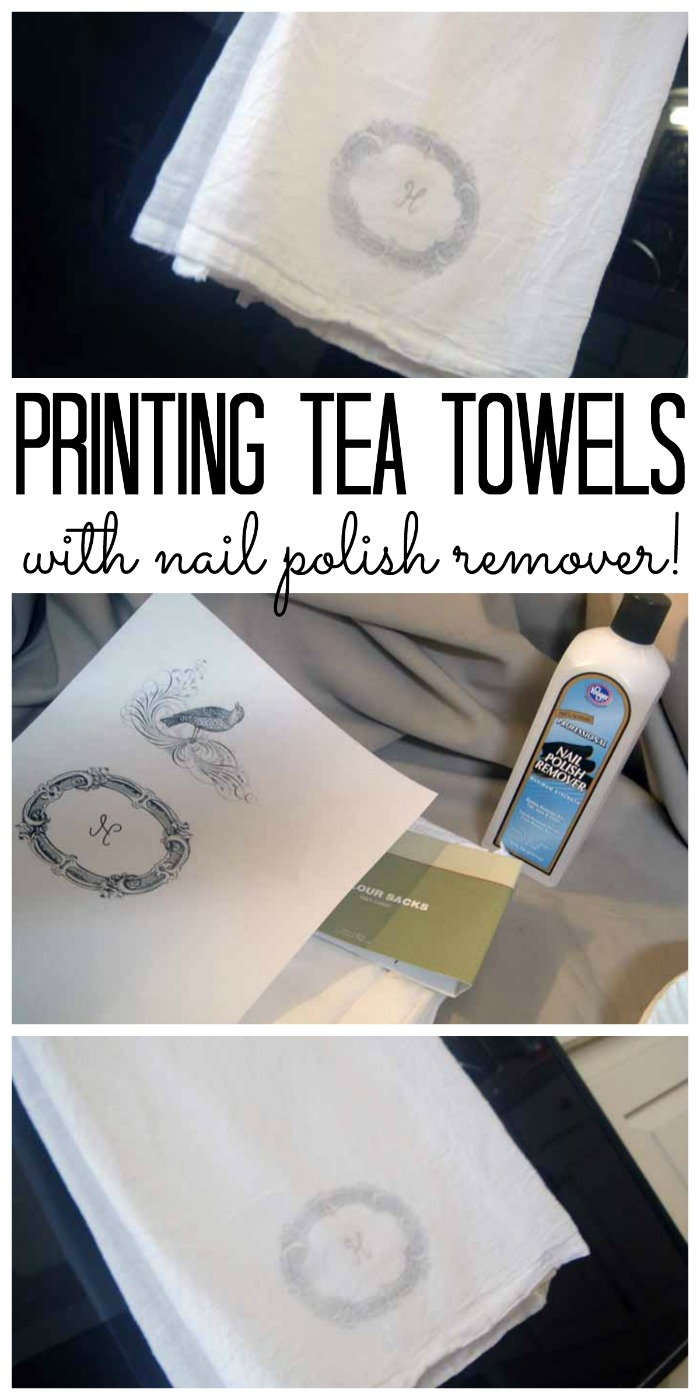
Acetone image transfer is easy and can be used on a wide variety of surfaces. Did you know that you can use nail polish remover for printing tea towels? It is a simple process that you will be using on all sorts of surfaces after you get the hang of it. I saw where this was done on wood and I also tried it on glass but I decided to try some tea towels as well. After all, I love trying new things when it comes to crafting.
Acetone Image Transfer
The most important thing you need for this process is a toner based print. This means you will need to print your image on a copy machine or some other printer that uses toner. An easy way to do this is to print your image at an office supply store. I have more notes below for tips on printing that you don’t want to skip. Then gather the rest of your supplies to start.
Supplies needed for printing tea towels:
- Professional strength nail polish remover (I would recommend getting 100% acetone for this project.)
- Print that is mirrored and toner based (see notes above on how to get these easily)
- Tea towels (here is my favorite brand!)
- Cotton balls
- Copy paper
- Spatula or old credit card
Notes on Image and Printing
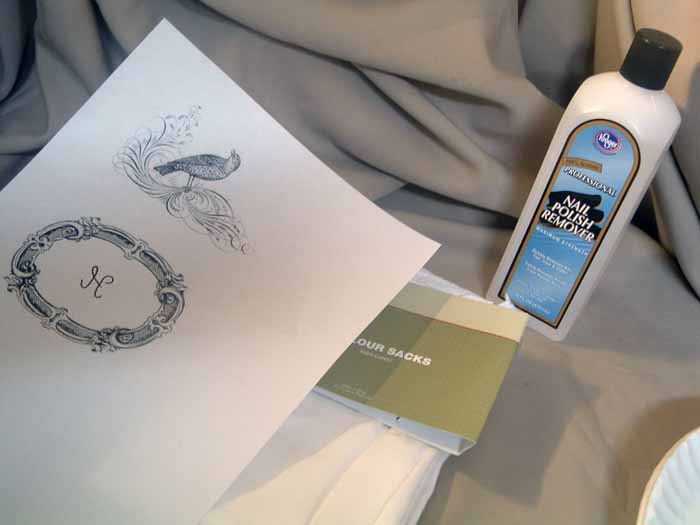
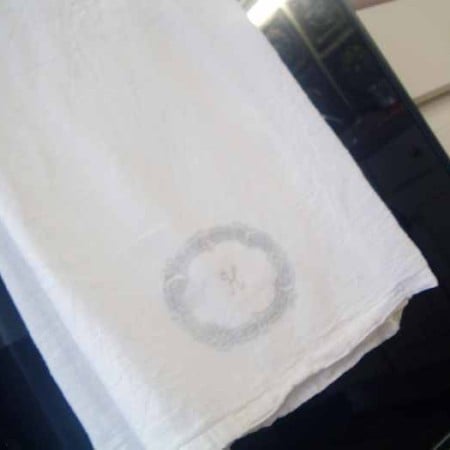
I used a graphic from the Graphics Fairy. Added the “H” and mirrored the image. I used a copier and darkened the copy twice — I would highly recommend not skipping this step. Toner is basically powdered ink, so it transfers more easily. You will want to find somewhere that you can make a toner based copy. You may also want to make several copies and practice a few times before diving into your tea towel.
How to Transfer an Image with Nail Polish Remover
Now that you have everything you need, it is time to do the acetone image transfer. Just follow the instructions below to transfer your image onto your surface.
- Put your image face down where you want it. You can tape in place if desired.
- Rub the nail polish remover on to the paper with a cotton ball.
- Starting at the center of the image, swipe the cotton ball that is saturated with finger nail polish remover across the paper from the center outward.
- Go over the paper several times to make sure it is saturated.
- The acetone will reactivate the ink on the paper and it will transfer to your surface. In this case it transfers like magic to your tea towel — I am tellin’ ya.
- Rub the image with a spatula or credit card to burnish it some and make sure everything transfers.
- Peel up your paper and make sure the image has transferred before completely removing.
- Remove any paper stuck to your surface while still wet.
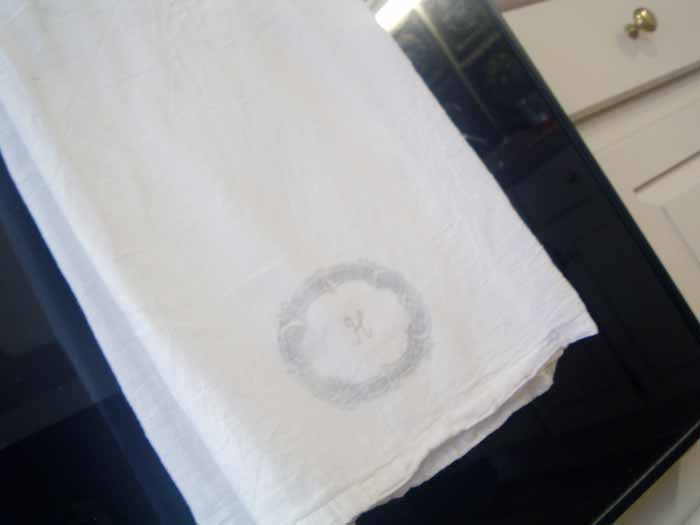
I love it! I am just waiting to transfer more images using this method! Grab your supplies and start printing tea towels today!
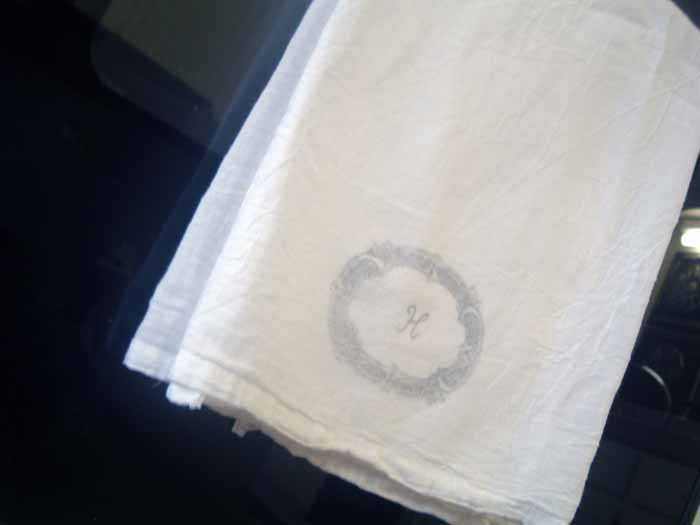
So, be sure to stock up on nail polish remover and copies of your favorite image from a toner based machine. You are sure to be hooked on this easy and inexpensive craft idea. Acetone image transfer is a great way to make gifts and things for your own home as well.
Love this easy craft idea and want more? Try the links below as well!

You can also print the instructions for image transfer using acetone below!
Supplies
- Professional strength nail polish remover I would recommend getting 100% acetone for this project.
- Print that is mirrored and toner based (see notes above on how to get these easily)
- Tea towels
- Cotton balls
- Copy paper
- Spatula or old credit card
Instructions
- Put your image face down where you want it. You can tape in place if desired.
- Rub the nail polish remover on to the paper with a cotton ball. Starting at the center of the image, swipe the cotton ball that is saturated with finger nail polish remover across the paper from the center outward. Go over the paper several times to make sure it is saturated. The acetone will reactivate the ink on the paper and it will transfer to your surface. In this case it transfers like magic to your tea towel — I am tellin' ya.
- Rub the image with a spatula or credit card to burnish it some and make sure everything transfers.
- Peel up your paper and make sure the image has transferred before completely removing. Remove any paper stuck to your surface while still wet.


Amazing! I am totally going to try this because I haven’t had good luck with transfer paper lately.
I did read about that! I definitely want to try this, too. Love your towel with the monogram!
ARGH! I tried this today, and it didn’t work. But I didn’t have 100% acetone, and I just used my regular printer. Do I need to darken it up on copier at work, too?
Oh, but yours looks beautiful!
can it be washed easily?
You need a toner based copy. So have your image copied at a copier store. I found the darkened copies to do much better.
And yep it washes fine — I tried it! I ironed over the image first using wax paper and a towel on top. The wax paper is supposed to help set any image. HTH! 🙂
I have to, have to, have to try this! Yours looks fabulous. Thanks for the inspiration!
Wow how cool!!!! Thanks!
smiles, alice
WHAT – that’s amazing!!! You can transfer from a copy to fabric? ingenious. I can’t wait to try that, have lots of antique but moth-eaten linen.
Thanks for sharing – bookmarked!!!
This comment has been removed by the author.
Beautiful!! I saw her blog and want to try this to….just not enough time in the day.
Robin
These are adorable! Thanks for sharing.
Wow! That is amazing!
Those are wonderful, I’m going to try it on cloth napkins for my son to take to school.
Hi Angie,
Your towel turned out great!! Thanks so much for linking this one up to “Brag Monday”!
Nice creative post. Thank you!
Rory
http://thegreentiquessolution.blogspot.com/
Thank you for visiting my blog and not snickering at my crooked toile heart!!! Your towel looks great, I love it! You’re so crafty:)
Hi Angie,
Just found you & love what you did w/ that tea towel! What a great idea….. Be sure & come by for my awesome giveaway!
Shellagh
That is super cute! I would love for you to join me over at a vision to remember for check me out saturdays
http://www.iamonly1woman.blogspot.com
This is such a clever idea! I will try this as well, thank you for sharing, Petra.xx