Jen Goode is back again this month to show us how to label school supplies with your Cricut.
Did you know that you can quickly create school supplies with your Cricut machine? Let’s get children excited for back to school by letting them help pick vinyl colors and fun different fonts!
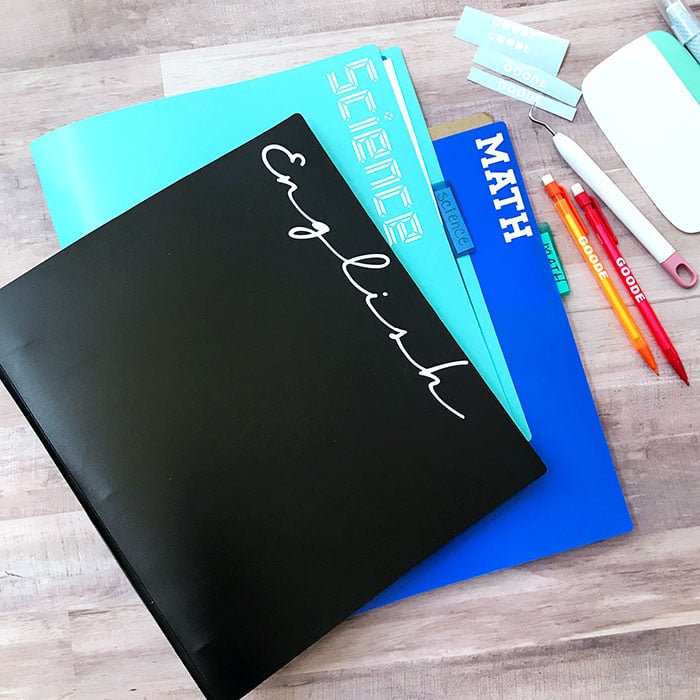
Quickly Create Labels for School Supplies with Your Cricut
I don’t know about you but nothing makes me happier than letting someone or something else do all the hard work. No more handwriting labels, your Cricut is about to become your best back-to-school friend!
This was originally posted on August 15, 2018, but I have updated the post with new information for you.
How To Label School Supplies
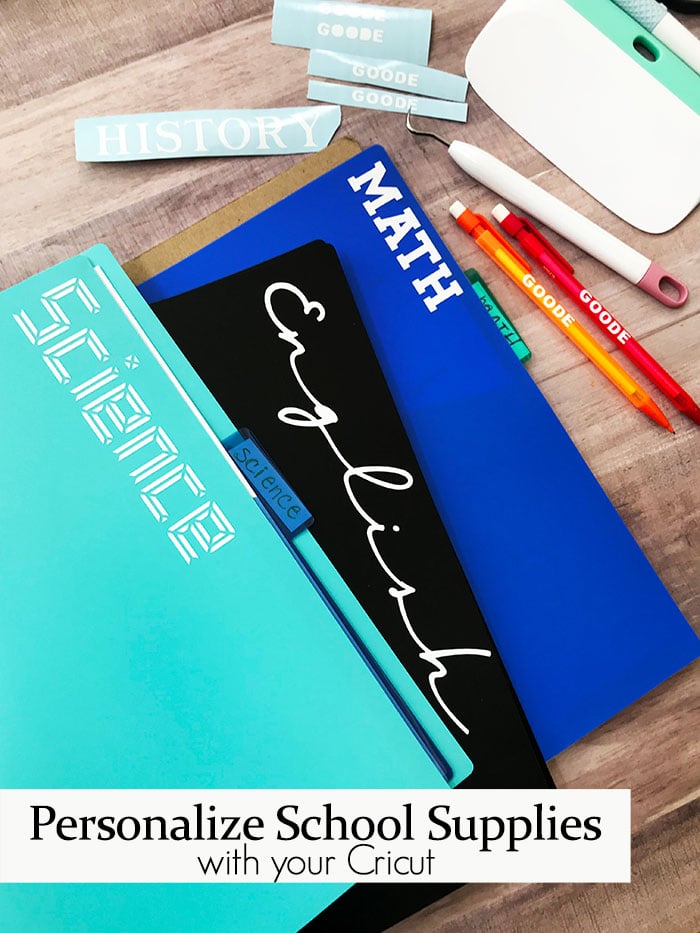
From binders and folders to pencils and pens and all the supplies in between. You can create word art text cuts with your Cricut to label a wide variety of school supplies. With so many different colors of vinyl, you can create the perfect label for every surface.
While you can create these school labels with any Cricut machine they’re a great project for Cricut Joy. Since they’re all rather small. If you own a Joy I definitely recommend breaking it out for this project.
Supplies Need To Make School Labels
- Cricut machine (you can cut Vinyl with every Cricut machine from the Joy to the new Maker 3 and Explore 3 machines)
- Vinyl (not iron-on)
- Standard Grip Transfer Tape
- Weeding tool
- Items to label – I’m using binders and pencils for this example
- Scraping tool
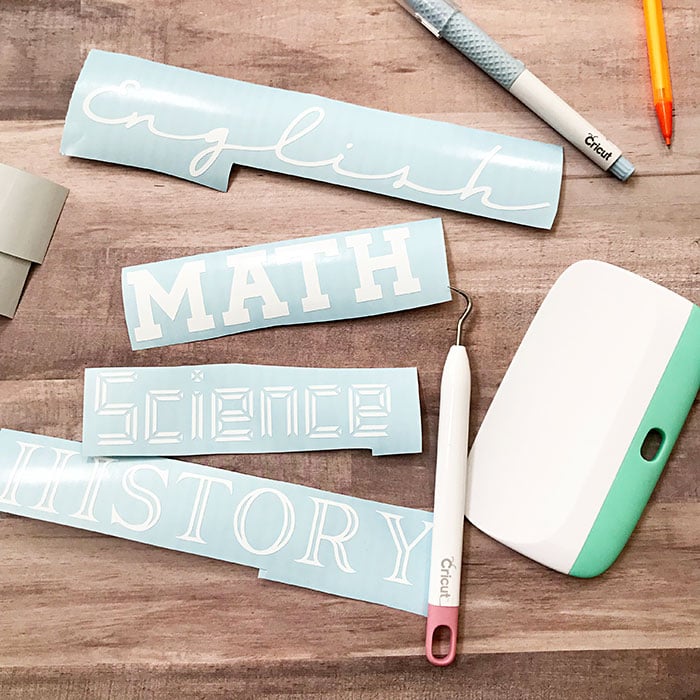
Step 1: Choose Words For Labels
Figure out all the words you want to cut out of vinyl and type them into Design Space. I recommend creating a new text box for each new word.
Step 2: Select Font For Words
Once you have all your words typed out you can select each word, look at the different fonts, and pick your favorite one for each word. You can use fonts from Design Space or any font installed on your computer.
Note: If you are looking for free fonts to use with this project, check out our Ultimate Guide to Free Fonts for Cricut blog post!
Step 3: Weld Words (Optional)
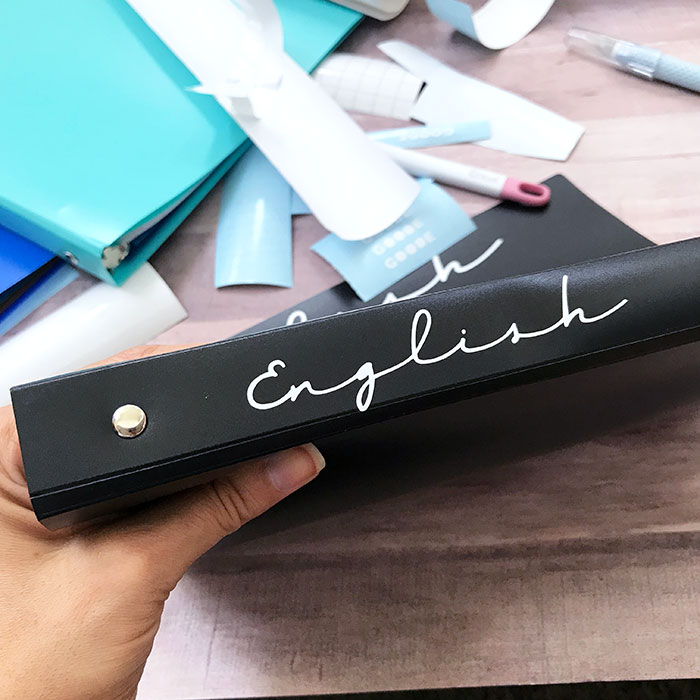
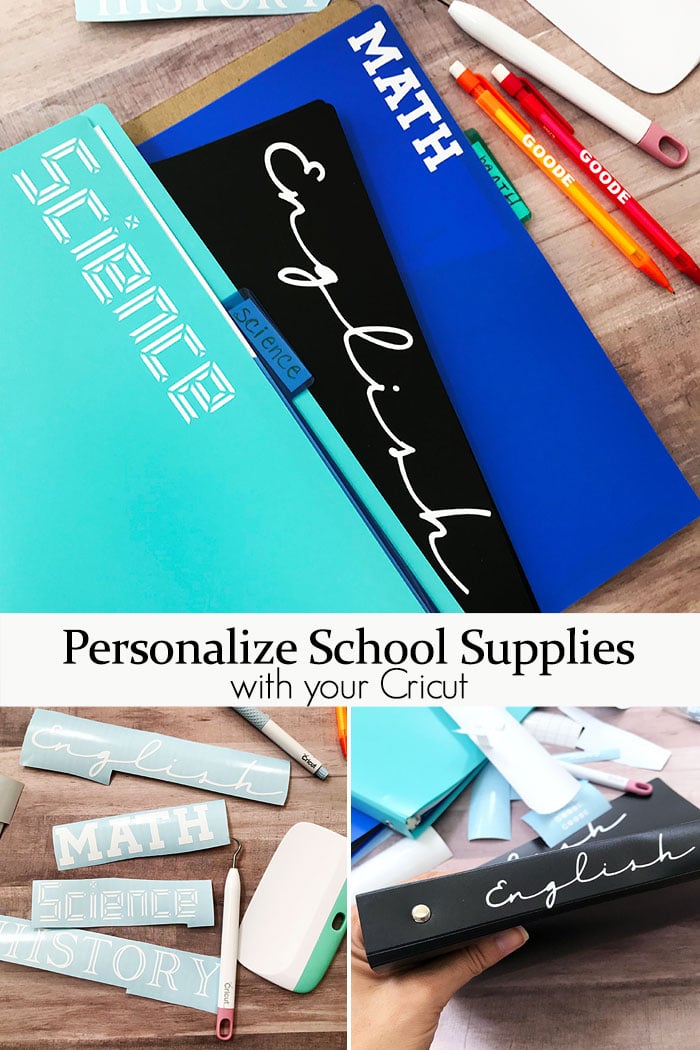
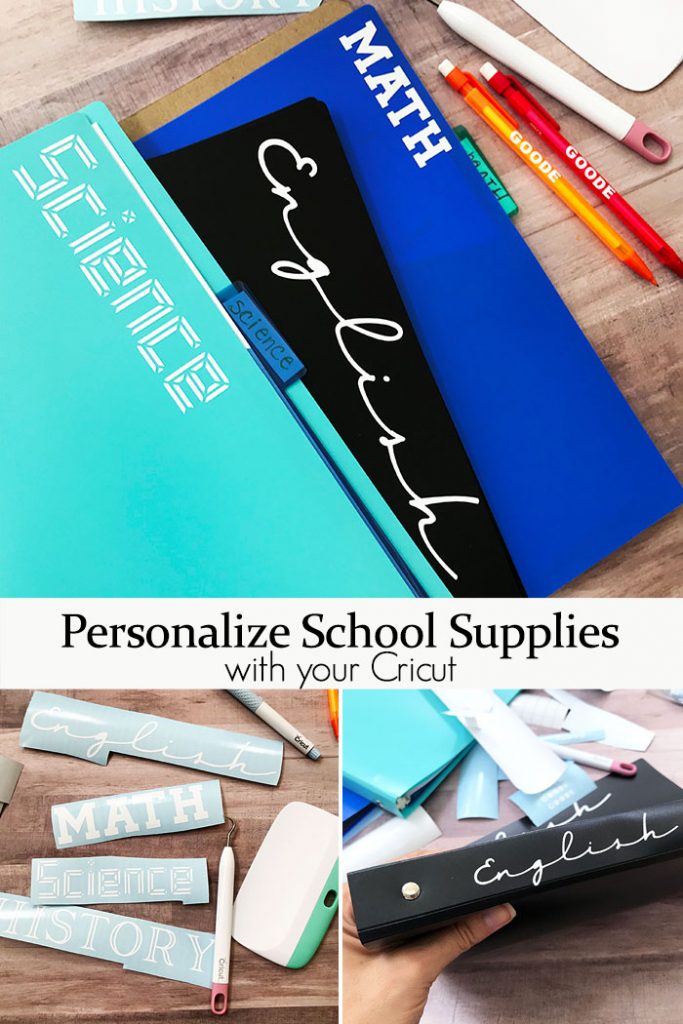
If you’re using any script fonts make sure you weld the font so it cuts out as one solid word like “English” in the photo above.
Step 4: Change Words To Correct Colors
If you’re using multiple colors make sure to change your different words to the correct color so your machine knows to cut them on different mats.
Step 5: Cut Words From Vinyl
Follow the normal Cricut prompts and cut your words from your vinyl.
If you are using Cricut Premium Vinyl – Permanent and are having a hard time getting it to cut cleanly, test a cut using the Chalkboard Vinyl setting. It usually works really well for nice clean cuts. Test cut first!
Step 6: Weed Words
Once your words are cut, use your weeding tool to weed out all the excess.
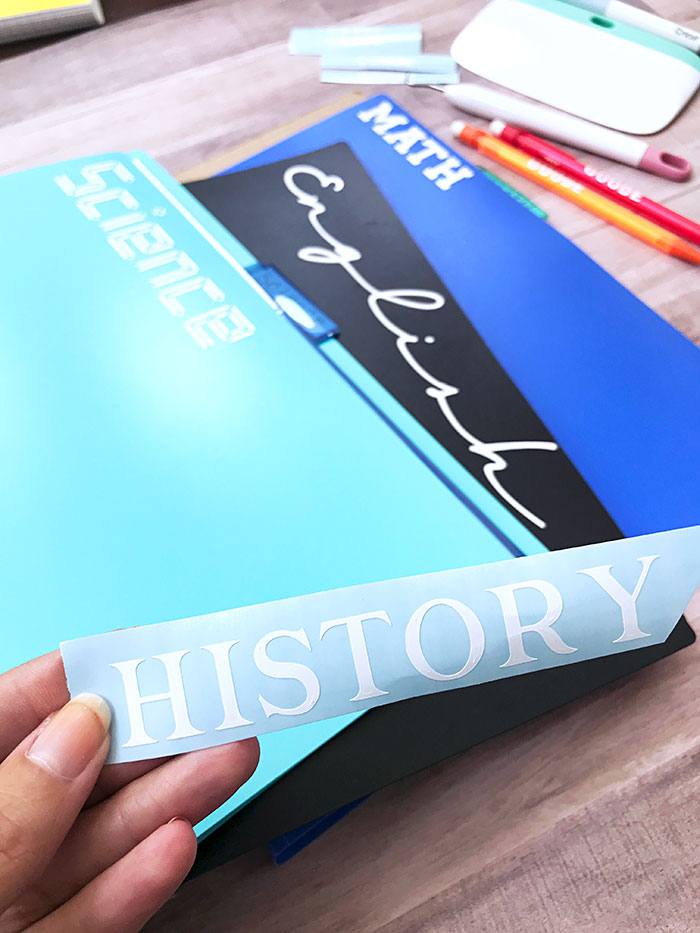
Step 7: Add Transfer Tape
Apply Standard Grip Transfer Tape to your words, and using your scraping tool, burnish the front and back and pick up the word from the backing.
Step 8: Wipe Vinyl Surfaces
Wipe the surface of your school supply clean.
Step 9: Add Words To Vinyl Surface
Apply vinyl to the school supply surfaces. Use your scraping tool to burnish the vinyl into place and slowly remove the Transfer Tape.
Allow the vinyl to sit for 72 hours before handling so the adhesive can adhere to the surface.
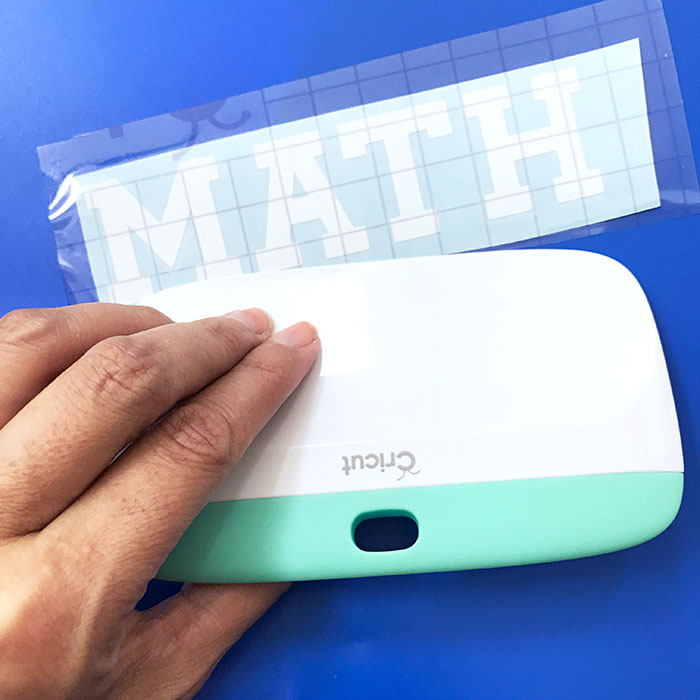
Once your vinyl has adhered to your school supplies you are ready to use them!
Tips For How To Label School Supplies
Here are a few tips I’ve picked up along the way that could help you more easily label all those school supplies.
- Choose fonts that are bold or simple lines. Remember that your adhesive is on the back of whatever you cut so really thin lines won’t have a lot of adhesive to adhere to your surface. If you choose a font with thinner lines cut it large, like the front of a binder.
- Unless you’re using Glitter vinyl or Shimmer vinyl make sure you’re using a Standard Grip Transfer Tape. Strong Grip Transfer Tape won’t release regular vinyl and can really stick to the surface. If you are using a Glitter vinyl and Strong Grip Transfer Tape try to burnish only over the letters to keep from sticking the transfer tape to the surface.
- Make sure you check your surface before cutting the vinyl. You don’t want to accidentally cut a black “English” if your English binder is also black! This is a great time to get the kids involved, let them pick the color combinations they like most.
- Before weeding cut the words into separate pieces. They’re much easier to weed one word at a time than a full sheet at once.
- Remember you’re using Vinyl – you do not need to mirror your image. Learn from the mistakes of others – haha!
What Can I Label With Vinyl?
If you are looking for a few ideas of what to label with your vinyl, below are some of my favorites!
- Binders – the front of the binder and the spine of the binder make great spaces to personalize with vinyl.
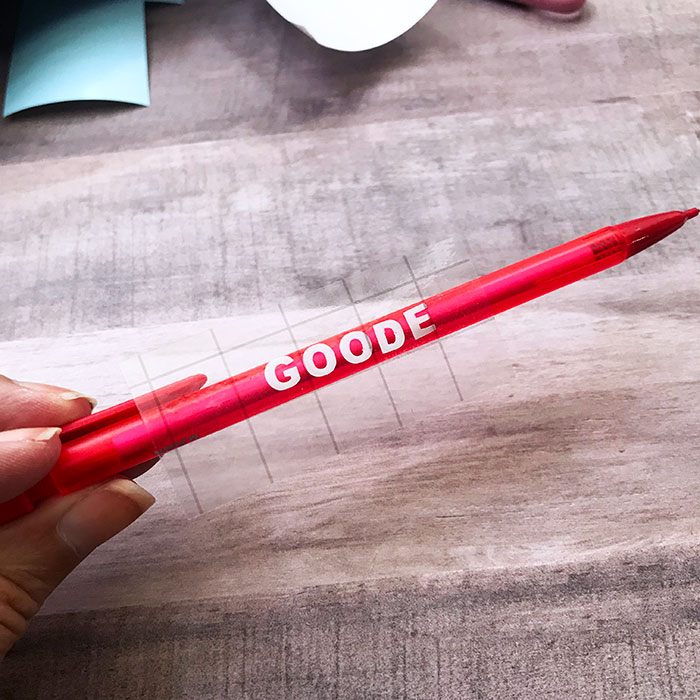
- Pencils – both traditional and mechanical pencils would look great with a vinyl name or word art added to the side.
- Assignment notebooks – add the class schedule or maybe a fun quote to your main assignment notebook.
- Pencil bags – add a fun art word to the front of a pencil bag to make it your own.
- Lunch boxes and bags – iron-on vinyl works great for fabric, but what about all those plastic and metal lunch containers? Use a permanent vinyl to personalize these items.
What Type Of Vinyl Should I Use For School Supplies?
Permanent Vinyl is perfect for most labels for school supplies. Pencils, pencil boxes, lunch boxes, etc. will all belong to your child for the whole school year so using Permanent Vinyl is the best option for those types of projects.
There are times when Removable Vinyl could come in handy. For example, if you’re labeling school supplies for children whose classes will change throughout the year Removable Vinyl is a great option. It’s also a fun option if your child is allowed to decorate the inside of their locker. Cricut Removable Vinyl is guaranteed to not leave residue behind if it’s removed within 2 years!
I can’t wait to see you create labels for school supplies with your Cricut! Make sure you tag us in your posts on social media so we can see all your personalized school supplies.
Bonus Free Printable
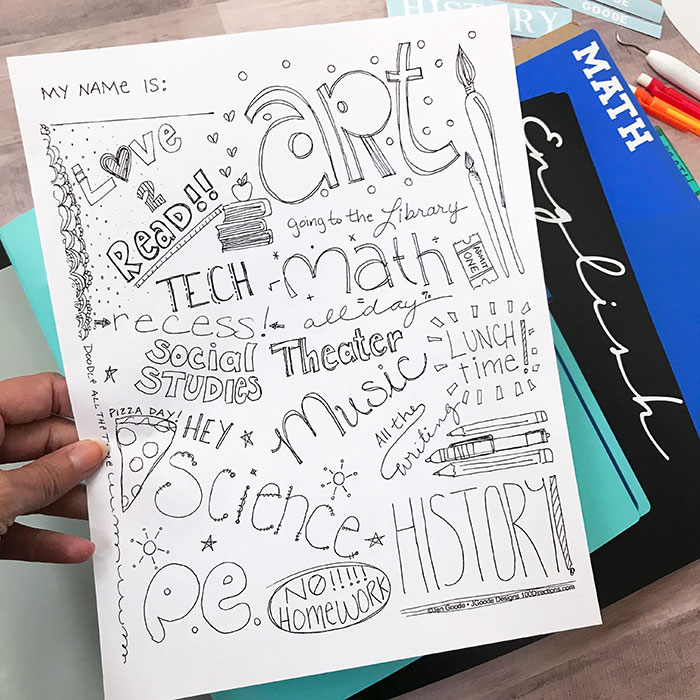
If you’d like to add some fun art to the front of a pocket binder, I have a free printable back-to-school coloring page! You can also use this printable to make your own subject dividers or add it as an accent to your assignment notebook. Just print it on cardstock and then color it however you’d like!
5 More School Crafts
Did you love learning how to label school supplies, and are looking for more school crafts? Then check out the projects below!
- FREE Lunchbox Notes for Back to School
- First Day of School Chalkboard SVG – Make Using
- First Day of School Gifts from Dollar General with Free Printable Tag
- Free School SVG: 16 Files for Your Crafts
- How To Make A DIY Cricut School Memory Box Organizer
New to Cricut?

Sign up for our email list to download the Beginner's Guide to Cricut Design Space for FREE today!
Sign up to get the guide emailed to you!



Very fun! Love the cursive font on the binder.
So much nicer than handwriting! Will have to share with my teen daughter and see if she wants to decorate her folder.
Could you tell me the names
Of the fonts you used please. They are all so cute.
Thanks Angie I Love this