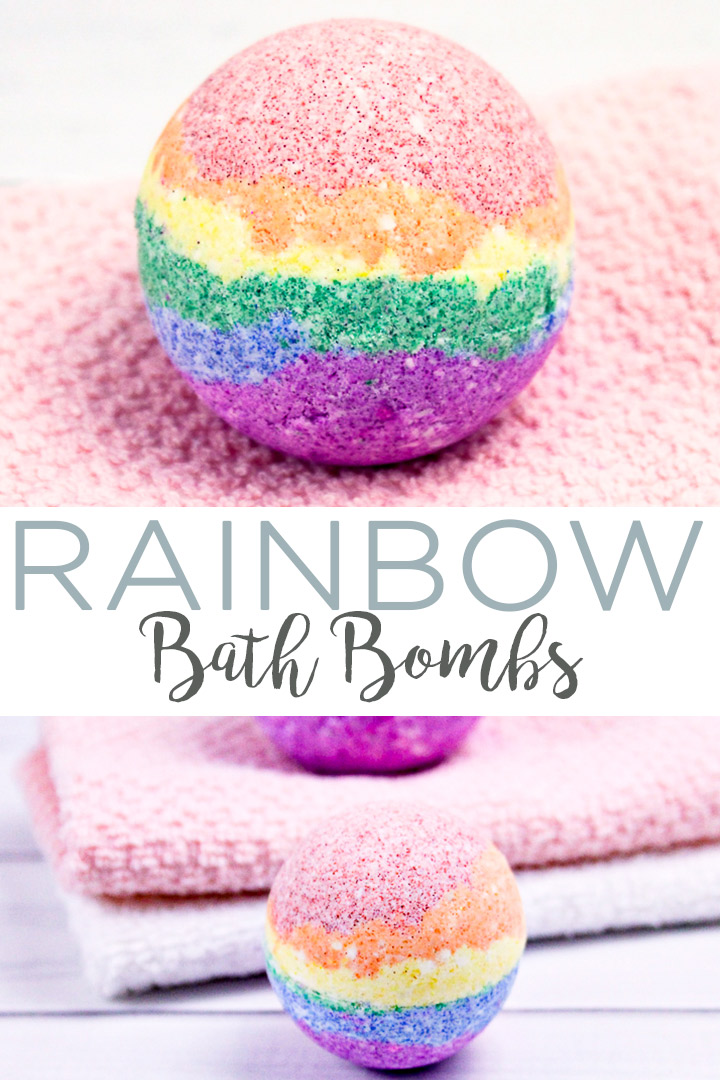
Rainbow bath bombs are a fun, fizzy, and colorful way for kids to enjoy bath time! You can make them yourself with these easy instructions.
Bath bombs are…da bomb! These fizzy balls have become very popular in the last few years, and there’s no question in my mind why. They make bath time fun!
You can buy bath bombs or almost any variety in stores everywhere and online too. However, at $3+ per bomb, that adds up quickly!
The good news is that bath bombs, in general, are super easy to make yourself – and way cheaper too! While you can make any variety of bath bombs, rainbow bath bombs are a fun, colorful project to do, and they make a beautiful gift idea to thrill kids of all ages. 😉
Simply wrap them up to give as party favors or give a bunch to a friend that needs a spa day.
Supplies Needed To Make Rainbow Bath Bombs
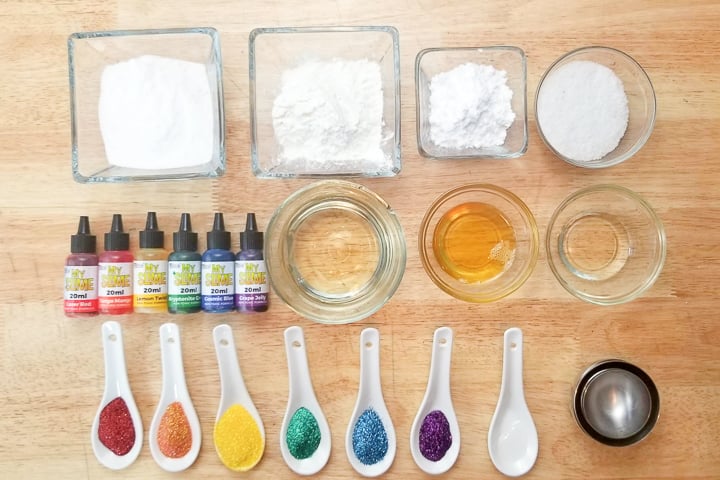
Here is a full list of supplies you’ll need to make these colorful bath bombs at home:
Note: Check the recipe card down below for exact measurements and instructions!
- Citric acid
- Cornstarch
- Baking soda
- Dead sea salts
- Coconut oil
- Rain scented oil
- Polysorbate 80
- Shea butter
- Red, Orange, Yellow, Green, Blue, and Purple colorant
- Red, Orange, Yellow, Green, Blue, and Purple cosmetic glitter
- Stainless steel bath bomb molds
- Spray bottle filled with rubbing alcohol
- Large mixing bowl
- Small mixing bowls
How To Make Rainbow Bath Bombs
Just follow these step-by-step instructions, and they will be ready in practically no time!
Step 1
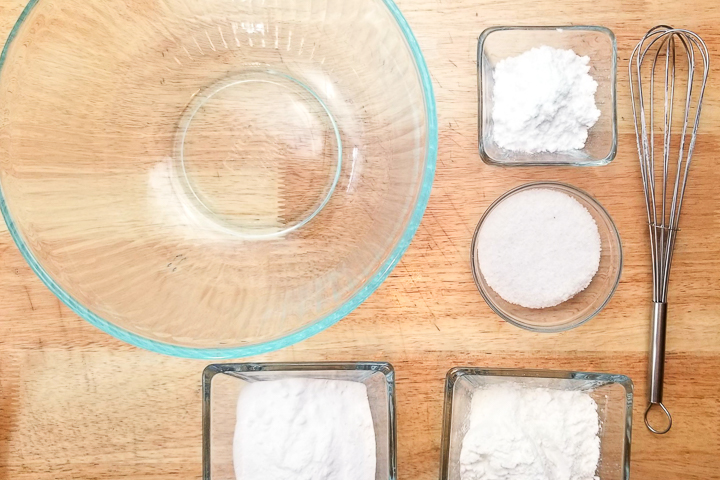
In a large mixing bowl, add the baking soda, citric acid, dead sea salts, and cornstarch. Whisk dry ingredients together.
Step 2
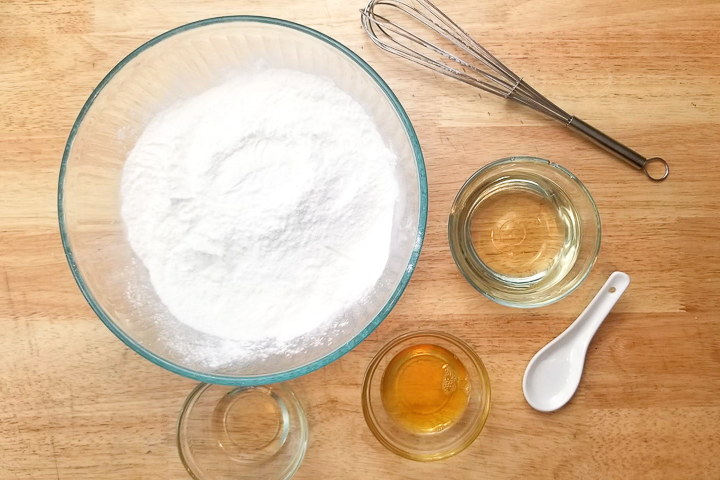
Add the coconut oil. This binds all the ingredients together, so your bath bombs don’t crumble when you touch them!
Step 3
Then, add the polysorbate 80. This helps the coconut oil disperse more evenly in your bath water, makes the bath bombs bubbly, and also prevents the mica from sticking to the side of the tub.
Step 4
Next, you’ll want to add the shea butter. This not only binds the bath bombs to make them harder, which means less chance to break and crumble, but it also is great for making your skin feel soft and moisturized!
Step 5
Add the scented oil of your choice and mix well. You may need to use your hands to break down any lumps and make sure everything is mixed in.
The mixture is ready when it reaches the point that it feels like wet sand and holds together when you press it into your hands.
Separate the mixture evenly into the 6-small bowls.
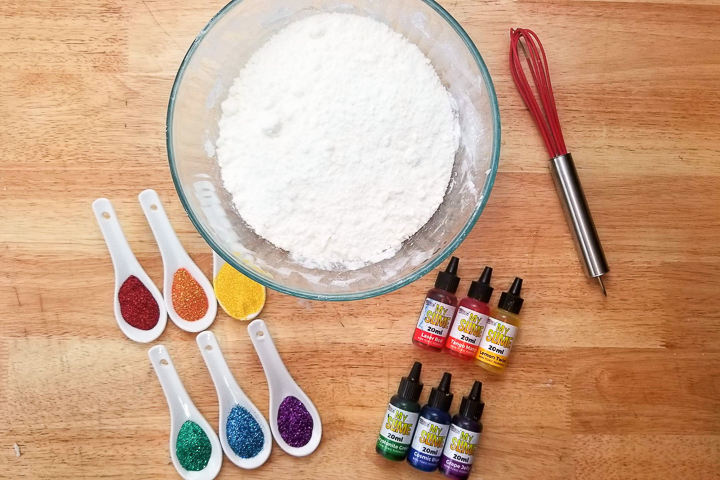
Step 6
Now, it’s time to get colorful! Add 1-2 drops of your preferred color to one bowl. Don’t add more than that at a time because it will make the mixture foam up! Mix it well.
Then, mix in the rest of the colors into the other 5 bowls.
Tip: If the mix is not dark enough, add 1-2 more drops of the color. Adding any more than that will cause it to be too wet.
You will also want to mix in the glitters to the same-color bowl of mixture.
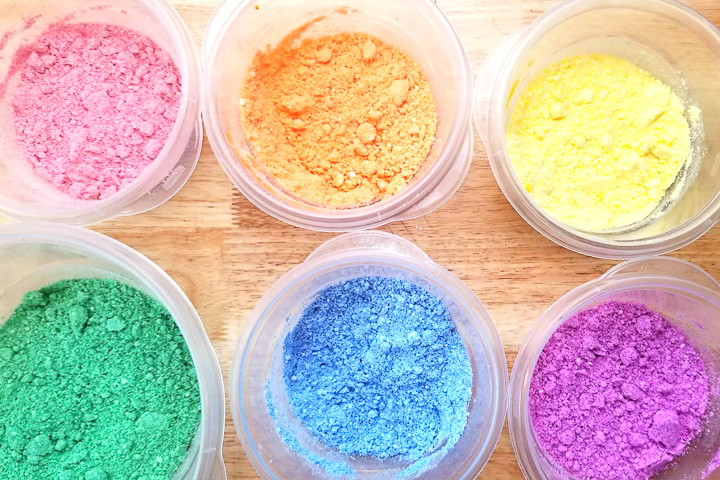
Step 7
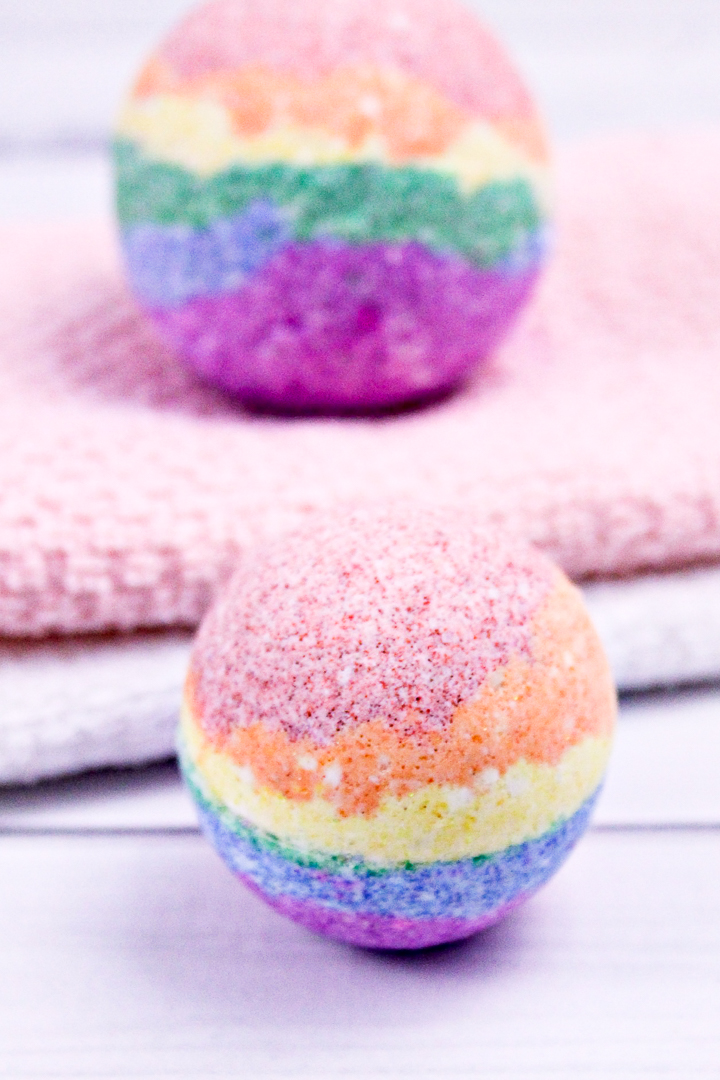
Layer the red, orange, and yellow in one of your bath bombs molds followed by the purple, blue, and green in the other half.
Keep adding until the mixture is slightly overflowing on both sides. Press molds together and grind to remove the excess mixture.
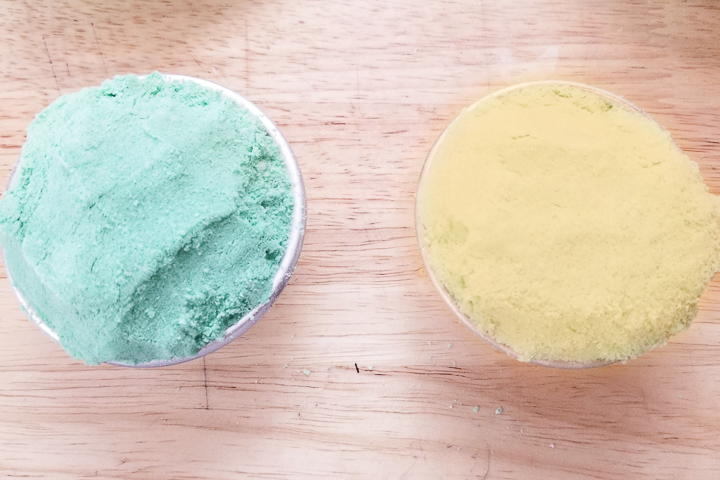
Step 8
Gently tap each side of the mold to release the bombs. Allow to dry a minimum of 24 hours.
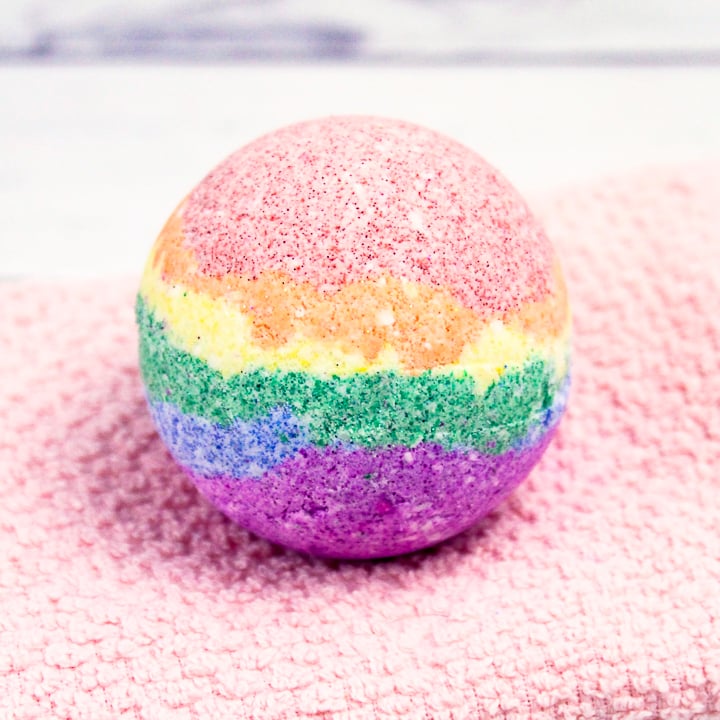
Different Bath Bomb Shape Ideas
Want to make these bath bombs in another shape? You can!
I’ve made bath bombs in the shape of a:
I recommend looking on Amazon or your local craft store and see what kind of bath bomb molds they have. You can also take a look at our post here about making your own molds for bath bombs!
Rainbow Bath Bombs: Final Thoughts
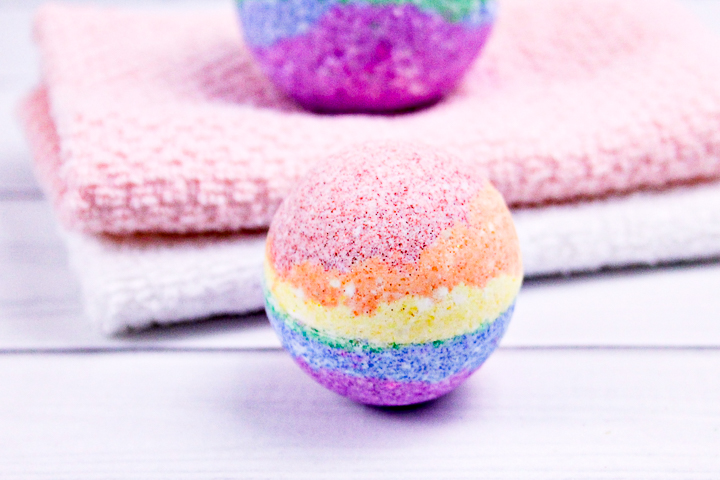
Once they’re complete, you can wrap them up individually to give as party favors or add a few to a jar for a gift idea. Bath bombs like these even sell well if you like to sell DIY crafts!
No matter how you use them, rainbow bath bombs are guaranteed to make everyone smile!
Tip: You might want to make a few extra because you will want to try these rainbow bath bombs for yourself. 😁
More Rainbow Fun!
If you enjoyed this rainbow project and want more ideas, check out these other colorful posts.
- Easy Rainbow DIY Bookmark with Tassel
- Rainbow SVG Files: 16 Free Files for You
- St. Patrick’s Day Cupcakes with a Pot of Gold
- How to Make Clay Earrings Three Ways
- Rock Painting Ideas: Over 35 Adorable Crafts
Use the recipe card below to print out the recipe for easy reference!
Equipment
- Stainless steel bath bomb molds
- Spray bottle filled with rubbing alcohol
- 1 large mixing bowl
- 6 small mixing bowls
Supplies
- 1 cup citric acid
- 1/4 cup cornstarch
- 2 cups baking soda
- 1/4 cup dead sea salts
- 1/3 cup coconut oil
- 6 teaspoons rain scented oil
- 1 teaspoon polysorbate 80
- 1 tablespoon Shea butter
- Red, Orange, Yellow, Green, Blue and Purple colorant
- 1 teaspoon Red, Orange, Yellow, Green, Blue and Purple cosmetic glitter
Instructions
- In a large mixing bowl, whisk together the baking soda, citric acid, dead sea salts, and cornstarch.
- Add the coconut oil to hold your dry ingredients together so they maintain their shape and don't crumble.
- Then add the polysorbate 8 to help disperse the coconut oil evenly in the bathwater and make your bath bombs bubbly.
- Next, add the Shea butter to help bind the ingredients together and moisturize skin too.
- Add the scented oil and mix well. If needed, use your hands to break up any clumps. Once your mixture feels like wet sand and can hold its shape, it's ready for the next step.
- Then add 1-2 drops of the yellow color to one bowl and mix well. Don’t add more than 1-2 drops at a time because your mixture will foam up. Repeat the same process with the rest of the colors in the other 5 bowls. If the mix is not dark enough add only 1-2 more drops of the color. Be sure to add in the glitters to their coloring matching bowl of mixture.
- Layer the red, orange, and yellow in one of your bath bombs molds. Then add the purple, blue, and green in the other half. Do this until the mixture is slightly overflowing on both sides. Press molds together and grind to remove the excess mixture.
- Gently tap each side of the mold to release the bombs without breaking them. Allow to dry a minimum of 24 hours.



Your rainbow bath bombs are very gorgeous, Angie! I liked that you added glitter, they must look beautiful when the dissolve in the tub. And thank you so much for including our coaster!
I love your crafts – this is my new one-stop-shop for ideas!!!! What do you wrap your bathbombs in? Thanks for your help.
To gift them I generally use clear plastic bags. You can usually get them either in the area where they sell things to decorate cakes or where they have like party stuff.