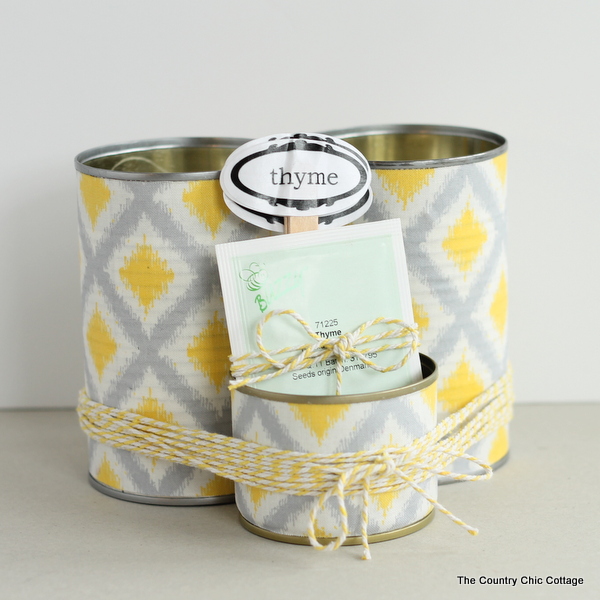
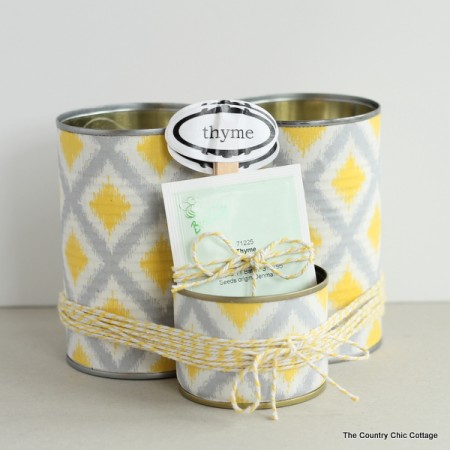
Grab some tin cans and make this recycled tin can herb planter. I also have free printable herb markers you can print on labels below. This post is sponsored by Online Labels however all projects and opinions are my own. This is part of a recycled quick crafts series as well. If you have missed any of the projects this week be sure to check out the posts from day 1 and day 2. Then scroll all the way to the bottom of this post for the projects from today.
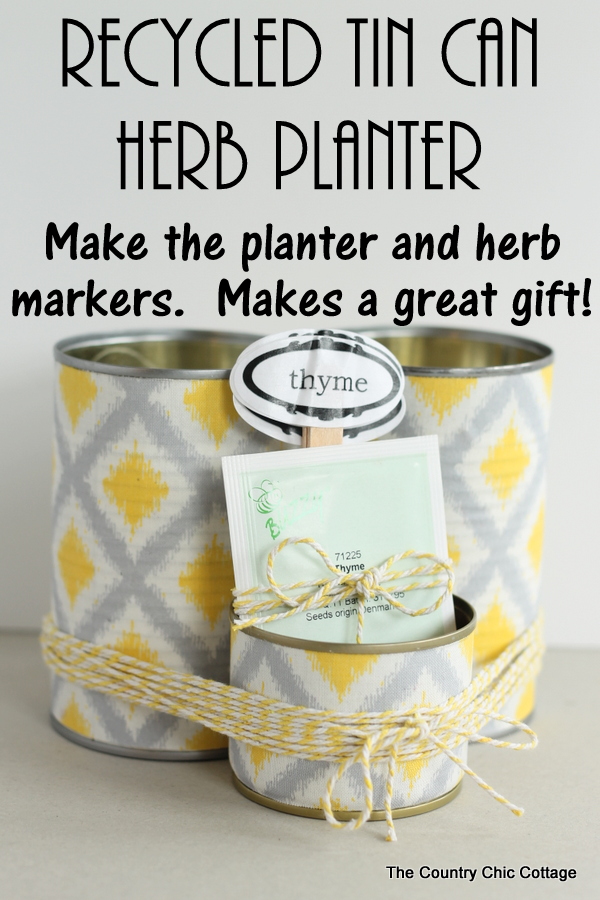
Oh, let me tell you about my absolute passion for gardening – it’s like a love story between me and the soil! There’s something magical about nurturing plants, watching them grow, and transforming a tiny seed into a flourishing beauty.
I can’t express enough how much joy these planters bring to my gardening escapades. I remember the first time I made one – the number of ways I thought of to customize these was overwhelming!
Plus, these homemade planters make the most fantastic gifts! I’ve shared them with friends and family on various occasions, and the reactions are priceless. I love that you can gift seeds with herb markers so the recipient can watch their own garden grow!
If you are looking for more ways to boost your garden, I have plenty of container garden ideas, along with sweet garden signs and mason jar garden markers. If you want to jazz up your gift, add these caterpillar rocks or gnome painted garden rocks to a gift basket for your recipient!
How to make a recycled tin can herb planter
Supplies needed to make your own recycled tin can herb planter:
- Tin cans in various sizes
- Self adhesive fabric sheet (I had this one in my stash and cannot find it online. You can buy the Gray Matters Diamond Ikat Grey/White Fabric
online and add adhesive to put it on your cans.)
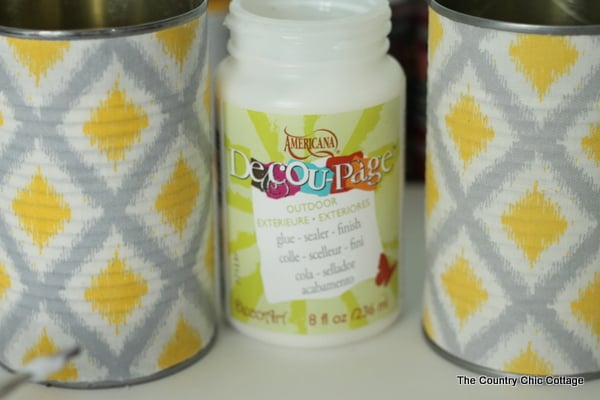
- Outdoor decoupage
- OL9815WX labels
- Free printable herb label file
- Popsicle sticks
- Americana spray sealer
- Baker’s twine
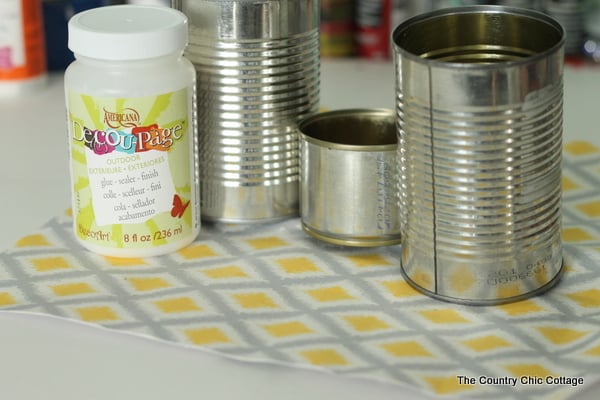
Start by adding some drainage holes to each tin can. Use any punch or sharp object to make your holes.
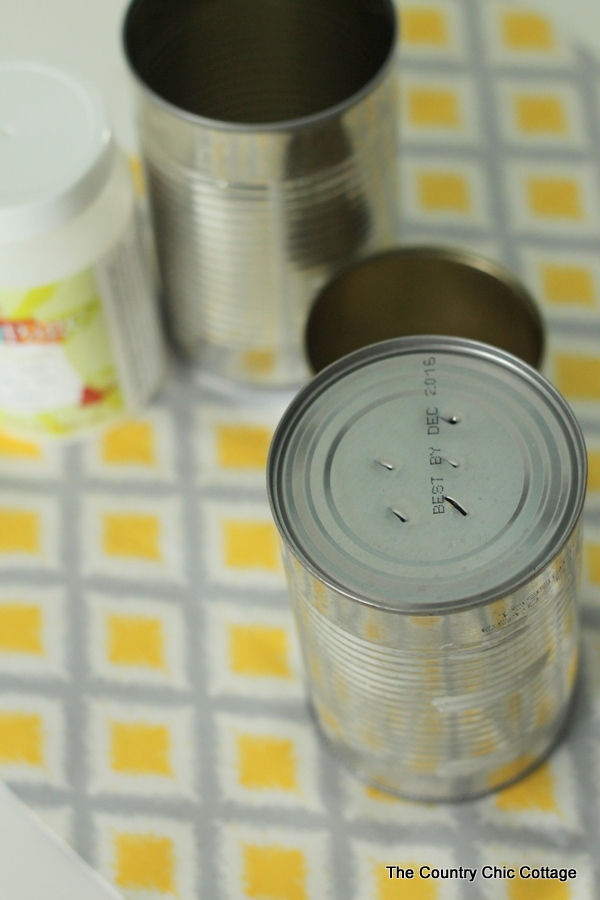
Cut the fabric to size and remove the adhesive backing. Apply the fabric to can and smooth out any bubbles. If you cannot find adhesive fabric, use regular fabric and an adhesive or decoupage to put on the cans.
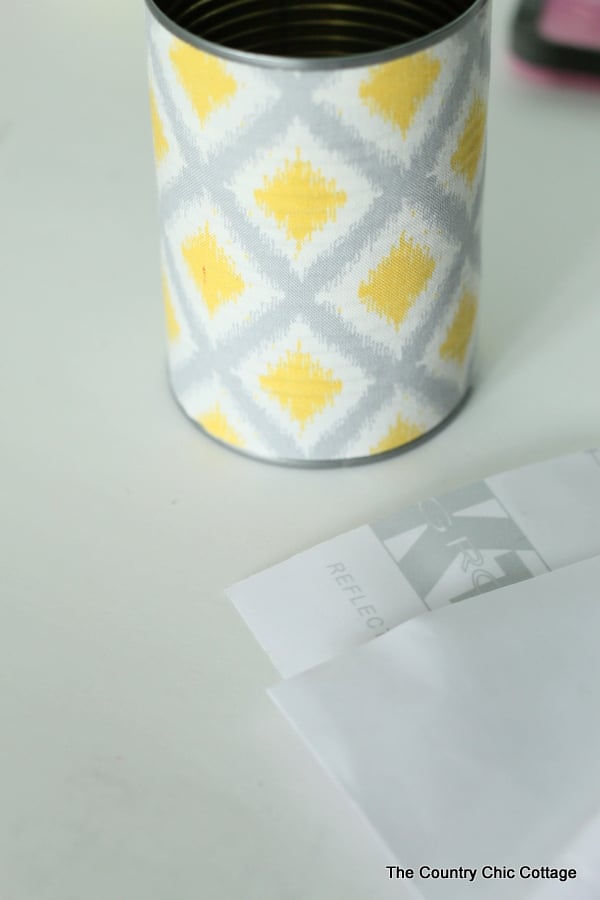
Apply two coats of outdoor decoupage medium to the fabric to make it water tight and ready to be used as a planter. Allow to dry completely in between coats.
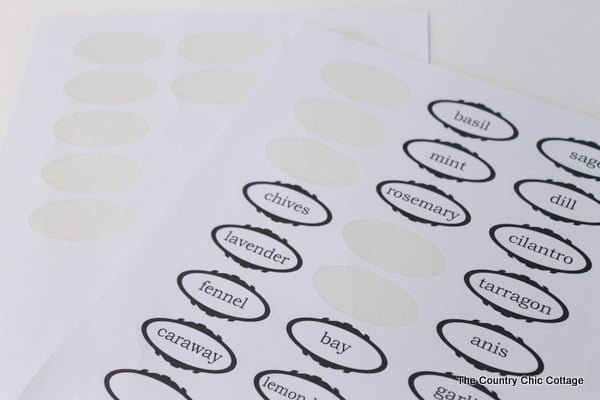
While the cans are drying, you can print your herb labels and turn them into herb markers.
Watch the super quick video below to see how I made mine. There are step by step instructions below the video as well for those that need them.
- Spray the sheets of labels with a couple of coats of Americana spray sealer. This will prevent the ink from running when you use the decoupage medium.
- Apply one label to the front of the popsicle stick and a blank one to the back.
- Apply the outdoor decoupage medium to the front, back, and sides of your herb marker to seal everything in.
- Wrap up the herb markers with seed packets of the same type of herb. Tie with baker’s twine.
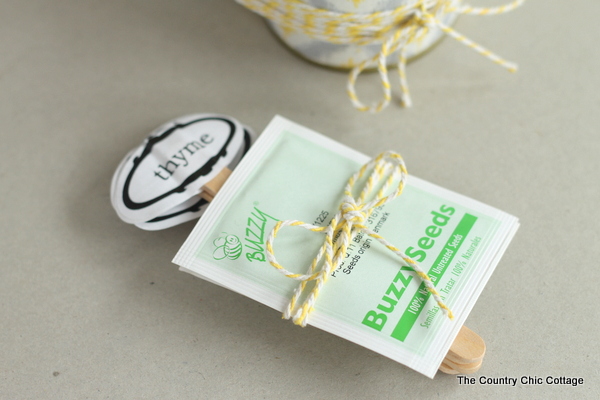
Tie up the cans you covered above with baker’s twine. Just wrap several times and pull really tight. Drop in your herb marker bundle from above.
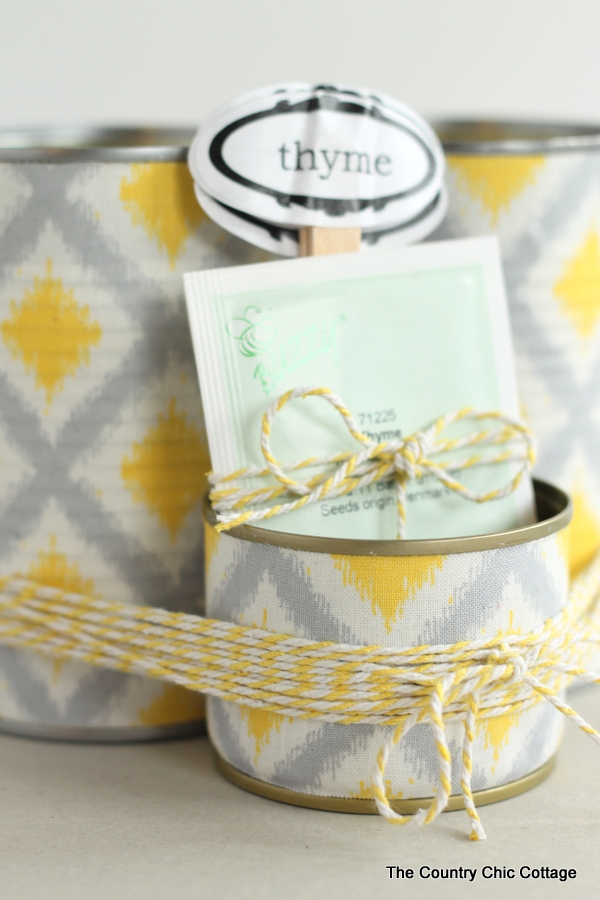
This is ready to be given as a gift to anyone on your gift giving list. Does mom have a green thumb? Be sure to make one of these very inexpensive gifts for Mother’s Day. You may even make one of these recycled tin can herb planters for yourself.
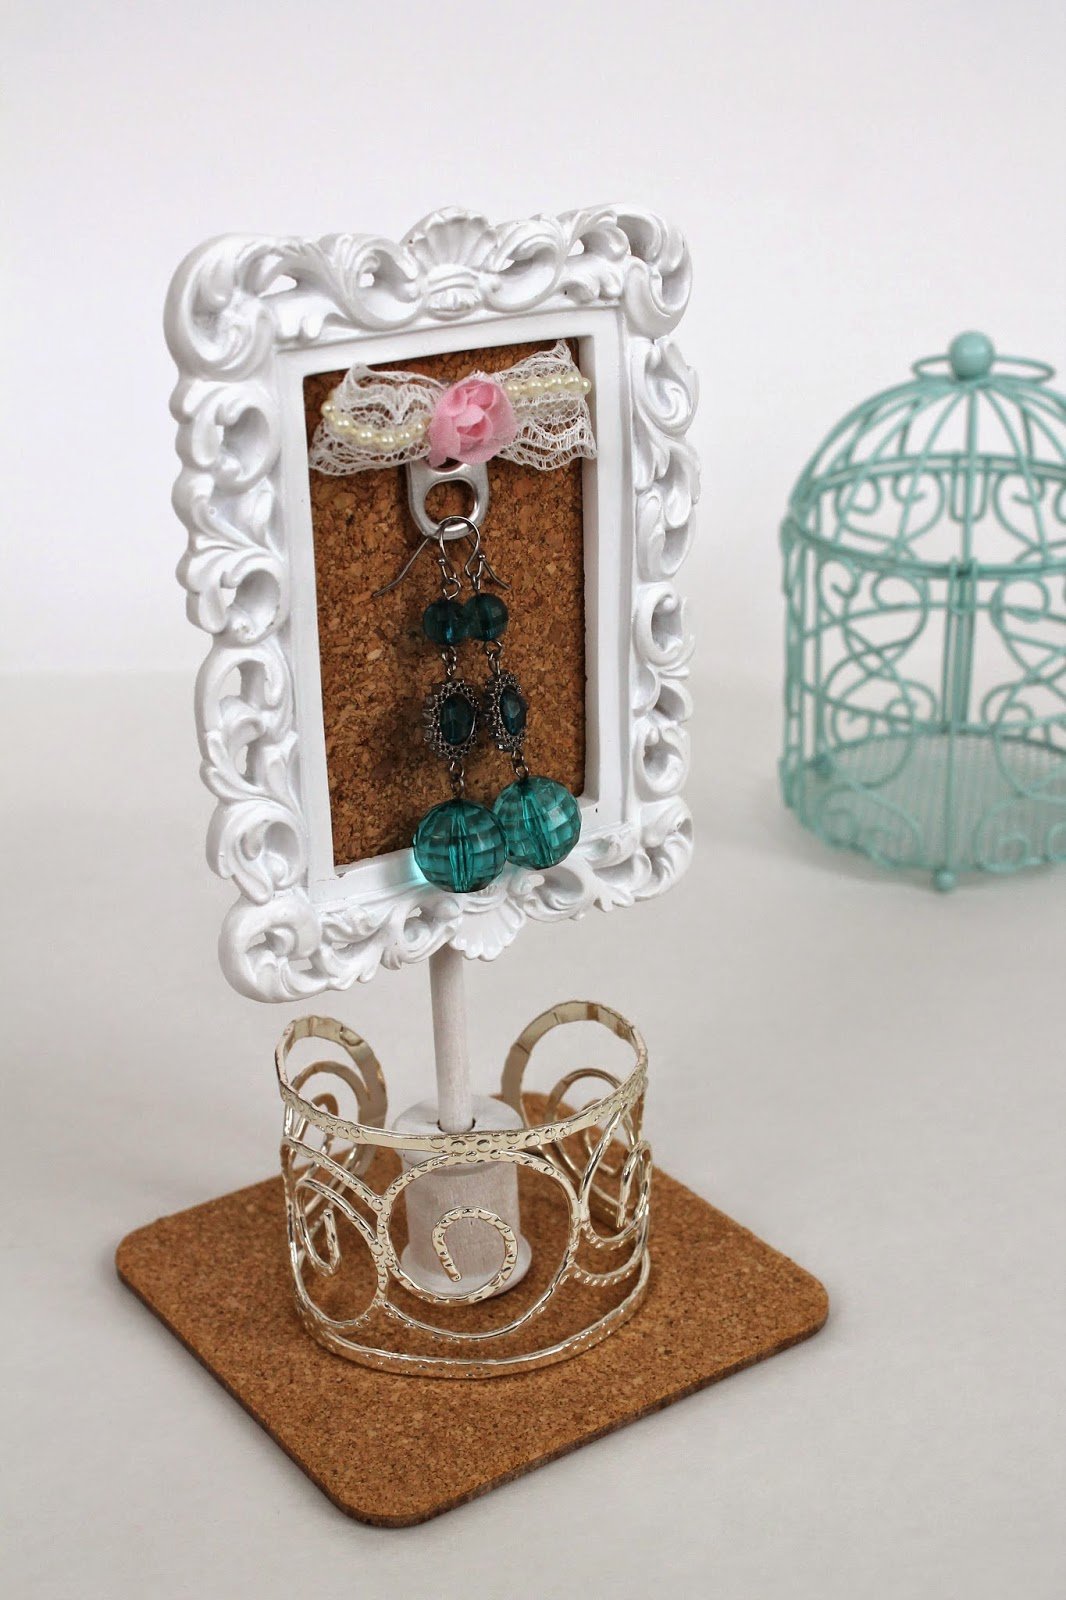
Now it is time for the recycled crafts from our partner blogs. We are starting with Scrappy Chick and these fabulous recycled frames. Make a ton of these to organize your jewelry!
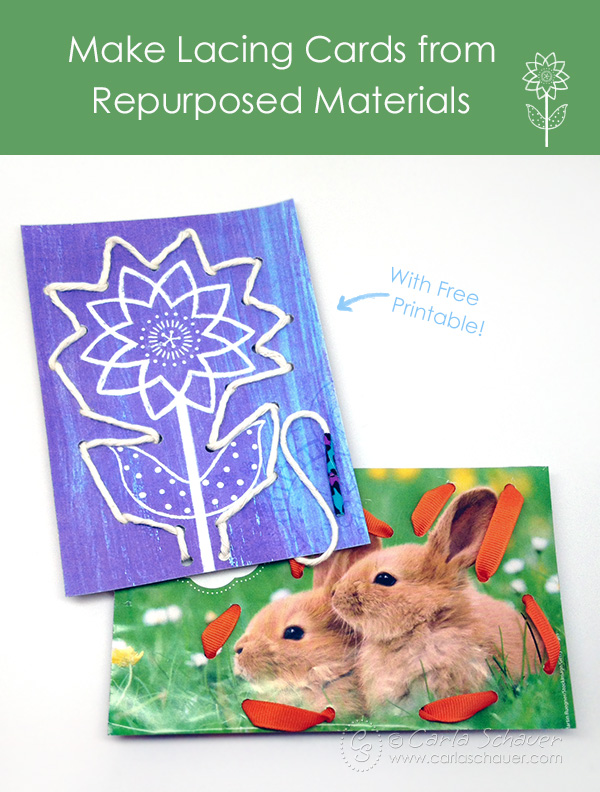
Do your little ones love lacing cards? Be sure to follow along with Carla Schauer and make them from repurposed materials.
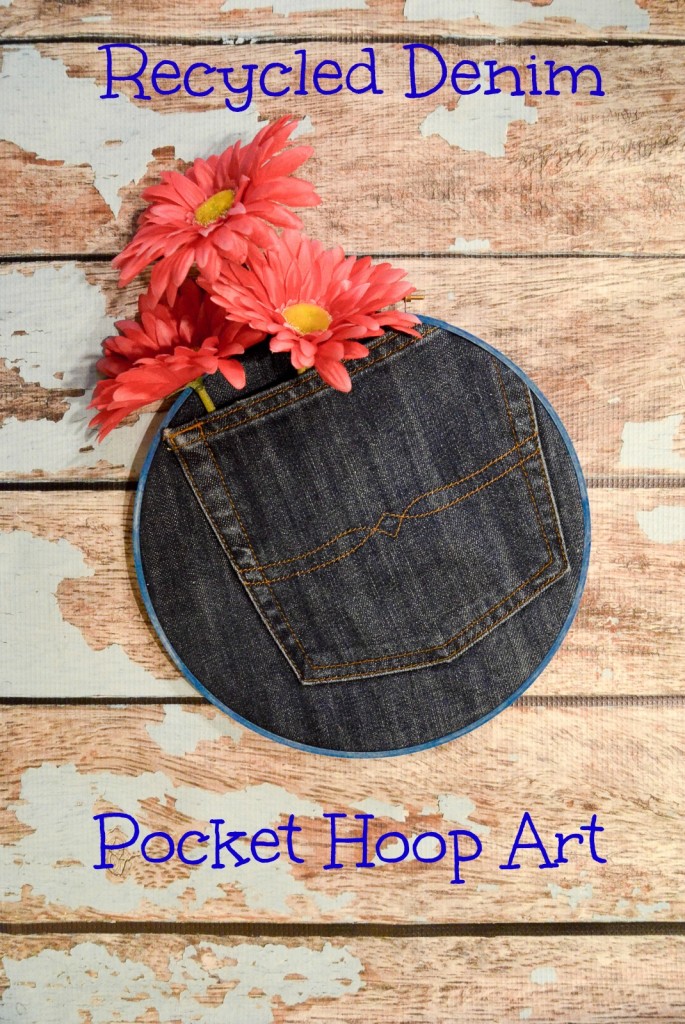
Demin is so hot right now and this recycled denim pocket hoop art is perfect for a teen room!
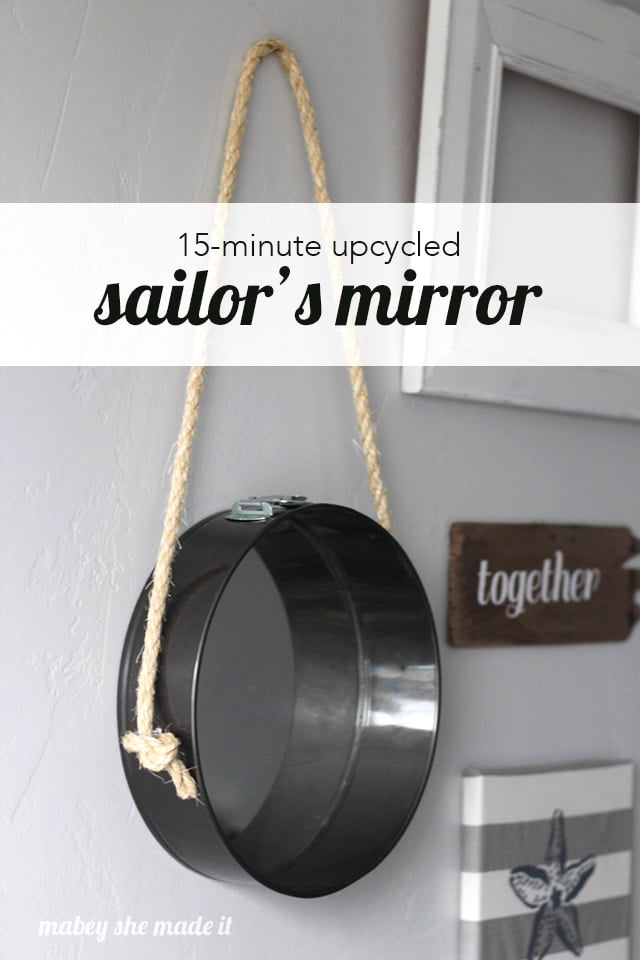
How about a very elegant way to recycle? Make this repurposed sailor’s mirror in minutes over at Mabey She Made It.
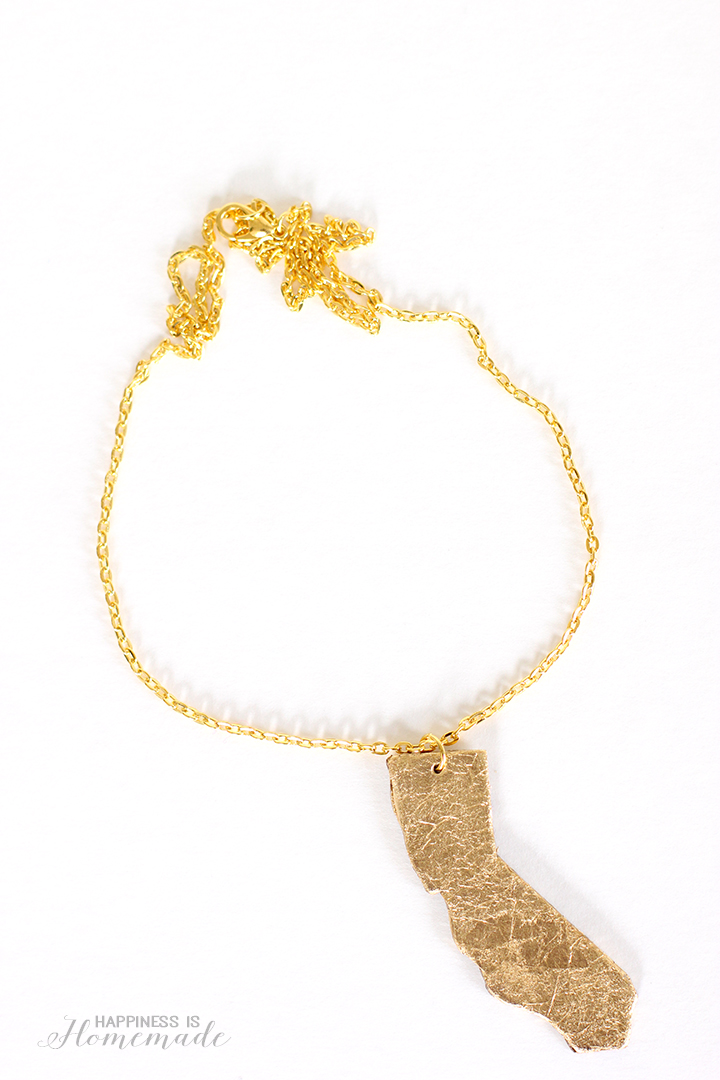
Get even more elegant with your recycling by using recycled materials to make this gold leaf statement necklace from Happiness is Homemade.
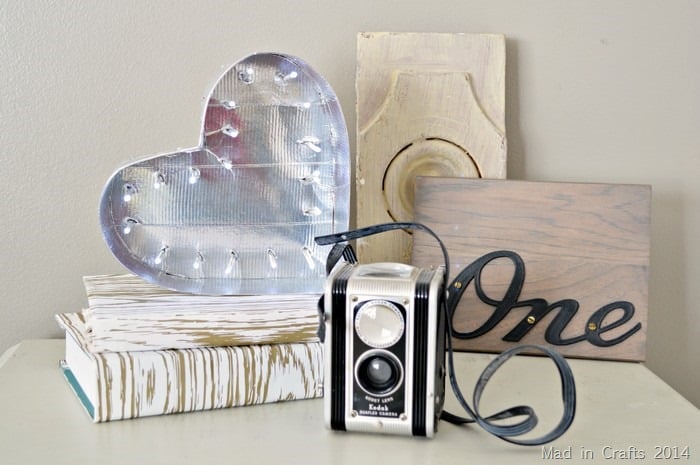
Grab your cardboard and duct tape for an awesome marquee sign like this one from Mad in Crafts.
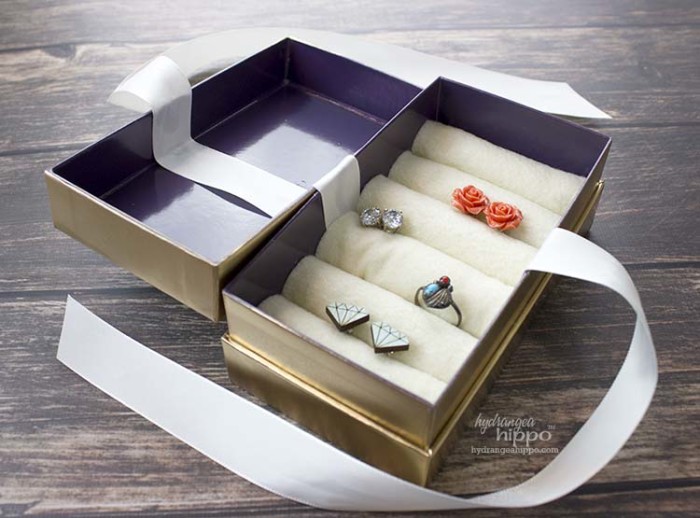
Got a box laying around? Turn it into a travel jewelry organizer with this tutorial from Hydrangea Hippo.
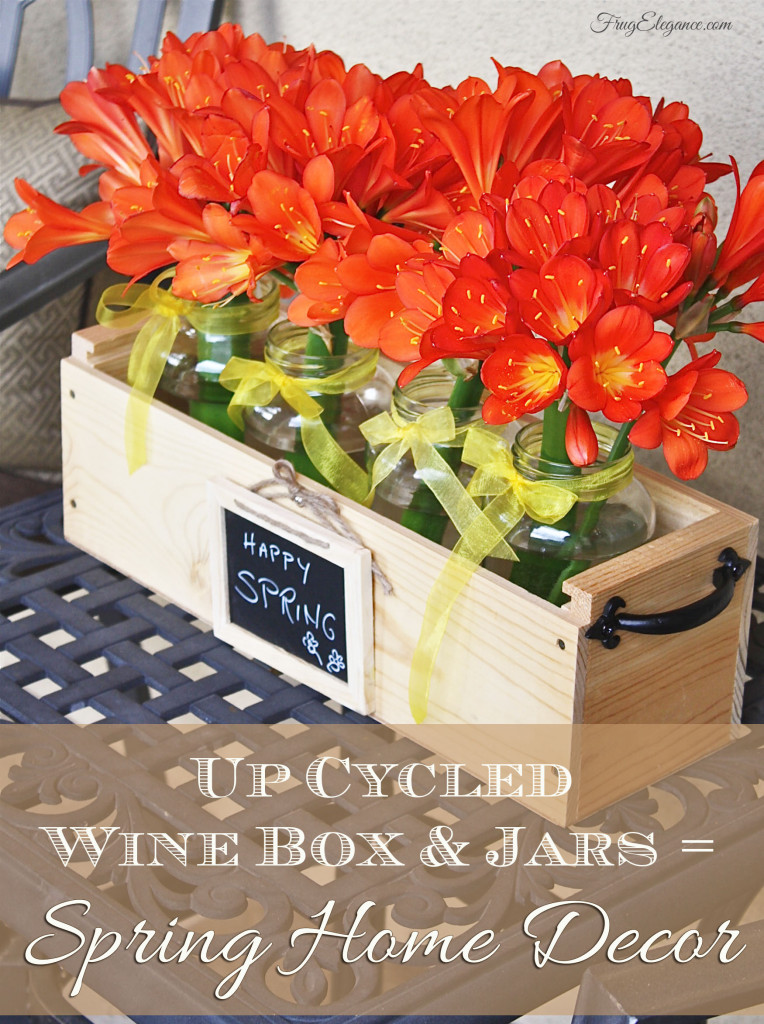
A wine crate and some recycled jars is all it takes to make this amazing spring centerpiece from FrugElegance.
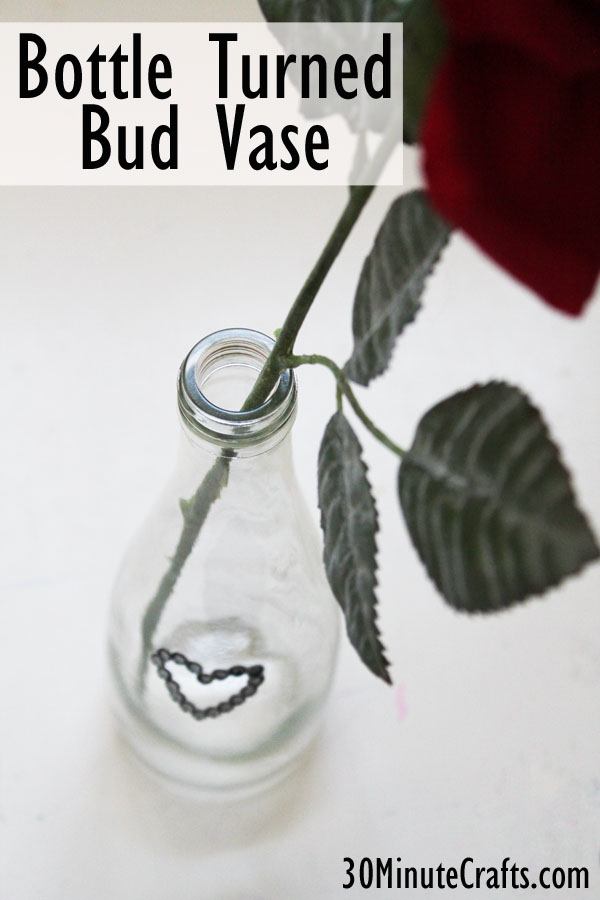
My partners for this series have some crafts today as well. Take any bottle and turn it into an amazing bud vase like this one from 30 Minute Crafts.
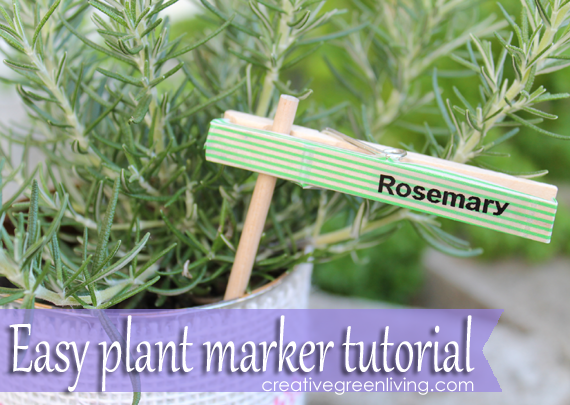
If you need another idea for plant markers, Creative Green Living has you covered with these clothespin plant markers.
If you love quick and easy crafts, you will want to follow our Pinterest board for tons of ideas all year long!
Equipment
- Tin cans in various sizes
Supplies
- Self adhesive fabric sheet You can also buy the Gray Matters Diamond Ikat Grey/White Fabric online and add adhesive to put it on your cans.
- Outdoor decoupage
- OL9815WX labels
- Free printable herb label file
- Americana spray seale
Instructions
- Start by adding some drainage holes to each tin can. Use any punch or sharp object to make your holes.
- Cut the fabric to size and remove the adhesive backing. Apply the fabric to can and smooth out any bubbles. If you cannot find adhesive fabric, use regular fabric and an adhesive or decoupage to put on the cans.
- Apply two coats of outdoor decoupage medium to the fabric to make it water tight and ready to be used as a planter. Allow to dry completely in between coats.
- While the cans are drying, you can print your herb labels and turn them into herb markers.
Make the Herb Markers
- Spray the sheets of labels with a couple of coats of Americana spray sealer. This will prevent the ink from running when you use the decoupage medium.
- Apply one label to the front of the popsicle stick and a blank one to the back.
- Apply the outdoor decoupage medium to the front, back, and sides of your herb marker to seal everything in.
- Wrap up the herb markers with seed packets of the same type of herb. Tie with baker’s twine.
- Tie up the cans you covered above with baker’s twine. Just wrap several times and pull really tight. Drop in your herb marker bundle from above.
- Your gift is ready to give!


These are adorable and what a fun gift.
Love the use of these recycled tin cans! Such a great idea, and they’re so pretty, too!
This has to be one of the prettiest recycled tin can ideas I have EVER seen. I can’t wait to make these. Thanks for sharing.
Such a cute idea! I know so many people that would love this gift!
Beautiful! This is a great idea for my daughter’s school recycling project and a good reason to spend some more time together. Thank you for sharing !
Wonderful recycled tin can ideas! I want to start doing some DIY projects and that one would be the first one!