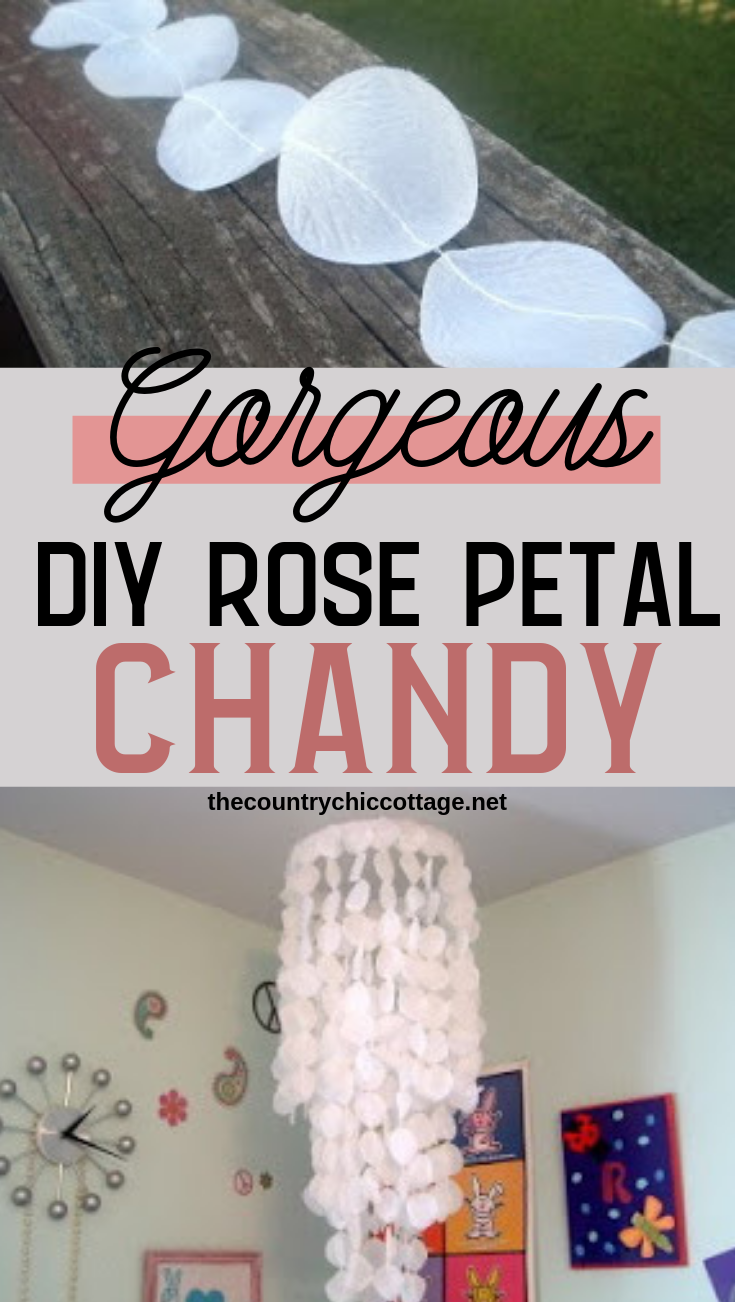
Want to make a DIY Rose Petal Chandelier of your very own? With just a few rose petals and a sewing machine, this is great for any teen or kid room. It would even be great as DIY wedding décor. Wanna know how to make it? Read on to find out how!
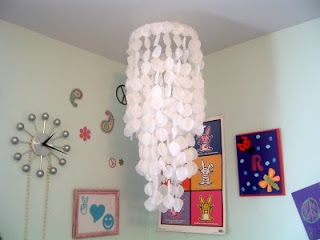
I made this when we decided to transition my teen daughter’s room from a little girl’s room to a teen girl’s room. This was an easy project and when really well with the other décor, including the string art and watercolor hoop art we made.
She’s always wanted a chandelier in her room, so so when I figured out how to make her dream come true, I jumped on it!
Chandeliers add a lot of drama to a room (and isn’t that all teen girls!), but they’ve really come a long way from the more formal ones. Believe it or not, you can make a beautiful chandelier with mason jars!
I made this one with an embroidery hoop, which I’ve also used in several other crafts, like this disco ball chandelier, white dream catcher, and windchimes.
How to Make a Rose Petal Chandelier:
Supplies needed to make this chandelier from rose petals:
- 3 different-sized wooden embroidery hoops (just the inside portion)
- Fishing line
- Faux rose petals. You can get your rose petals at the dollar mart as well.
- Sewing machine
- White acrylic paint
- Hot glue gun and hot glue
- Elmer’s glue
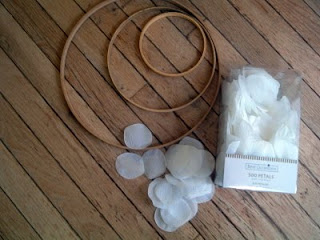
Remove the inside rings of the embroidery hoops. Paint them white with the acrylic paint. When they are dry, tie them together in a chandelier style, with the smallest on the bottom. Then, add three strands to hang it from the ceiling when you are done.
Using the petals and sewing machine, sew each petal into strands, leaving a little space between each petal.
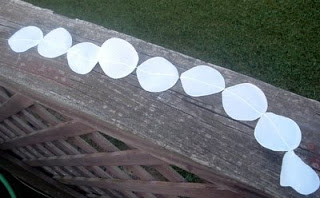
I sewed them in strands of 9 petals each.
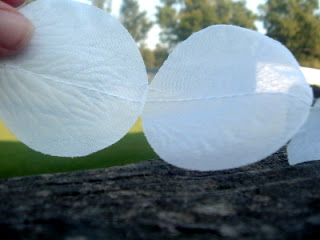
This makes it more “flowy” when you get done. Your sewing does not have to be perfect. I tried getting them all in the same direction, but they are not all the same. No one is going to climb up and look at this once you have it hanging from the ceiling.
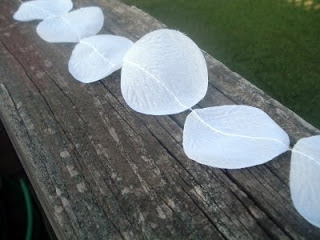
Sew lots and lots of strands together. I used around 400 petals in total. Yep, 400. Sew your little heart out.
I took the rings and painted them white. Then tied them up with a fishing line like this…
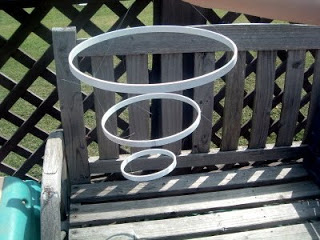
Add three strands of fishing line at the top to hang it up when you are done. Then, glue on your petal strands, starting at the bottom.
I looped each strand by folding the top petal over and glued it to the second petal. Actually I glued each one twice. Yes, I used hot glue and regular glue on each one. May not be necessary but I have extra insurance.

The secret to holding this while you are gluing on your strands of petals?
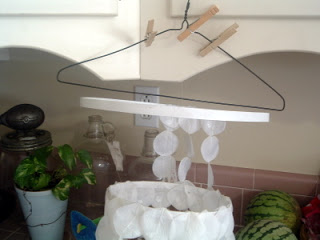
Continue gluing until the chandelier is filled and you have the look you want! I would glue some on, then go sew some more, then glue more on, sew some, etc. That way I did not end up with any extra strands at the end. No sense in doing any extra sewing!
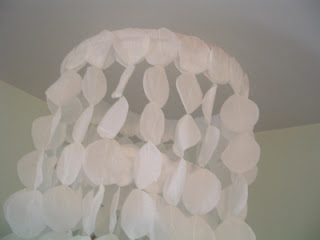
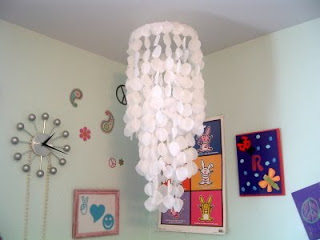
Hang from a hook on your ceiling. I used the fishing line tied in a knot at the top and just slipped it over the hook a few times. I am so pleased with how it turned out!! This could be for any girl’s room. Baby to a teenager!
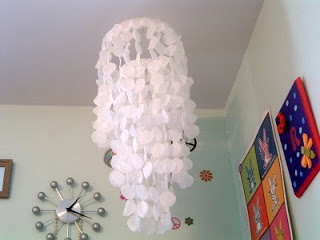
Y’all let me know if you make one and send pics! I would love to see em!
Love this post? Be sure to subscribe to THE COUNTRY CHIC COTTAGE so you don’t miss a thing!
Plus check out our other ideas on decorating teen and kid rooms and even more DIY wedding ideas.
Supplies
- 3 3 wooden embroidery hoops (different sizes) just the inside portion
- Fishing line
- Faux rose petals. You can get your rose petals at the dollar mart.
- Sewing machine
- White acrylic paint
- Hot glue gun and hot glue
- Elmer’s glue
Instructions
- Remove the inside rings of the embroidery hoops. Paint them white with the acrylic paint.
- When they are dry, tie them together in a chandelier style, with the smallest on the bottom. Then, add three strands to hand it from the ceiling when you are done.
- Using the petals and sewing machine, sew each and every one of the petals into strands, leaving a little space between each petal. (I sewed 9 strands total)
- Then, glue on your petal strands, starting at the bottom ring. I folded the top petal over and glued it to the second petal.
- Continue glueing until the chandelier is filled and you have the look you want!

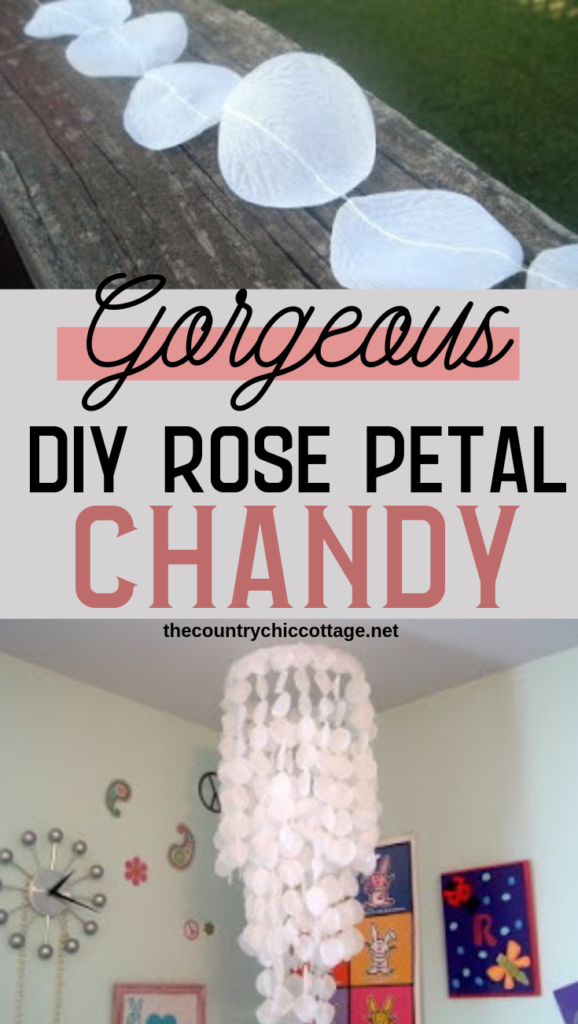


I love it! From the pictures it looks a lot like those $$$ capiz shell chandys. I’d make one, but me & my sewing machine don’t get along. =)
ok, you are just to talented and creative!!! so cute.
yay, I guessed right. I just knew that had to be yours, it’s so pretty. Congratulations! I’m excited for you.
Angie,
This is too precious…this will look great in my daughters room!
I am a new follower and look forward to more great posts from you!
Thank you for sharing,
Lisa
All Things Wonderful
http://www.lisa-bass.blogspot.com
I loved this – it was my pick!
Whoa! Great job! Looks very fabulous!
This looks so great! I LOVE IT!
I have a big favor to ask of you, recently I had a post on some weight that I lost and now there is a contest and I am in it. You win by getting the most votes so I really need your vote! Could you please go to my blog and follow the directions to vote? I can’t thank you enough! Just click below and then vote!!!
http://easypeasygrandma.blogspot.com/2010/09/little-shrug-and-great-contest.html
This is awesome! You did a wonderful job. I bet you saved a lot of money by doing it yourself! And it looks totally professional (:
Stopping by from Someday Crafts!
~Michaela
I love this 🙂 Probably because I made one that looks just like it a while ago but out of milk jugs instead of petals. Your version seems less labor intensive though, gives me ideas 🙂 Great job!
That is so cute! And easy!!
Stopping by from Blue Cricket
mrsbettierocker.blogspot.com
Oh my word! Holy Toledo! Just fantabulous!
Wow! This is amazing! I wish I could sew, unfortunately I can’t even mend a sox! Great job!
Super Cute and Super Chic I LOVE IT!
I would love it if you stopped by and linked up to my link up party Sew Crafty Saturday over at Sew Chic and Unique
Mayya @ Sew Chic and Unique
I saw this over at the Under the Table party and just had to come see how you did it. Love it! I saw something similar on Design Sponge but I like your version way better~
Wow…I love it! And so will my teen daughters!
Gotta get busy!
Olá, Angie.
Adorei esse tutorial.
Não sei se aqui no Brasil encontramos essas pétalas, mas ainda assim amei a ideia.
Vou guardá-la para usar assim que possível, e vou colocar um link no meu blog para o seu, falando sobre essa luminária, ok ?
Obrigada por compartilhar.
Beijos.
So pretty! I am definetely adding this to my to do list 🙂
This is SOOOO adorable! Thank you for the tutorial. I’ll be bookmarking this to use in the girls room when we combine rooms. : )
Ashley
totally loving this!!! i am so excited i might just rip out my girls ceiling fan right now and put this adorable thing up instead!!! totally genious!!!
~selina
I’m in the middle of making this right now! 🙂 If i think i will make it with the pink petals next time! 🙂 I’ll share pictures when finishd!