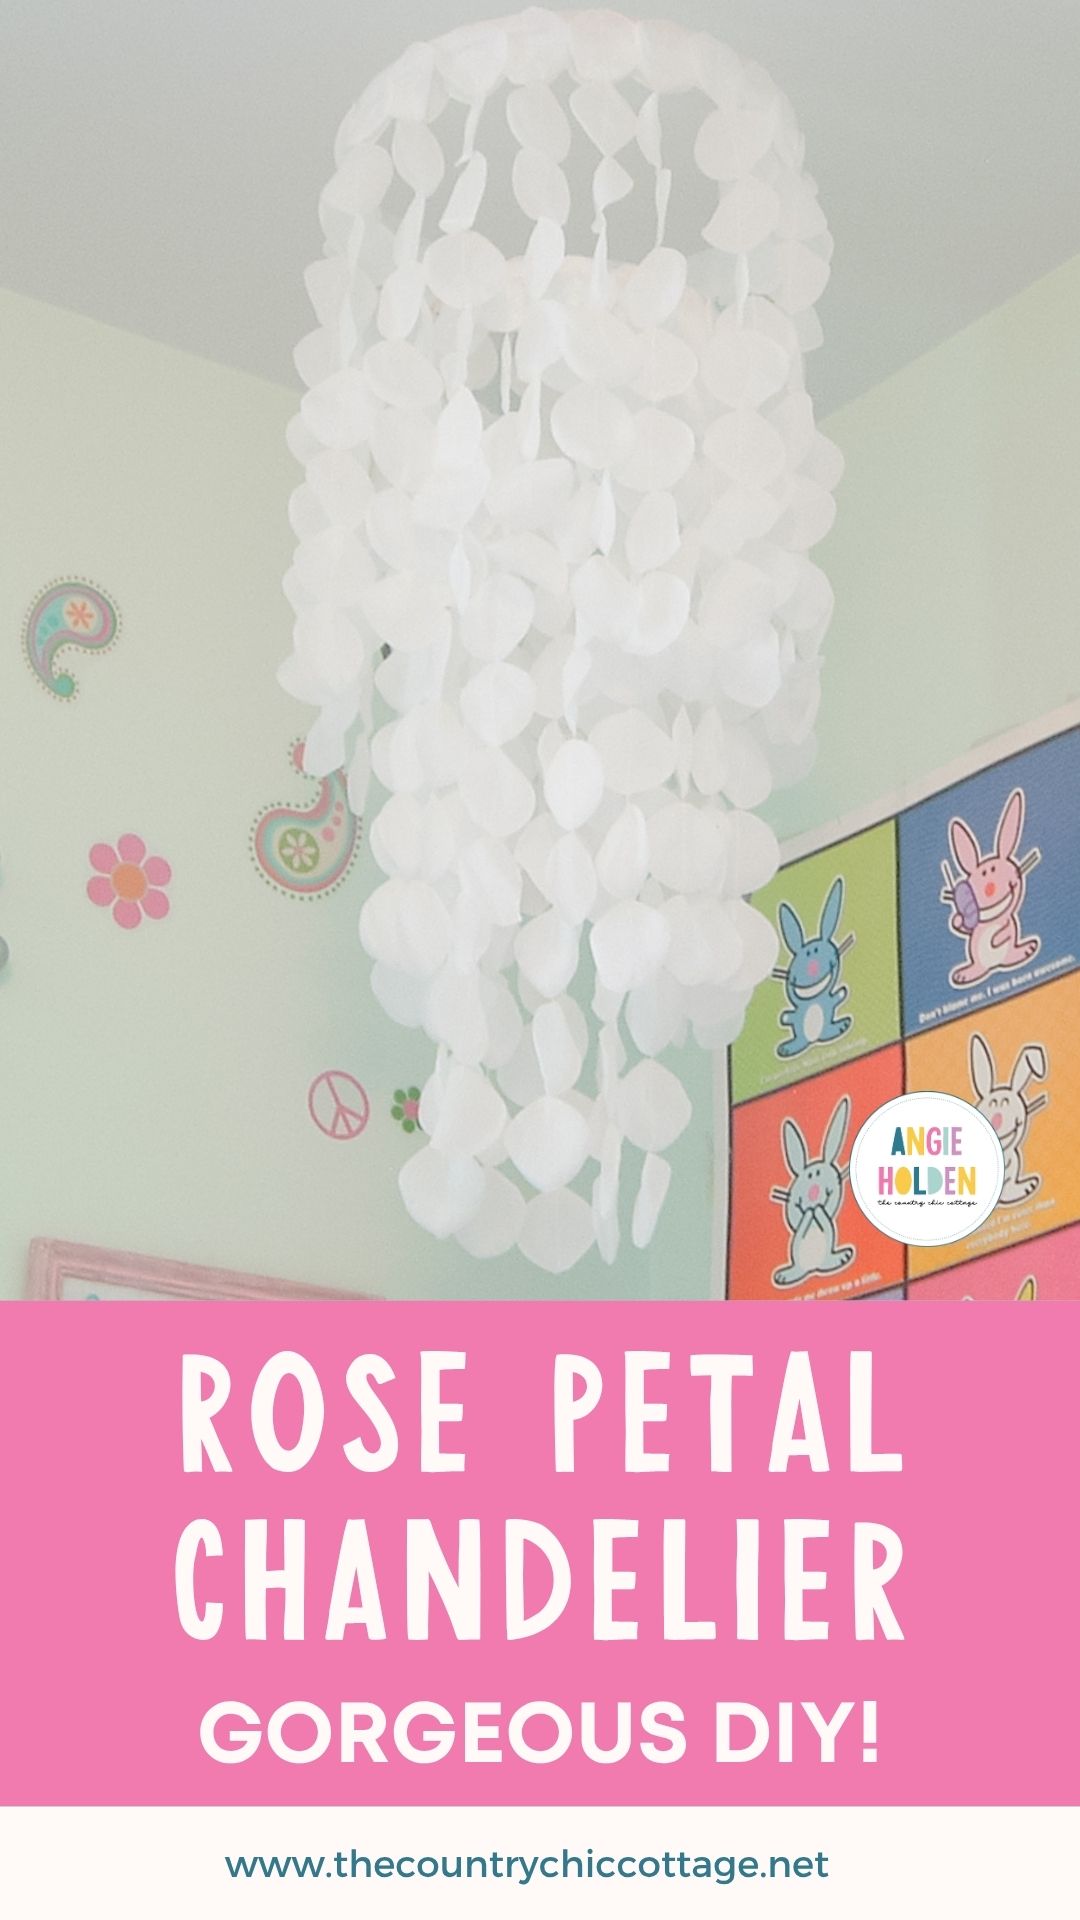
Want to make a DIY Rose Petal Chandelier of your very own? With just a few rose petals and a sewing machine, this is great for any teen or kid room. It would even be great as DIY wedding décor. Wanna know how to make it? Read on to find out how!
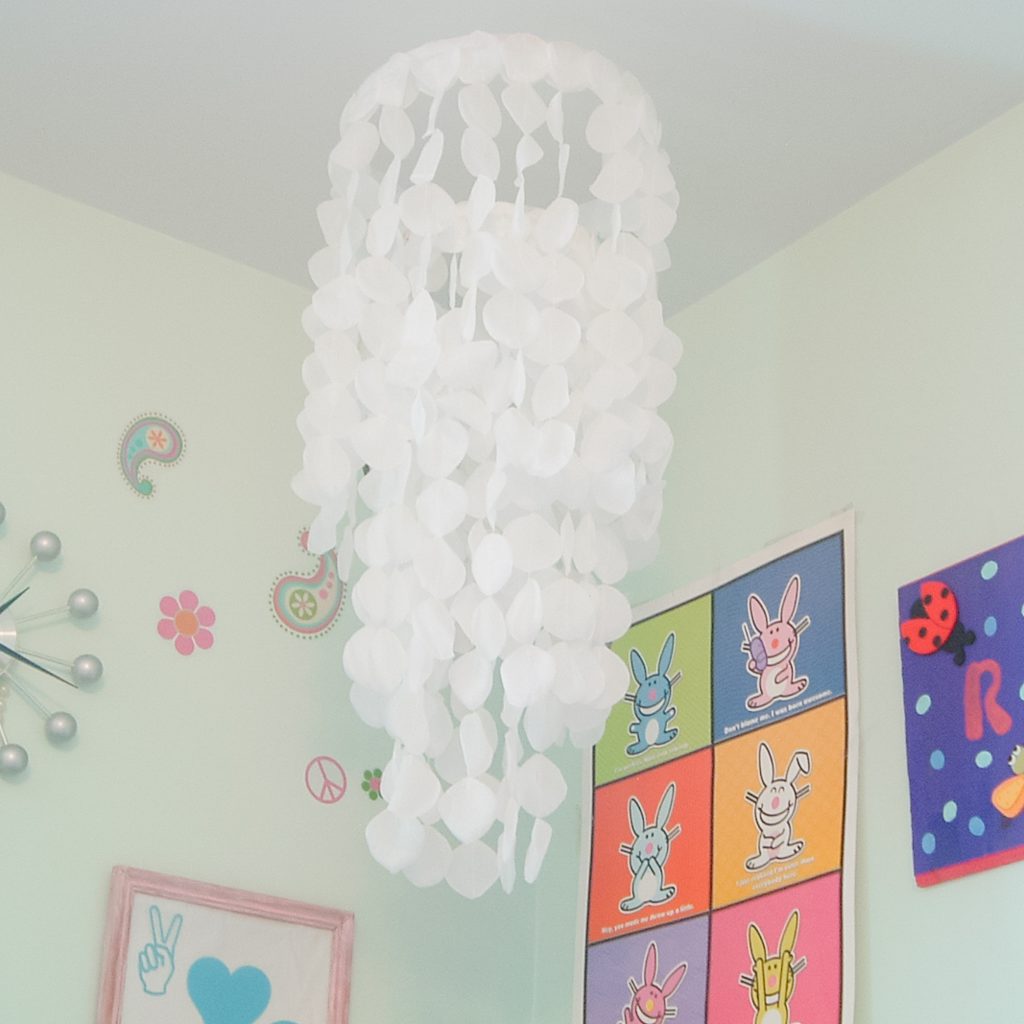
I made this when we decided to transition my teen daughter's room from a little girl's room to a teen girl's room. This was an easy project and when really well with the other décor, including the string art and watercolor hoop art we made.
She's always wanted a chandelier in her room, so so when I figured out how to make her dream come true, I jumped on it!
Chandeliers add a lot of drama to a room (and isn't that all teen girls!), but they've really come a long way from the more formal ones. Believe it or not, you can make a beautiful chandelier with mason jars!
I made this one with an embroidery hoop, which I've also used in several other crafts, like this disco ball chandelier, white dream catcher, and windchimes.
How to Make a Rose Petal Chandelier:
Supplies needed to make this chandelier from rose petals:
- 3 different-sized wooden embroidery hoops (just the inside portion)
- Fishing line
- Faux rose petals. You can get your rose petals at the dollar mart as well.
- Sewing machine
- White acrylic paint
- Hot glue gun and hot glue
- Elmer's glue
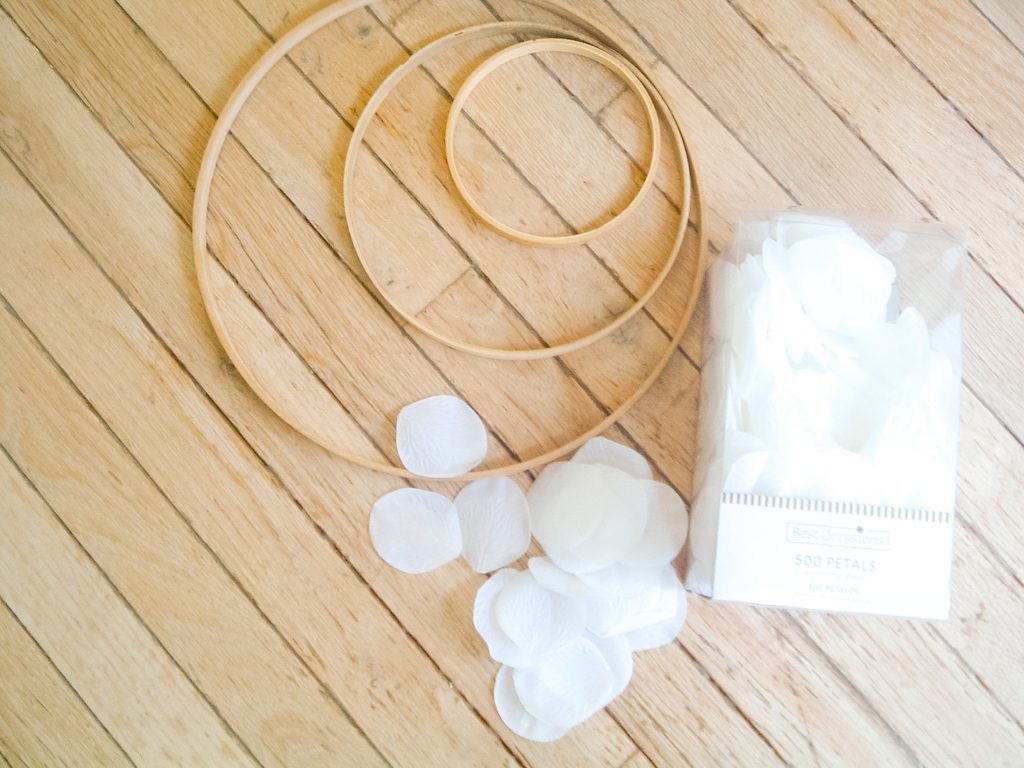
Remove the inside rings of the embroidery hoops. Paint them white with the acrylic paint. When they are dry, tie them together in a chandelier style, with the smallest on the bottom. Then, add three strands to hang it from the ceiling when you are done.
Using the petals and sewing machine, sew each petal into strands, leaving a little space between each petal.
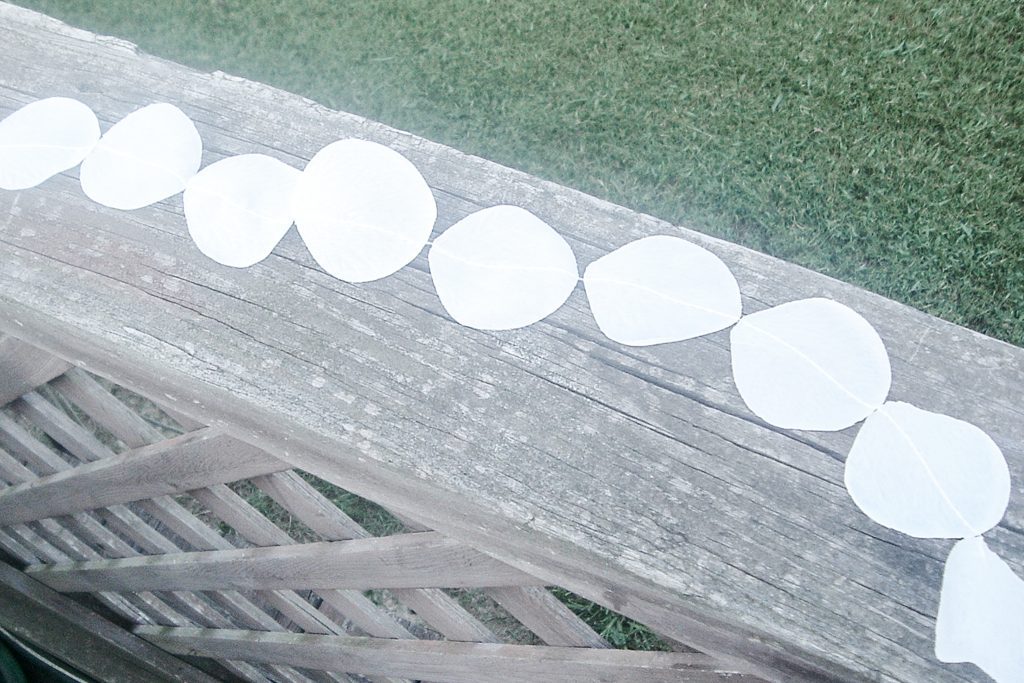
I sewed them in strands of 9 petals each.
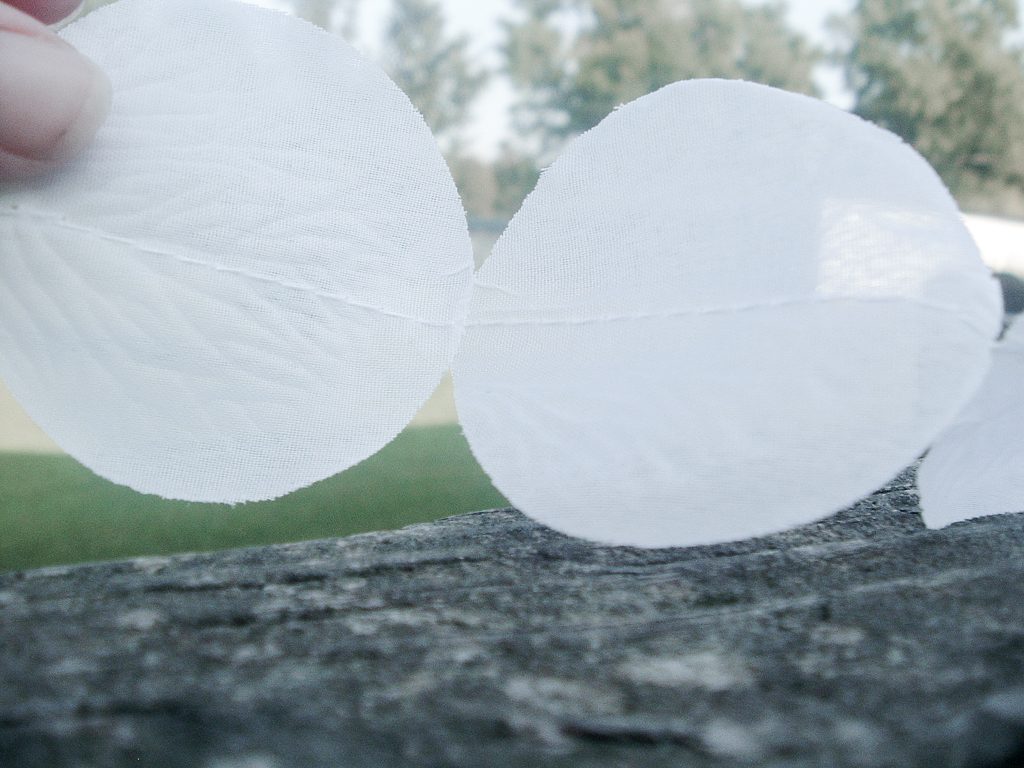
This makes it more “flowy” when you get done. Your sewing does not have to be perfect. I tried getting them all in the same direction, but they are not all the same. No one is going to climb up and look at this once you have it hanging from the ceiling.
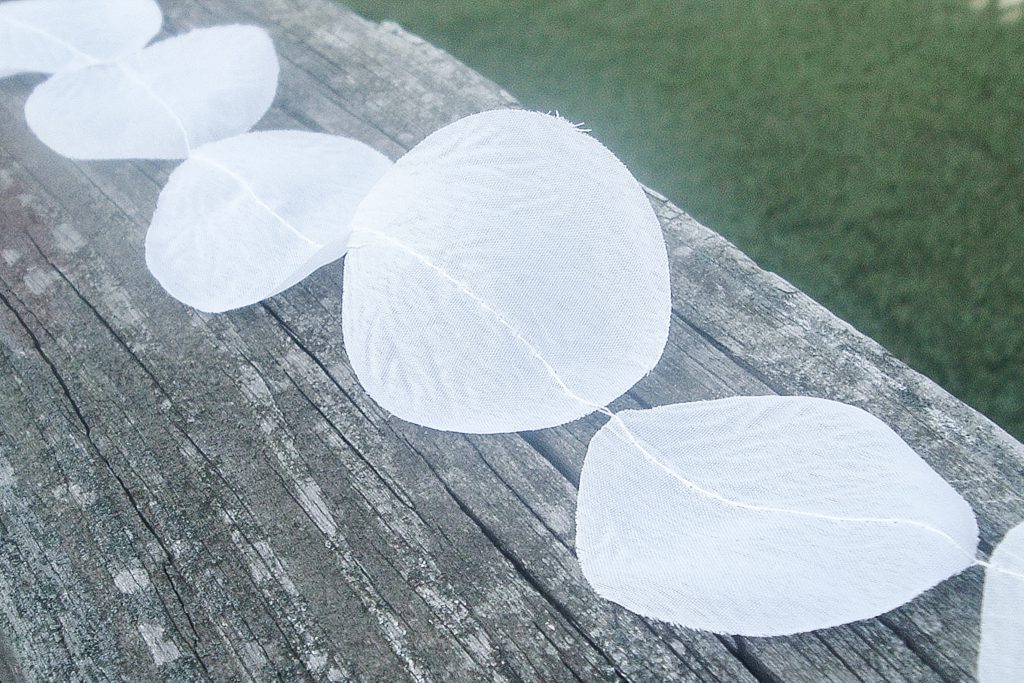
Sew lots and lots of strands together. I used around 400 petals in total. Yep, 400. Sew your little heart out.
I took the rings and painted them white. Then tied them up with a fishing line like this…
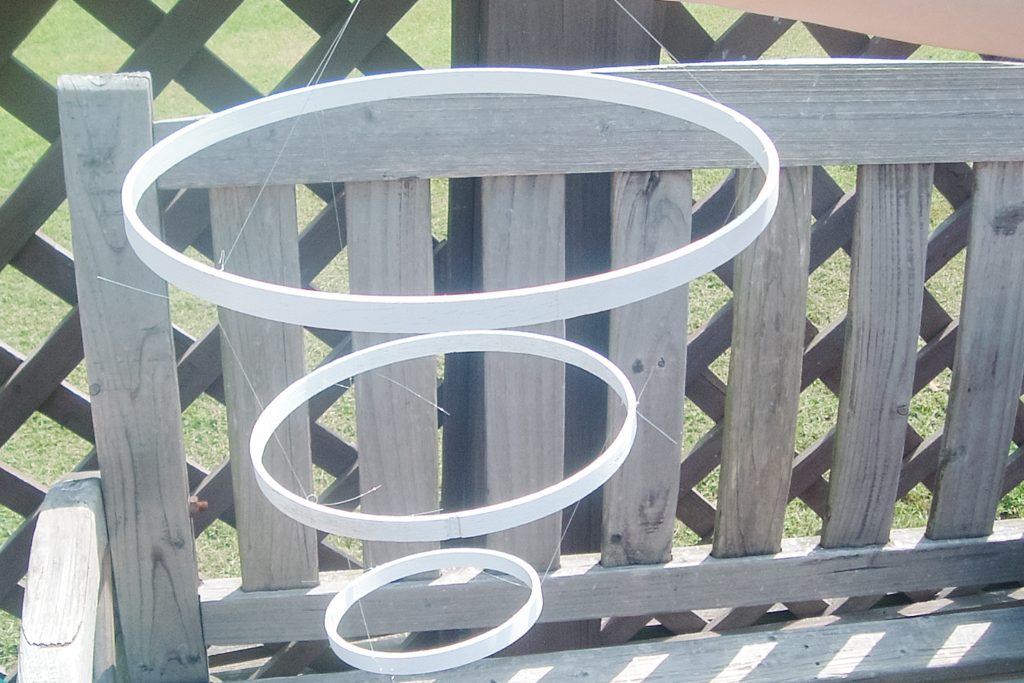
Add three strands of fishing line at the top to hang it up when you are done. Then, glue on your petal strands, starting at the bottom.
I looped each strand by folding the top petal over and glued it to the second petal. Actually I glued each one twice. Yes, I used hot glue and regular glue on each one. May not be necessary but I have extra insurance.
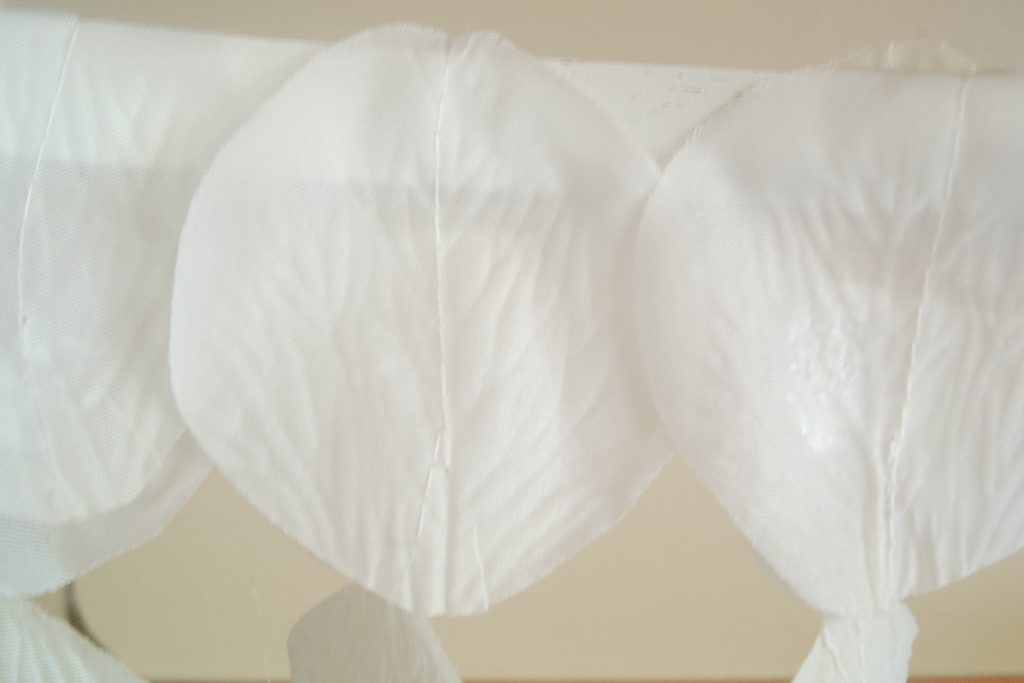
The secret to holding this while you are gluing on your strands of petals?
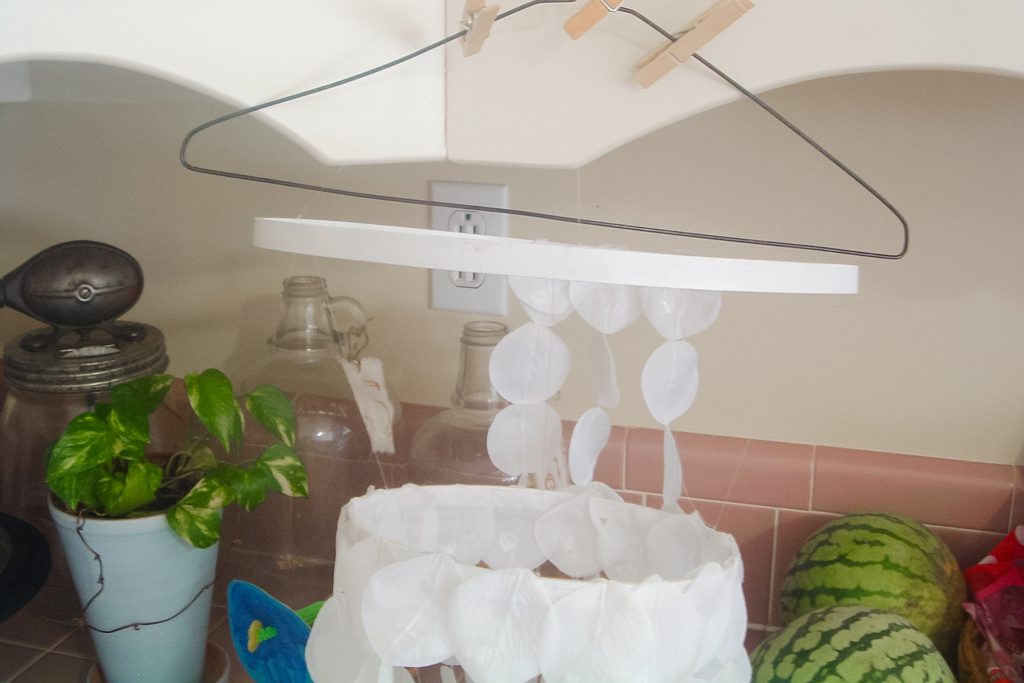
Continue gluing until the chandelier is filled and you have the look you want! I would glue some on, then go sew some more, then glue more on, sew some, etc. That way I did not end up with any extra strands at the end. No sense in doing any extra sewing!
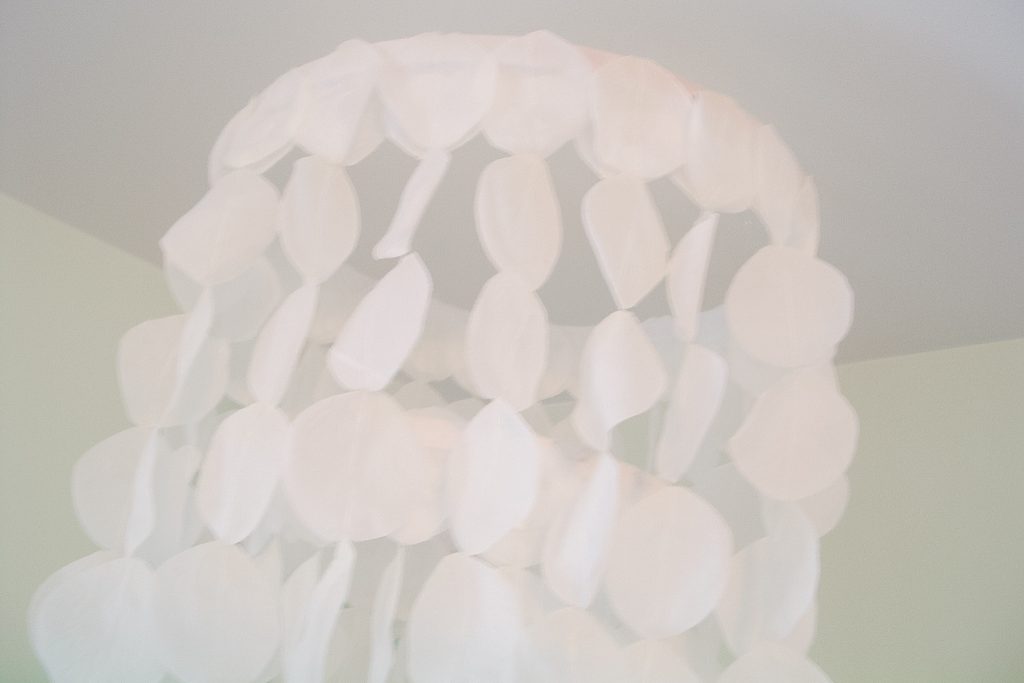
Hang from a hook on your ceiling. I used the fishing line tied in a knot at the top and just slipped it over the hook a few times. I am so pleased with how it turned out!! This could be for any girl's room. Baby to a teenager!
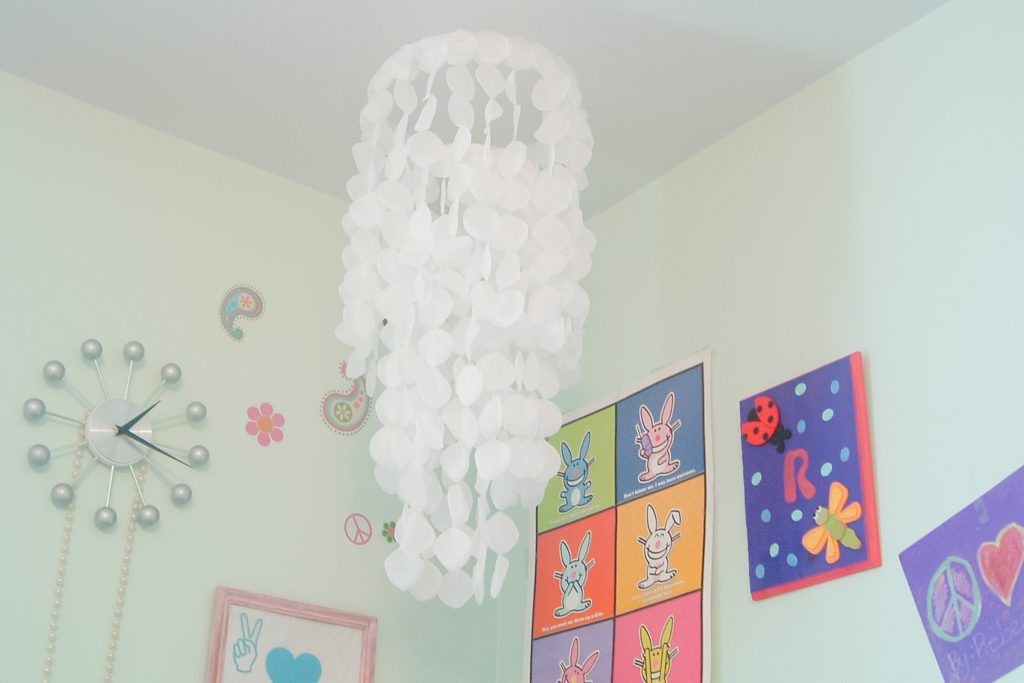
Y'all let me know if you make one and send pics! I would love to see em!
Love this post? Be sure to subscribe to THE COUNTRY CHIC COTTAGE so you don't miss a thing!
Plus check out our other ideas on decorating teen and kid rooms and even more DIY wedding ideas.
Supplies
- 3 Wooden embroidery hoops (different sizes) just the inside portion
- Fishing line
- Faux rose petals. You can get your rose petals at the dollar mart.
- Sewing machine
- White acrylic paint
- Hot glue gun and hot glue
- Elmer's glue
Instructions
- Remove the inside rings of the embroidery hoops. Paint them white with the acrylic paint.
- When they are dry, tie them together in a chandelier style, with the smallest on the bottom. Then, add three strands to hand it from the ceiling when you are done.
- Using the petals and sewing machine, sew each and every one of the petals into strands, leaving a little space between each petal. (I sewed 9 strands total)
- Then, glue on your petal strands, starting at the bottom ring. I folded the top petal over and glued it to the second petal.
- Continue glueing until the chandelier is filled and you have the look you want!



I LOVE THIS! I have been looking for something like this to hang in my daughter’s room! LOVELY!!
This is so cool, Angie! It’s perfect for a girl’s room or a patio, so light and airy.
400 petals!? It looks like a lot of work but worth it in the end – it turned out so pretty!
Such a cute idea! I love finding fun sewing projects using stuff other than fabric!
beautiful!
stopping by from csi!
this is adorable!!! love the fun and frilly look! it would be so cute pink, too! 🙂
thanks for showing this project!!! I am currently trying to figure out how to make a capiz shell (short) chandy for our office- this makes a lot more sense than what I was thinking of doing! Thanks for sharing! found you through the CSI project!
You have way to much talent! 🙂
Something out of a magazine…
Take care,
Lisa
Hi! I hope you don’t mind, but I copied your idea. I posted it on my blog and linked my readers back to you. Thanks!!!
http://justformeandyou2.blogspot.com/2011/02/rose-petal-chandeliermobile-tutorial.html
When I saw the first photo I could not tell for sure if it was yours or a catalog. Brilliant idea to use rose petals…genius! Glad you added this to my party 🙂
You are a genius, Angie! Just stumbled this… and I think it is darling!
I love it and woman you are soooo smart!
xo
Robin
All Things Heart and Home
(I’m stumbling!!!)
This is WONDERFUL, you absolutely nailed it! Really great job dear!
What are your recommendations for making this on a larger scale? I love this but i am not for sure about the measurements. I am wanting to use this for my wedding alter. I was thinking instead of 9 rose doing 18… thoughts?
Christine,
I would go with two tiwers instead of 3. A medium and small. Skip the large. I think it would still look gorgeous but be smaller!
Angie
I love this Angie! You did a great job recreating this.
Did you have any problems with sewing the peddles? I keep braking my thread…. just wondering if it is me or the thread 🙂
I didn’t have any trouble at all Christine. It did not break once. And I sewed them like really fast. I hope that helps! 🙂
fabulous! thx for sharing!!
I’m so crazy about this project!! It’s a perfect wedding detail for brides on a budget. Thanks for the idea!