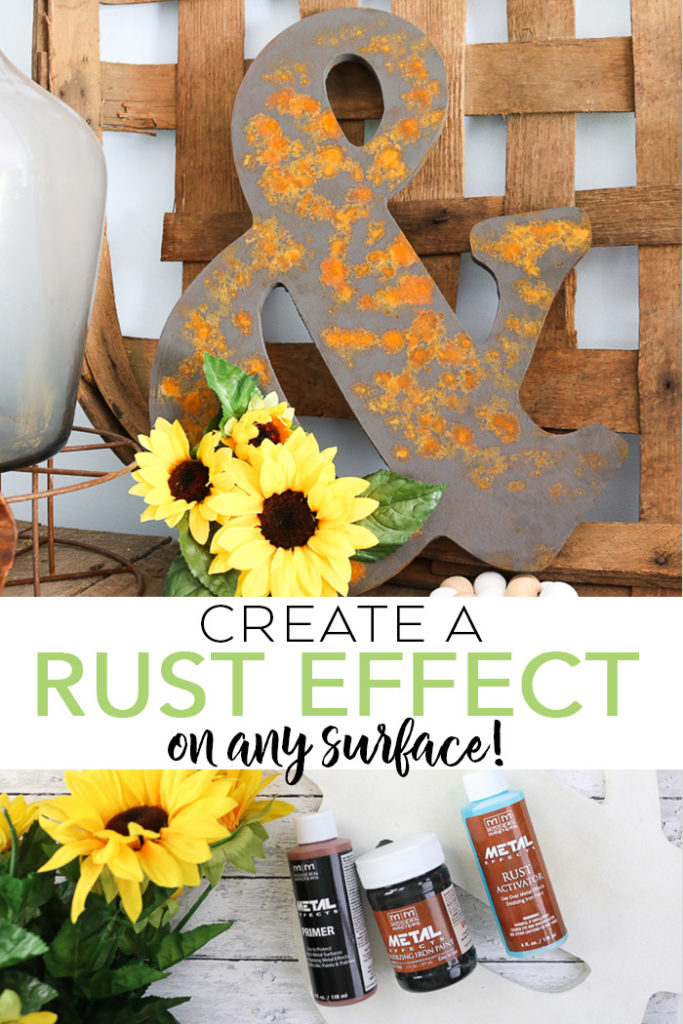
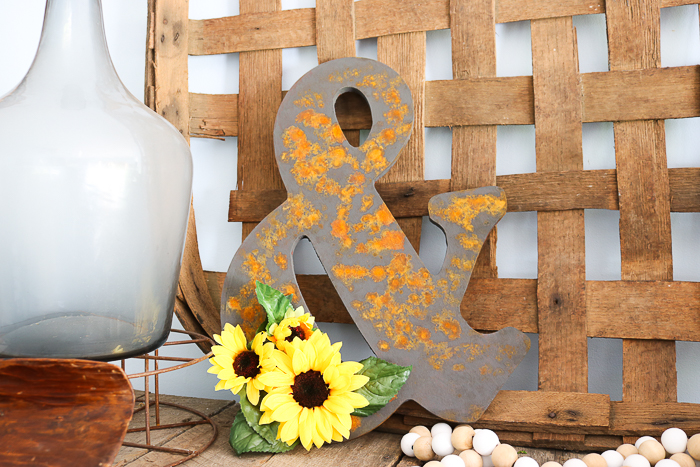
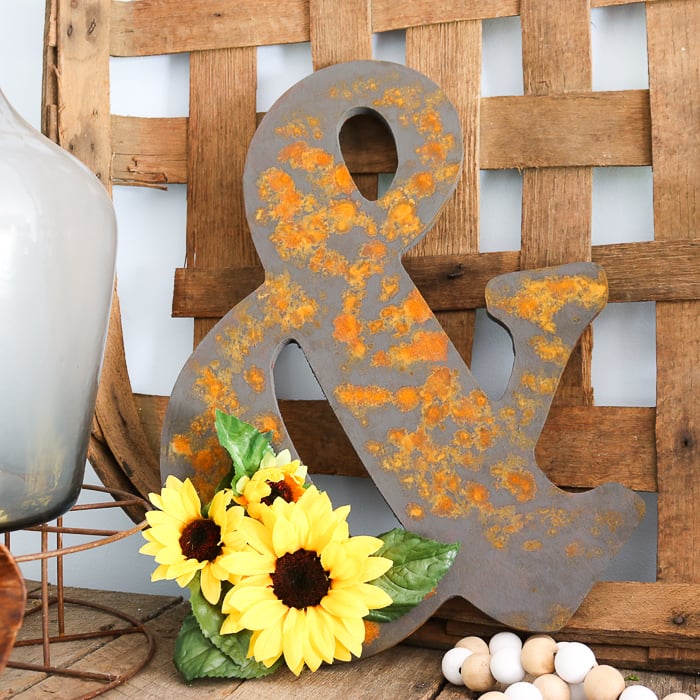
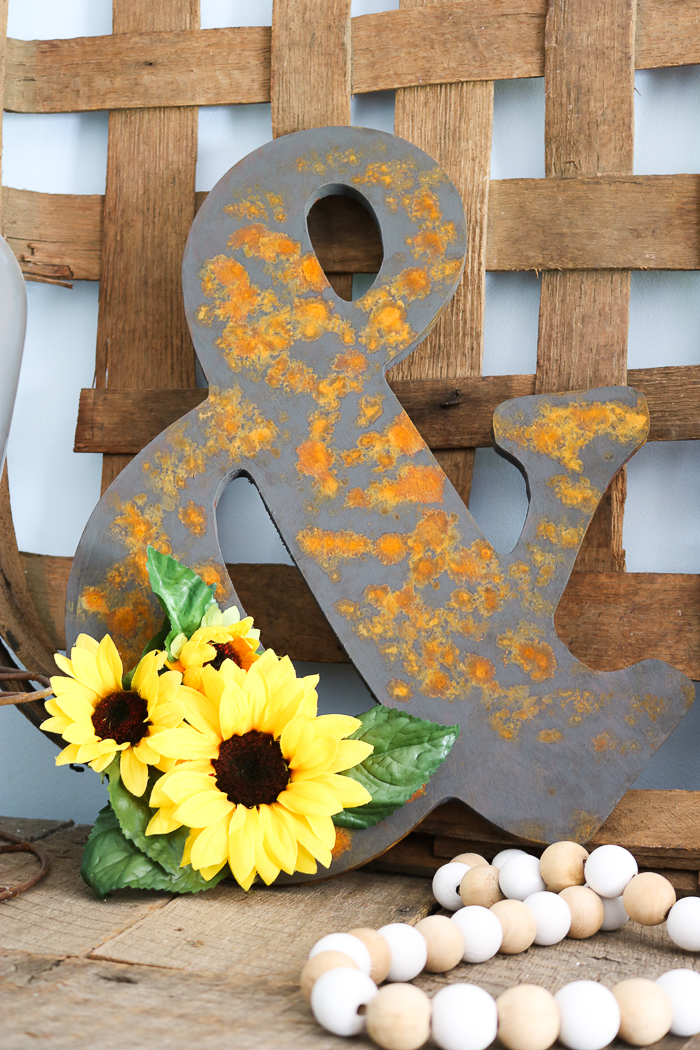
If you are looking for a rust effect paint, look no further! I have a product today that you are going to love. You can use it to make a rustic finish on just about any surface. That authentic rust look is just waiting for you in three little bottles. This three-part system is from Modern Masters and it actually creates rust on the surface for an authentic look you just can’t get anywhere else. Ready to dive in and see how it works?
This post is sponsored by Modern Masters, however, all projects and opinions are my own.
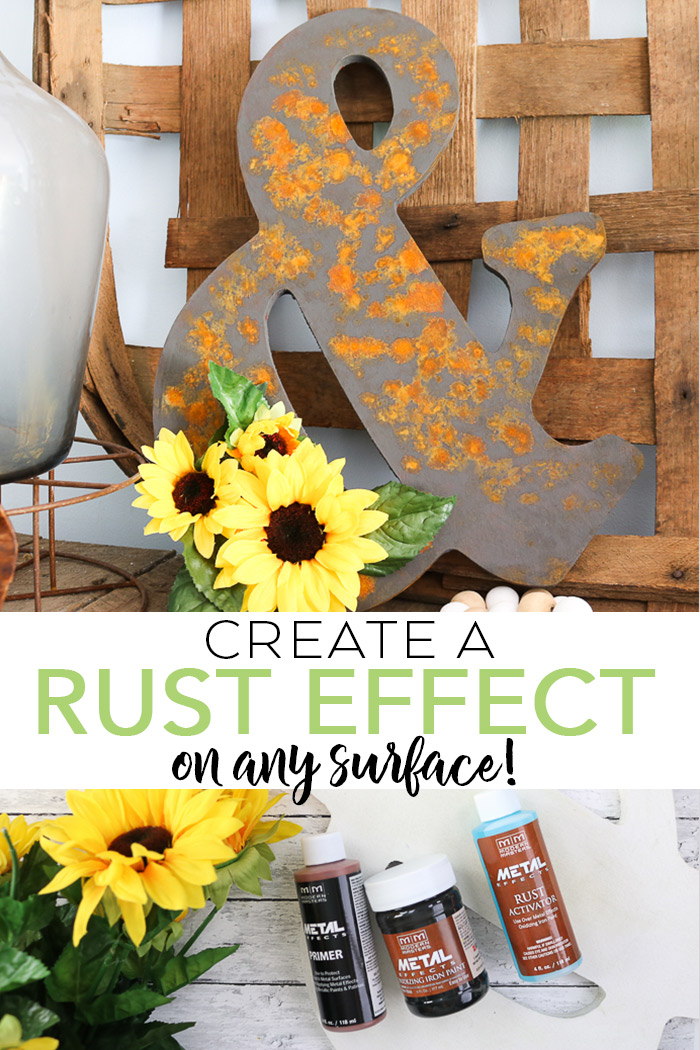
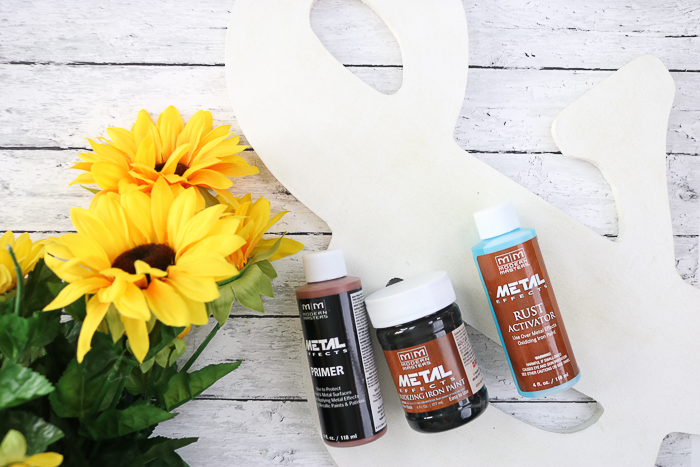
Supplies needed for this rusty finish project:
- Modern Masters Metal Effects Primer
- Modern Masters Metal Effects Oxidizing Iron Paint
- Wood Ampersand
- Modern Masters Metal Effects Rust Activator
- Sunflowers
- Hot glue and a glue gun
- Paintbrushes
- Sponge
- Protective equipment like gloves, safety glasses, and an apron
Video of Rust Paint:
Want to see this entire process on video? Just watch below!
How to use rust effect paint:
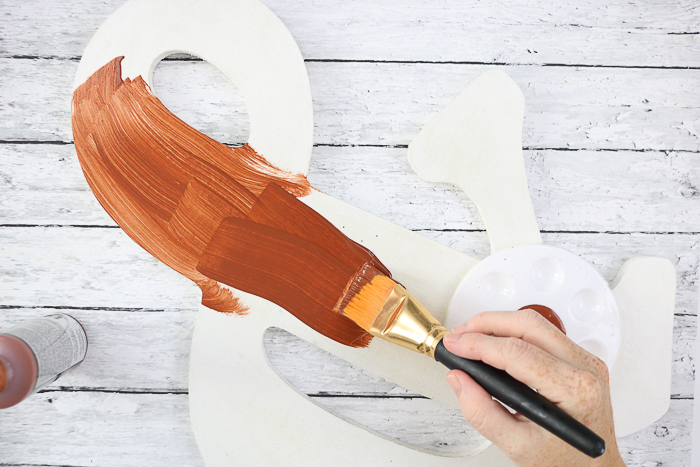
1. Use the primer to paint the surface of the ampersand.
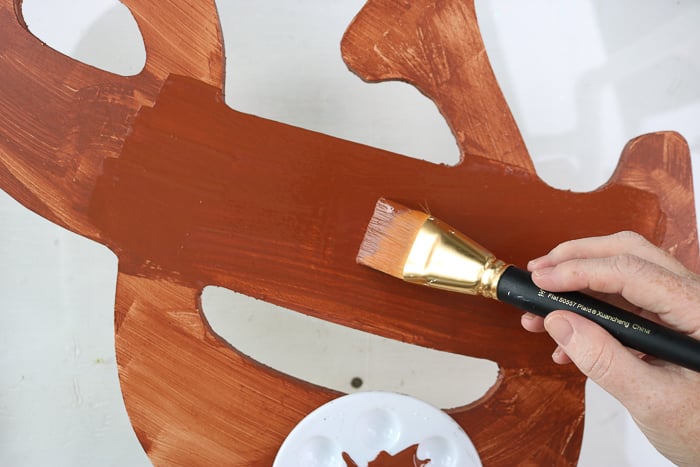
Start with the primer and go over the surface with two coats. You will want to shake or stir the product well then apply one coat. Allow to dry at least 30 minutes.
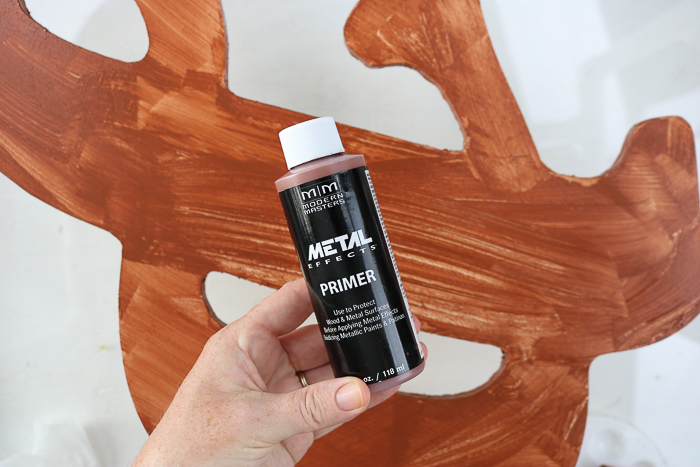
Then you will need to add a second coat to the entire project. Be sure to paint the top as well as the sides.
After the second coat of primer is added, be sure to allow to dry for at least 12 hours before continuing.
2. Use the Oxidizing Iron Paint.
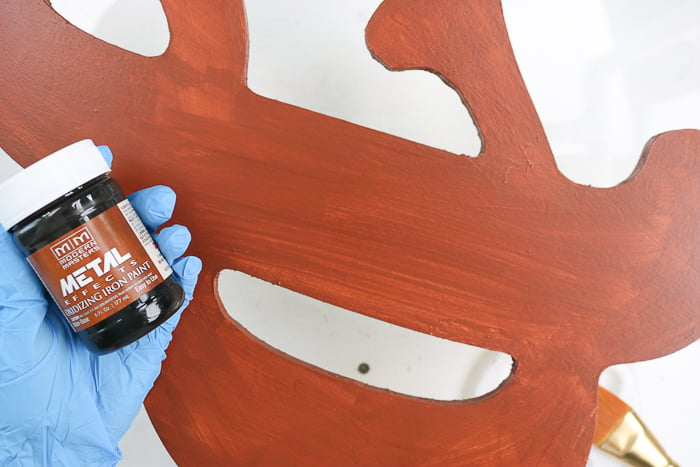
Then it is time for the oxidizing iron paint. You will want to wear gloves when working with this product or wash your skin immediately upon contact.
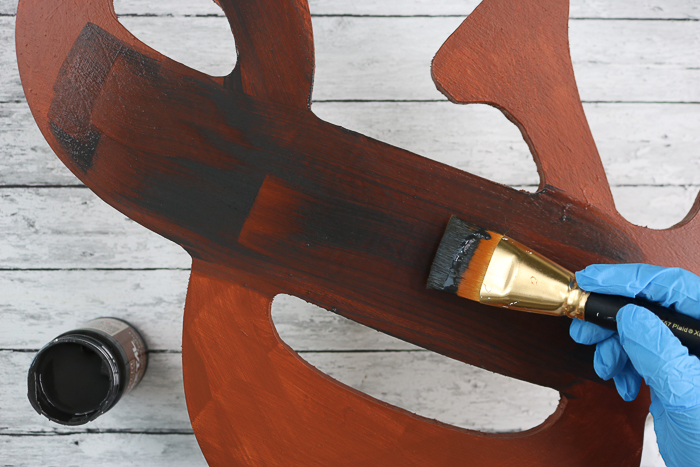
This will also require 2 coats. Add your first coat and allow to dry for 30 minutes.
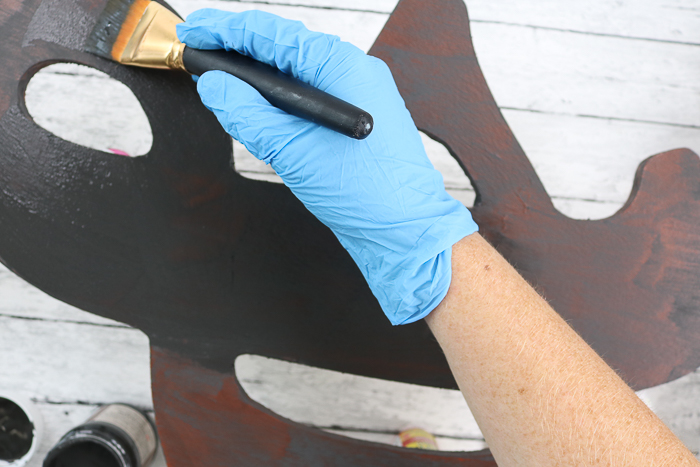
Then paint with the second coat and allow to dry for one hour before continuing.
3. Apply the rust activator to the ampersand for the rust effect to take place!
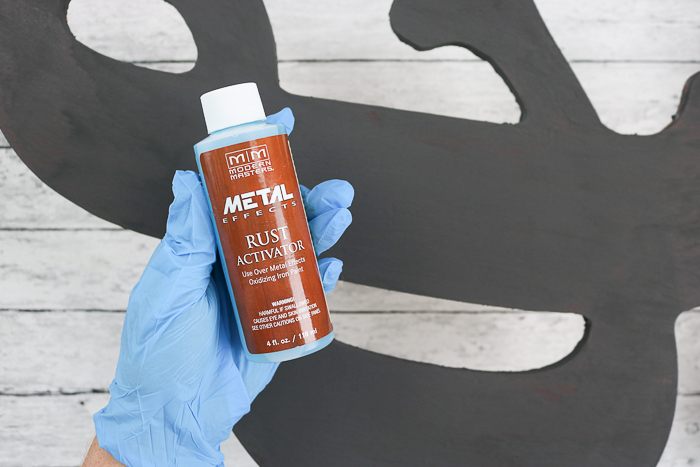
Once your paint has dried for an hour, it is time for the magic to happen with the rust activator! You can use a brush, sponge, or even a spray application for this product. Just be sure to wear gloves, safety glasses, and an apron when working with the activator.
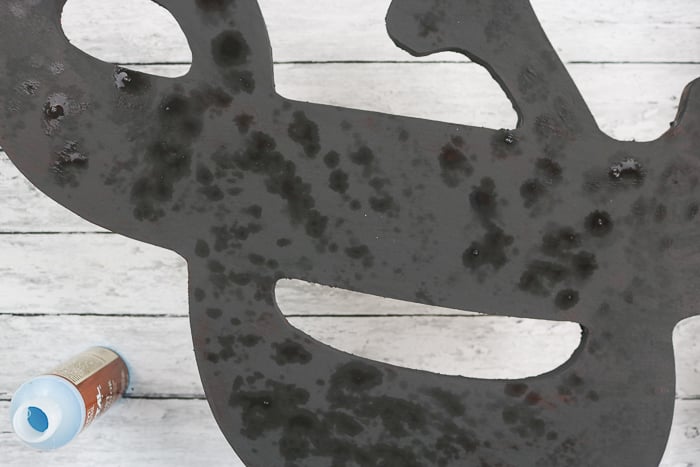
I just used a sponge and lightly dabbed the product randomly in all areas. Be sure to get the top as well as the sides. You can add as much or as little of this as you would like. The more you add the rustier your final product will be. Apply one coat, wait 5 minutes, then add another coat.
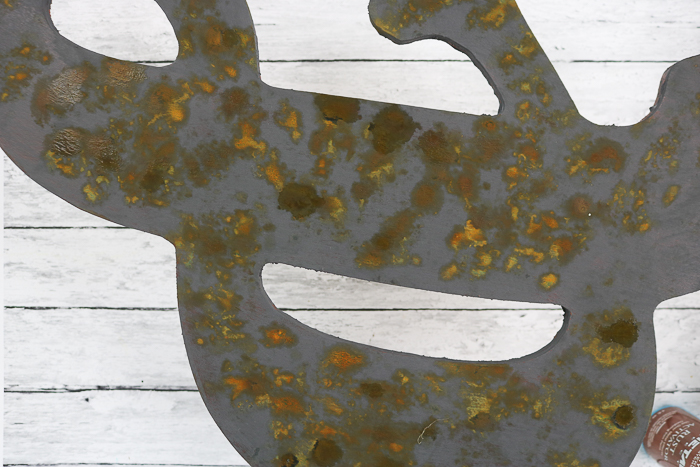
As the product dries, you will begin to see the magic happen. This is where the rust effect paint really starts to shine. The following picture is after 30 minutes.
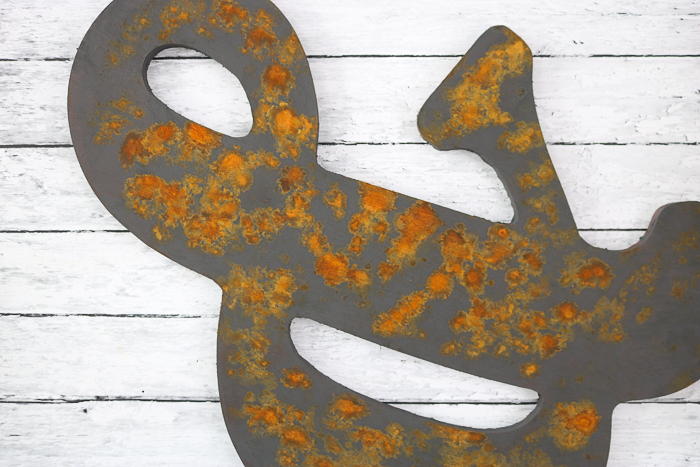
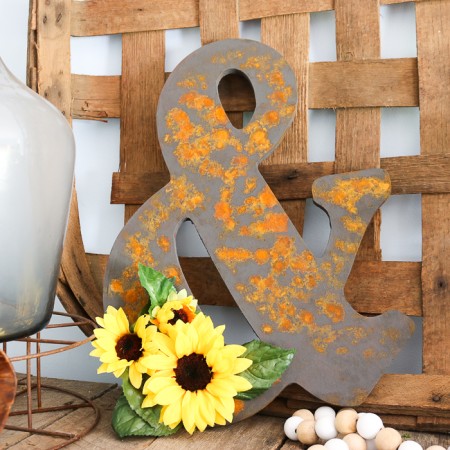
The following morning I was left with an ampersand that was perfectly rustic!
I used hot glue to add a few sunflowers to the corner to complete the look. You can add whatever you would like to complete your project.
Supplies
- Modern Masters Metal Effects Primer
- Modern Masters Metal Effects Oxidizing Iron Paint
- Wood Ampersand
- Modern Masters Metal Effects Rust Activator
- Sunflowers
- Hot glue and a glue gun
- Paintbrushes
- Sponge
- Protective equipment like gloves safety glasses, and an apron
Instructions
- Start with the primer and go over the surface with two coats. You will want to shake or stir the product well then apply one coat. Allow to dry at least 30 minutes.
- Then you will need to add a second coat to the entire project. Be sure to paint the top as well as the sides.
- After the second coat of primer is added, be sure to allow to dry for at least 12 hours before continuing.
- Then it is time for the oxidizing iron paint. You will want to wear gloves when working with this product or wash your skin immediately upon contact.
- This will also require 2 coats. Add your first coat and allow to dry for 30 minutes.
- Then paint with the second coat and allow to dry for one hour before continuing.
- Once your paint has dried for an hour, it is time for the magic to happen with the rust activator! You can use a brush, sponge, or even a spray application for this product. Just be sure to wear gloves, safety glasses, and an apron when working with the activator.
- I just used a sponge and lightly dabbed the product randomly in all areas. Be sure to get the top as well as the sides. You can add as much or as little of this as you would like. The more you add the rustier your final product will be. Apply one coat, wait 5 minutes, then add another coat.
- As the product dries, you will begin to see the magic happen. This is where the rust effect paint really starts to shine.
- The following morning I was left with an ampersand that was perfectly rustic!
- I used hot glue to add a few sunflowers to the corner to complete the look. You can add whatever you would like to complete your project.
Video
Remember that this rust effect paint creates an authentic rust finish. So, the rust will rub off on other surfaces. Just remember that for when you place your completed project around your home.
You will love this rust effect paint and the look it gives to your projects! Be sure to pick up the three products and give them a try around your home!

