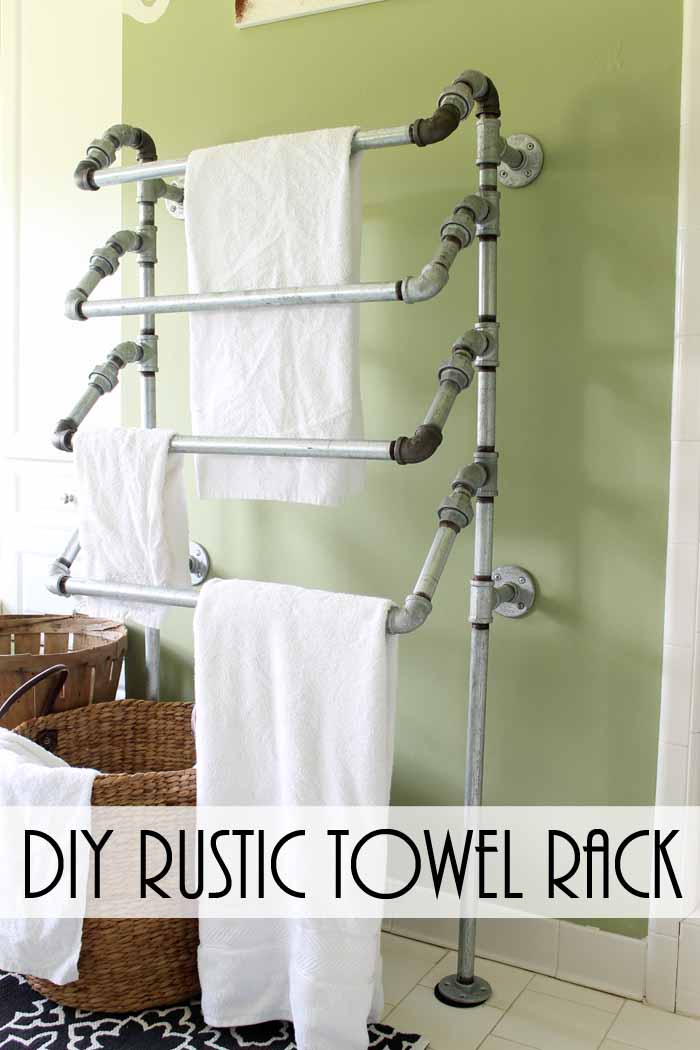
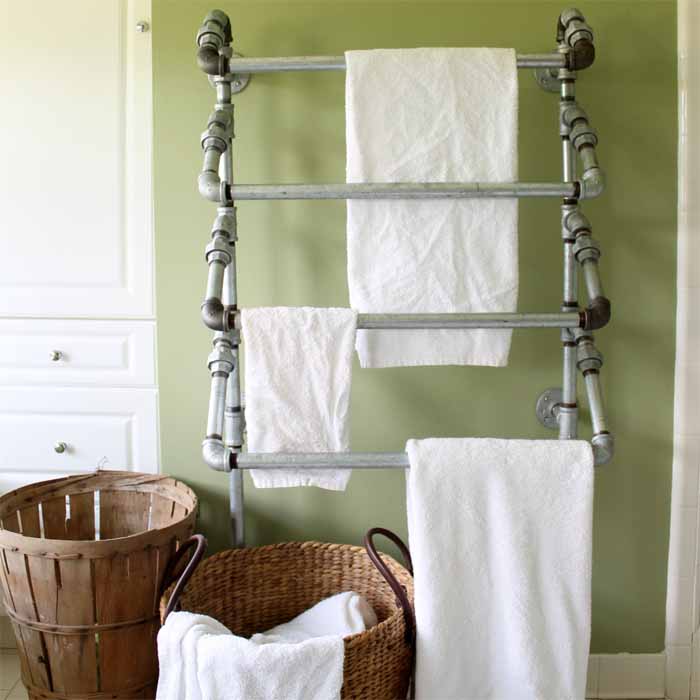
You can make a rustic towel rack for your bathroom from pipes. How do I know you can do it? Because we did it and it is awesome! This is definitely not one of those budget friendly projects. Galvanized pipe is expensive! But this results are so worth it. I finally have something functional that also fits in with my farmhouse style. We love the results!
So this is usually the place where I have all of the in-process pictures to show you just how this came together. Instead of that, I have a story for you…
I had been dreaming of a towel rack like this for quite sometime. I ran the idea by my husband to see if he thought it would work and how feasible the entire thing was to make. We actually drew up some plans and did some measuring that very night. All indications were that it was a go. The very next day I flew out of town on business for a few days. I returned from the trip in the middle of the night to find the rustic towel rack of my dreams sitting on the floor!
It was a wonderful surprise but I still wanted to share a bit about the entire thing with you. That way if you are looking to build your own, maybe you can at least get some ideas and be inspired.
How to Plan & Create a Rustic Pipe Towel Rack
Step 1: Draw Up Plans and Measurements
First of all, we drew up plans with measurements. We went with standard lengths of pipe but you could get pipe custom cut and threaded for this project. We also went with standard connections that would allow us to get the tiered look that we wanted. If you do not know what the standard sizes are, just look up galvanized pipe on any home improvement store website and they should be listed.
Step 2: Gather the Pipe Pieces and Assemble Your Rustic Towel Rack
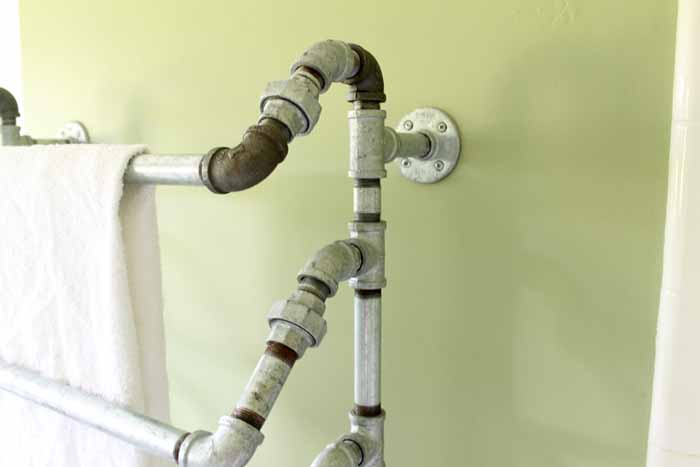
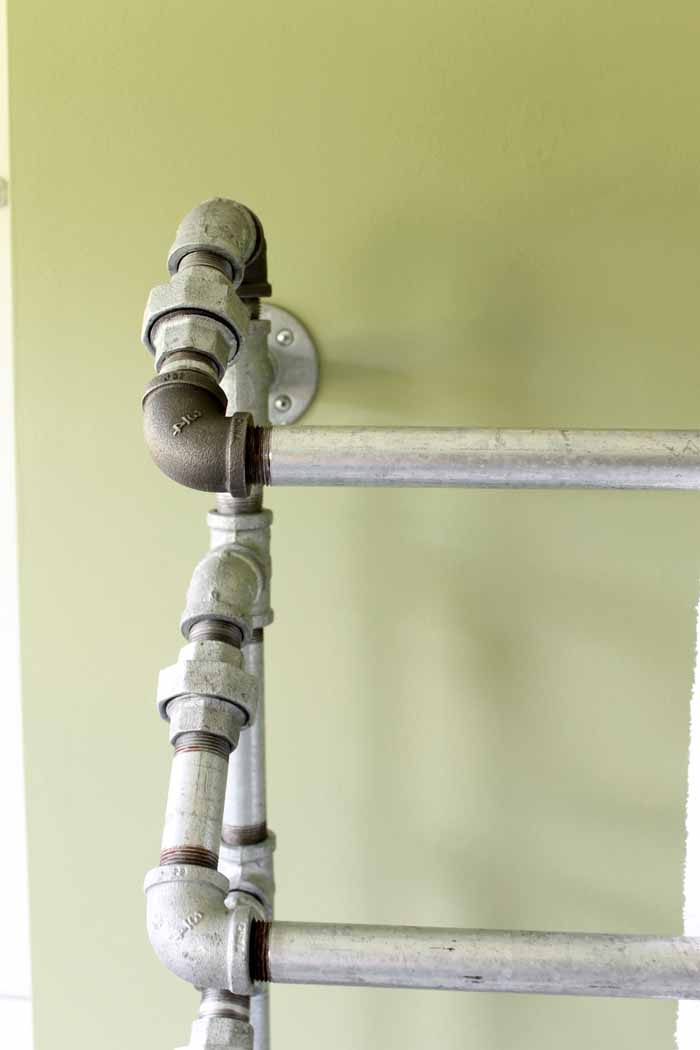
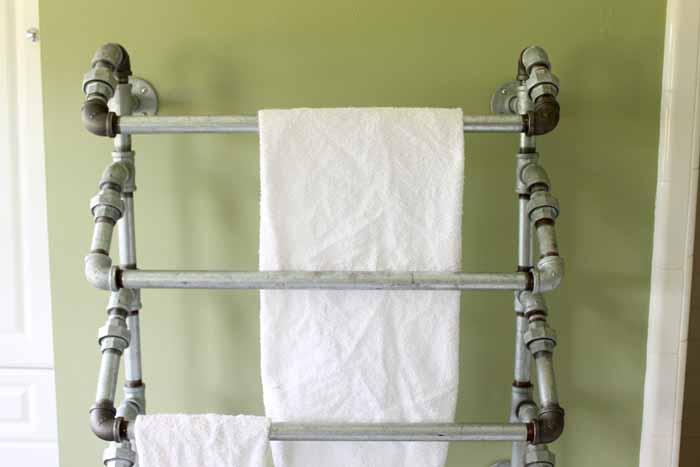
Second, we tried to go with galvanized in all cases but had to add in some black pieces due to availability. The galvanized finish does protect against rust more than the black. However, my husband did not use any glue when assembling the rustic towel rack. It is just screwed together. So at any time, we can disassemble and replace any pieces as needed.
Step 3: Bolt Your Rustic Towel Rack into the Bathroom Wall
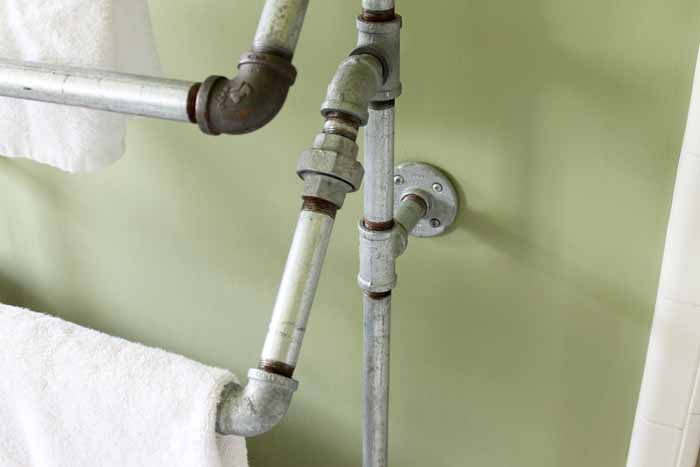
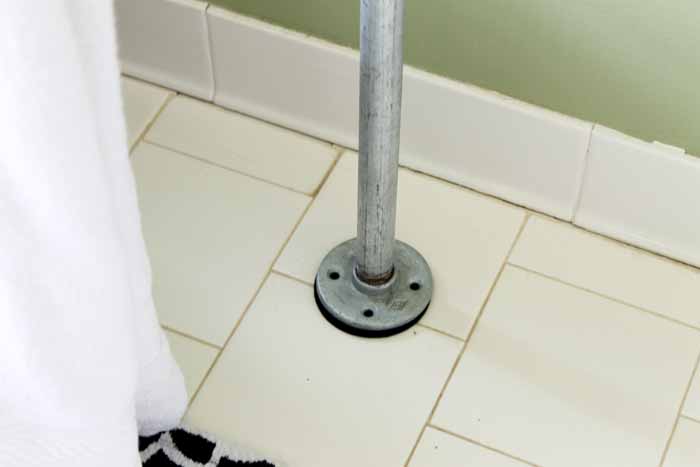
He added four connectors that bolted to the wall. Two at the top and two about in the middle as shown. He also added “feet” that just set on the floor. Then he had a piece of rubber cut to go under the feet to protect the tile. A few of the screws in the wall are into studs just to protect any children that decide this is a jungle gym.
We decided to leave our towel rack raw for now. I can pull it down easily and paint or clear coat later. I read up on clear coating galvanized and it is actually not recommended. So we just gave our rustic towel rack a good cleaning and put it up for use. We have used it for a few months now and area thrilled with the results.
Everyone has a place to hang their towels and they all dry marvelously! Plus it is the only towel rack I have ever had in my home that actually works with my decor. That my friends is worth any price. This idea actually came up after I added these water spigot hooks to the room. This room is really coming along y’all! Will you be making a rustic towel rack for your home anytime soon? Ever thought about using pipe? If you want instructions for making a smaller version of this, just click here.



looks awesome this is inspiring me to do my bathroom a bit different again in one of the houses I lived in the faucet handles were outside spicket handles made it very charming this would go well with that
come see us at http://shopannies.blogspot.com
That is really cool! I would love that for hanging towels on outside, too! 🙂
It would be perfect by the pool!
I so love this idea! 🙂
I would love for you to share this with my Facebook Group for recipes, crafts, tips, and tricks: https://www.facebook.com/groups/pluckyrecipescraftstips/
Thanks for joining Cooking and Crafting with J & J!
I love the industrial look of these pipes and lots of hanging space too.
Industrial DIY at it’s very best. Pipes under the sink and on the wall. Great idea!
Love this Angie! It turned out beautifully. What a great idea. Thanks so much for linking it up to the Inspiration Galore Project party last week. Hope you are having great weekend!