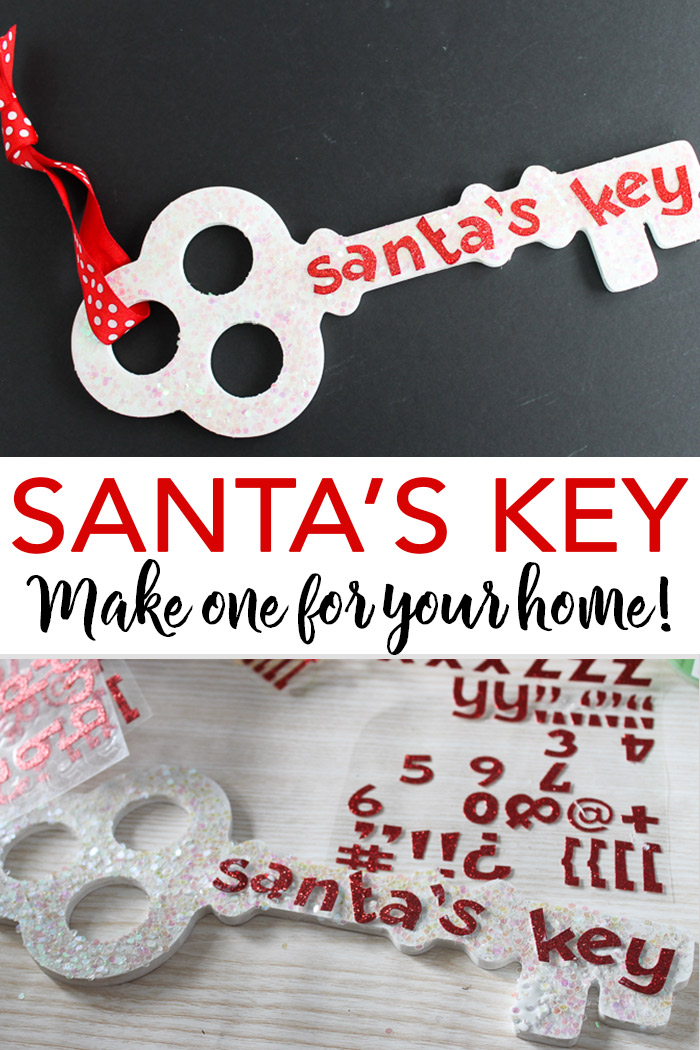
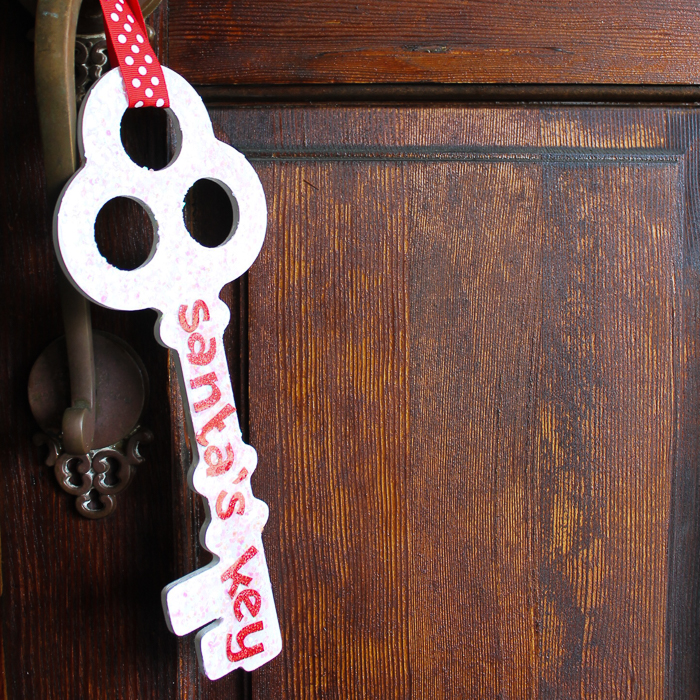
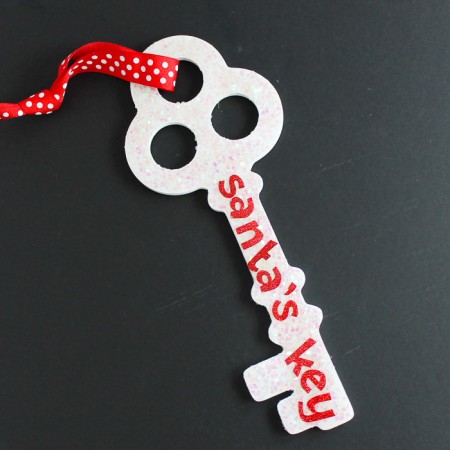
If you have kids and a home without a chimney, you need Santa’s magic key so that Santa can get inside to deliver his presents! Make one for your family with this easy tutorial.
The holidays are around the corner! However, if you’re one of the millions of people who have a home that doesn’t have a chimney, Santa’s visit on Christmas Eve can be a bit of a challenge with the kids.
How does Santa’s key work? This magical key will open the door to your home on Christmas Eve, letting the big guy in no matter if you have a chimney or not (but it’s super helpful for those that don’t have a chimney!).
You can actually craft your own Santa’s magic key and give it to your kids this year. Just follow along below to see how and surprise your kids with this fun and unique key to give the kids this year (or have your Elf on the Shelf bring it if you do that tradition)!
Don’t forget those Christmas Eve cookies on a special DIY Santa Cookie Plate.
Note: If you’re looking for even more Christmas inspiration, check out our Terra Cotta Santa Craft, Santa Wood Slice Ornaments, and Santa Garden Flag.
How To Make Santa’s Magic Key
Here’s everything you need to know to make this adorable craft.
Supplies Needed
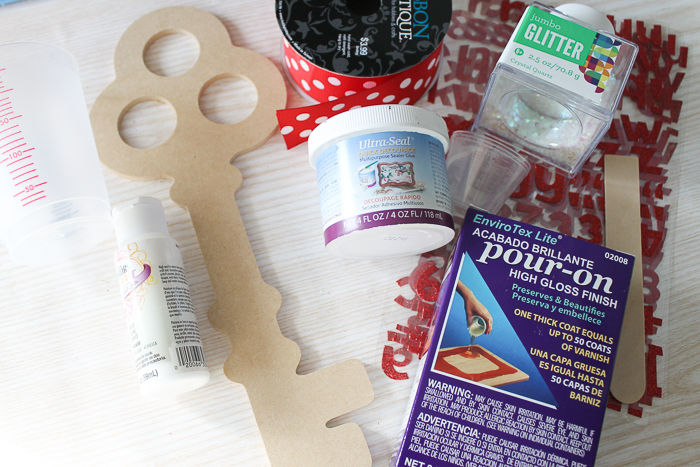
Here’s what you’ll need for this craft. I’ve even included a few handy links to help you find some items faster and more easily.
- Wood key (I used a 12-inch key)
- White craft paint
- Large chunky glitter
- Decoupage
- EnviroTex Lite Pour-on High Gloss Finish
- Glitter letters
- Ribbon
- Stir sticks
- Measuring cups
- Mixing cups
Santa Key Instructions
Check out our step-by-step instructions to guide you through the process.
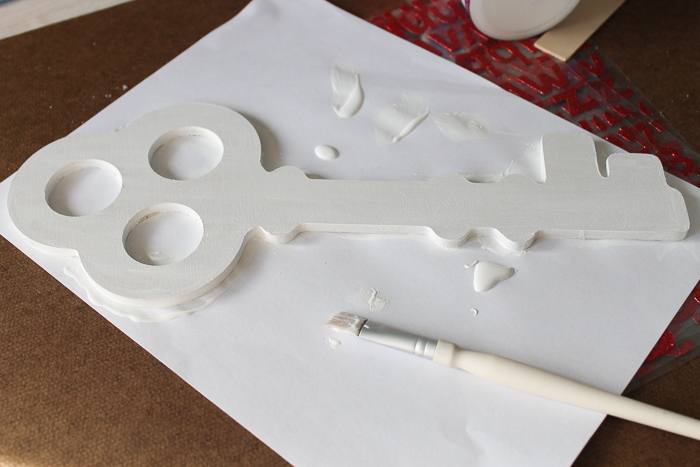
Step 1
Start by painting the key white. Take care to paint all sides and surfaces of your Santa’s magic key. Paint one side, allow it to dry, then flip and paint the other side.
Allow the entire key to dry completely before continuing.
Step 2
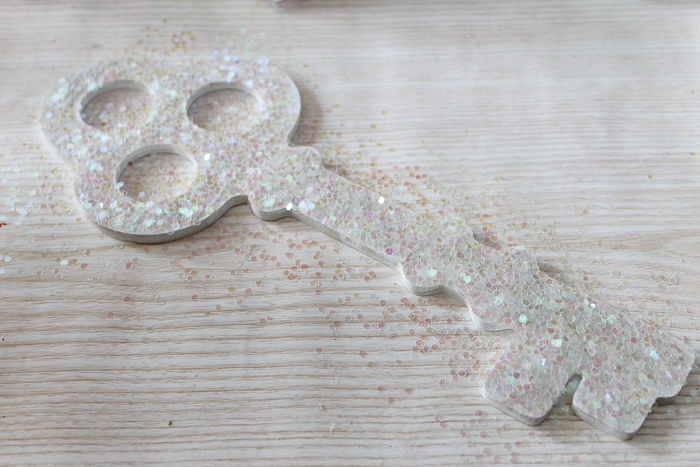
Next, add decoupage to the front and liberally sprinkle with glitter. Shake off any excess and allow to dry completely.
Step 3
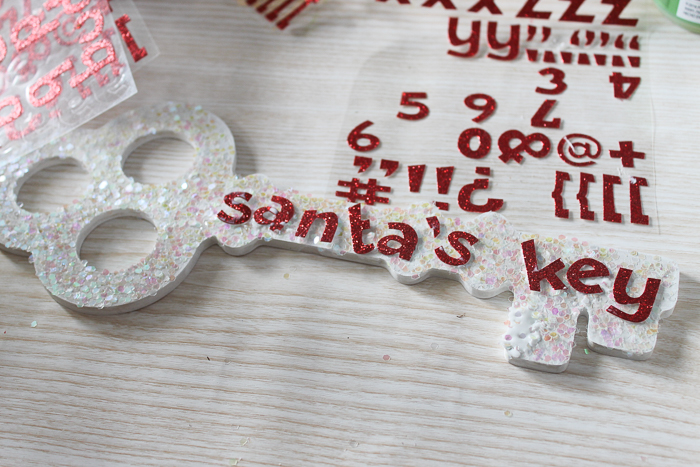
Then add on glitter sticker letters spelling out ‘Santa’s key’.
Note: You may need to use glue to get these to stick to the glitter, depending on how strong the adhesive is on the stickers.
Step 4
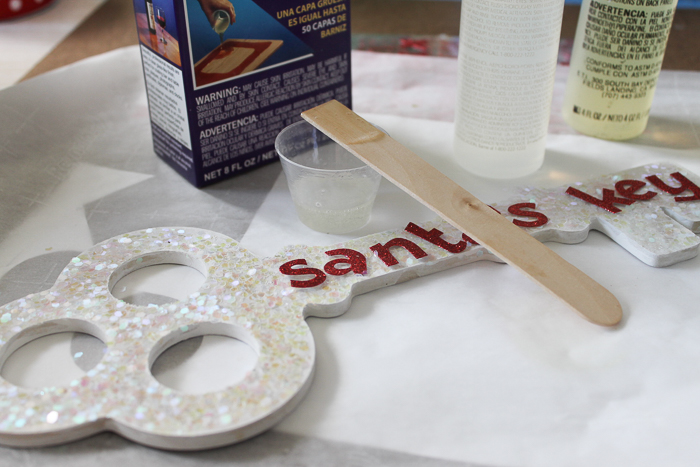
Then measure and mix your resin according to the package directions. The mixing is the most important part of the process.
Pro Tip: Make sure to follow all safety precautions when working with this product.
Step 5
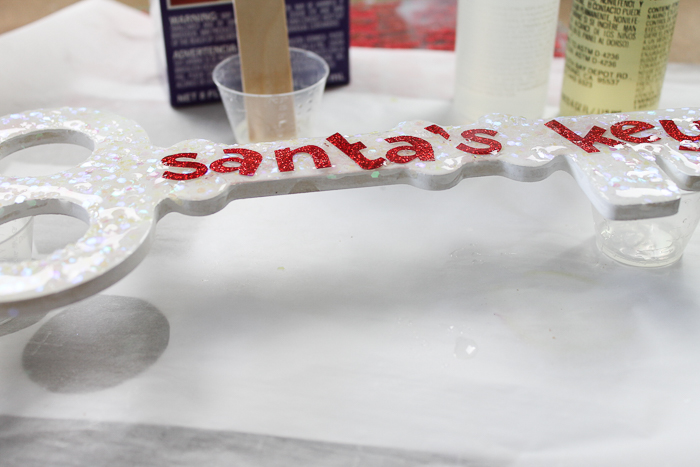
Take a couple of extra measuring cups and use them to lift the key up off of my work surface. I highly recommend covering your work surface in disposable paper to protect it.
Then just pour on the finish until the entire front of the key is covered, but you don’t want it to be spilling over the sides.
Step 6
Allow curing for approximately 24 hours in a level position. Once it has finished curing, add a ribbon to the top so you can hang it from the doorknob.
Then your cute Santa’s magic key will be ready to hang on your front door this year for the holidays!
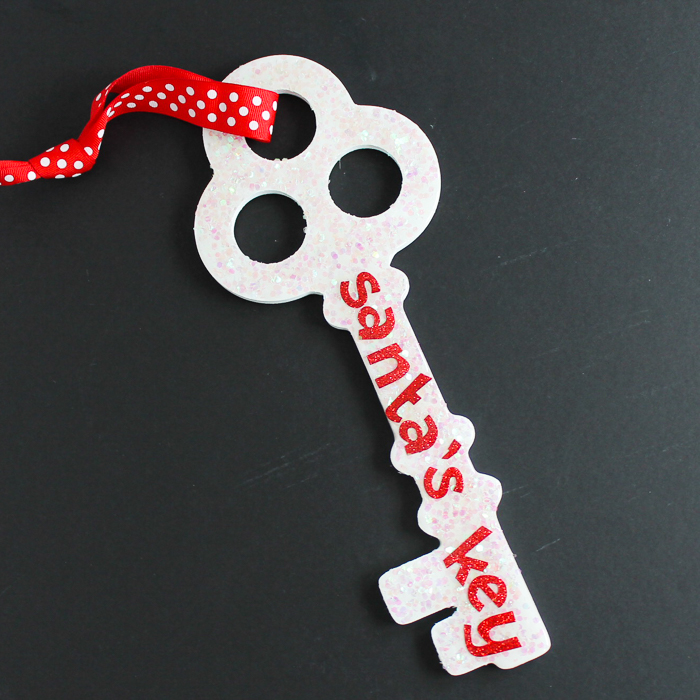
Santa won’t miss your house since he can use this magic key to enter on Christmas Eve! Your little ones will be so excited to hang the key year after year.
FAQs
Here are a couple of questions that I see readers ask about making and using a Santa Key. If you have a question, please check to see if I’ve already answered it below. Don’t see your question? Leave it for me in the comments!
Who needs a Santa key?
Anyone who lives in a condo, townhome, or apartment needs a Santa key. Also, if you live in a home with a small chimney (so many Christmas cookies make it a tight fit!) or no chimney, one of these keys would be great for you!
Can I make a smaller key?
I really wanted our key to be large enough for Santa to see it so he would know he could deliver gifts to our home. If you prefer to make a smaller key that you either hang or leave on the table or by the stockings, it will work the same way. It IS Christmas magic, after all!
Doesn’t this key look amazing? I love the final product!
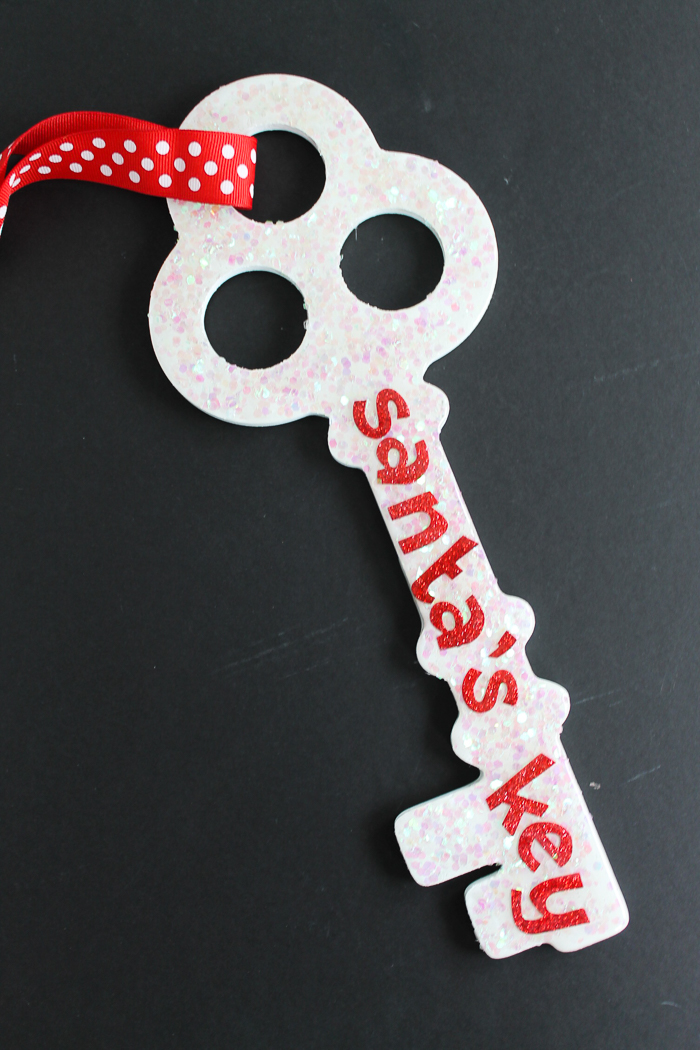
And you will love how durable this finish is because Santa’s magic key will last for a really long time!
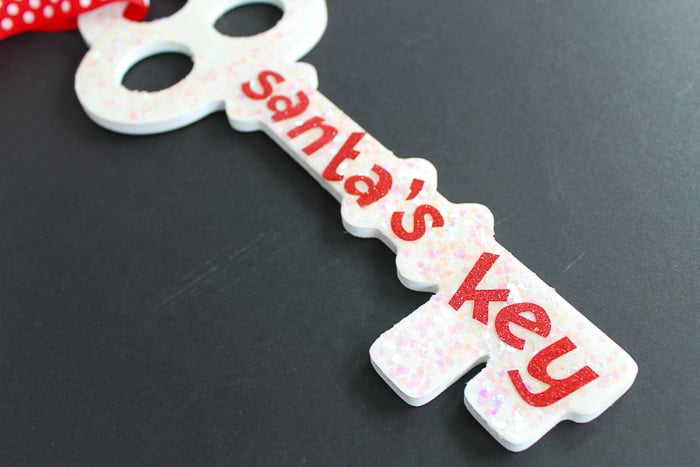
So, don’t wait – go grab your supplies and make Santa’s magic key today!
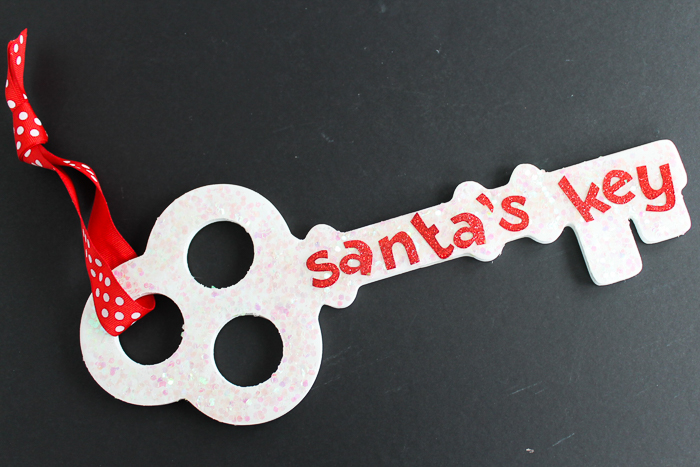
This is such a cute and easy project that’s perfect for Christmas. Another idea is to add Santa’s key to your Christmas tree as a decoration until the big night arrives! Y’all enjoy, and I hope your children have a ball with this one too!
More Christmas Crafting Inspiration
Do you love this Santa’s magic key project and want more holiday crafting ideas? Try the links below!

Struggling with resin and need help?
I know that a ton of you are intimidated by resin. Don’t be! You just need to know the basics and gain some experience with the medium. I have a course that will help you master epoxy resin and give you the confidence you need to tackle this project and so much more.
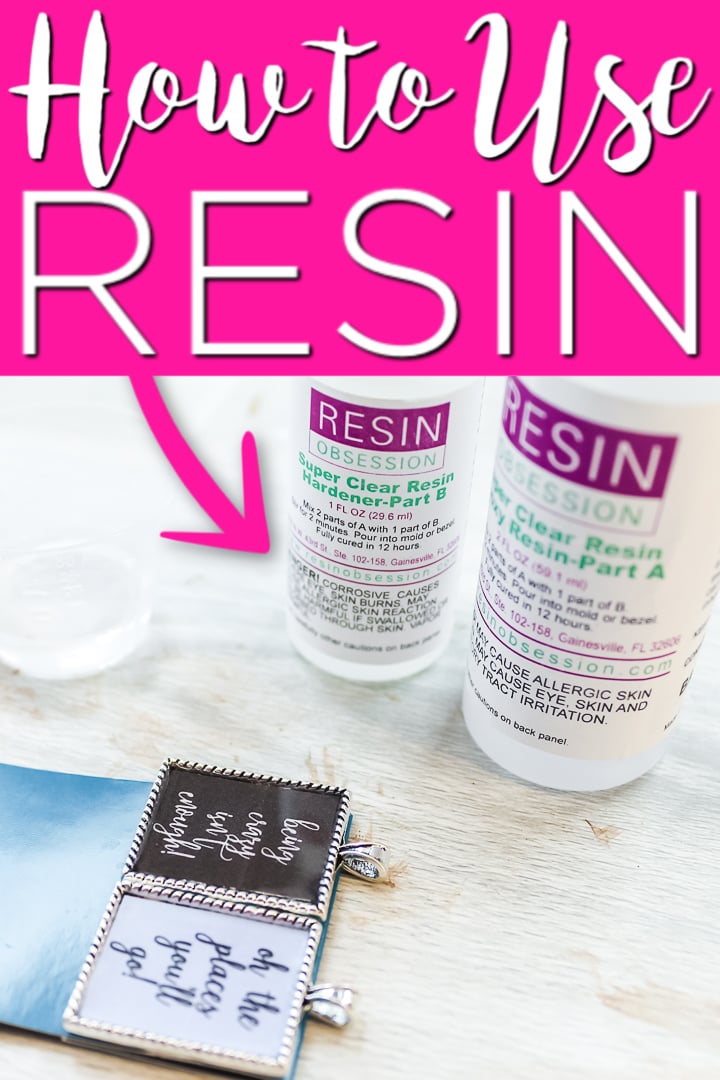
With unique insights drawn from more than a decade of creating and selling resin jewelry worldwide, this course is from an Amazon best-selling author on the topic. This class goes beyond making a few projects. You get thirty video lessons to give you clear directions on how to make resin jewelry you can confidently share and sell. Want to see more?
Supplies
- Wood key I used a 12" key shape
- White craft paint
- Large chunky glitter
- Decoupage
- EnviroTex Lite Pour-on High Gloss Finish
- Glitter letters
- Ribbon
- Stir Sticks
- Measuring cups
- Mixing cups
Instructions
- Paint all sides and surfaces of the key white with craft paint. Paint one side and allow it to dry before flipping and painting the other side.Allow the entire key to dry completely before continuing.
- Decoupage to the front and sprinkle on a good amount of glitter. Shake off any excess and allow the key to dry completely before moving on.
- Next, attach glitter sticker letters to spell out ‘Santa’s key’. Because the glitter is chunky, you may need to use glue to attach the letters securely.
- Measure and mix your resin according to the package directions. Take care with the mixing because it is the most important part of the process.Pro Tip: Closely follow all safety precautions when working with this product.
- I highly recommend covering your work surface in disposable paper to protect it. Then use extra measuring cups to lift the key up away from the work surface. Pour on the finish until the entire front of the key is covered without spilling over the sides.
- Leave the key level and untouched for 24 hours to allow curing. Add a ribbon to the top so you can hang it. Your cute Santa key will be ready to hang on your front door this year for the holidays!



This is SO cute! What a GREAT idea! We never had a chimney . . . lol I can’t remember what I told my kids!
what a super cute answer to many little ones ears how to get inside without a chimney. Thanks for sharing come see us at http://shopannies.blogspot.com
If you can’t find a wood key, get an image off the net and cut it out of a yogourt tub. Cut two and glue them together with printed sides in