If you’ve converted an Epson Ecotank printer to use for sublimation, you know how important it is to print regularly from your printer. Today I’m going to teach you how to schedule sublimation prints on an Epson EcoTank so you can leave home without fear.
I don’t know about you but I’d like to enjoy my vacation without worrying about coming home to a clogged printer. With the tips I am going to share today, you can print to your printer no matter where you are.
If you are new to sublimation printing and want to know more about converting an Epson EcoTank to use with sublimation ink, I have a post that walks you through the whole process.
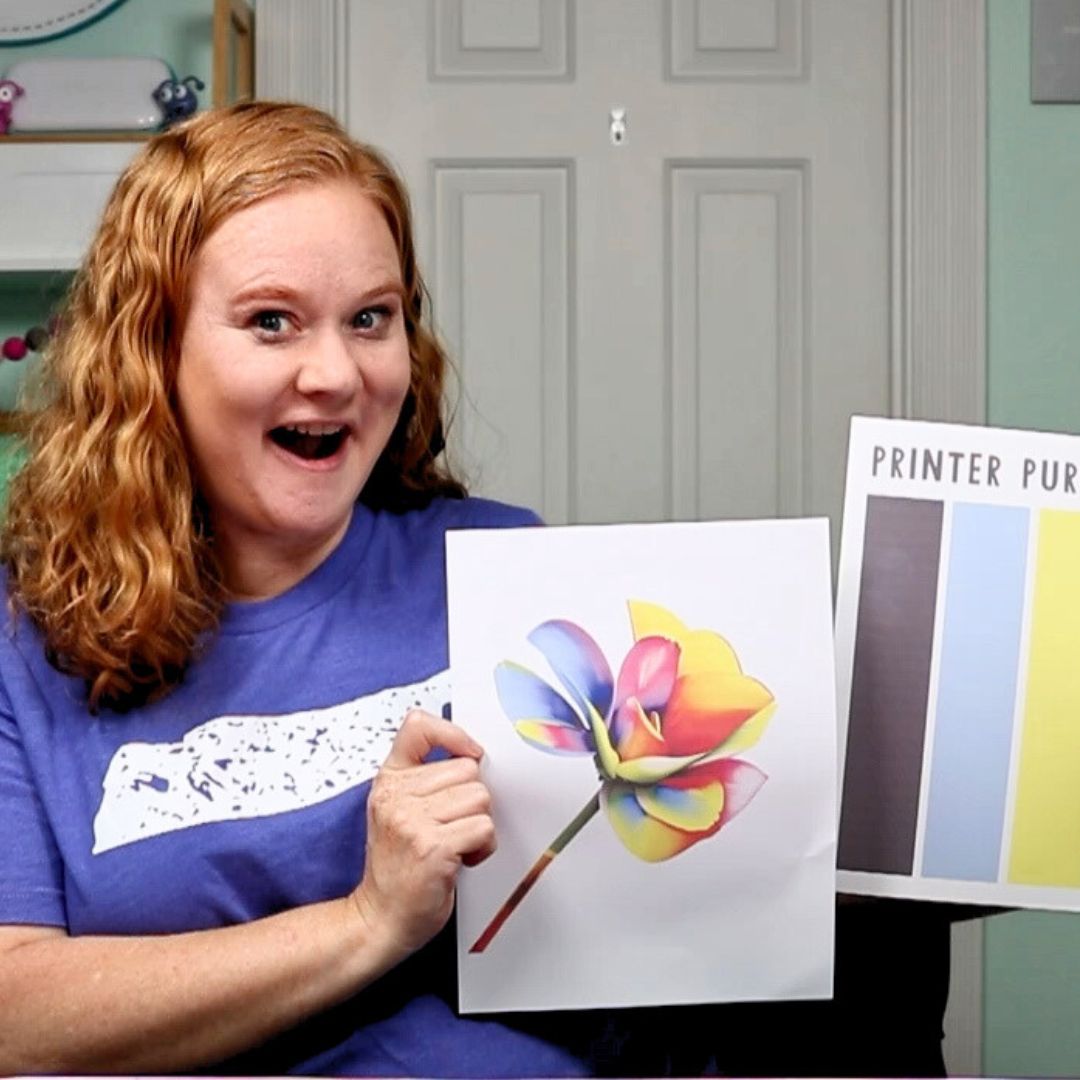
Why Do I Need to Schedule Sublimation Prints?
An Epson EcoTank printer is not a sublimation printer. Sublimation ink is not regular printer ink. Because of these two things, when you convert an EcoTank you’re asking it to do something it wasn’t made for.
Sublimation ink can clog if it sits in the tubing of the printer for too long. I always stress printing regularly to avoid clogs in your EcoTank printer.
You should print weekly to keep that ink flowing. If you own a different sublimation printer, you wouldn’t need to print as often but I still recommend regular printing.
Because an Epson EcoTank is not a sublimation printer as soon as you add sublimation ink you’ve voided the warranty. That means Epson will not help you if you get a clog. Clogged lines can permanently impact your printing abilities. It’s best to do all you can to avoid them in the first place.
You can watch me go through the whole process of scheduling sublimation prints by pressing play on the video below.
How Can I Schedule Sublimation Prints?
Scheduling sublimation prints is so much easier than I thought it would be. To begin, we need to set our printer up to accept emails.
Epson EcoTank printers have the ability to have their own email addresses. This allows them to receive emails and they will then print what they receive. With this feature set up, we can tell our printer to print from anywhere.
Epson EcoTank Email Setup
Setting up an email address for your EcoTank is so easy. To begin, on the front panel of your printer scroll until you see Settings and then click Okay.

Next, scroll until you see Epson Connect Services and click Okay on the Register/Delete.
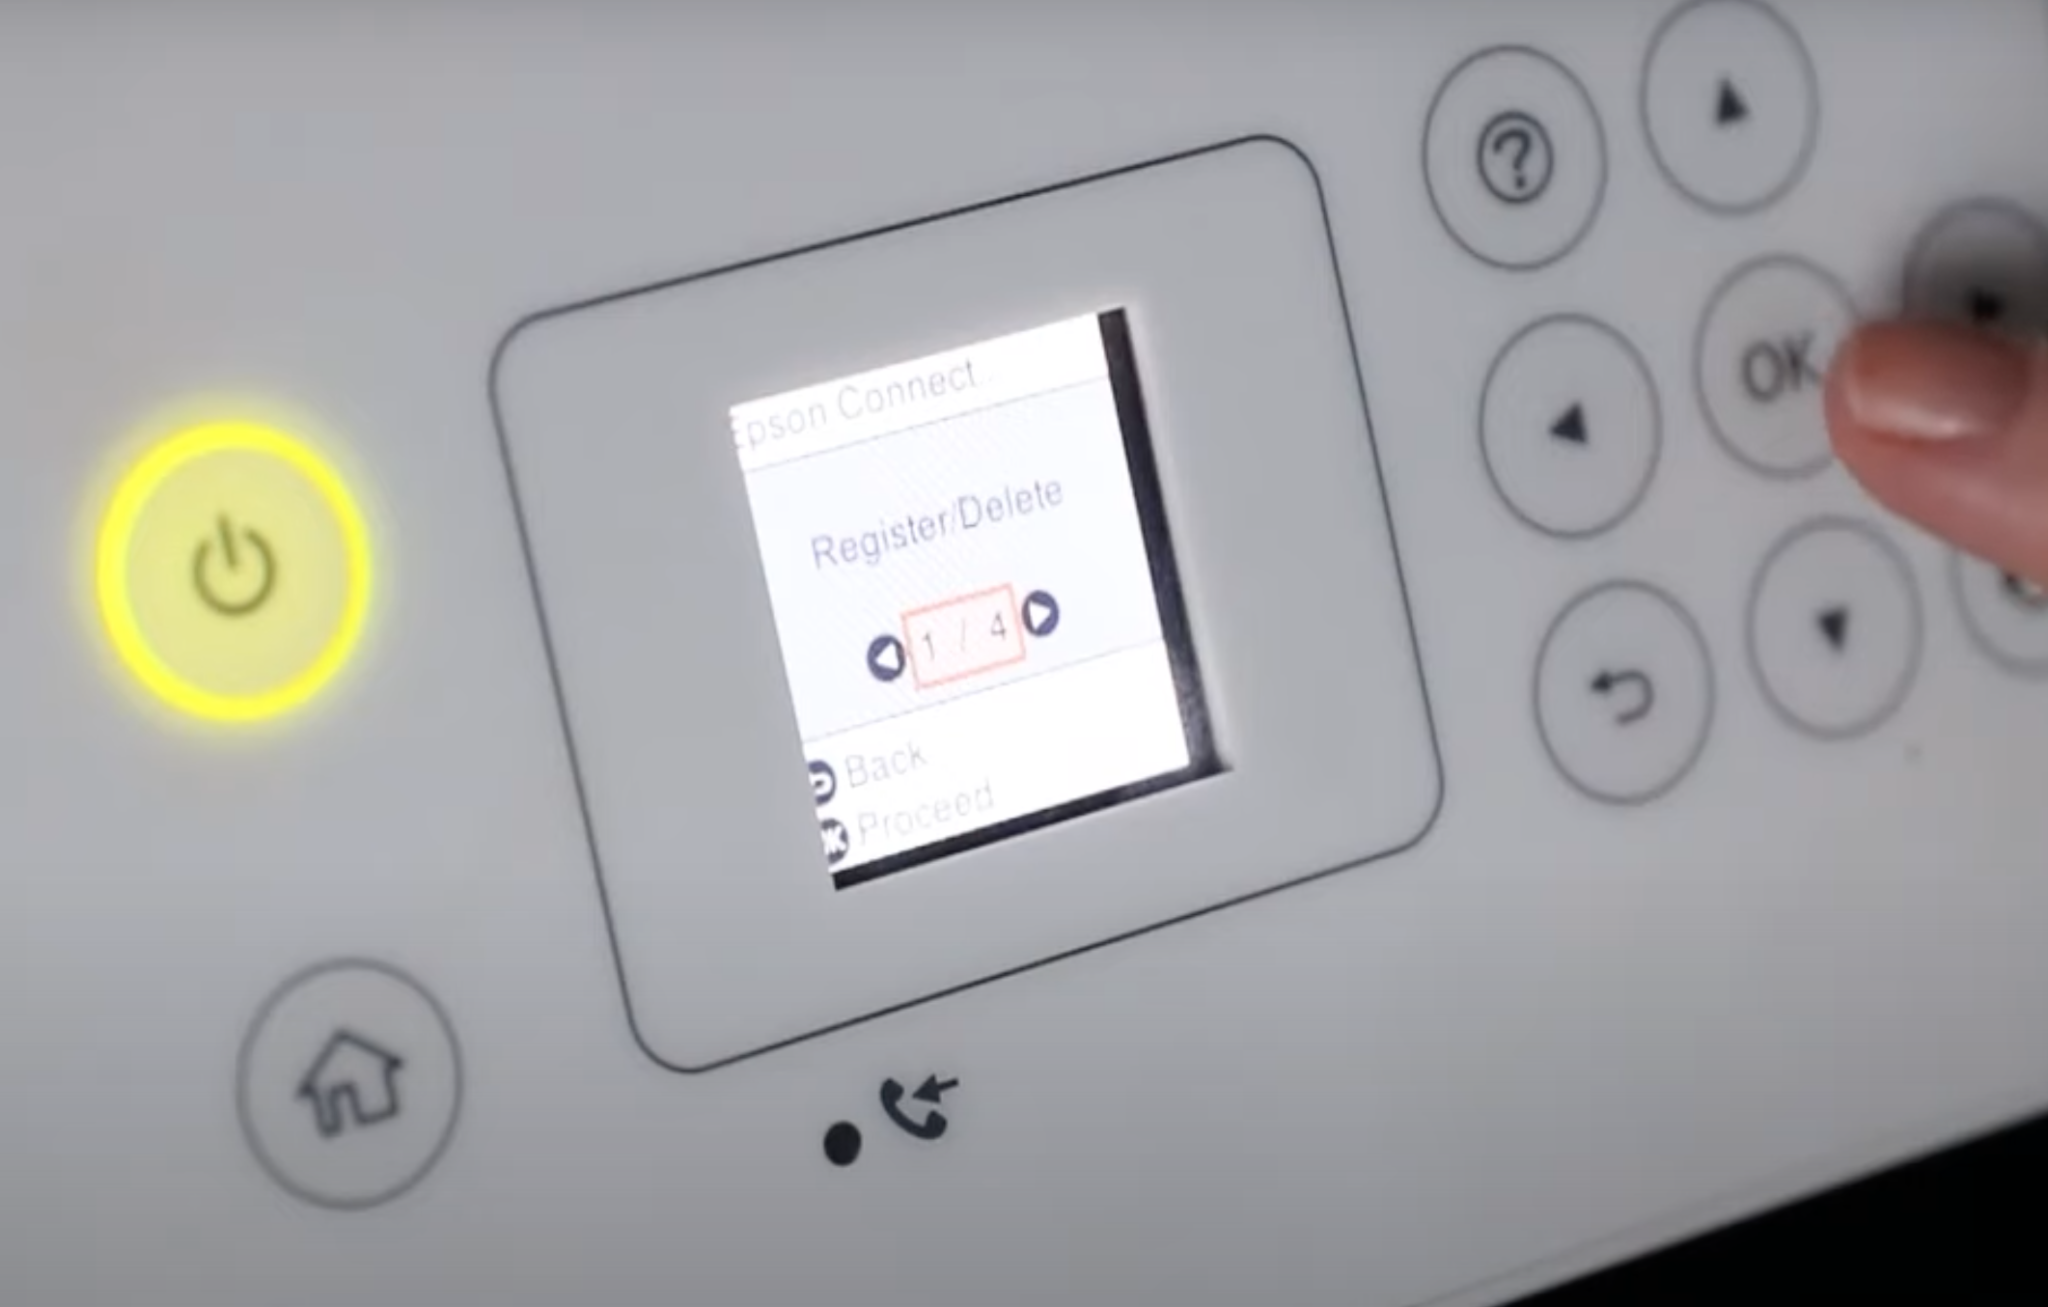
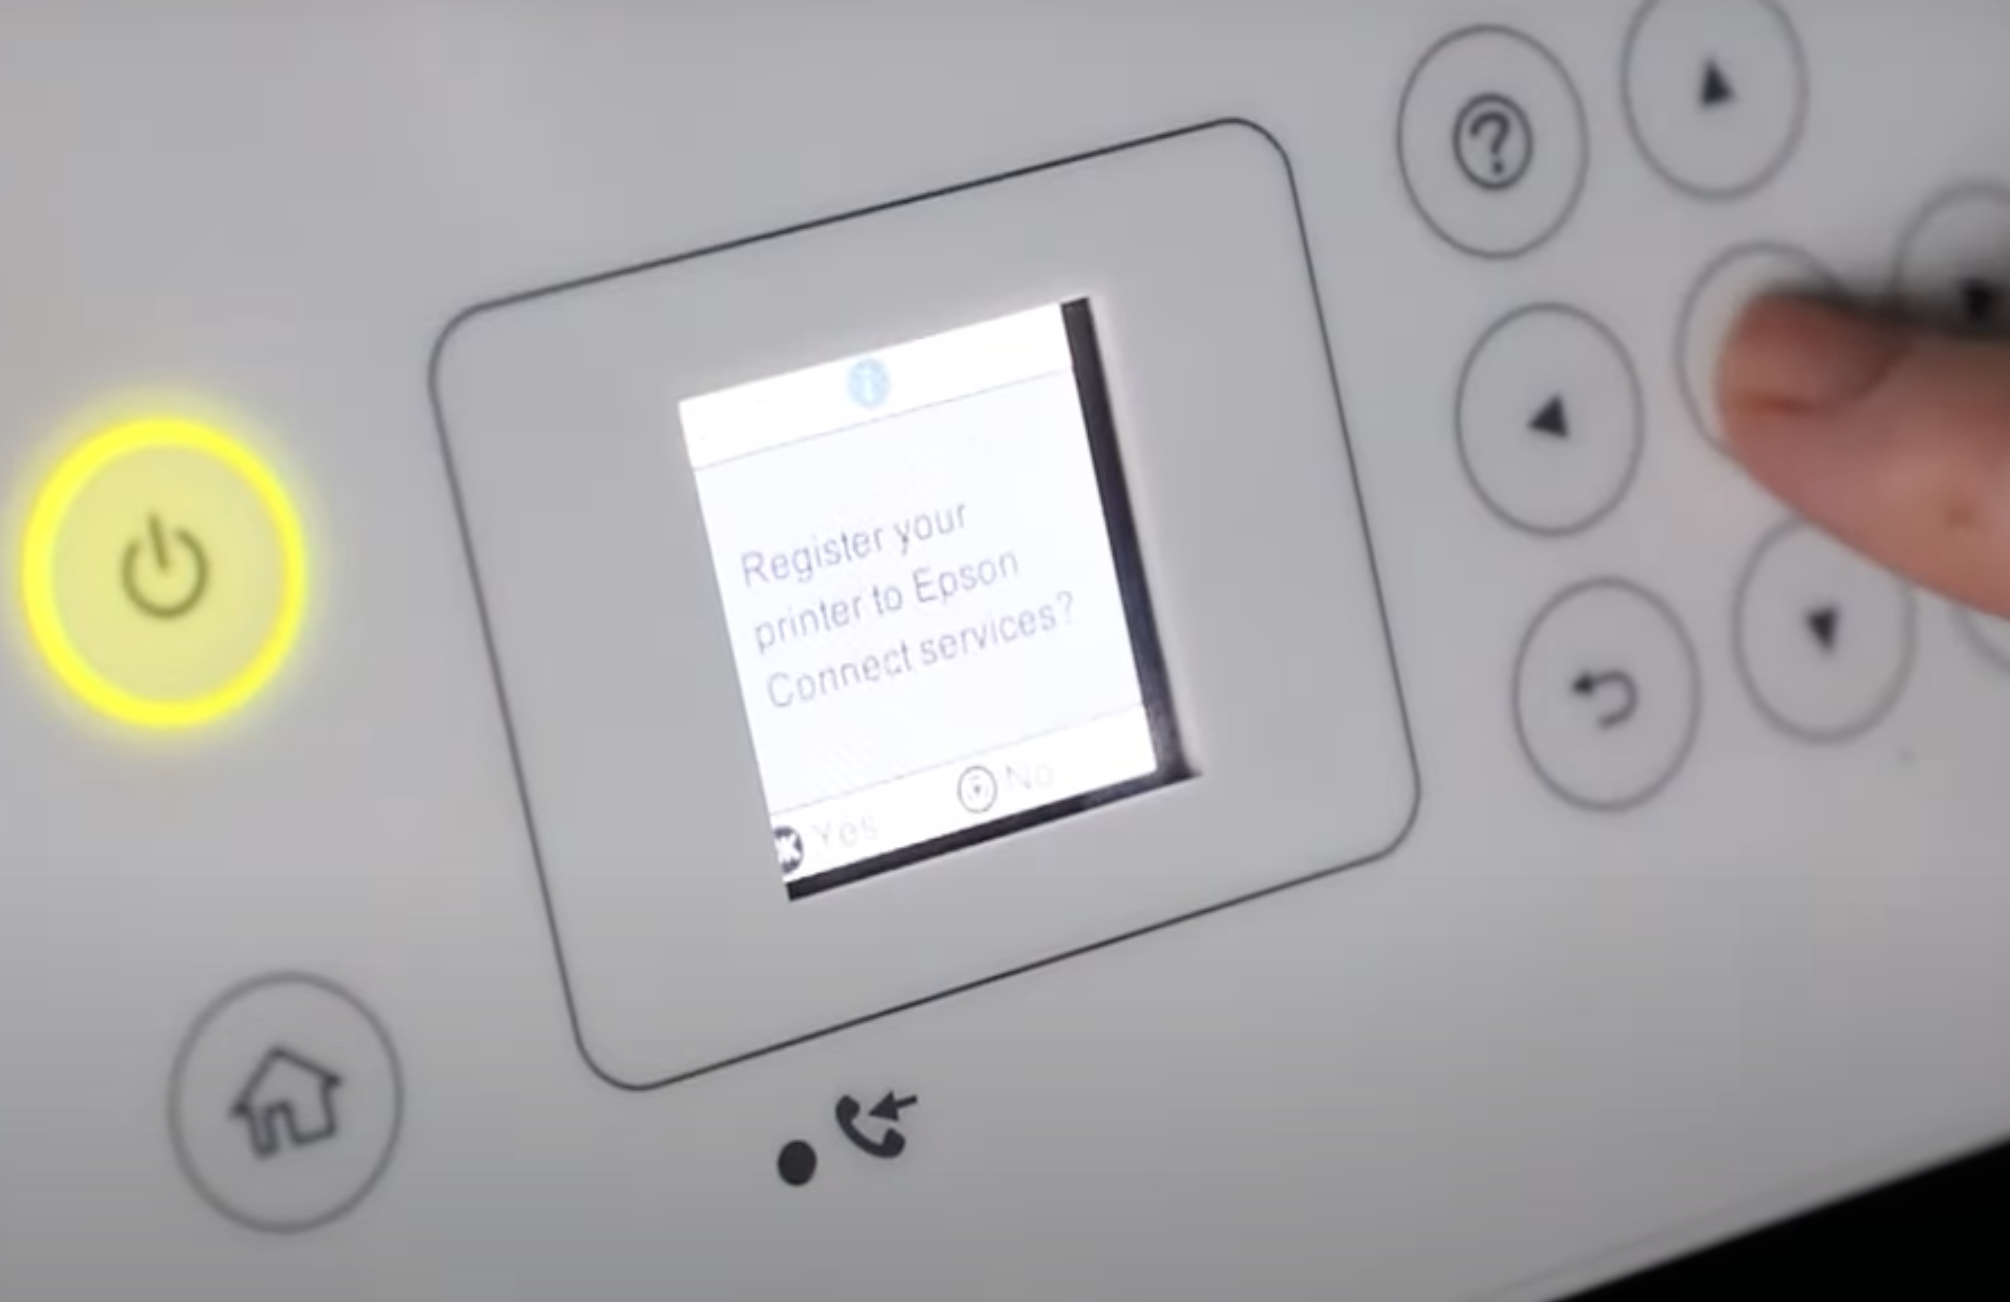
Now it will ask if you want to register your printer. Click Proceed and it will connect with Epson and print a registration sheet.
On that registration sheet, you’ll see a website you can go to or a code you can scan with your phone to register your printer for Epson Connect.
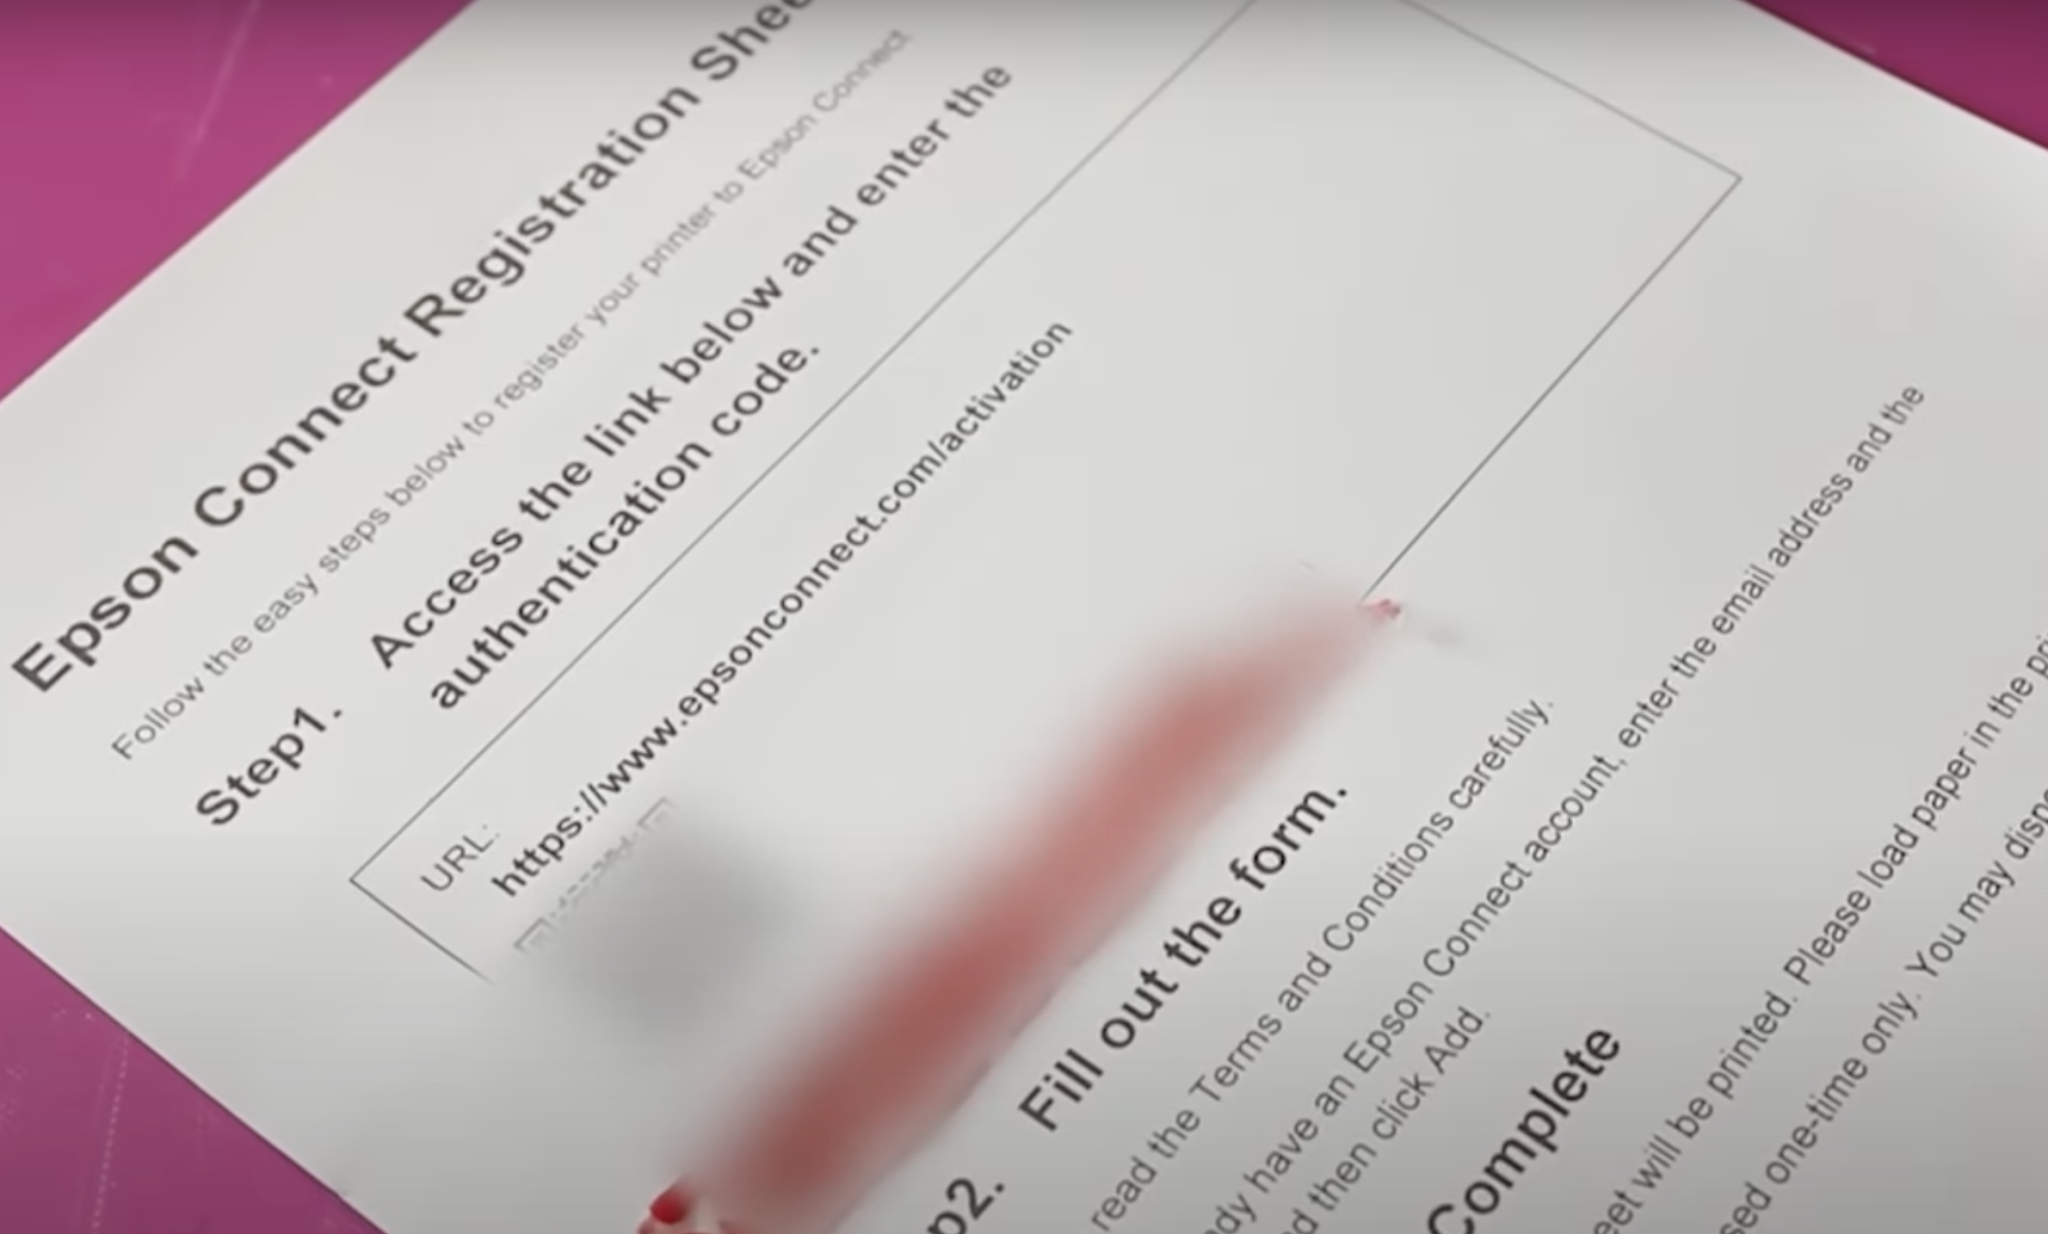
On that website, you will need to type in the authentication code that was on the registration sheet that was printed.
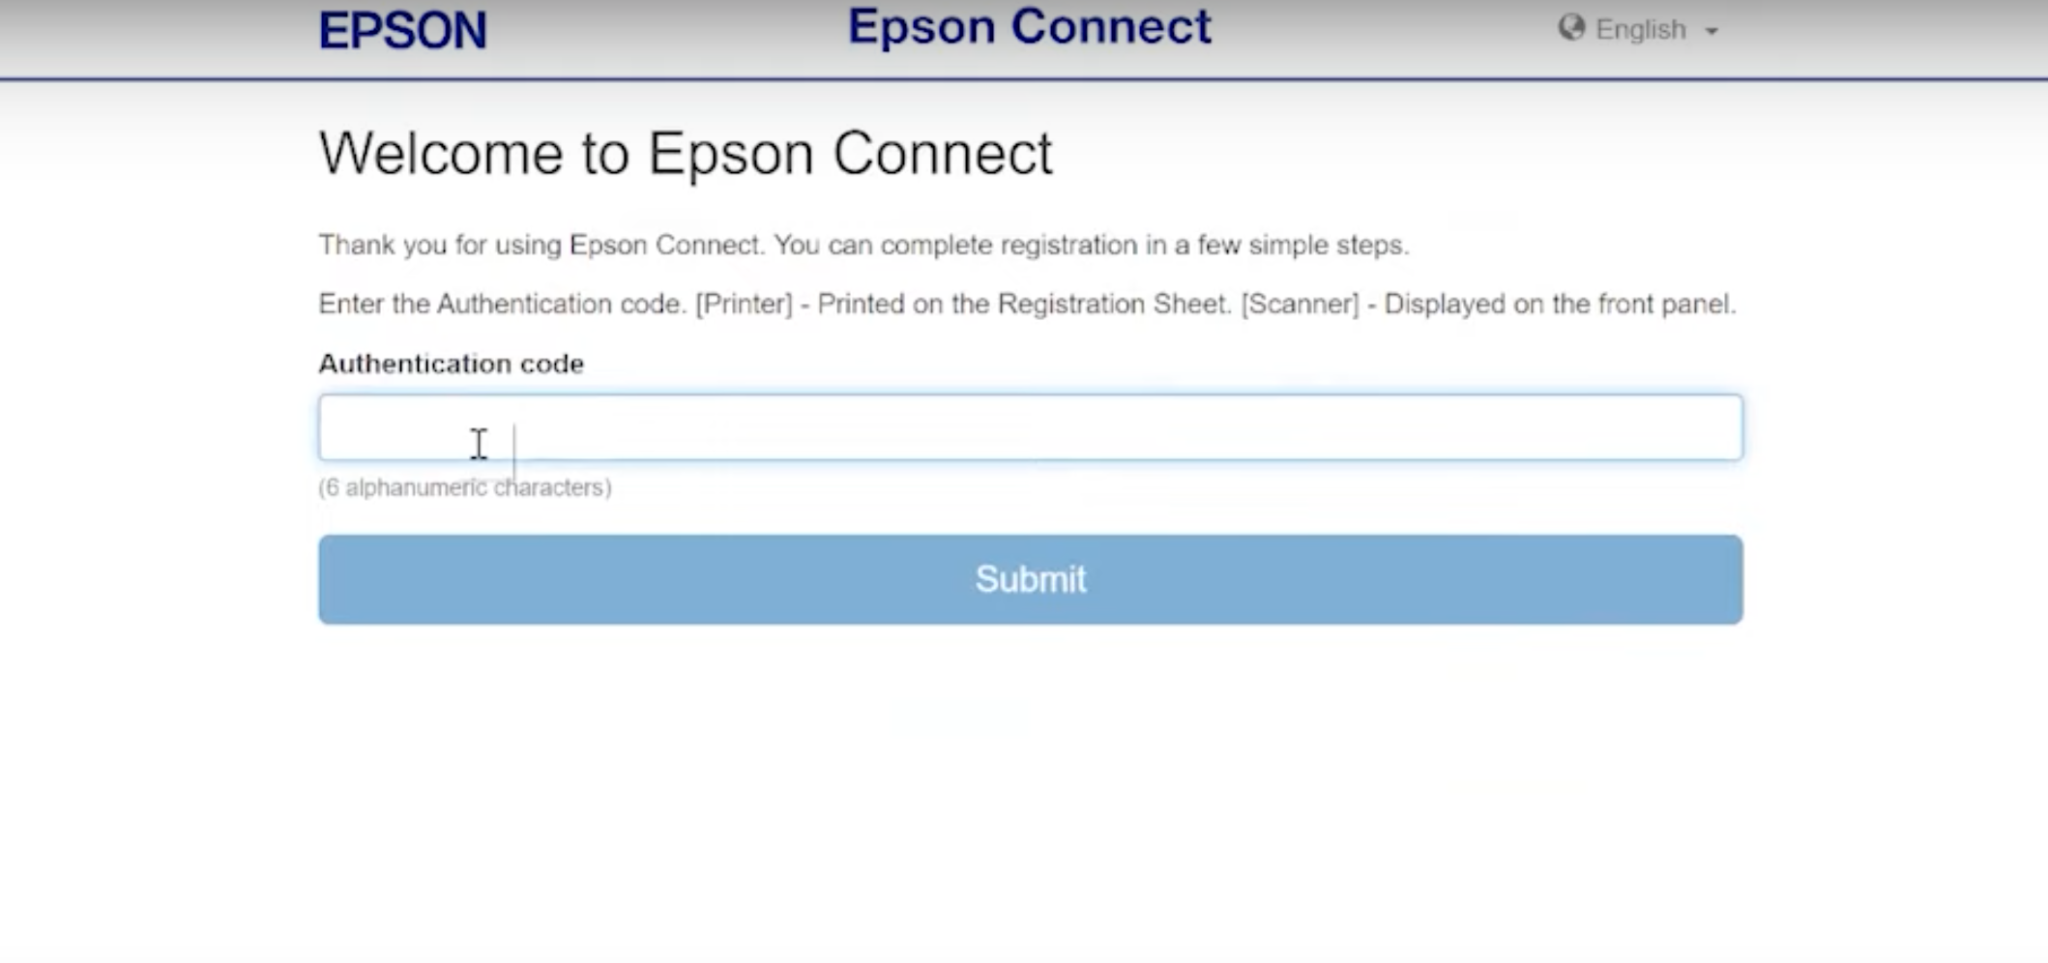
Then you will need to read and agree to the terms and conditions and click next.
If you don’t already have an Epson account, you will need to create one now. If you do, you can click the button to log into your existing account.
Once you’re logged into your account, your printer will have its own email address. This will be displayed on the screen and will print to your printer.
And that is it. It is that easy to set up an email address for your Epson EcoTank printer.
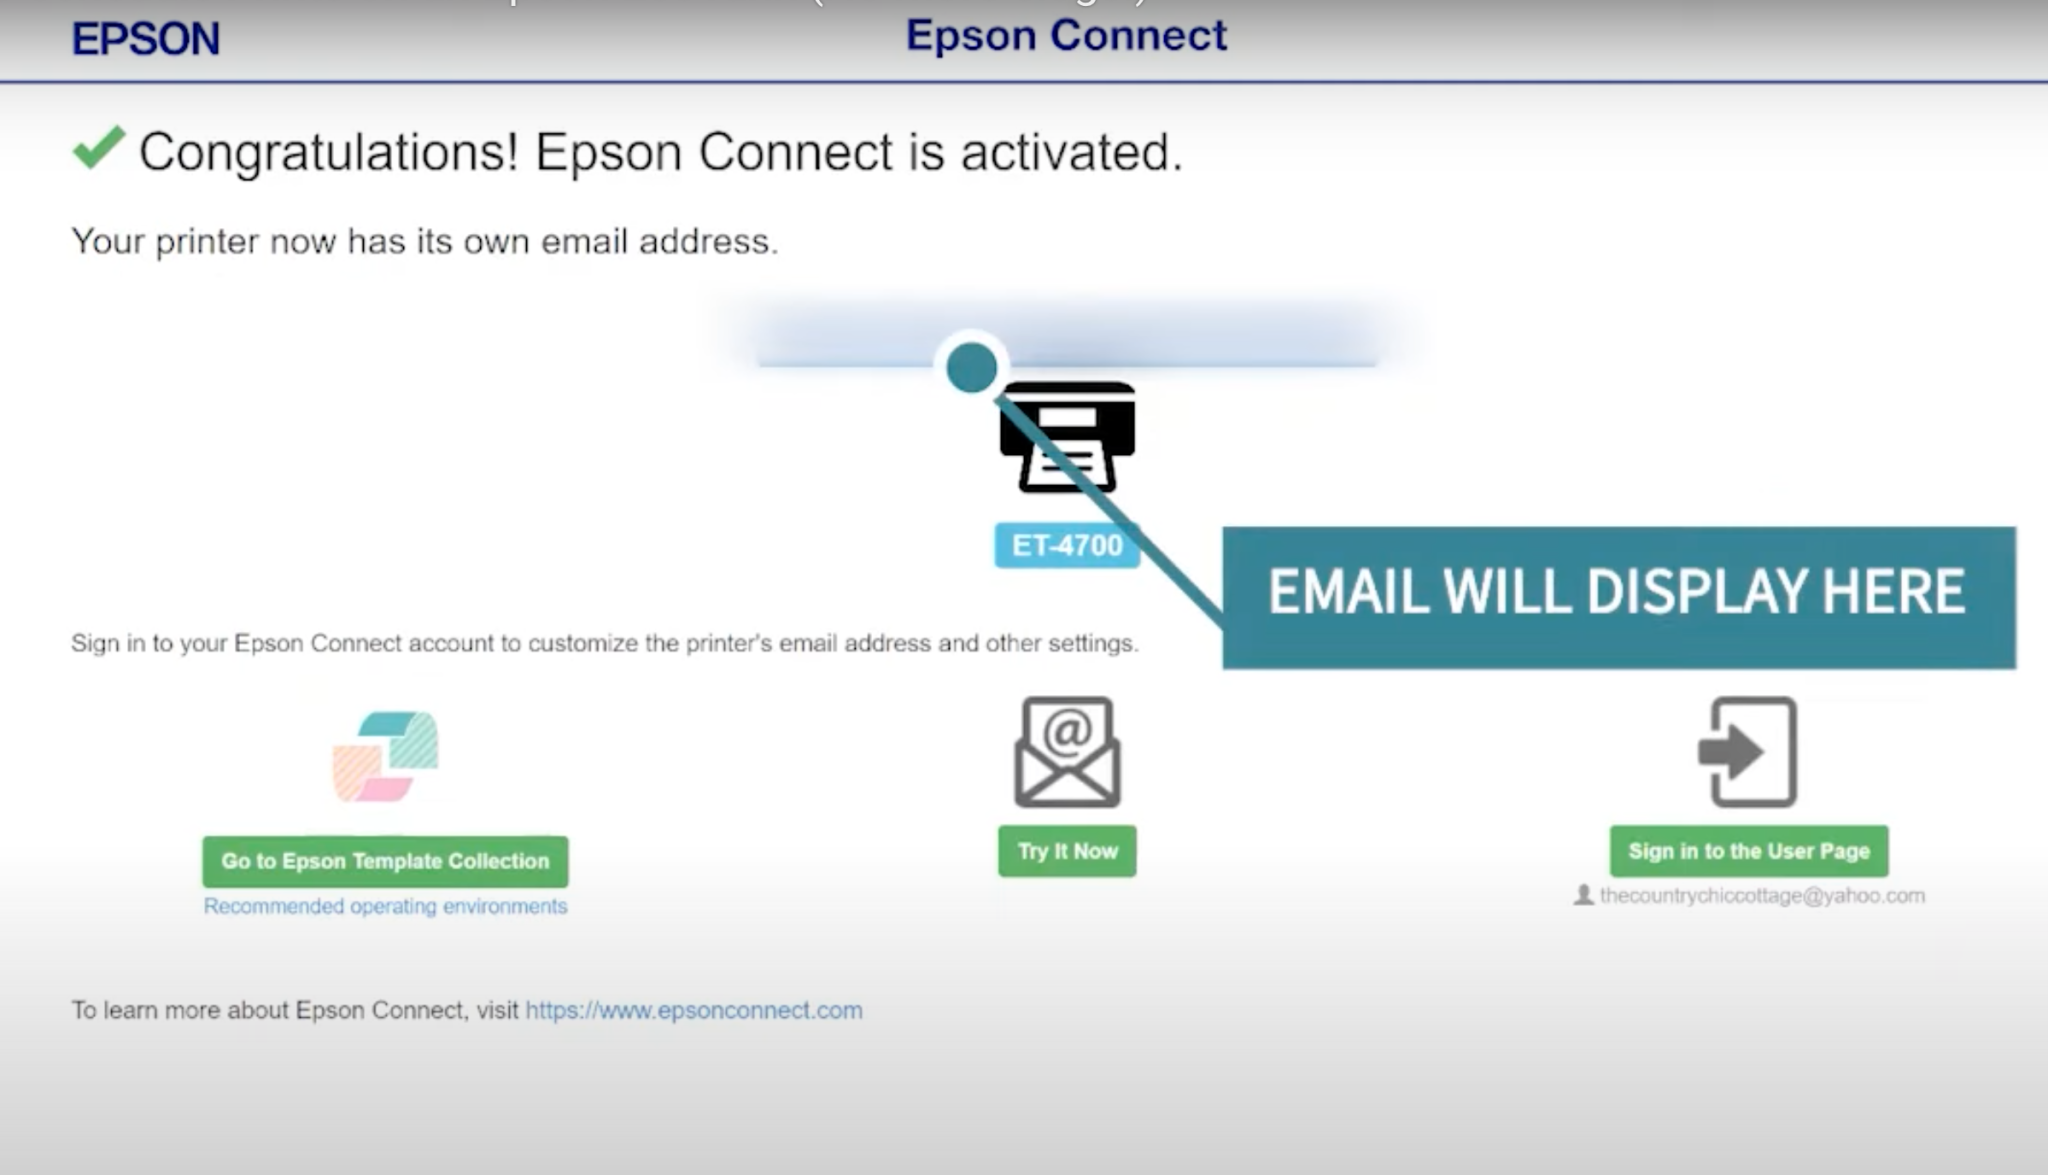
How to Send a Print to the Printer
Now that we have our email address set up, we can send a print to the printer. You can do this from your computer or even your smartphone.
Note – you do need to make sure your EcoTank printer is powered on and is connected to your wifi in order for it to print from an email.
To send an email to your printer, add your printer’s email address to the To box. You don’t need to add text or a subject but you need to attach the file you want to print.
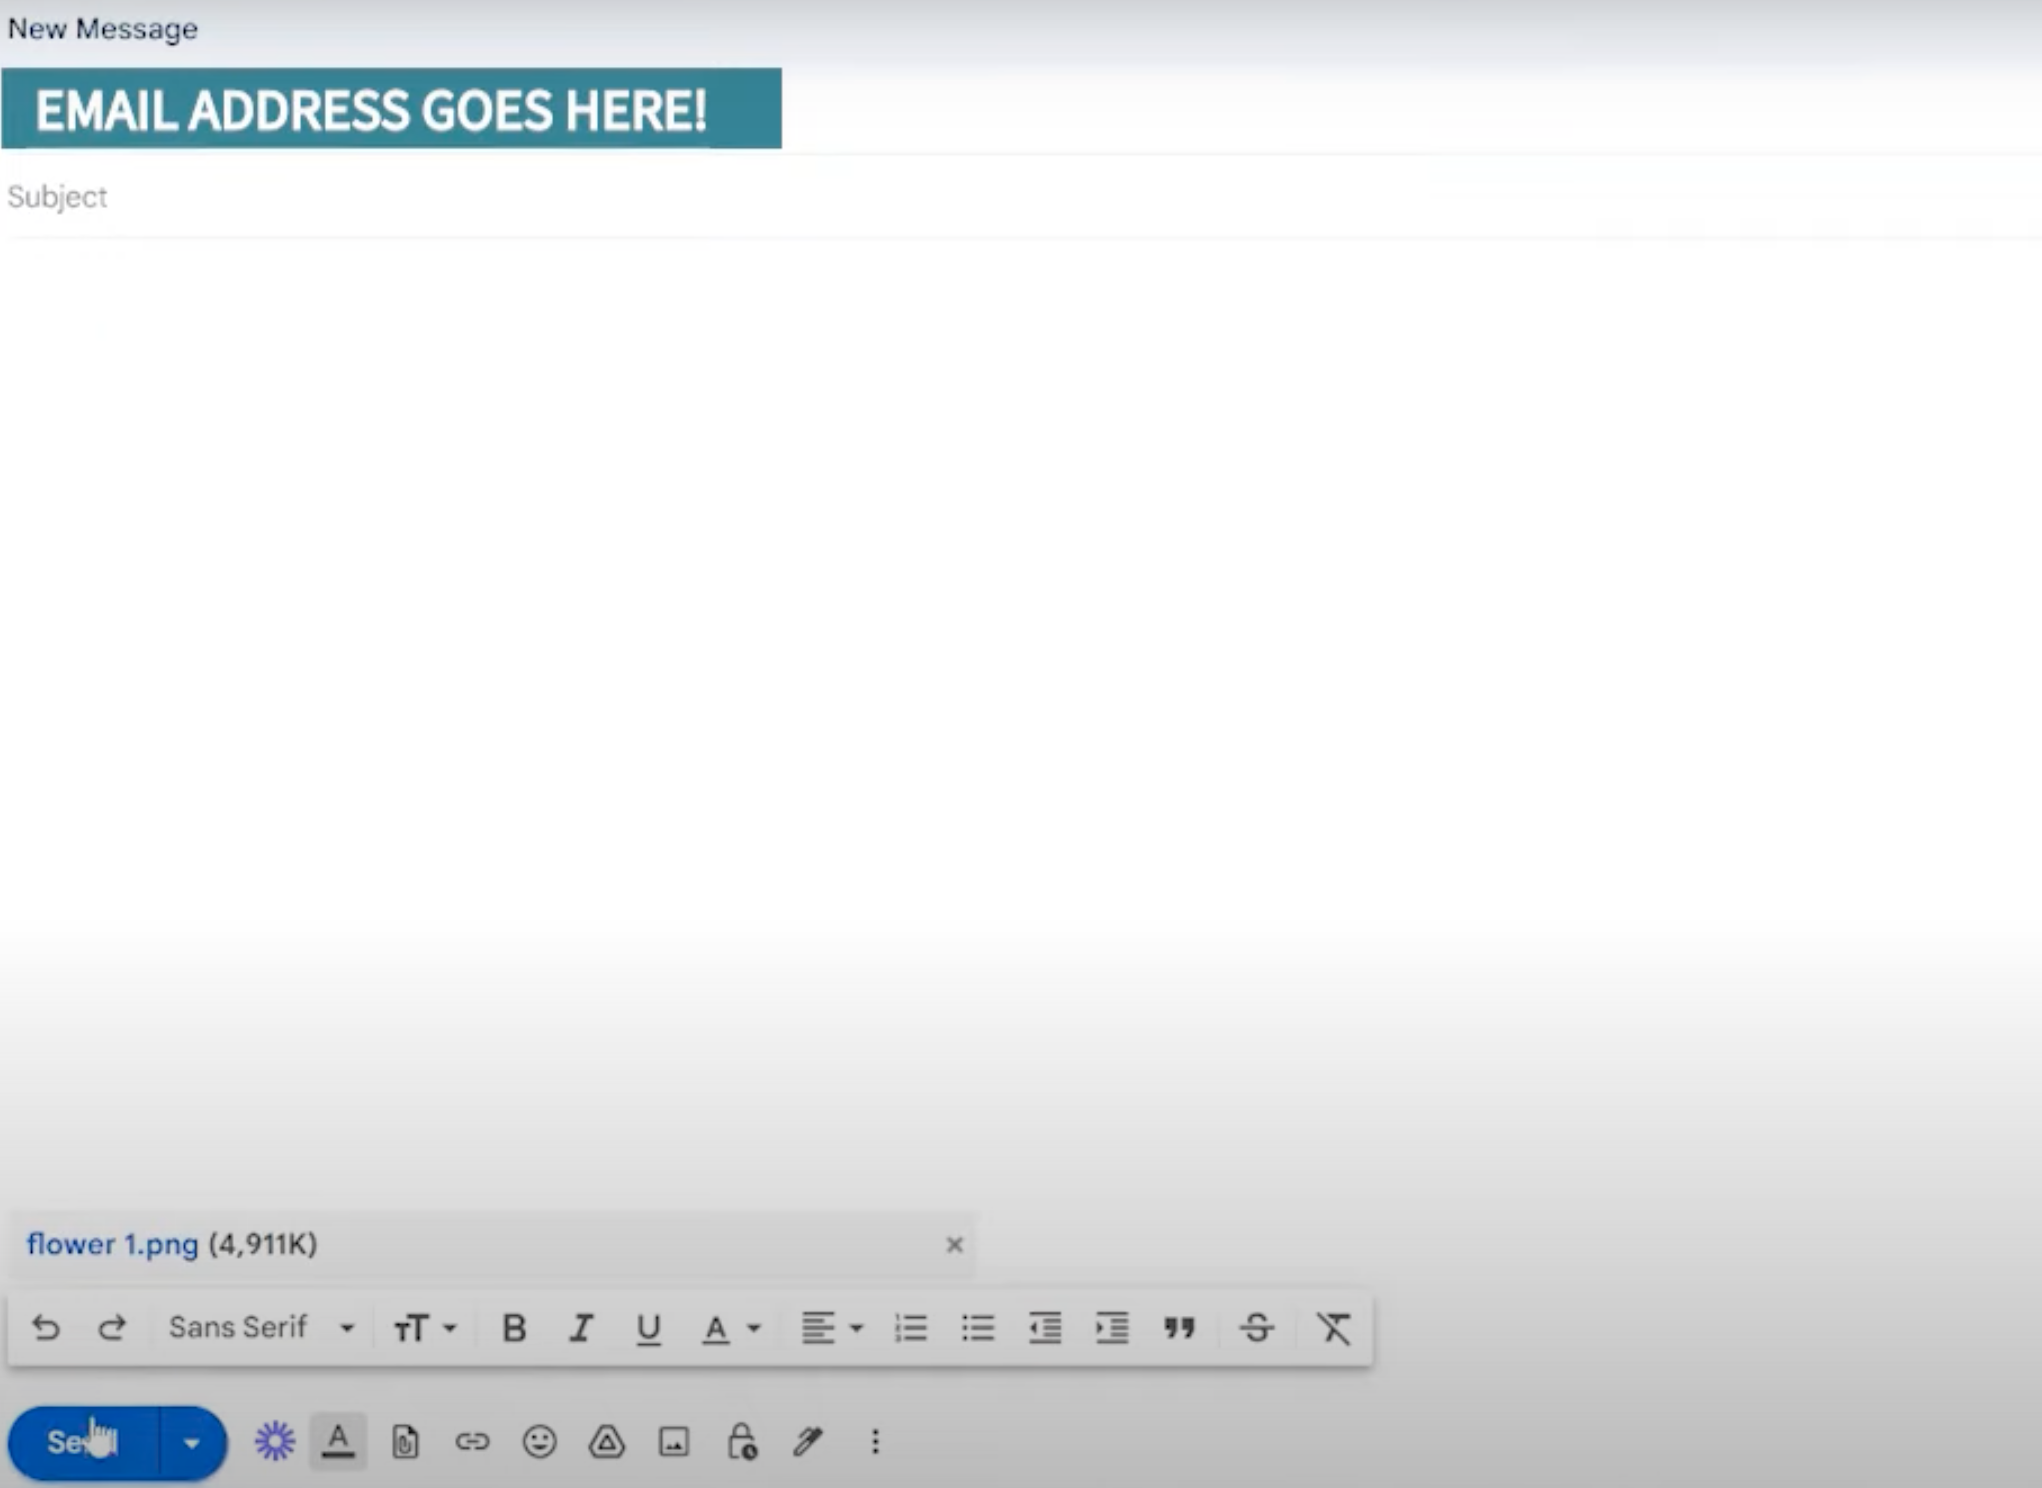
I am using Gmail for this tutorial but you can email your printer from any email program.
With the EcoTank email address in the To line and the file attached to the email, click send. If you have an error pop up because you didn’t add a subject or text, you can just click off that and let it send.
Send a Test Email
Before you try to print away from home, make sure you send a test email. I have only been able to send a sublimation print to be printed on a plain paper setting.
Because I have my printer set up for high-quality sublimation prints on premium matte paper, the first time I sent a print via email I had an error message on my printer screen that prevented the print from printing.
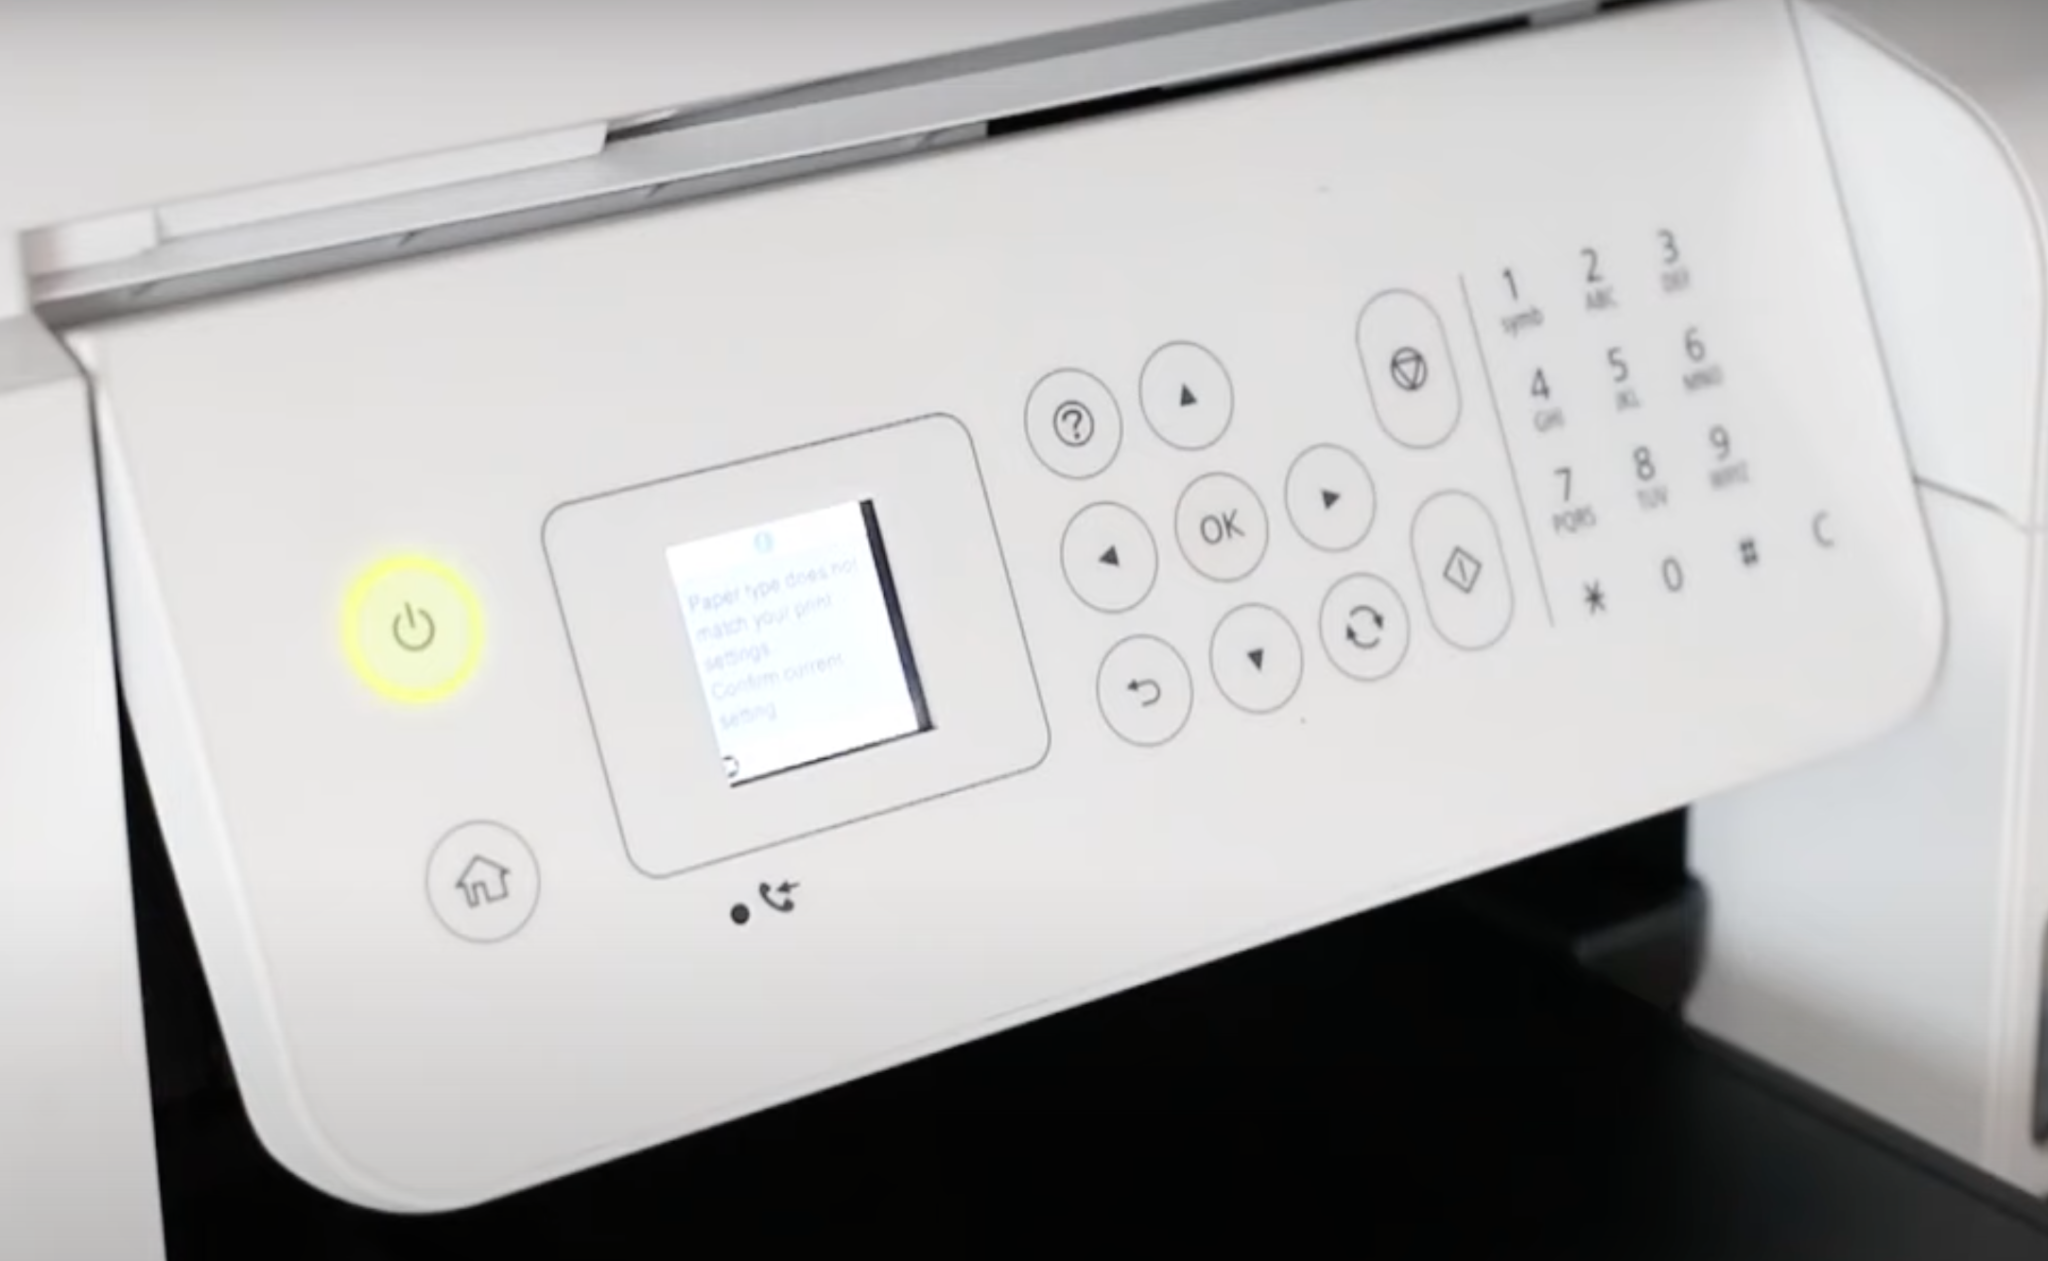
Your printer will ask you if you want to change the setting. Go ahead and do that and then click Print. After this, your printer should print from email with no problems.
I did send a second email to my printer to make sure all the settings were correct for email printing and the changed settings allowed the email to print without me having to adjust anything.
Once we set up the email address, we can email from any computer or phone to the printer. Email a file and it will print out the file for you from anywhere that you may be vacationing this summer.
How to Schedule Sublimation Prints via Gmail
Now that I’ve shown you how to send a sublimation print to your printer via email, we’re ready to learn how to schedule sublimation prints.
If you’re ever worried about forgetting to send a sublimation print while you’re away from home or concerned that you may not have internet access to send it, email scheduling is going to be your best friend.
I am choosing to use Gmail as my email preference for two reasons. One, it is free so anyone can use it. Two, I know you can schedule emails to be sent through Gmail.
If you use another email program and it allows you to schedule sending emails, you can use that program. I think the process will be similar with any email provider that allows scheduling.
To schedule a sublimation print, we’re going to begin by creating our email. This process will be the exact same as we did above. Add your printer’s email address into the To line of your email and then attach the image you want printed.
Add the Date and Time
To schedule when the email will be sent, we’re going to drop down to the bottom of the email. Instead of clicking Send, we’re going to click the little arrow next to Send.
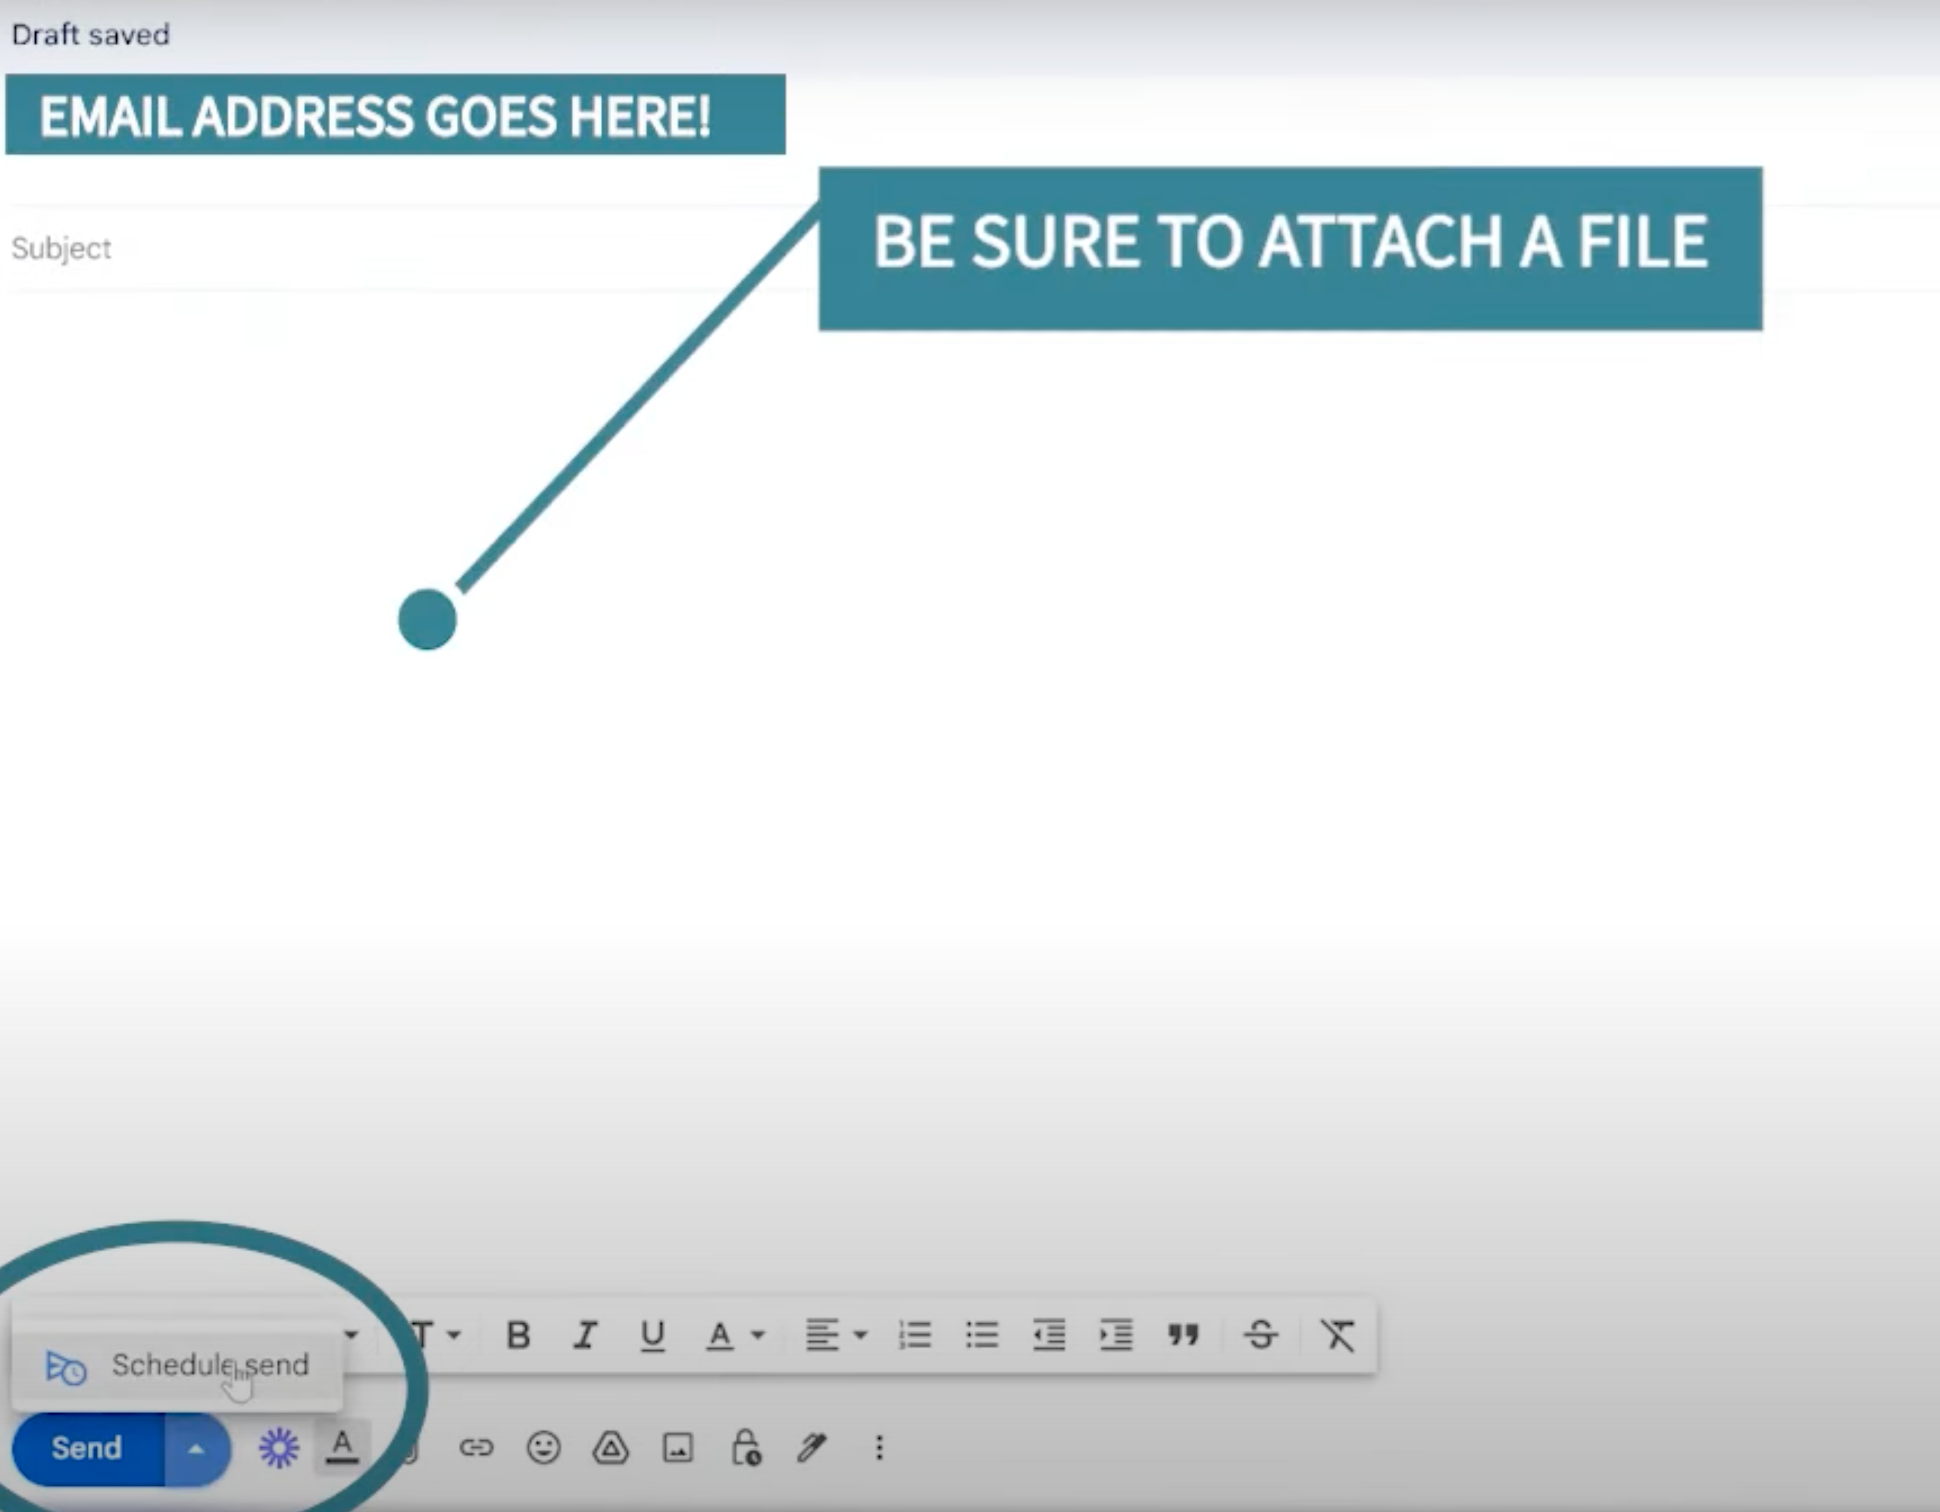
When you click this arrow another option opens up that says Schedule Send. When you click Schedule Send, you’ll see that you have different automated options. From there choose Pick Date and Time option.
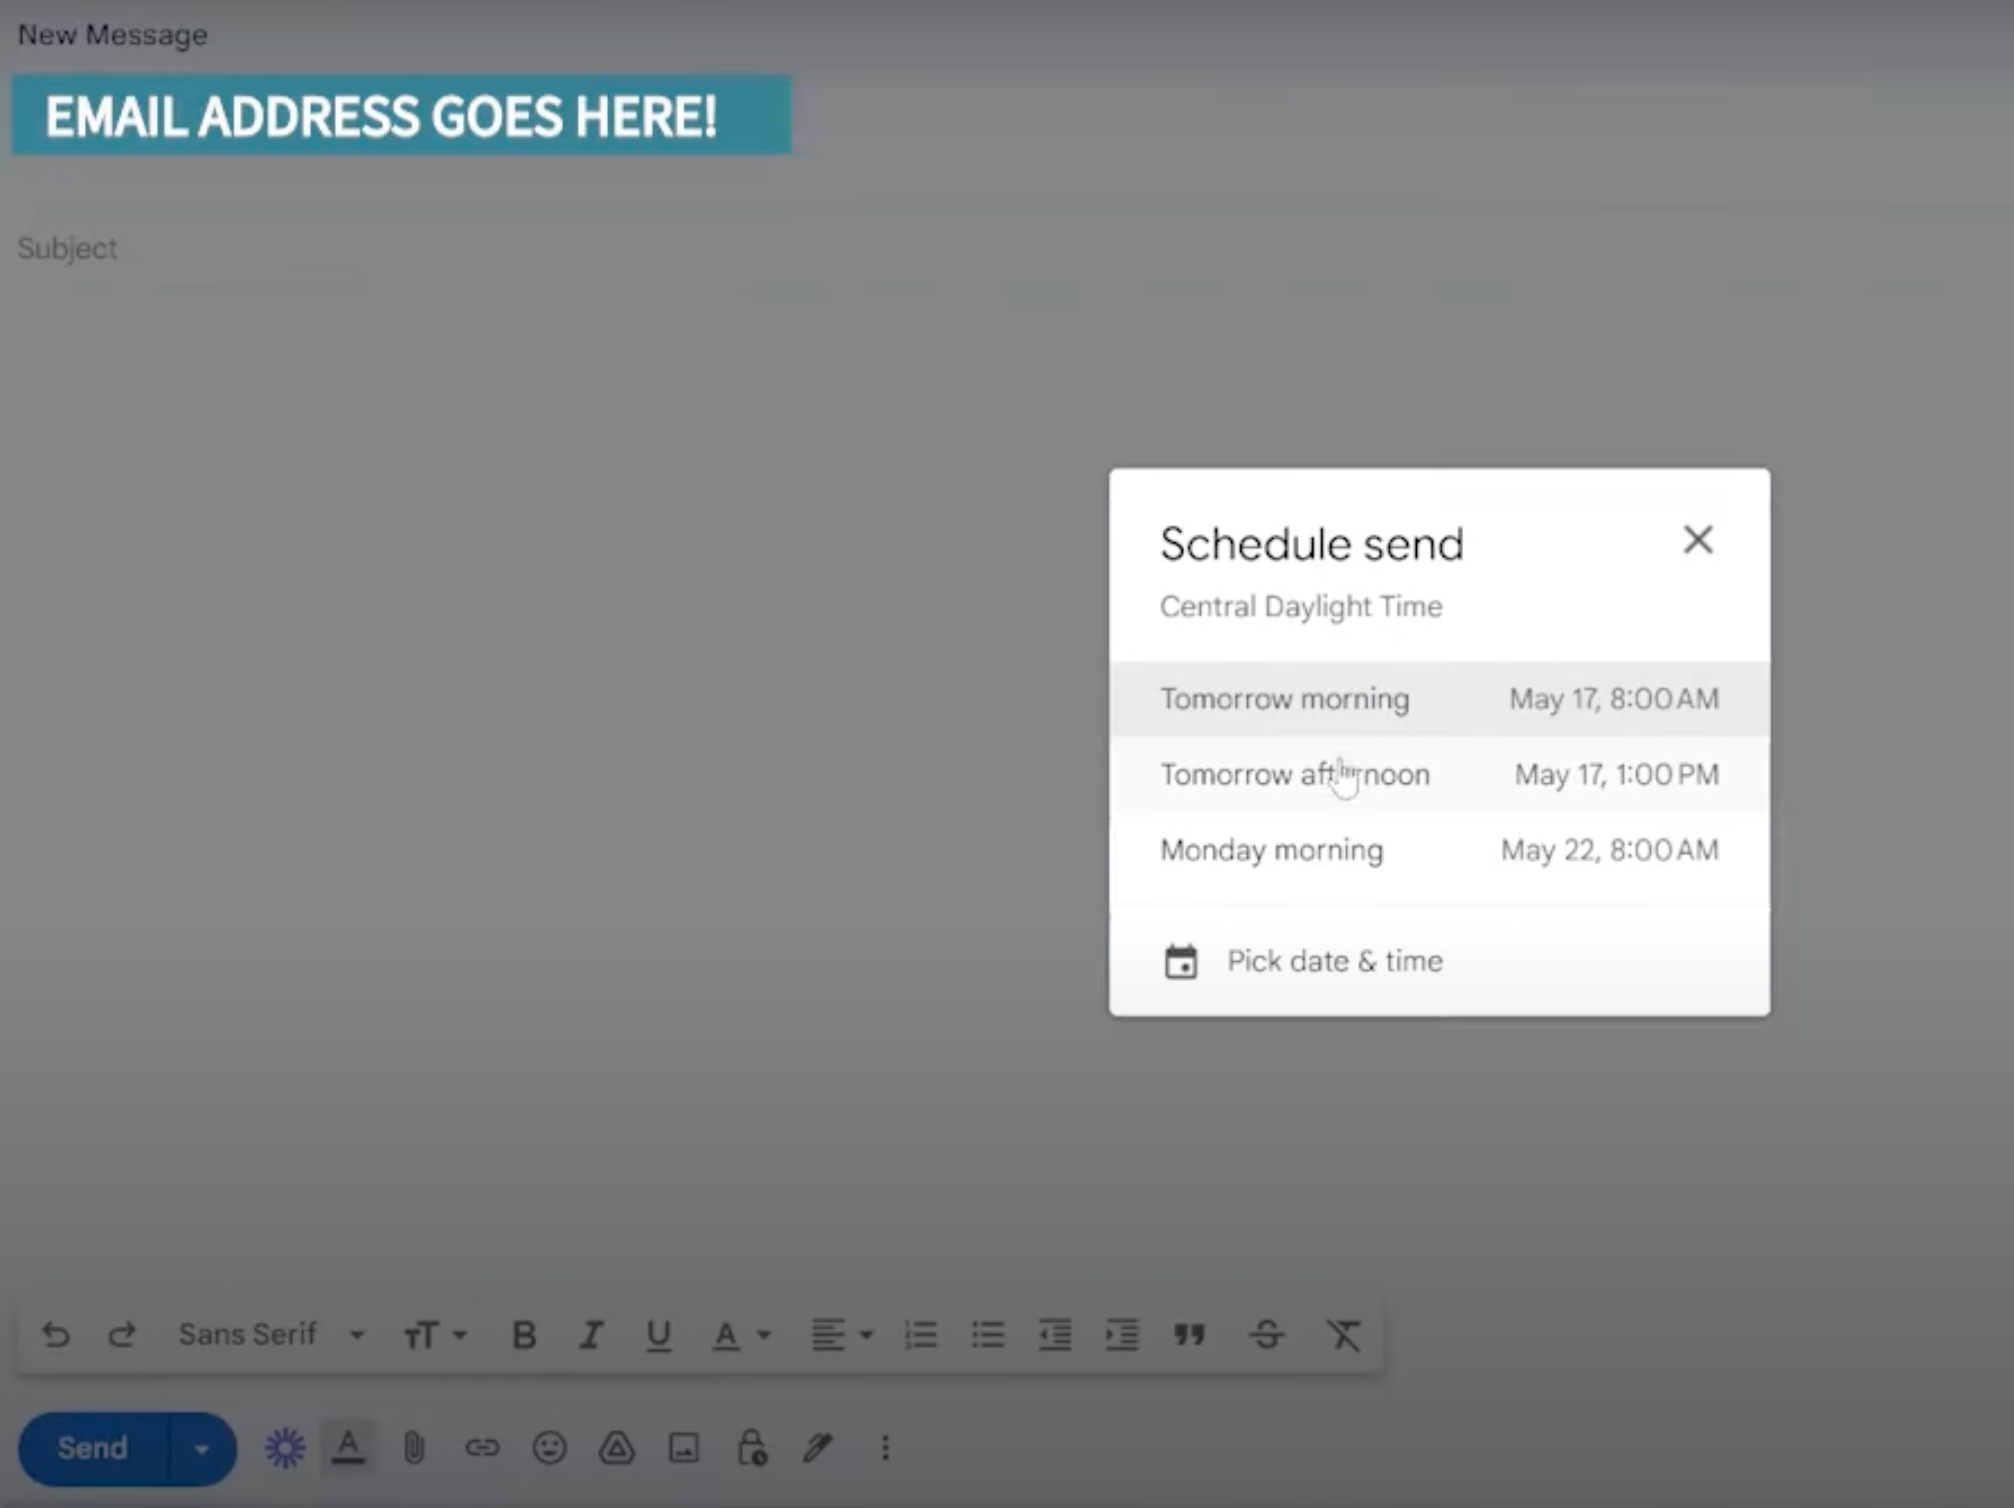
With the Pick Date and Time option, you can choose any date and the exact time of day you want to schedule your sublimation print to be printed.
As I mentioned, you need to make sure your printer is powered on and connected to your home WiFi for it to print from an email. If your internet is set to turn on/off at different times of the day, make sure you’re scheduling your email for a time when your printer will be connected.
Adding the Email Address to Your Contacts
Adding my EcoTank’s email address to my email contacts was helpful when it came to printing on the go.
To do this in Gmail, open up an email that you already sent to your printer and then hover over the To line. Here you’ll see the full email address and a little head with a + next to it.
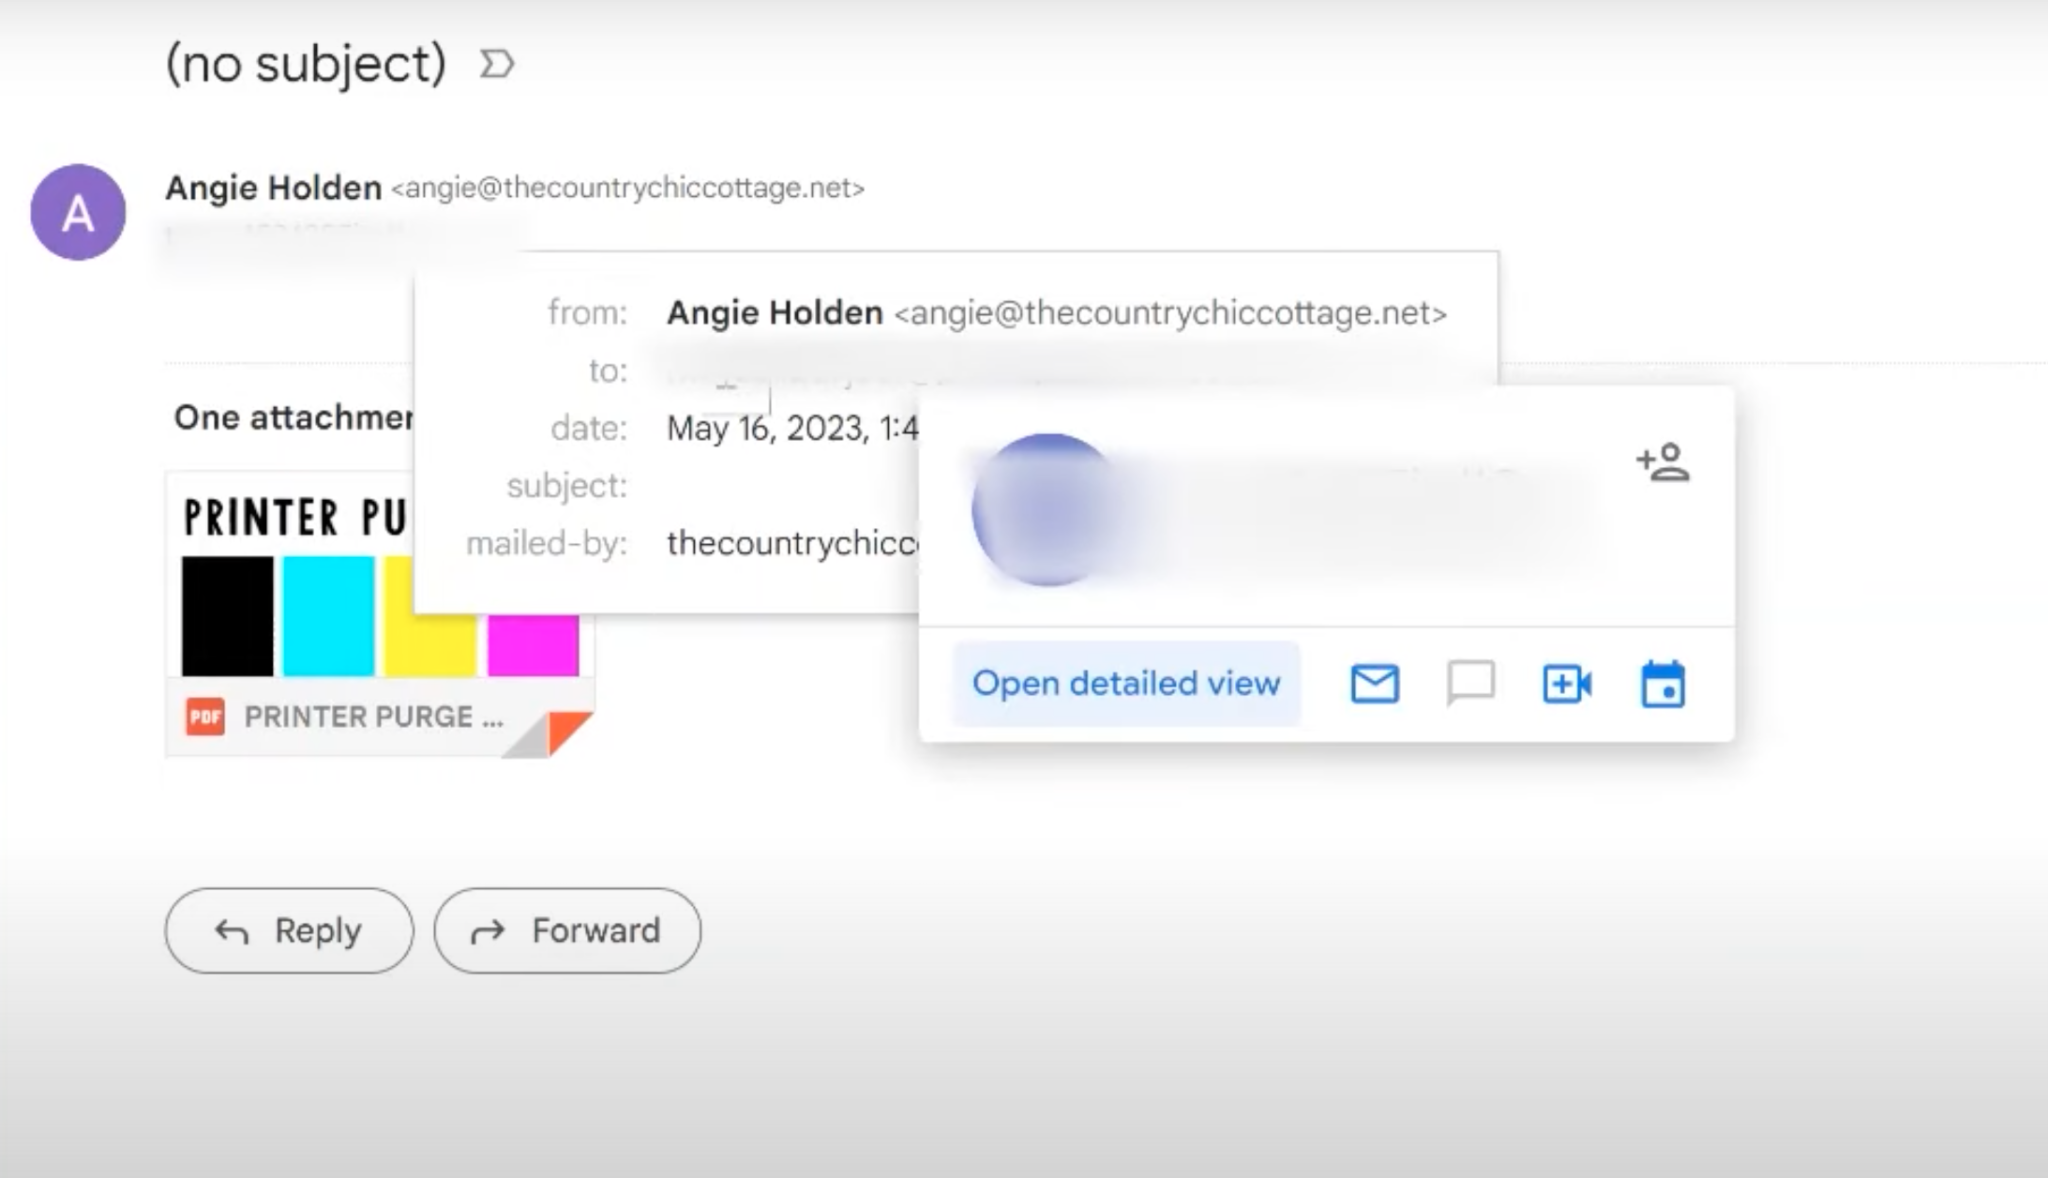
Click on that and it will add that email address to your contacts.
Then you can click on the little edit pencil and that will open a contact info page that will allow you to change the contact name to anything you want.
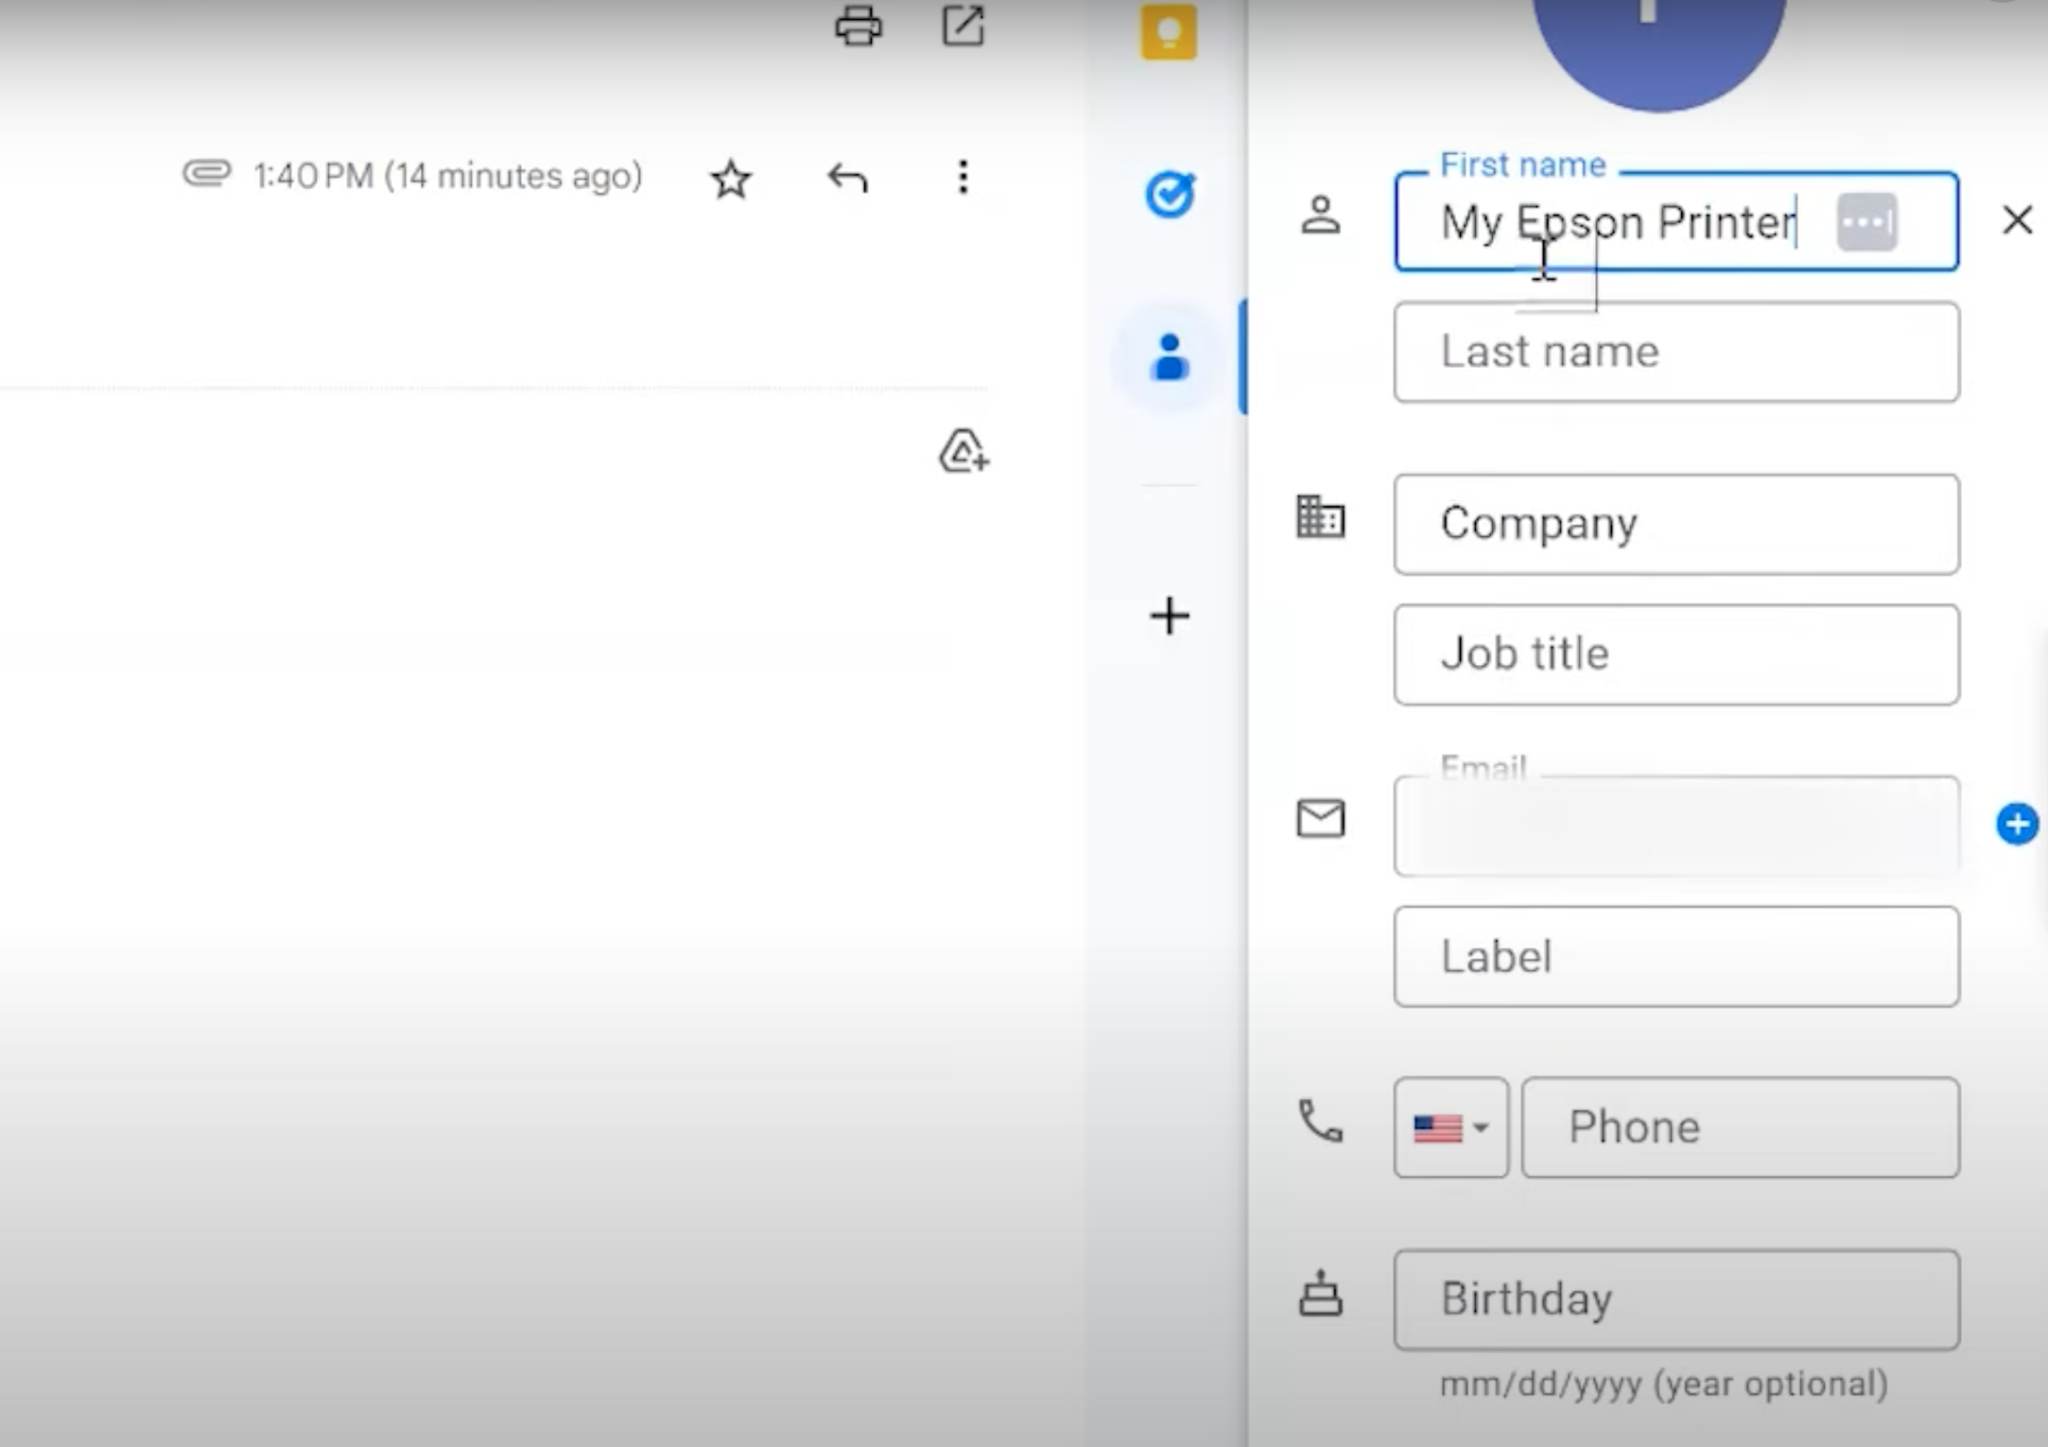
Since the email address assigned to your printer may be one that is not easy to remember, this gives you the option to name it something easy like Epson EcoTank Email or something like that.
NOTE: This step is not a necessity it’s just one I found that made the process of sending sublimation prints easier for me.
Make Sure Your Printer Has Enough Paper Loaded
While this process gives us the ability to schedule sublimation prints, nothing will print if we don’t have paper loaded into our printer.
What type of paper you load into your machine is totally up to you. I was only able to send a print that had a plain paper print setting. This means I am not getting a beautiful sublimation print. My print has some lines in it and isn’t something I am going to use later for a sublimation project.
Because of this, I am just going to load regular printer paper into my printer.
If you wanted you could try finding an image to print that has some lines in the design that would potentially make any lines in your print less noticeable. That is totally up to you.
Note – you cannot mirror scheduled sublimation prints. This is another reason to print onto regular printer paper.
For every print you send to your printer via email, it will print two pages. If you’ve ever received a fax, the process is similar. You’ll have a cover sheet that has some text telling you the time and date of the print along with who it came from and then you’ll have the actual sublimation print.
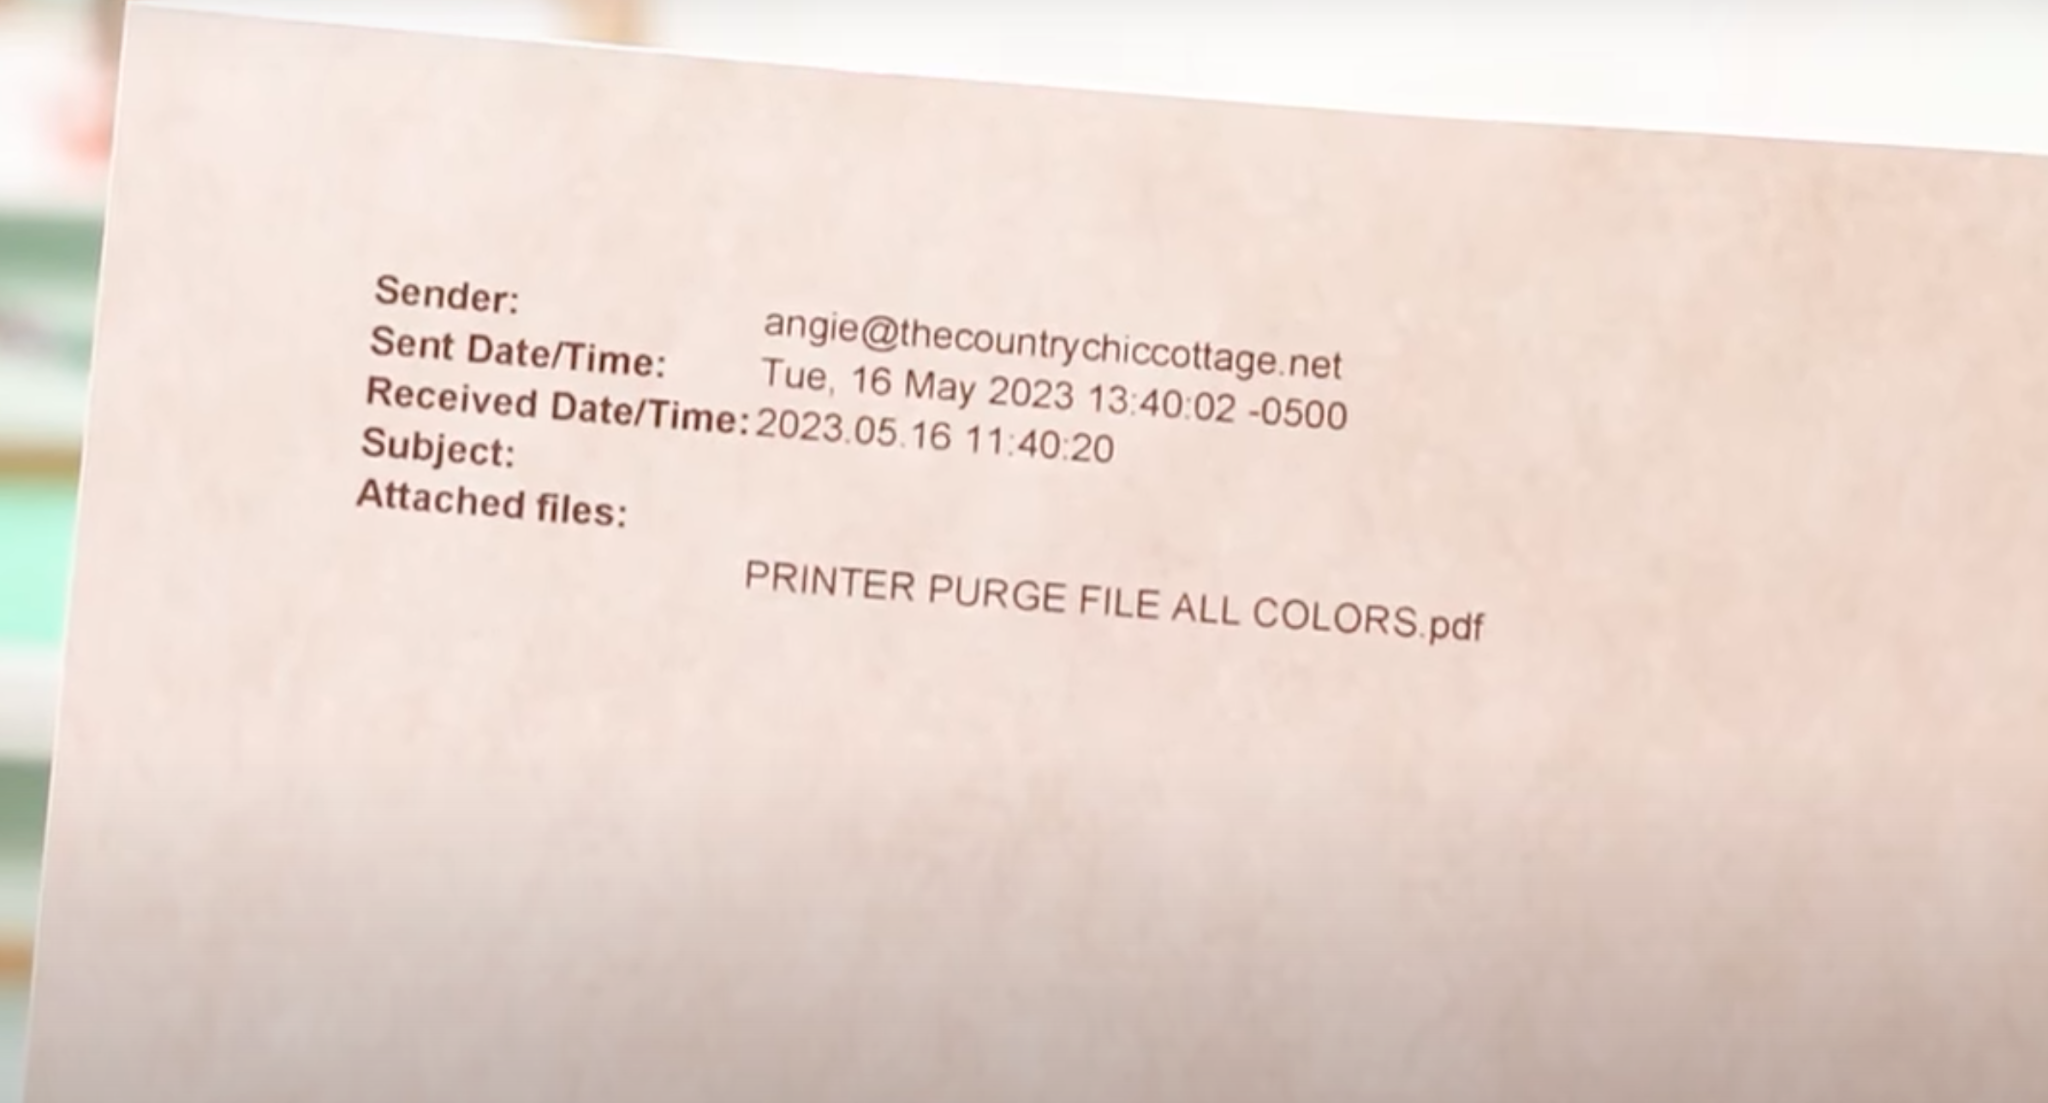
You cannot print only the attached page. So make sure your printer has plenty of paper.
Because of the cover page and the fact that the print itself isn’t going to be the best quality, I decided it wasn’t worth wasting that much sublimation paper.
How Often Should You Schedule Sublimation Prints?
I always recommend printing out a sublimation print on an Epson EcoTank printer at least weekly. This allows the ink to move in the lines and helps prevent any clogging.
If you’re going to be gone for two weeks, I would print once each week. Load at least 4 sheets of paper in your printer so it has enough to print both pages for two emails.
Printers cannot refill themselves so make sure you have plenty of paper in your printer before you leave.
What Type of Print Should I Schedule?
To prevent the colors from clogging you will want to schedule a sublimation print that uses all of the colors. The point of scheduling a sublimation print is to get all of the ink flowing.
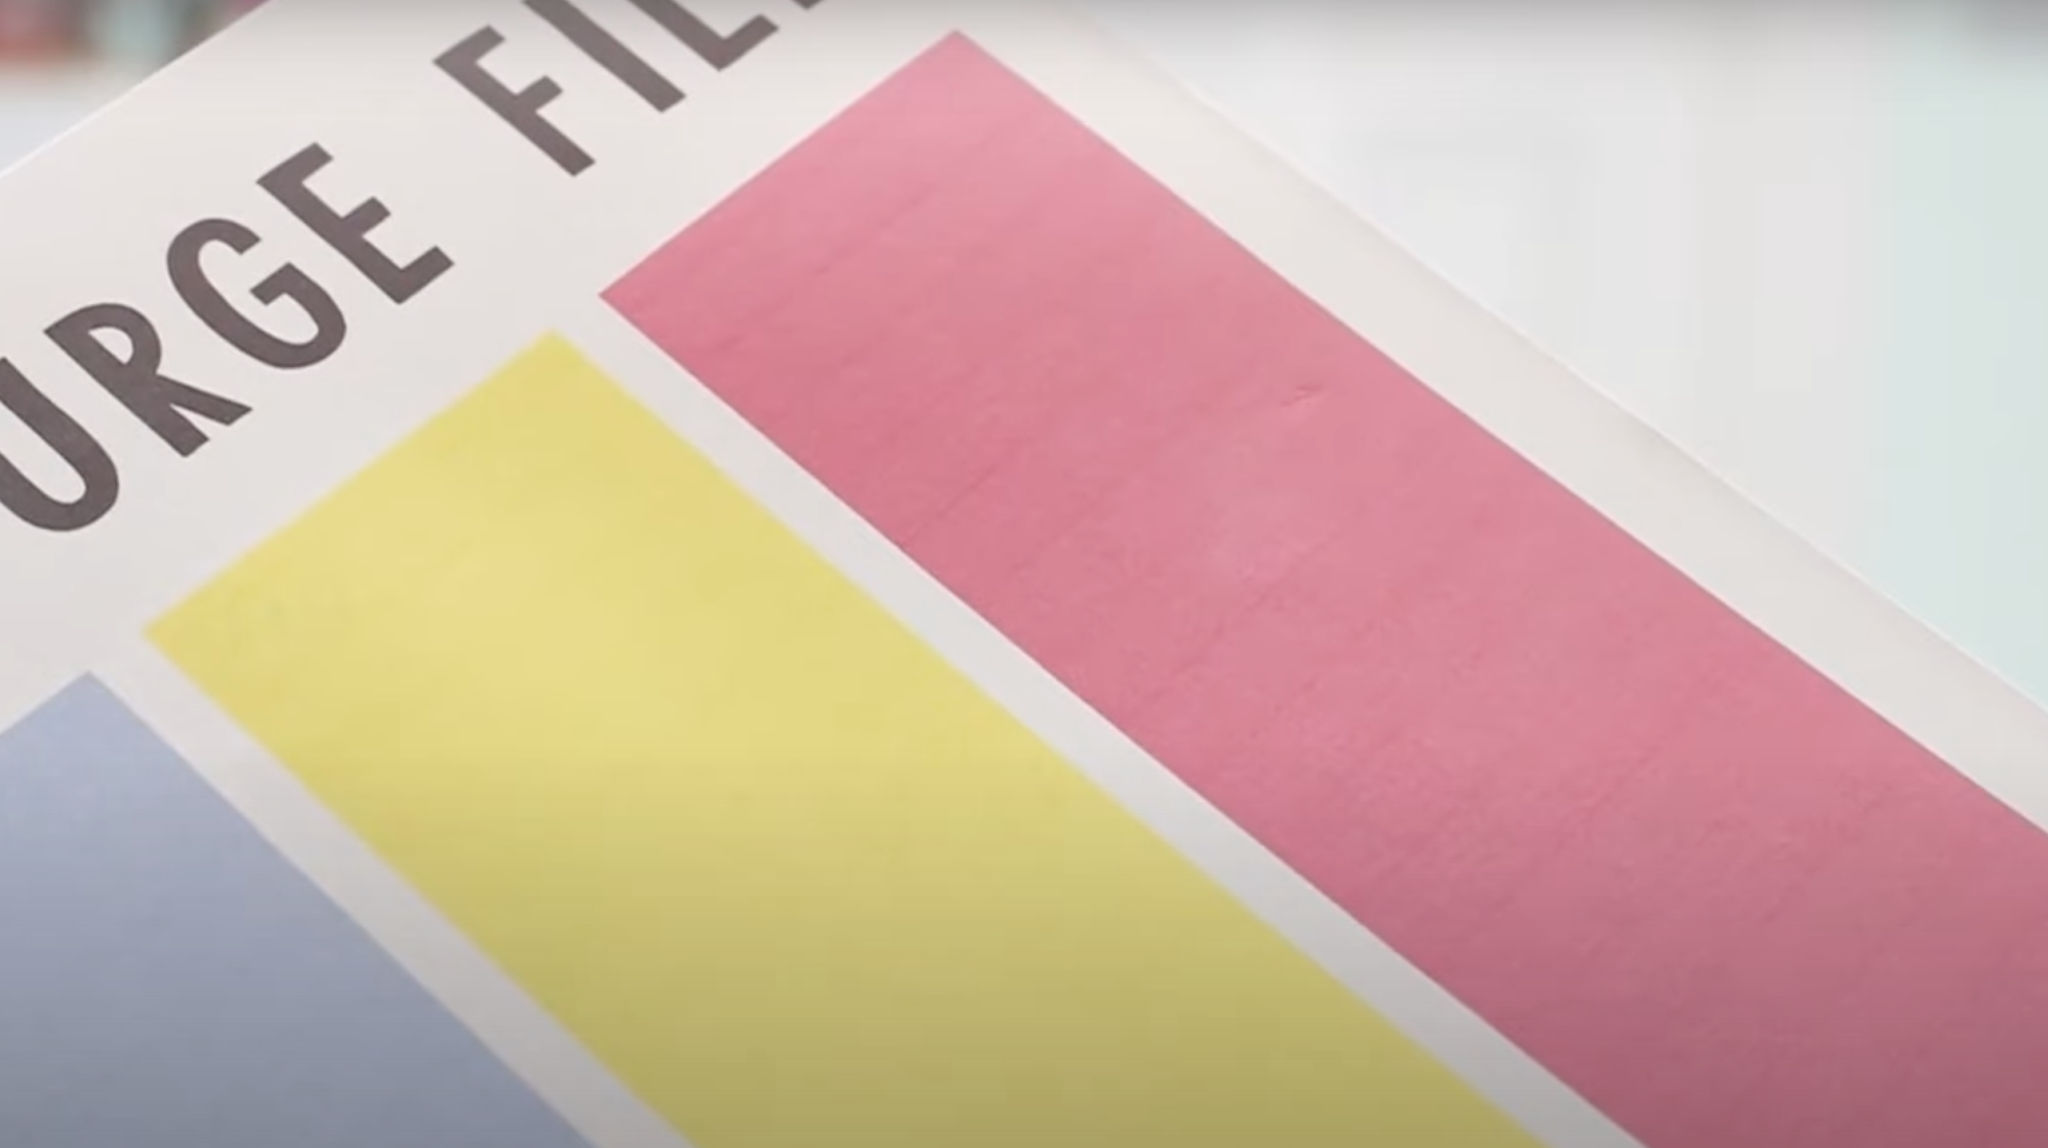
Since the quality of the sublimation print isn’t going to be what you want for pressing, you can print a small file that uses all the colors. A purge file is a great option as it gets all of the colors running.
My rainbow flower file bundle is another option that will get all the different colors in your printer flowing.
Final Thoughts on Scheduling Sublimation Prints
Scheduling sublimation prints is really a printer and stress saver. While the scheduled prints aren’t appropriate for sublimation projects, they will keep the ink flowing in your printer, which in my opinion is worth the wasted ink.
I would recommend printing them on regular printer paper so you’re not wasting sublimation paper and ink.
Make sure your printer is stocked with paper and that the printer is powered on and connected to WiFi. You will want to test the process before trying to do this while away from home to ensure the process goes smoothly and there are no errors.
I cannot walk through every email program but the process should be similar. If your email program doesn’t allow scheduling, you can get a free email address from Gmail.
You can also manually send these emails, they don’t have to be scheduled. Scheduling is a great option if you’re worried about forgetting or having access to the internet while you’re away from home.
I hope learning how to schedule sublimation prints saves you some stress as you’re heading on vacation this summer. If you have any questions leave them in the comments below and I will answer those for you.



Thank you so much Angie! This was just what I needed. I love watching your YouTube’s.
I’m so glad it was helpful!