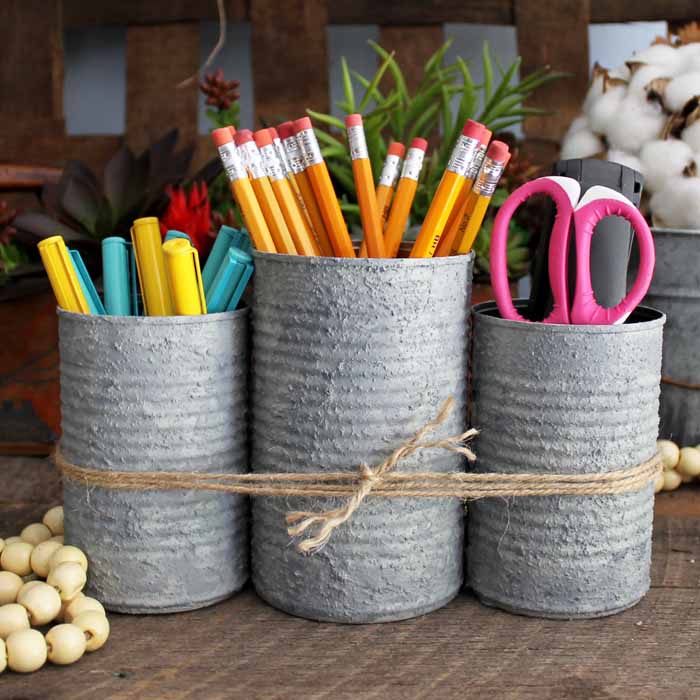
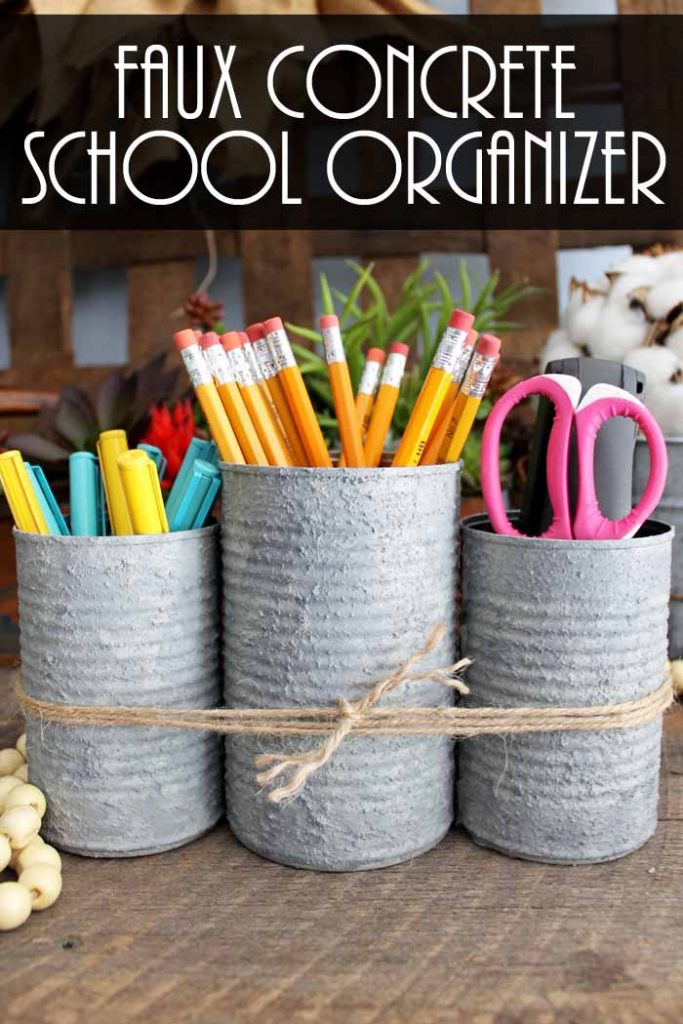
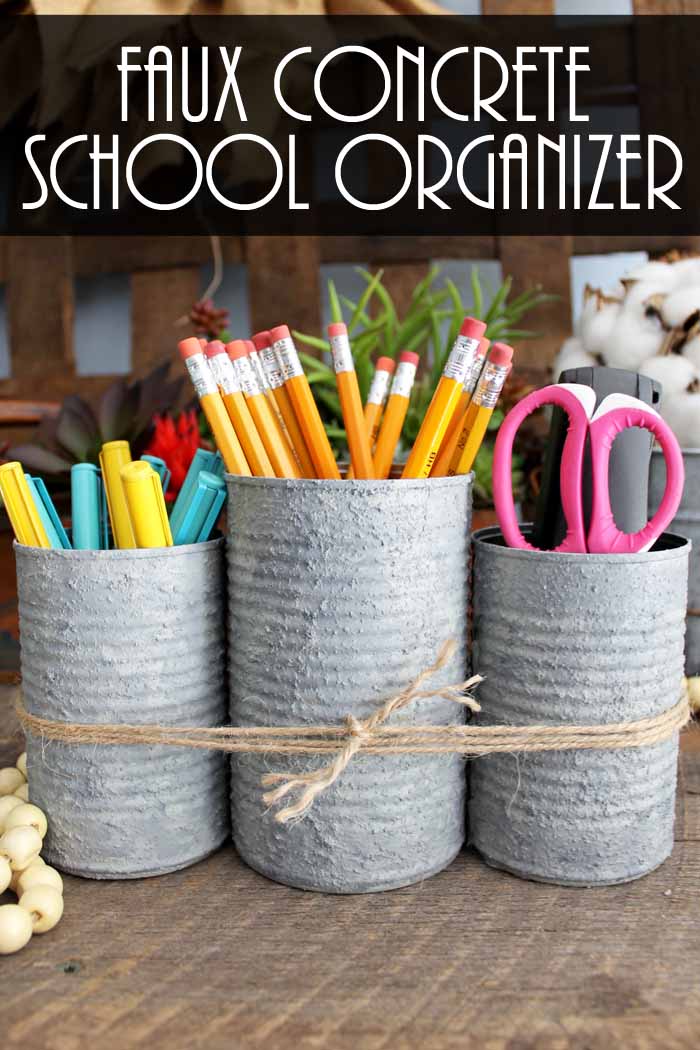
Organizing school supplies at home has never been easier–especially with this DIY school supplies organizer! These modern farmhouse-style metal storage containers with faux concrete are perfect for an easy craft at home. Start the school year off with these simple school supply organizer ideas!
Easy crafts to do at home are rewarding, cost-effective, fun, and simple to customize with your own materials! So, if you are looking for even more school crafts to do with your kids at home, be sure to check out my fun list of Over 40 Back to School Crafts!
School Supplies Organizer Video Tutorial
This school supply organizer is super easy to make. I did a quick video below to show you just how to make your own.
Can’t watch the video or miss some of the steps? Here is a quick rundown of the process for you as well.
How To Make School Supplies Organizer
Home storage containers can be created out of basically anything. For this DIY school supplies organizer, I used simple tin cans from different canned goods from our pantry!
What I love most about this school supplies organizer is the DIY faux concrete finish! This is because the faux concrete finish gives the organizer a modern farmhouse look which is so adorable if you love that type of style. Plus, you can easily pair these metal storage containers with other farmhouse storage ideas like our organization for the mudroom, DIY farmhouse utensil holder, and other rustic farmhouse decor ideas.
Needless to say, once you make one of these school supply organizers, you will want one for every room in your home!
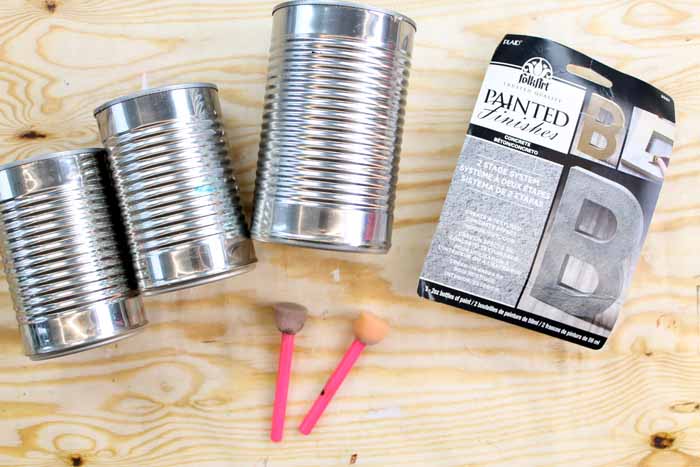
Supplies Needed To Make School Supplies Organizer
- Tin Cans
- Gray Stone Spray Paint
- The faux concrete paint that I used in this project is unfortunately no longer available. Due to that, I linked to some Gray Stone Spray Paint that will give you the same effect. In the tutorial below, I will show you how to use the original paint I used, in case you have it or want to substitute it for Chalk Paint (more on that in the FAQs section). I will also give you tips about using the spray paint I linked above.
- Pouncer Brushes
- Twine
- Hot Glue and Glue Gun
NOTE: Be sure to keep newspaper or paper towels lying around to clean up any messes! You can even get creative and add gold flakes to the containers!
Step 1: Clean Cans
Start with clean dry cans with the labels removed including any residue.
Step 2: Apply Light Coat Of Paint To Cans
Use a pouncer brush to apply one coat of the light-colored concrete paint that is in the package. Allow that to dry completely.
NOTE FOR SPRAY PAINT: If you using Gray Stone Spray Paint, you will want to give your tin cans one light coat and let them dry.
Step 3: Add A Second Coat Of Paint To The Cans
Add a second coat of the light concrete color with the pouncer brush. Go over the light coat with a little of the dark coat and work it in slightly.
NOTE FOR SPRAY PAINT: If you using Gray Stone Spray Paint, you will want to give your tin cans a second light coat and let them dry.
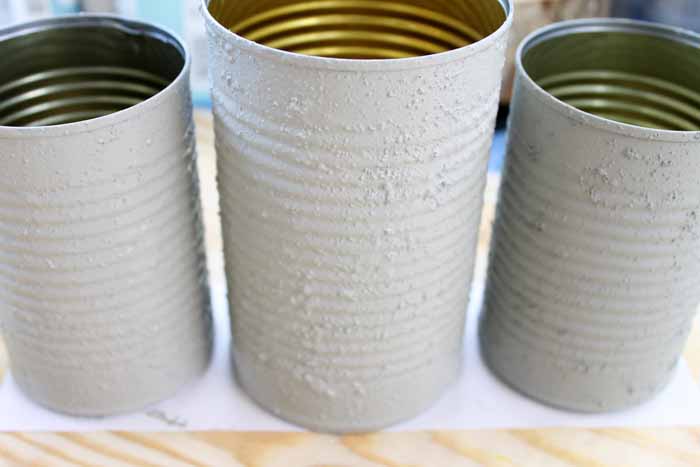
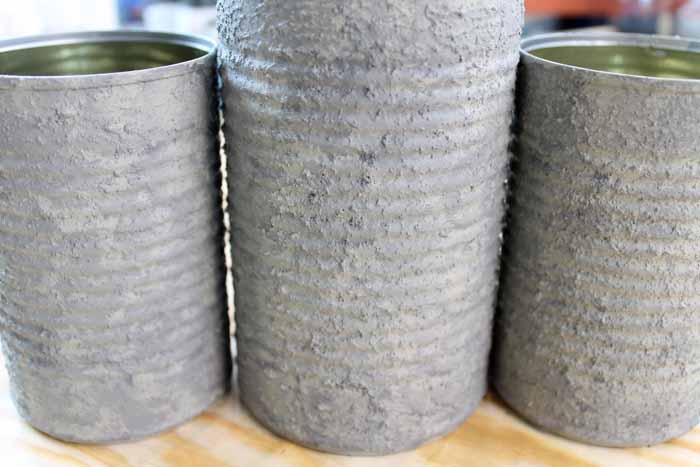
Above are the cans after the second coat with the light and dark paint. Again, these are still wet; however, you can see the effect that this paint has on your surface. It is just gorgeous and really looks like concrete!
NOTE: Be sure to watch the video because it really helps with this step! Watch how I work the two paints together on the cans.
Step 4: Continue Painting
Continue to add the coats of paint until the three cans are complete. Allow the cans to dry until no longer wet.
NOTE FOR SPRAY PAINT: If you using Gray Stone Spray Paint, you may only need two coats of paint. However, if you want to add more layers of paint, now is the time to do so.
Step 5: Hot Glue Can Together
Once the cans have dried, which can take from an hour to three hours, add a little bit of hot glue in between each can on the sides to hold them together. The cans will be formed in a row.
Step 6: Add Twine To School Supplies Organizer
Finally, wrap the DIY school supply organizer with the twine all the way around a few times. Tie a knot in the front with the twine.
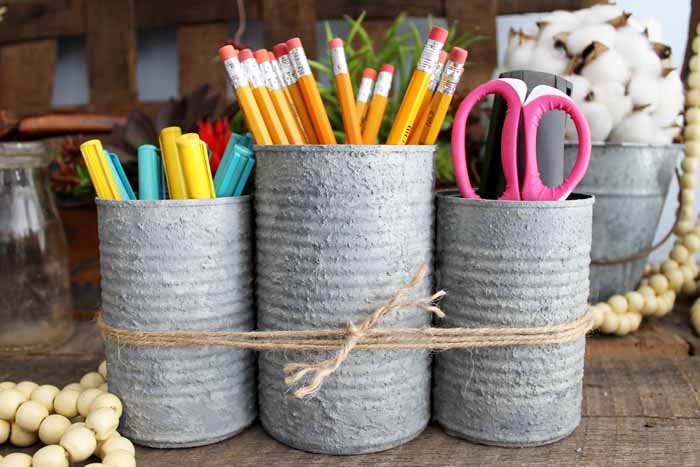
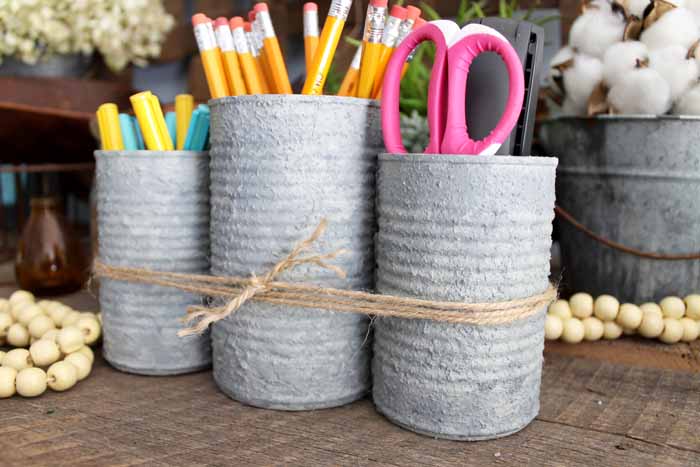
Your modern farmhouse-style metal storage containers for school supplies are now ready to be used!
I added in a few school supplies to my organizer however this one would look amazing in a home office too!
How To Use School Supplies Organizer
These school supply organizers can be used for so many different things!
Create these containers to give as gifts for Teachers’ Appreciation Week, during the holidays, or just because! You can also use these storage containers to store all of your supplies in your office or home classroom.

More Back To School Projects
Now let’s see what our blog partners for today have in store for Craft Lightning! Remember all of these are back-to-school projects that you can complete in just 15 minutes or less.
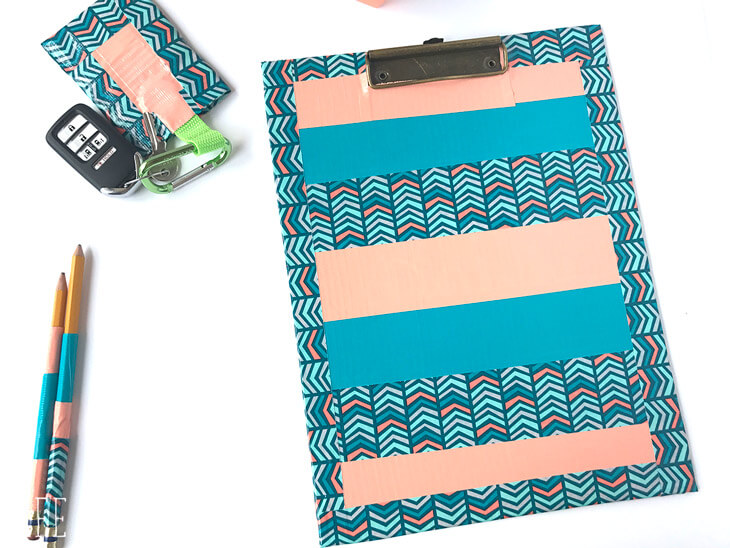
Start by using some duct tape to spruce up school supplies with Life Sew Savory!
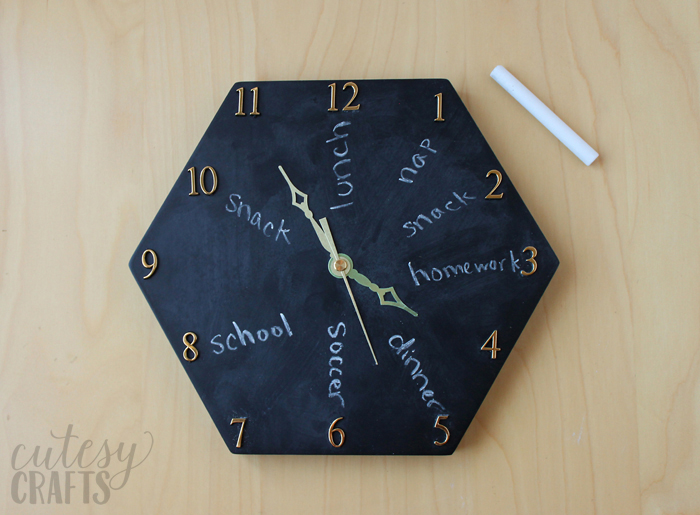
Have trouble getting the kids up and around? Try this chalkboard clock from Cutesy Crafts to keep them on schedule!
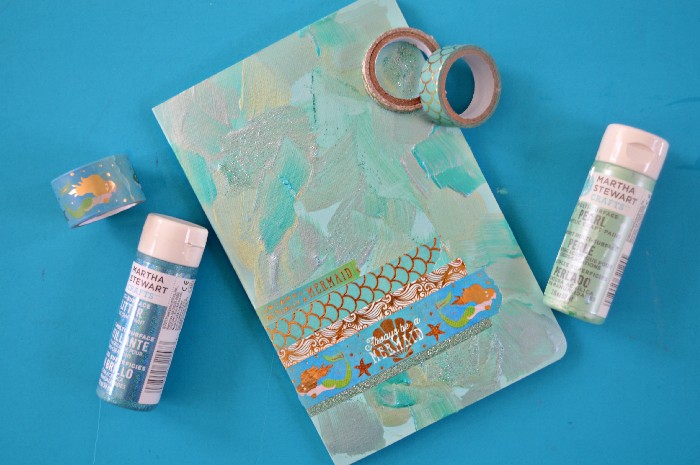
Don’t send them to school with plain school supplies! See how to make this mermaid notebook over at Mad in Crafts.
Love flamingos? 100 Directions has three great flamingo back-to-school projects that you don’t want to miss!
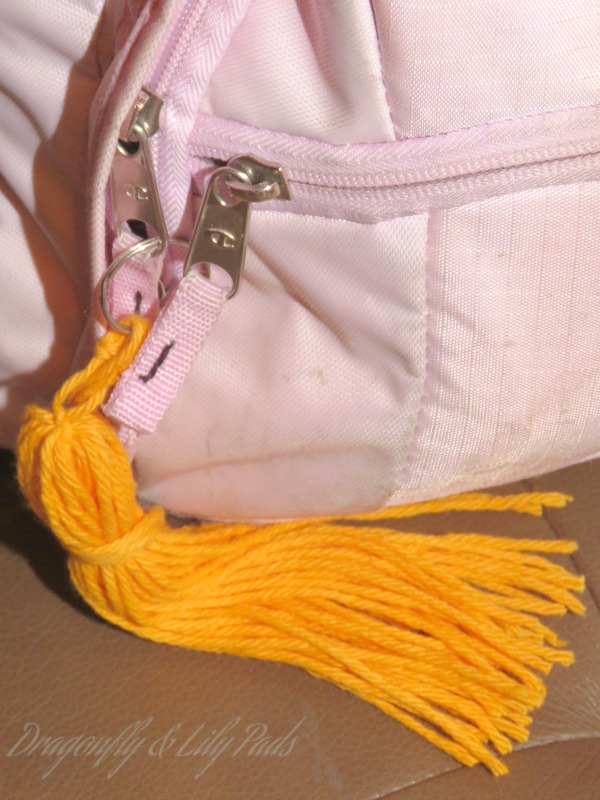
Next, we have a fun tassel that can be added to a backpack, pencil pouch, or anything else! They are easy to make with this tutorial from Dragonflies and Lillypads.
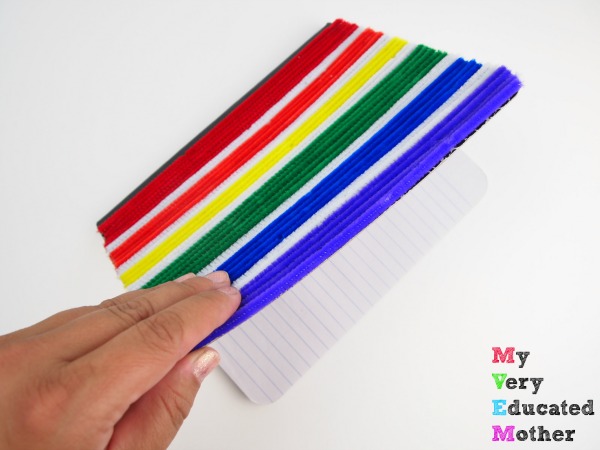
Adding pipe cleaners to a notebook is easy, quick, and inexpensive! See how over at My Very Educated Mother.
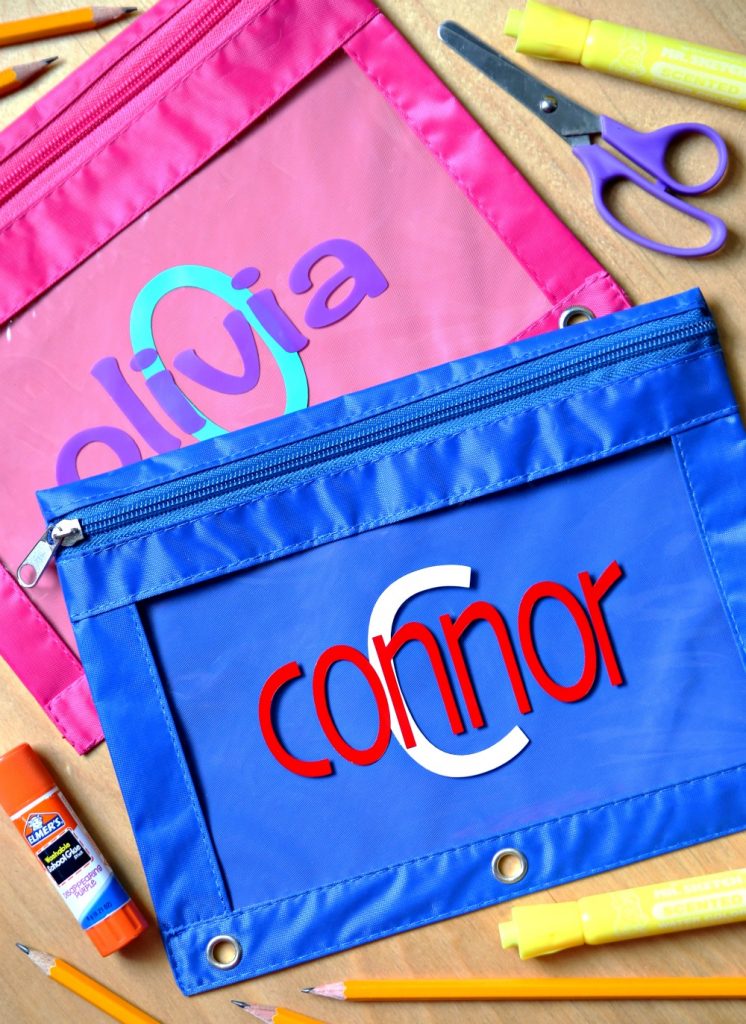
Our guest co-hostess is Happy Go Lucky and she is creating personalized pencil pouches today!
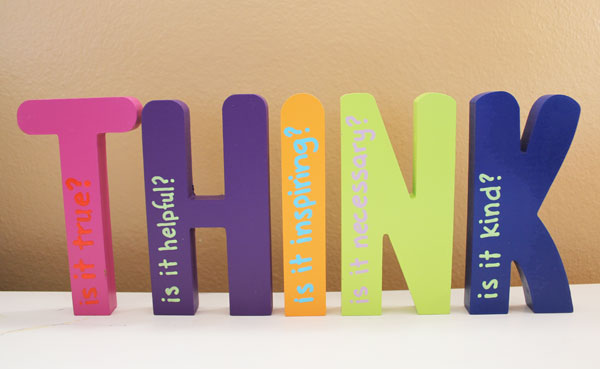
Finally, my long-time co-hostess for this series is 30 Minute Crafts and she made these great THINK classroom letters!
Make a school supplies organizer or any one of these other back-to-school craft ideas. You are sure to love the results! So which will you be making this year?
FAQs About School Supplies Organizer
Here are questions I frequently see readers ask about this school supplies organizer. If you have a question but don’t see it answered down below, please leave it in the comments so I can answer it for you.
Can I Use Any Kind Of Tin Can For This Project?
Yes! You can use any kind of tin cans for this school supplies organizer! If you open up some tin cans for dinner, be sure to save them so you can use them to create your own rustic metal storage containers!
Can I Adjust The Size Of This School Supplies Organizer?
Yes! You can make this organizer as long or as short as you like!
Can I Use Regular Craft Paint For This Project?
I would skip regular craft paint and use the spray paint I linked above instead. This is because the spray paint will give you that concrete look in a shorter amount of time.
However, if you can’t find the spray paint that I linked above or you would rather skip it, I would use Chalk Paint instead. If you use Chalk Paint, you will want different shades of gray, like light, medium, and dark. Then, you can follow the same tutorial above and use your pouncer brushes to layer each color together.
Do I Need To Use Pouncer Brushes?
For this project, I would definitely use the pouncer brushes. These brushes are a great way to make sure the paint finish spreads in a thin even layer. You can even build texture by layering the paint with the brushes.
Can I Use Another String Other Than Twine?
Absolutely! Twine is used to tie all of the school supply containers together for extra decoration. However, you can get creative and use any kind of string. I like twine because it is durable.
5 More School-Themed Crafts
Did you love this school supplies organizer and are looking for school-themed crafts? Then check out the projects below!




SO neat! 🙂
I would love for you to share this with my Facebook Group for recipes, crafts, tips, and tricks: https://WWW.FACEBOOK.COM/GROUPS/PLUCKYRECIPESCRAFTSTIPS/
Thanks for joining Cooking and Crafting with J & J!
This looks like cool stuff to play with! The texture is great. Thanks for letting me know about it!
Too cute! I love the look of the faux concrete. These turned out so pretty!
This is fantastic! I have never seen that faux concrete paint. Definitely need to go and pick some of that up to make this! Thanks for the gorgeous organization idea!
Such cute and fun ideas!
That faux concrete paint is so neat! I really like how your organizer turned out. Thanks for sharing with Merry Monday this week; I’ll be featuring your desktop organizer at our upcoming party.
Thanks for sharing your fabulous project at Inspire Me Monday at Create With Joy, Angie and congrats on being one of our featured guests this week #292! 🙂