Grab your Cricut machine and make some DIY self-stick gift tags! Jen Goode is back again this month with a fun tutorial you are going to love!
Did you know you can make self-stick gift tags with your Cricut? The new adhesive back paper is perfect for cutting quick tags and dressing up those gifts and cards in minutes!
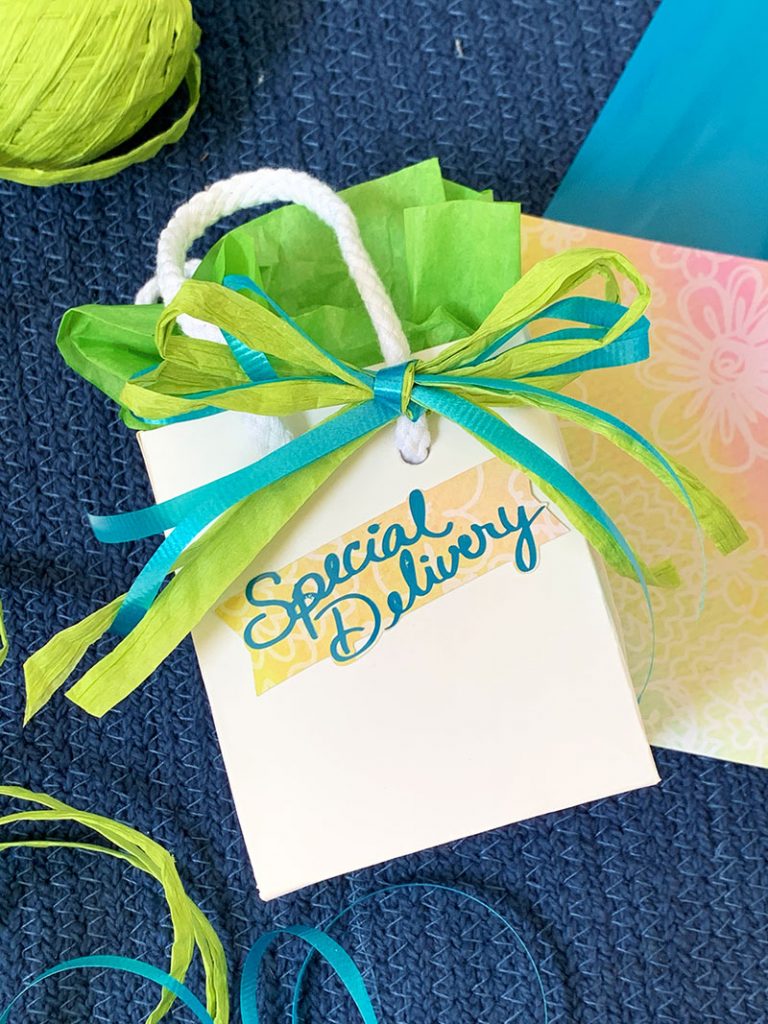
The paper I’ve used in this project comes in a variety of colors and patterns. It’s got a sticky backside with a paper backing that you just peel off and you can stick the designed paper on your projects. This particular pattern is from the Cricut Adhesive Backed paper collection I designed!
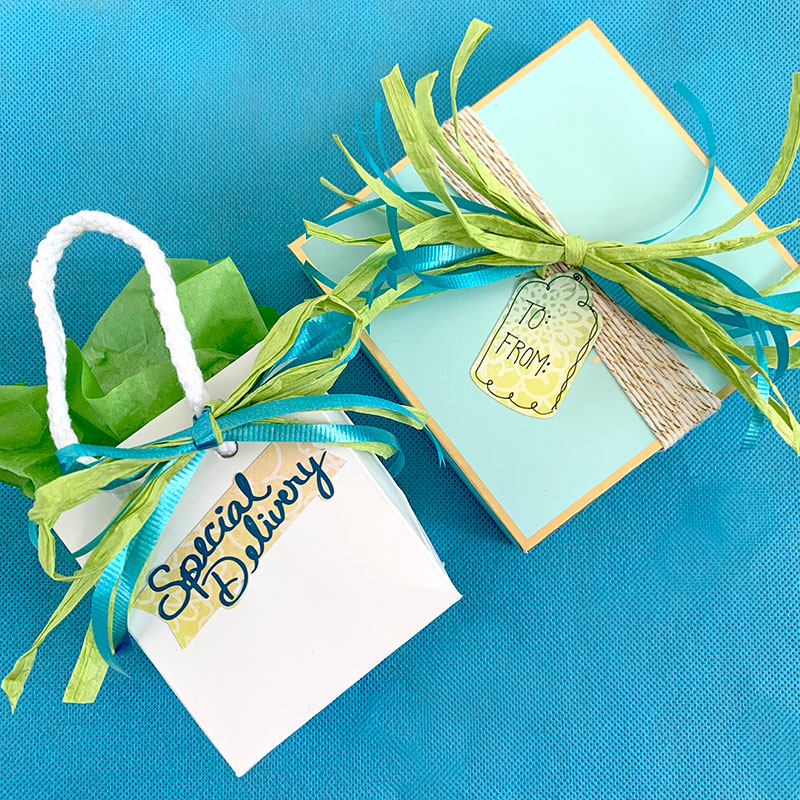
How to Make Quick Self-Stick Gift Tags
You can easily create sticky-back gift tags and other gift stickers with this adhesive backed paper. You’ll find a variety of patterns and colors to mix and match. Just choose a shape design to cut in Cricut Design Space, choose your paper and you’re good to go!
You can draw on this paper, apply vinyl to it and cut it, just like you would traditional cardstock. The machine setting will allow you to cut the paper without cutting through the backing. And the bonus feature.. you can stick your finished cut on just about anything!
Materials
- Cricut machine and Cricut Design Space Account
- Special Delivery and Gift tag designs by Jen Goode
- Always Spring Adhesive Backed paper by Jen Goode
- Permanent vinyl in teal and Transfer tape
- Cricut Pen
- Gift wrap ribbon
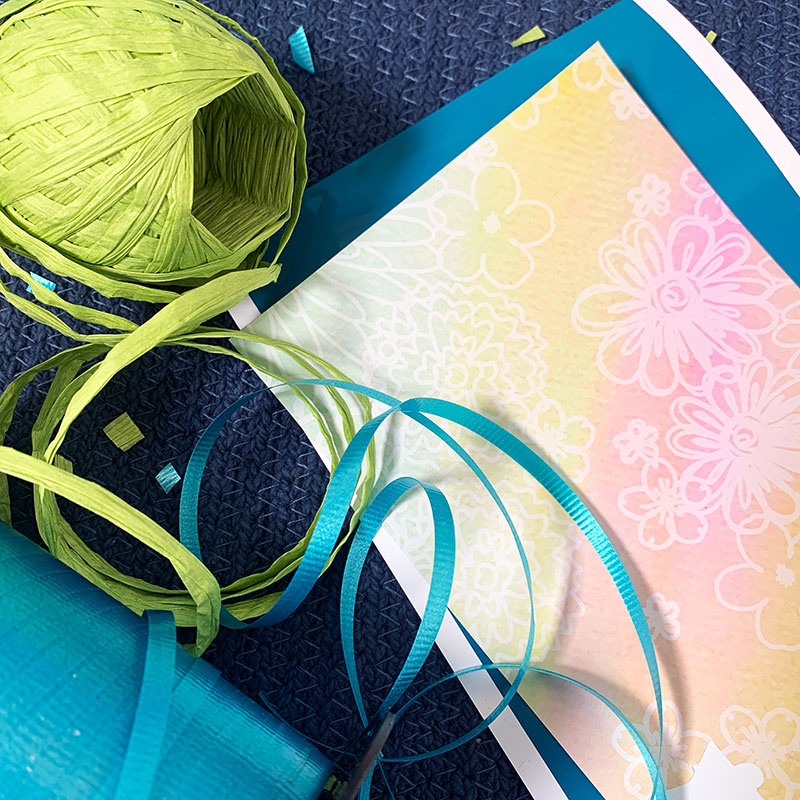
The paper I used is sold as a Cricut Joy product, but you can use it with any machine. Simply put it on a standard grip mat and cut like you would cardstock. The materials are called “Deluxe Paper, Adhesive Backed”.
Instructions
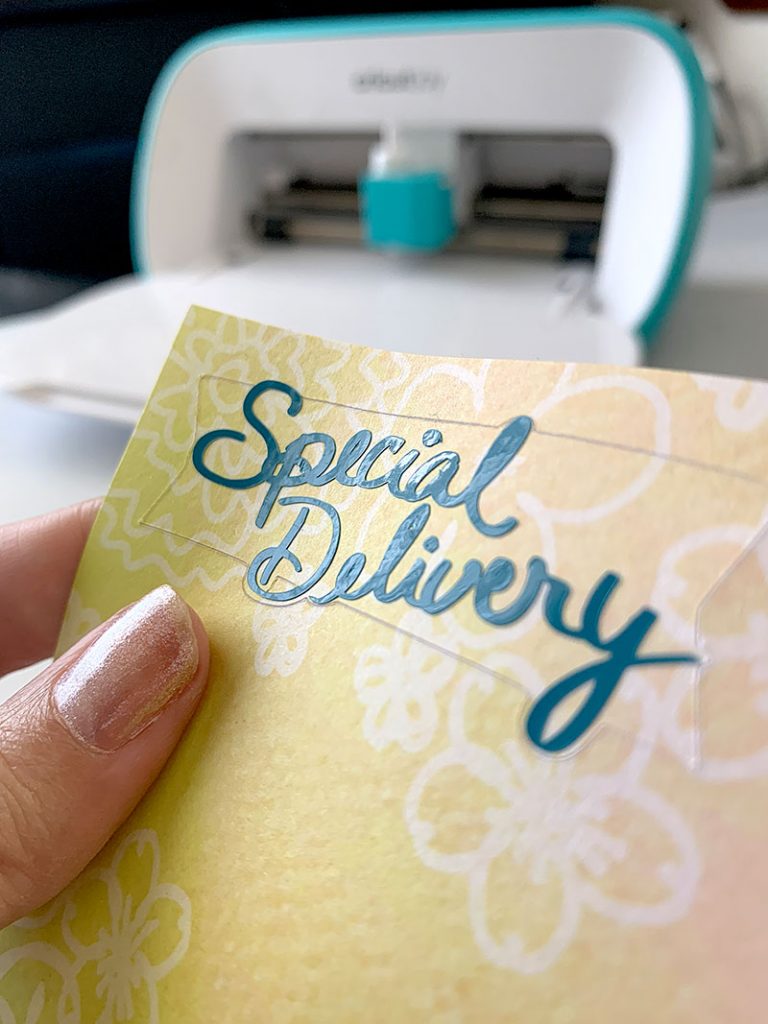
- Go to the project I’ve already set up for you. Follow the on-screen instructions to draw and cut the tags. I cut the “special delivery” words from permanent vinyl.
- Layer the paper and vinyl for your Special Delivery tag using transfer tape.
- Use the tags however you’d like
This is just one way to make your own gift tags with your Cricut. Check out this cut Spring gift tag you can make for thank you gifts.
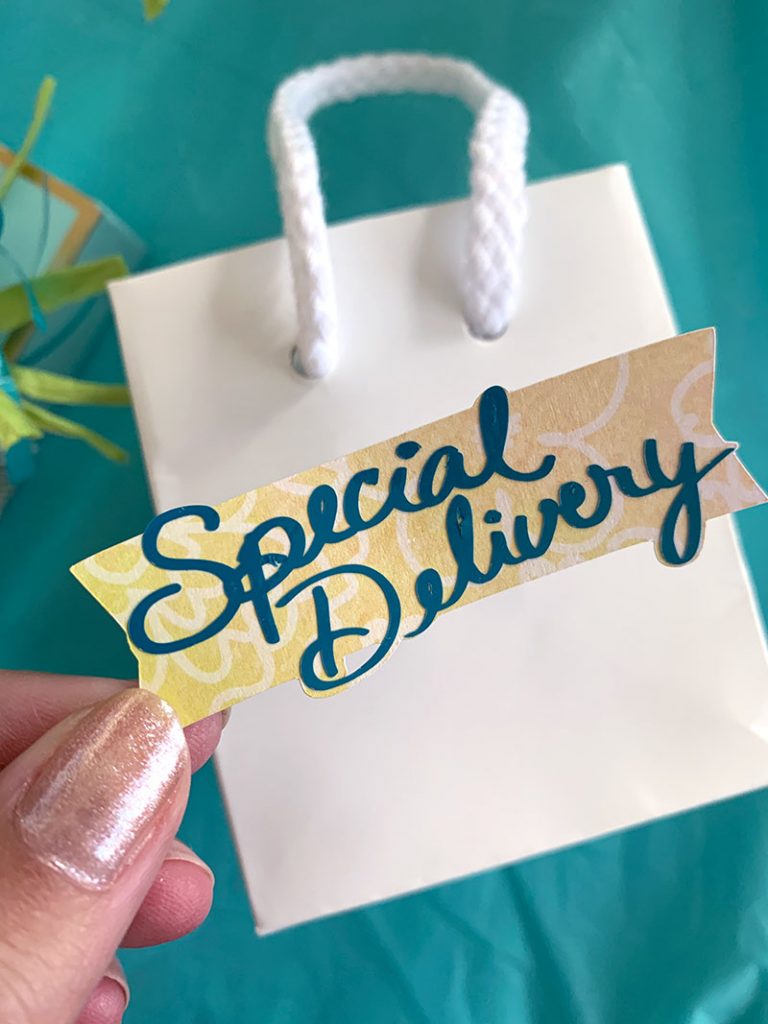
That’s it! Seriously simple, right?
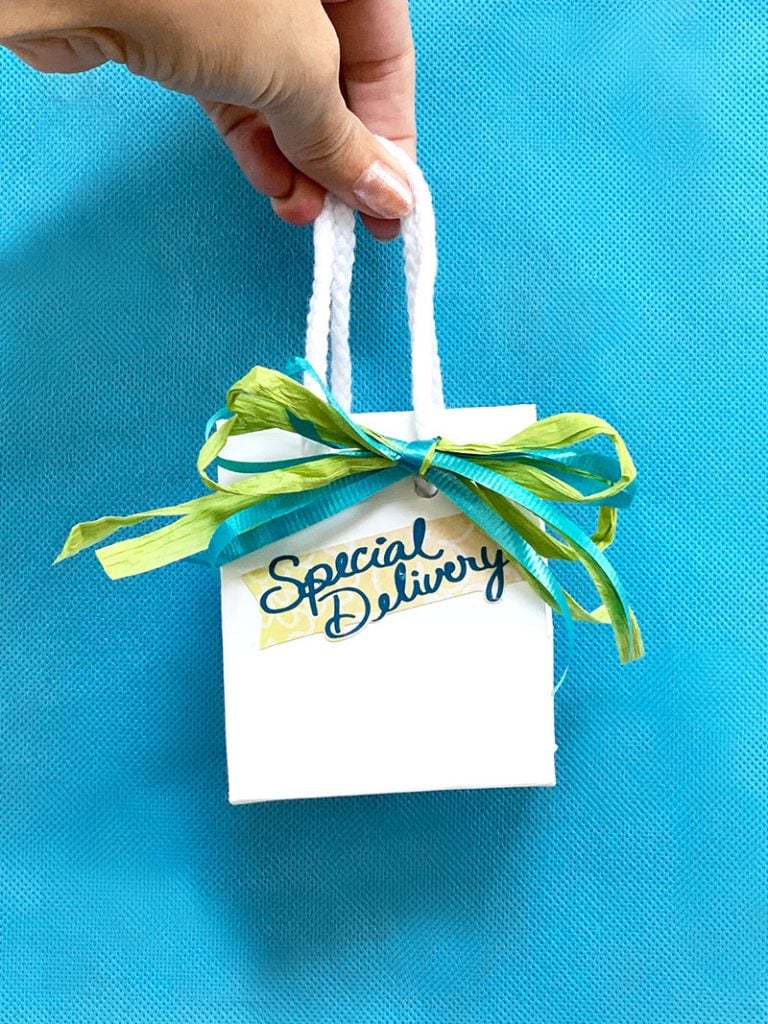
To add a fun and easy bow to gifts, combine raffia and curling ribbon, cut the same length from each, wrap a few times and tie. This quick cut ribbon “bow” will add a bit of color and flair with no need to get out the fancy bow maker.
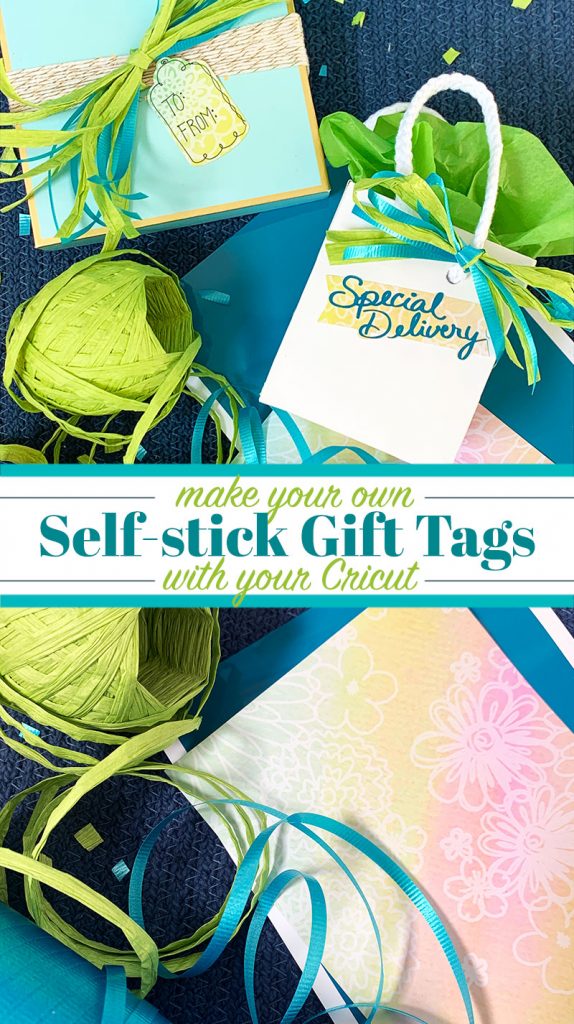
Be sure to make your own self-stick gift tags with your Cricut!
Love these DIY gift tags and want more ideas? Try the links below as well!


Well she says “Go to the project I’ve already set up for you. Follow the on-screen instructions to draw and cut the tags.” Well that would be great if I just knew where to go to get this. No link or any instructions on how to get to this project. I searched for about 30 minutes re-reading this page to see if I missed where this “project” is at. Kind of frustrating. Awfully cute project! Wish I could have found it.
I fixed it! So sorry! Link now included!
Thank you