I have wanted to create a shabby starfish for sometime. One of those ideas that gets in my head and won’t go away. I finally completed this project and am sharing all of the details below so you can make your own!
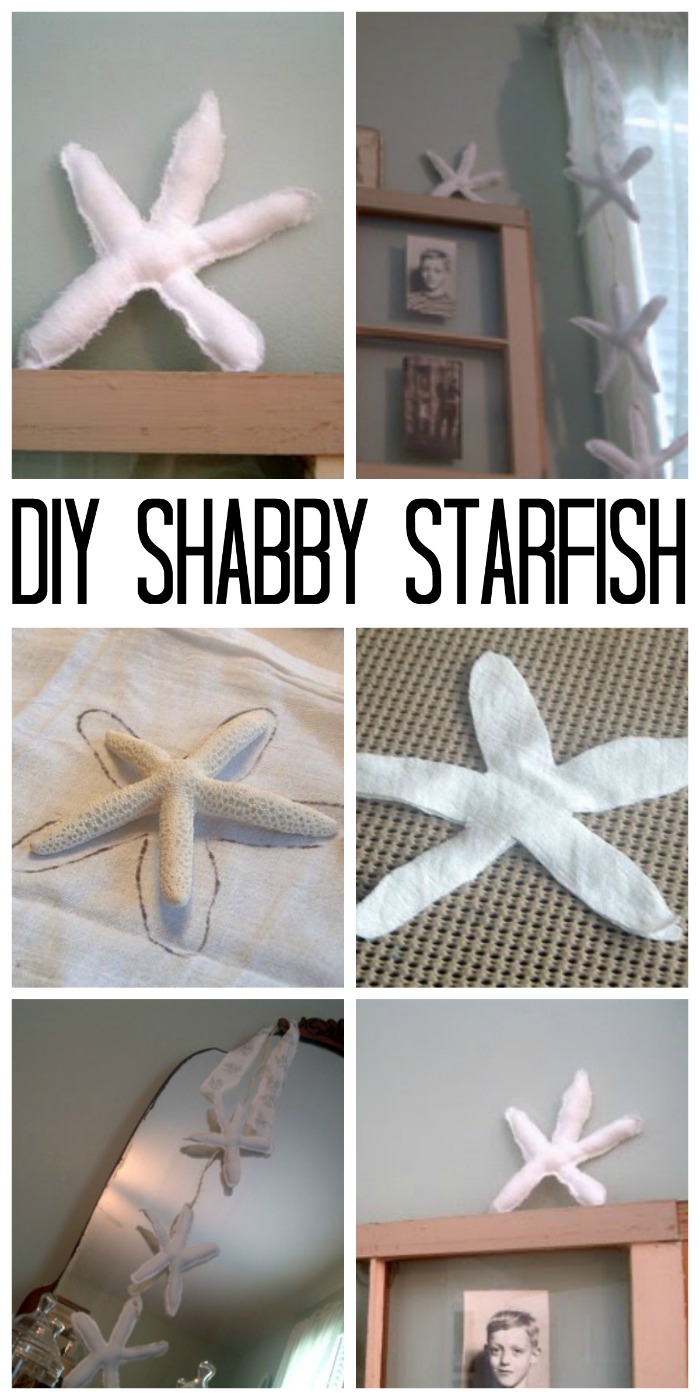
Beach-themed crafts are like a mini vacation for your soul. I have so many beachy crafts on my site that would complement this starfish. Like this DIY candle vase holder, burlap wreath, and this other starfish wall art craft.
This little ocean gem takes the coastal vibe up a notch with its weathered charm and vintage allure! Picture it as the star of your decor, perched on a whitewashed shelf or as a garland with frayed twine against distressed wood.
Whether you’re making a nautical wreath or turning old beach finds into a frame-worthy masterpiece, these crafts are your ticket to a sandy, sun-soaked paradise right in your living room. So grab your seashells, unleash your inner mermaid (or merman), and let’s get started on this adorable starfish craft!
How to Make a Starfish from a Tea Towel
Supplies needed for a shabby starfish:
- Tea towel (any color)
- Pencil
- Scissors
- Sewing machine
- Stuffing
I took a piece of a tea towel I had leftover from a pillow project. Traced around one of my real starfish and cut out two pieces.
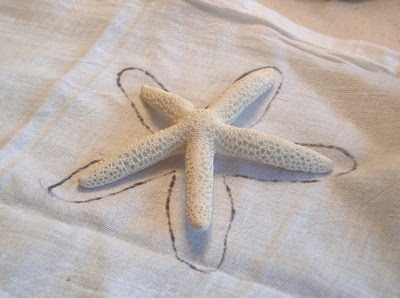
1) This does not have to be perfect (obvious from the pic huh??).
2) The bigger the starfish the easier this will be.
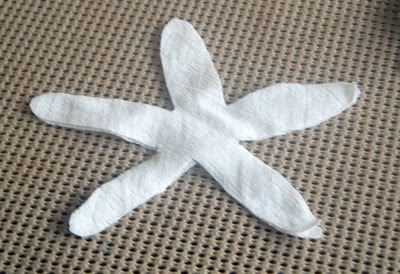
Take your two pieces to your sewing machine. I used a zig zag stitch about 1/4″ or so from the edge. Sew all the way around and leave a small opening. Stuff and then sew up the opening. You will want a stuffer tool or the eraser end of a pencil to get in those long arms. I left the raw edge all the way around. I think that is the charm.
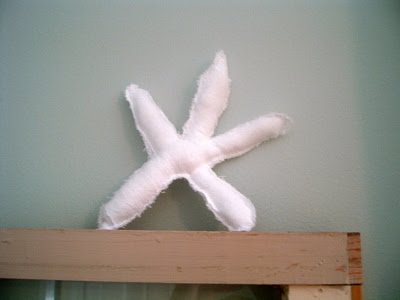
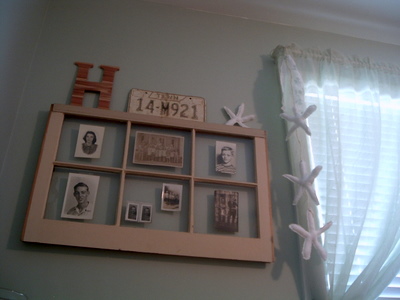
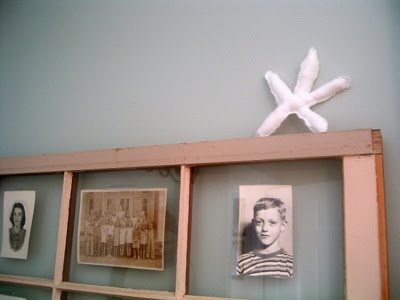
See he is all shabby with his raw edges fraying. And he looks fabulous perched on my window.
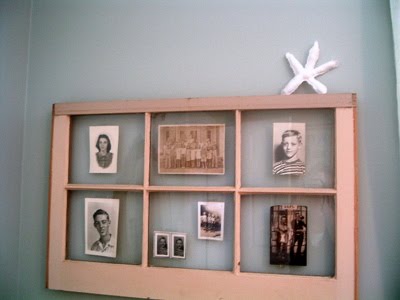
A new (and ca-ute) starfish for the cost of a scrap piece of tea towel? Yes this one was a success! So this one looked so good why not go for a trio?
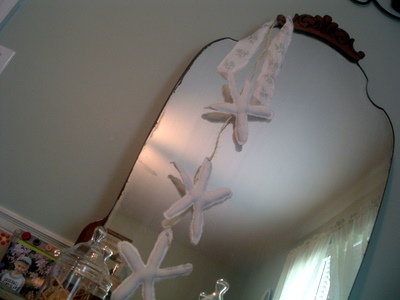
I made three as I described above. I am lucky enough to have a cropadile that will punch holes in fabric and add fabulous grommets. If you don’t have one, just get a hole in ’em any old way. They are shabby after all. I strung them together using some twine and added a shabby strip at the top.
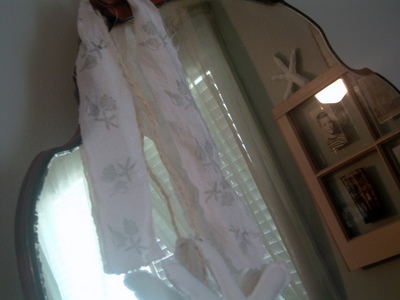
Yes just a strip of that tea towel with some beachy stamps on it. This string of starfish is going to look great at my cabin on the river.
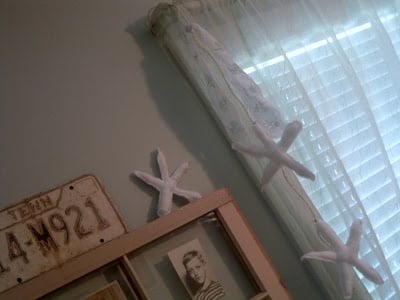
Or maybe I should make more for my house?
Shabby starfish make me smile! I hope they made you smile too!
Love this and want more ideas? Try our driftwood wall art or our starfish wreath!

Instructions
- I took a piece of a tea towel I had leftover from a pillow project. Traced around one of my real starfish and cut out two pieces.
- Next, sew a zig zag stitch about 1/4″ or so from the edge with your sewing machine.
- Sew all the way around but leave a small opening for the stuffing.
- Stuff and then sew up the opening.
- Now your starfish is complete!


That is cute! Thanks for sharing!
He is so cute! I don’t know why, but I think it’s a “he”. So far, so good on the challenge. I’m finding this hard for some reason, are you? Have a great weekend!
Super cute!
HOW CUTE! SUPER CUTE IDEA! MARCIA
Cute!
Super cute!! I hate to sew do you think I could make one with my glue gun? lol 🙂
Very cute! I’ve crossed off some things on my list, but it’s kicking my butt!
Happy Friday! I am stopping by via the linky party.
Your starfish looks utterly charming!
Love the all shabby starfish! I can see myself stitch up a few in all kinds of “crazy” colors!
So cute! My mom just actually lent me a book with a ton of sea creature patterns! Can’t wait to make some!
Jeanine
Love that display!
I think that is great! My friend has a beach themed room and I bet she would love one of these. What a great idea – thanks!
What a simple and darling idea!
What a cute idea! Thanks for sharing this one.
What a fun project! I love the three strung together!
Such a cute idea. These would be so sweet in a variety of muted colors on a wreath frame…or as a bunting over a bed in a child’s bedroom.
This beach girl is loving them!