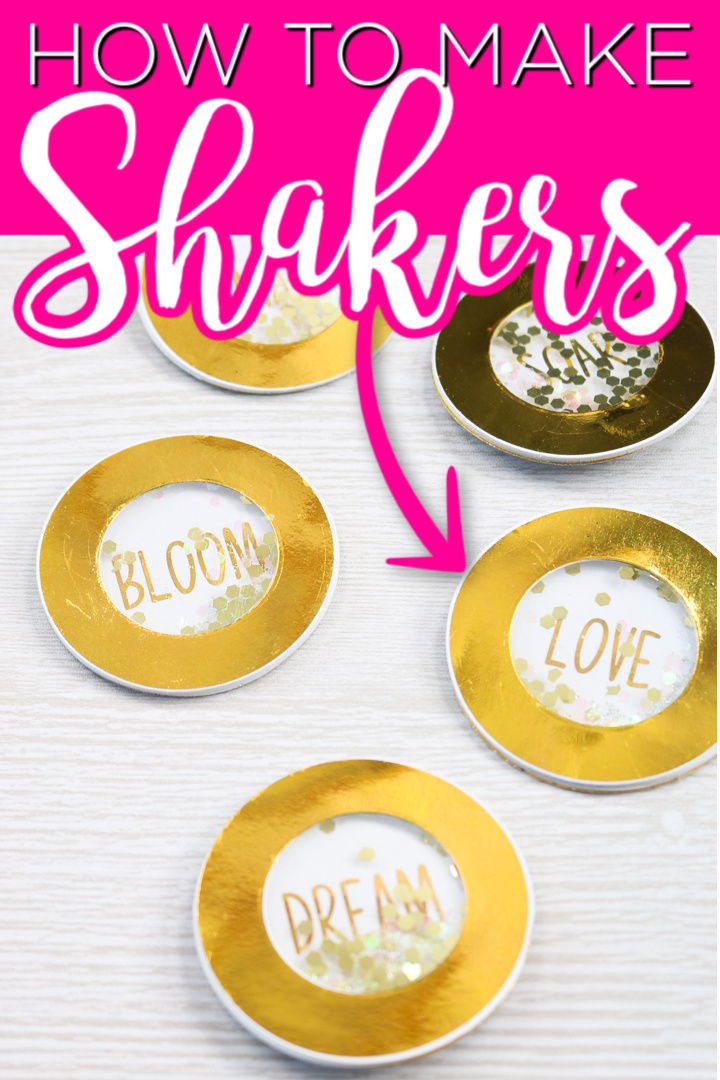
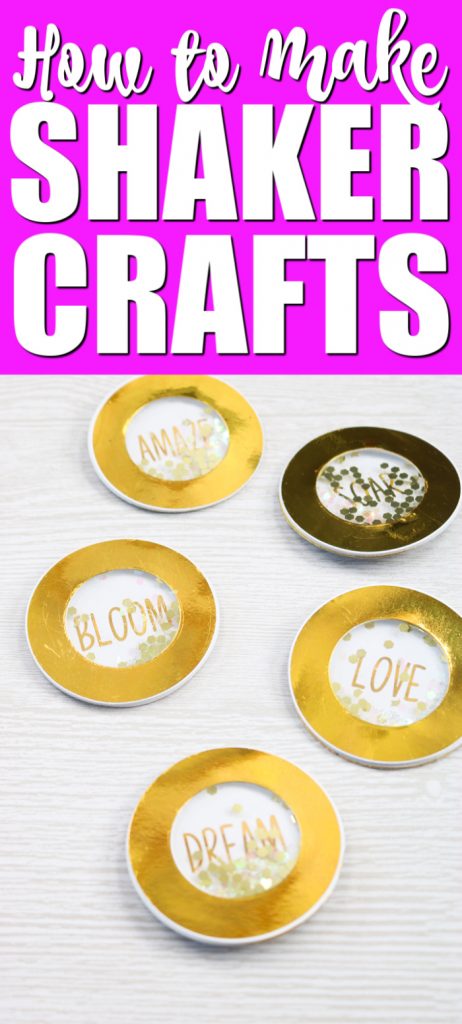
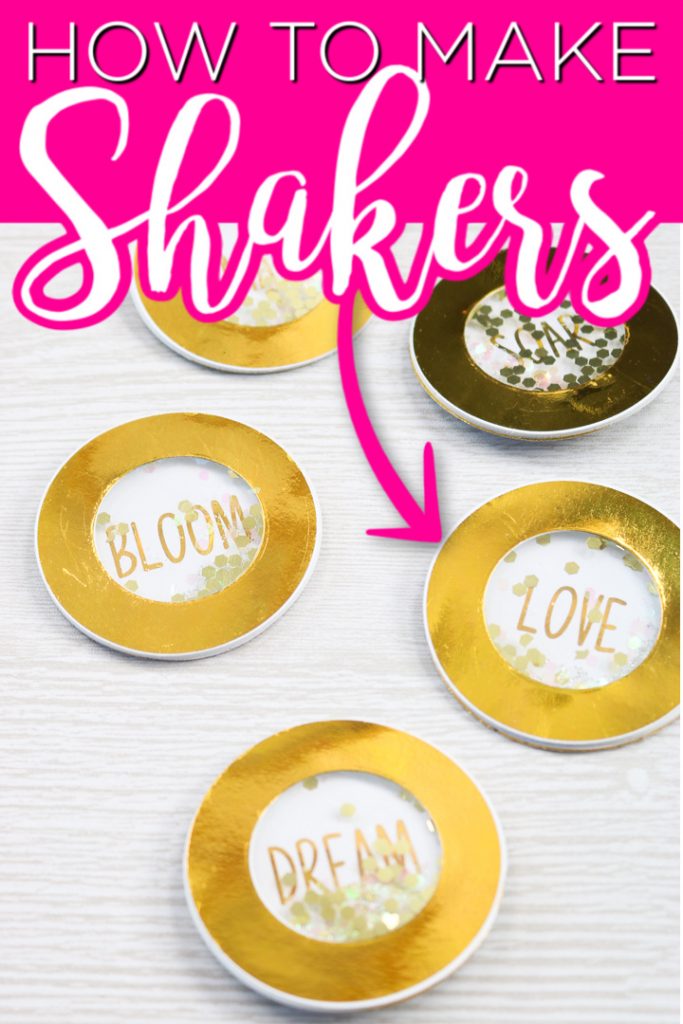
Shaker crafts were everywhere when I recently attended Creativation which is the trade show for the craft industry. In fact, I made these shaker pins at the Xyron booth there and everyone loved them. I thought I would share how to make these cute pins to give you an idea for making shaker crafts of your very own.
Today we are also continuing with Craft Week where I am joining in to bring you great crafts all week long. You can find the crafts from the other bloggers at the bottom of this post! So far this week, you may have missed my tulip wreath as well as my tutorial on making painted handle cutting boards. I also don’t want you to miss my post on making writable labels with the Cricut Joy and this DIY magnolia garland that is perfect for a wedding. Yesterday I shared these DIY cosmetic bags that are so easy to make!
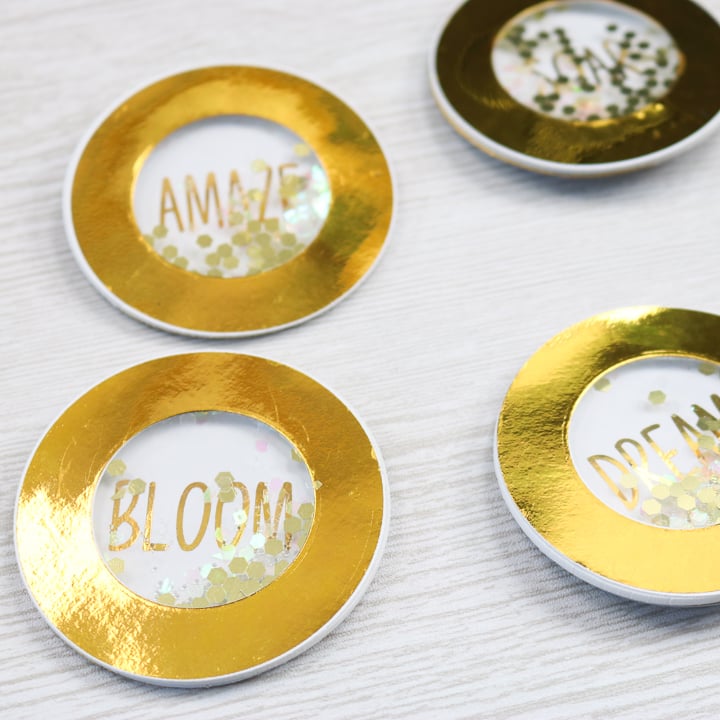
How To Make Shaker Crafts
First, you will need to decide if you are going to add the gold foil to your pins or not. If you are, you will want to print the designs on a laser printer and use the Glaminator to add the foil. You can see more about how to use the Glaminator here.
Once you have decided on your foil, you can use the instructions below to start creating your shaker pins. Use this same method to make just about anything in a shaker. After all, shaker crafts are something that just about everyone needs.
Supplies Needed To Make Shaker Pins
- Cardstock
- Printer paper
- Printer (laser if adding foil)
- Glaminator (if adding foil)
- Small beads
- Glitter
- Acetate
- Craft foam (in white)
- Cricut cut file (click here to access)
- Safety pins
- Xyron Creative Station
- Cricut machine
Step 1: Cut Your Pieces
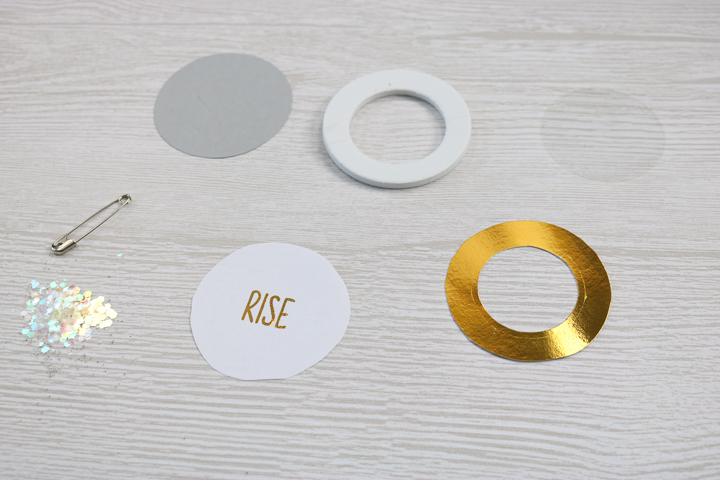
First, you will need to cut your pieces. The back is the circle with the slits and should be cut out of cardstock. The word, as well as the printed circle, should be made using the print then cut function on the Cricut on cardstock. Then you can use the Glaminator to add foil if desired. The smaller circle should be cut out of acetate. And the larger circle should be cut from craft foam. You can cut all of these pieces with a Cricut machine or make your own by hand.
Step 2: Run Cut Pieces Through Xyron Creative Station
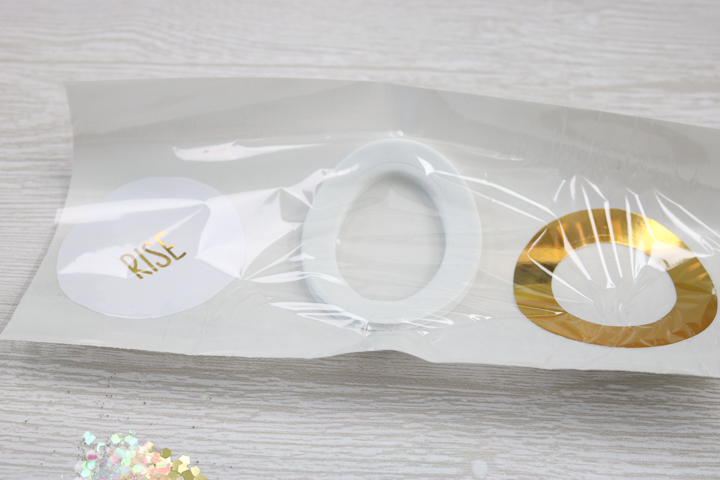
You will need to run the foam circle, the large circle, and the circle with the word through the Xyron Creative Station. This makes them each a sticker. Push them through the front of the creative station then turn the handle to pull them through. Rub the top of the clear sheet well to get rid of excess adhesive.
Step 3: Start Assembling Pin
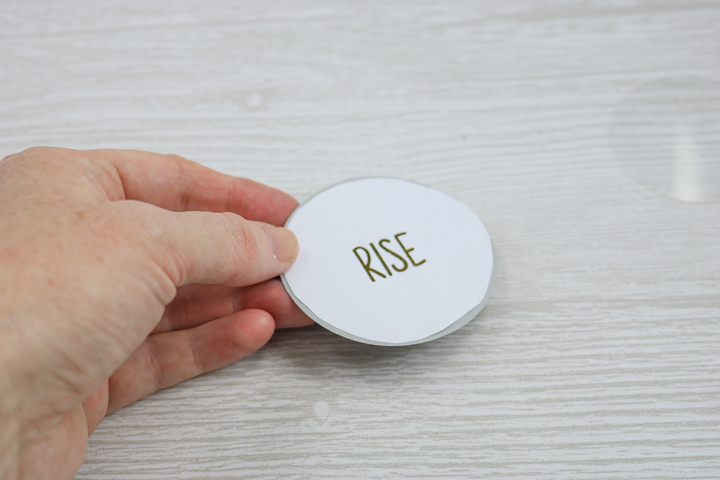
Then you can start assembling your pin. Put your safety pin through the slits in the back circle. Then add the circle with the word on top. The adhesive will hold it in place. Please note that there are many versions of this pin in the Cricut file. You can delete off those that you don’t want to make.
Step 4: Add Foam Circle, Glitter, & Beads
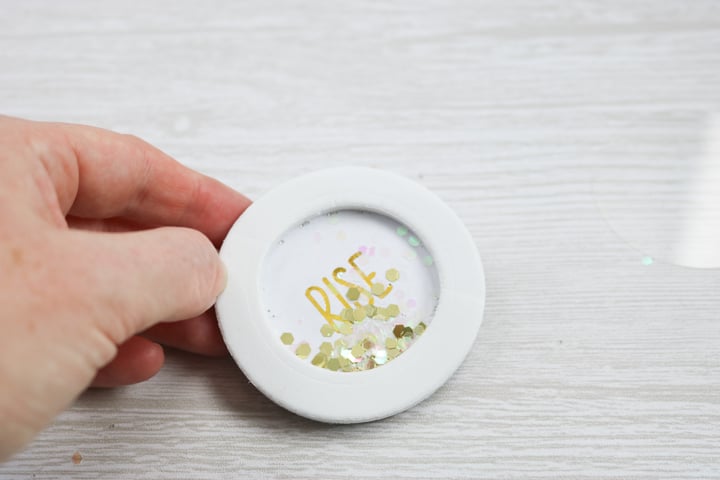
Add the foam circle on top of this. Then put some beads and some glitter on the inside. You will definitely want to add some beads for shake and glitter for sparkle. Remember not to fill too much so you can still read the word.
Step 5: Add Acetate Circle
Then put the acetate circle on top. This does not have adhesive but we will fix that in the next step. Depending on the climate, this may have a bunch of static electricity, and the glitter may stick to it. You can opt to leave the glitter out and only add beads.
Step 6: Add Larger Circle
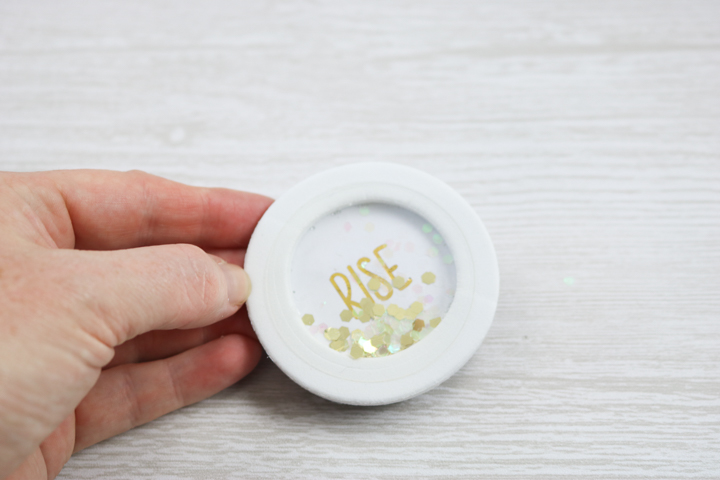
Then put the larger circle over the top. The adhesive on this will hold everything in place. Press this down really well by pinching the edges.
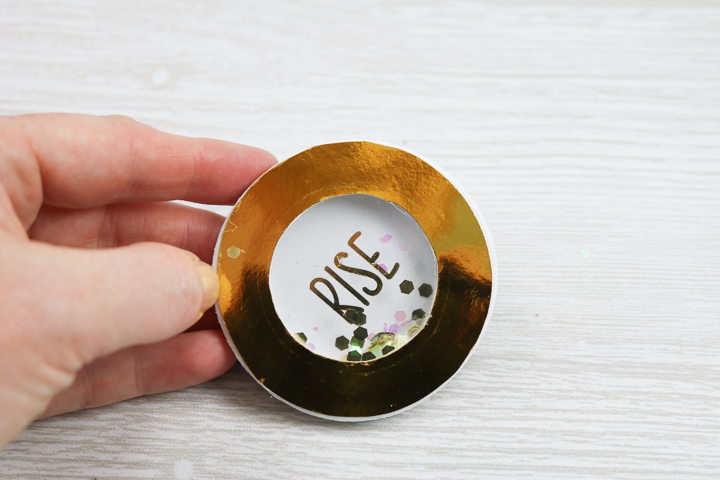
You can use this same method to make any number of shaker crafts! Running your pieces through the Xyron Creative Station makes assembling these super easy.
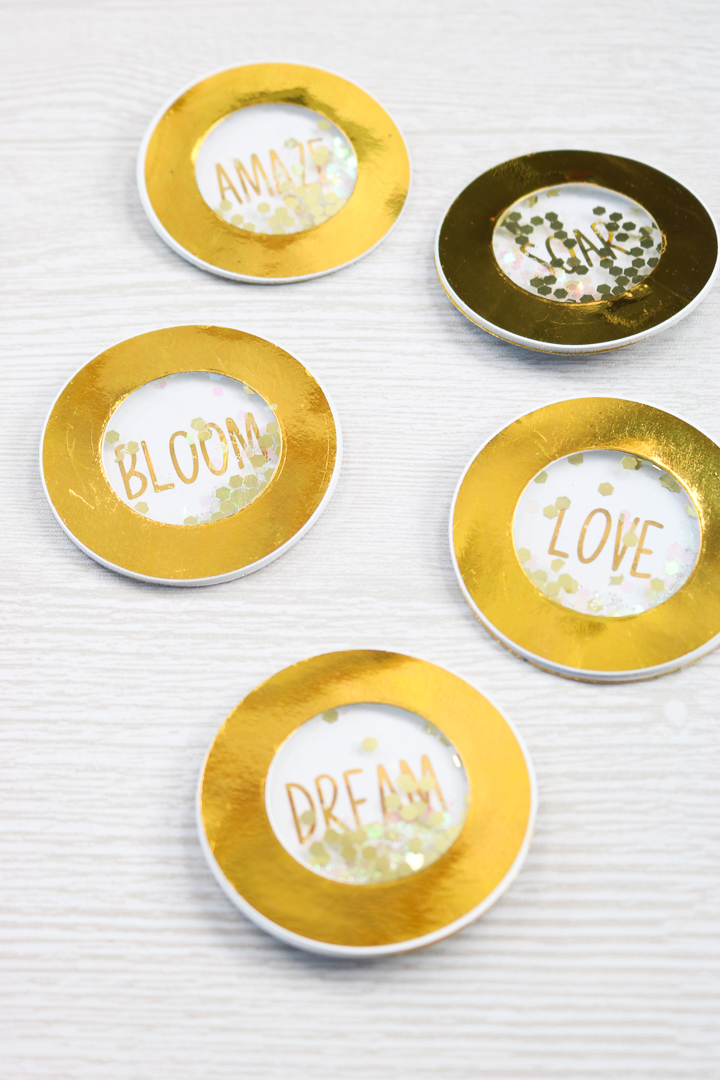
I used inspirational words in these shaker pins, but there are tons of other options that you can try with these as well. In fact, I got this idea from a post Jen Goode did here on the blog. So, the sky is really the limit with this craft.
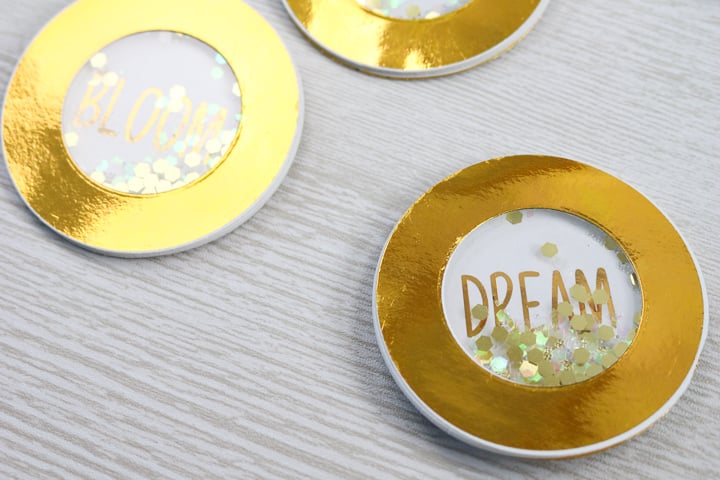
Will you be making your own shaker crafts? From cards to banners, I have seen this shaker technique used in a wide variety of ways!

Tips and Tricks for Shaker Pins
Now that you’ve seen these shaker pins, are you ready to make your own? Here are a few tips and tricks to ensure your project goes as smoothly as possible!
- Take Time Cutting Your Pieces – Whether you are cutting your pieces by hand or with your Cricut, you will want to take your time. This is because to make the shaker pin properly, all the layers will need to line up.
- Get Creative With Foil Colors – Even though I used gold foil in this project, you can use whatever colors you like! Also, if you have the Xyron Glaminator, they have more color options (besides gold) in their Transfer Foil that are perfect for this project!
- Skip The Foil – As I mentioned before, you don’t need foil for this project. If you would rather skip the foil, you can use decorative paper or colored foam as your top layer instead!
- Find The Pin Back That Is Right For You – For my pin back I used a safety pin, however, you can use any pin back that you like. Below are a few other options, in case you need more ideas.
- Rubber Pin Backs
- Butterfly Clutch Pin Backs
- Locking Pin Backs
8 More Crafts For National Craft Month
Did you love this idea for shaker crafts, and are looking for more crafts for National Craft Month? Then check out the projects below!
- Decorated Journal Cover
- Woodland Animal Paper Mobile
- DIY Kids Garden Journal
- Wood Burned Picture Frame
- Cactus Coloring Book
- Egg Carton Craft
- Stickers from Doodles
- DIY Diamond Painting
