

Today, I am sharing how to turn a picture into a silhouette using your Cricut machine. You can make silhouettes of your entire family and add them to a frame for a fun way to capture memories. Once you know how to make a silhouette from a photo, you can use this technique for so much more than family pictures. So grab your Cricut machine and get started today!
How To Turn A Picture Into A Silhouette
Grab your supplies and learn how to turn an image into a silhouette. It is easy to make a silhouette from a photo and make gorgeous art for your home!
Supplies Needed To Turn A Picture Into A Silhouette
- Cricut machine (click here to see which is my favorite)
- Black cardstock
- White Cardstock
- Picture frame and mat
- Adhesive – You can use a glue stick, tacky glue, or your favorite craft glue.
Step 1: Turn Images Into Silhouettes
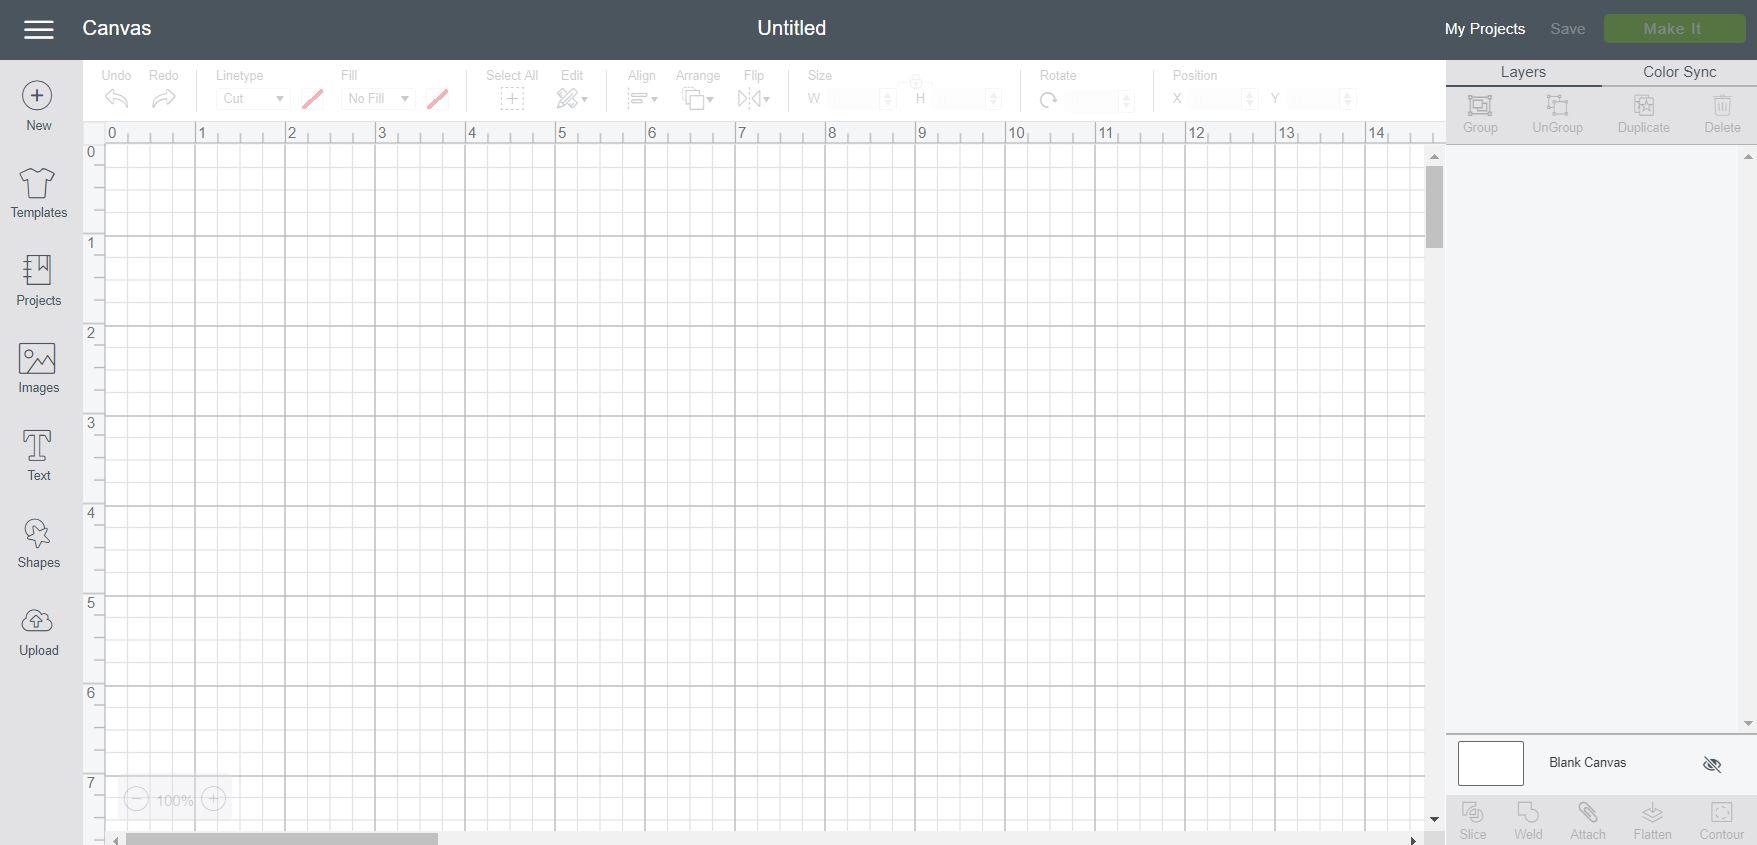
Open up Cricut Design Space and click “upload” from the menu on the left-hand side.
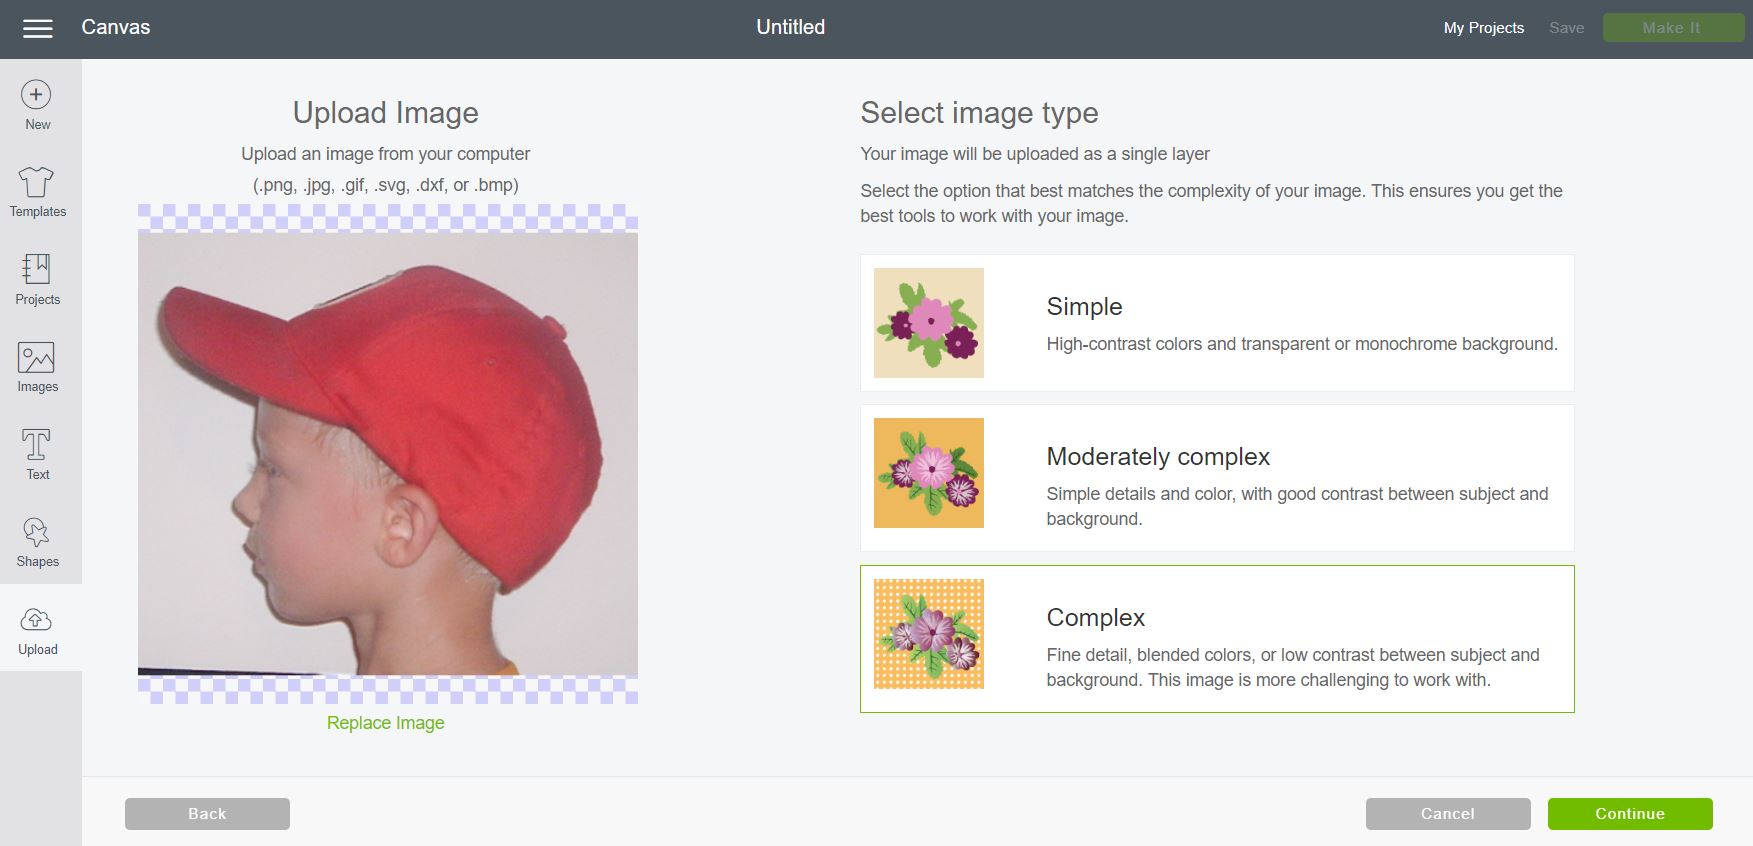
Browse for your image. Now, the images that work best are those in which your subject is in front of a plain colored background. We used a white poster board to hold up behind each of us. Then, pick “complex” and click continue. You can see a video on uploading images here if you need it.
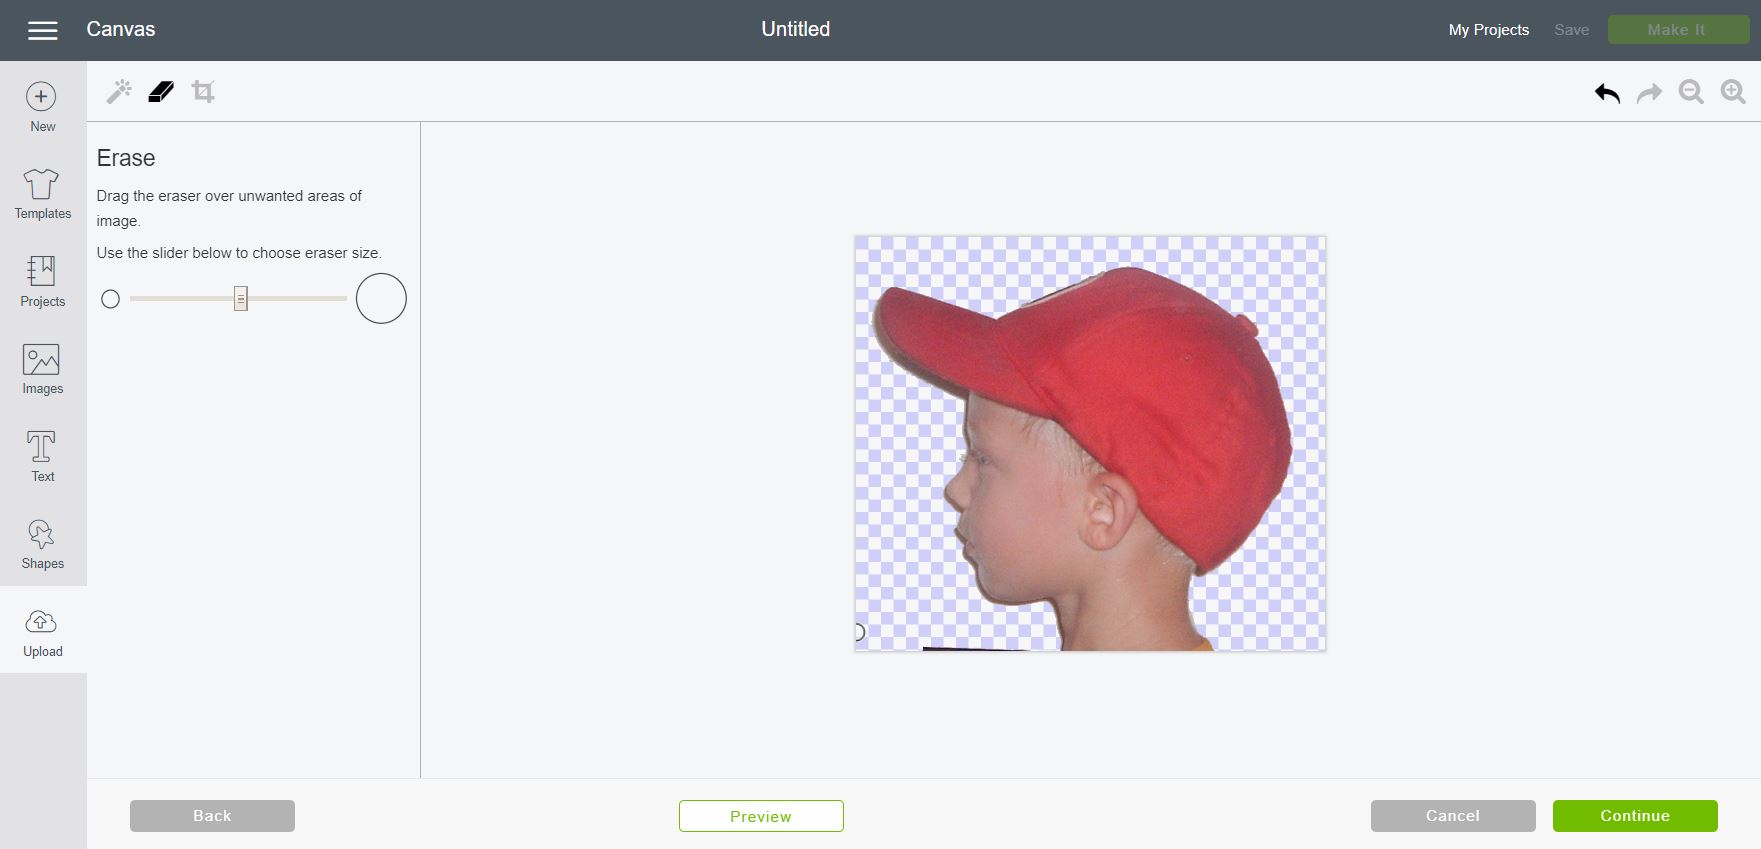
You can then try the “select and erase” tool to select your background. It should turn checked like the image below. If it doesn’t, do not panic! We can fix it!

At any time, you can also use the “preview” button at the bottom to see what your silhouette will look like. Then just click “hide preview” to go back and erase more area.
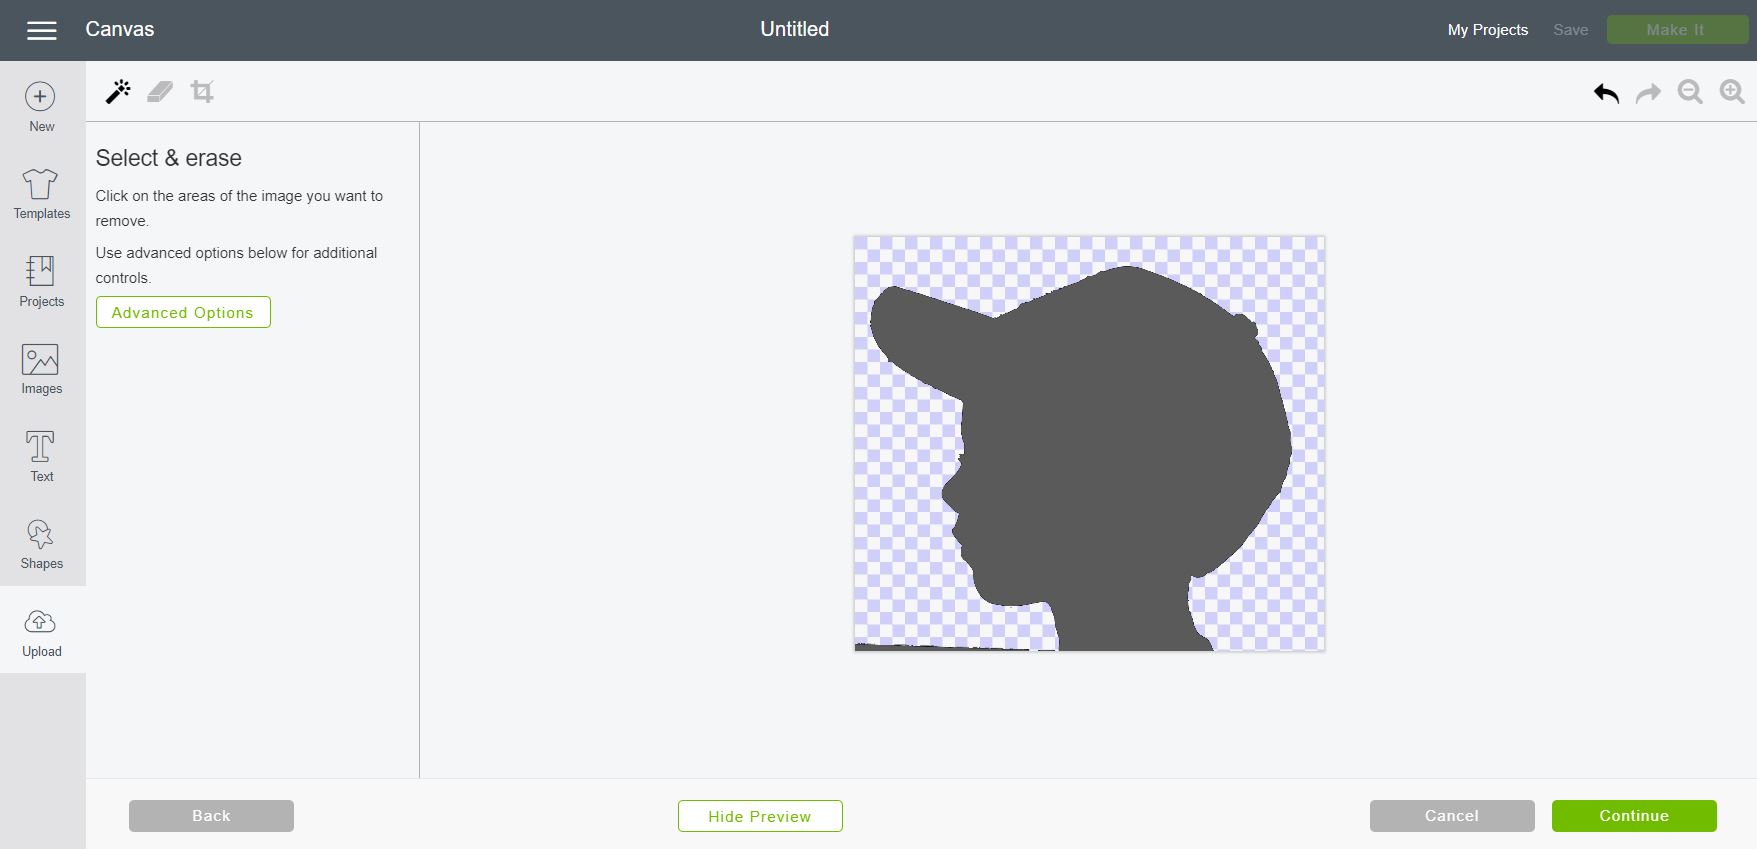
Use the erase button at the top to erase any other areas that may not have worked with the select and erase tool. You can also go around any of your image that looks really jagged. Just carefully guide the eraser along the silhouette edge. Doing this will clean up your file and make it easier to cut.
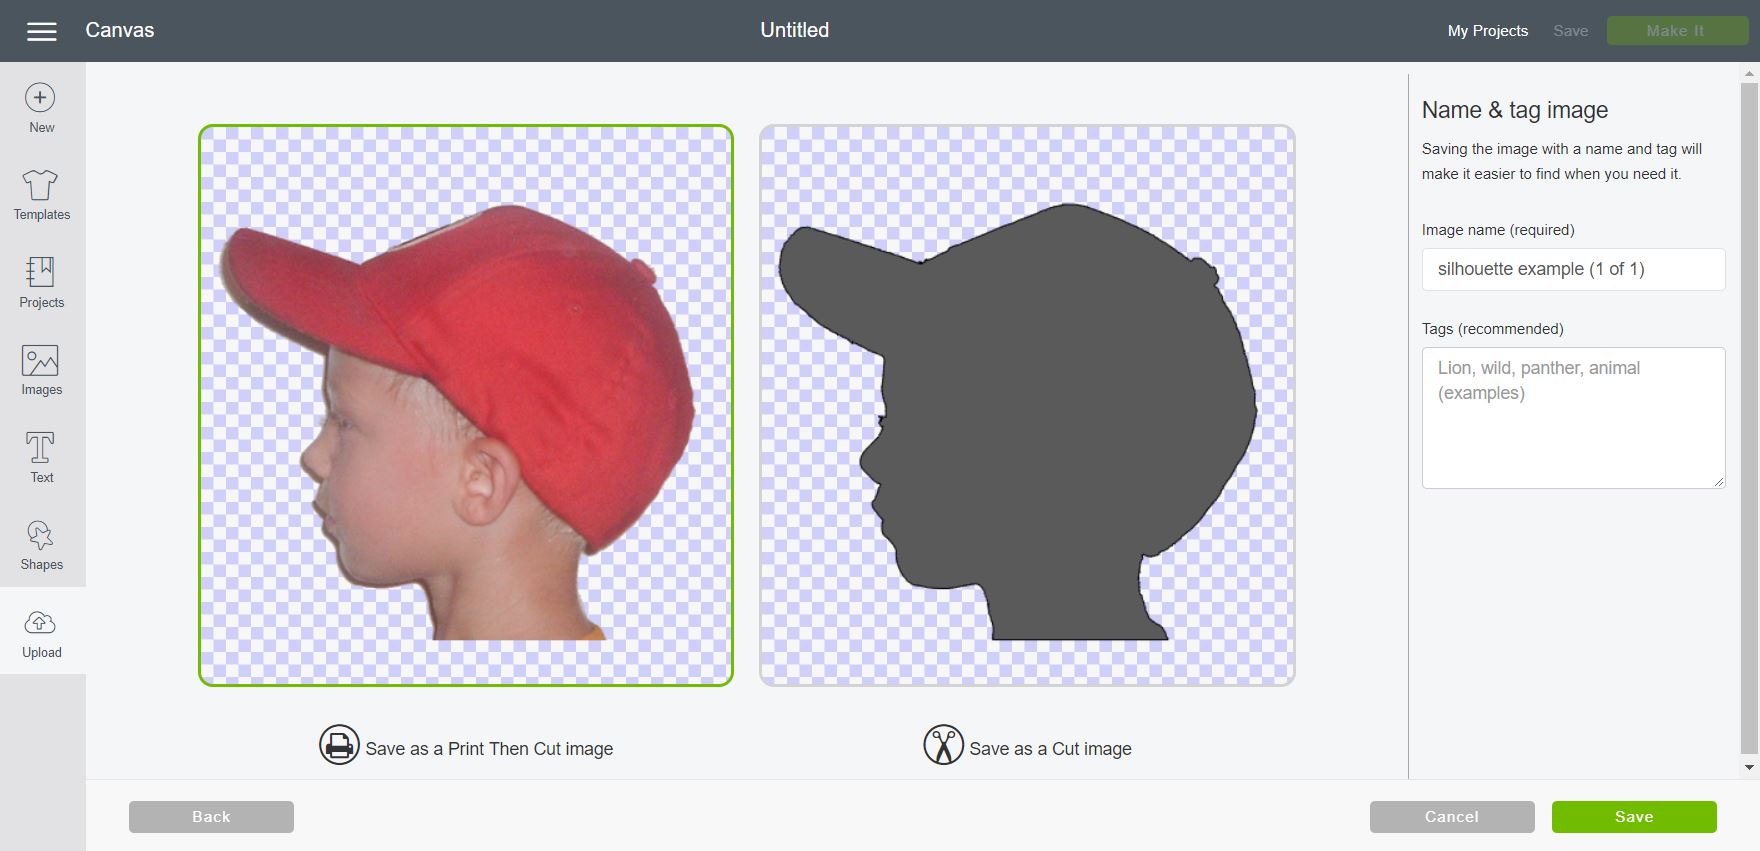
Once you are happy with your silhouette, click continue. You can then save as a cut image. Continue with all of your pictures.
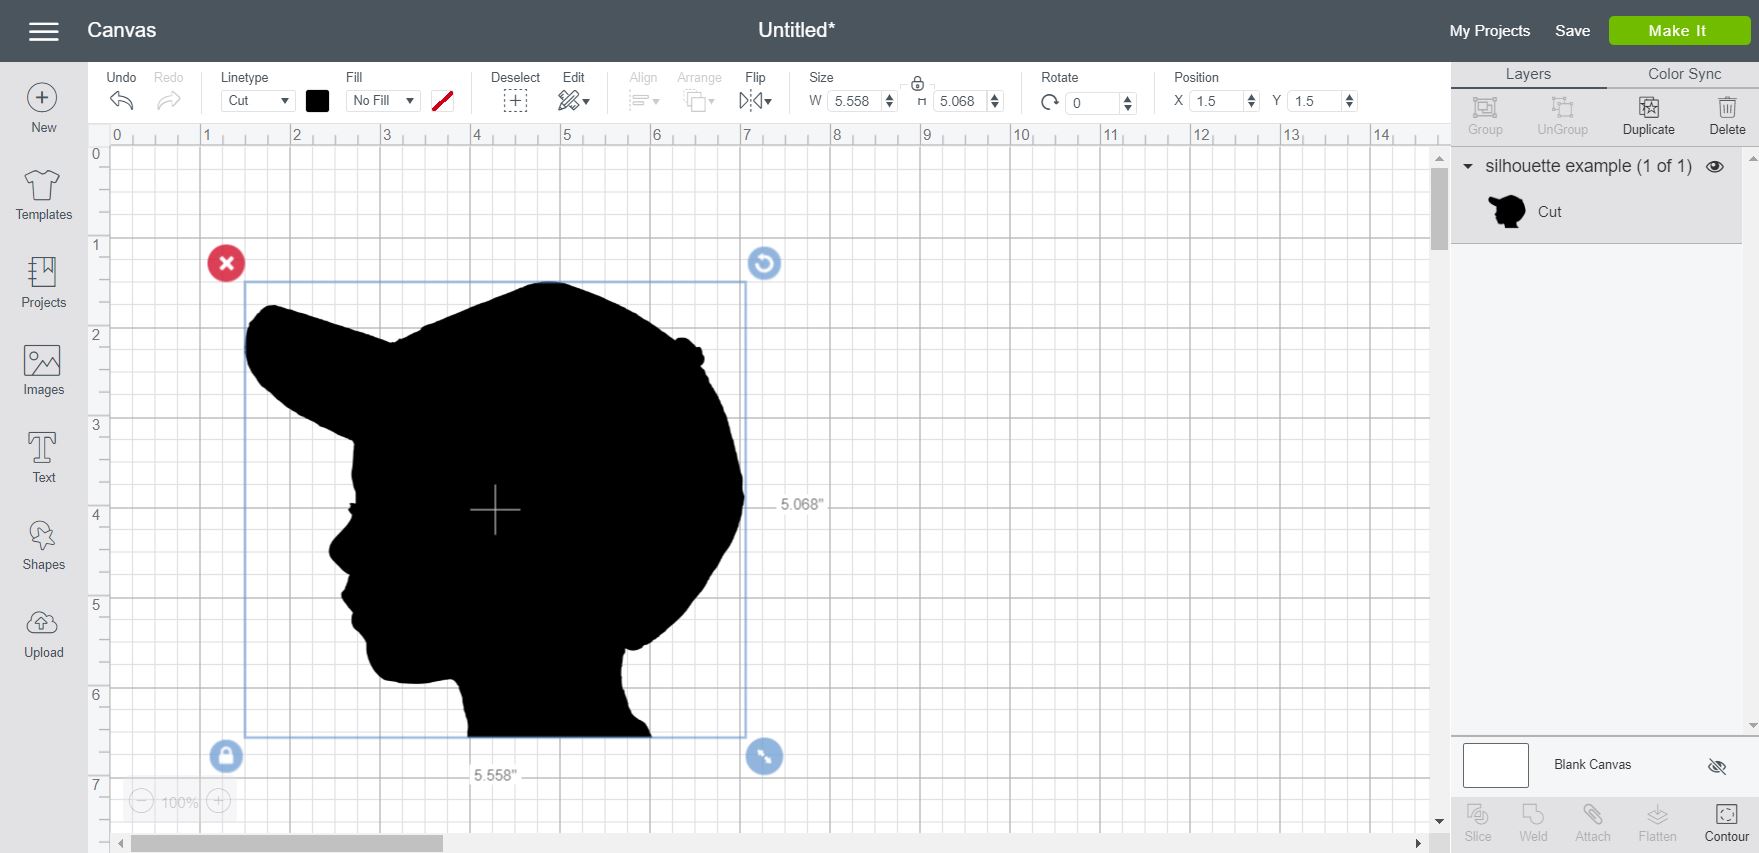
Then, insert your silhouettes onto your canvas in Cricut Design Space and resize them to fit the frame and mat you are using.
Step 2: Cut Silhouettes
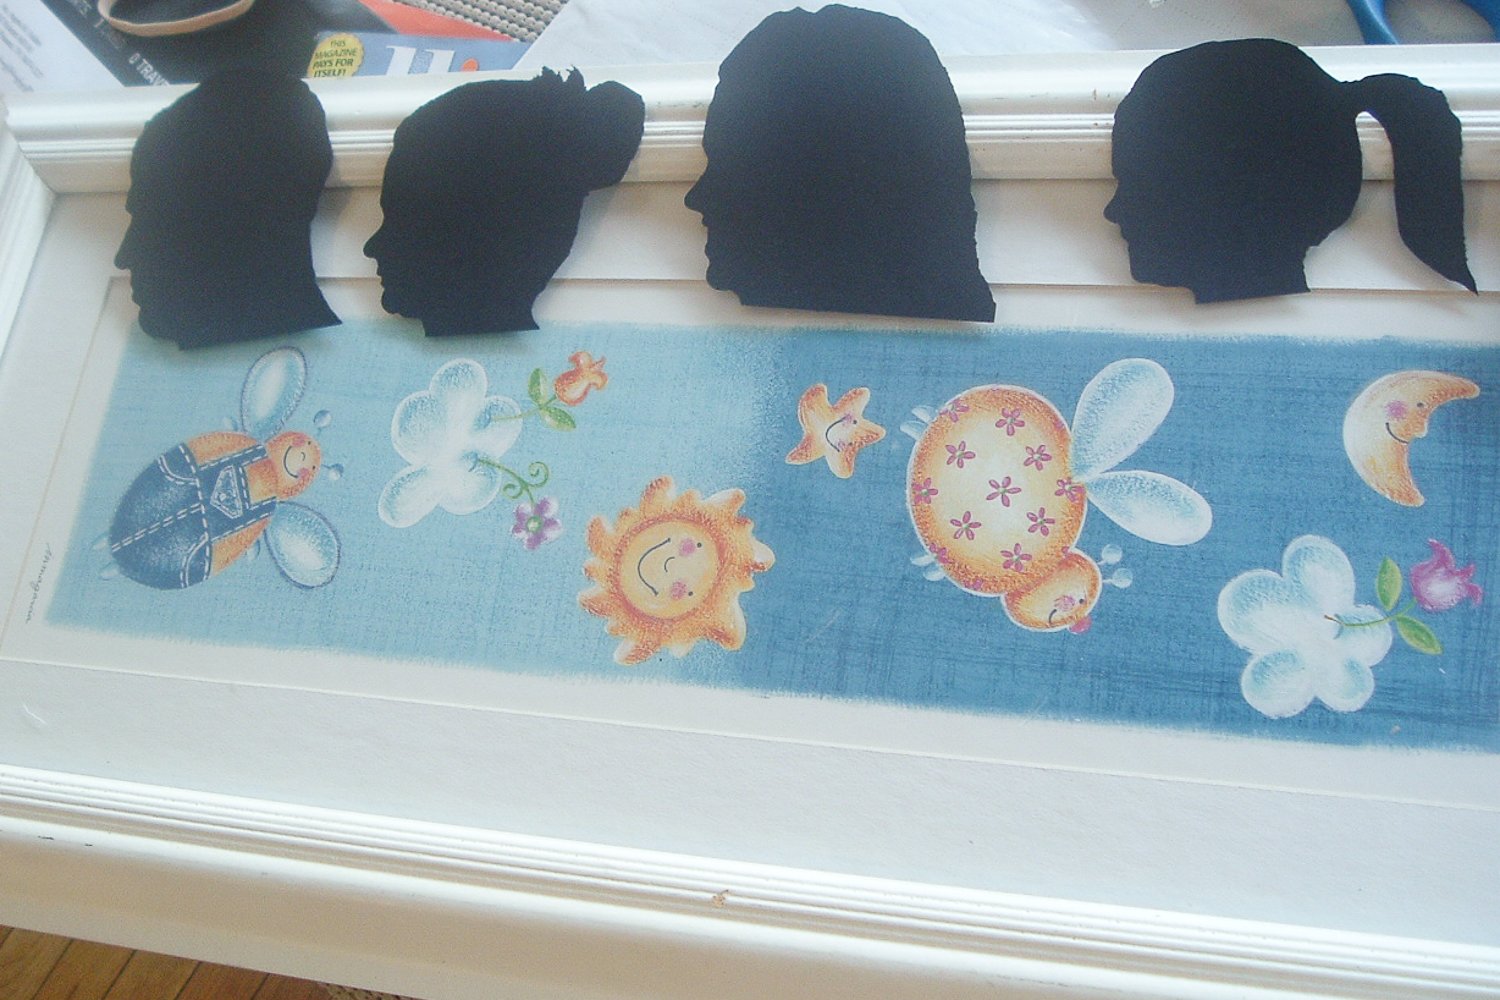
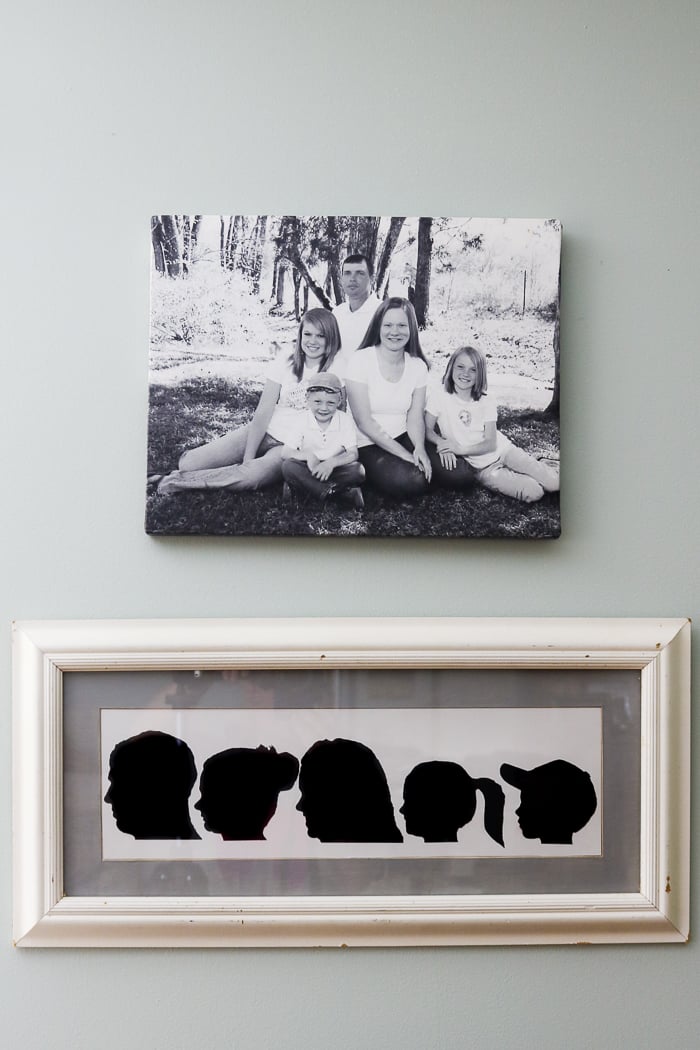
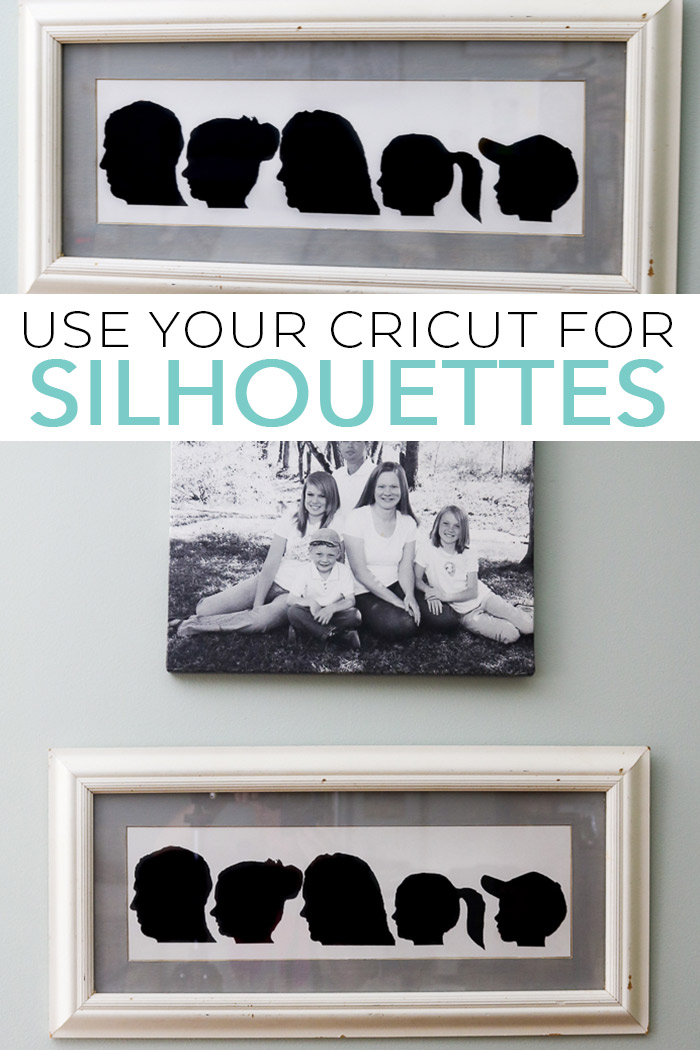
Using your Cricut, cut the silhouettes from black cardstock. I am using a frame and mat I picked up at the thrift store. I actually painted the mat a grey color. You can do the same or get a new frame and mat from the craft store.
Step 3: Glue Silhouettes To White Cardstock
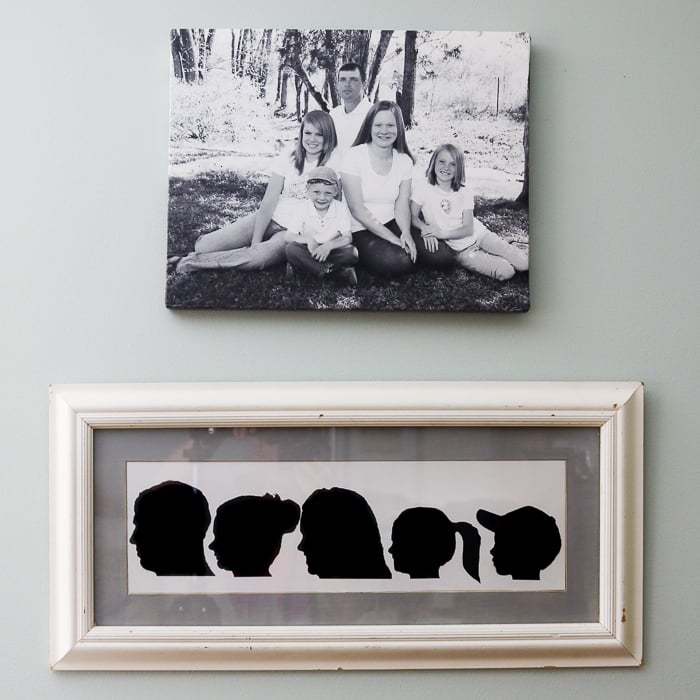
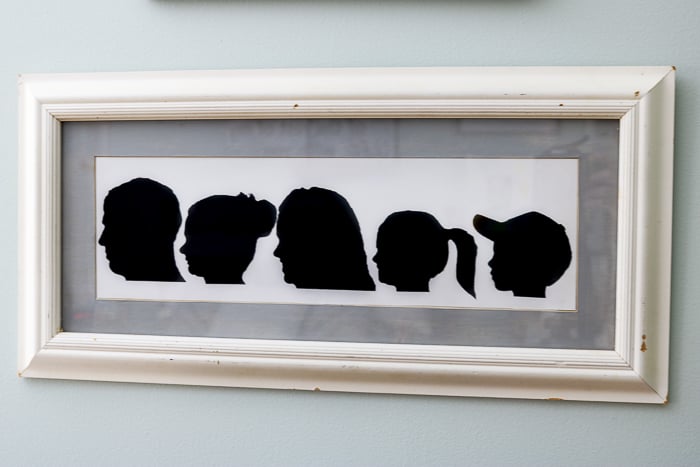
Then, adhere each of the silhouettes to a piece of white card stock and frame it up.
We are in order with daddy, momma, and each of the kids in order of age. You can make your silhouette portrait however you would like.
Now that you know how to turn an image into a silhouette with your Cricut, what type of project will you make?
FAQs About How To Turn A Picture Into A Silhouette
Here are a couple of questions that I see readers ask about how to turn a picture into a silhouette. Please check to see if I’ve already answered it below if you have a question. Don’t see it? Leave it for me in the comments!
Can I Adjust The Size Of This Project?
Yes, you can!
What Cricut Machine Do You Recommend For This Project?
All of them! The Cricut Maker, Cricut Explore series, Cricut Joy, Cricut Joy Xtra, and Cricut Venture, can all cut black cardstock.
The only thing to keep in mind is that each Cricut machine is different in regard to project size capabilities and the materials it can cut. So, depending on what project you have in mind, you might need to resize the silhouettes or cut it out in a different material.
Do You Have Any Resources For Using Cricut Design Space?
Yes, I do! If you have never used Cricut Design Space, check out our resources below!
- What is Cricut Design Space? How Does It Work?
- How to Use Cricut Design Space for Desktop
- Free Beginner’s Guide to Cricut Design Space
Could I Add My Pets To This Silhouette Portrait?
Absolutely! If you want to add your pets, make sure you have a good photo to work with and follow the same directions I listed in step 1.
5 More Cricut Crafts
Did you love learning how to turn a picture into a silhouette and want more Cricut crafts? Then check out the projects below!


That looks great! I need a Silhouette!!
I hope you’ll come participate in my link party today! It runs all week so come back and add more BOY projects! All About The Boy @ The Nifty Nest!
Liz
Your silhouette turned out fabulous. Love it. Hugs, Marty
So sweet! I love it!
This is an awesome idea! I’m visiting from Transformation Thursday. I think I need to do this!
Cute!
Thanks for linking up!
Liz!
Angie,
I really like how you repurposed that old picture. I wish I had done the silhouettes of my boys when they were growing up. It was always a project on my “to do” list. You should do it again every few years:-)
I love silhouette art…this is just amazing and sooo creative! Way to go! I’m happy to be your newest follower of your delightful blog and I’d love to have you as a friend at Frou Frou Decor! I’d also like to invite you to link your wonderful creations up at my weekly party, Fabulous Friday Finds, every Friday! Hope to see you there!
Hugs,
~Terrell @ Frou Frou Decor~
So cute! I have been wanting to do a silhouette of my boys, but I don’t think my Cricut can do that!
My first comment was eaten by Blogger, so I’ll try again. 😉 I love the gray mat!! Happy that you were able to repurpose what was actually a really pretty frame! We don’t have any silhouettes…yet…hoping to change that. 😉 Thanks for sharing!
I want these done of my kids soon, yours turned out fab!!
These are great
Love this, it would be super cute to cut their names our at the neck with their ages.
thanks this is helpful