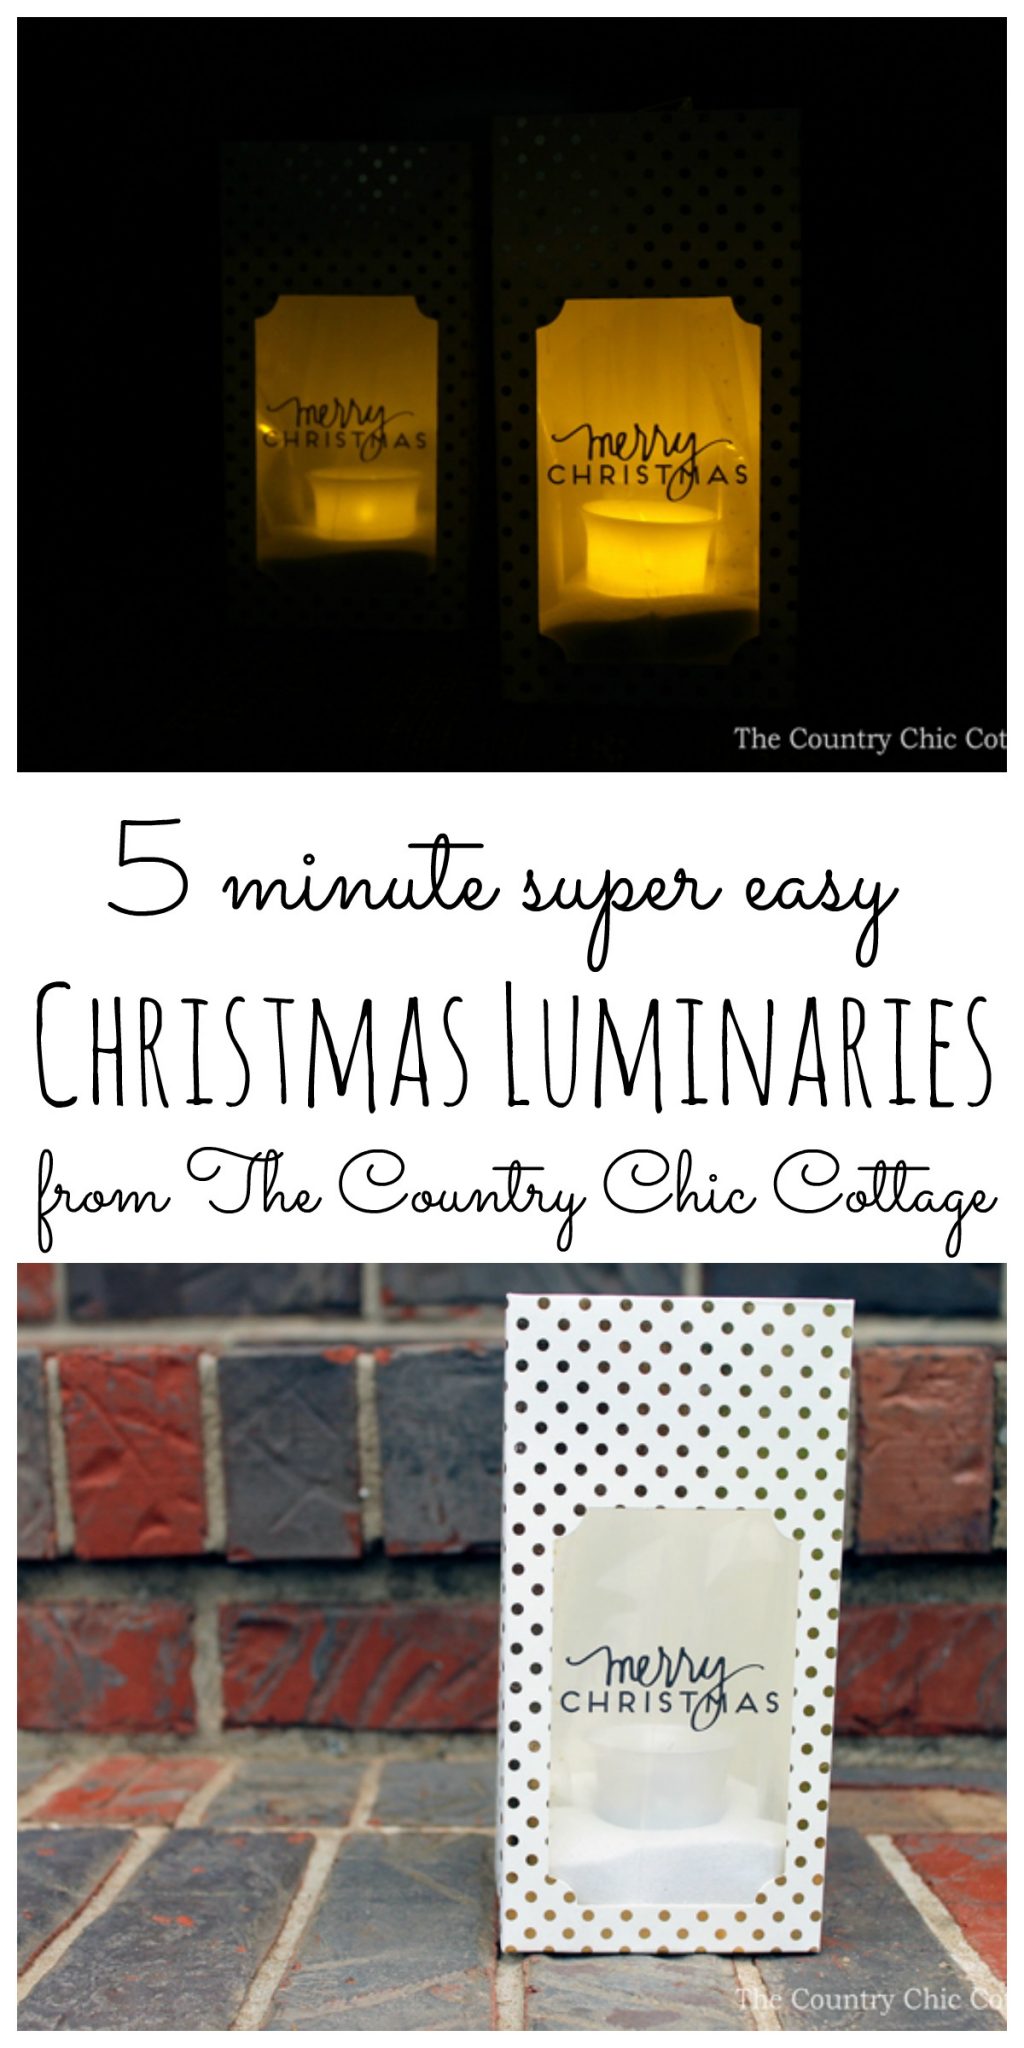
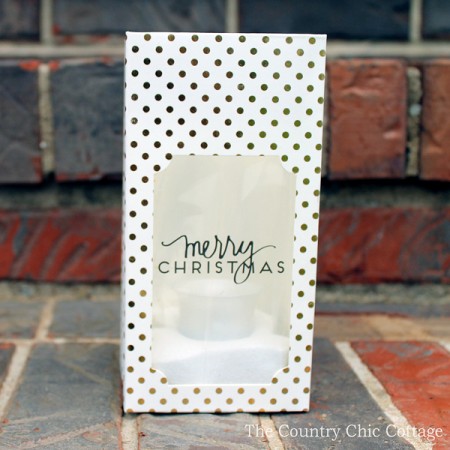
These simple Christmas luminaries can be made in just minutes with little to no craft skills required. All you need are a few sturdy Christmas treat bags, craft sand, and a battery operated tea light. Make as many as you need to line your walk way for your next Christmas party!
This post is sponsored by Heidi Swapp I was selected for this opportunity as a community member of Snap. All content and opinions are my own. You will love this quick and easy craft idea!
I am kicking off Craft Lightning holiday week with these simple Christmas luminaries. Craft Lightning is where I post quick 15 minute crafts all week plus I have a bunch of great blogs join me for the event. You can see what they have in store for you today at the bottom of this post. Then follow along as we share great ideas all week long.
Heidi Swapp has a new holiday product available exclusively at Jo-Ann Fabric and Craft stores. I was lucky enough to receive a big box of goodies from the line. The product is for everything from cookie baking to holiday card kits to fun packaging items for gifts.
I used a couple of the items to create these Christmas luminaries. If you want to make these, be sure to pick up the Merry Christmas bags as well as the cellophane bags that I used inside of them at Jo-Ann stores or online. There is a limited amount of product on hand so hurry! You will want to shop the entire collection….trust me!
Luminaries are a great way to greet party guests as they pull in the drive. Plus, they also help light the way to the door! I have a number of luminary crafts, like Halloween luminaries, snowman luminaries, and even fairy-themed luminaries.
How to Make Simple Christmas Luminaries
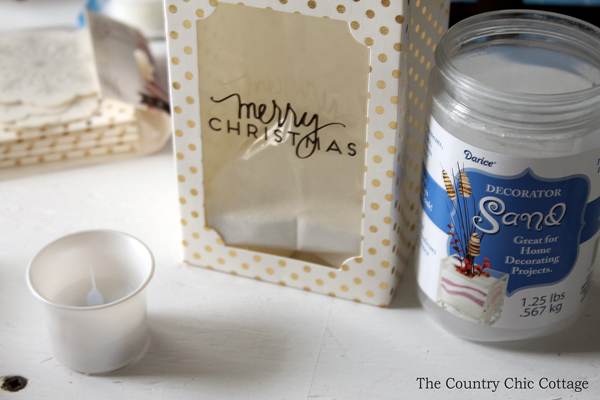
Supplies needed to make simple Christmas luminaries
- Heidi Swapp Merry Christmas Treat Boxes
- Cellophane bags
- Craft sand
Instructions
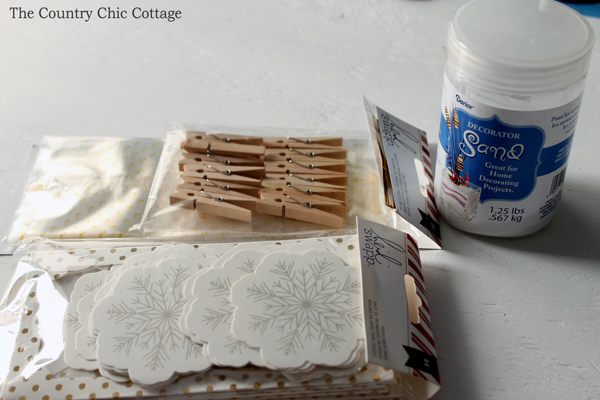
These treat boxes are in the package with the snow flake tags, but I just used the boxes. They are super simple to assemble. As soon as I saw them with the see through front, I knew I wanted to make Christmas luminaries!
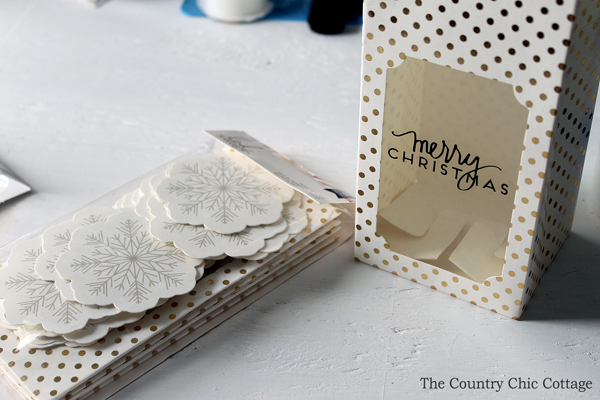
I wanted to add sand to the bottom of the bag for some weight to set these outside. The bottom of the box as assembled will not hold sand. So I used the gold polka dot cellophane bags from the same collection to reinforce the Merry Christmas treat boxes.
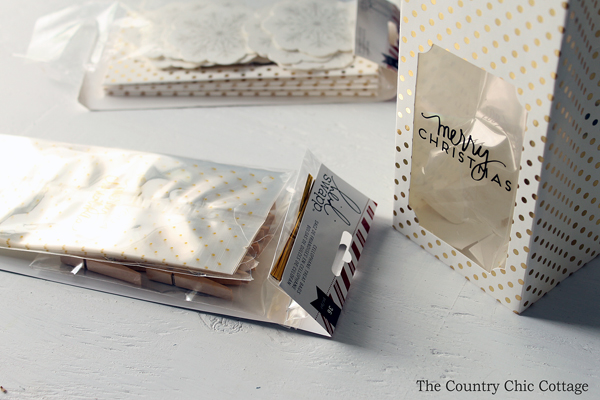
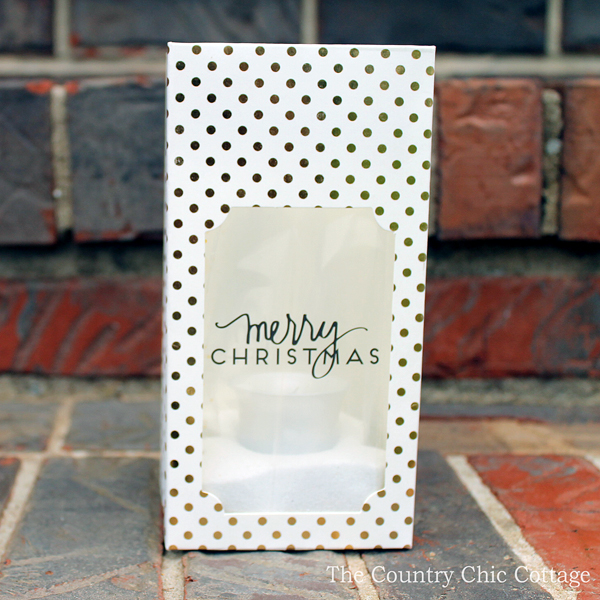
I then added sand to the inside of the cellophane bag which is down inside of the paper box. I used a battery operated tea light for my Christmas luminaries due to the fire risk.
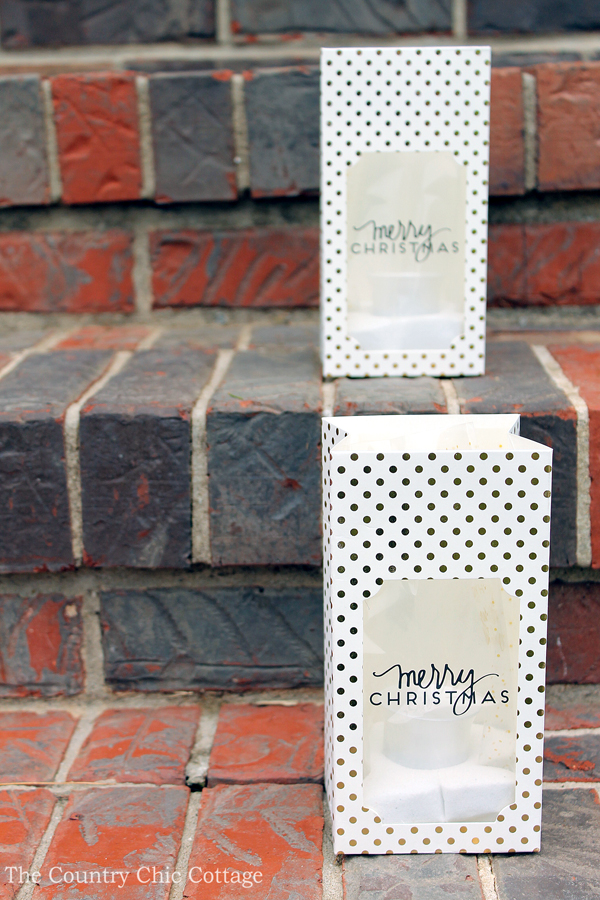
I set mine up on the steps outside. These will be perfect for an evening Christmas party to light the way up the stairs.
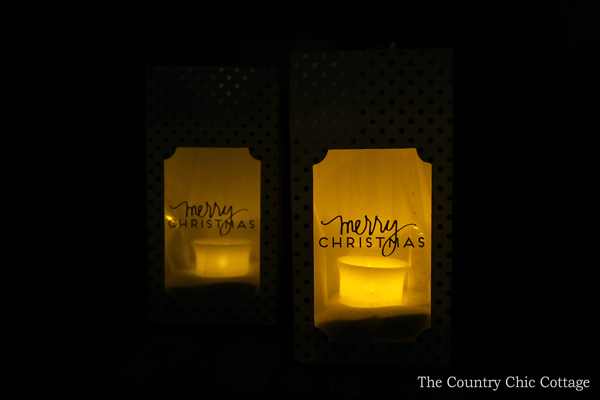
These Christmas luminaries look perfect when lit! I love the glow and the “Merry Christmas” that is pre-printed on the front.
Hurry and get these metallic gold polka dot boxes from your local J0-Ann stores! You don’t want to miss these or any of the Heidi Swapp collection.
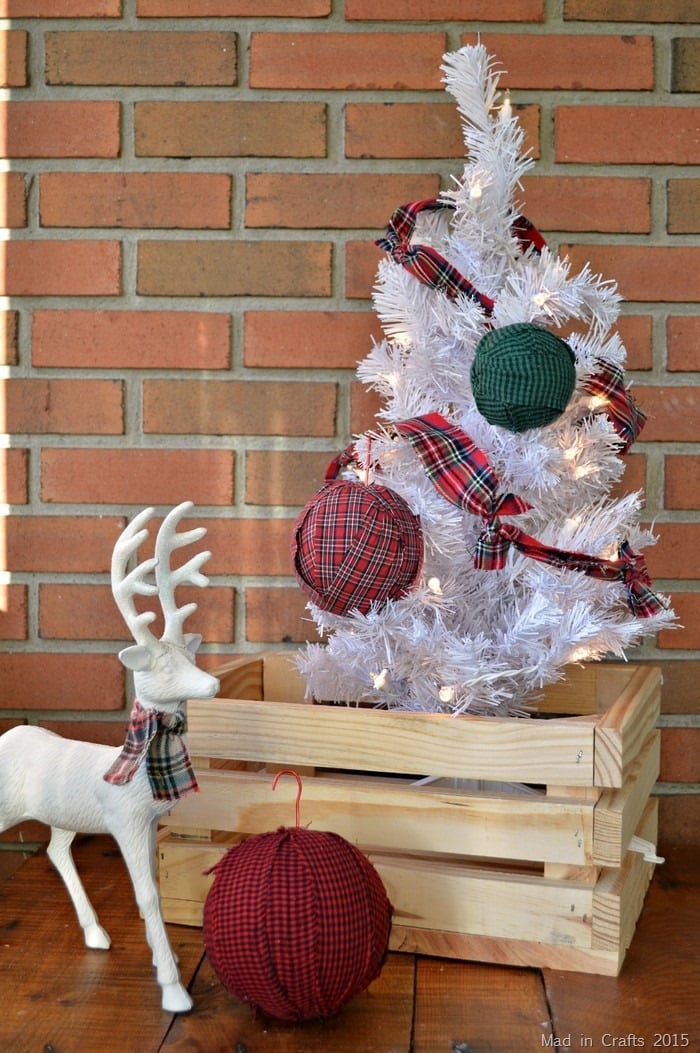
Now for the great crafts from our partner blogs this week. First give these plaid rag ball ornaments a try over at Mad in Crafts.
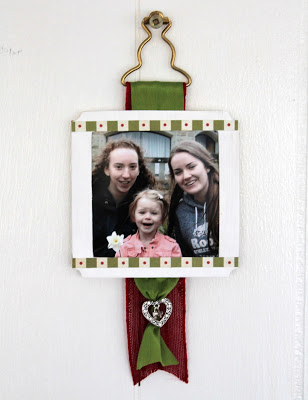
Add any photo to this ornament from Scrappy Chick 101.
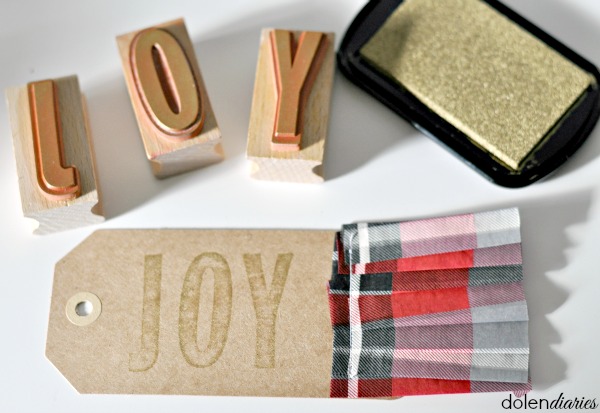
Make these great plaid ruffle tags with this tutorial from Dolen Diaries.
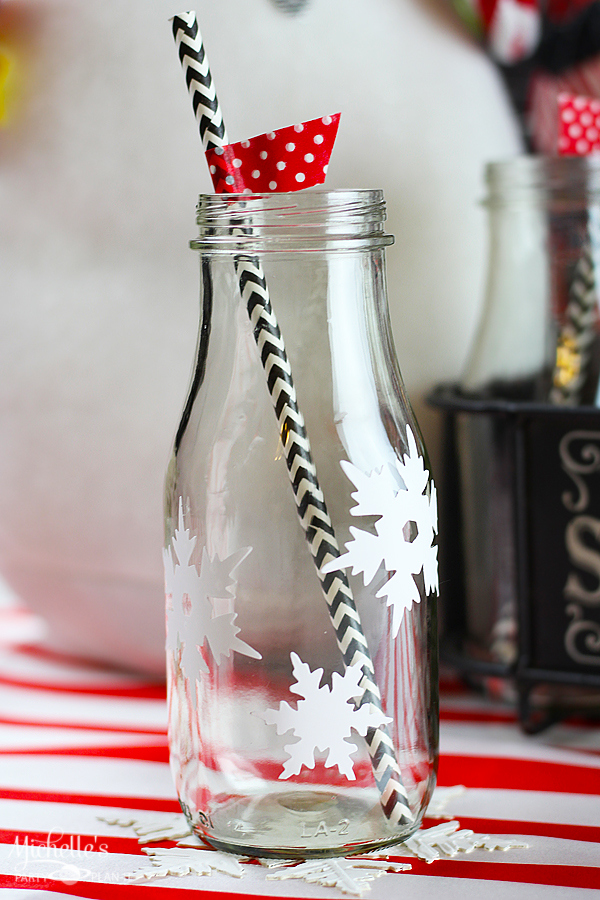
Michelle’s Party Plan It made some festive drink containers and coasters in just minutes.
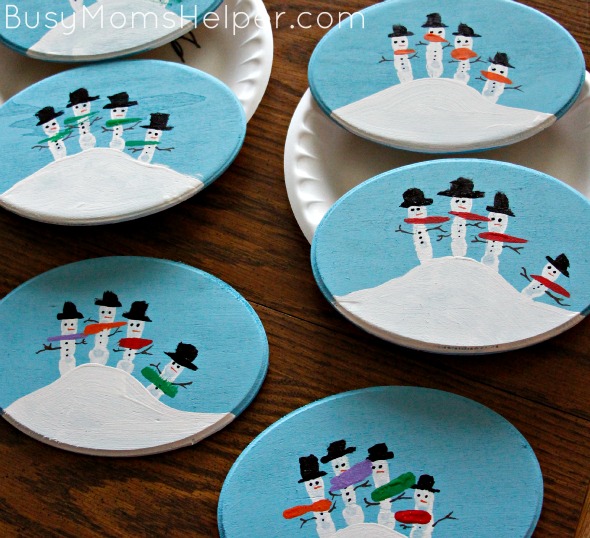
Turn your child’s hand print into an amazing ornament with these instructions from Busy Mom’s Helper.
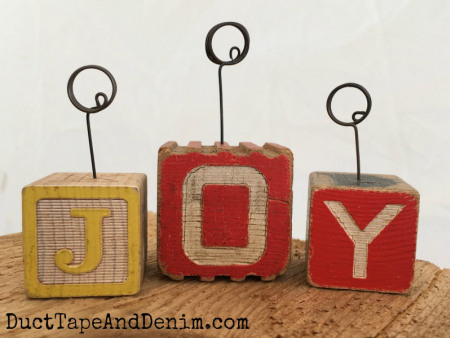
Vintage blocks become photo holders with this tutorial from Duct Tape and Denim.
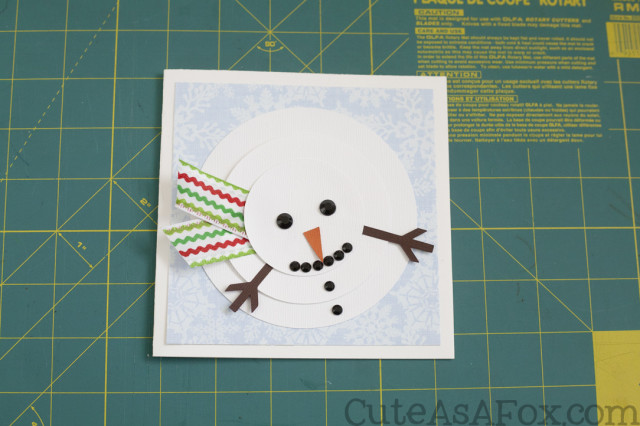
Turn simple circles into a card in minutes with this idea from Cute as a Fox.
Y’all don’t miss a minute of Craft Lightning! We have tons more to go this week! Click here to follow along with our Pinterest board so you don’t miss a thing!
Equipment
- Craft sand
Supplies
- Heidi Swapp holiday treat boxes
- Cellophane bags
Instructions
- Open up and assemble the boxes and cellophane bags.
- Add sand to the inside of the cellophane bag for weight. Place the bag inside the treat bags.
- Nestle a battery operated tea light into the sand.
- Set these up on the steps outside. These will be perfect for an evening Christmas party to light the way up the stairs.


I love the luminaries. What a creative way to use the gift bags.
This is such an amazing idea! Thanks for sharing it. I’m Anita visiting from Wow Me Wednesday.
You are so smart and talented Angie, what a great way to use both bags to put sand in bottom for luminarias, really pretty with gold color shining thru opening when candle on. Aren’t those little led candles great? safer too. Enjoyed this so much, would love to make just a few for our front porch. would be pretty for decorations.
Wishing the best Thanksgiving for you and your family this year.
Thank you so much! Glad you enjoyed!
These are simple and beautiful. I love it! Thanks for sharing this at the #SmallVictoriesSundayLinkup!
These are lovely. Thank you for giving us this idea on Small Victories link up.