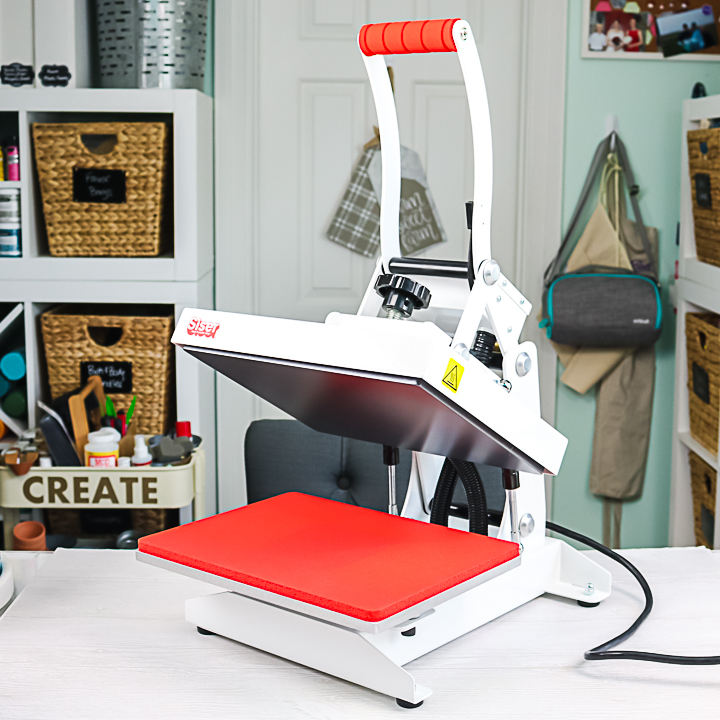
Today, we are going to open the Siser heat press, see what’s inside the box, set it up, and use it to make a project! This heat press can be used for all brands of heat transfer vinyl and sublimation designs. Below, you can see how hot this press will get and how to set the time and temperature.
Siser Heat Press Video Tutorial
Want to learn all about the Siser heat press and see an example project? Watch the video below!
Can’t watch the video or missed some of the steps? I’ve also included everything you need to know below!
Siser Heat Press
This heat press is made by Siser! Siser makes great heat transfer vinyl that you should definitely try if you haven’t already. The heat press, however, can be used for sublimation or any other project where you may use a heat press. I used it for the first time here and loved it!
What Do You Get Inside The Box?
When you open the box, the contents are fairly straightforward:
- Siser Heat Press
- How to manual
In fact, there is no assembly required! You can start making as soon as you pull the press out of the box.
What Size Is The Heat Press From Siser?
The heat press is 9 by 12 inches. That is the maximum area that you can press at one time. You can, however, press larger items by pressing once, moving, and pressing again. I actually used this press for larger designs here.
Operation
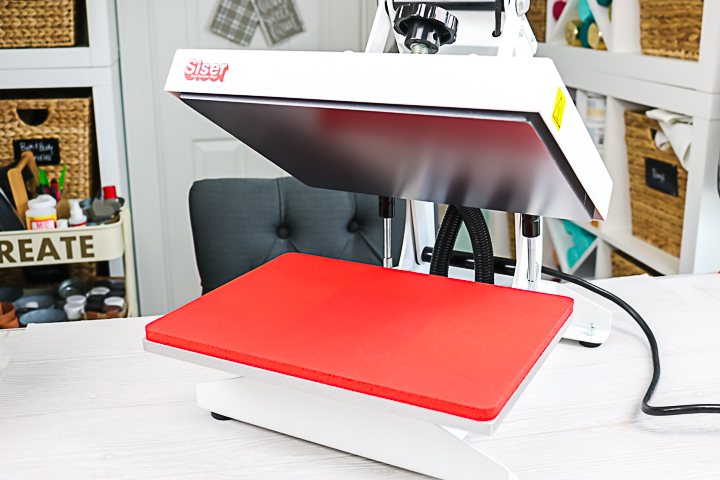
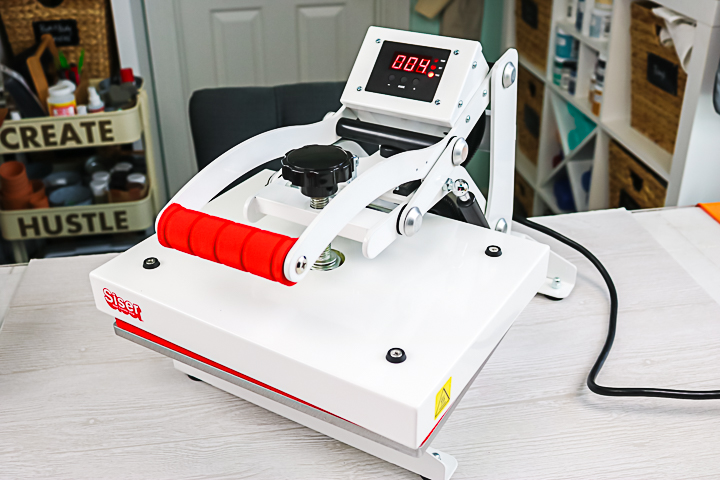
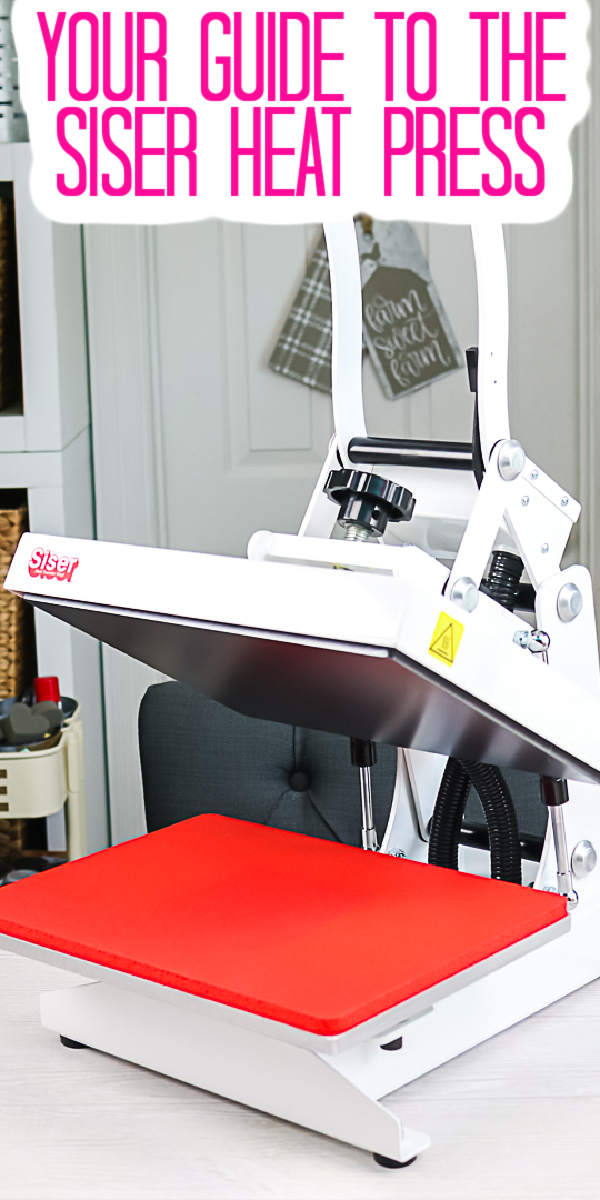
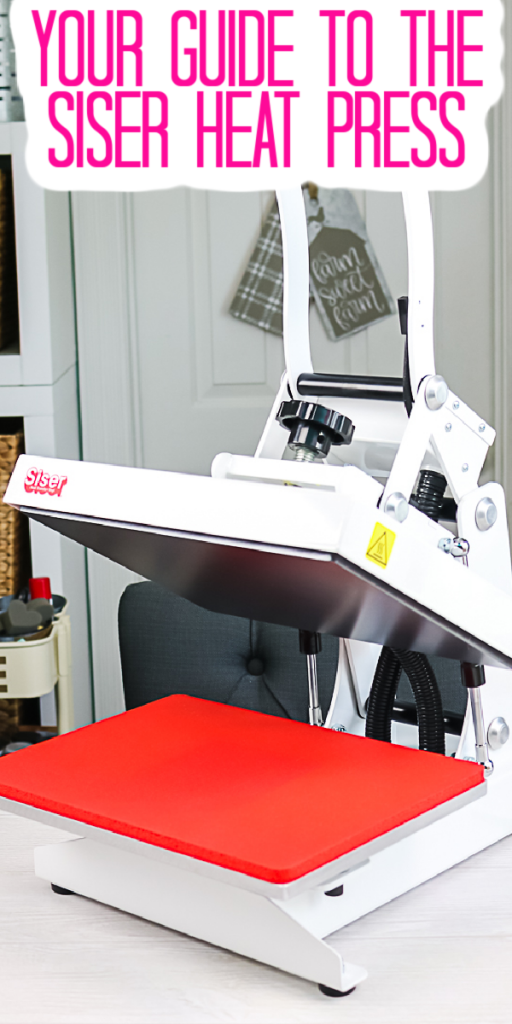
The Siser heat press tilts up instead of swiveling out. There is a knob that you can use to adjust the pressure of the press itself. Then you have a control panel as well as the cord. Also, the on/off switch is in the back instead of the front.
Setting The Time And Temperature
Once your press is plugged in and turned on with the handle in the up position, you can adjust the time and temperature. Here is a brief rundown of how to do that:
- Press mode once.
- You will see the temperature, and you can adjust it up or down with the plus and minus keys.
- Press mode again to get to the time. The light will illuminate over time to indicate what you are on.
- Again, you can use the plus and minus buttons to adjust the time.
- Press mode again to get back to the original screen.
I will note that the maximum temperature I could set the press to is 430 degrees Fahrenheit. And then I went up to 300 seconds and the press would just keep going, so I’m not exactly sure what the maximum time is.
NOTE: If you want to learn more about time and temperature for heat presses (like this Siser Heat Press), check out the blog posts below, where I discuss each topic in more detail!
- Heat Press Troubleshooting: Checking the Temperature
- Heat Press Temperature Guide: Sublimation and HTV
Using The Siser Heat Press
You do want to leave the handle up when you’re not actually using the press. The screen will display the actual temperature of the press. Here is how to use the press to make a project:
- Allow the heat press to heat up to your set temperature before you press. It will not beep when it is ready. So, you will need to watch the heat press to see when it comes up to the right temperature.
- Then you can lower the handle of your heat press and adjust the knob to increase or decrease the pressure. When you get it to the pressure you want, you can lift the handle and double-check to ensure the heat press is at the right temperature.
- Add your item to be pressed and pull the handle down to press.
- The press will then count down the time for you. It is normal for the temperature to fluctuate during pressing.
- When the time reaches zero, it will beep and continue beeping until you lift the handle.
- Lift the handle, remove your item, and you’re ready for your next one.
Please note that you should always use caution when using the heat press. It is extremely hot! You should also always use caution if you have children in the room. Do not let them operate or touch the heat press.
NOTE: Using the Siser heat press is really straightforward (as you can see). However, we all love a good hack to make life even easier! Check out my blog post, 5 Heat Press Hacks to Try Today, where I share 5 hacks that will help you get the best results with your heat press!
Where Can You Buy This Heat Press?
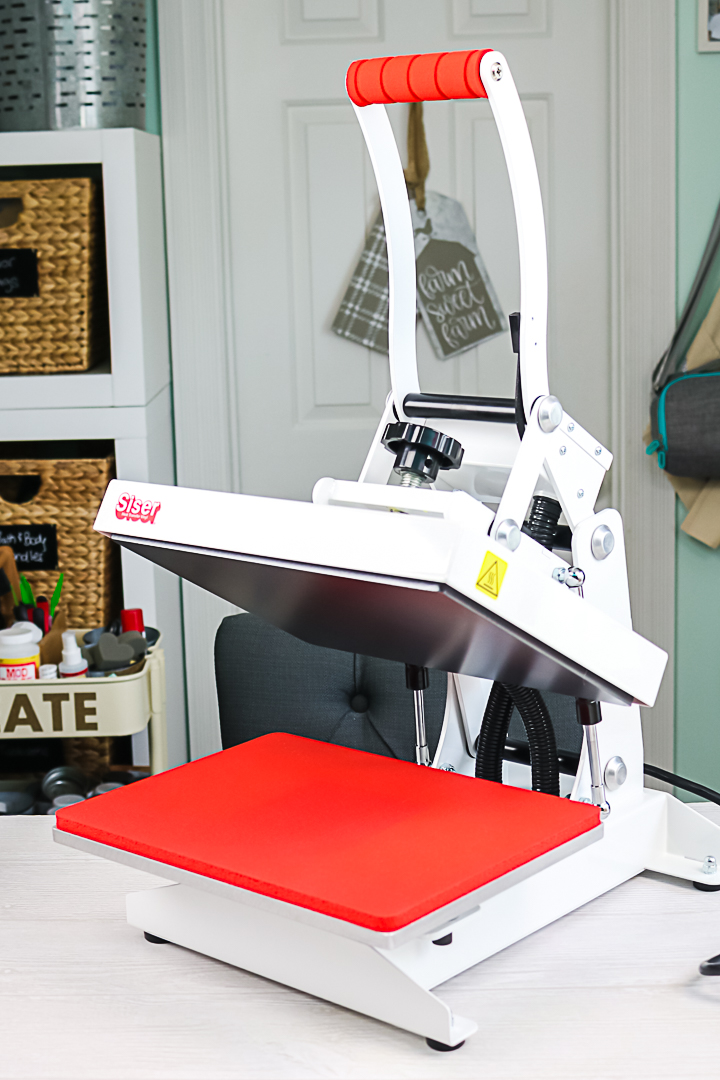
I picked this one up at Michael’s, and you can shop for it here. You may find it at other outlets as well, but that is where I found mine.

Not sure which heat press is for you? Heat Press Roadmap has your answer! This extensive course is designed to guide you on your journey to deciding on the best heat press for your needs, space, and budget.
Join Angie Holden and Cori George as they explore 17 heat presses in 27 videos. Get the details and sign up for Heat Press Roadmap here!
Should You Add This Heat Press To Your Craft Room?
It is a super convenient size and fairly small, given that it’s a 9 by 12 heat press. It is also fairly lightweight for a press of this size. So it’s perfect for a smaller craft room, and you could actually attach it to a table. There are holes in the bottom, but there are feet as well. I don’t have it attached to anything; I’m just using the feet on my craft table, which is the way I prefer to do it. But you could definitely attach it to a work table if you would like to.
Hopefully, this helps you! If you’re in the market for a heat press, definitely consider this Siser model. Again, I’ve not used it a ton, so I can’t give any recommendations for how long it will last, but it is a super sturdy press, and so far, so good. I’m definitely impressed with this heat press!
Finally, if you are still wondering what heat press to buy, I recommend checking out my video titled Which Heat Press Is Right For You. In it, I compare multiple heat presses (including the Siser heat press) and share a buying guide so you can pick the best heat press for your budget!
FAQs About Siser Heat Press
If you have questions about this Siser heat press, I have answers for you! Please leave your question for me in the comments if you don’t see it already answered below!
How Long Does It Take For It To Heat Up?
It isn’t very long. Maybe 8 minutes.
How Do You Know How To Get The Correct Pressure? Does It Have Something On The Dial?
No. You just have to do it by feel.
Have You Tried An Image That’s Larger Than 9×12? Just Wondering How Difficult It Is To Line Up The Press.
Yes, I have, and I didn’t find it difficult at all! If you want to learn more, you can check out this video where I use the Siser heat press to press larger designs.
Have You Tried Sublimation With It Yet? If You Have, How Did You Find It?
I use it for sublimation all the time! Works great! You may just want to consider how small it is compared to what you want to make.
Can This Heat Press Sublimate Acrylic?
Yes, it can!
Will This Heat Press Do Slate?
Yes, I have done slate in it!
I Accidentally Stained The Red Pad When Pressing The Back Of A Shirt. Do you have any Suggestions on How To Remove That Ink?
What I have done in the past is to use a large scrap of polyester and press it in the press. Basically activating the ink and transferring it to something else.
6 More Siser Resources
If you loved learning about the Siser heat press and are looking for more Siser resources, check out the blog posts below!
- Siser Brick HTV – Everything You Need to Know
- How to Use Siser EasySubli TWO Ways
- How to Use Siser EasySubli with a Sawgrass Printer
- Siser Juliet: Everything You Need to Know
- Siser Puff Vinyl: Is it the Best?
- How to Layer Siser StripFlock Pro HTV



I like how small this heat press is but wow it takes forever to heat up. I thought mine was broken. Anyhow thanks for all your lovely tutorials.
I’m glad you found the tutorial helpful and like the heat press 🙂