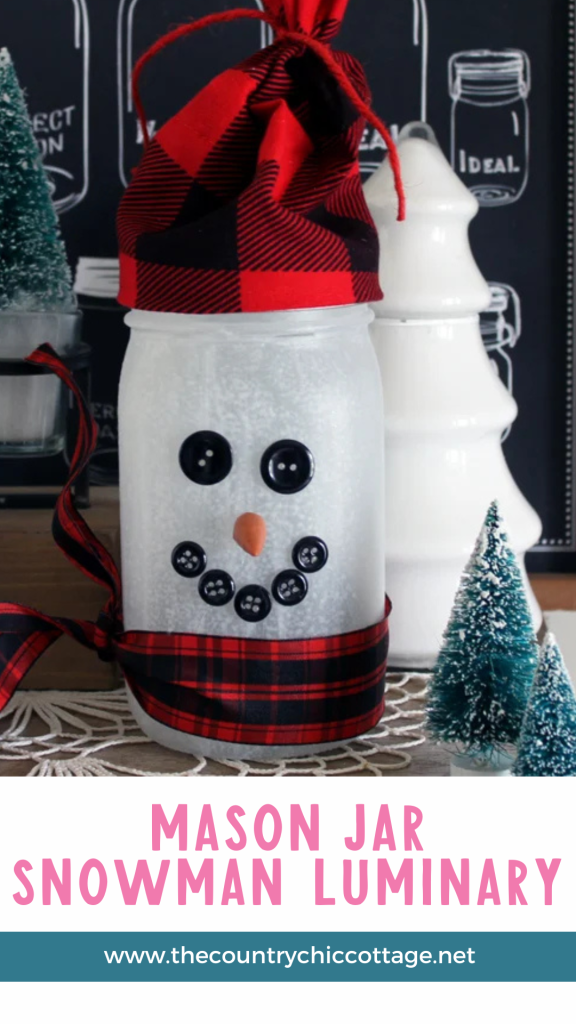
Add a soft winter glow to your home with this adorable mason jar snowman! With a mason jar, this snowman comes to life with a little paint and a few craft supplies. This adorable winter craft idea is easy for anyone to make!
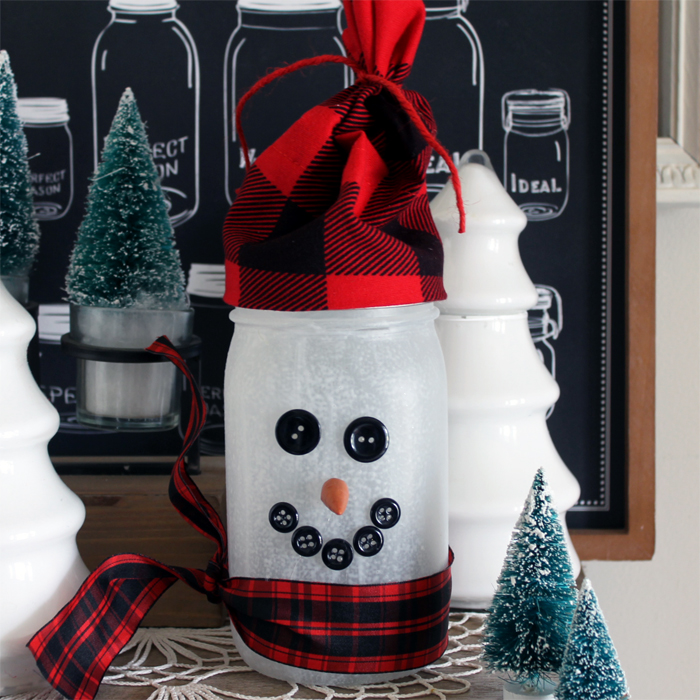
Mason Jar Snowman Video
I did a video on how to make this one. Just watch below and see just how to make this snowman jar luminary!
If you missed any of the video or can’t watch, the brief instructions for making your own are below.
How To Make Mason Jar Snowman
I am kicking off the gifts-in-a-jar week with this snowman jar luminary. All week I will be posting gift ideas using jars that you can still make for the holiday or use later on in the year. This first one can be used to put a gift inside, but it is also cute for the winter as a snowman candle holder. Plus, it is easy to make, and just look at his little face!
This would be adorable as a nightlight in a kid’s room or playroom. The battery-operated tealight gives off a soft glow and a festive feeling.
I love snowmen decorations! They are perfectly festive for winter and can be left until springtime. This craft will be the sweetest one you make this season!
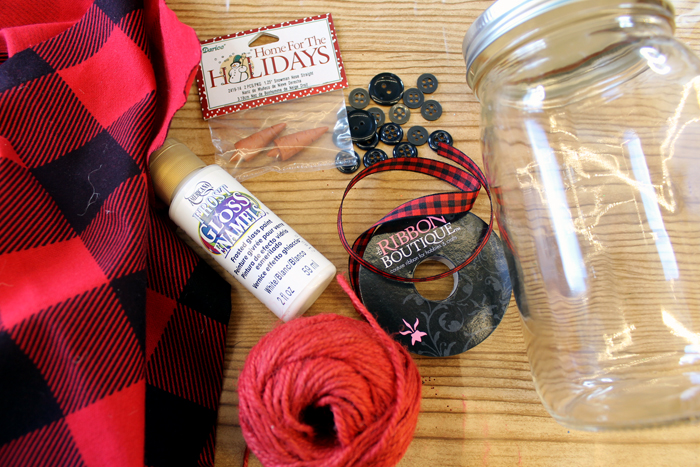
Supplies Needed To Make Mason Jar Snowman
- Wide Mouth Quart Mason Jar with Smooth Sides
- Frost Gloss Enamels in White
- Black Buttons
- Snowman Nose
- Plaid Ribbon
- Plaid Fabric
- Red Twine
- Paintbrush
- Scissors
- Sponge Pouncer Brush
- Hot Glue and Glue Gun
- Battery Operated Tea Light
Step 1: Add First Coat Of Paint To Mason Jar
Start by painting your clean jar with the frost gloss enamels. Add one coat and allow to dry.
Step 2: Add Second Coat Of Paint To Mason Jar
Use a sponge pouncer brush for the second coat to create a “snow look” on the jar. Allow to dry.
Step 3: Make Snowman Hat
Use hot glue and plaid fabric to make a snowman hat. Wrap the jar lid in the fabric, then trim it to size with scissors. Use hot glue to close up the seam. Add twine to the top of the hat to complete.
Step 4: Trim Knob Off Carrot
Trim the knob off the end of the snowman nose with scissors.
Step 5: Add Buttons & Snowman Nose
Add the buttons and snowman nose to the front of the jar with hot glue.
Step 6: Tie On Scraf To Mason Jar
Tie on a plaid ribbon scarf.
Step 7: Add Tea Light Inside Of Mason Jar
Add in a battery-operated tea light.
Step 8: Add Lid To Mason Jar
Screw on the lid with the hat.
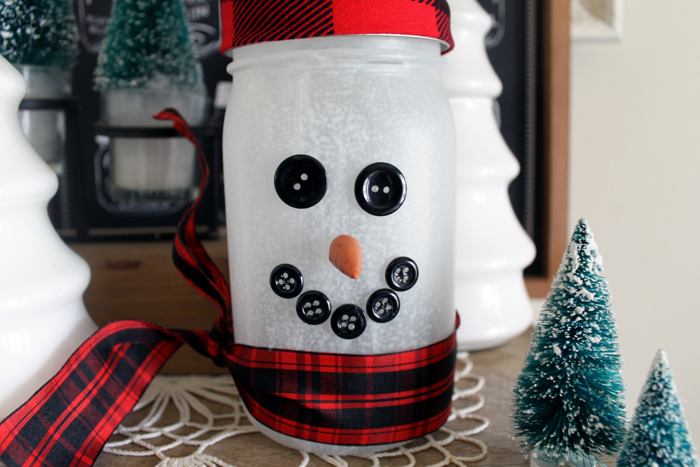
You can also fill the jar with a gift before screwing on the lid. This mason jar snowman would make a great gift container as well.
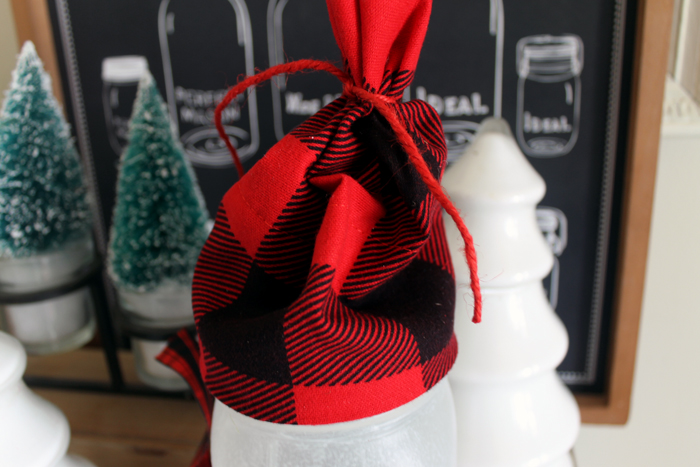
Add these to your winter crafting list! You will love giving these as gifts or adding them to the decor around your home. Whether you keep them or give them away, be sure to make a snowman jar luminary!

Gifts In A Jar
This is Gifts in a Jar week! All week, a few other blogs are joining me in bringing you fun gift ideas that are perfect for the holidays or any time of the year.
Visit the links below to see their ideas for gifts in a jar:
FAQs About Mason Jar Snowman
Here are a few common questions that I often see readers asking about making mason jar snowman luminaries. If you have a question, please check if I’ve already addressed it below. If you don’t see your question listed, please leave it in the comments!
Can I Use Any Jar For This Project?
Technically, yes. However, since we are ”facial features” to the side of the jar, I recommend using a smooth-sided mason jar.
Do I Need To Clean My Jar Before I Start This Project?
Yes! You will want to wash and clean your jar before you add the paint. Also, I would clean the outside of the jar with alcohol because it will remove any extra ”dust” and give you a nice clean surface to add your paint on.
I’m Using A Jar With A Label. Do You Have Any Tips For Removing The Label?
If you are using jars from your kitchen (like pickle jars, jam jars, etc.), you can remove the original label using several methods.
For these types of jars, I would let them soak in warm, soapy water, then use a scraper to remove the label. This has worked for me, but if you are dealing with a stubborn label, here are a few more things you can do.
- Pour hot water into the jar and let it sit. This will loosen the label on the outside.
- Use a mixture of dish soap and vinegar with this technique.
- Apply heat to the label using a hair dryer and peel away.
I’m Using A Jar With A Label. Do You Have Any Tips For Removing Sticky Residue?
I would use Goo Gone to remove any sticky residue from the jars. However, if you don’t like the smell of Goo Gone or need other options, below are a few ideas.
- Adhesive Removers (like 3M Adhesive Remover, Un-Du, etc.)
- White Vinegar
- Nail Polish Remover
Can I Use Any Color Fabric or Ribbon?
Yes, you can! I like the look of the plaid, but you could use any pattern or color you like!
5 More Snowman Crafts
Did you love this mason jar snowman and want more snowman crafts? Then check out the projects below!
- Sock Snowman: A Quick And Easy Craft Idea
- Snowman Felt Board
- Winter Snowman Art with Burlap
- Polymer Clay Snowman Earrings
- Preschool Snowman Craft
A Year of Jar Crafts

Sign up for our email list to get a FREE book with an entire year of jar crafts! 12 months, 12 crafts, tons of fun!


Your Snowman is so adorable!!! A great way to light the Holiday Season!!! So happy to be sharing this Week of Jar Gifts with you! Hugs…
LOVE this HAPPY Snowman! Just too Adorable! Hugs!!!
Super cute, Angie! The hat and scarf are adorable!
I love his little plaid hat!
Super cute gift idea! I love that my children can help me create these for their teachers. Adding your idea to my Christmas gifts to make Pinterest board for next year!
So cute! I have SO many jars I need to just use for crafting projects as we have found that using ball jars a second time for canning seems to make them crack. :/ My mom loves snowmen. Maybe I should make her an army of these! ha ha Thanks for sharing on the This is How We Roll link up. 🙂
What an adorable upcycled project. I can see using this decorated jar to give homemade treats to neighbors next year. Congrats, you’re featured this week at the #ThisIsHowWeRoll Link Party.
That is adorable!! Pinning this to try for a winter gift for friends! 🙂