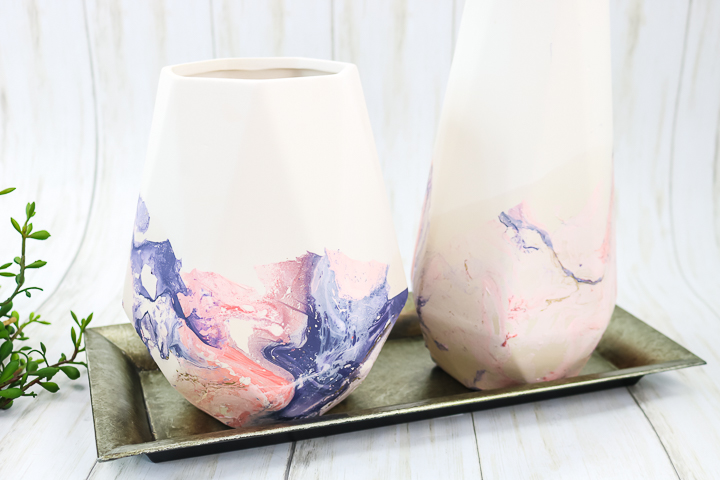
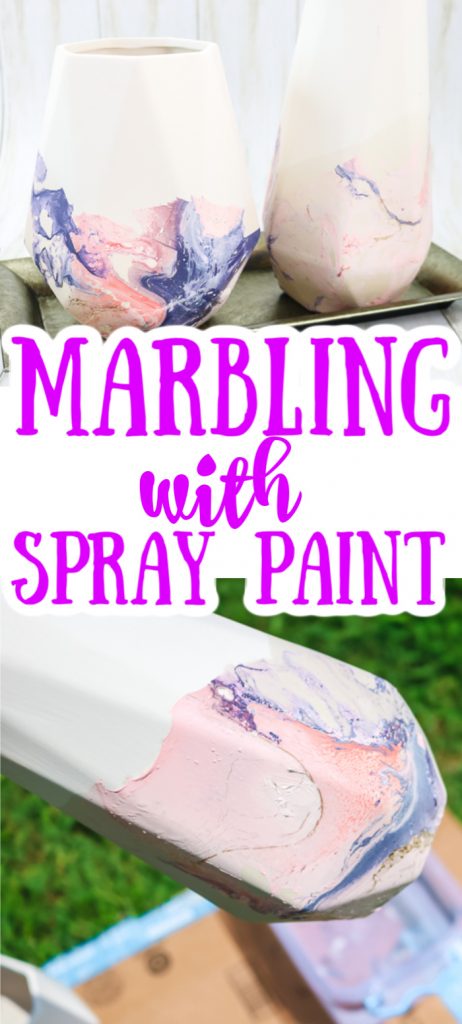
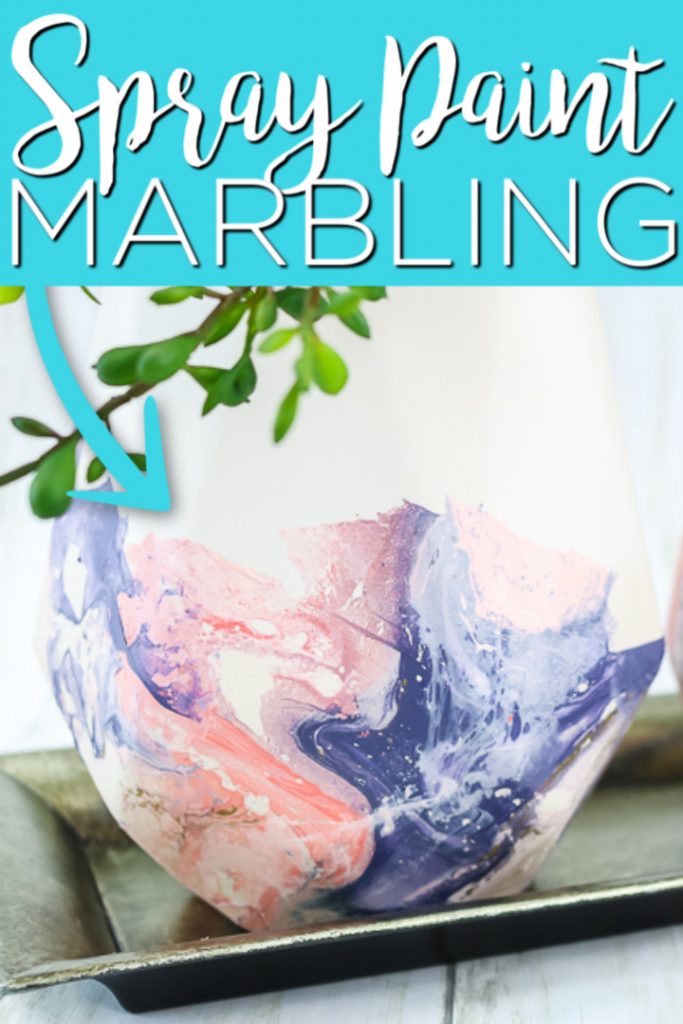
When you want to give some of your decor items a facelift, try this marble effect spray paint on them. It’s an easy technique that makes a huge difference in appearance!
Spray paint marbling is one of the easiest craft projects ever. What’s even better is that you probably have everything you need to do it on hand already. Use this technique to change up the appearance of your decor pieces and add a little special touch. This project is way easier than it looks!
I am going to demonstrate the steps on some plain vases but you can literally use this on any surface that can be painted (I’ll give you some more ideas below!) I have used the same process on a mason jar, a sign, and some glass Christmas trees. So, grab something around your home to paint or use this as an excuse to buy something brand new, then get started with my tips below!
By the way, if you love that marbled look as much as I do, definitely check out my Gold Marbled Mason Jar, Marbled Flower Pot, and Marbling on Candles. And don’t forget to check out my guide to Marbling Paint Technique Used on Wood so you can make nearly anything with this marble effect spray paint technique!
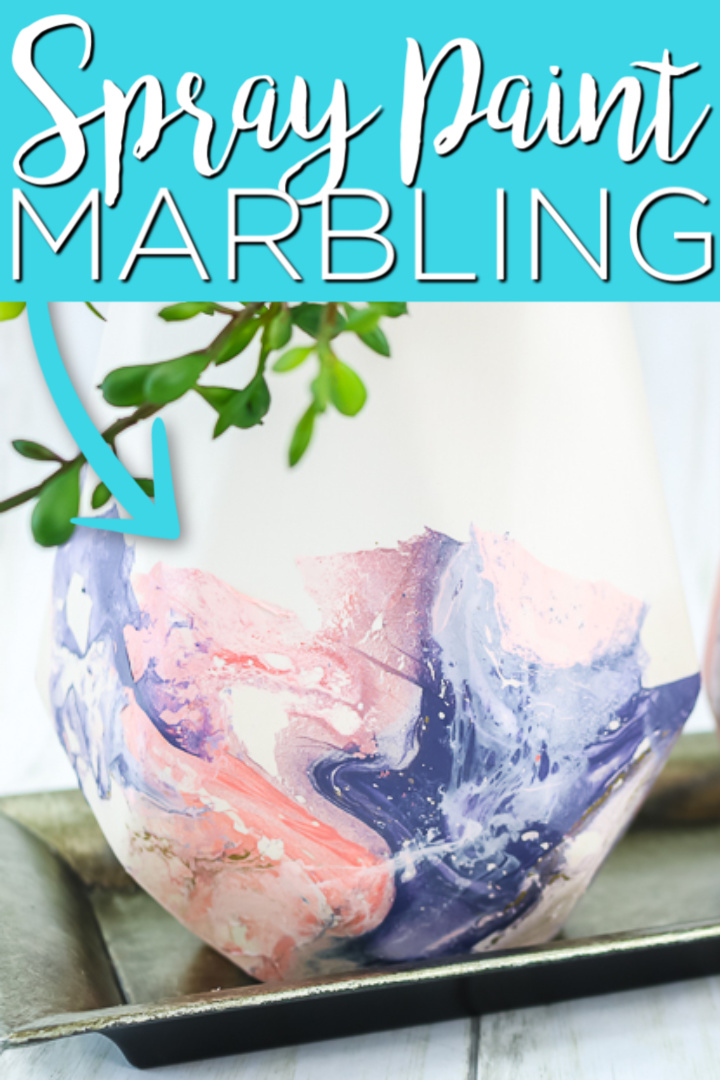
Surfaces You Can Marble
Before I jump into what you’ll need and how to do it, you need to know which types of surfaces you can use this marble effect spray paint technique on.
There are so many options when it comes to what you can marble! Here are a few ideas to get you started:
- Painted glass – jars, vases, lamps, etc.
- Unpainted glass – glasses, pitchers, candleholders, etc.
- Paper – card stock, paper mache, gift boxes, gift bags, etc.
- Plastic – phone cases, animals, storage containers, etc.
- Wood – picture frames, signs, bowls, knobs, etc.
- Metal – buckets, lanterns, bins, etc.
- Clay – planters, bowls, etc.
So, gather up your items and follow the instructions below for some marbling fun. You’ll be hooked after you do it just once! 😁
Supplies Needed To Do This Marble Effect Spray Paint
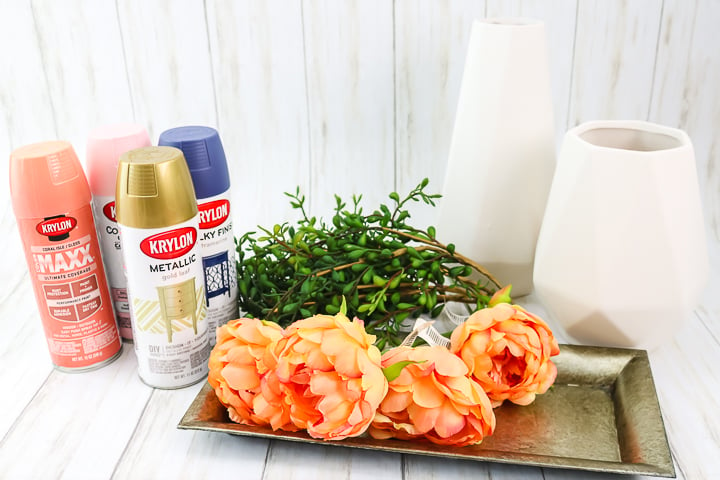
Here’s a complete list of all the supplies you will need to do this project! Please note that this post may contain affiliate links which means that you don’t pay any extra, but if you make a purchase I may receive a small commission to go towards this site.
- Spray paint in a variety of colors
- Surface to marble (I am using two plain vases)
- Old plastic container
- Craft sticks or scrap wood
- Water
- Tray and flowers to complete this project
- Gloves (optional but this project can get messy)
- Old cardboard or newspaper
Spray Paint Marbling Video Tutorial
Want to watch me do this marbling technique? Here is a video of me dipping a small sign that might help you see the technique a bit better.
How To Do Spray Paint Marbling
Now that you have your supplies, it’s time for some fun! This project is also great for older kids, but it IS messy. Be sure to do this outside, wear old clothes, and disposable gloves. You will thank me later!
Step 1
Add water to an old plastic container. This project will ruin your container so be sure to use one you don’t need anymore. Plus, make sure to protect your work surface by laying down paper or cardboard.
While wearing gloves, begin spraying small amounts of the spray paint directly onto the water’s surface.
Step 2
Do the same thing for as many colors as you want. Soon, you’ll start to notice the top of the water looking marbled.
Step 3
Once your water looks the way you want it to, dip your object into the water. I only did the bottom of these vases, but feel free to do as much or as little as you would like.
Be careful removing the object from your paint-covered water. It can be very slippery!
Step 4
Let your piece dry. I dry mine upside down. I think it prevents the object from sticking to the newspaper or cardboard and potentially ruining it when you pull it off.
Repeat this exact process for as many pieces as you want to use this marble effect spray paint technique on.
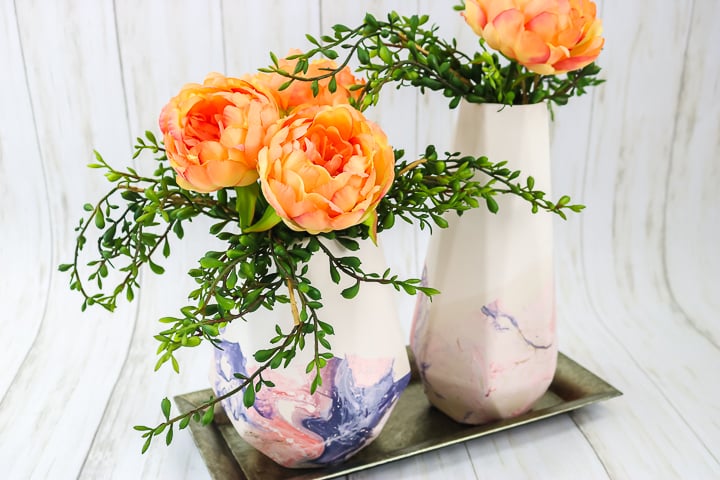
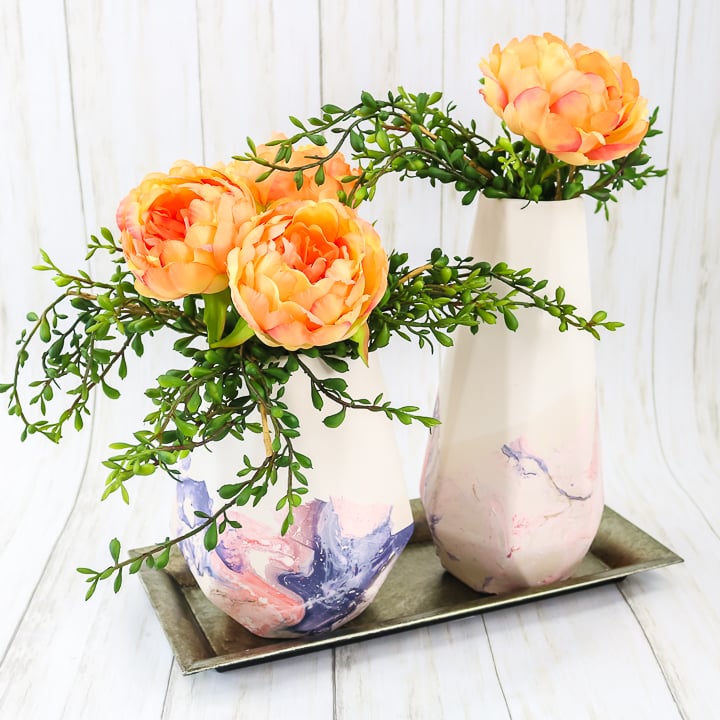
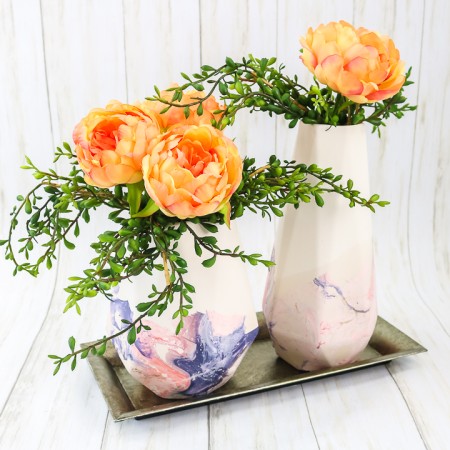
Didn’t they turn out so well? To finish the entire project, I added the vases to a tray and started filling them with greenery.
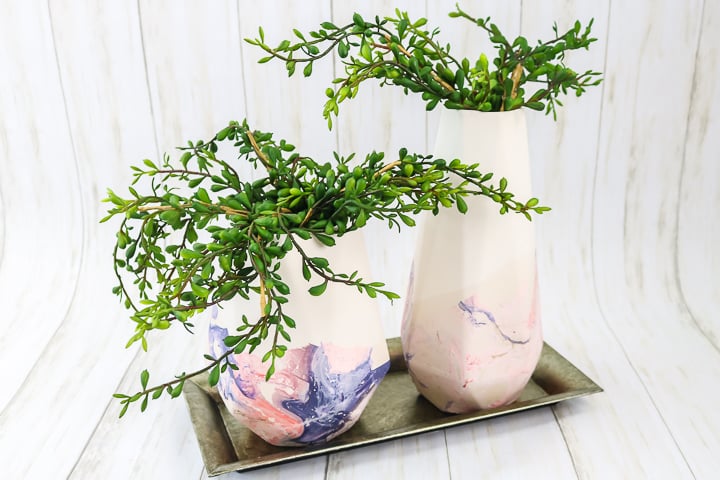
You can add as many or as few flowers as you would like if you make these vases. You can even make some cute tissue paper flowers to fill them with!
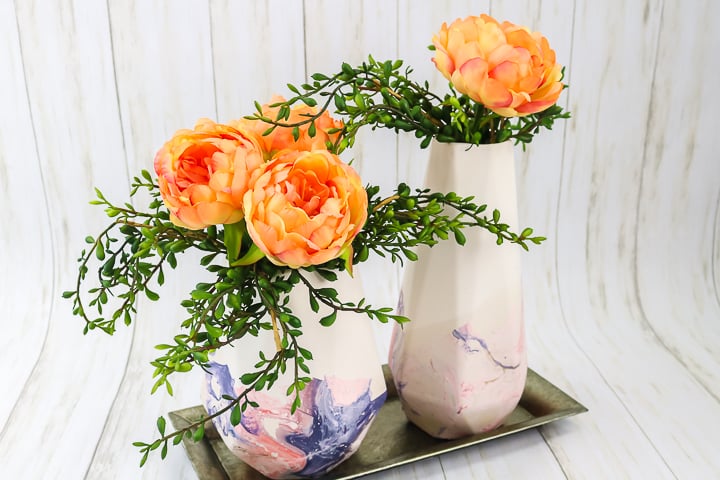
I love how these vases turned out!
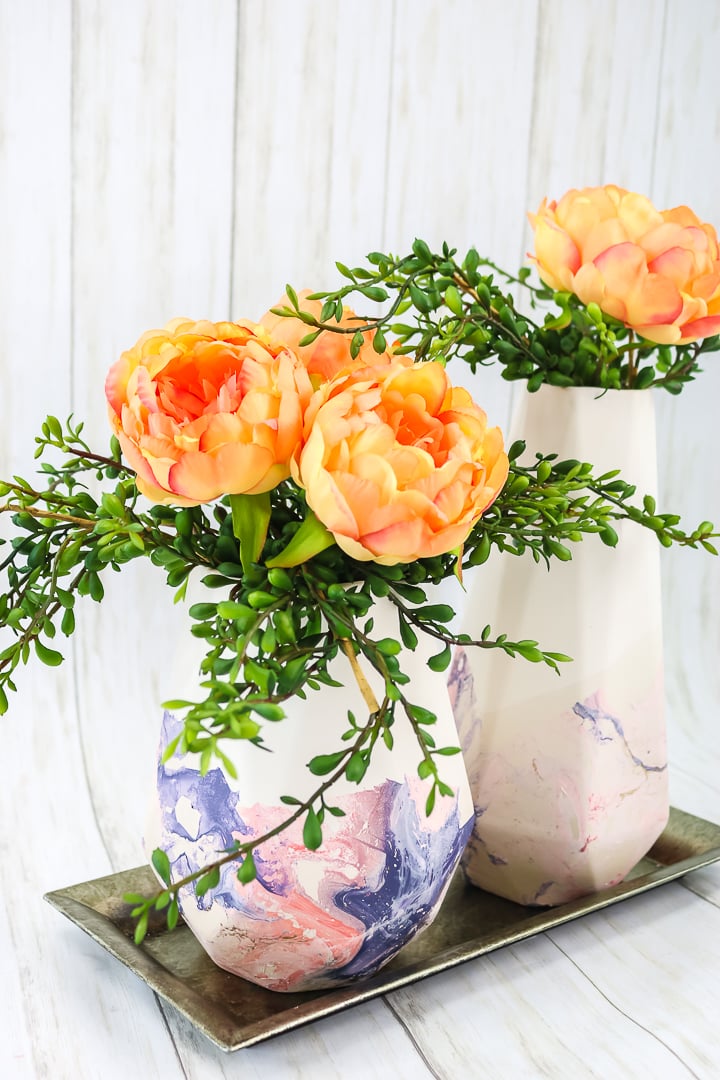
So, grab your supplies and some things that could use a facelift. You will love seeing your “new” decor pieces around the house.
I am going to find some more things to use with this spray paint marbling technique. I absolutely love a quick craft that helps me to add some interest to my home. These are my favorite types of projects and I hope you enjoy them as well!
Love This Marble Effect Spray Paint Technique? Try These Other Great Ideas Below Too!



Supplies
- Spray paint in a variety of colors
- Surface to marble I am using two plain vases
- Old plastic container
- Craft sticks or scrap wood
- Water
- Tray and flowers to complete this project
- Gloves optional but this project can get messy
- Old cardboard or newspaper
Instructions
- Add water to an old plastic container. This project will ruin your container so be sure to use an old one. You will also want to protect your surface with cardboard and/or newspaper. Put on your gloves and start spraying small amounts of spray paint directly onto the water's surface.
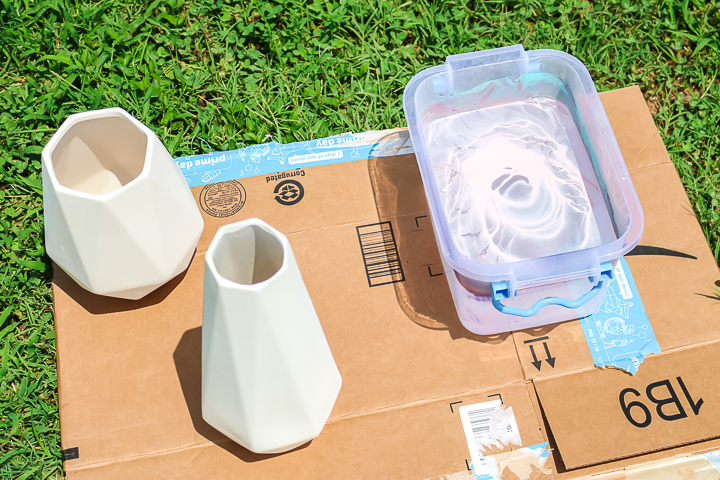
- Repeat for as many colors as you like. You will start to see a marbled effect on the top of the water.
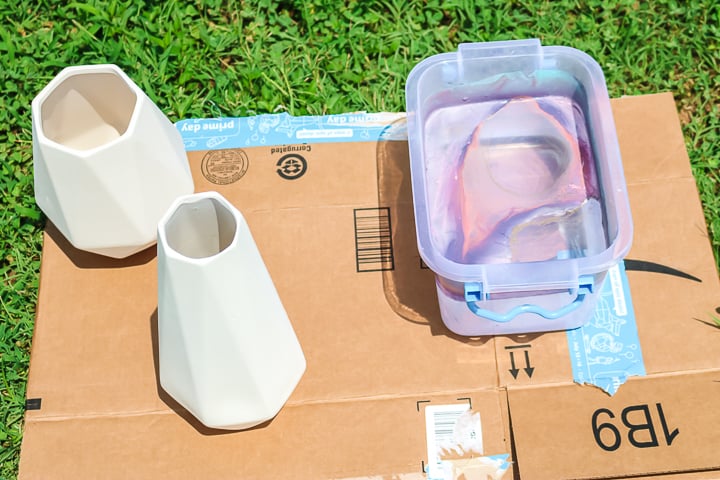
- When you are happy with the look of your paint on the water, dip in your project. I only did the bottom of these vases but you can do as much or as little as you would like. To remove the vase from the water, you may have to push away the excess paint that is still floating. Do this with a craft stick or scrap piece of wood. Then pull the vase out of the water.
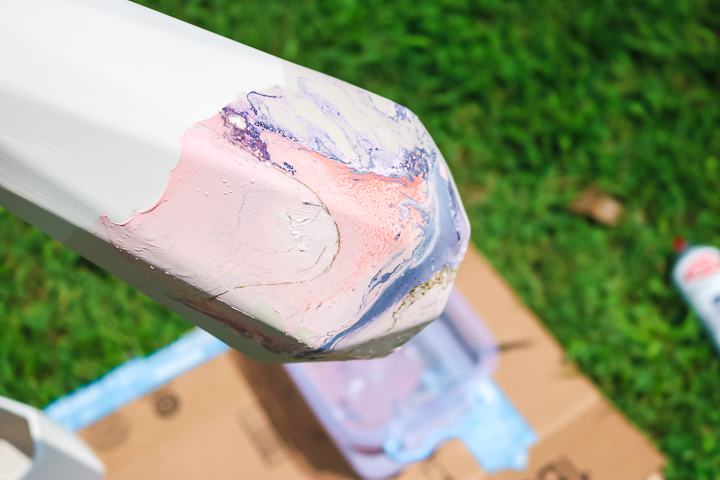
- Set the pieces aside to dry. I like to dry mine upside down. Repeat for as many pieces as you will be marbling.
