
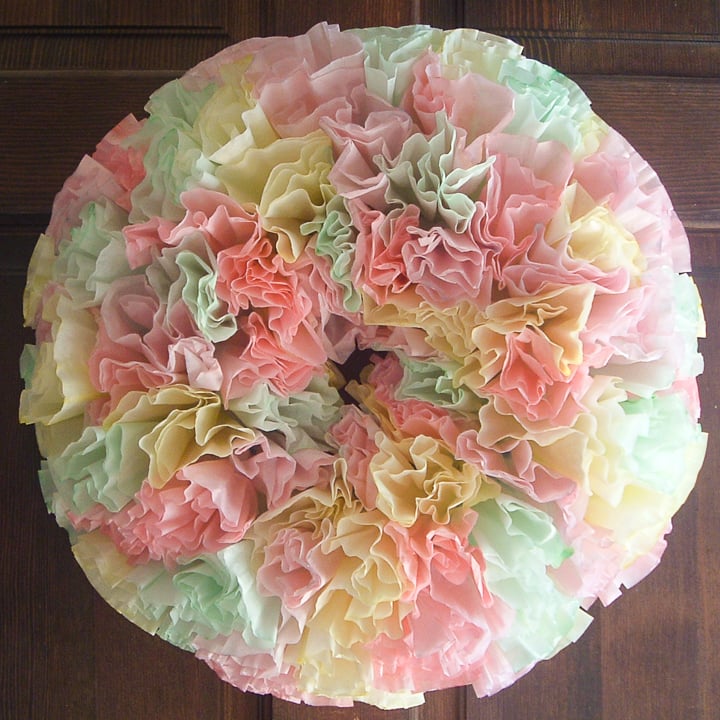
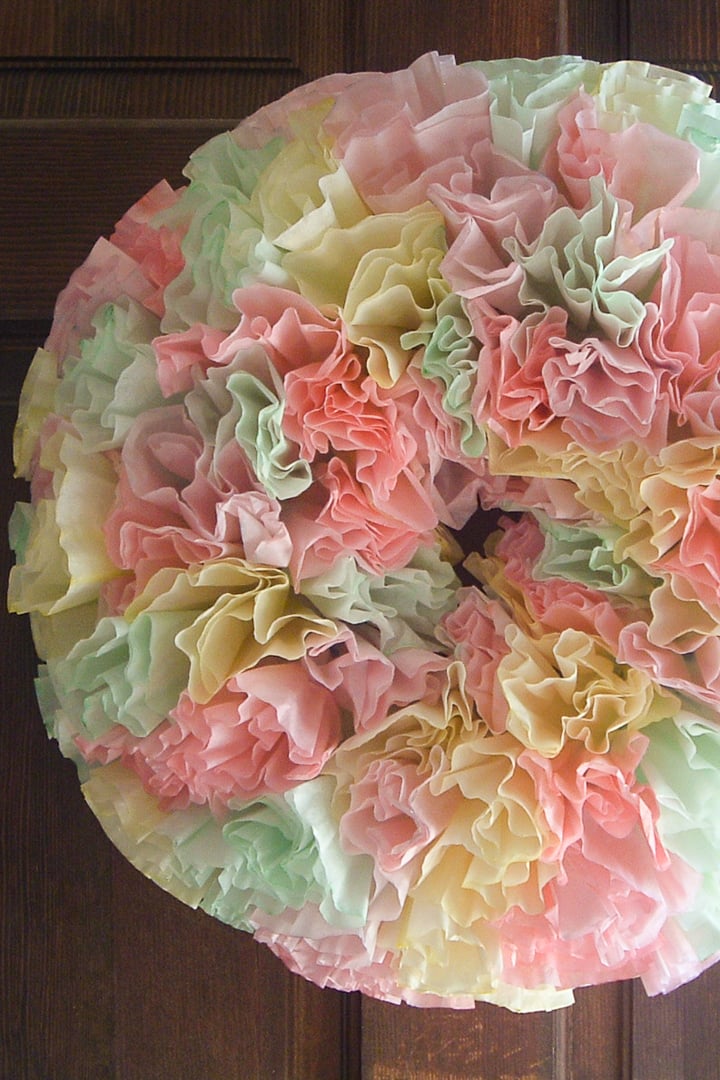
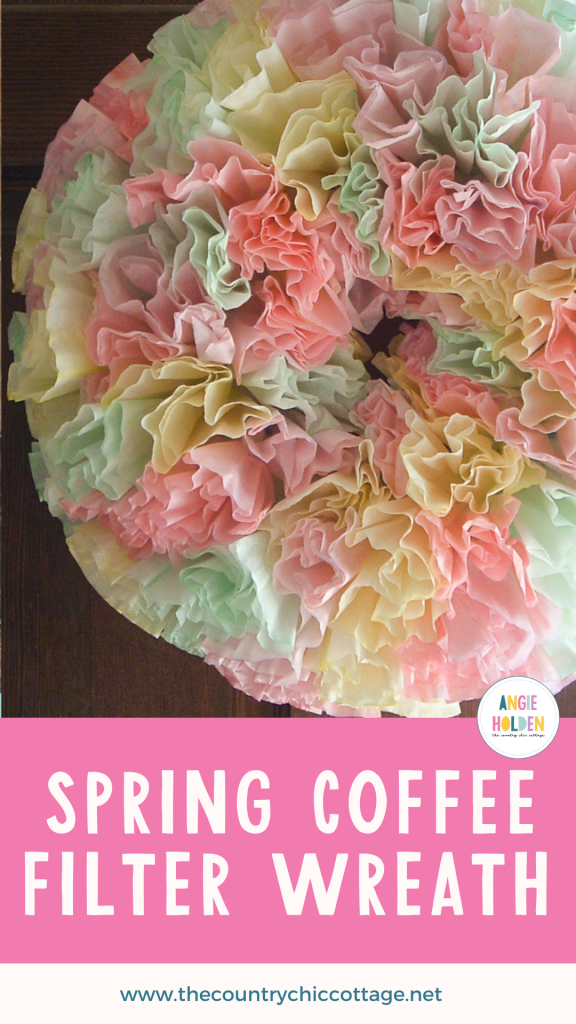
Did you know you can make a stunning coffee filter wreath for spring with a little food coloring? I am in LOVE with the way this easy spring wreath turned out. The best part is that you might have everything you need to make your own already on hand. My coffee filter wreath is sure to make your heart go pitter-patter. You might even pair it with this spring sign on your front porch!
How To Make Coffee Filter Wreath
Crafting with coffee filters might sound odd, but it’s actually really fun! If you have never made a coffee filter craft, today’s wreath is the one you need to try. With just a few supplies, you can transform some plain coffee filters into a colorful wreath.
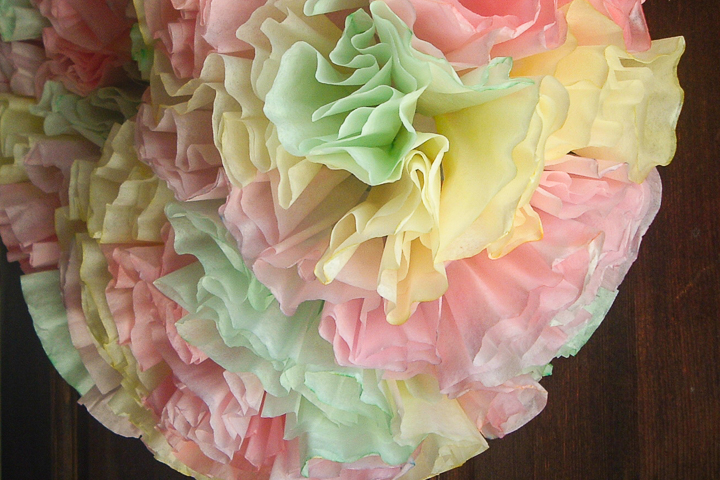
I decided to go with a pastel spring theme for my wreath, but you could choose any color you like. Imagine this wreath in one color, like orange, or in red, white, and blue for the 4th of July. The possibilities are endless!
Supplies Needed To Make Coffee Filter Wreath
- Coffee filters (I used an entire package of 100 on my wreath)
- Food coloring
- Wreath form
- Hot glue and a glue gun
- Water
- Bowl
- Metal baking sheet
- Pencil
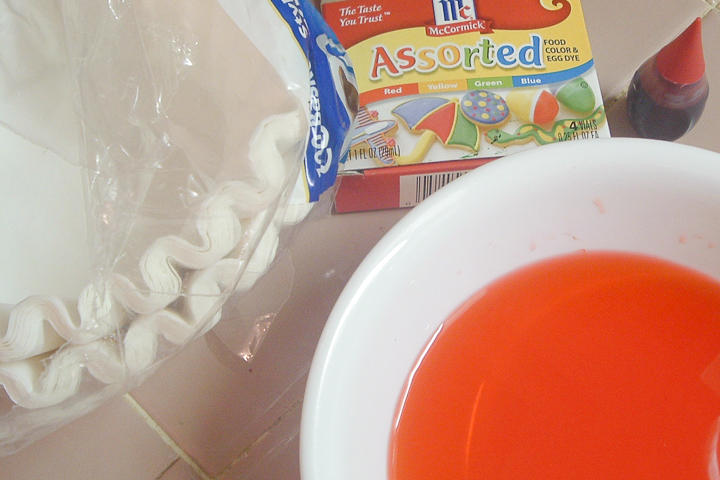
Step 1: Dye Coffee Filters
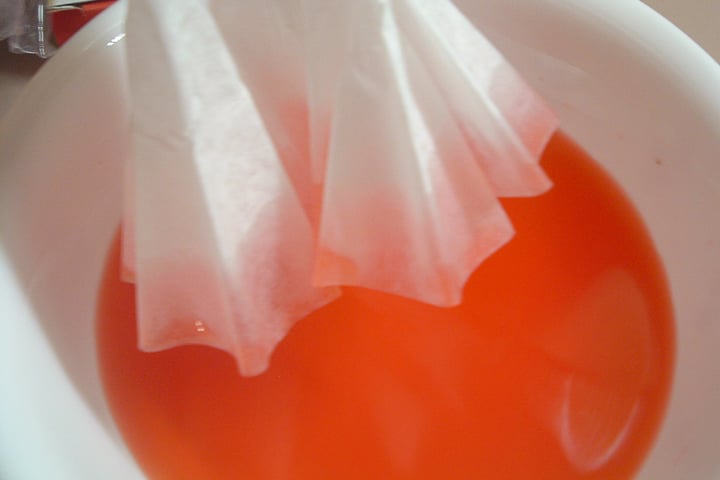
First, you will want to dye your coffee filters with food coloring. Add some water to a bowl and add the desired food coloring. Add a few drops and stir. I started with just red. Dip the end of your coffee filter into your bowl.
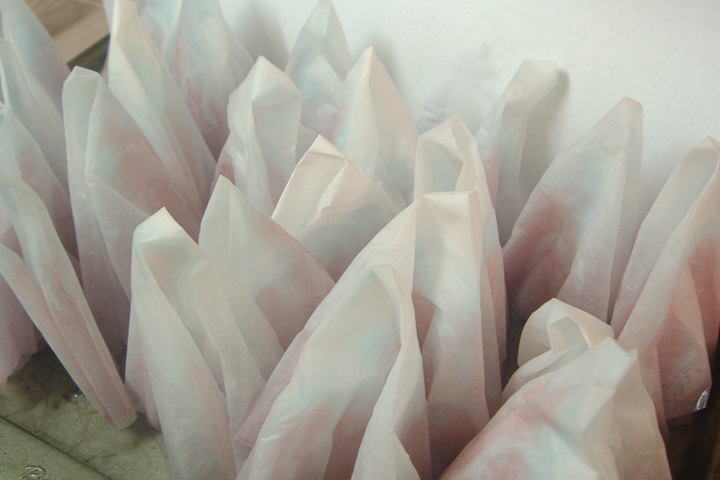
Step 2: Set Coffee Filters Aside To Dry
The water sort of wicks up and colors the entire filter. I then set mine on a baking sheet to dry. You can make as many of each of the colors as you would like. I chose pink, green, purple, and yellow.
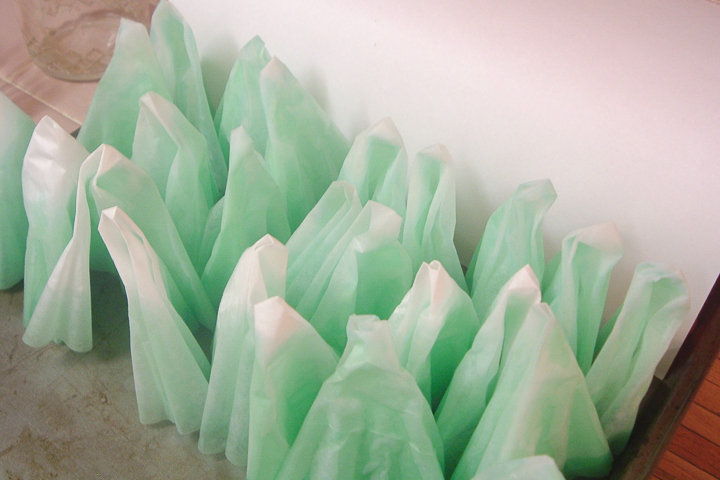
I used the same baking sheet for all my colors and put a sheet of paper between each one. They did bleed through a little, but the wreath turned out great, so I would not worry about it if I were you!
I mixed red and blue to make colors like the purple above. I will note that when you mix two different food colorings, you can kind of see each color on the coffee filter. In the image above, you can see the blue-ish tint on the tops of them. I thought that was extra cool, so I ran with it. Allow your coffee filters to dry completely on the baking sheet.
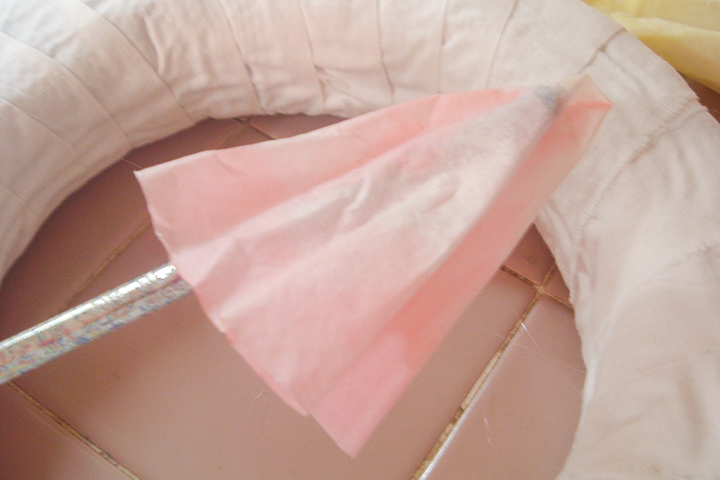
Step 3: Place The Eraser End Of A Pencil Inside Coffee Filter
Then, you will want to attach them to your wreath form. You can use any wreath form you desire, but I do like to cover mine with strips of white cotton material. This makes it extra easy to rip everything off when you are ready for a change and re-use the form.
Once your wreath form is covered, put the eraser end of a pencil into each coffee filter.
Step 4: Hot Glue Coffee Filter Onto Wreath Form
Use a hot glue gun to attach them randomly in place in rows around your wreath form.
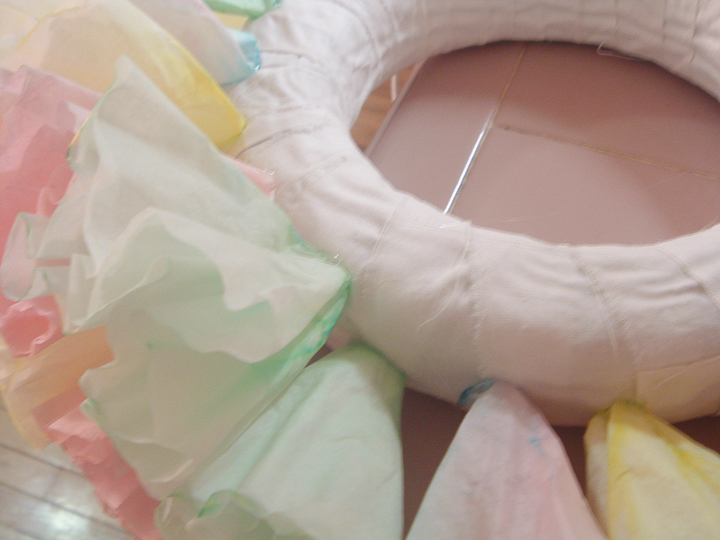
Step 5: Repeat Steps 3 & 4
You will want to keep filling the coffee filter wreath until it is full. Also, remember to add coffee filters to the inside surface.
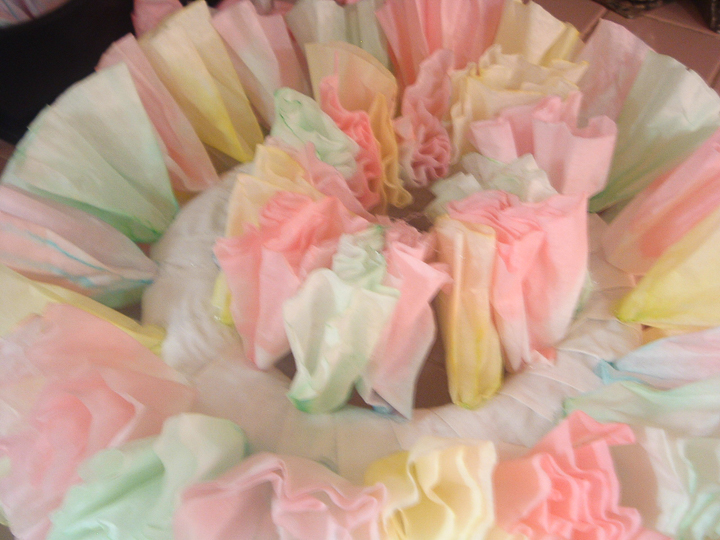
Step 6: Hang Wreath
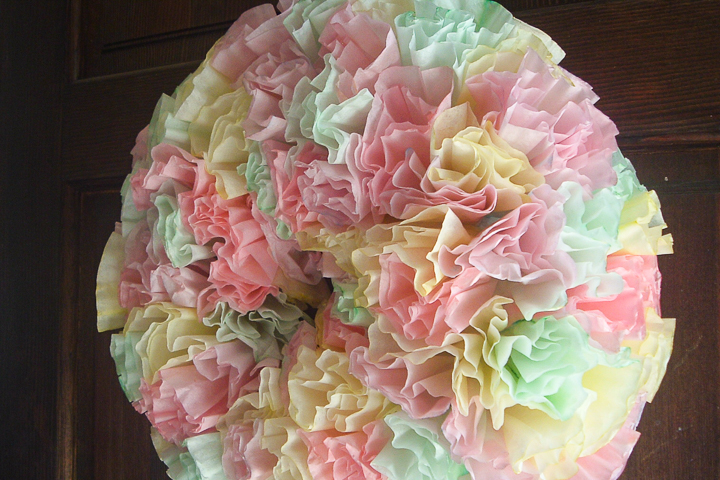
Once you have all of your coffee filters in place, you can hang your spring wreath on your front door. To make it easier to hang, you can add a loop of ribbon on the back.
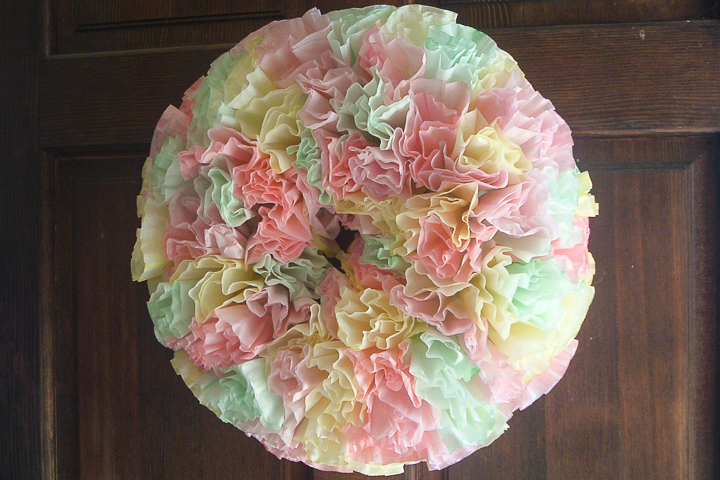
Can you believe that something so gorgeous can come from just plain coffee filters?
This wreath is so simple to make, yet it makes a stunning entrance to your home for the season.
And, yes, I do know that it is not spring yet, but a girl can dream!
So, will you add a coffee filter wreath to your must-make list this year?
I think everyone should try making a quick and easy wreath like this one!
FAQs About Coffee Filter Wreath
Here are a few common questions that I often see readers asking about making this coffee filter wreath. If you have a question, please check if I’ve already addressed it below. If you don’t see your question listed, please leave it in the comments!
What Type Of Wreath Form Did You Use?
For this project, I used a foam wreath form. You can use any form, especially if you cover it with fabric like I did.
What Size Wreath Form Did You Use For This Project?
It is a 10″ wreath form.
How Many Coffee Filters Did You Use For Your Wreath?
I used an entire package of 100 on my wreath.
The Only Thing I Could Find At The Store Is A Gel Food Coloring. Will This Work Mixed With Water?
It should! You just want to color the water.
Can I Use A Different Kind Of Glue?
I find that hot glue is ideal for projects like this one because it dries quickly and holds securely. However, if you don’t have a hot glue gun, you could use super or craft glue. The only thing to remember is that if you use super glue or craft glue, the drying time will vary.
5 More Wreath Crafts
If you love this coffee filter wreath, here are some other wreath crafts you won’t want to miss!
- How to Make a Tulip Wreath for Spring
- Carrot Easter Wreath
- Easy Fairy Garden Spring Wreath Idea
- Rainbow Bunny Peeps® Wreath
- Marbled Eggs on a Moss Easter Wreath


Thanks so much for the idea. I am making one today but I think I used too much food dye…Mine is not nearly so pastel. But I think it will look good just the same. I thought I would hasten the drying so put my filters in the oven at the very lowest setting (170 degrees). It had an unexpected look…..the very edges of a lot of them burned, adding some more interest. I don’t think it would look good on a really pastel one like yours but on this one it will look ok. Thanks again for your tutorial. I have friends coming on Wed for coffee so this is very timely for me…..they will love it.
AMAZING! Featuring you as the Friday Fav this week at naptimecrafters.blogspot.com
AMAZING! Featuring you as the Friday Fav this week at naptimecrafters.blogspot.com
Great job & so easy!
Great job & so easy!
OH LOVELY
Oh your project is beyond adorable!
Thank you SO very much for linking up.
Have a gorgeous weekend.
I’m digging that pastel pretty wreath! I’ve seen many coffee filters made into wreaths but yours is the first pastel one and it’s great! Thanks for the idea 🙂
OH my goodness! This is awesome!! Thank you SO much for sharing!
Es precioso, una gran ides y muy original. Besos
You truely have some of the most unique and “ohhh wowww” crafts and ideas! I absolutely LOVE this blog!!
That turned out very pretty, and the colors are perfect for Spring and Easter!
This is SO darned cute! Coffee filters and food coloring…who would have thought it?! I hope it’s okay, I just couldn’t help but feature it on my Easter wreath and topiary round-up. You can see it here:
http://jamiebrock.hubpages.com/hub/Decorate-Your-Home-for-Easter-Topiary-and-Wreath-Ideas
Thank you for sharing!
I LOVE THIS!!! I want to make it like, now Lol! Can someone tell me how it will hold up if it would get “rained on”??? will the food coloring run onto the door and will the filters hold up?? I’ve been looking for ways to make my own spring wreath and this is the winner!!
I absolutely LOVE LOVE LOVE the way this wreath turned out for me!!! I made it a few weeks ago with my 2 year old granddaughter’s help and it was not only EASY to do, but so much FUN to share with my little El Bell!! (I am SO determined to make her a CRAFTER/SEWER!! :-)) I’d love to add a picture (and yes, I do have one) but I don’t see that option here. TO MEGAN: Mine is technically outside but it’s under a rather large roof over my front porch so I don’t know yet how it’s gonna do when it gets all the humidity from a good rain. NO, if it’s gonna actually get wet, this isn’t the wreath for you. It’s paper so not a good choice. Sorry because it is genuinely beautiful!! And my colors are a lot brighter than those in the pictures here. I used gel food colors for what its worth.
I would love to see the wreath you made! Head on over to my facebook page and upload your picture — http://www.facebook.com/CountryChicCottage. Or email me the picture and I will! thecountrychiccottage@yahoo.com So happy it turned out so well for you!
As for these being outside, I don’t think it would hold up really well completely outside. Mine was behind a screen door. And I think it would be find under a porch. Otherwise, I think the coffee filters and dye would not hold up well. 🙁
Thanks for responding about my outside question…I think I’ll still make it and use it indoors somewhere! I think it will look great anywhere! I ended up making a wreath using bright floral garland I found (my first attempt at making a wreath!) and it turned out great so that will be my outdoor wreath. I also found neon food coloring so I might try those out for this wreath (I’m all about neon these days haha!) …thanks again for the responses!
So cute! I love how easy it was to make. This will be my next DIY wreath!
I found you through you guest blog post at {AKA} Design. I’m one of your newest followers.
BTW, you should link up to my It’s a Piece O’ Cake Linky Party every Thursday. {http://lovingthiscrazylife-melissa.blogspot.com/2012/03/hrefhttplovingthiscrazylife-melissa_5380.html}
Thanks for sharing!
That is SO ADORABLE and so simple! Great idea!
WOW! That turned out great!