Fill your home with springtime by making cute strawberry decor. This tutorial from Jen Goode of 100 Directions makes creating DIY strawberry party decorations quick and easy!
Once spring rolls around, I am ready to say goodbye to cold, dreary days and embrace the new season. I also want to be surrounded by all things spring, including strawberries.
I’ve got several strawberry recipes on the site, including delicious Strawberry Freezer Jam and Strawberry Cobbler in a Jar. But, recently, I realized I didn’t have any strawberry decor tutorials. It’s time to remedy that!
Thankfully, my good friend Jen Goode is here to share a cute strawberry decor project you will love. This one is perfect for all your spring and summer parties and is so easy to make!
NOTE: Round out your entertaining with some of our other projects and recipes, including Summer Party Glasses, Lemonade Party Punch, and DIY Buffet Condiment Holder!
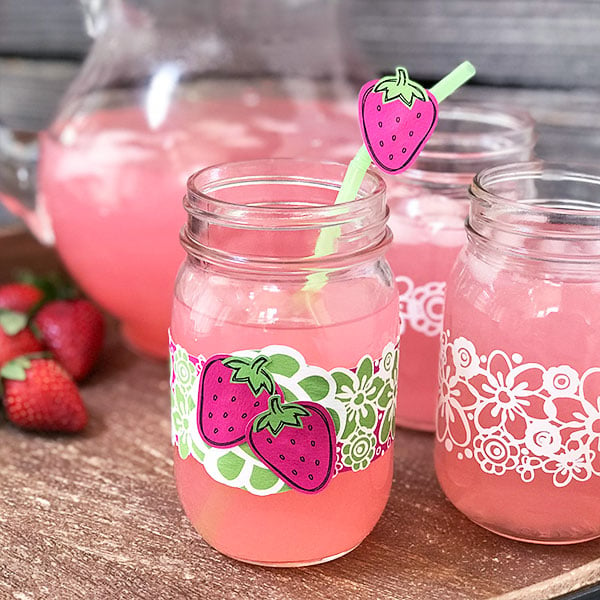
How To Make DIY Strawberry Party Decorations
These little strawberry decorations are perfect for a party or display, and they’re super simple to make and use.
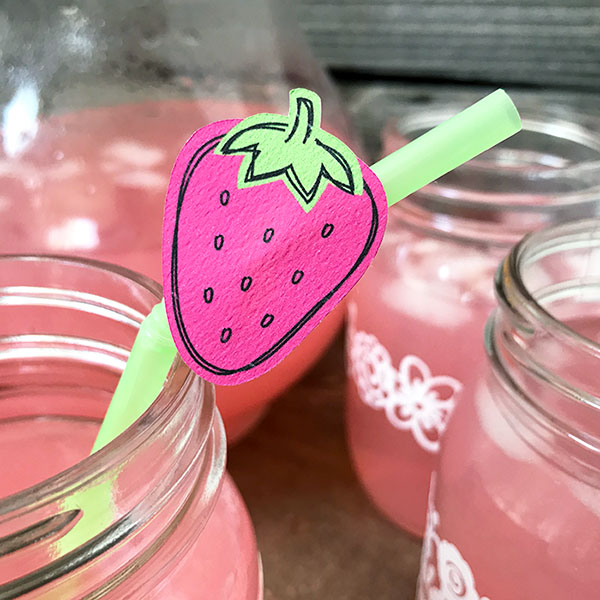
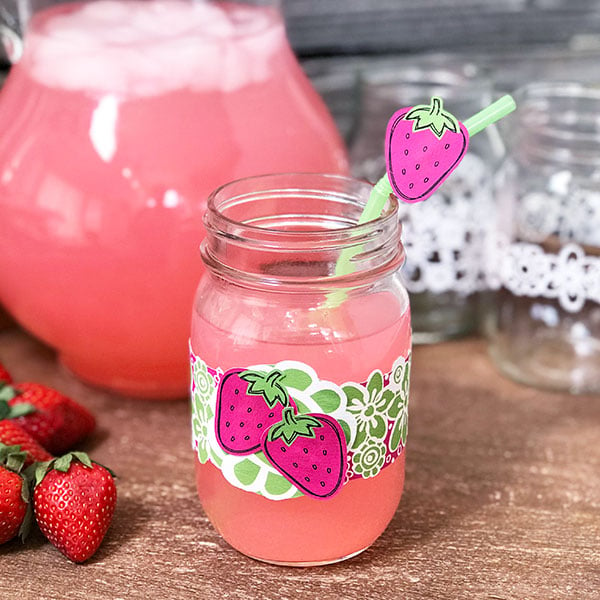
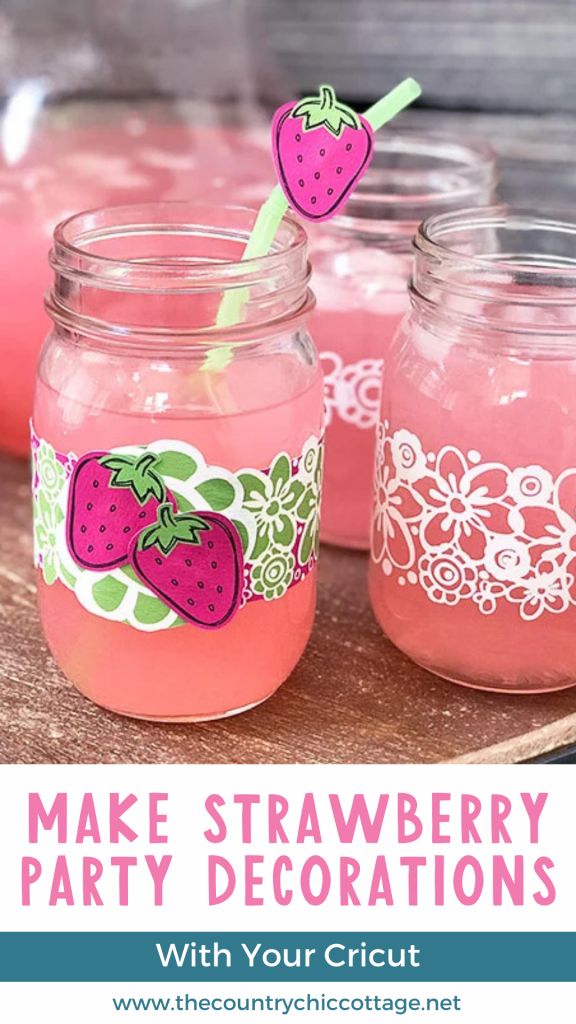
For example, I’ve used these strawberry accents to dress up a pink lemonade drink display! Add a cute wrapper to the mason jars and a little paper strawberry to the straws. You can also use them to create a cute kitchen art piece and so much more.
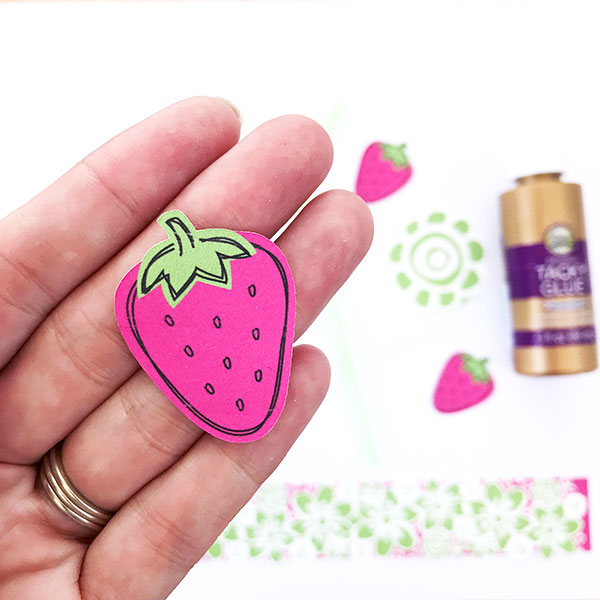
Plus, the best part is that the flower accents are FREE in Cricut Design Space! The strawberry is part of Jen’s design sampler and can be purchased individually or as part of the design set.
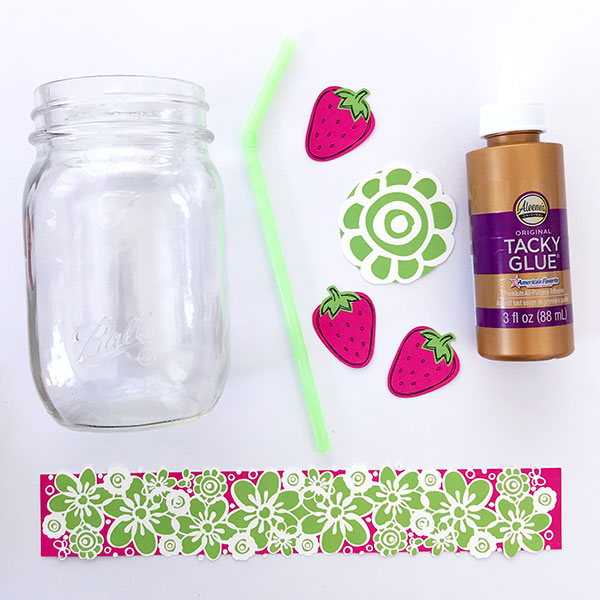
Supplies Needed To Make DIY Strawberry Party Decorations
- Cricut Machine (You can see the difference between the Cricut Explore and the Maker here.)
- Cricut Design Space
- Flower cut design and strawberry cut design by Jen Goode
- Mason jars
- Craft glue
- Permanent Vinyl and transfer tape as needed (optional) – you can use printable vinyl or cardstock too!
Strawberry Decor Pieces Instructions
I will start by showing you how to do the cardstock version of this project because I think most people will prefer that. Just follow these step-by-step instructions!
Step 1: Cut Strawberry & Flower Pieces From Cardstock
Go to the pre-set strawberry decor Cricut project in Cricut Design Space. All the pieces are set up, so you can follow the on-screen instructions to cut the desired materials.
Step 2: Wrap Mason Jar With Flower Design
Wrap the mason jar with the flower design. Glue the larger circle flower to each end of the pattern to finish off the jar wrap.
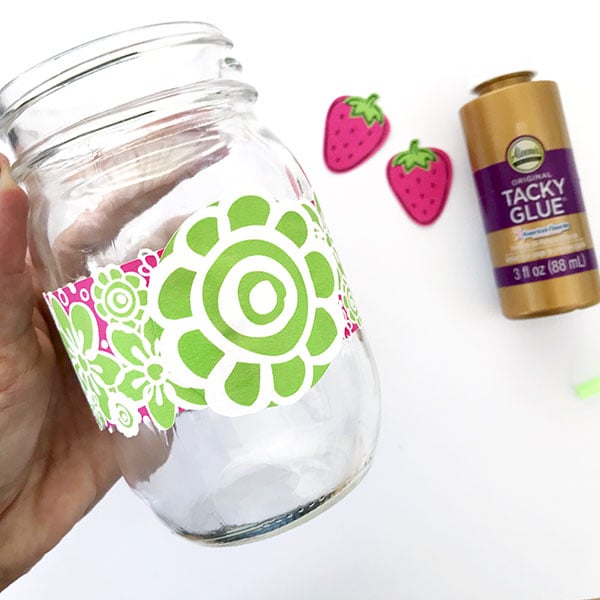
Step 3: Glue Strawberry To Flower Wrap On Mason Jar
Then, glue the strawberries to the circle flower.
Step 4: Glue Strawberry To Straw
Glue a strawberry to the top of a straw, leaving 1/2″ – 1″ of space from the top of the straw. Allow the glue to dry before using these pieces.
NOTE: Some of the cut design layers are hidden when you first open the project. Feel free to view all the layers and play with them to create your preferred look.
Instructions To Make The Optional Vinyl Variation of Strawberry Decor
To make these strawberry decorations last longer, use vinyl instead of cardstock. Here’s how!
Step 1: Cut Strawberry & Flower Pieces From Vinyl
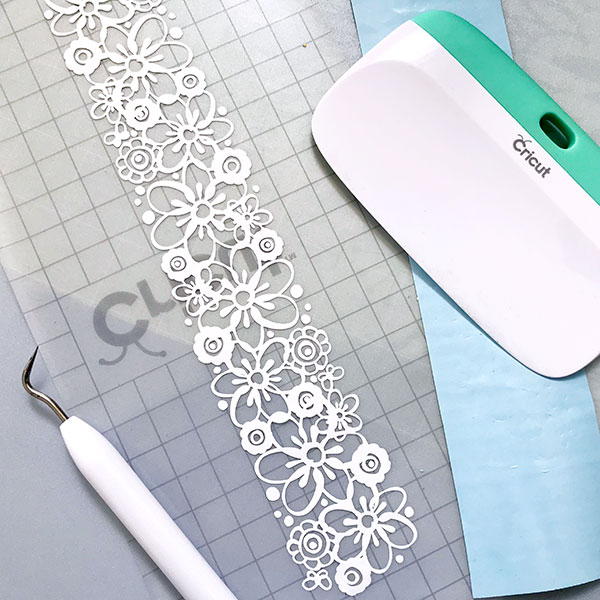
Go to the pre-set strawberry decor Cricut project in Cricut Design Space. Follow the on-screen instructions to cut the designs out of your vinyl, then weed your designs.
Step 2: Remove Vinyl From Backing Paper
Use transfer tape to remove the vinyl cut design from its backing paper.
Step 3: Add Vinyl Design To Mason Jar
Apply the vinyl design to the jar and rub it firmly into place.
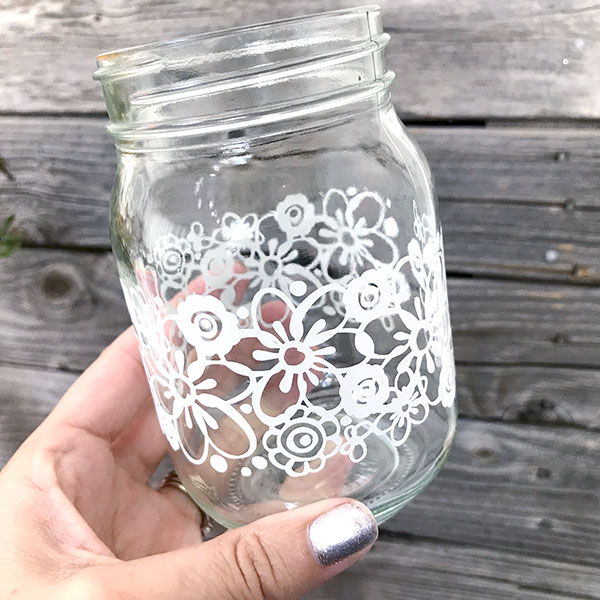
Step 4: Add Strawberries Pieces To Mason Jar & Straws
You can use printable vinyl to create the strawberries or layer separate cut pieces of colored vinyl.

Fill the glasses and serve them! You can use a pre-made lemonade or create your own. I have a yummy strawberry ginger lemonade recipe perfect for filling glasses decorated with strawberries! If you’re not a fan of ginger, leave it out.
A Note About The Strawberry Decorations Cut File
This strawberry decor project is ready and waiting for you within Cricut Design Space.
Some pieces have been flattened so they will be printed then cut appropriate. You can edit these pieces by simply unflattening the art and then modifying it as you’d like. Feel free to change the colors, change to cut, or change to draw.
Have fun creating all your cute strawberry party pieces!
Make Some DIY Strawberry Party Decorations This Summer
Next time you throw a warm weather party, add a little extra cuteness with DIY strawberry decorations!
You can dress up a party, lemonade stand (with strawberry lemonade, of course), or add strawberries to your picnics. The possibilities are limitless!
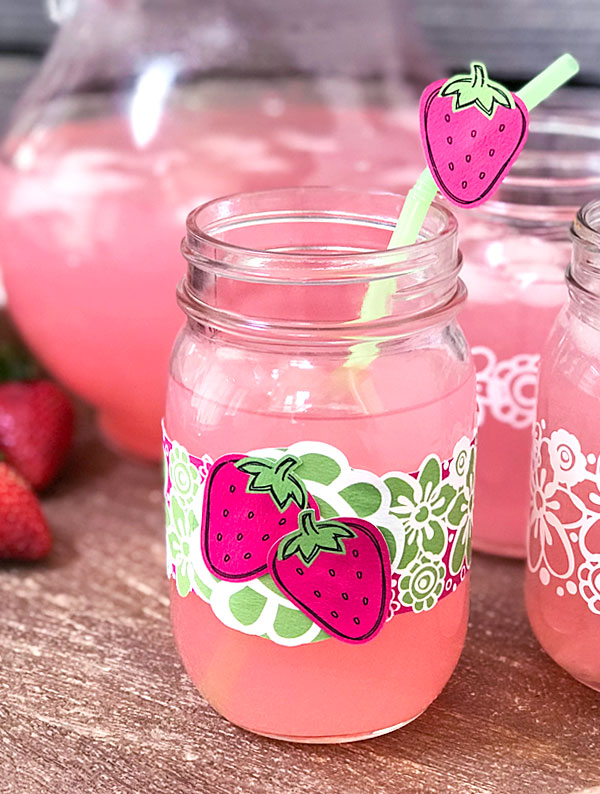
I love that this Cricut-created art is simple to create and can be customized for a variety of uses (that’s how I like to create many of my designs).
So, grab your Cricut machine, these designs, and some mason jars, and have fun making your DIY strawberry party decorations!
FAQs About DIY Strawberry Party Decorations
Here are a few common questions that I often see readers asking about making these DIY Strawberry Party Decorations. If you have a question, please check if I’ve already addressed it below. If you don’t see your question listed, please leave it in the comments!
Is It Better To Use Cardstock Or Vinyl For This Project?
You can use either one (and I have used both). I think there are a couple of things to consider to help you decide.
First, how much time do you have? I initially wrapped the first mason jar with printed and cut card stock. It’s much faster and very cute. However, it’s also temporary and will be ruined if you have outdoor rain showers.
Second, how do you want your strawberry decor to look? If you’d like to create something a little fancier and have a bit more time, try the vinyl-cut design. It takes a little bit of time to weed the design, but once you’re finished, you’ll have a pretty floral lace pattern you can use again and again to spruce up your summer decor.
What Cricut Machine Can I Used For This Project?
For this project, I would recommend using the Cricut Maker or Cricut Explore series, or Cricut Joy Xtra machines, but you can use the Cricut Joy if you are cutting your design out of vinyl.
Can I Use Hot Glue For This Project?
Because of the delicate appearance of this strawberry decor, I recommend sticking with craft glue, which is thin and invisible. Hot glue has great hold but is fairly bulky and doesn’t dry clear, so it would visually hamper your decor, which you don’t want to do!
Can I Adjust The Size Of The Mason Jars?
Yes, you can! For this project, you can use any size mason jar. The only thing to remember is that you may need to adjust the size of your strawberry/flower pieces in Cricut Design Space to fit your mason jar.
Are The Strawberry Jars Washable And Reusable?
Unfortunately, you won’t be able to wash the jars and reuse them while they’re decorated (especially if you use cardstock). The cardstock decorations are not waterproof, so you’ll need to remove them before washing the jars. However, you can handwash the jars if you use permanent vinyl to decorate them.
5 More Summer Crafts
Did you love these DIY strawberry party decorations and want to make more summer crafts? Then check out the projects below!



Very pretty! And totally makes a mason jar look better and the contents yummier!
This is absolutely adorable!!! So creative!
This is super cute and fresh! Thanks for the lovely ideas..I chose it to be featured on #OMHGWW 🙂
How cute! I’m so intimidated by my machine, I just need to get over my fear. LOL I would love for you to come join my 1st blog party that just started today the Classy Flamingos at poinsettiadr.com
The drink looks so fun in your decorated in mason jars!!! Thank you for sharing on #omhgww last week, your post is being featured this week and has been shared on Pinterest and Facebook!!
Hope to see you again soon!
Karren~