Have you ever had a problem with your HTV puckering on stretchy fabric? Today I’m going to teach you all about stretch HTV. We’ll cover which stretch HTV is best, what fabrics it works on, and when to use it.
Stretch HTV is perfect for athletic wear and the fun retro baby tee line BELLA + CANVAS recently released. There are so many applications so you will want to keep some on hand for any stretchy fabrics you want to customize.
If you’re new to using Iron-on (also known as HTV or heat transfer vinyl) my “How to Use Iron-on” article is a great place to start.
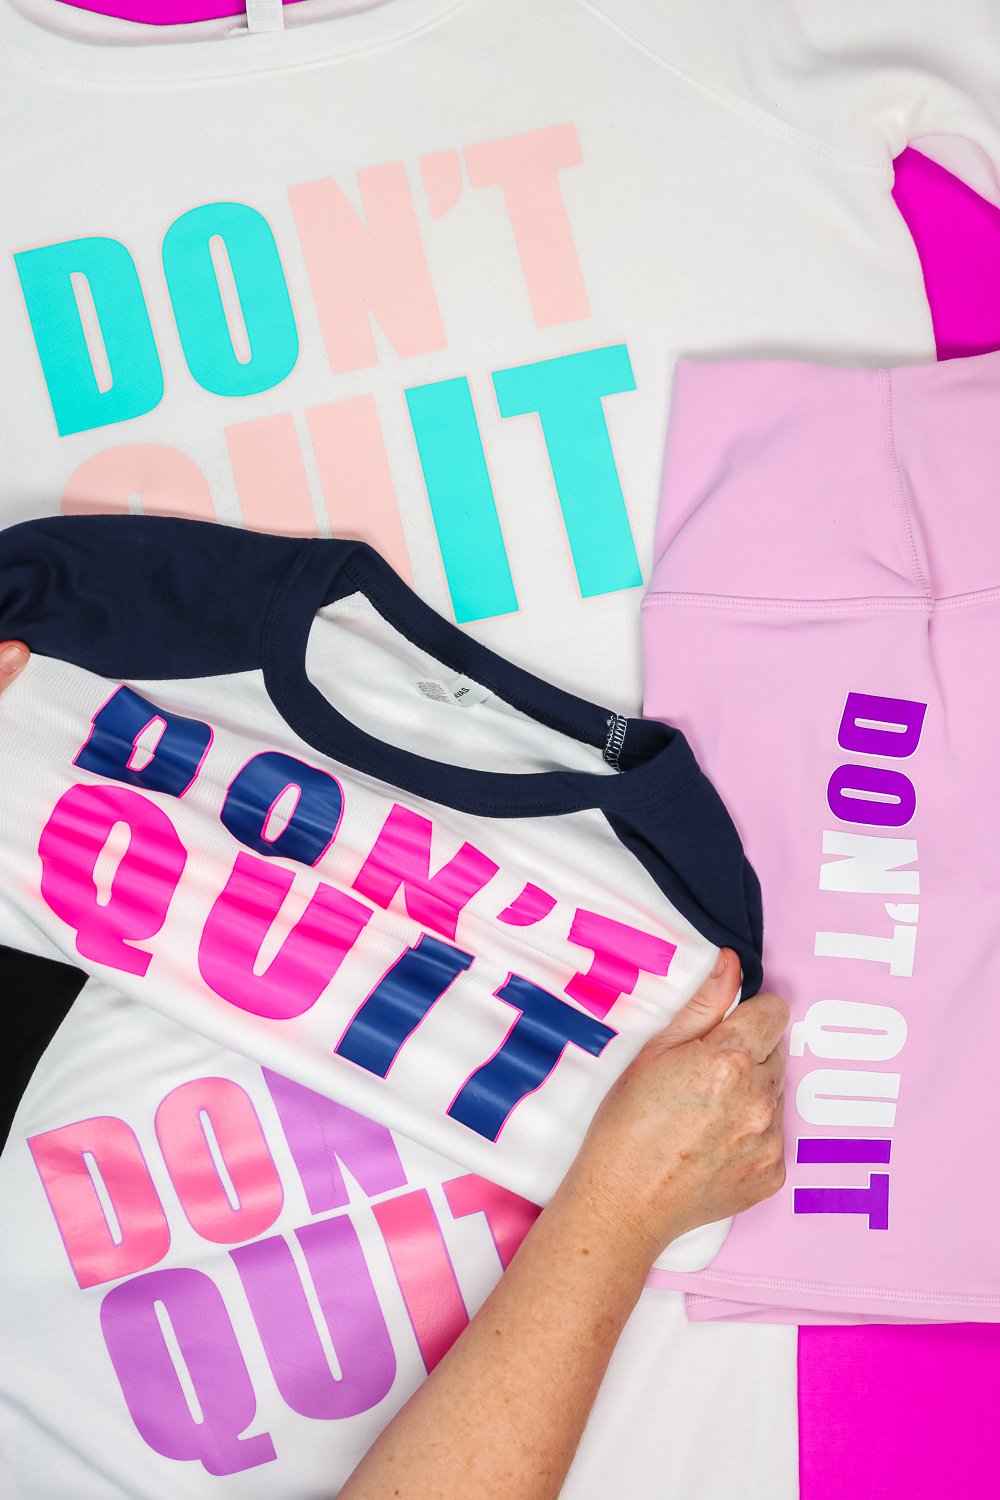
We’re going to really dive into different stretch HTV options. Today we’ll test Cricut SportFlex HTV, Siser Easyweed Stretch, and a new product to me from Heat Transfer Warehouse called Hotmark Revolution.
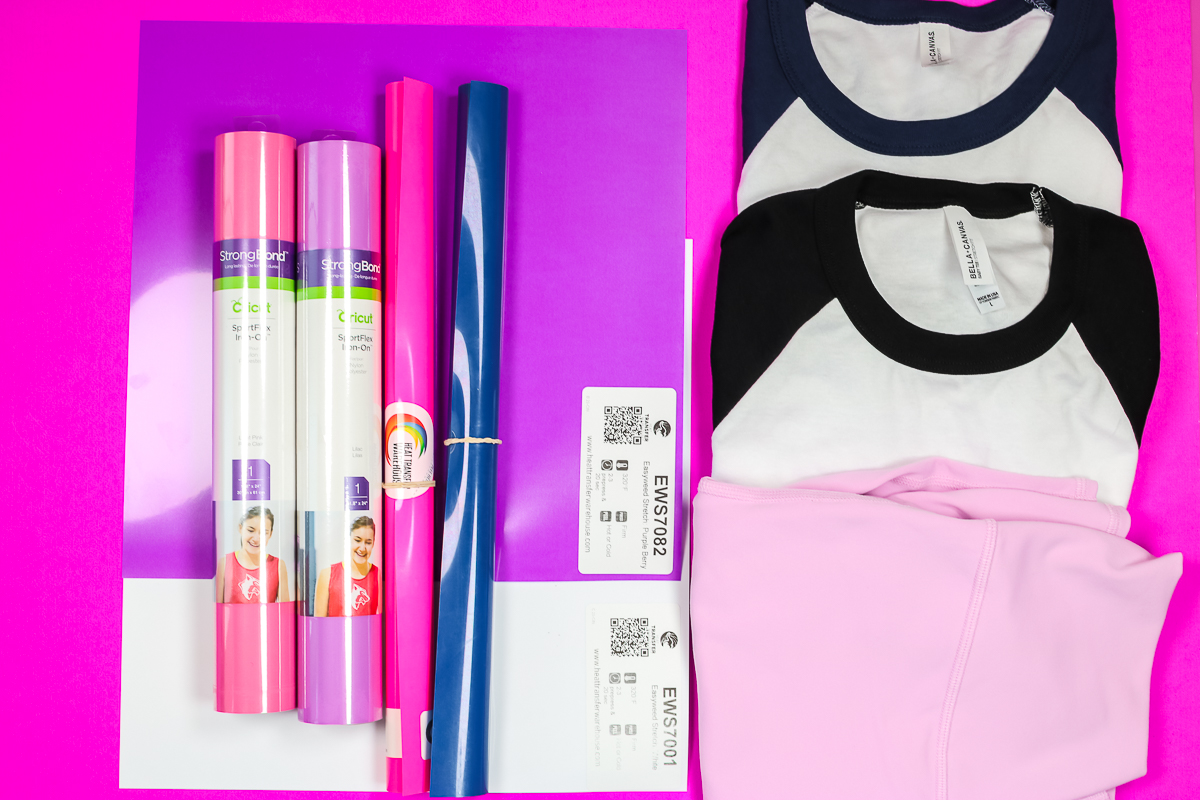
I’m using different BELLA + CANVAS fabric blanks. This includes my favorite stretch t-shirt from the baby tee line with the baseball tee look. The new baby tee line has micro rib. The micro rib gives the shirts a really great stretch perfect for using with stretch HTV.
I will also test the stretch HTV on a fleece sweatshirt. I wanted to test the stretch HTV on something that wasn’t a shirt so I’m also applying this fun material to a pair of bike shorts.
You can actually watch me test all of these materials and make these projects by pressing play on the video below.
Why Use Stretch HTV?
Have you ever tried putting regular HTV on stretch fabric? When the fabric stretches the HTV puckers and it looks terrible.
Using stretch HTV will fix all of those issues. You’re going to love how much better stretch HTV works on stretchy fabric than regular HTV.
Supplies Used to Create Customized Stretch Clothing
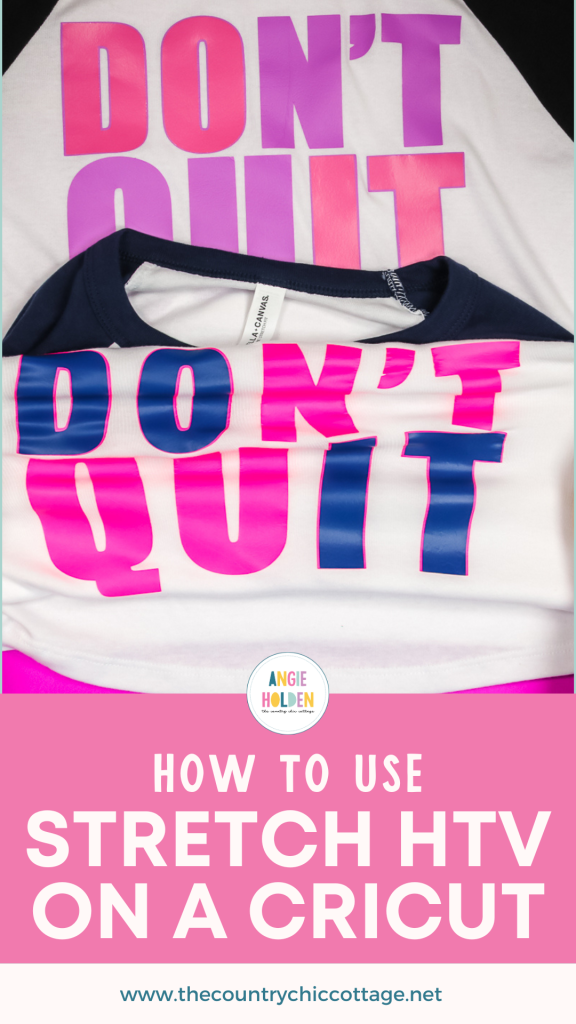
First, grab the free “Don’t Quit” SVG file here then see the other supplies you will need below.
Where to get the baby tees:
BELLA+CANVAS Baby Tees, bike shorts, or fleece (You can order any BELLA+CANVAS shirts or apparel wholesale with a Maker’s account even if you don’t have a wholesale license.)
Stretch HTV Brands:
Other supplies needed:
- Cricut Machine
- Cricut EasyPress
- Teflon Sheet
- Weeding Tools
- EasyPress Mat
- StandardGrip Mat
- StrongGrip Mat
- Brayer
How to Use Stretch HTV on Stretchy Fabric
Now that we have all of our supplies gathered let’s make a project. The steps will be similar for each product, I’ll call out where there are differences.
To begin, add your material to the mat shiny side down. All of these materials are kind of shiny on both sides. If you’re not sure which side is the carrier sheet, you can check by lifting one corner.
With these materials, I have found that they don’t like to stick to lighter grip mats. I recommend using a StandardGrip mat or StrongGrip mat. I also recommend using your brayer to make sure the material is stuck down really well onto the mat.
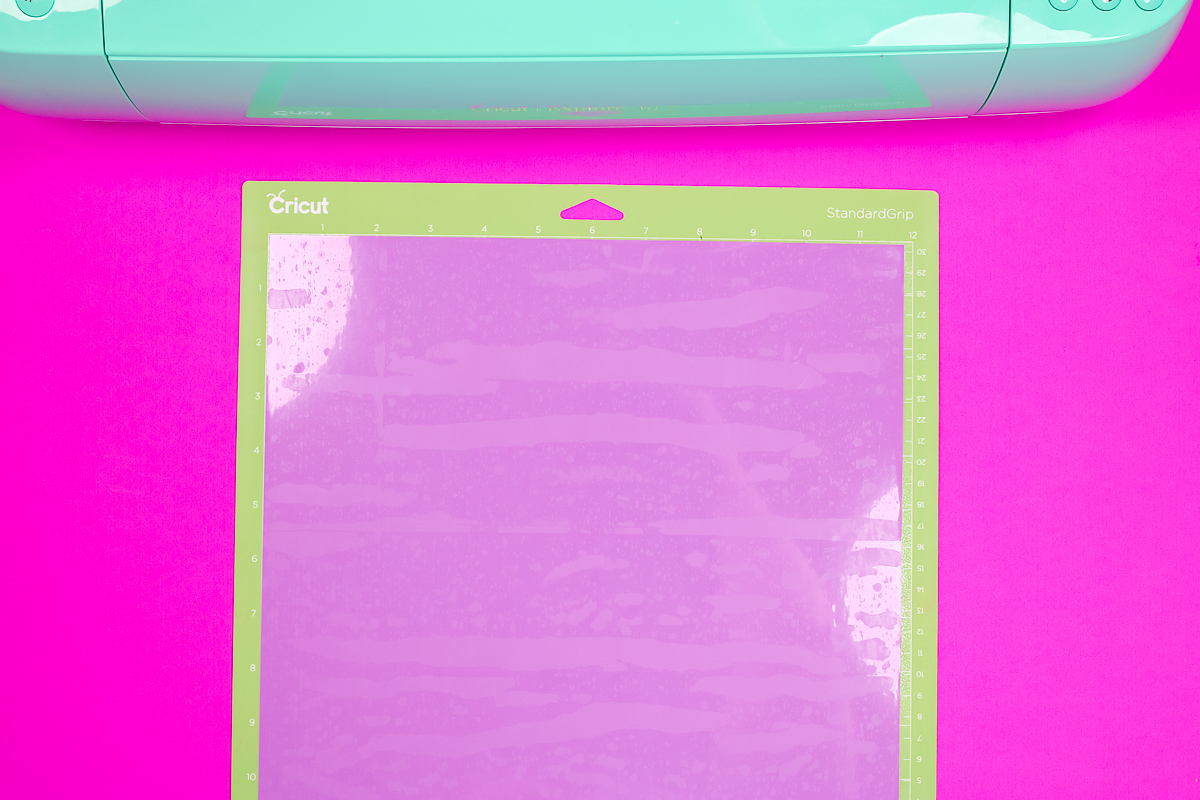
To really test these materials, I am cutting two colors of each material so we can see how they perform when they’re layered.
Cutting Stretch HTV with a Cricut Machine
I am using my Explore Air 2 for today’s project. You can cut stretch HTV on any Cricut machine including Maker machines and the Cricut Joy.
With the Air 2, I have my dial set to custom so I can choose the SportFlex Iron-on setting. If you’re using any of the other machines, you don’t have to worry about the dial.
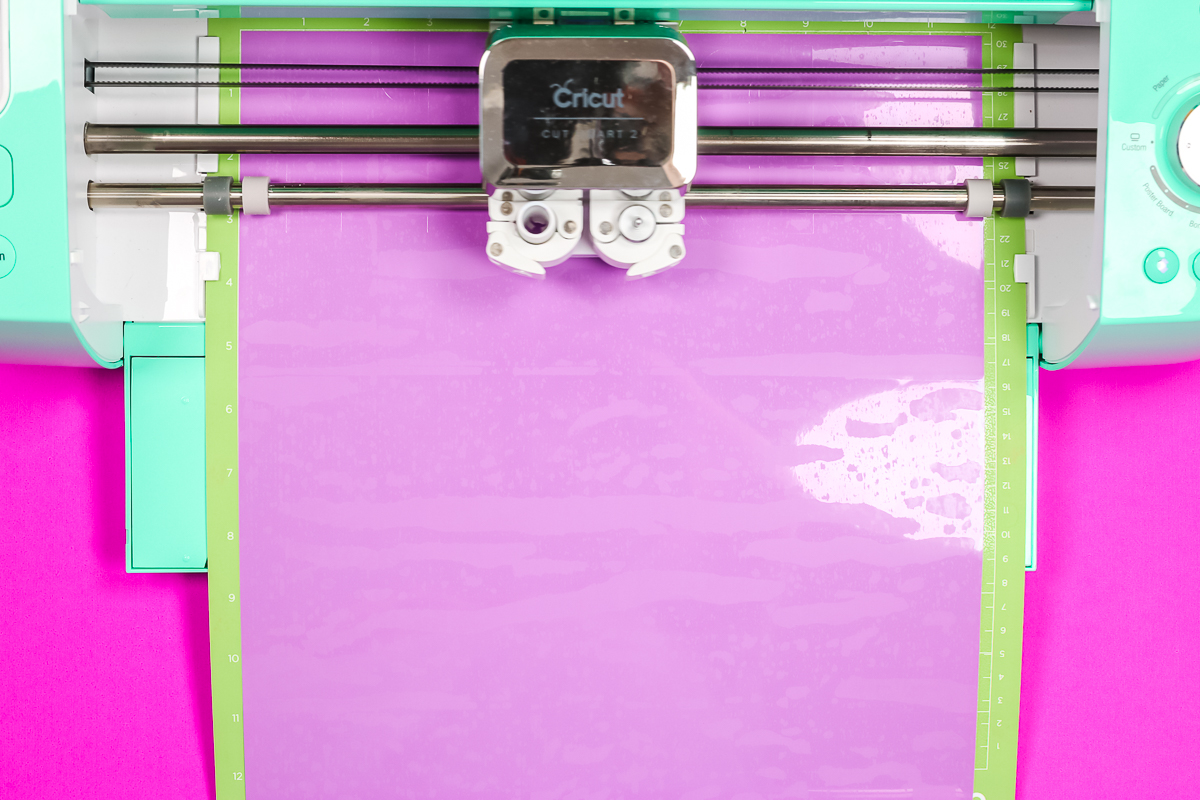
Make sure the fine-point blade is installed and then load the mat into the machine and press Go. I cut all of these materials on the same SportFlex setting and it worked great for all three materials.
Once the design is done cutting, unload the mat and it’s time to weed all of the excess.
Weeding Stretch HTV
To weed the materials, I am using my weeding tool. We need to weed out all of the excess material, which means everything we don’t want to be pressed onto the fabric.
Make sure you remove the insides of all of the letters. If you’re using my Don’t Quit design, that includes the insides of the Ds, Os, and Q.
I found that all of these materials weed really easily. I didn’t have problems weeding any of them.
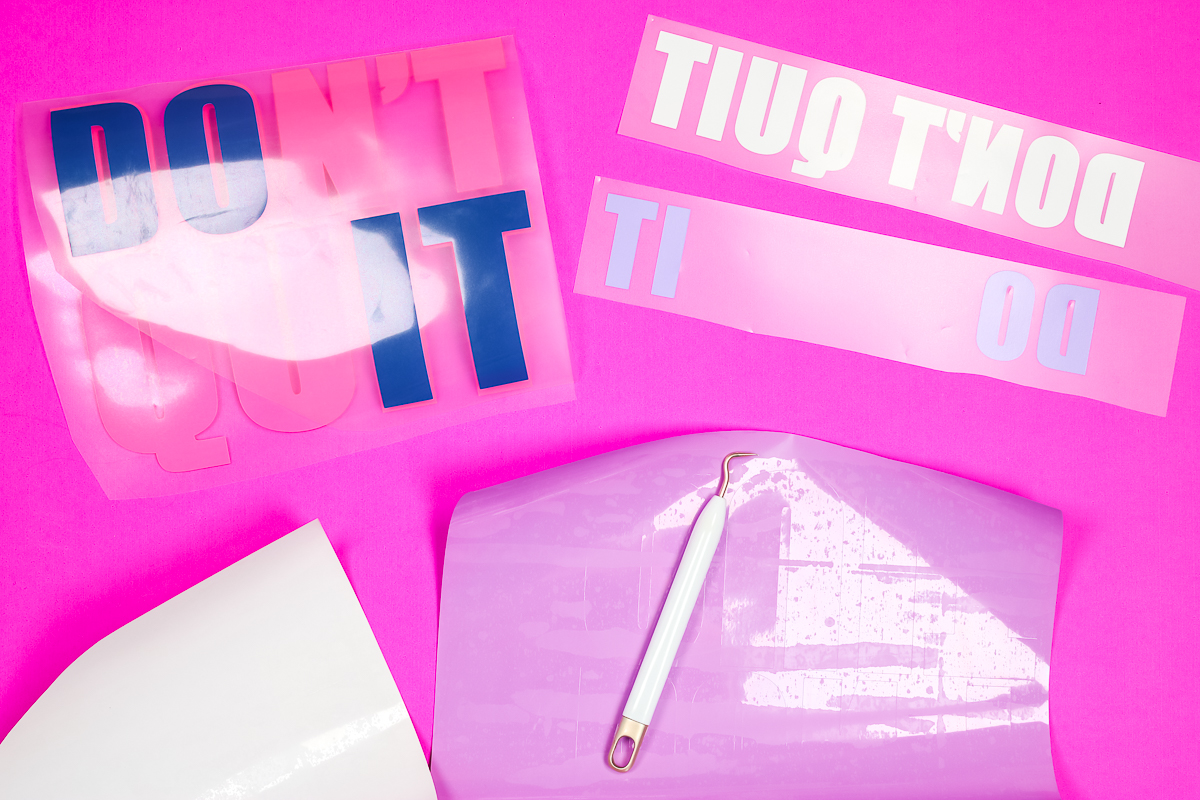
When it comes to cutting and weeding, all three materials did perform equally. They all cut cleanly and weeded easily.
How to Apply Stretch HTV to Stretchy Fabrics
For my projects today I am using my large EasyPress. When it comes to applying heat you want to follow the time, temperature, and pressure settings for your HTV material.
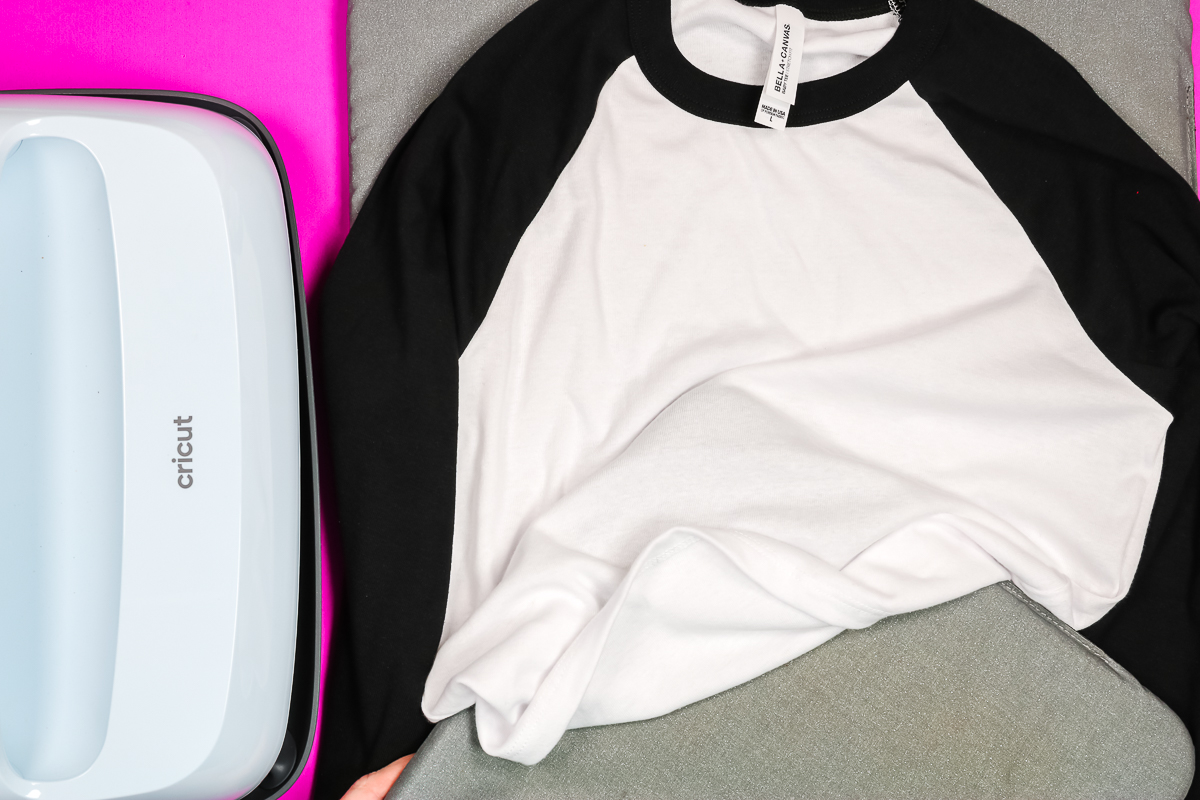
With each fabric, you will need to pre-press the area you’re applying the HTV to. This will remove any wrinkles and any moisture that is in the fabric.
After pre-pressing, I like to go over the area with a lint roller to make sure there is no hair, dust, lint, etc on the fabric. Having things between the fabric and the adhesive can create a less-than-desirable finished product.
When your shirt is prepped, locate the bottom layer of HTV onto the fabric.
I’ve found that stretch HTV’s carrier sheet isn’t as sticky as regular HTV. If you feel like your HTV isn’t sticking to the fabric use a piece of heat-resistant tape to help hold it in place.
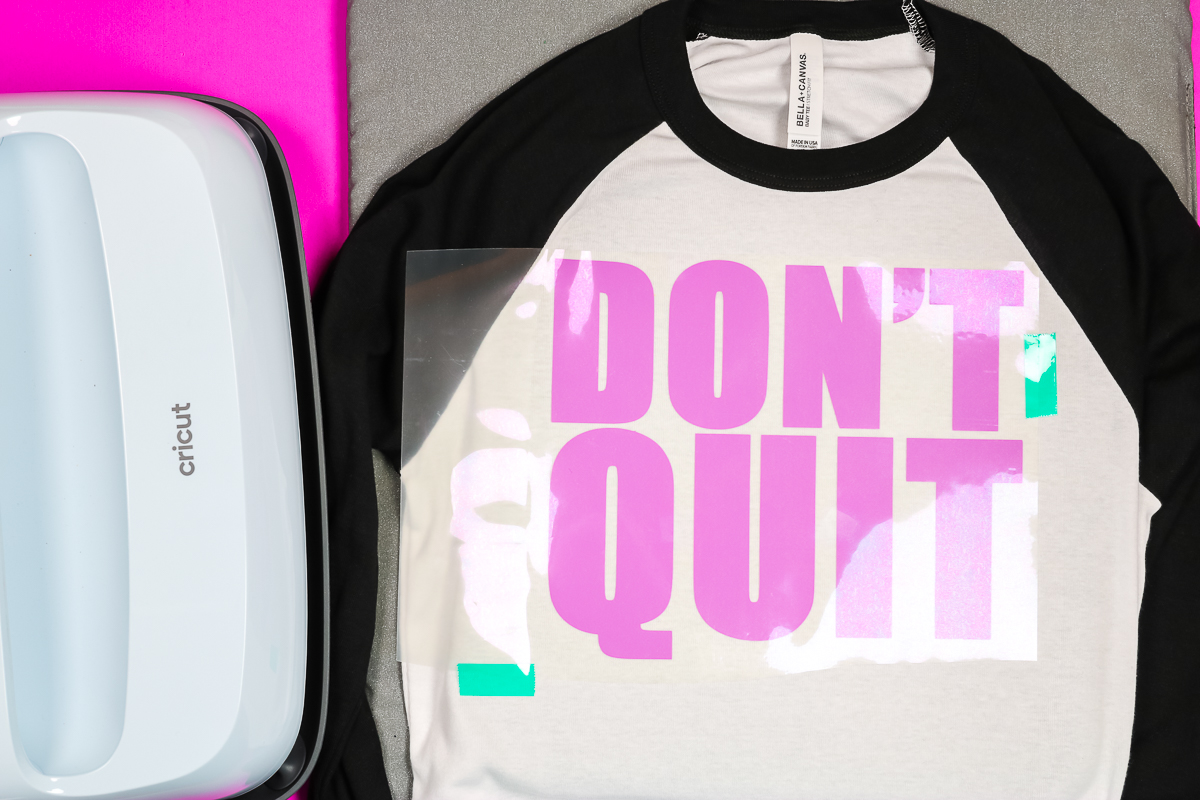
Cricut SportFlex Iron-on has a time and temp setting of 305° for 30 seconds. It also calls for firm pressure. You’ll need to apply firm pressure the entire time.
I added an EasyPress mat inside my shirt and then pressed the first layer for about half the time.
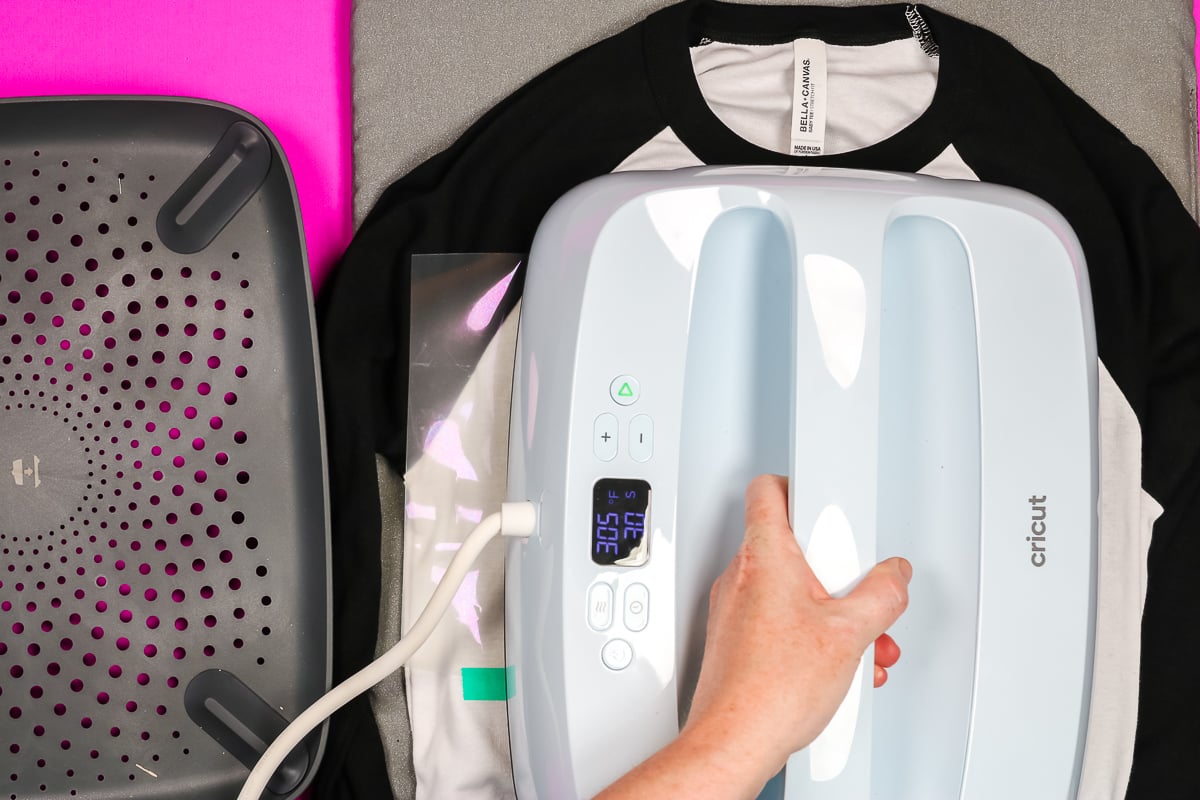
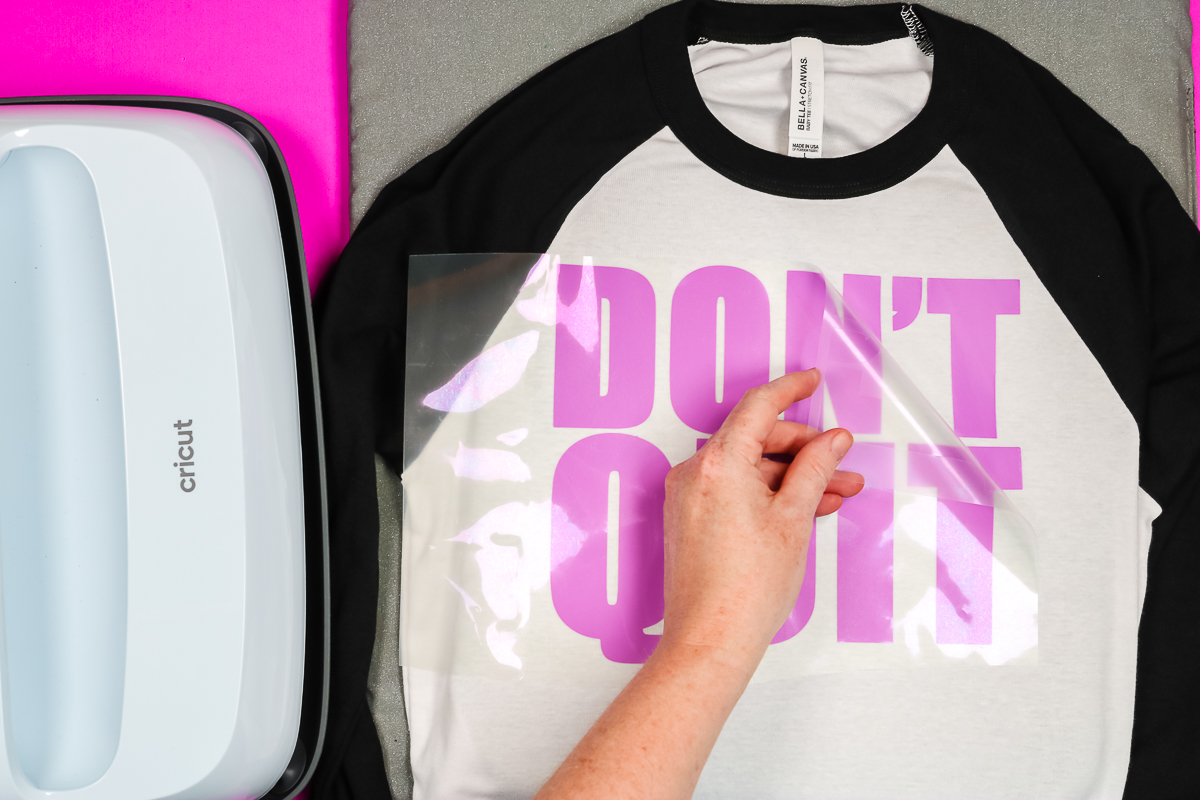
SportFlex is a cool peel product. You need to allow the carrier sheet to cool completely before trying to remove it. You’ll want to start at the corner and peel it back slowly making sure the HTV is stuck down on the shirt.
If you notice any lifting, lay the carrier sheet back down and press again. Allow to cool and remove the carrier sheet. Save your carrier sheet, we’ll need it when applying the top layer.
How to Layer Stretch HTV
To layer the Stretch HTV, we’ll lay the 2nd layer on top of the first layer. Your design should align right over the bottom layer.
If you notice the layers don’t match up exactly, this can be because HTV can shrink a little when heat is applied. I find it can be easier to get the layers to line up if you separate the HTV for the second layer into smaller pieces.
For my design, separating DO and IT allowed me to line both pieces up perfectly.
You need to make sure the entire design is covered with a carrier sheet. You don’t want the heat source to touch the HTV directly.
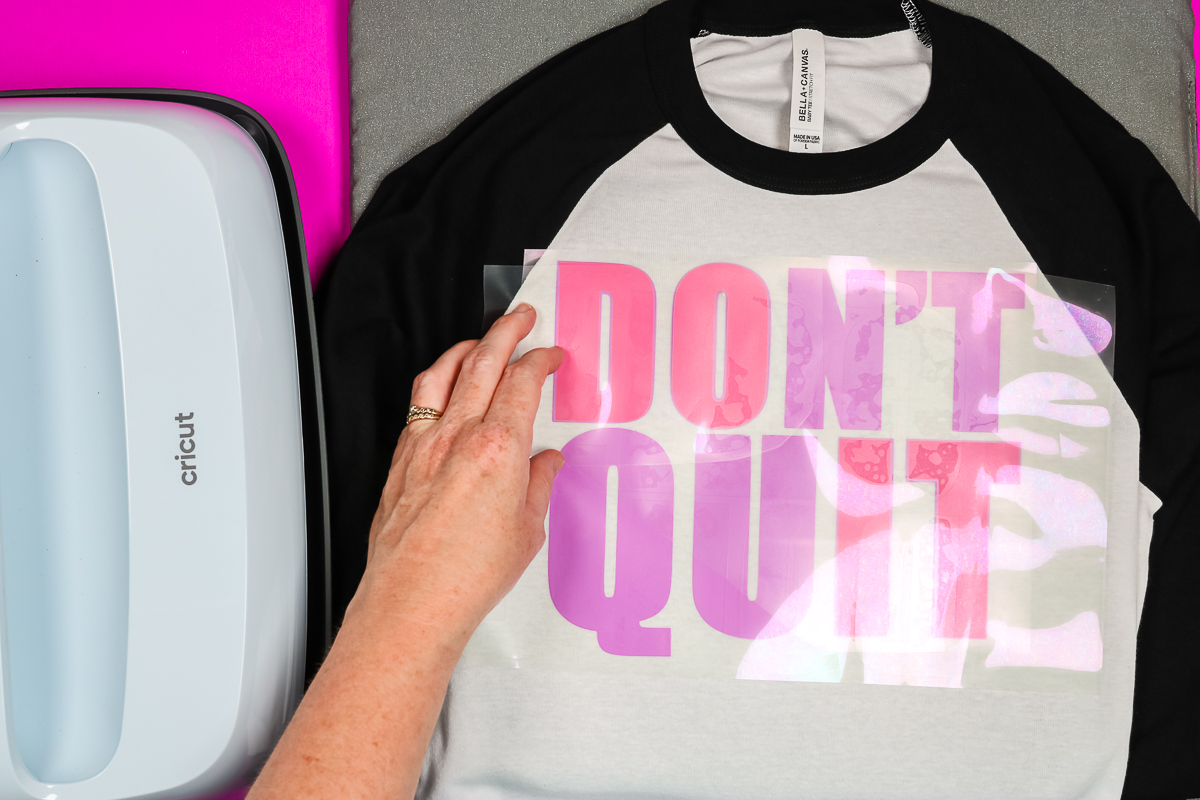
This time we will press the HTV for the full time at the full pressure.
Again, this is a cool peel material. Allow the HTV to cool completely and peel back the carrier sheet. Go slowly and make sure the HTV is stuck down everywhere.
If you have any lifting, lay the carrier sheet back down and press again with firm pressure for a few seconds.
How to Remove Press Marks
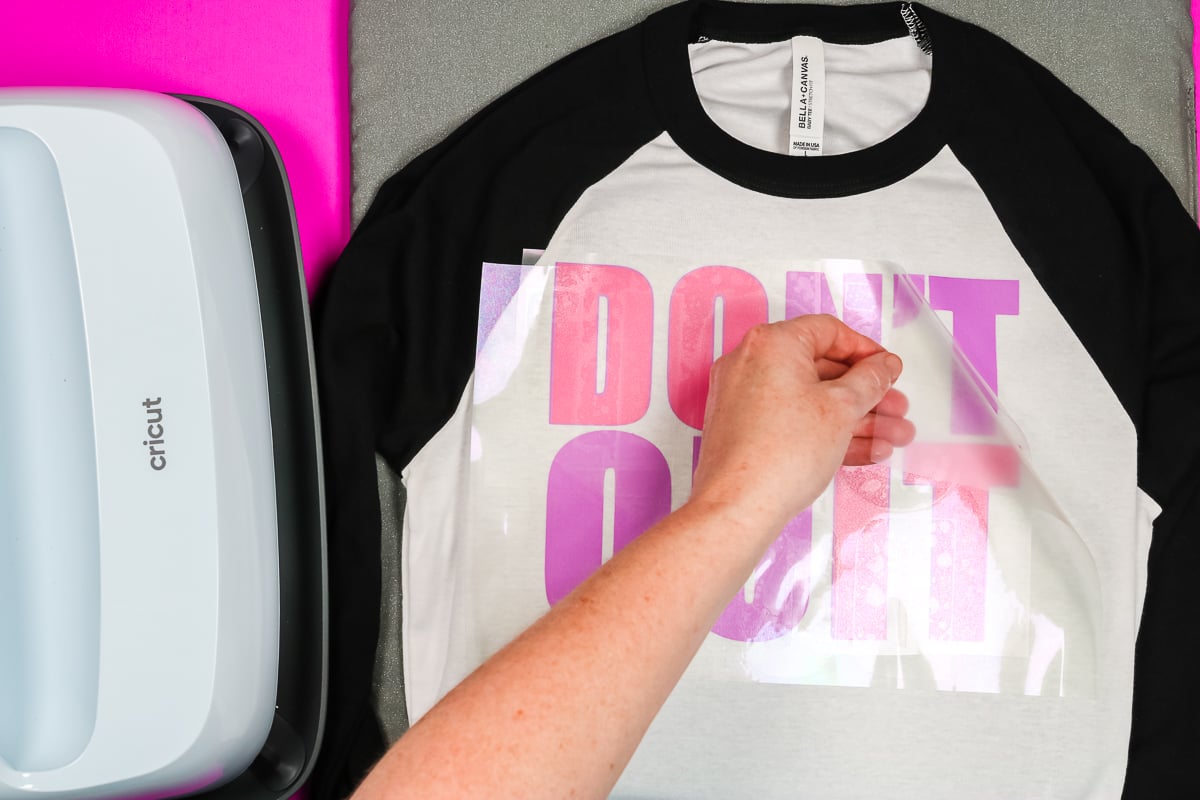
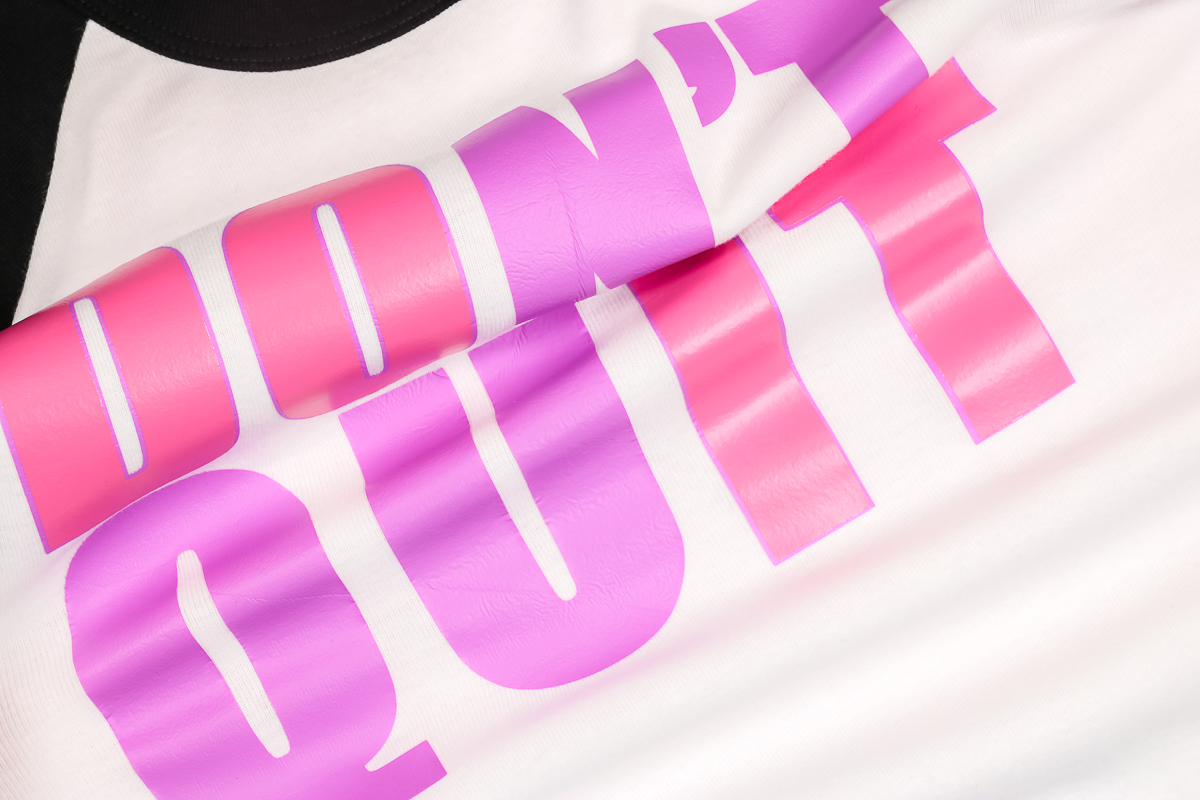
When you layer HTV, you can end up with press marks from the carrier sheet. You can see it clearly in the N in the photo below.
One way to get rid of those marks, or at least lessen them is to press them again. Remove all of the carrier sheets and then lay a Teflon sheet over the top of the whole design.
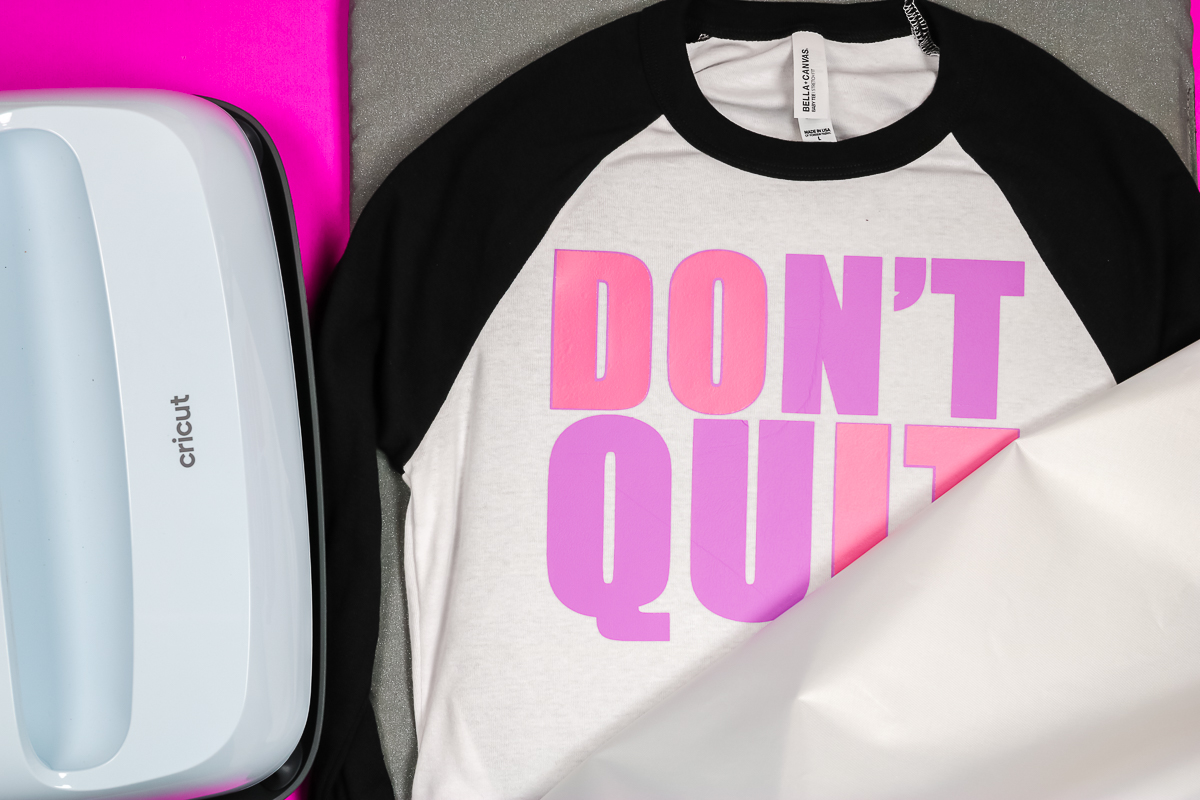
Press the whole design for about 10 seconds and then peel back the Teflon sheet. If you still see lines, you can repeat this process again if needed.
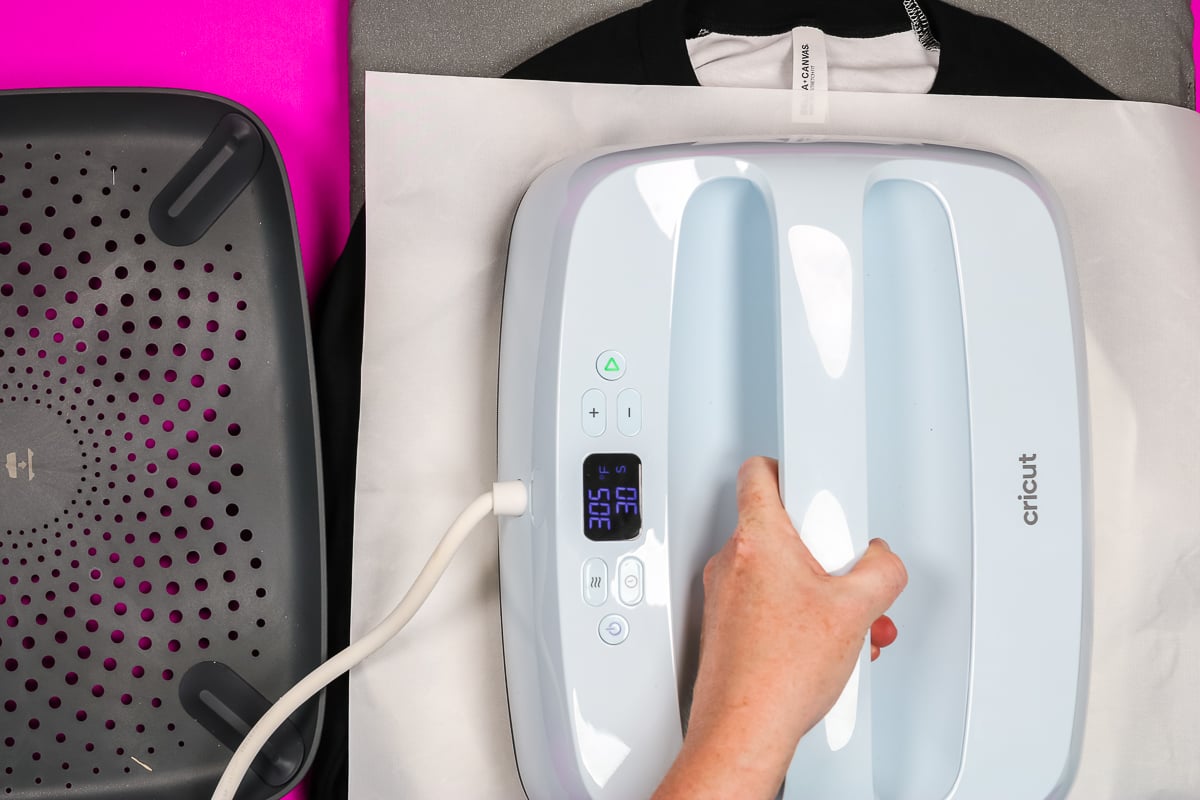
If you have any lifting of HTV you could follow these same steps to press them back down. Make sure anywhere you are applying heat is covered with a carrier sheet or Teflon sheet.
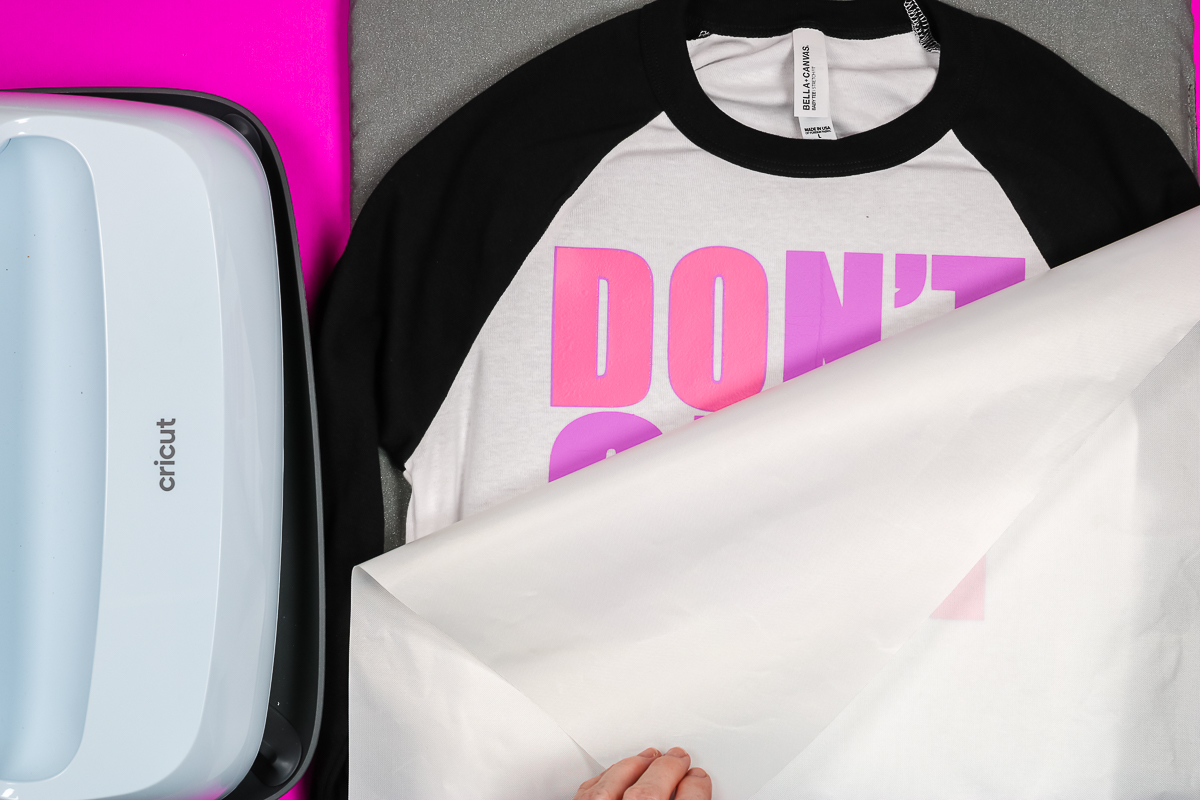
I followed this same process for each different brand of stretch HTV. Each brand has a different time and temperature setting. Make sure you’re following those settings for each HTV.
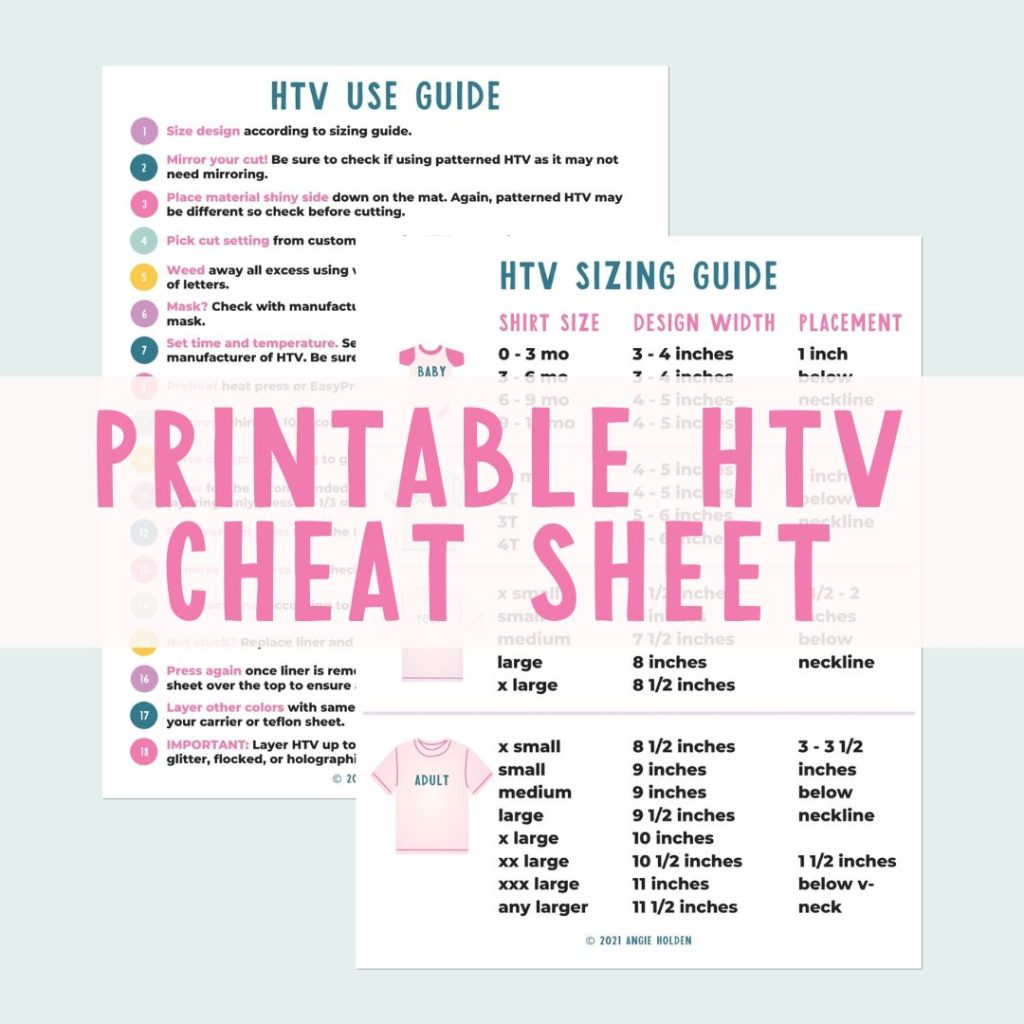
Free HTV Cheat Sheet
Get your FREE Printable HTV Cheat Sheet now! This guide has sizing and position recommendations for infant through adult shirts as well as a handy HTV use guide. Print this double sided guide and put it by any heat press you own!
Which Brand of Stretch HTV is Best?
Now that I have all of the different Stretch HTV brands applied to the different clothing items let’s look at how they performed.
Cricut SportFlex Iron-on
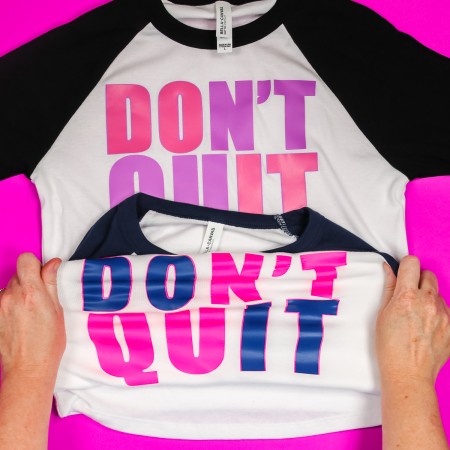
First, we have the Cricut SportFlex. As you can see, it does stretch but I feel like it puckers a bit when it’s stretched.
I intentionally chose this design so I would have areas that are double-layered. I’m using stretch HTV for both layers. I do think they stretch less when layered.
I did have a harder time applying the design with this material. All of the products cut and weeded about the same. I found the application a little trickier with the cold peel process. I did not feel it stretched as well when it was layered.
Hotmark Revolution Stretch HTV
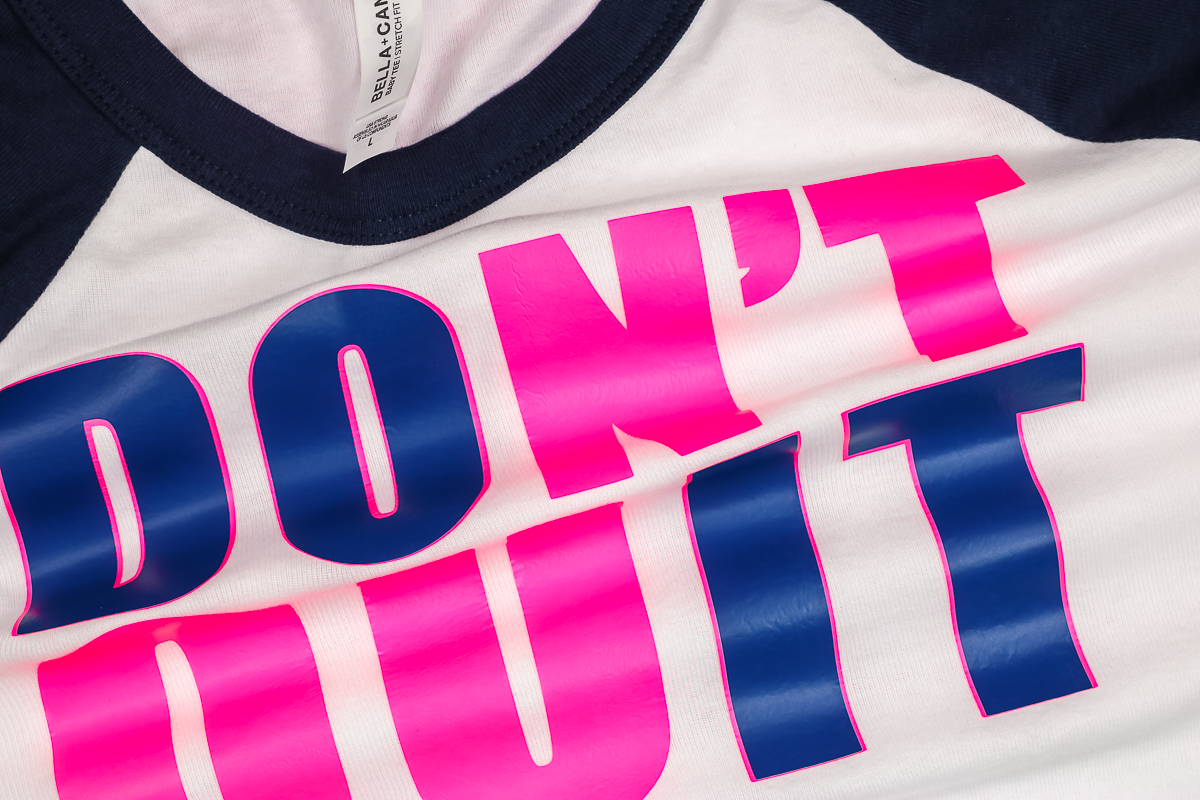
Next, we have Hotmark Revolution brand stretch HTV. This is a very low time and low temp material which I love.
Compared to the Cricut SportFlex, I feel this brand stretches better without puckering. The double-layer areas stretch well too.
The low temperature and less time made the application really simple which is another pro for me.
Siser Easyweed Stretch HTV
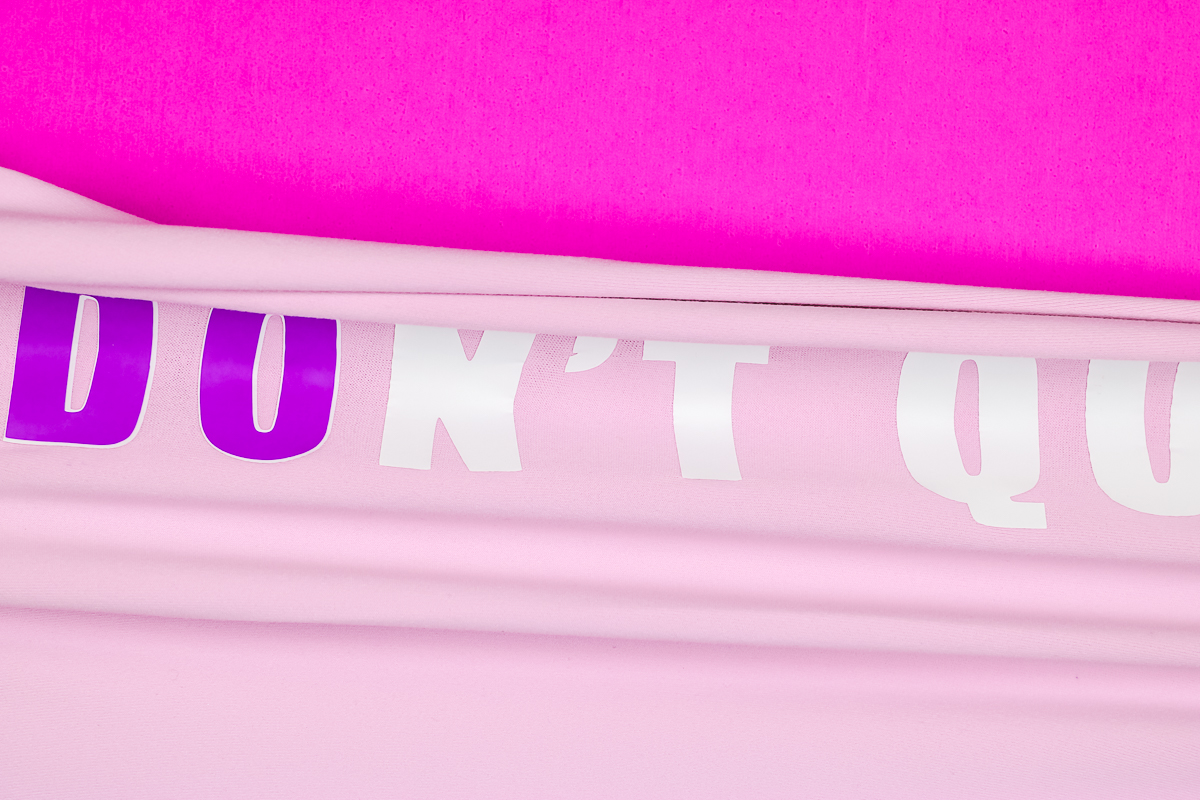
Last we have the Siser Easyweed stretch HTV. For this HTV, I applied it to BELLA + CANVAS bike shorts.
Hands down this HTV has the best stretch. I don’t see any puckering in the stretched areas and even the layered areas stretch beautifully.
Siser Easyweed Stretch has such an easy application. It is applied easily, the carrier sheet peeled off flawlessly, and the stretch is awesome. I was especially impressed with the stretch of the double-layered area.
Testing Siser Easyweed Stretch
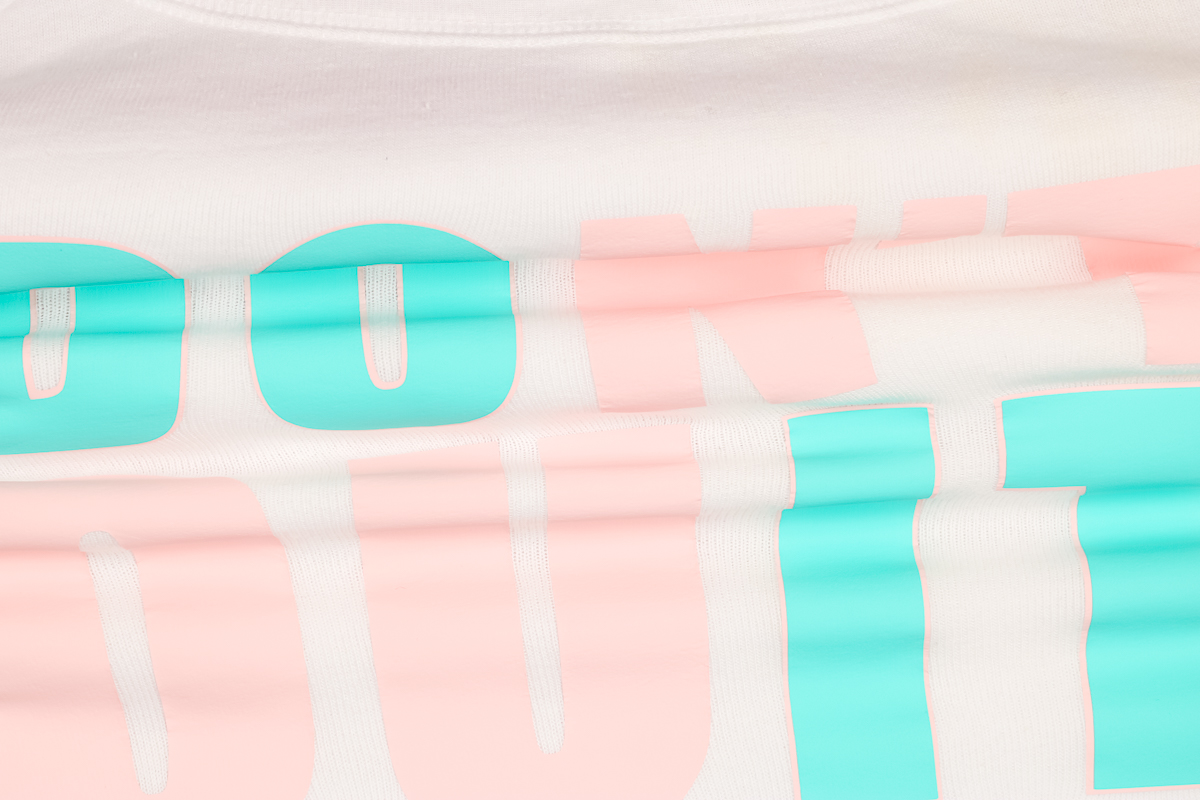
Because the Easyweed performed so well I really wanted to put it to the test. The design on the biker shorts was a little smaller than the design on the other shirts. Stretch HTV is less likely to pucker with smaller designs.
I added the same layered design to a BELLA + CANVAS fleece lightweight sweatshirt in the same size and it stretched really well even in the larger size.
Final Thoughts on Stretch HTV
If I had to choose a favorite stretch HTV, Siser Easyweed wins. That being said, they all perform really well. If you’re not finding the color you are looking for in a specific brand, you can use one of the other brands and have success.
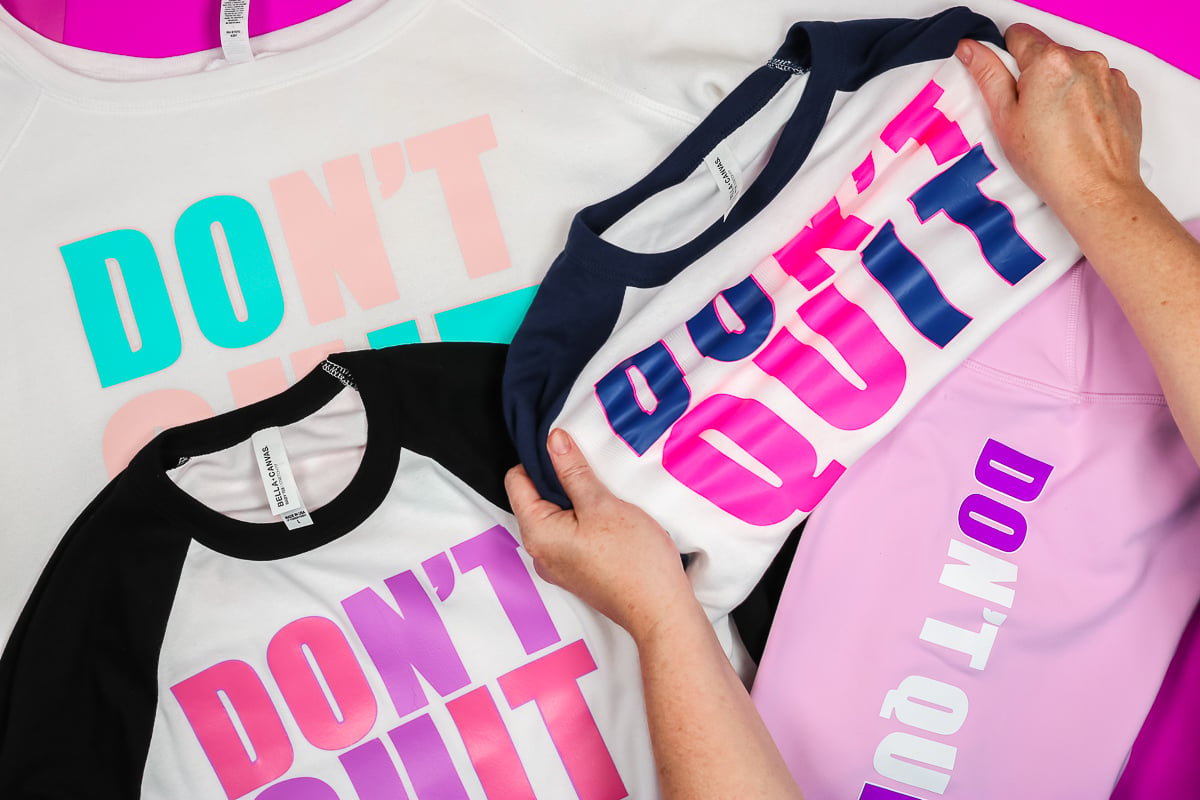
You can see that I really stretched each material. This is probably an extreme stretch. I wanted to show you how well they each performed even with an extreme stretch.
If you’ve ever been frustrated with your stretch fabric projects not turning out, using stretch HTV should really help!
I hope I’ve answered any questions you might have about using stretch HTV. If you have any other questions, leave them in the comments below and I’ll get those answered for you!
Try these other Cricut ideas as well!


Print the instructions for using stretch HTV below!
Equipment
- Cricut EasyPress
- Teflon Sheet
- StandardGrip Mat
- StrongGrip Mat
Supplies
- Free "Don't Quit" file
- BELLA+CANVAS Baby Tees
- Siser EasyWeed Stretch
- Cricut SportFlex
- Hotmark Revolution
Instructions
How to Use Stretch HTV on Stretchy Fabric
- To begin, add your material to the mat shiny side down. All of these materials are kind of shiny on both sides. If you’re not sure which side is the carrier sheet you can check by lifting one corner.
- With these materials I have found that they don’t like to stick to lighter grip mats. I recommend using a StandardGrip mat or StrongGrip mat. I also recommend using your brayer to make sure the material is stuck down really well onto the mat.
Cutting Stretch HTV with a Cricut Machine
- Make sure the fine-point blade is installed and then load the mat into the machine and press Go.
- I cut all of these materials on the same SportFlex setting and it worked great for all three materials.
- Once the design is done cutting unload the mat and it’s time to weed all of the excess.
Weeding Stretch HTV
- To weed the materials I am using my weeding tool. We need to weed out all of the excess material, which means everything we don’t want to be pressed onto the fabric.
How to Apply Stretch HTV to Stretchy Fabrics
- For my projects today I am using my large EasyPress. When it comes to applying heat you want to follow the time, temperature, and pressure settings for your HTV material.
- With each fabric, you will need to pre-press the area you’re applying the HTV to. This will remove any wrinkles and any moisture that is in the fabric.
- After pre-pressing I like to go over the area with a lint roller to make sure there is no hair, dust, lint, etc on the fabric. Having things between the fabric and the adhesive can create a less-than-desirable finished product.
- When your shirt is prepped locate the bottom layer of HTV onto the fabric.
- Cricut SportFlex Iron-on has a time and temp setting of 305° for 30 seconds. It also calls for firm pressure. You’ll need to apply firm pressure the entire time.
- I added an EasyPress mat inside my shirt and then pressed the first layer for about half the time.
- SportFlex is a cool peel product. You need to allow the carrier sheet to cool completely before trying to remove it.
- You’ll want to start at the corner and peel it back slowly making sure the HTV is stuck down on the shirt.
- If you notice any lifting, lay the carrier sheet back down and press again. Allow to cool and remove the carrier sheet.
- Save your carrier sheet, we’ll need it when applying the top layer.
How to Layer Stretch HTV
- To layer the Stretch HTV we’ll lay the 2nd layer on top of the first layer. Your design should align right over the bottom layer.
- I find it can be easier to get the layers to line up if you separate it into smaller pieces.
- You need to make sure the entire design is covered with a carrier sheet. You don’t want the heat source to touch the HTV directly.
- This time we will press the HTV for the full time, full pressure.
- Again, this is a cool peel material. Allow the HTV to cool completely and peel back the carrier sheet. Go slowly and make sure the HTV is stuck down everywhere.
- If you have any lifting, lay the carrier sheet back down and press again with firm pressure for a few seconds.
How to Remove Press Marks
- Remove all of the carrier sheets and then lay a teflon sheet over the top of the whole design.
- Press the whole design for about 10 seconds and then peel back the teflon sheet. If you still see lines you can repeat this process again if needed.
- If you have any lifting of HTV you could follow these same steps to press them back down. Make sure anywhere you are applying heat is covered with a carrier sheet or teflon sheet.


What color and brand is the hot pink?
It’s the Hotmark Revolution brand stretch HTV. It’s linked in the blog post to make it easy to find 🙂