Today we’re answering a question I get asked often – can you sublimate on recycled polyester? BELLA+CANVAS t-shirts are my personal favorite shirts to wear and craft with. They have a line of recycled polyester tees and I’m putting them to the test.
Understanding the sublimation process is important before you choose which shirts to use. If you’re new to sublimation, make sure and read my Beginner’s Guide to get started.
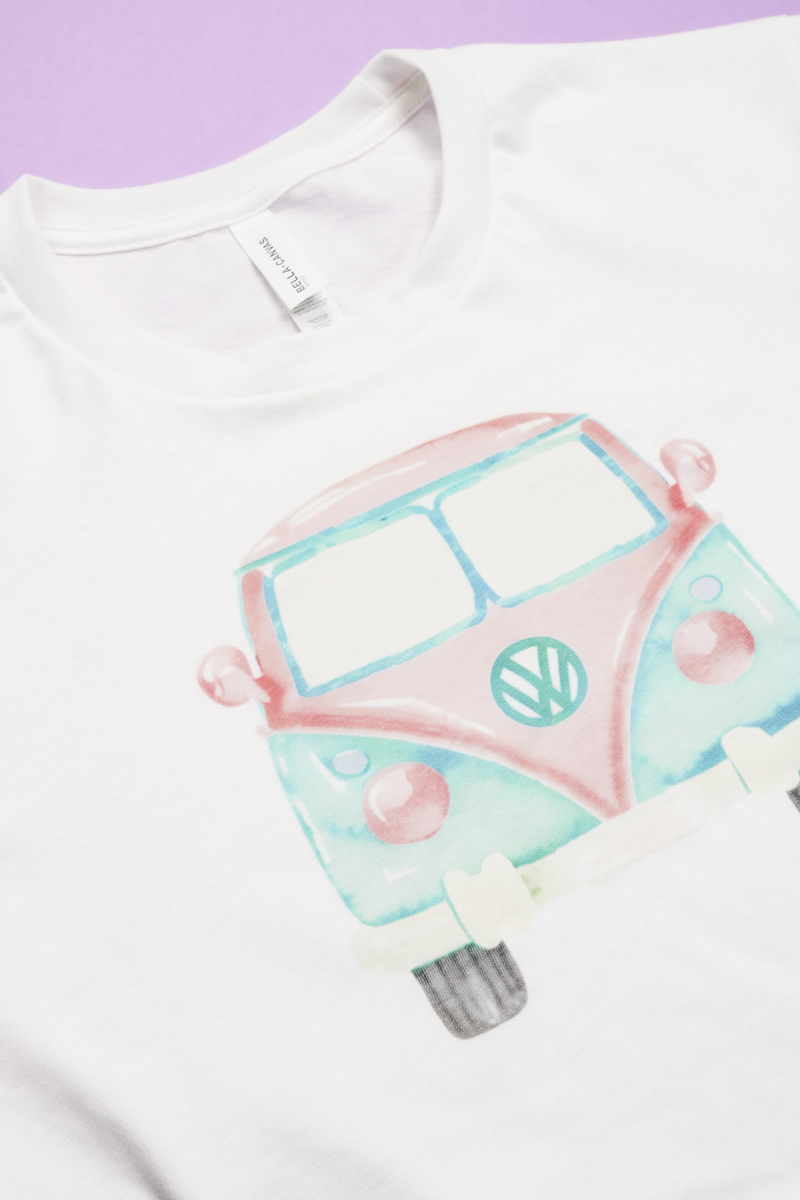
Sublimating on Recycled Polyester
For today’s project, I am using a BELLA+CANVAS EcoMax t-shirt. It is a 100% recycled shirt. It is made up of 65% polyester and that comes from recycled water bottles.
What is Sublimation?
As we head into this project it’s important to know what sublimation is. Sublimation is a process where you take a sublimation print which is sublimation ink, printed onto sublimation paper, from a sublimation printer.
This is a special type of ink that turns into a gas when high heat is applied and that ink bonds to the polyester fibers of clothing or the poly-coating of other sublimation blanks.
Sublimation ink is translucent which means not only do you need a fabric with at least a 65% polyester count it also needs to be white or a light color so the ink is visible.
The EcoMax t-shirts I’m using today are made up of 65% polyester and 35% cotton. That means 65% of the ink will bond to the fabric. With a 65% polyester count, you’ll get a more vintage look than you would with a shirt that is 100% polyester.
You can watch me go through the whole process of making this shirt by pressing play on the video below.
Supplies Used:
Design used:
Get the free design here
Blanks used:
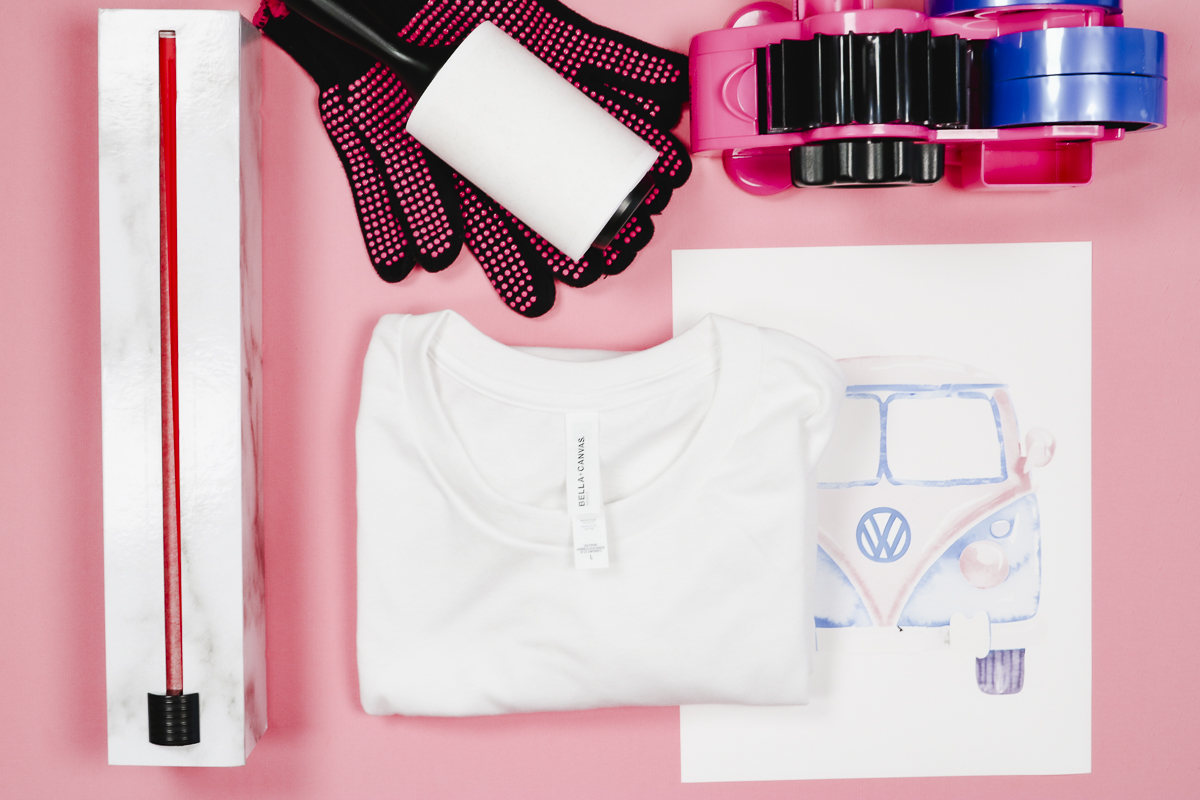
- BELLA+CANVAS EcoMax Tee (You can buy BELLA+CANVAS wholesale without a license with a Maker’s Account.)
Other supplies:
- Brother Sublimation Printer
- Sublimation Paper
- Heat Press
- EasyPress Mat
- Lint Roller
- Heat Resistant Tape
- Protective Paper
- Heat-resistant Gloves
- Tape Dispenser
- Protective Paper Roll Dispenser
How to Sublimate onto Recycled Polyester
The first thing we want to do is to prepare our surface. It’s important to protect the surfaces from any ink blowout.
Because our surface today is a t-shirt we’re going to place the EasyPress Mat inside the shirt and protect the mat with a sheet of protective paper.
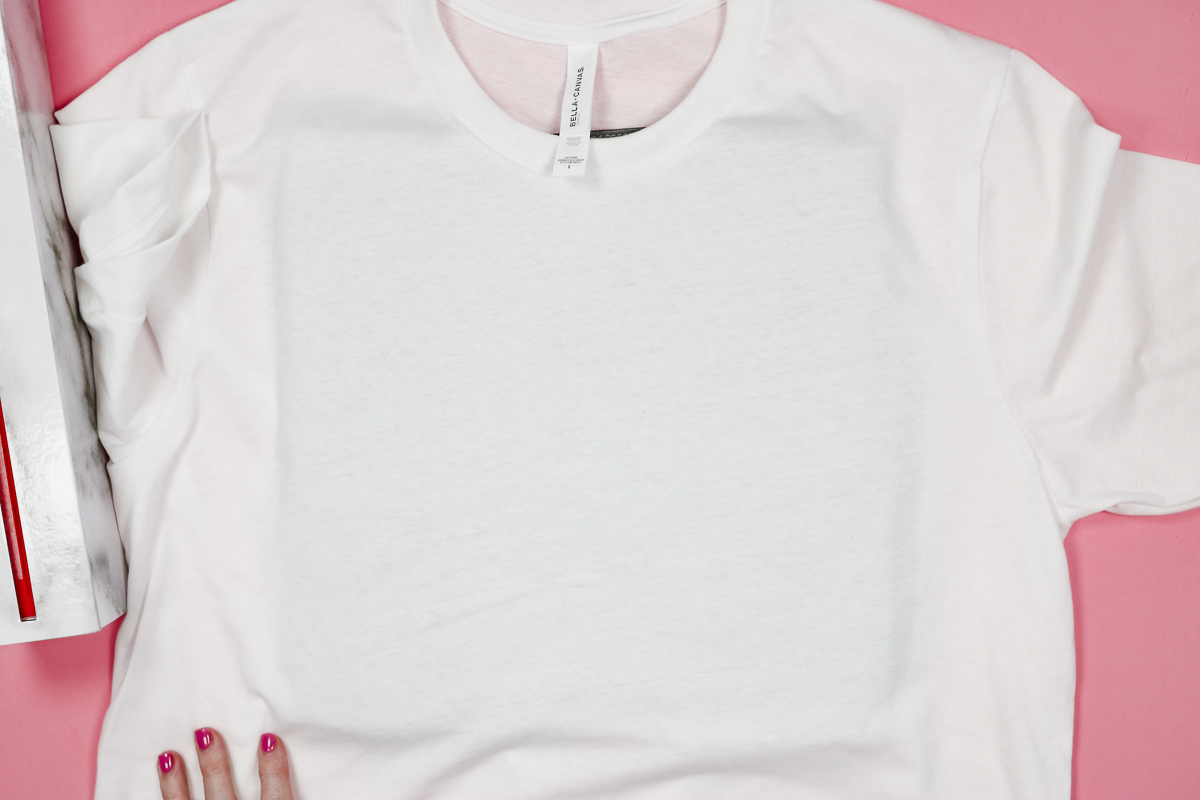
Make sure the protective paper is larger than the print itself to make sure no ink transfers onto the mat. Sublimation is permanent, if it gets onto your mat it can transfer to future projects ruining them.
Preheat Recycled Polyester Fabric
Next, we want to pre-heat the fabric. Pre-heating removes wrinkles, shrinks any fabric that may shrink with heat and removes moisture.
Moisture is an enemy to sublimation so make sure you pre-heat long enough to remove any moisture. Even if you think your shirt is wrinkle-free and dry. Don’t skip the pre-heat.
I haven’t personally had a problem with the BELLA+CANVAS shirt shrinking. I’ve found the manufacturing process takes away that worry making them perfect for crafting.
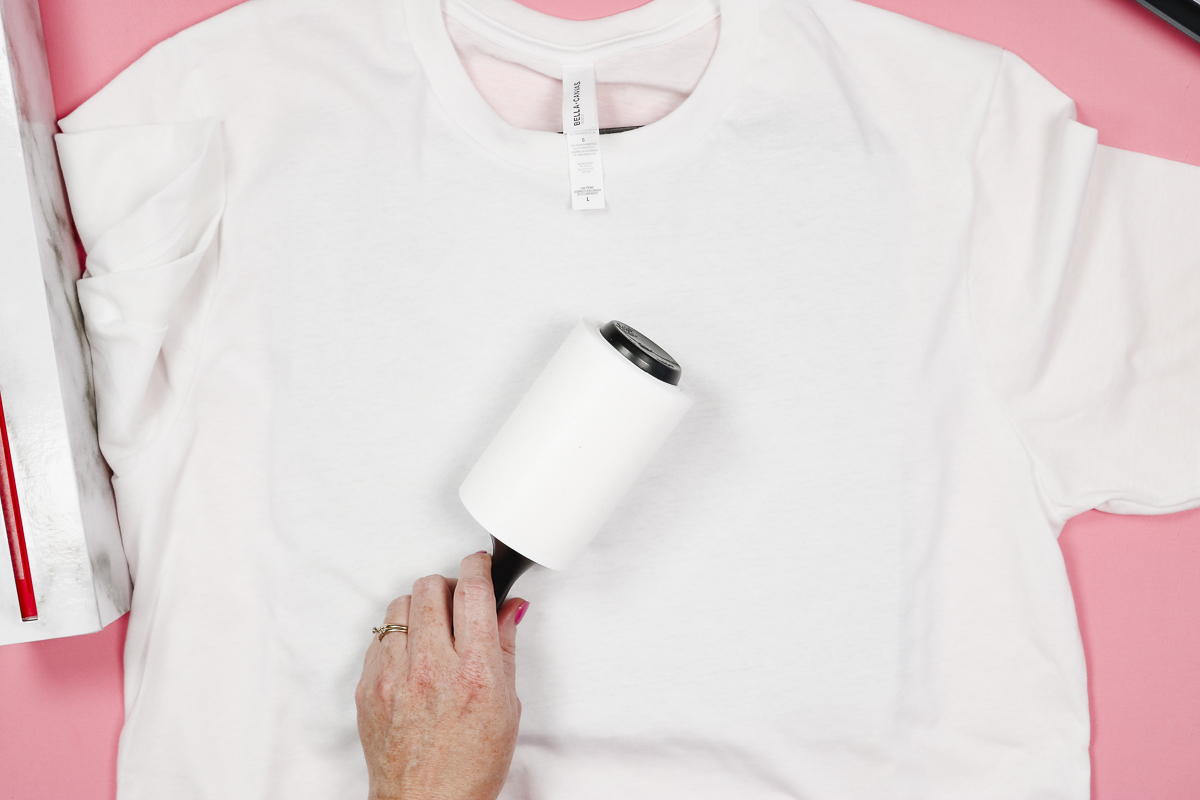
With the fabric pre-heated, go over it with a lint roller to remove any dust, hair, or other debris that may be on the fabric.
Prepare the Sublimation Print for Pressing
To help reduce the possibility of pressing lines, I like to tear the edges of my print. Having a torn edge gives a softer area when pressing which helps make any lines less noticeable if they do happen.
I tear all the way around the design removing excess paper which works really well with these shirts.
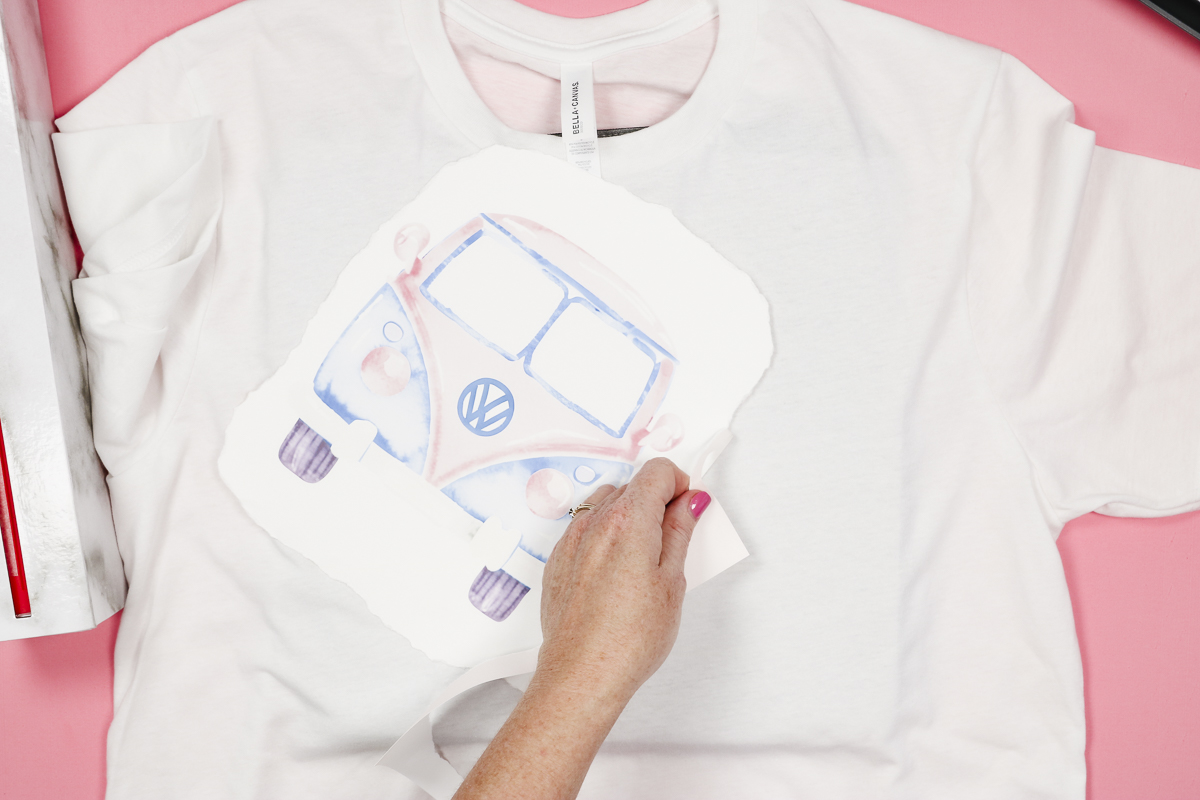
The shirt should be cool to the touch by the time you tear the edges. You don’t want to add your sublimation print while the fabric is hot. That can cause the sublimation ink to start transferring which could ruin your blank.
Locate the Sublimation Design onto the Recycled Polyester Shirt
Locate the sublimation print onto the shirt and using heat-resistant tape secure it into place.
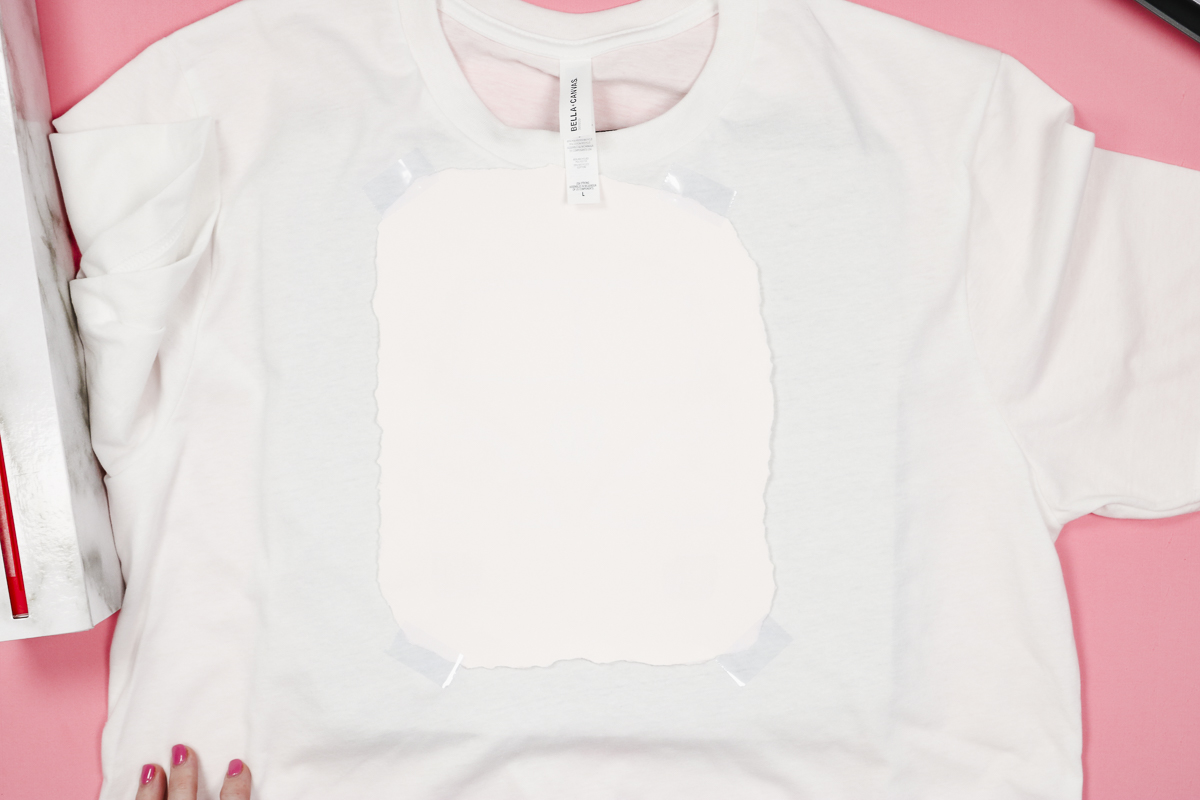
Don’t skip this step, if your sublimation print moves during the process that can cause ghosting which will make the lines of your design not crisp.
Protect your heat source from ink transfer. Add protective paper to the top of your sublimation print.
Press Sublimation Print with Heat Press
Today I’m using my EasyPress and I have it set to 385 degrees for 55 seconds. Cover the design with the EasyPress and apply light to medium pressure for the entire time.
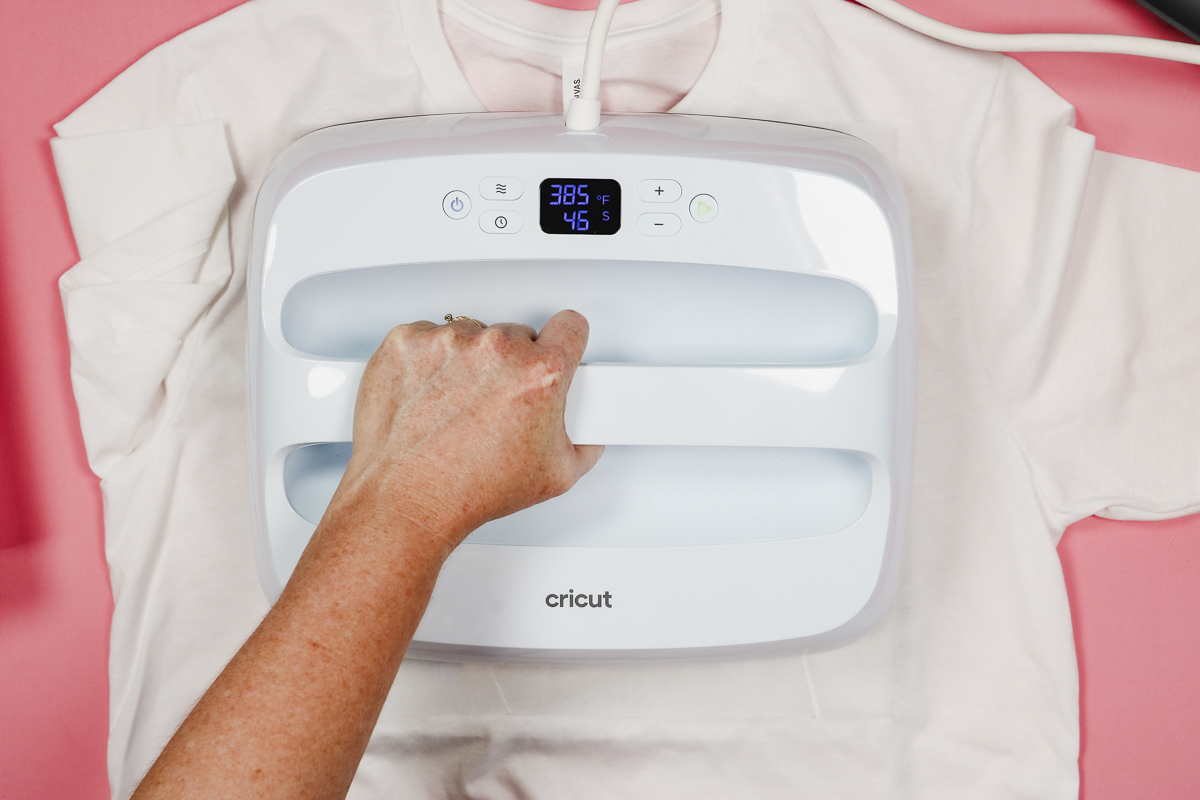
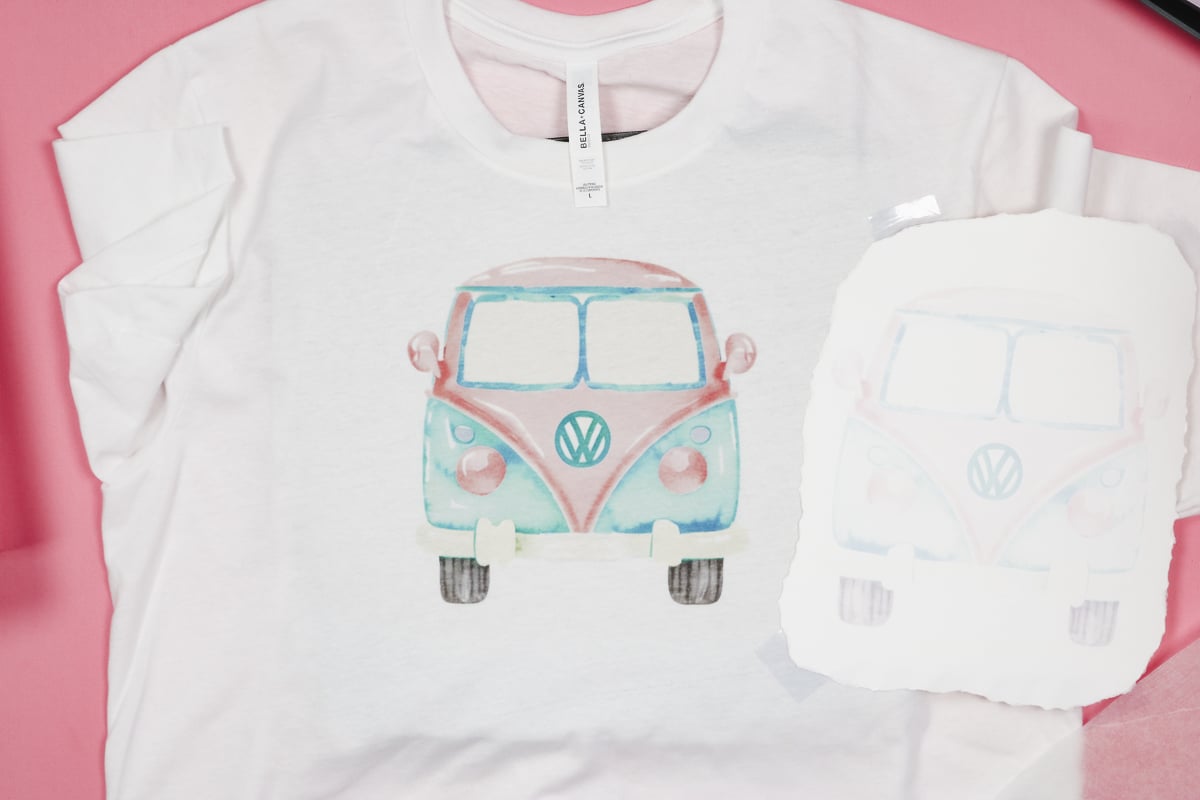
When the time is up, lift the EasyPress straight up and then peel back the paper to reveal your sublimated design.
Washing Sublimated Recycled Polyester Fabric
Let’s take a closer look at our finished shirt.
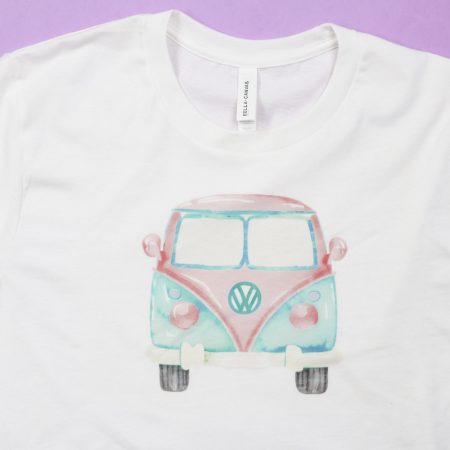
Here we have a sublimated print on a BELLA+CANVAS 100% recycled shirt with a 65% polyester content. This is right after the shirt was sublimated before it had been washed.
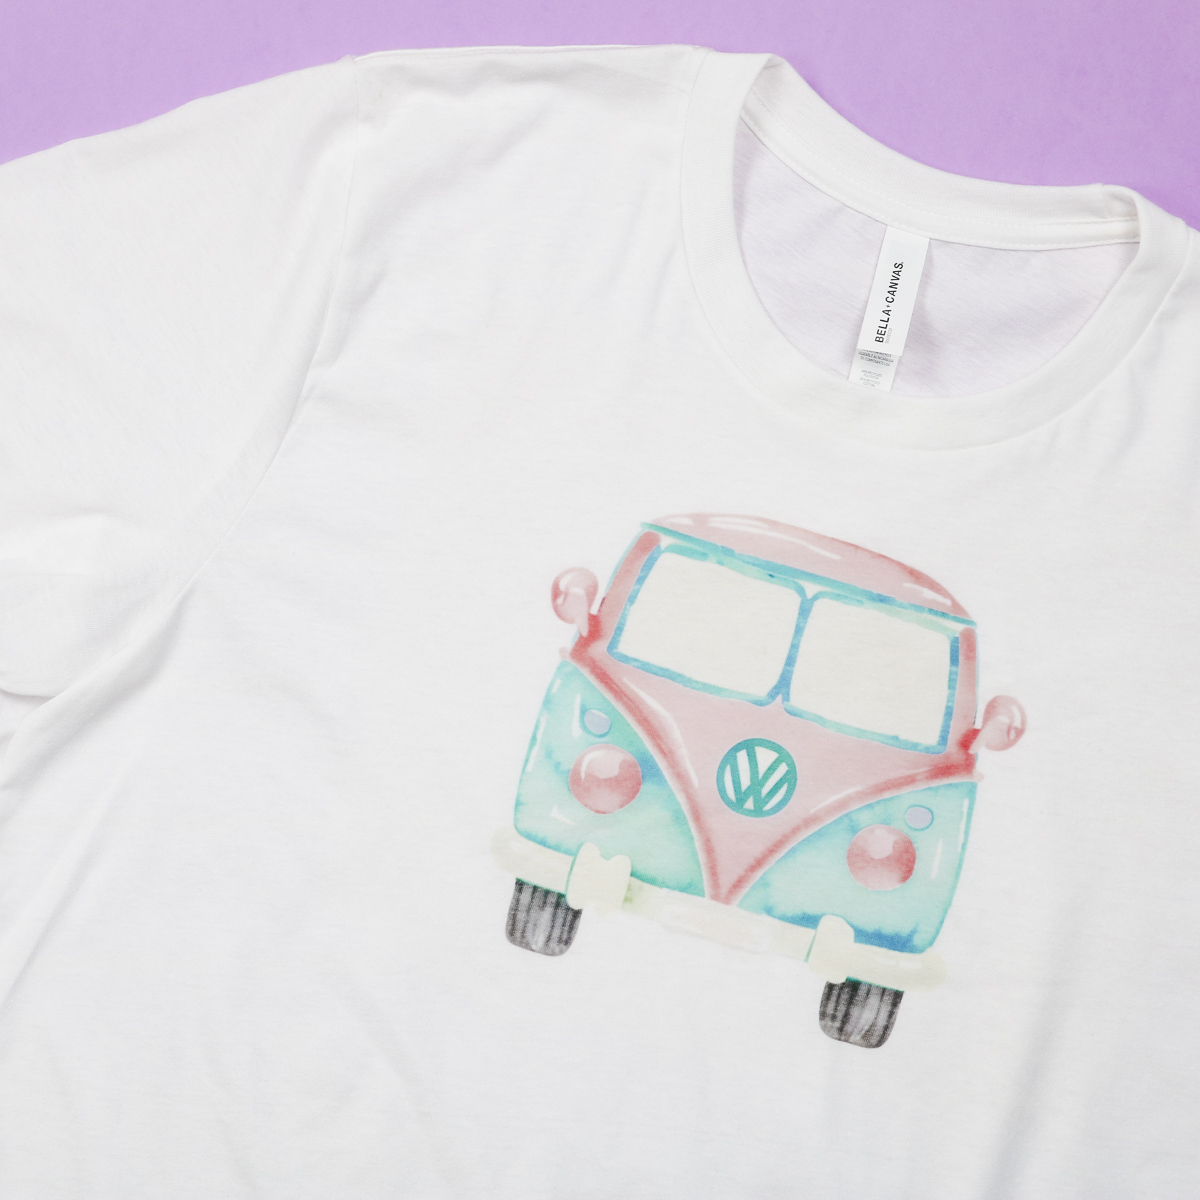
It looks really good. As I mentioned, this shirt is only 65% polyester which means only about 65% of the ink will sublimate and be permanent.
Let’s compare it to the same design on the same shirt after washing.
Washed Sublimated Shirt Vs. Unwashed Sublimation Shirt
Here we have the shirt on the left that is freshly pressed. The shirt on the right has been washed and you can see that it has a slightly more vintage look.
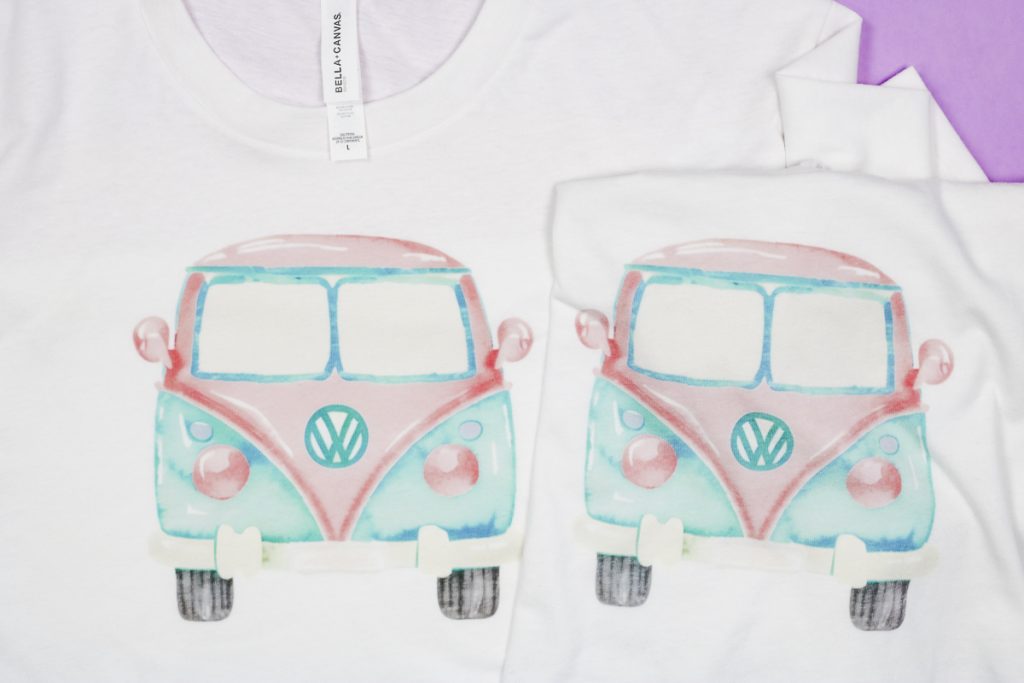
Sublimation will not continue to fade. Once you wash it once, maybe twice that is the look that will last as long as the shirt does.
Comparing Recycled 65% Polyester to 100% Polyester
Now let’s look at what this same design looks like on 100% polyester fabric.
The 65% recycled polyester fabric is on the left, the washed 65% recycled polyester fabric is on the right, and in the middle, there is a piece of cloth that is 100% polyester.
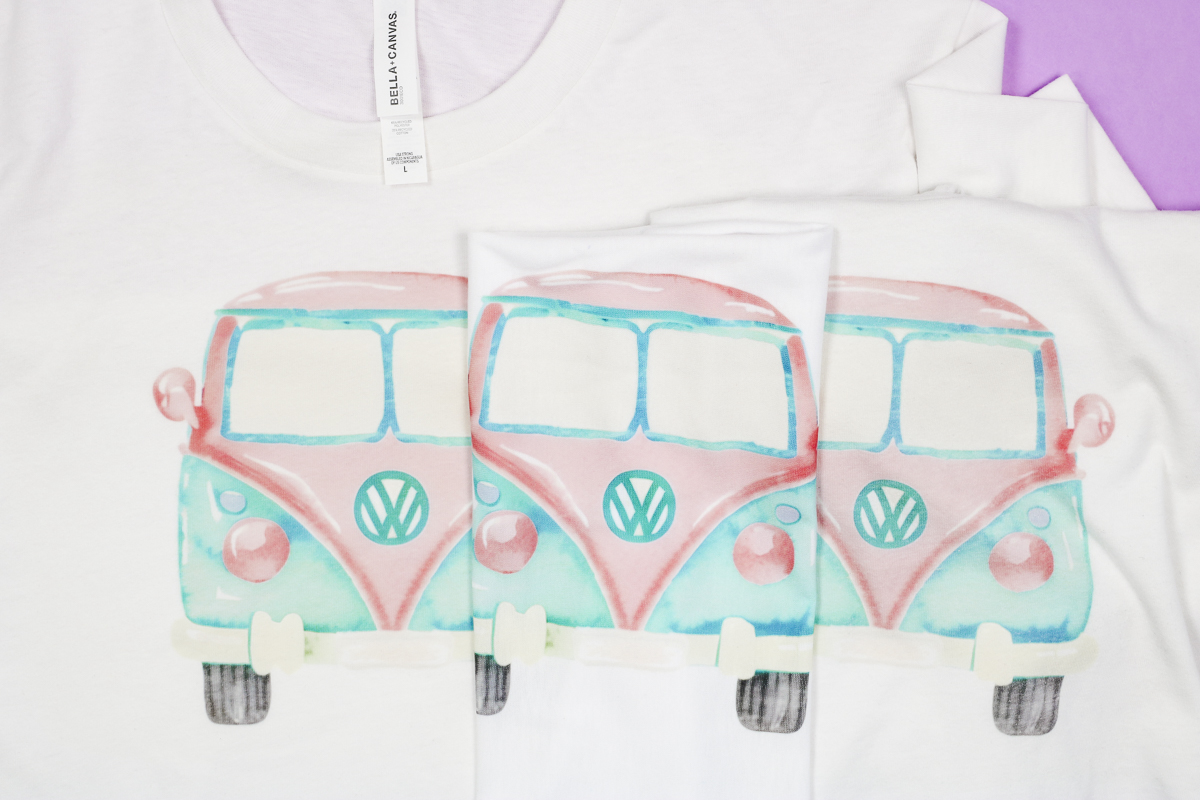
As you can see, the 100% polyester is a little brighter and bold. The two other shirts are a little more vintage-looking. This design is perfect for the more vintage look you get with a 65% polyester count.
Final Thoughts on How to Sublimate on Recycled Polyester
As you can see, I love how these shirts turned out. Being able to sublimate on recycled polyester fabric opens up a world of possibilities for crafting in an Eco-friendly way.
Even after washing the shirt, the design looks beautiful. You may want to look for designs like this one that have a vintage look to them when using recycled polyester fabric that is less than 100% polyester.

If you’ve been wondering if you can sublimate on recycled polyester you can see that yes, you totally can. EcoMax Tees are so soft, that you’d never know they’re made of recycled water bottles.
4 More Sublimation Crafts
Did you love learning about sublimation on BELLA+CANVAS shirts and are looking for more sublimation crafts? Then check out the projects below!
- Sublimation on BELLA+CANVAS with SubliTex
- How to Use Sublimation Cotton Spray the Right Way
- How to Make Sublimation Hoodies for Fall
- How to Make Sublimation Baby Onesies
I hope I’ve answered any questions you have about how to sublimate on recycled polyester. If you have any other questions feel free to leave them in the comments and I’ll be happy to answer them for you.
Equipment
- Brother Sublimation Printer
- Heat Press
- Tape Dispenser
- Protective Paper Roll Dispenser
Supplies
- Free Design
- BELLA+CANVAS EcoMax Tee
- Sublimation Paper
- Heat Resistant Tape
- Protective Paper
Instructions
How to Sublimate onto Recycled Polyester
- Because our surface today is a t-shirt we’re going to place the EasyPress Mat inside the shirt and protect the mat with a sheet of protective paper.
- Make sure the protective paper is larger than the print itself to make sure no ink transfers onto the mat. Sublimation is permanent, if it gets onto your mat it can transfer to future projects ruining them.
Preheat Recycled Polyester Fabric
- Next, we want to pre-heat the fabric. Pre-heating removes wrinkles, shrinks any fabric that may shrink with heat and removes moisture.
- Moisture is an enemy to sublimation so make sure you pre-heat long enough to remove any moisture. Even if you think your shirt is wrinkle-free and dry. Don’t skip the pre-heat.
- With the fabric pre-heated go over it with a lint roller to remove any dust, hair, or other debris that may be on the fabric.
Prepare the Sublimation Print for Pressing
- To help reduce the possibility of pressing lines I like to tear the edges of my print.
- Having a torn edge gives a softer area to be pressed which helps make any pressing lines less noticeable if they do happen.
- I tear all the way around the design removing excess paper which works really well with these shirts.
- Once the edges are torn the shirt should be cool to the touch. You don’t want to add your sublimation print while the fabric is hot. That can cause the sublimation ink to start transferring which could ruin your blank.
Locate the Sublimation Design onto the Recycled Polyester Shirt
- Locate the sublimation print onto the shirt and using heat-resistant tape secure it into place.
- Don’t skip this step, if your sublimation print moves during the process that can cause ghosting which will make the lines of your design not crisp.
- Protect your heat source from ink transfer. Add protective paper to the top of your sublimation print.
Press Sublimation Print with Heat Press
- Today I’m using my EasyPress and I have it set to 385 degrees for 55 seconds.
- Cover the design with the EasyPress and apply light to medium pressure for the entire time.
- When the time is up, lift the EasyPress straight up and then peel back the paper to reveal your sublimated design.


