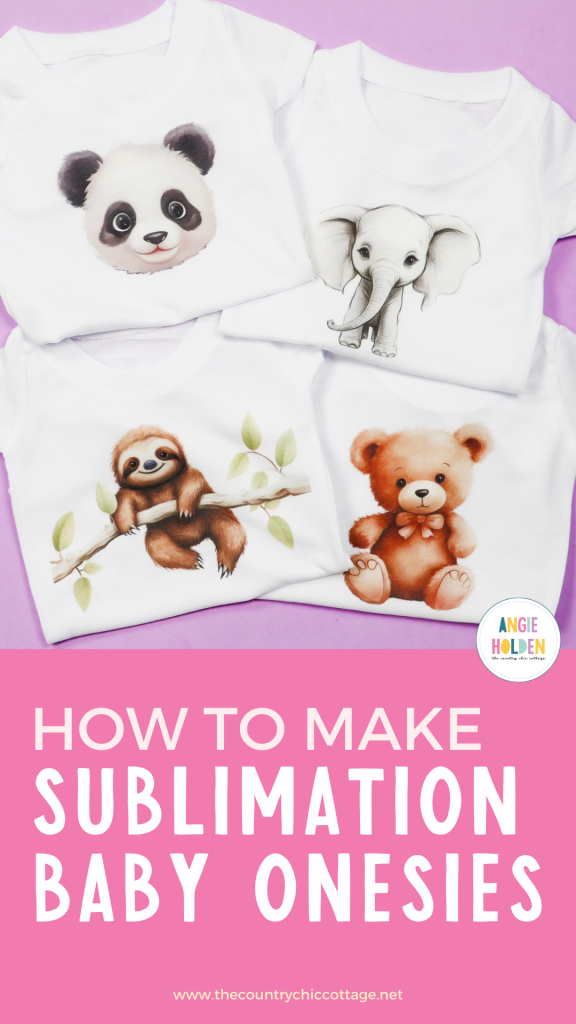
Today I’m going to show you how to make sublimation baby onesies. With my tips and tricks, you’ll be creating beautiful baby body suits perfect for photos and baby gifts. I’m also sharing all of these adorable designs for free. You can get them in the supply list below.
If you’re new to sublimation, check out my Beginner’s Guide. It’s a great resource for people just starting out.
You can watch me share all the tips for working around the seams by pressing play on the video below.
How to Customize Baby Onesies with Sublimation
While making sublimation baby onesies is similar to other fabric sublimation projects, all of the seams can cause issues. There are things you can do to ensure you get even heat across the surface.
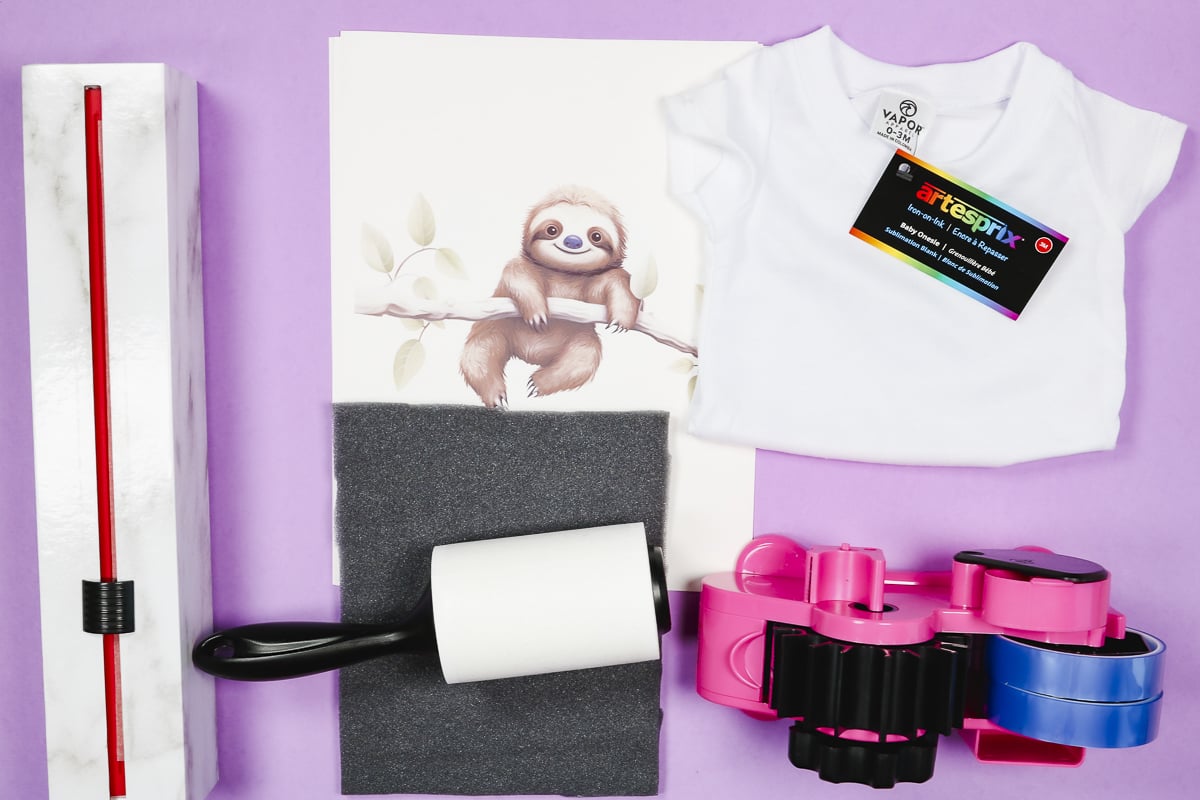
Supplies Used
- Free Baby Animal Sublimation Designs
- Baby Onesies (These baby onesies are my favorite. They feel like cotton but are 100% polyester so they sublimate beautifully.)
- Brother Sublimation Printer
- Sublimation Paper
- Heat Press
- EasyPress Mat
- Heat Resistant Foam
- Lint Roller
- Heat Resistant Tape
- Protective Paper
- Heat-resistant Gloves
- Tape Dispenser
- Protective Paper Roll Dispenser
Step 1: Preheat Fabric
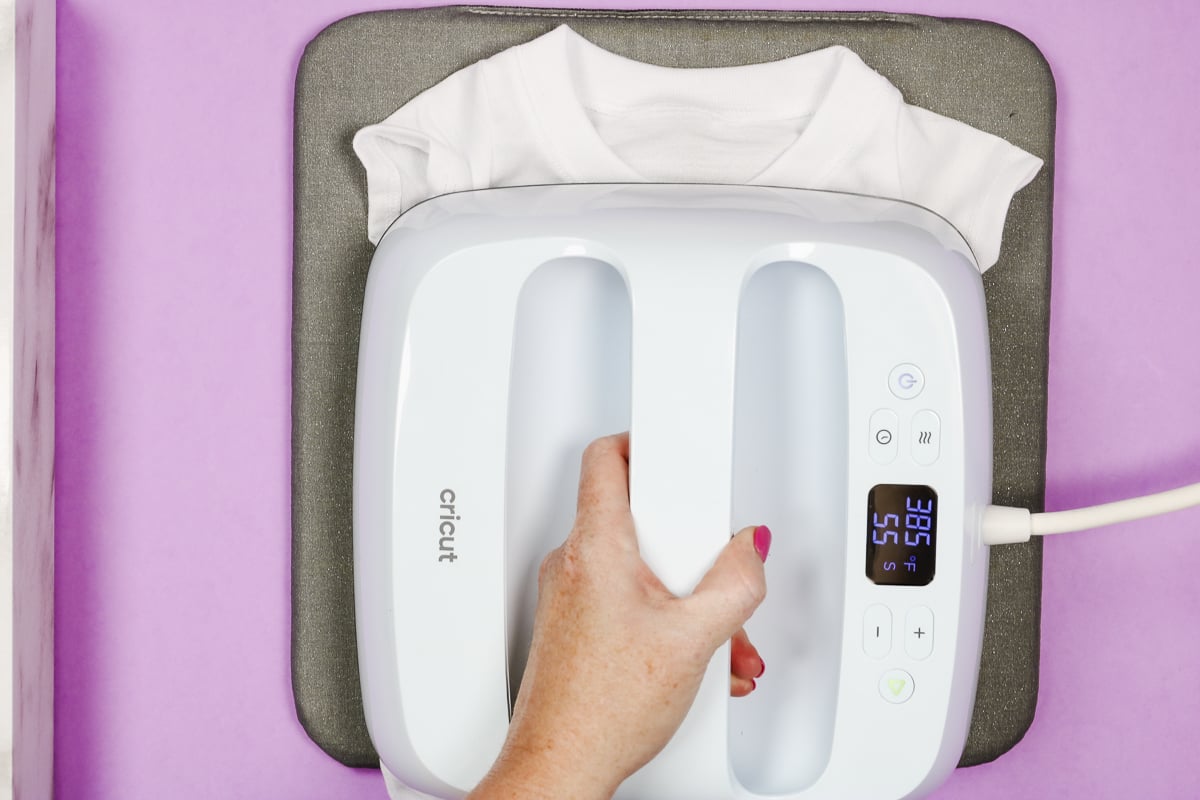
Here I have the baby onesie and it is lying on top of my EasyPress mat. As with all fabric sublimation blanks, you will need to preheat the fabric to remove wrinkles, preshrink the fabric, and remove any moisture.
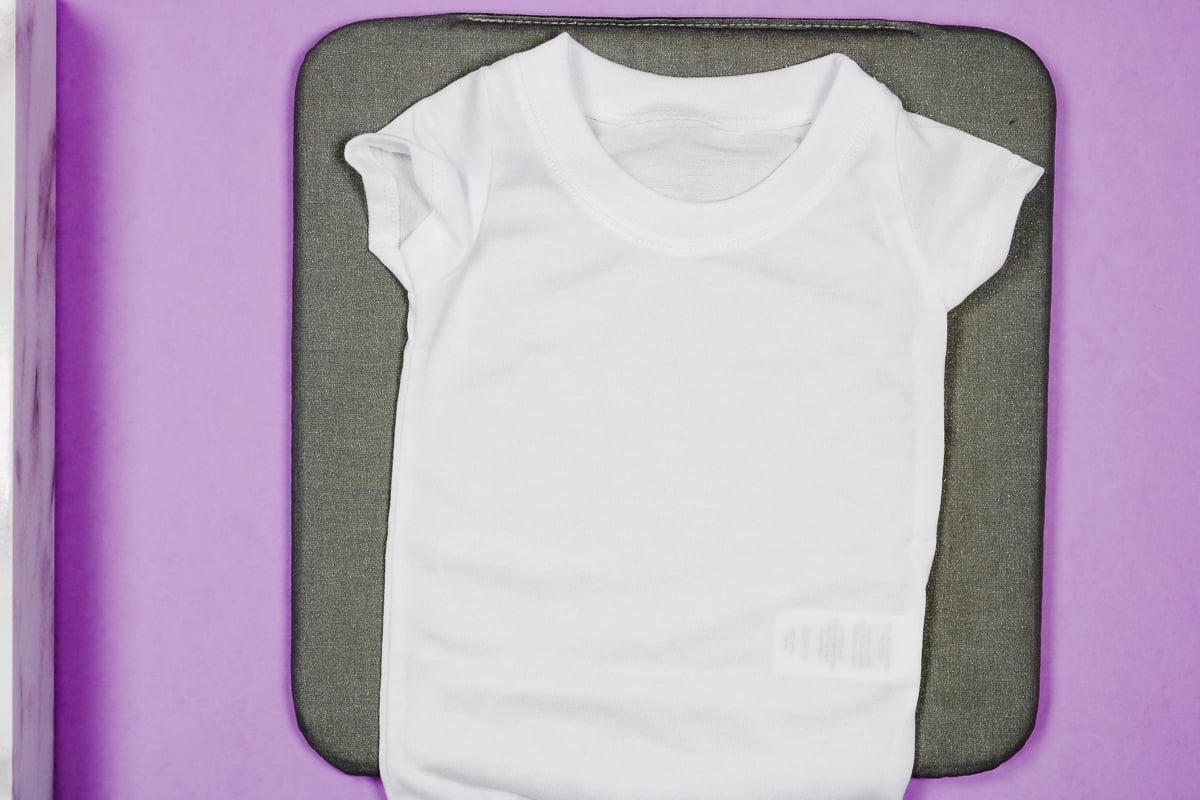
I preheat for about 15 seconds. The settings required for this onesie are 385 degrees for 55 seconds. I am preheating at that same temperature.
Step 2: Add Sublimation Print to Onesie
We need to let the onesie cool before adding the sublimation print. While the fabric cools, we can prepare the onesie for sublimation.
Lint roll the fabric really well to remove any dust, hair, or other debris. We also need to add something inside the onesie to lift the center higher than the seams.
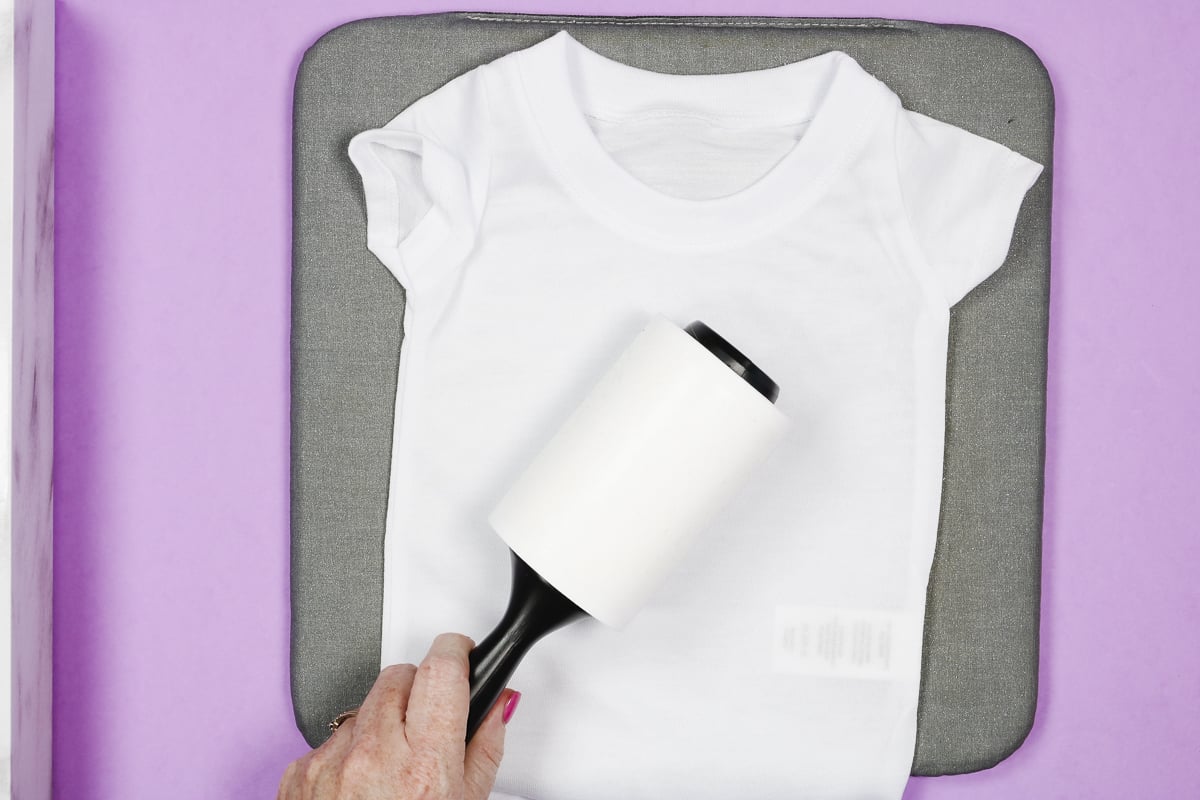
I mentioned above that the seams on baby onesies can cause trouble with sublimation. To ensure you have consistent heat across the whole design surface, we need to lift the pressing area up above the seams.
A traditional EasyPress mat is too big to fit inside most baby onesies. If you have the small EasyPress mat, it works with most sizes. I am using a piece of foam, you can also use a different pressing pillow. Whatever you have that is heat resistant to lift the center of the onesie will work.
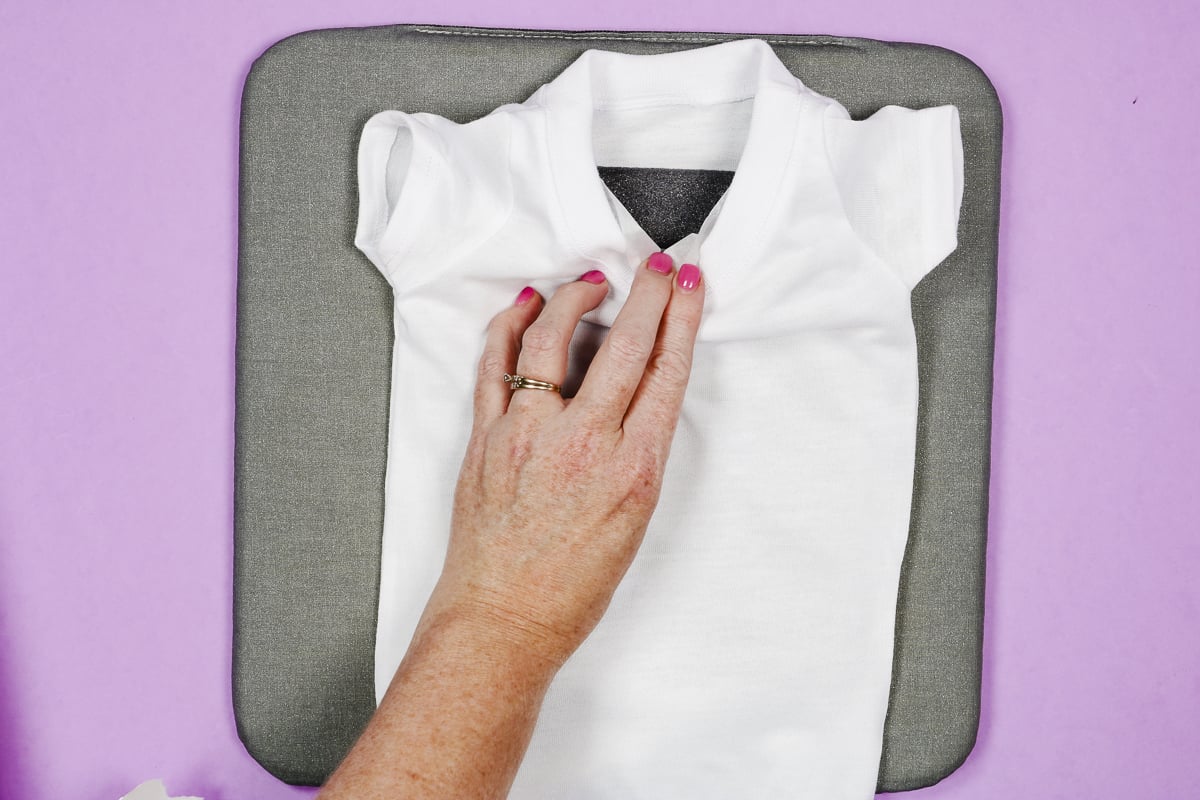
I am using a foam pad. This heat-resistant foam comes on a roll and can be cut to the size needed. It is reusable as long as you protect it from sublimation ink.
Add protective paper on top of the foam inside the onesie. You do want to make sure that the pad is lifting the sublimation area above the seams so it needs to not go under the seams.
Step 3: Prepare Sublimation Print
To prevent press marks on the fabric, I like to leave the sublimation paper as large as possible.
If you’re using the designs I am sharing today, they are sized for an average-sized onesie. You can resize the design if you’re using a very small onesie or a larger size. This size should work on most onesie sizes.
I want to keep the paper as large as I can, however, I have found that tearing the edges of the paper is another way to prevent pressing marks.
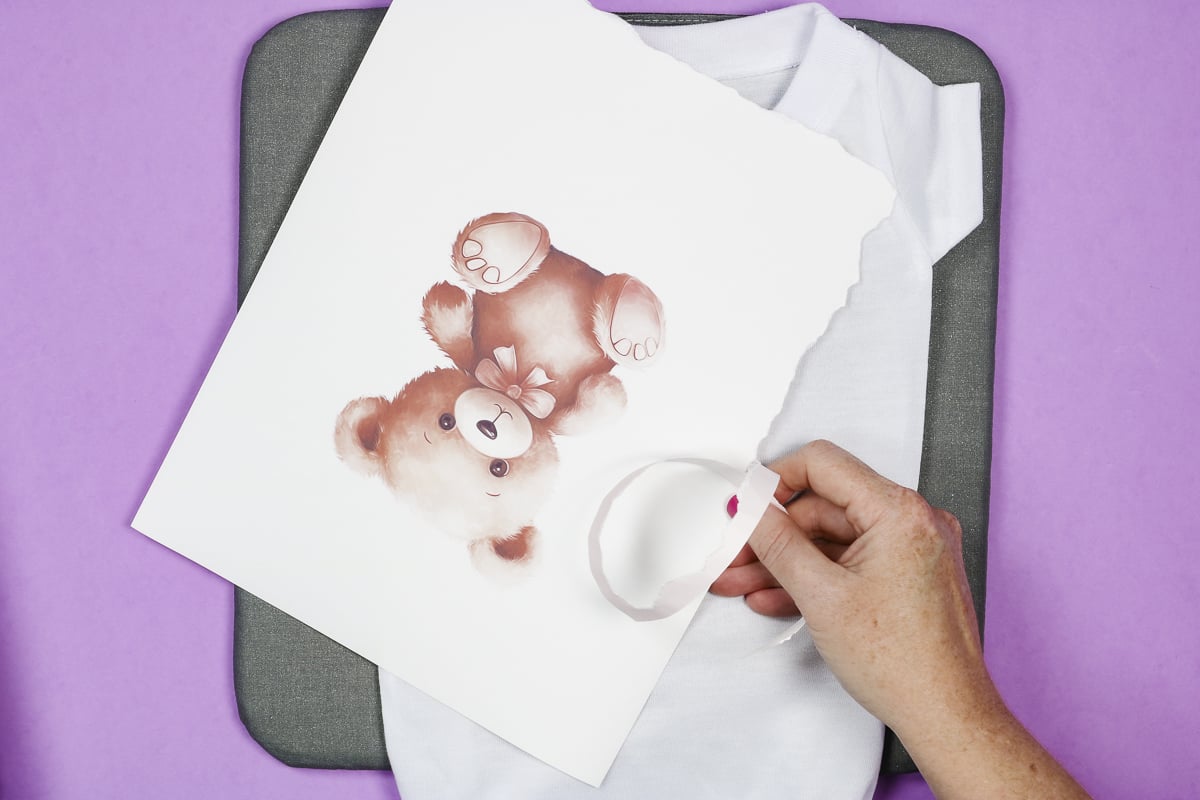
I tore around the print leaving as much area as possible around the design. With the design prepped, we can locate the design on the onesie.
Step 4: Locate the Design on the Baby Onesie
I can see the design through the paper which allows me to locate the design exactly where I want it on the onesie. If you can’t see your design, you can fold the paper and add a crease to the top and bottom to help locate it.
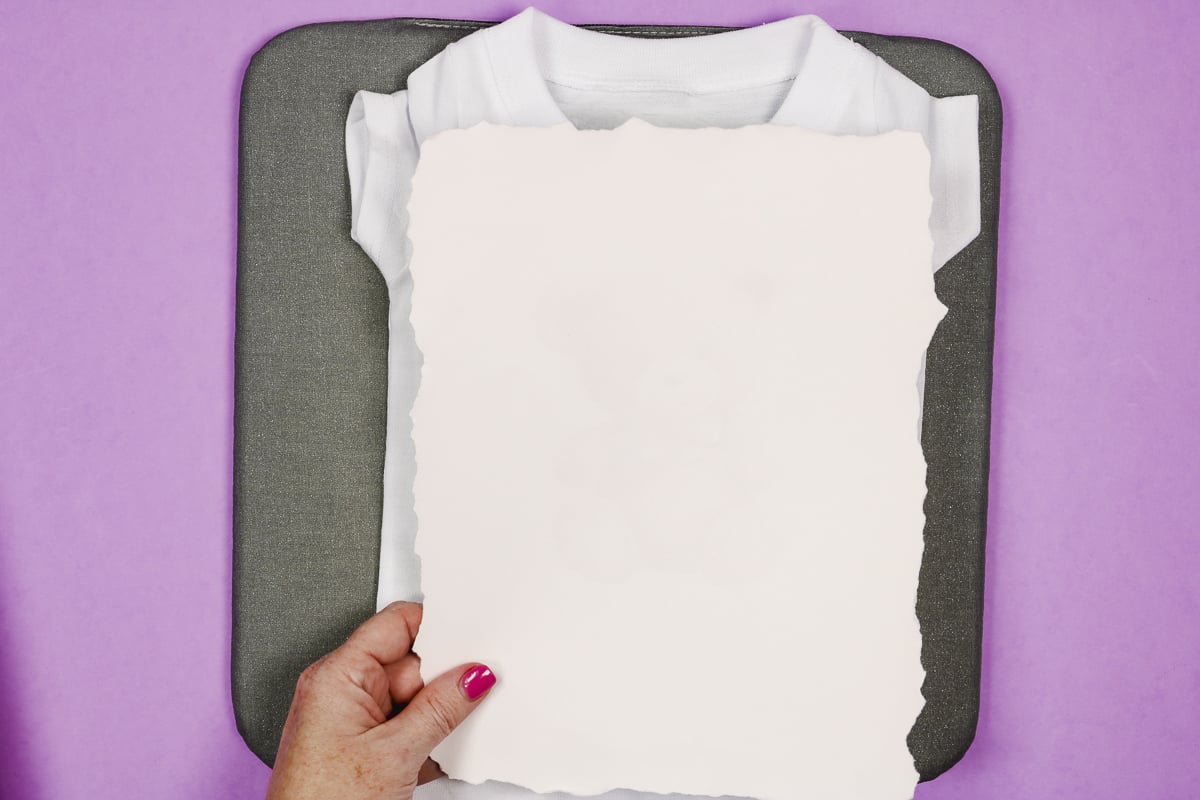
My goal is for my sublimation design to fit on the area where the pressing pad is and for the paper to hang off the edges of it.
With the design located correctly, use heat-resistant tape to hold it in place. I am adding it to the very edges of the paper to keep it away from the heat surface.
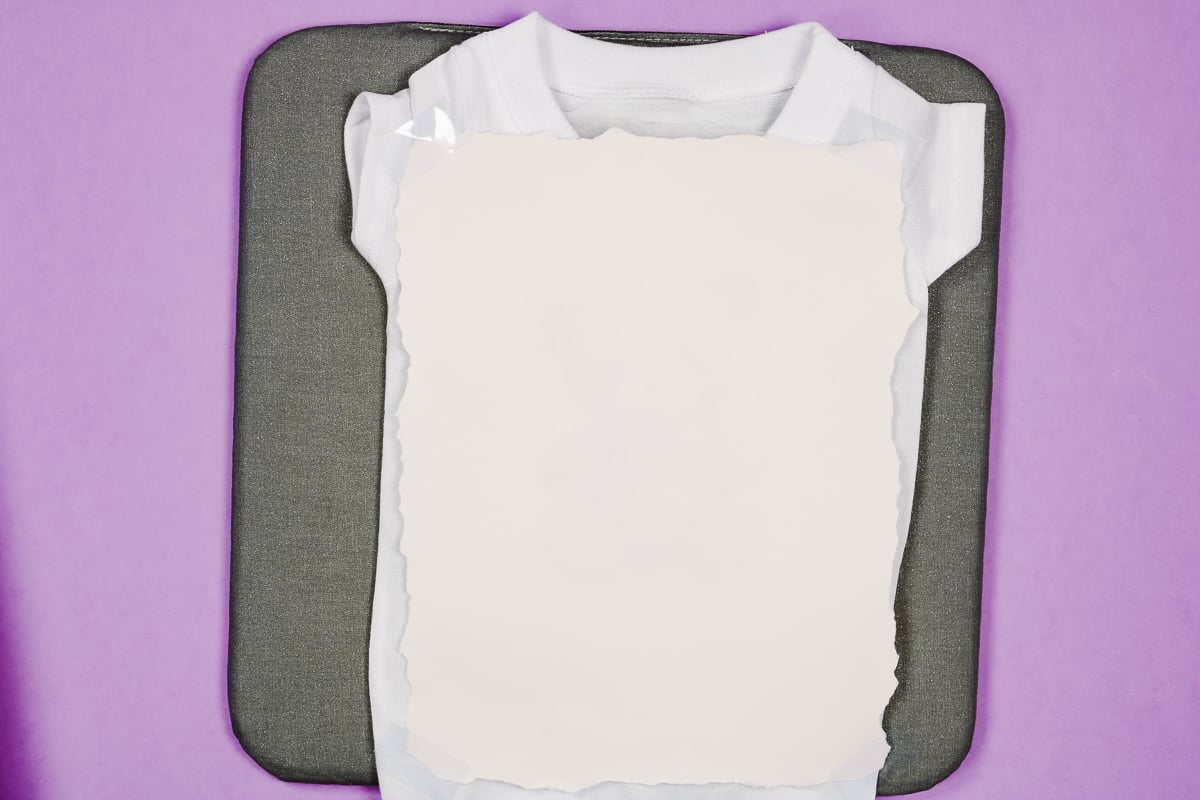
Step 5: Use Heat Press to Sublimate Baby Onesies
With the design located and taped into place, add a piece of protective paper over the top to protect the EasyPress. Now, all that’s left to do is to press the design onto the fabric.
Press at 385 degrees for 55 seconds. If you’re using an EasyPress, you’ll want to add light to medium pressure the entire time to ensure your design transfers correctly.
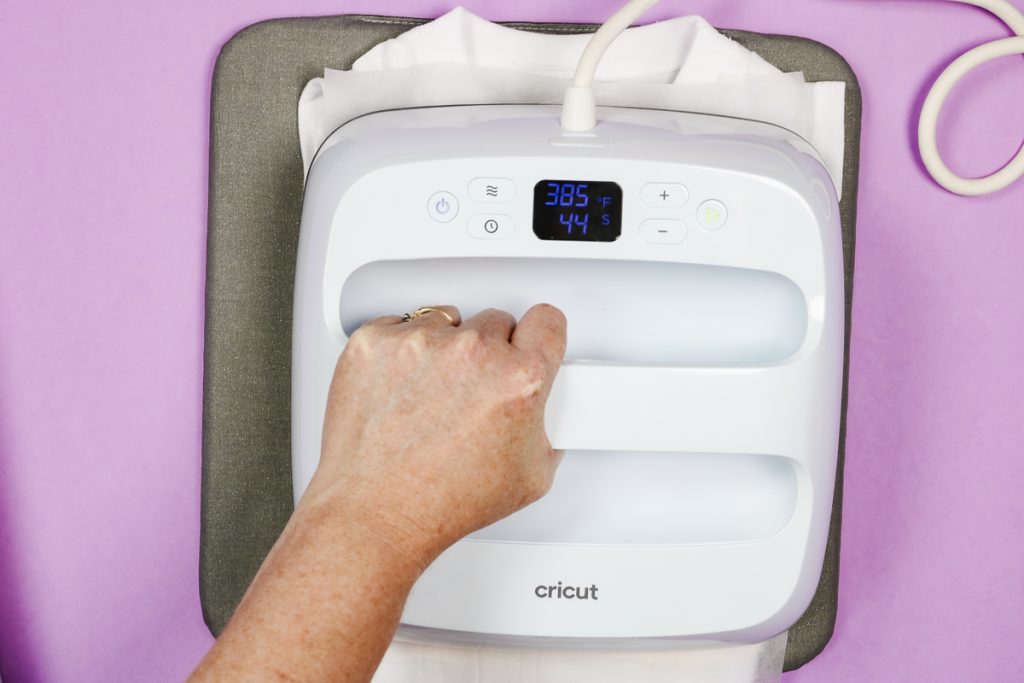
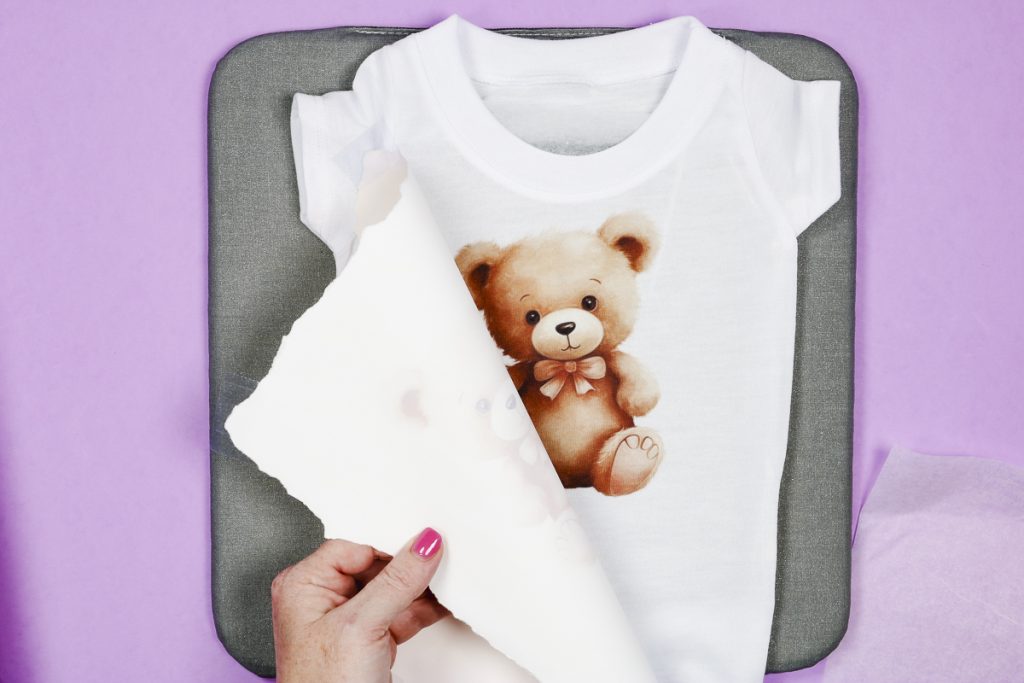
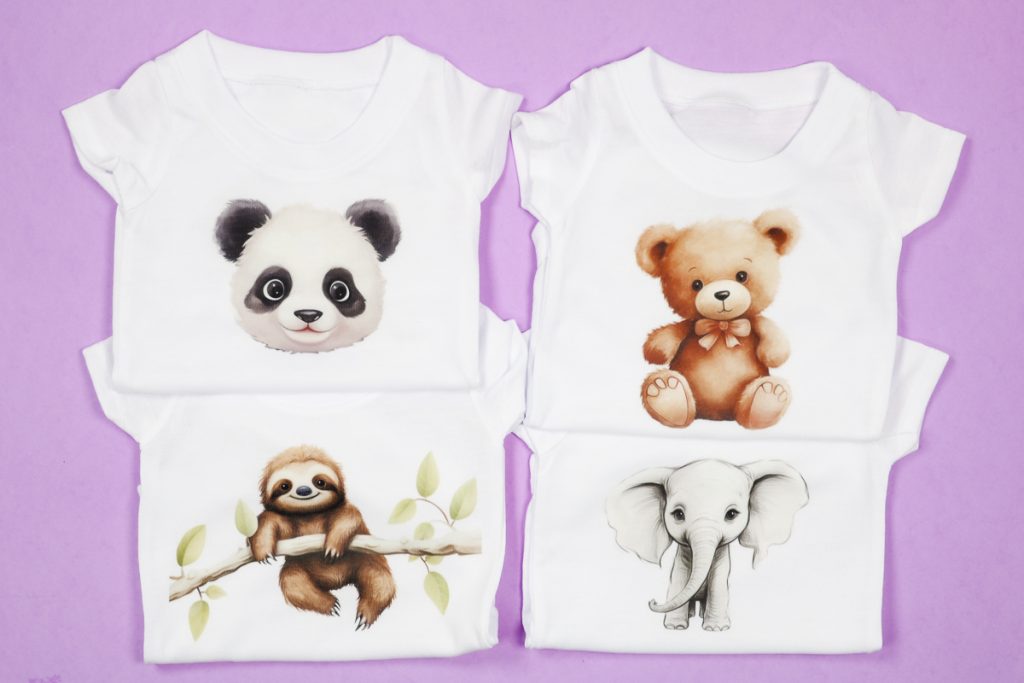
When the time is up, lift the EasyPress straight up and remove the protective paper and sublimation paper. Look at how cute this little bear onesie turned out.
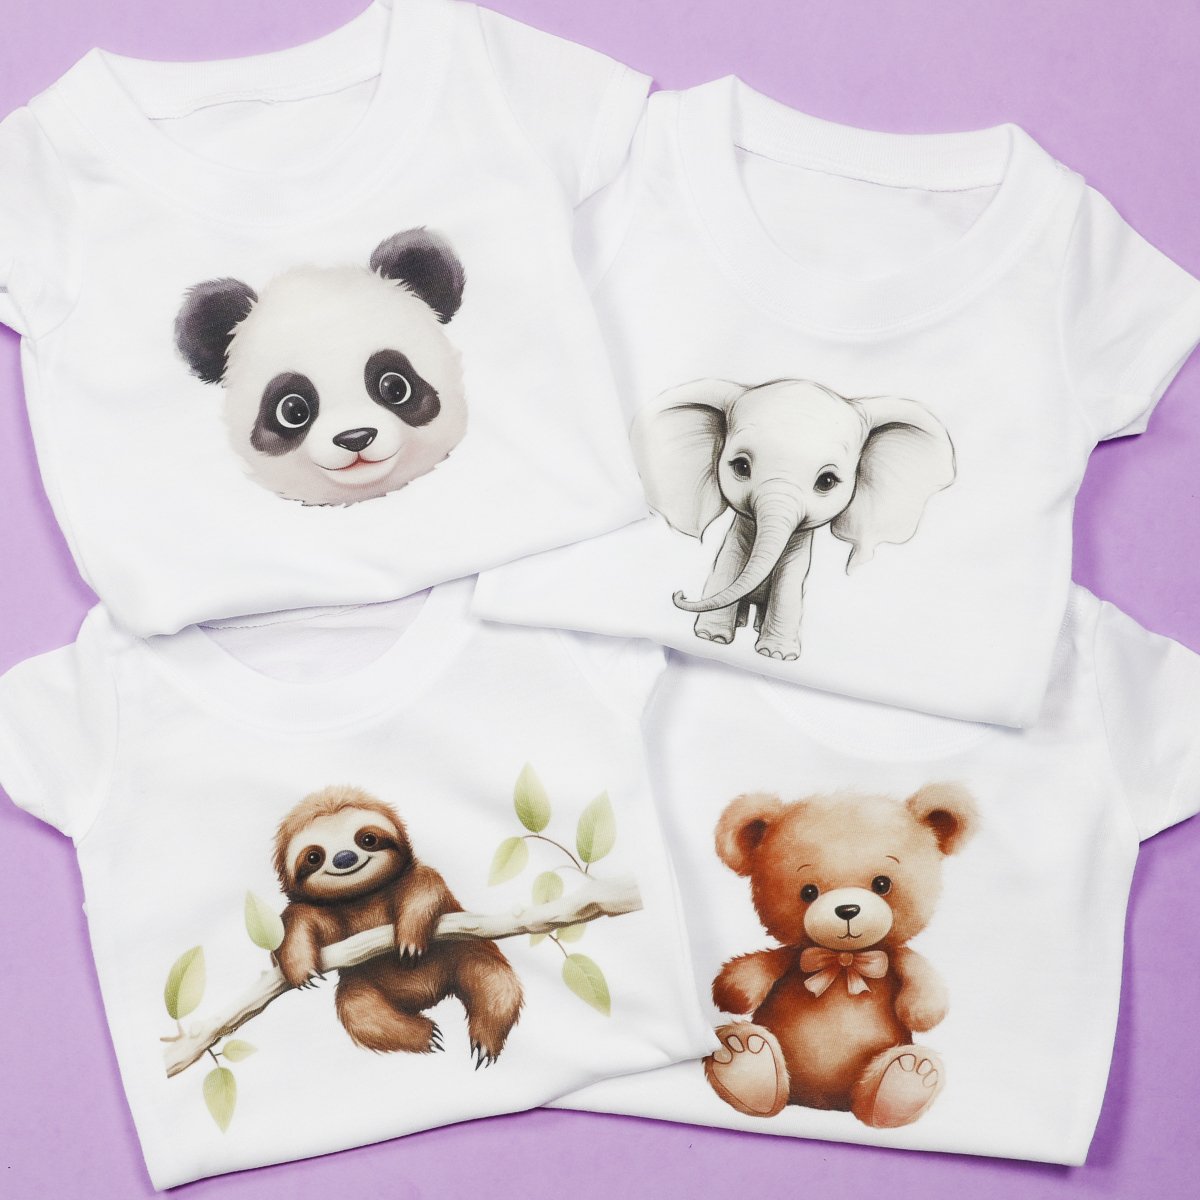
Here you can see all four designs after they’re pressed onto the onesies. This is such a cute idea for a baby shower or any occasion where you have a gift to give to a baby.
Tips and Tricks for Sublimating Baby Onesies
Now that you’ve seen all the different designs, which one is your favorite? Are you ready to make your own? Here are a few tips and tricks to ensure your project goes as smoothly as possible!
- Concerned about safety and babies? I love making sublimation gifts for babies. No concerns about HTV lifting if they drool or chew on their clothes.
- Not a fan of polyester? I especially like these super soft sublimation onesies. You wouldn’t even guess they are polyester. If you’ve made a sublimation baby onesie and been upset with how it felt, try this brand instead.
- Still have some ghosting and pressing issues? The biggest thing you can do to ensure your sublimation designs turn out perfectly is to make sure you’re lifting the design area above all the seams, including those shoulder flaps.
- What design will you use? Don’t forget, you can get these designs for free here. However, you can add any design that you would like to baby body suits!
I hope I’ve answered any questions you have about making sublimation baby onesies. If you have any additional questions, feel free to leave them in the comments below and I’ll be happy to answer them for you.
