Have you been wondering how sublimation ink stamp pads work? Then today’s post is for you! In this article, we will discuss the many different forms of Artesprix sublimation ink stamp pads and refills. If you have stamps for crafting, you’re going to love this. I have a few other ways for you to use it, as well, so read on and check out the video below even if you don’t own any stamps at all.
Want more options with sublimation? Artesprix also has a line of sublimation paints that you may like!
Sublimation Ink Stamp Pads
You can click play on the video below and watch me use both the sublimation ink stamp pads as well as the stamp refills in unique ways! Use any type of stamp or not stamps at all to make something amazing! You will now be able to stamp something and add it to a sublimation blank. You can even get the kids involved.
Supplies Needed:
- Sublimation stamp pads (Use code CCC10 for 10% off)
- Sublimation stamp refills (Use code CCC10 for 10% off)
- Copy paper (you do want this to be rated for use in a laser printer but sublimation paper is not required)
- Pouncer brushes
- Canned air
- Stamps
- Cricut AutoPress or another heat source
- Lint Roller
- Heat Resistant Tape (Use code CCC10 for 10% off)
- Artesprix Protective Paper (Use code CCC10 for 10% off)
- Heat Resistant Mat (Use code CCC10 for 10% off)
- Heat resistant gloves
Small Disclaimer: One drawback is that if you have stamps with words on them, they won’t work. Because the sublimation blank needs to be mirrored, any writing would need to be mirrored too. For this reason, I recommend you avoid using stamps with writing on them, but otherwise, I think you are really going to like this product.
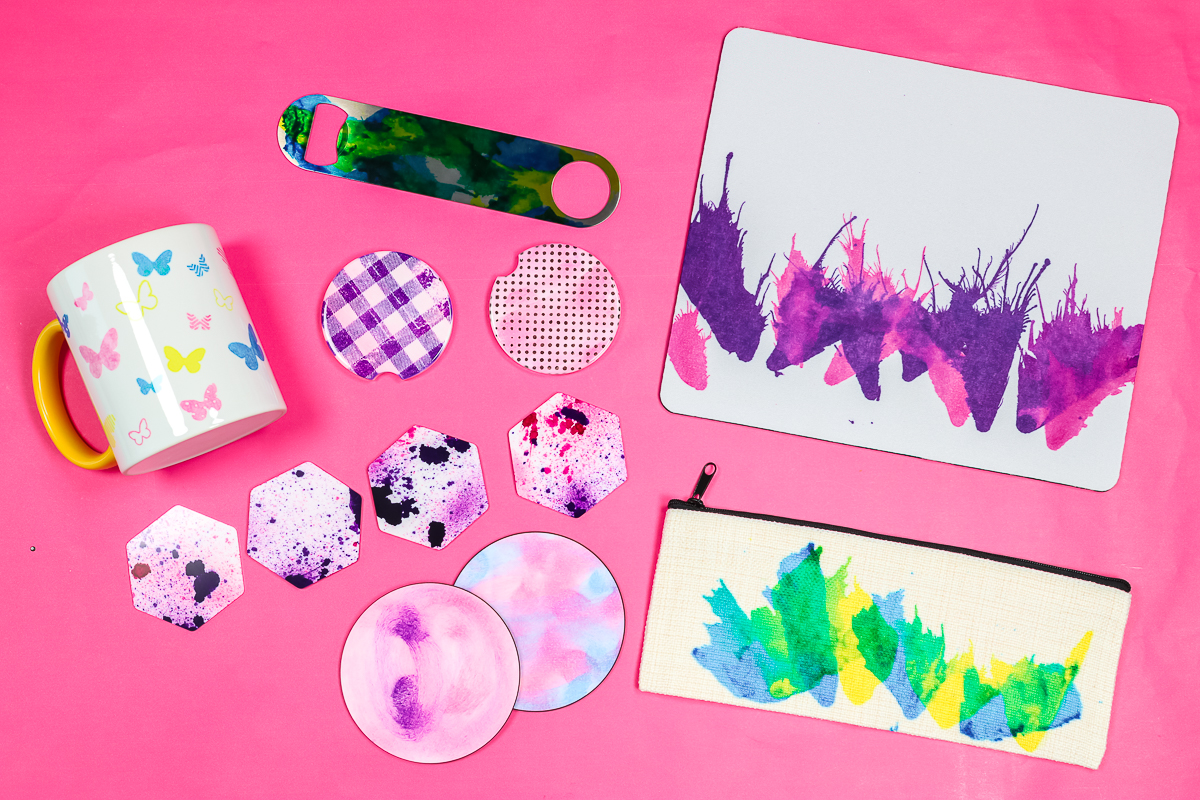
Blanks used:
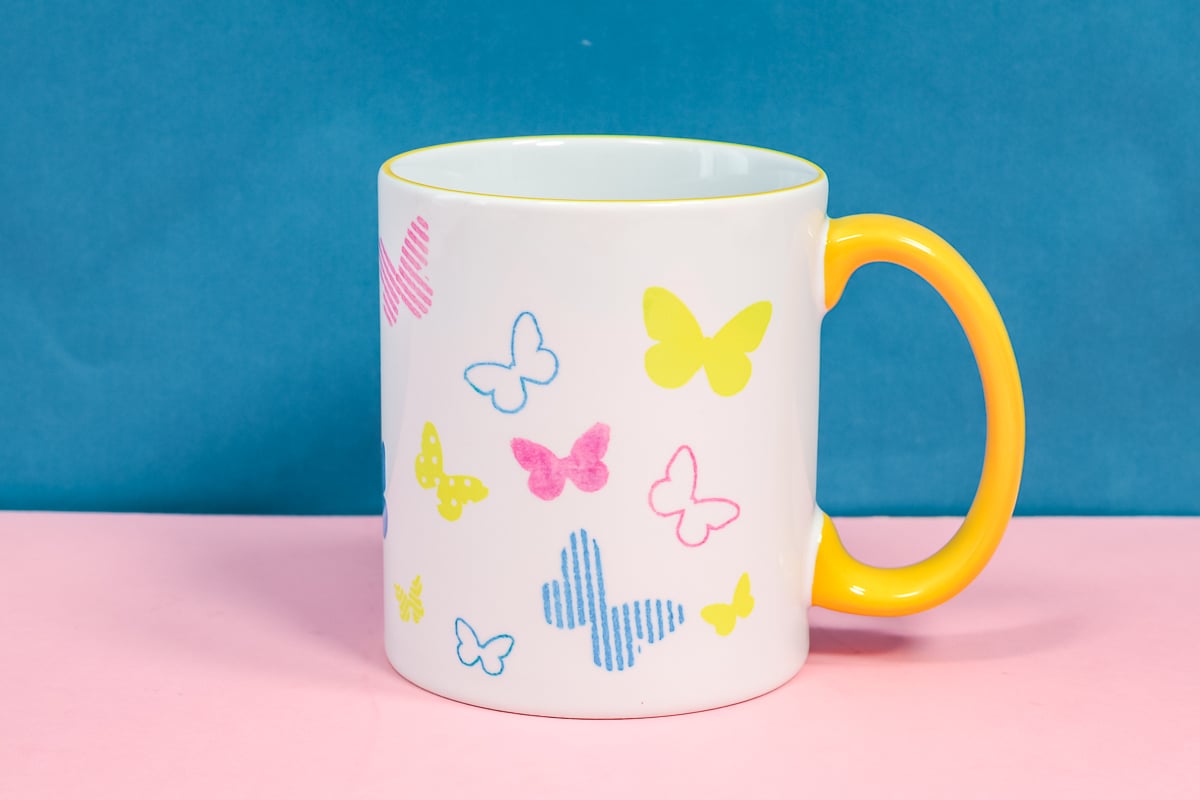
- Mug with yellow handle
- Round coasters
- Car coasters
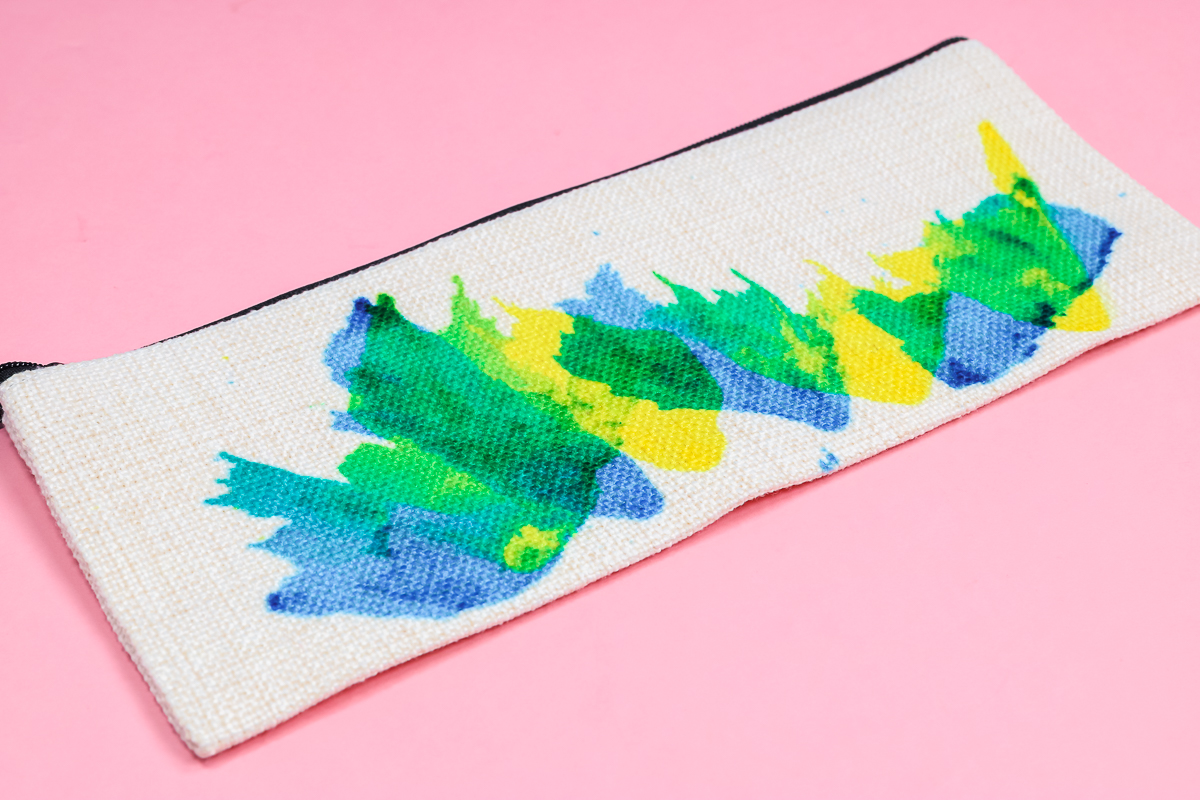
- Zipper pouch
- Mouse pad
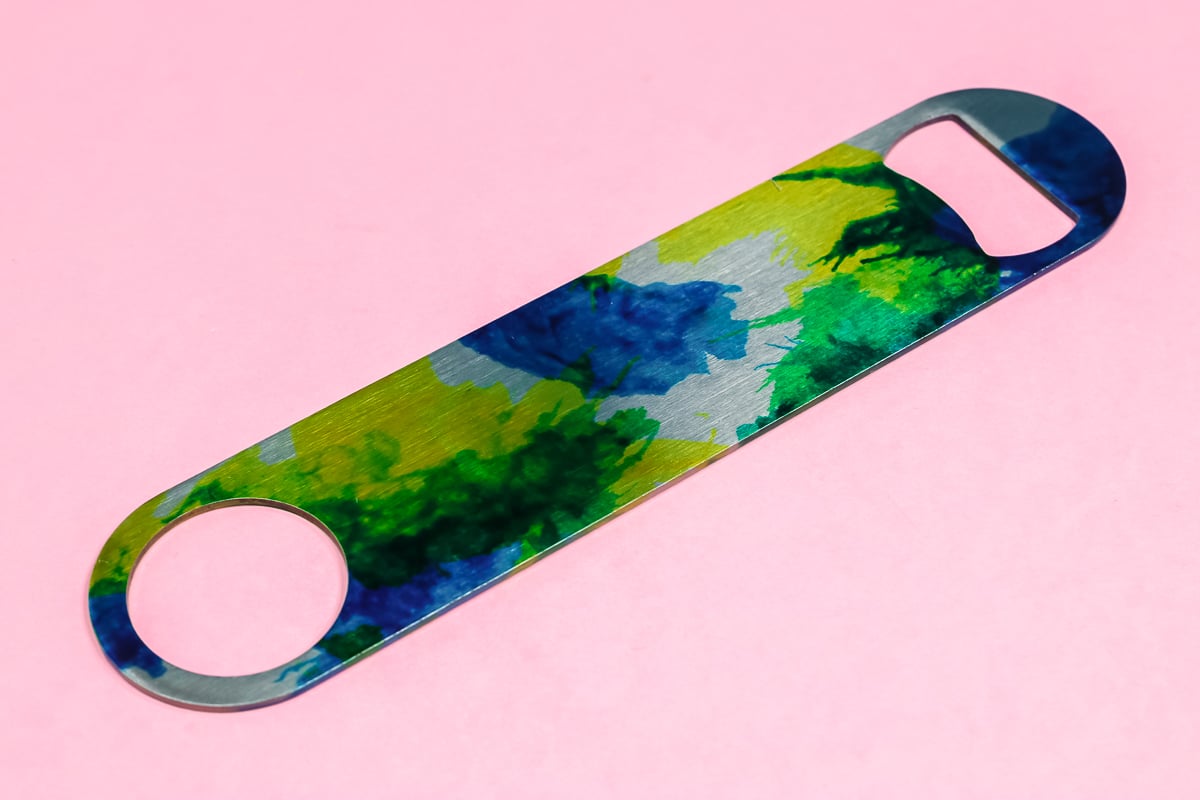
- Steel bottle opener
- Magnets
You will want to use sublimation blanks. So either something that is at least 65% polyester fabric or something that has a sublimation coating on the outside. Look for sublimation blanks when you are shopping for supplies. You will notice that all my blanks are white or light-colored. Because sublimation ink in all forms is translucent. If you were to stamp it on a blank that has color, that color would show through.
Artesprix Stamping Product Line
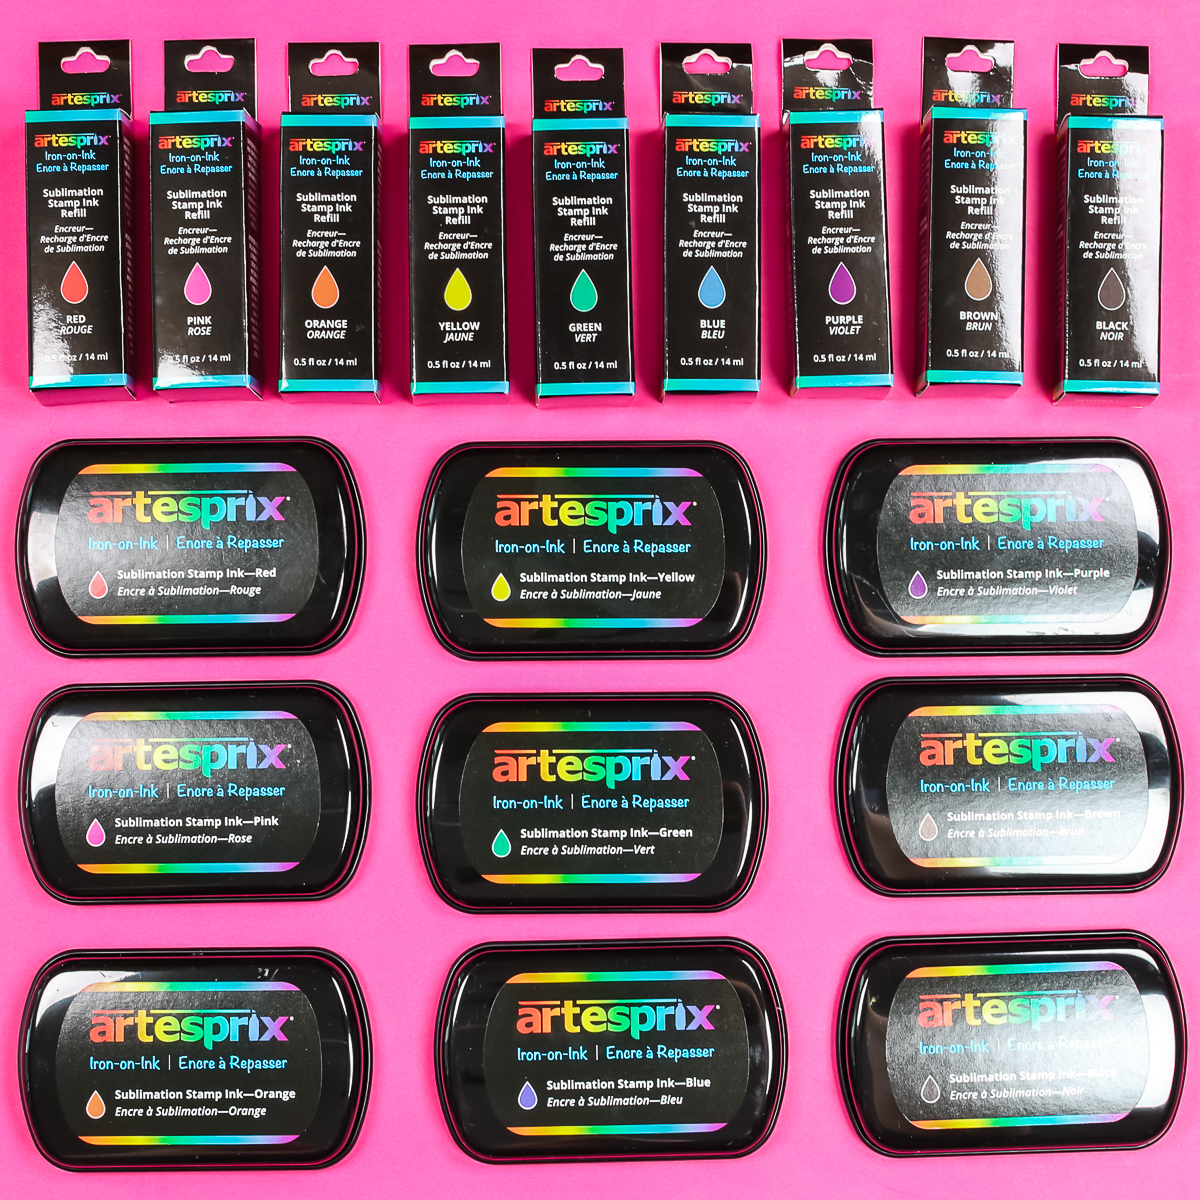
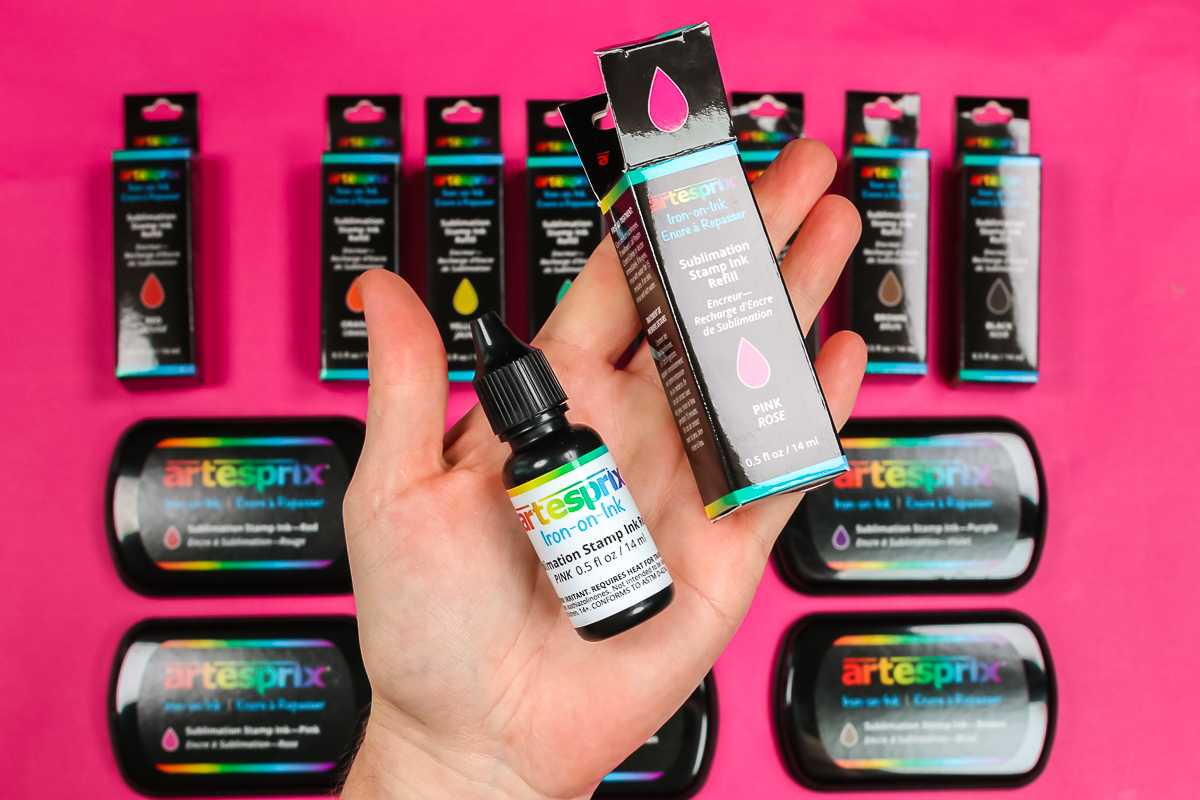
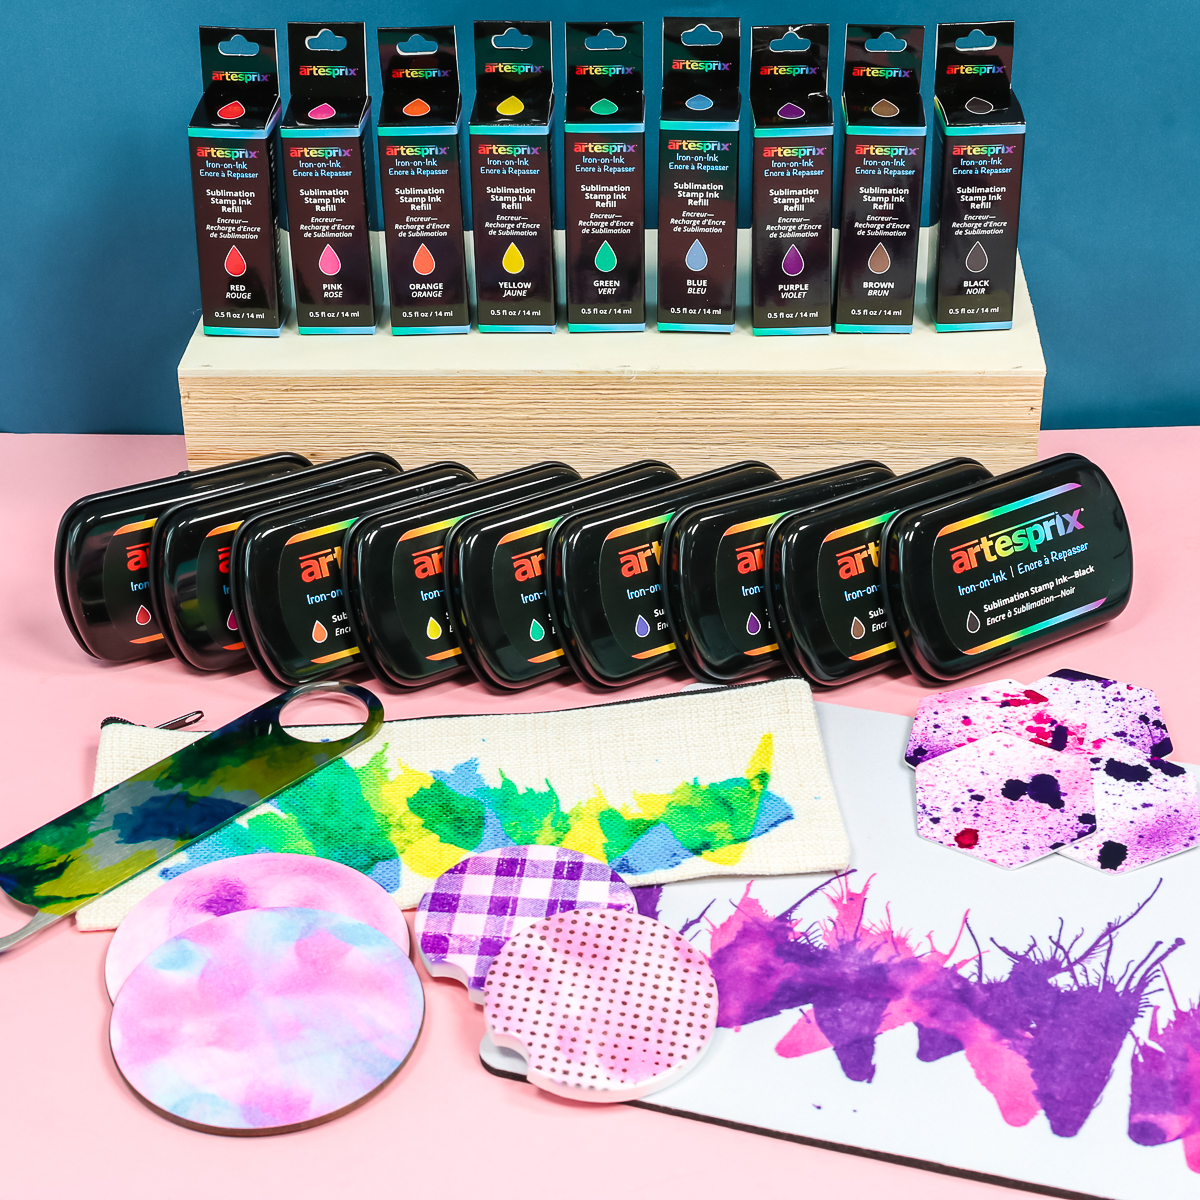
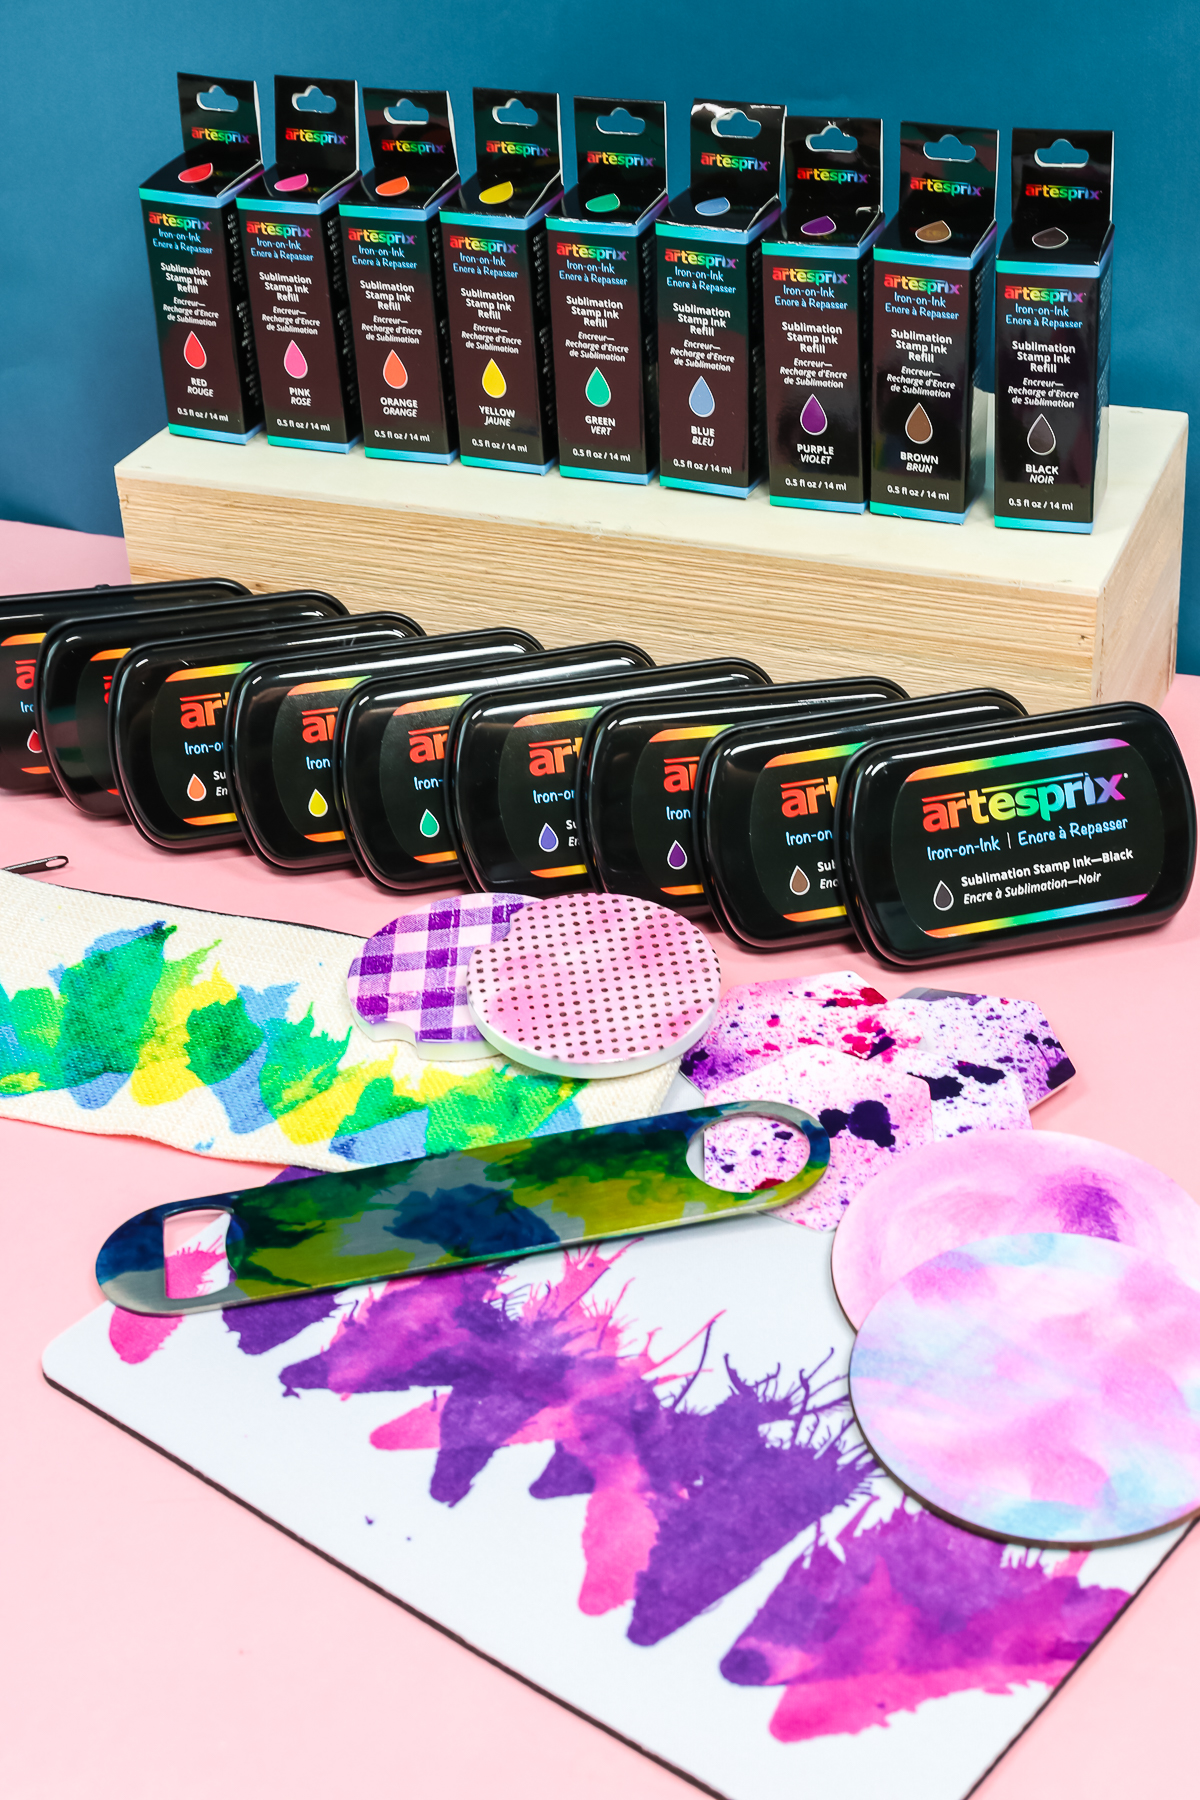
Let’s start by taking a look at the entire line of Artesprix products, both the ink pads and refills. I am going to use both of these in projects. I even use the refills for the projects themselves and not just as a way to refill the ink pads.
Sublimation Ink Stamp Pads
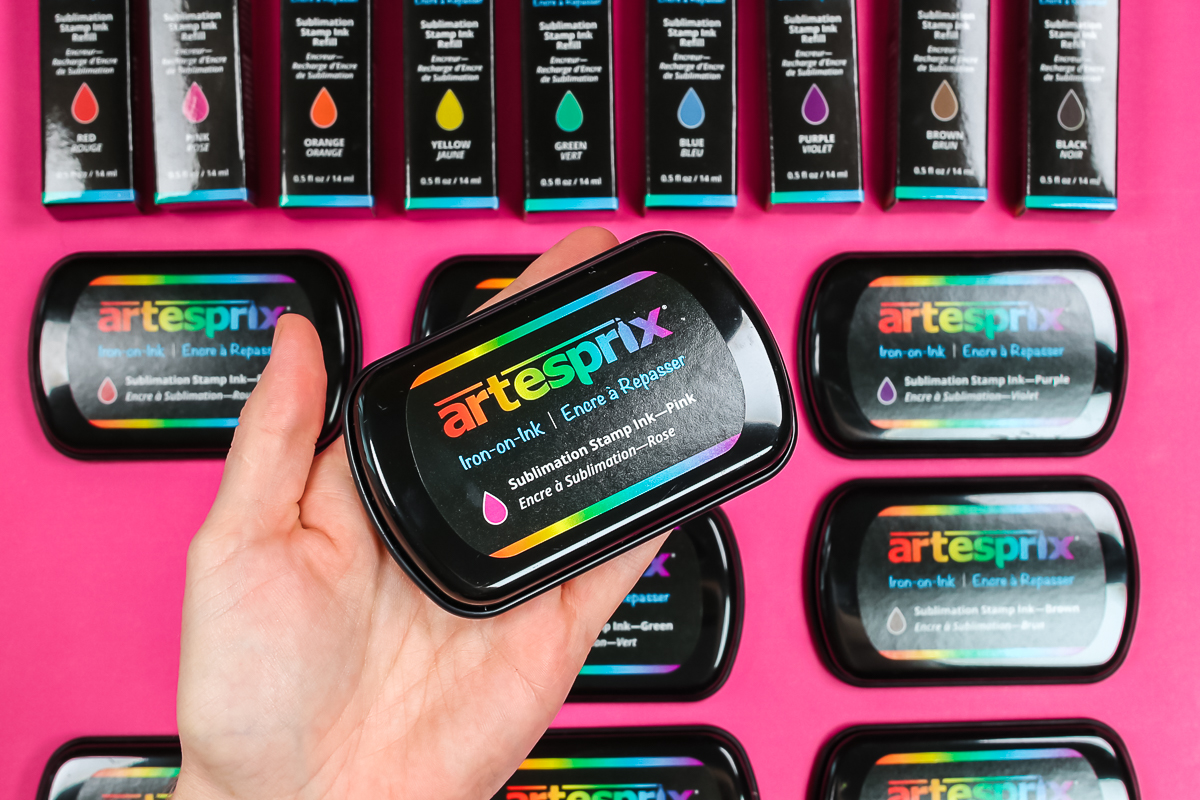
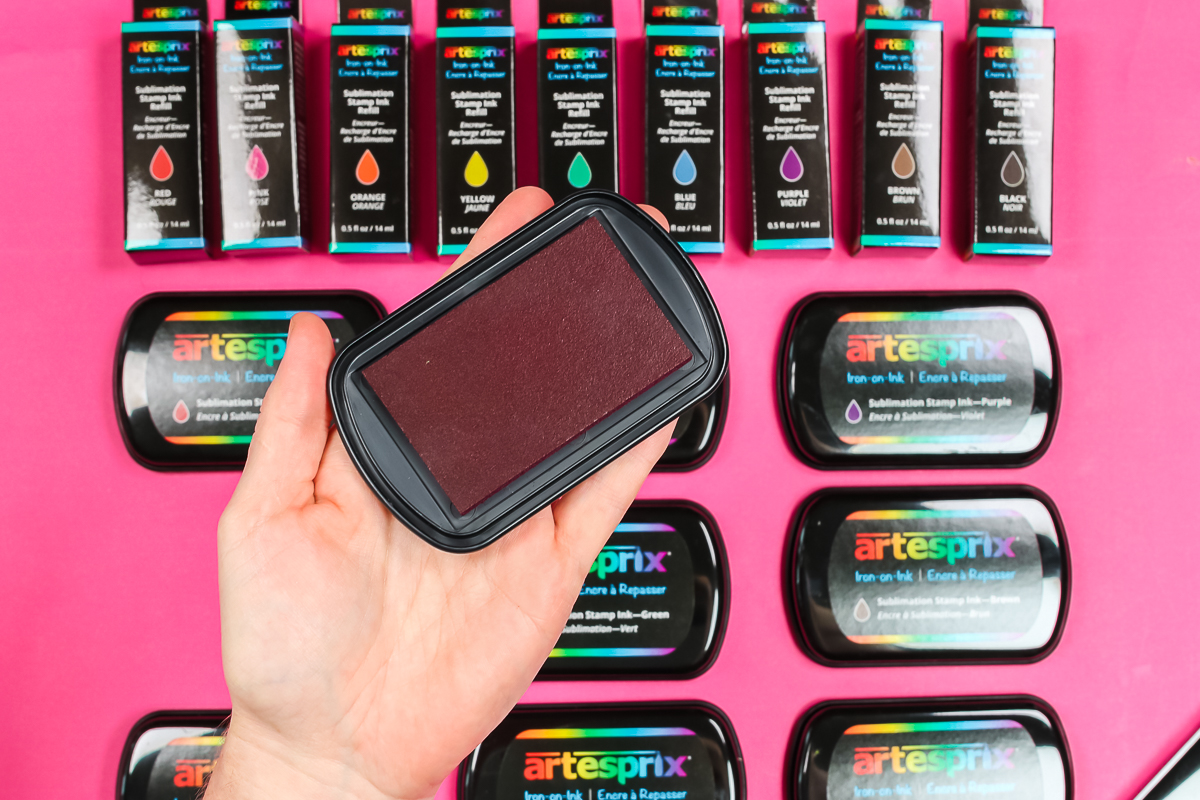
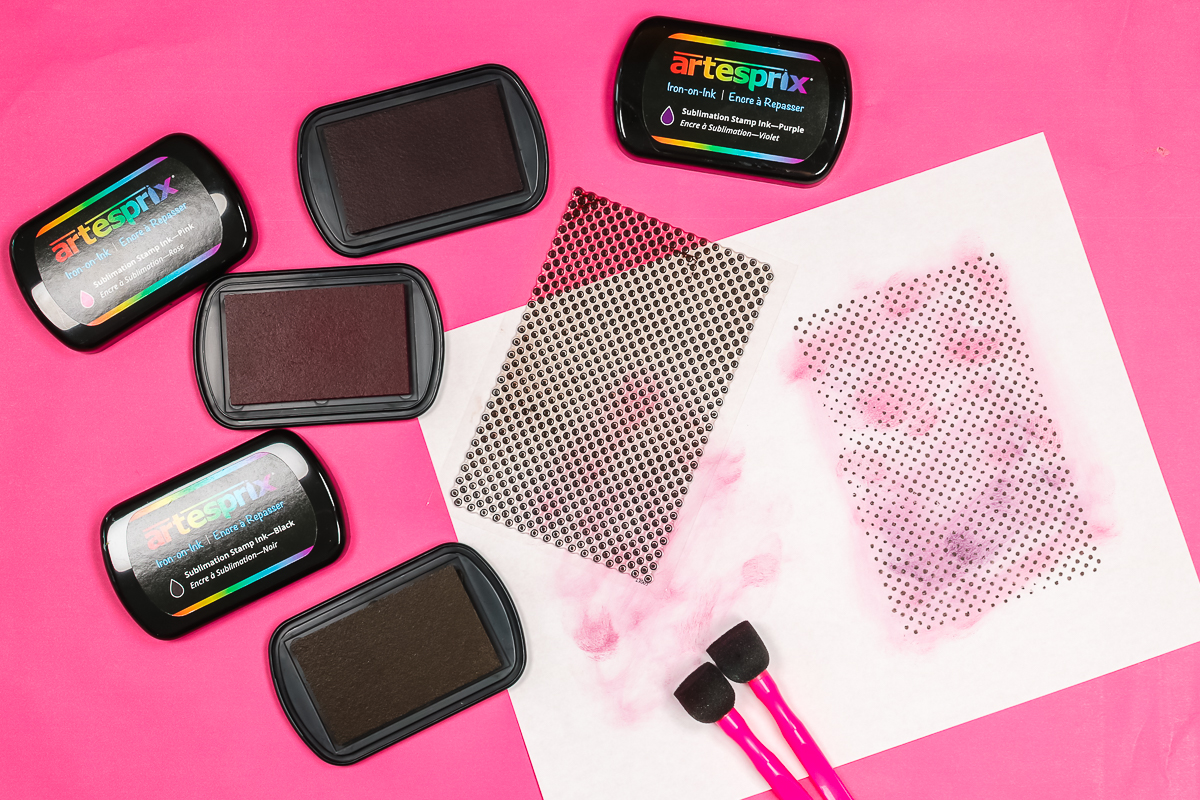
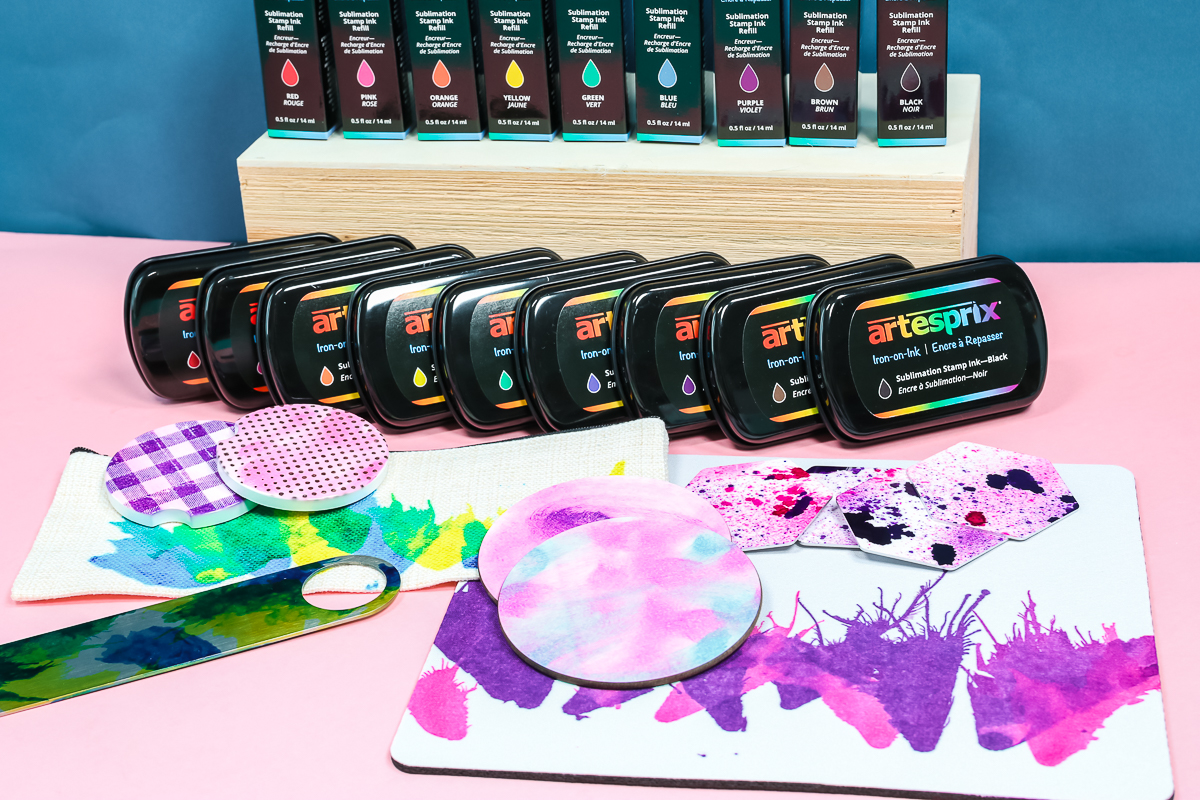
The sublimation stamp pads themselves are literally just a stamp pad. They have sublimation ink and it comes in nine colors:
- Red
- Pink
- Orange
- Yellow
- Green
- Blue
- Purple
- Brown
- Black
You may notice that that ink itself is not as blue as you thought it would be once you stamp it. However, after you press, it becomes really vibrant. This is similar to other sublimation ink products.
Sublimation Ink Stamp Refills
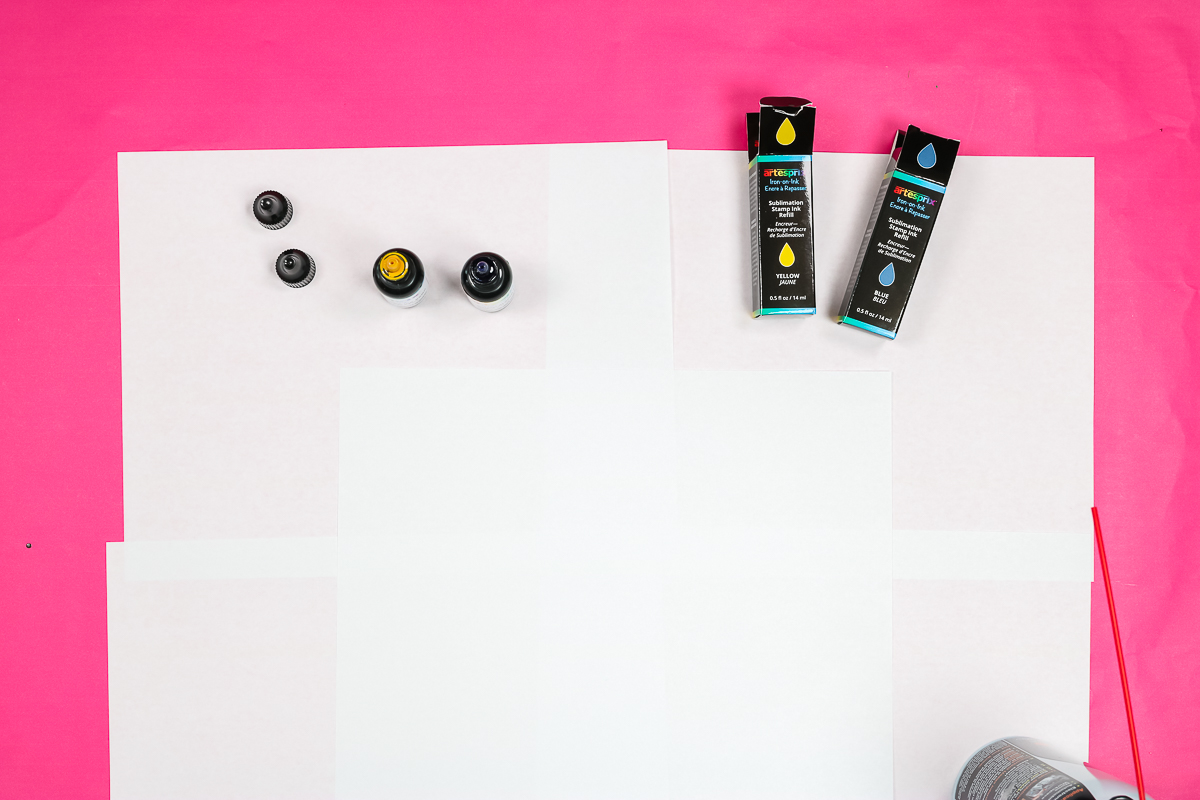
The refills come in the same colors as the pads but come in small boxes. When you open the box you have a small bottle with a lid that we are going to use for some of our projects. I will show you how to use the refills themselves and not just the stamp pads.
Using Stamps
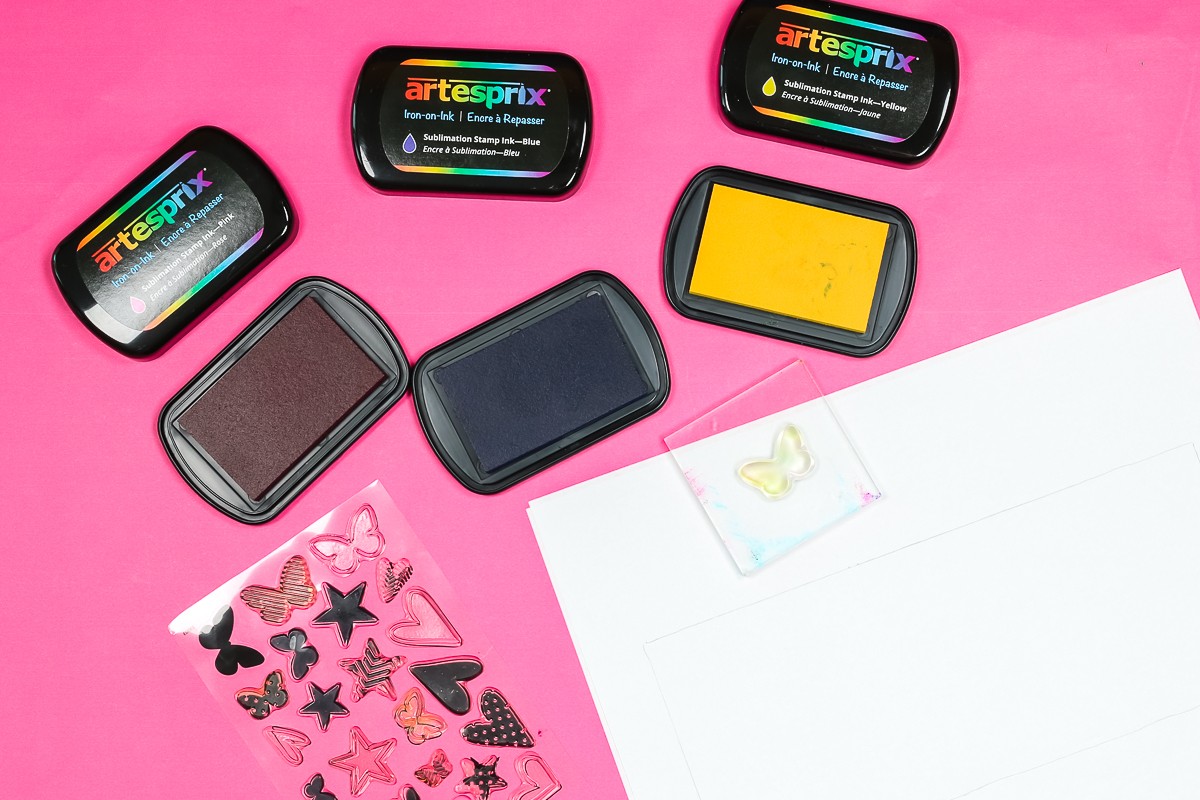
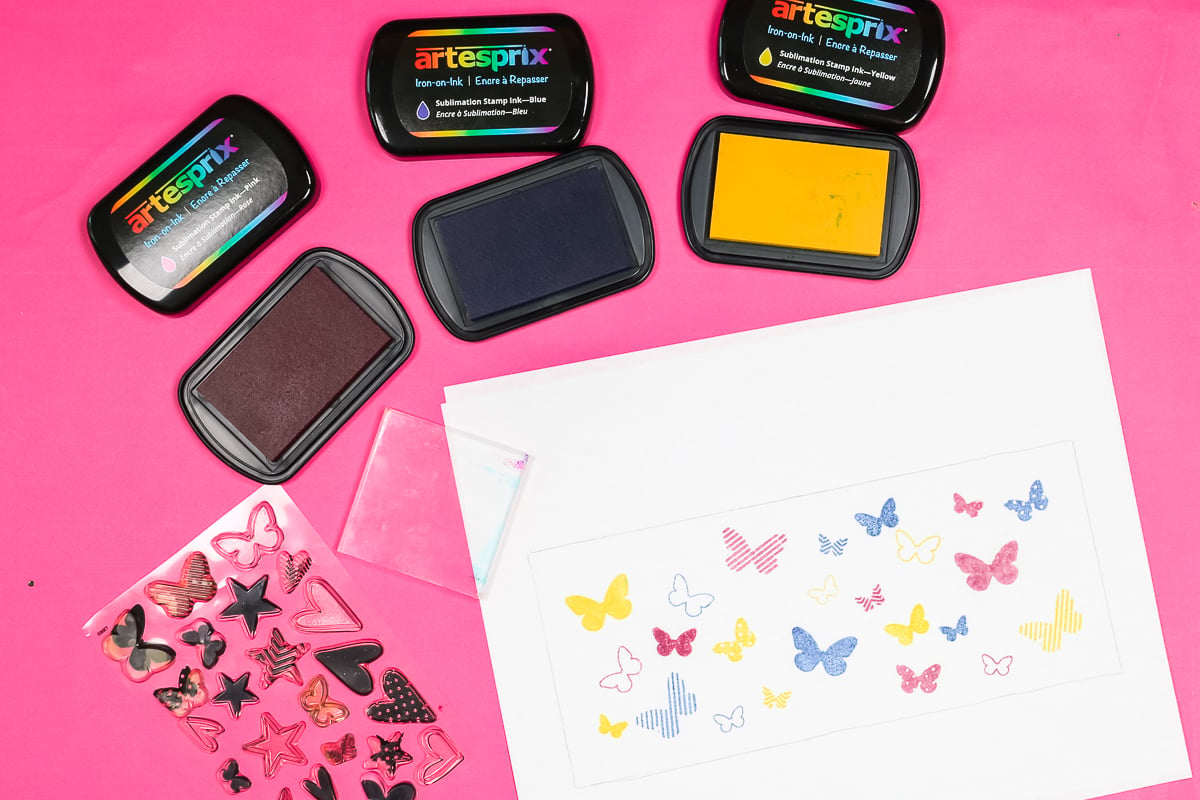
First, let’s use the stamp pads in a traditional way with some stamps. Start with drawing a rectangle with a pencil on the copy paper. Use these lines as a guide for keeping your stamping inside to fit on the mug.
Use the sublimation ink stamp pads just like any other stamp pad. Apply clear stamps like these to a block. Then load the stamp and press it to your paper. After each stamp, clean it, dry it, and go to your next color. I repeated this process over my entire rectangle.
Using Pouncer Brushes
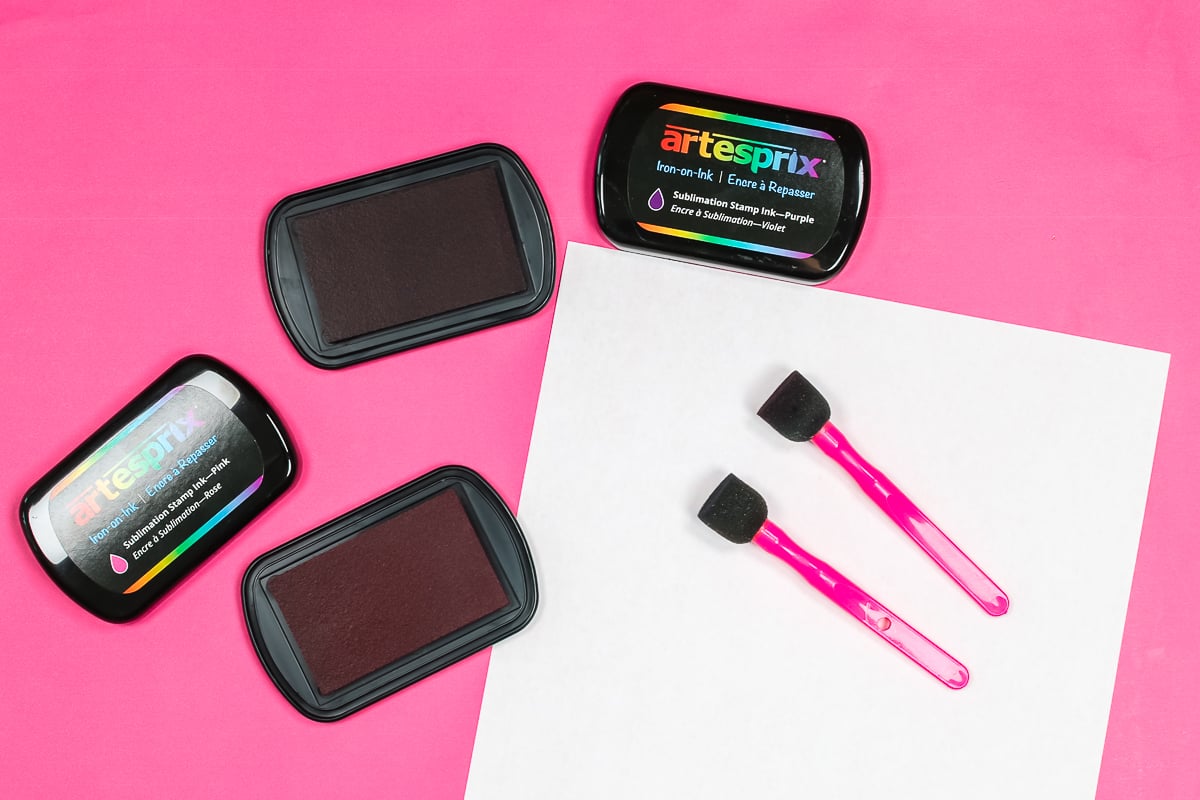
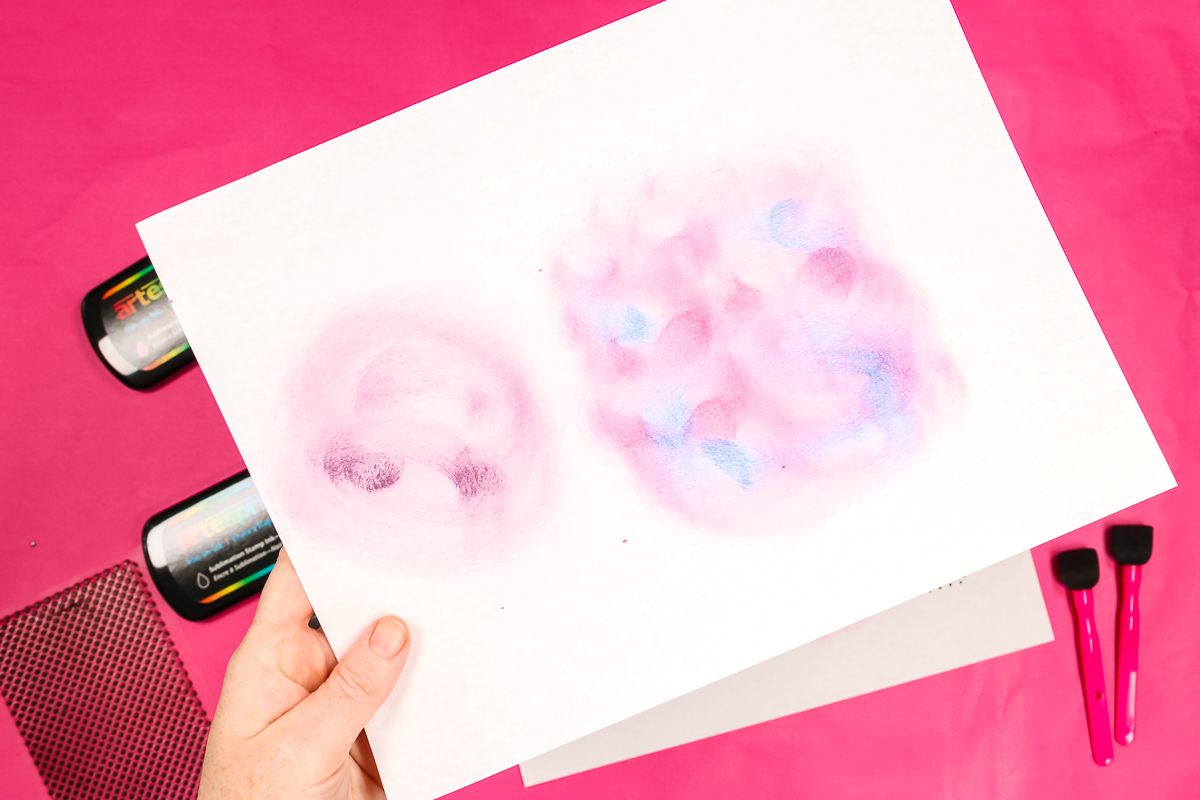
The next technique we want to talk about is using foam pouncer brushes. This means you can use these sublimation ink stamp pads even if you don’t have any stamps!
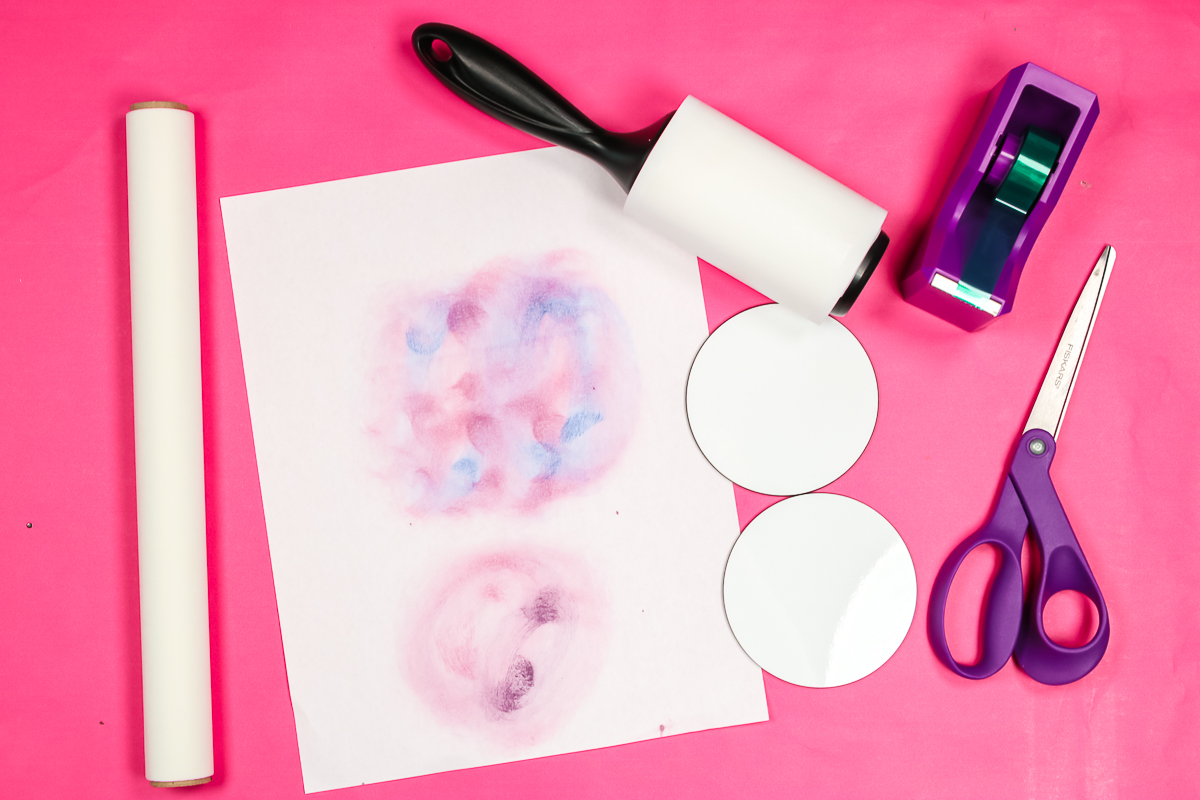
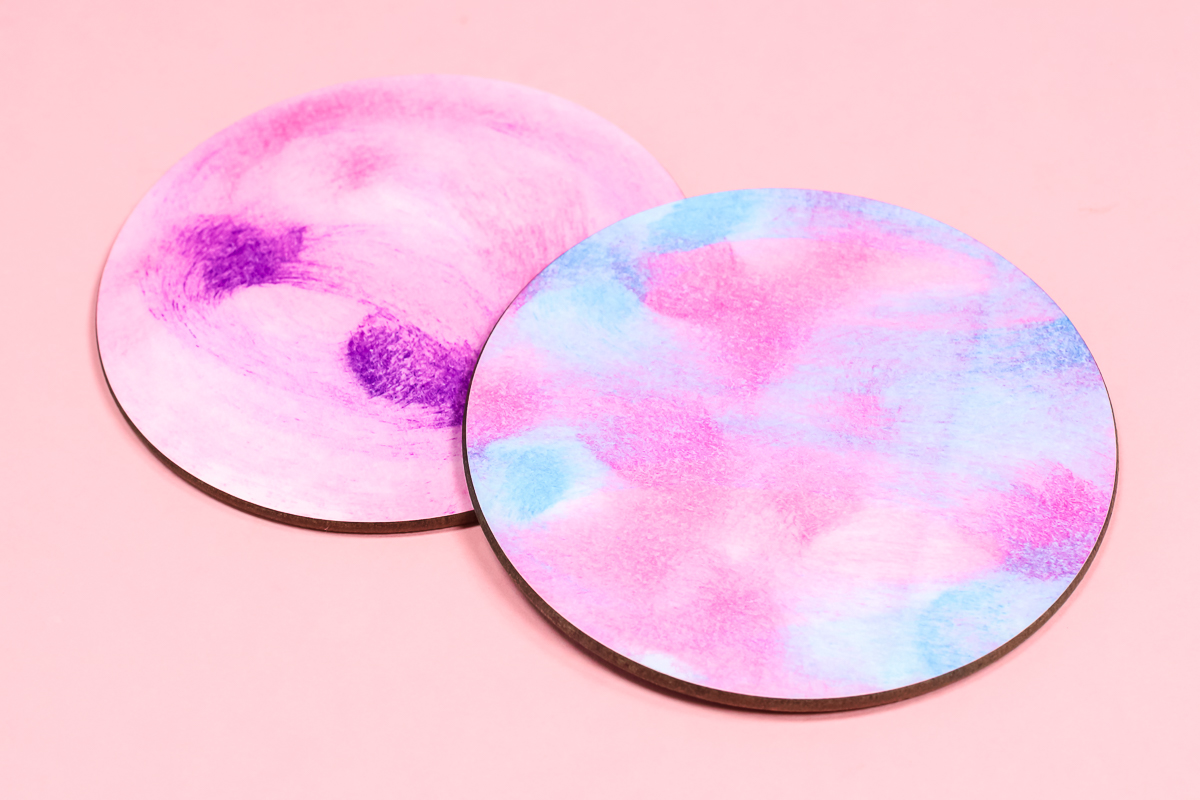
Load up the brush on the ink pad and run it over the paper to make a cool effect. You can use one color alone or mix and match with various colors. Allow to dry completely. This makes a cool watercolor effect on your paper.
Adding Stamps
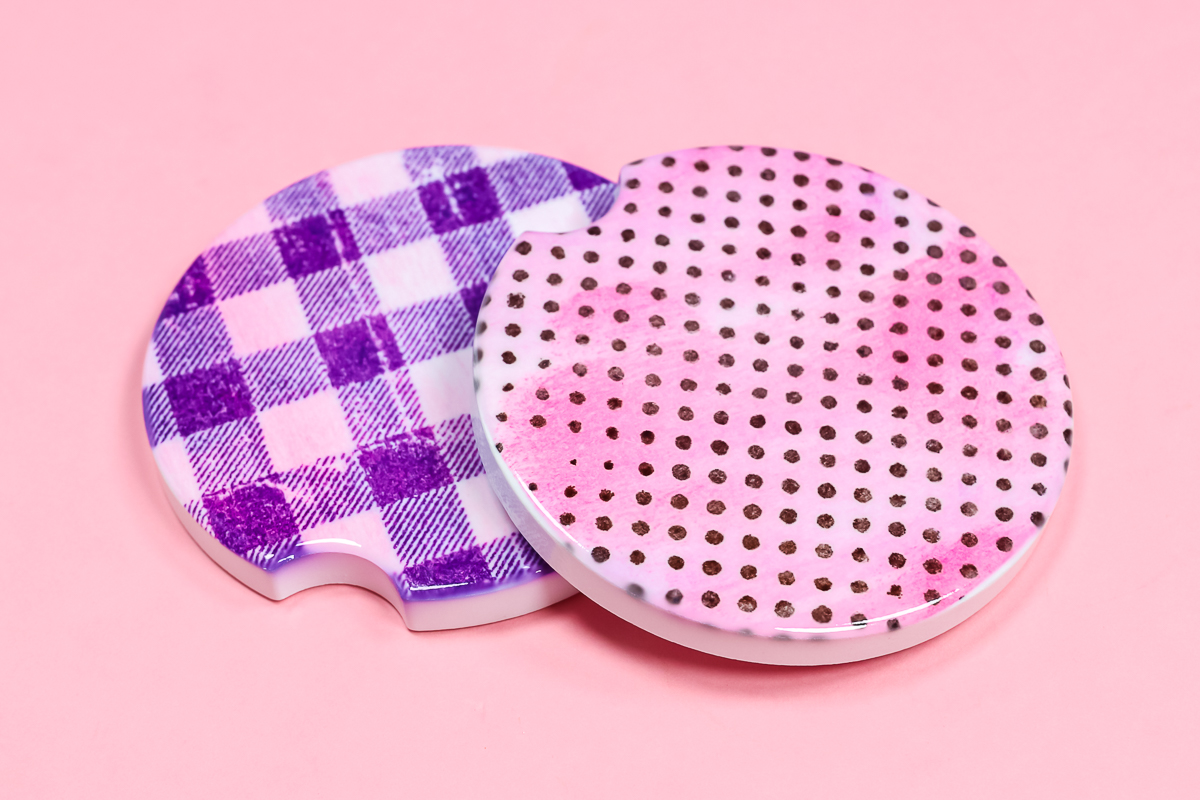
Want to add a little something to the watercolor designs you just made? You can stamp over the top of those as well! This is really great with large background stamps as you are literally making your own sublimation patterned paper.
Using Canned Air
Now let’s get creative with those sublimation ink stamp refills! I would cover your work surface really well with these techniques as they can get messy!
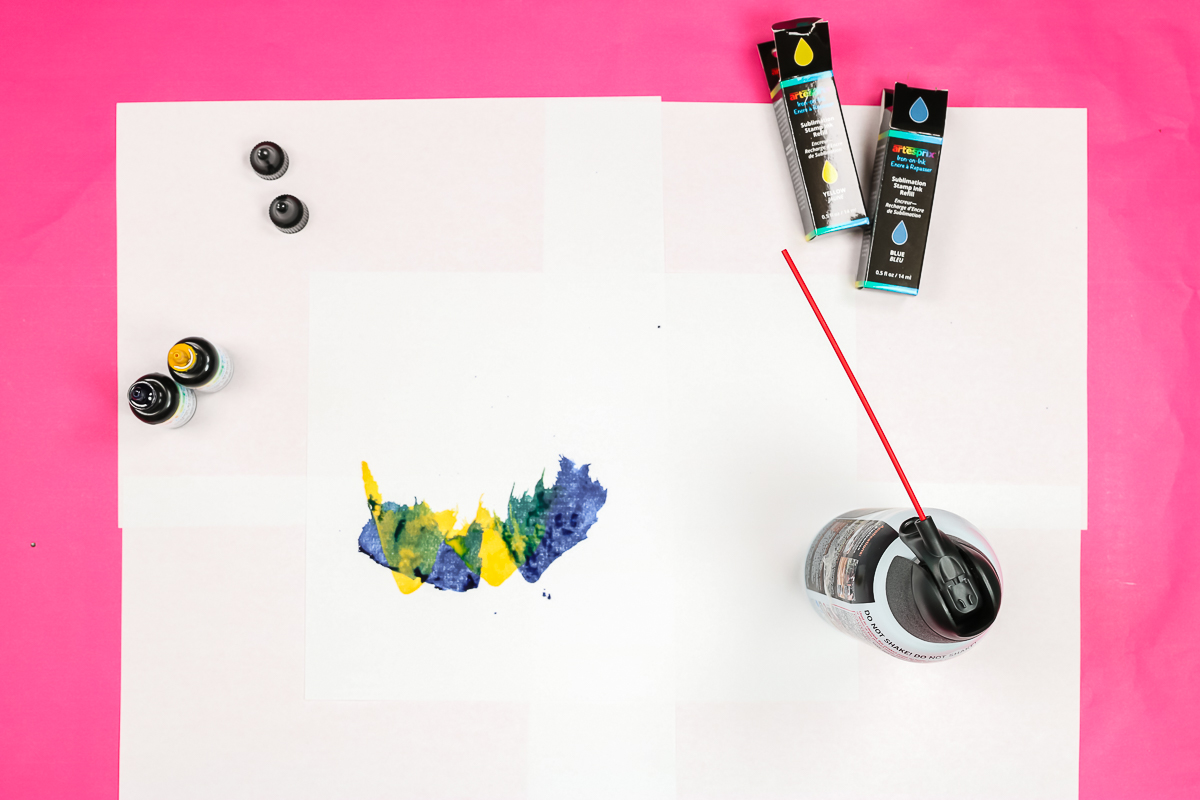
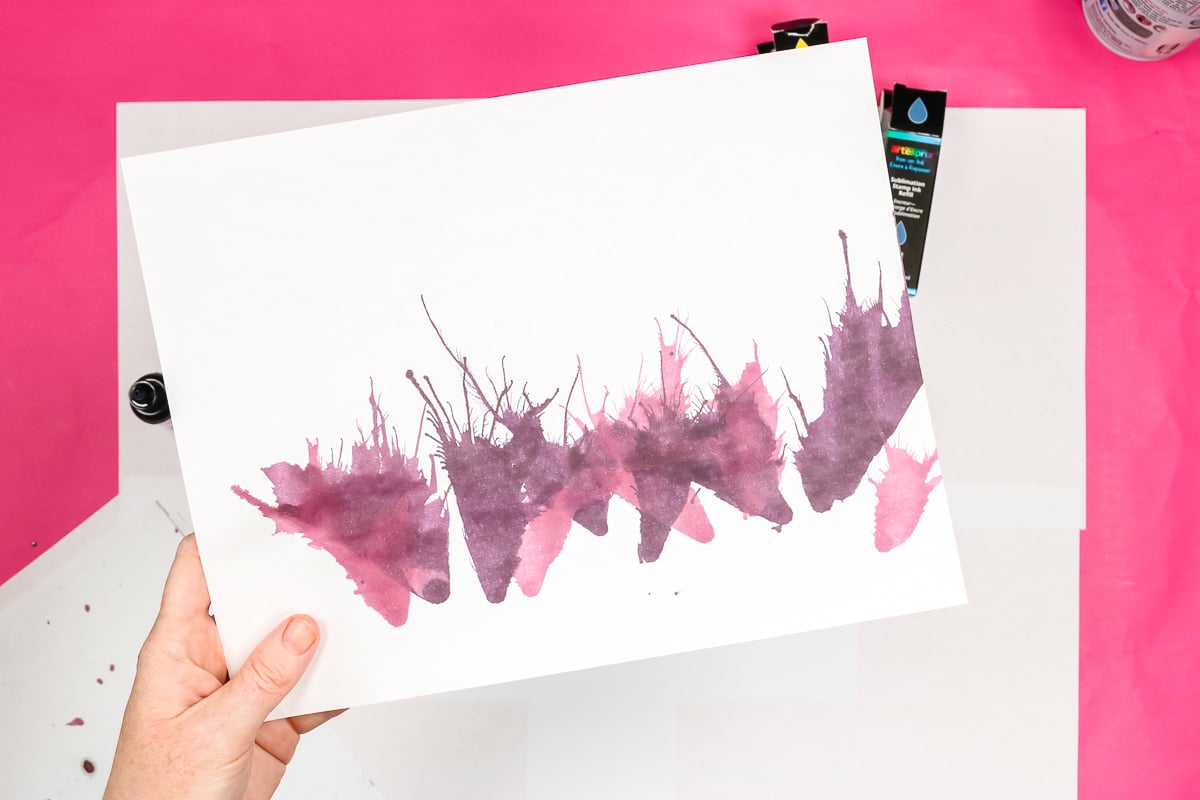
The first method is dripping the ink onto your paper and using canned air to blow it around into a pattern.
This creates some really awesome effects! This will get messy and even bleed through your paper. I did allow this one to dry overnight. You can also hover your heat press over it for several minutes, two to three inches above the paper.
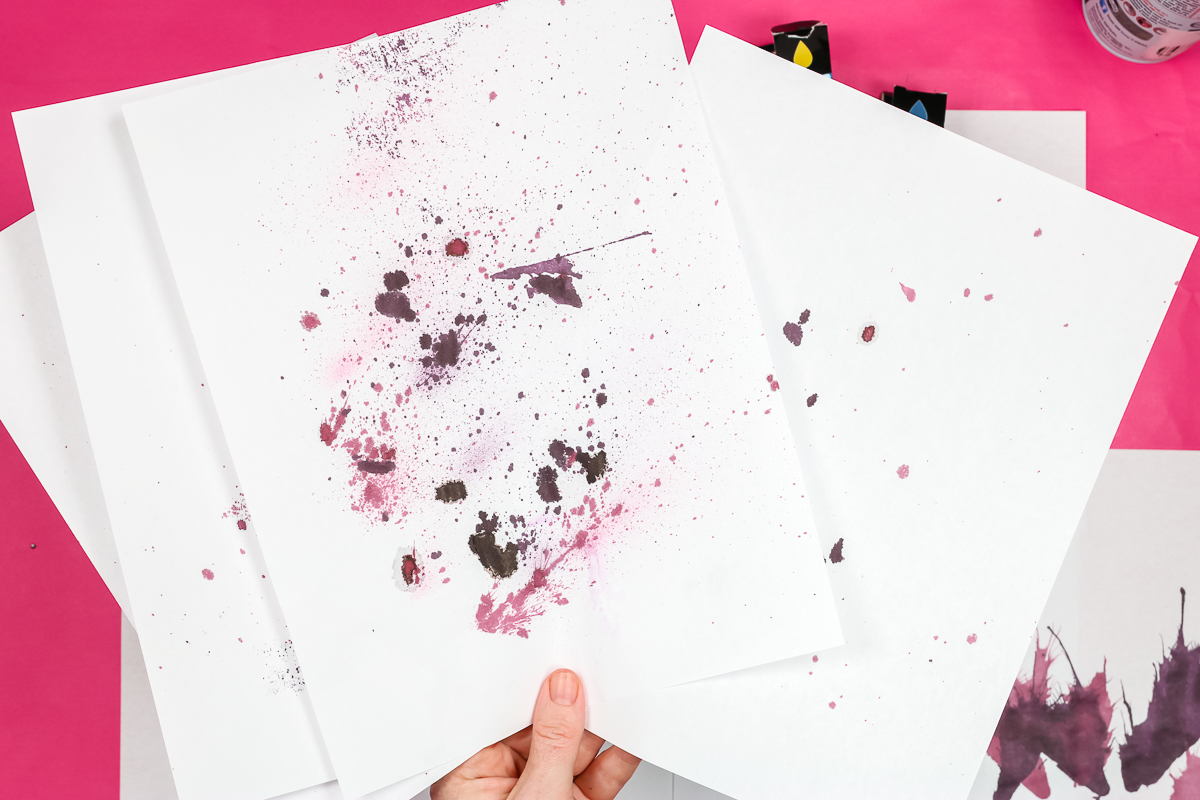
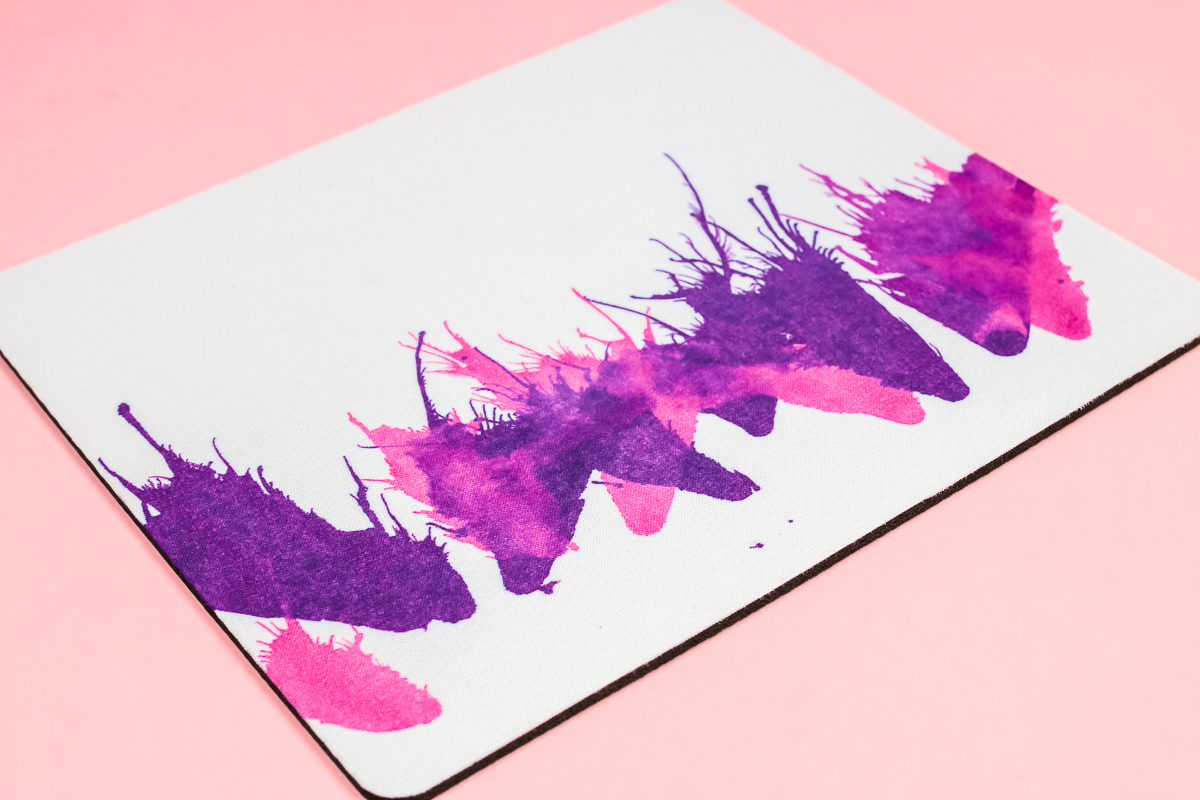
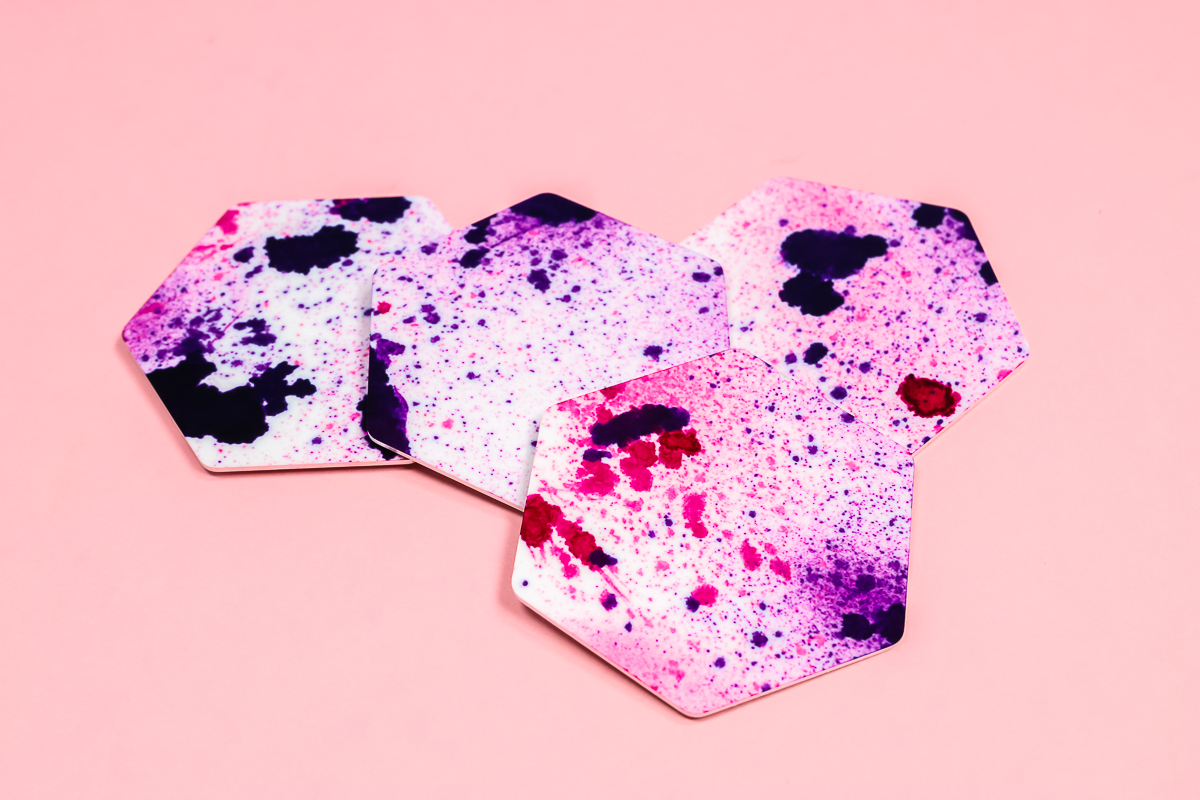
Want more of a splatter effect? Use the canned air to spray the bottle tip as you are dripping the ink. This can go everywhere, so you will want to do this outside or in a box to keep it from splattering. I just kept plenty of paper around to catch all of those splatters that came out in really cool patterns.
Prepping and Pressing Sublimation Blanks
Now we need to prepare our blanks for pressing. Follow the guidelines below regardless of the blank you are using for your sublimation ink stamp pads.
- Lint roll the blanks to clean them. You want to make sure the blank is clean regardless of the blank you’re using.
- Add the blank to the paper and cut roughly around it.
- Tape it into place. It is important to tape it down well, to make sure it’s not going to move.
- Add protective paper on the top and bottom. Most of these techniques are messy which means that sublimation ink can be anywhere on your paper. Be sure you cover everything well.
- Then just press it with the sublimation print side up. Look where you purchased the blank to get the time, temperature, and pressure.
Projects Made with Sublimation Ink Stamp Pads
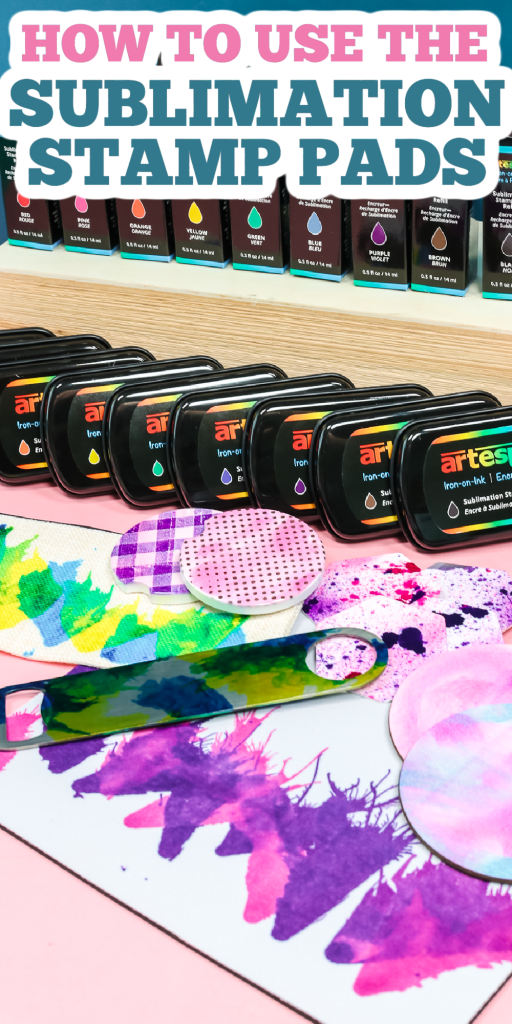
First up, is the mug I made with the stamps. You can see how bright the blues got and everything really pops now on the mug. It turned out amazing! With just some stamps and the sublimation ink stamping pads, you can be sublimating with no printer required.
Then we had the technique of taking the stamp pads and swirling the ink with a pouncer brush onto the paper. This was a great project to get the kids involved in stamping. It does not matter what they do with the ink, it will turn out amazing once you press it.
If you want to take that technique one step further, stamp over the top with a stamp. Another was the ceramic car coasters, which was a fun sublimation blank to try. The other coasters I did were a hardboard and the mug was ceramic too.
Then, we have the technique of splattering the refill ink with the canned air. I pressed this one to a mouse pad and after allowing it to dry overnight. I really like the way it turned out. It’s a super easy method, fun to play around with, and it made some gorgeous sublimation crafts.
I couldn’t stop with that method and had to continue, so I put it on a steel bottle opener. This makes a great gift idea and it only takes a few minutes to spray that ink around on a piece of paper.
Finally, I did a zipper pouch with that same canned air technique. I must say that this is one of my favorite projects!
I also did some metal magnets with that last technique, which was super messy, but the results were so cool. Even though it made a mess, I may be doing this one again because I really loved the results. These products can be used on just about any sublimation blank that you might find.
Tips and Tricks for Sublimation Ink Stamp Pads
Here are a few tips and tricks for when you start creating with these sublimation ink stamp pads. I think you will find that this product is easy to work with and creates amazing sublimation crafts.
- If you don’t have time to allow it to dry, then you could hover your heat-press over it or use a hairdryer, make sure all the ink is dry before you press.
- This is water cleanup, you can use water to clean your brushes, as well as your stamps.
- Protective paper is VERY important with projects like these. The ink can get on your heat press, or on any heat press mat you’re using. You will want to make sure to use protective paper on the top and bottom at all times.
- Some of these methods will use a lot of ink. There may be a ton of ink left on your paper even after pressing. You might try to press a second or maybe even a third time. It may be lighter each time, but the effect would still be really cool, and it’s a way to stretch your ink even further.
Even if you don’t have a sublimation printer, if you want to start sublimation crafting, you might pick up these sublimation ink stamp pads or the ink refills and get started with these techniques.
Even if you have a sublimation printer, and perhaps just want to play around and get artistic, this product could be just what you are looking for. So, get out all those stamps that you have in your craft stash and haven’t used in a while, because this product is definitely for you.

