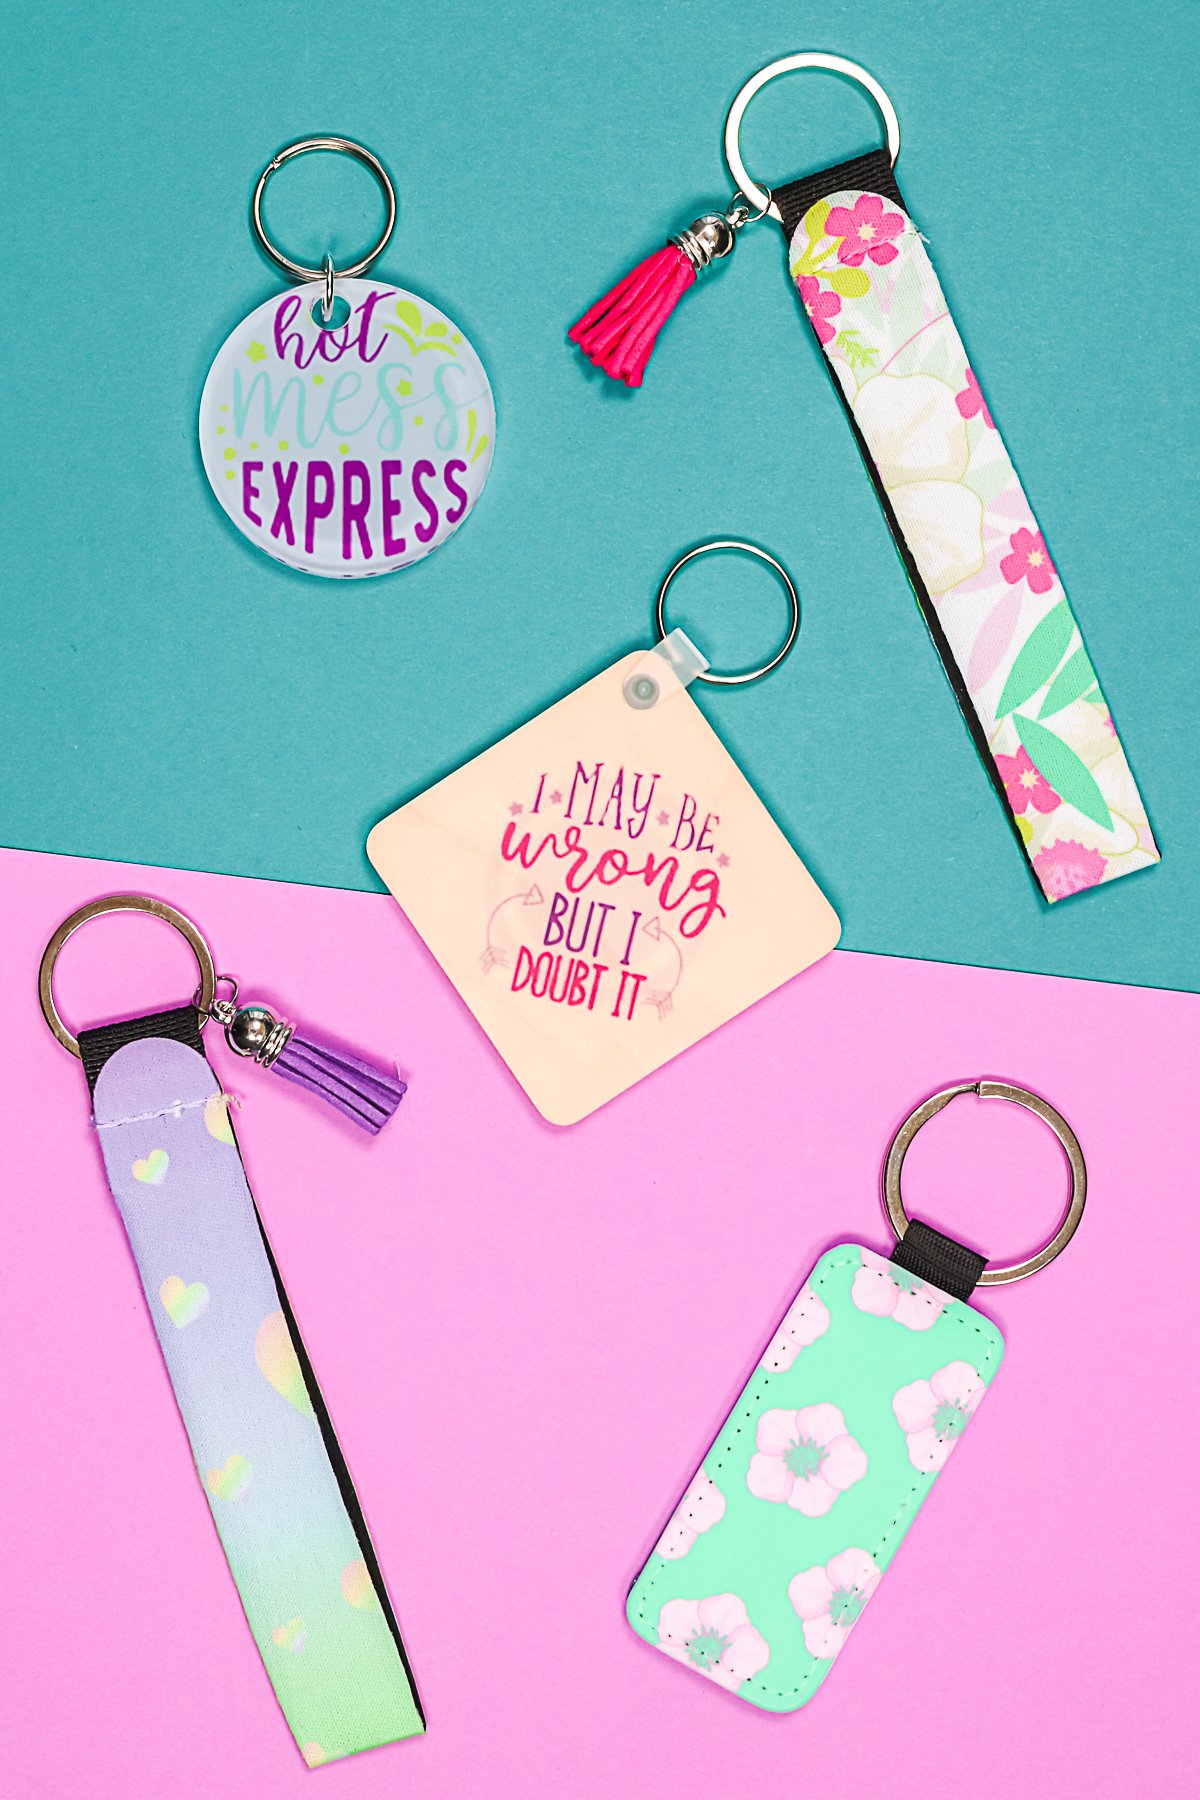
Sublimation keychains are a fun project to make for yourself, for gifts, or even to sell. Once I started researching, I realized there are tons of different keychain sublimation blanks on the market. I picked four to show you below but there are many more to choose from. So, grab your sublimation printer and get ready to make some adorable keychains in minutes.
Can’t watch the video or miss some of the information? You can also follow along below!
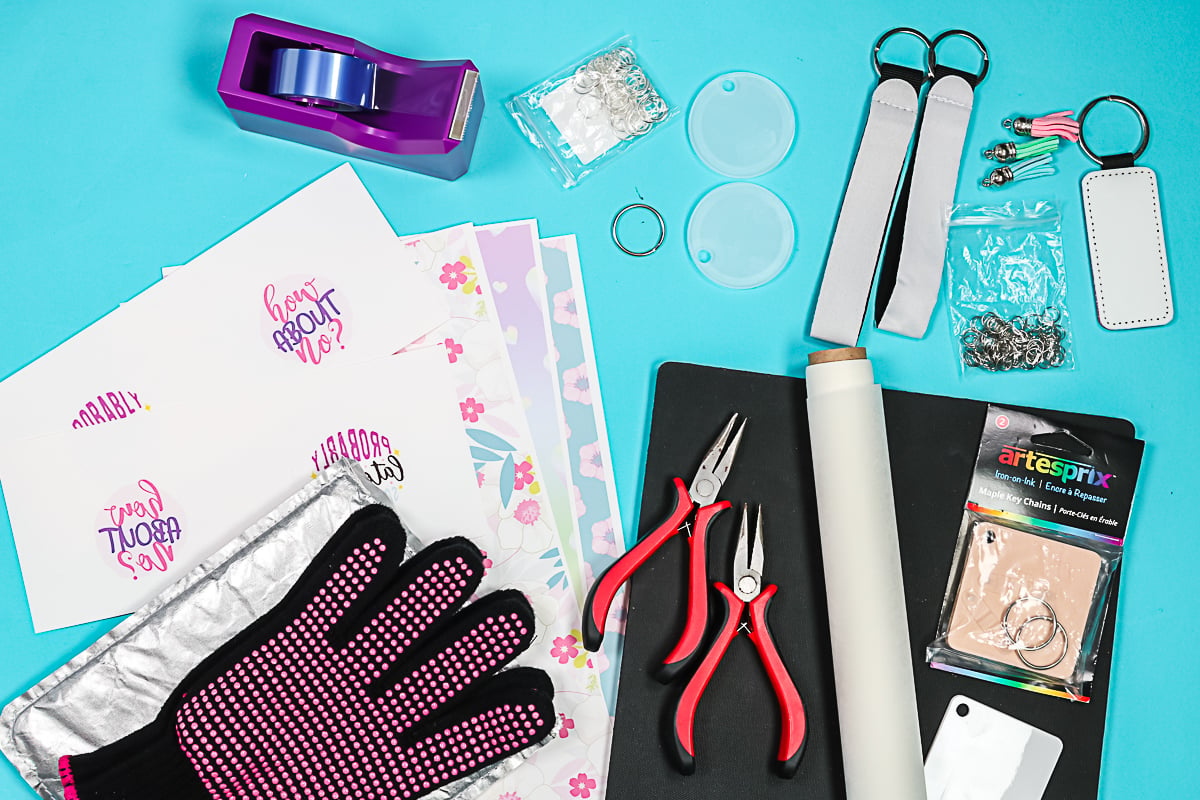
Supplies Needed
- Sublimation printer
- Sublimation ink
- Heat Press
- Sublimation paper
- EasyPress (if you don’t have a heat press)
- Lint Roller
- Heat Resistant Tape Use code CCC10 for 10% off
- Artesprix Protective Paper Use code CCC10 for 10% off!
- Heat Resistant Mat Use code CCC10 for 10% off!
- Pressing pillow
- Heat resistant gloves
- Artesprix Plastic Keychain (maple or white version works and this comes with keyring/accessories)
- Faux Leather Glitter Keychain (comes assembled with everything you need)
- Frosted Acrylic Keychain (you will need keyrings and jump rings that you purchase separately)
- Neoprene Lanyard Keychain (come assembled and include small tassels)
- Jewelry pliers
- Keyrings
- Jump rings
Designs Used
Sublimation Requirements
You’ll need sublimation prints. That means you will need something that has been printed in a sublimation printer with sublimation ink on sublimation paper. You will also want to make sure that your blanks say they are for sublimation. The ones I have linked above say that but if you use any other blanks, you will want to make sure that is on the listing. You can see more about sizing prints for sublimation here.
Heat Source
I am using a traditional heat press for my projects, however, these are fine in an Easy Press. None of them really require much pressure. You may want to tape the sublimation prints down more just to ensure your print doesn’t move and be careful when you’re pressing to make sure that you don’t move the press itself.
How to Sublimate on Keychains
Now let’s walk through the process for each of the four keychain types. There are a few things with each one that you will want to be aware of to get the best results.
Plastic Sublimation Keychains
First up is this plastic version from Artesprix. Lint roll your blank to clean it and then you’ll need a sublimation print that is mirrored.
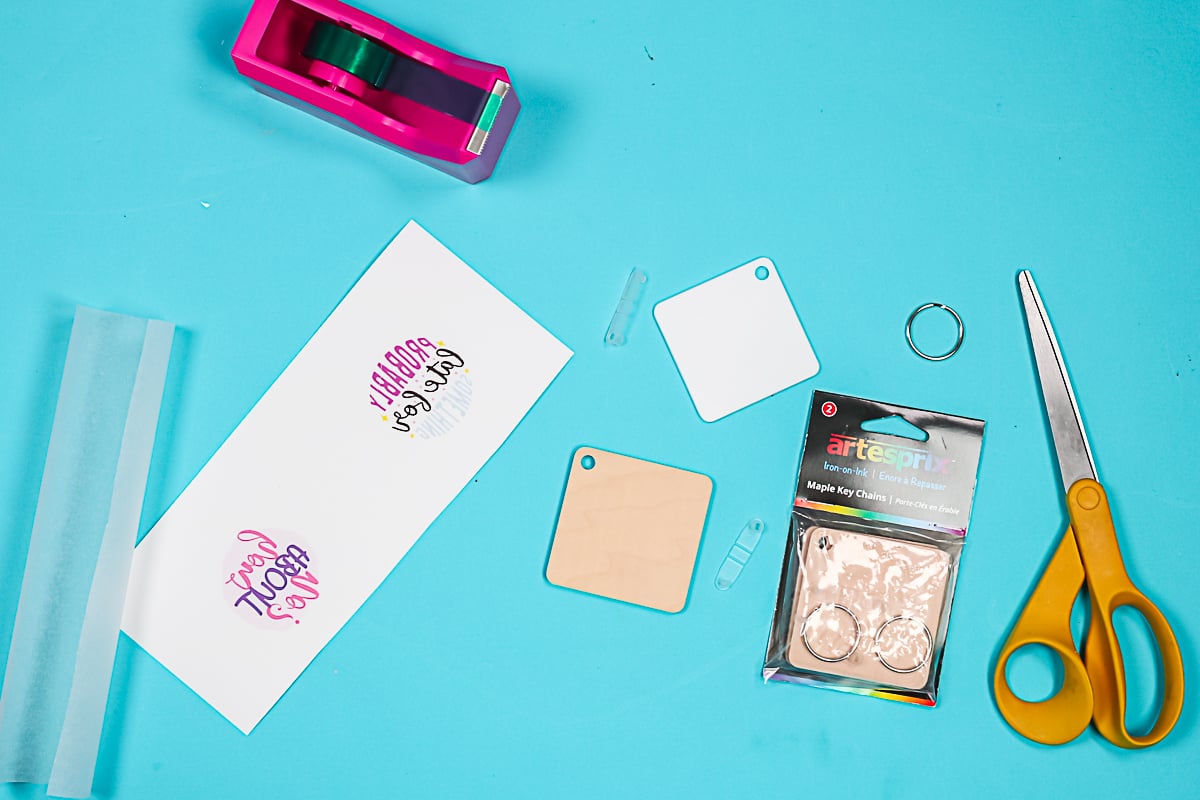
Roughly cut around the sublimation print and locate it on your keychain. Use heat-resistant tape to hold that into place. Then use protective paper on the bottom, as well as on the top. Put it in the heat press at 400 degrees for 60 seconds.
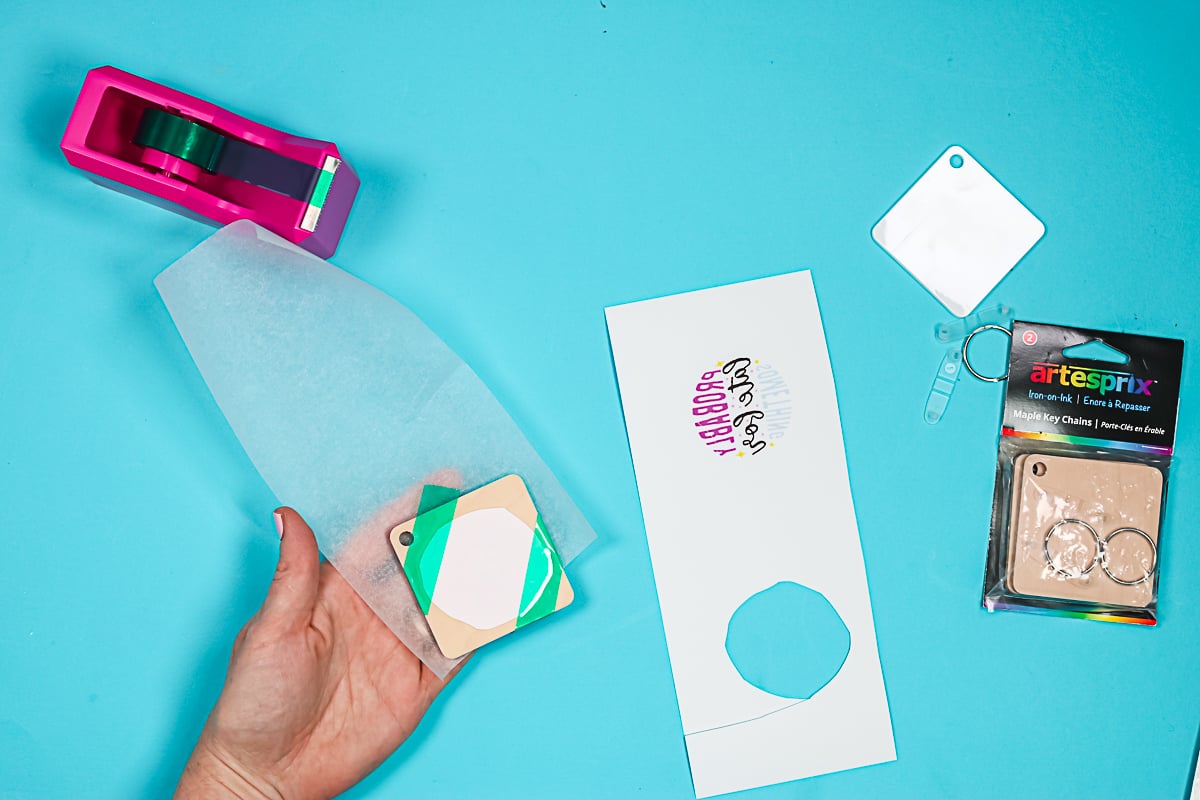
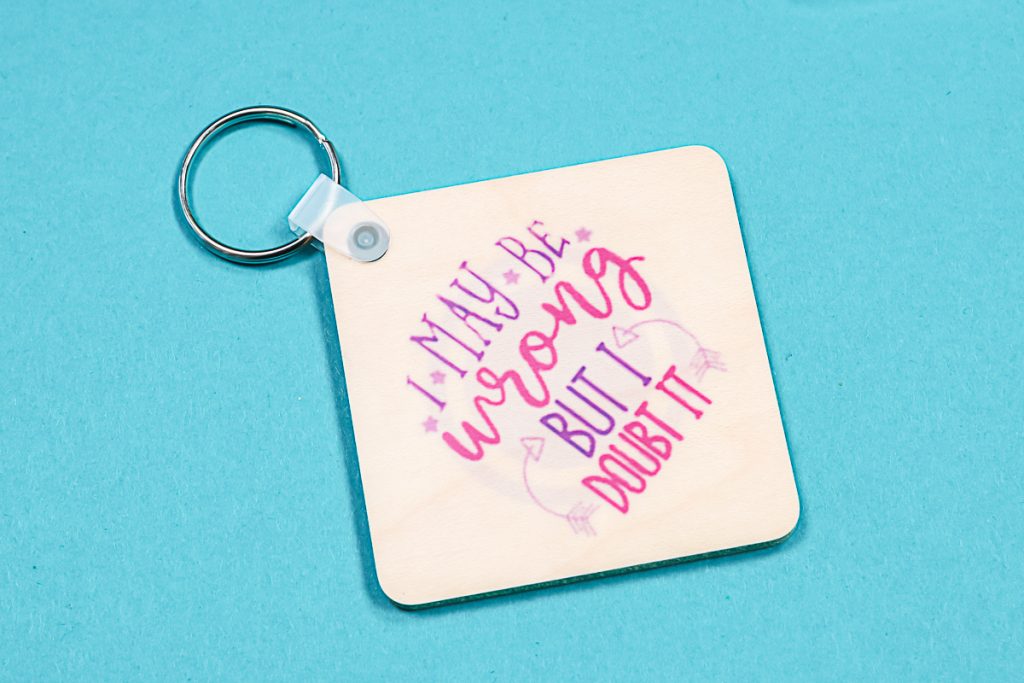
Here’s what this one looks like after it has been sublimated. You probably won’t be able to tell, but it did warp slightly as it cooled. I would recommend removing it from the heat press, weighing it down, and allowing the blank to cool completely. Then remove the sublimation print as well as the protective paper. That should keep your blank flat and you won’t notice any warping of the blank itself.
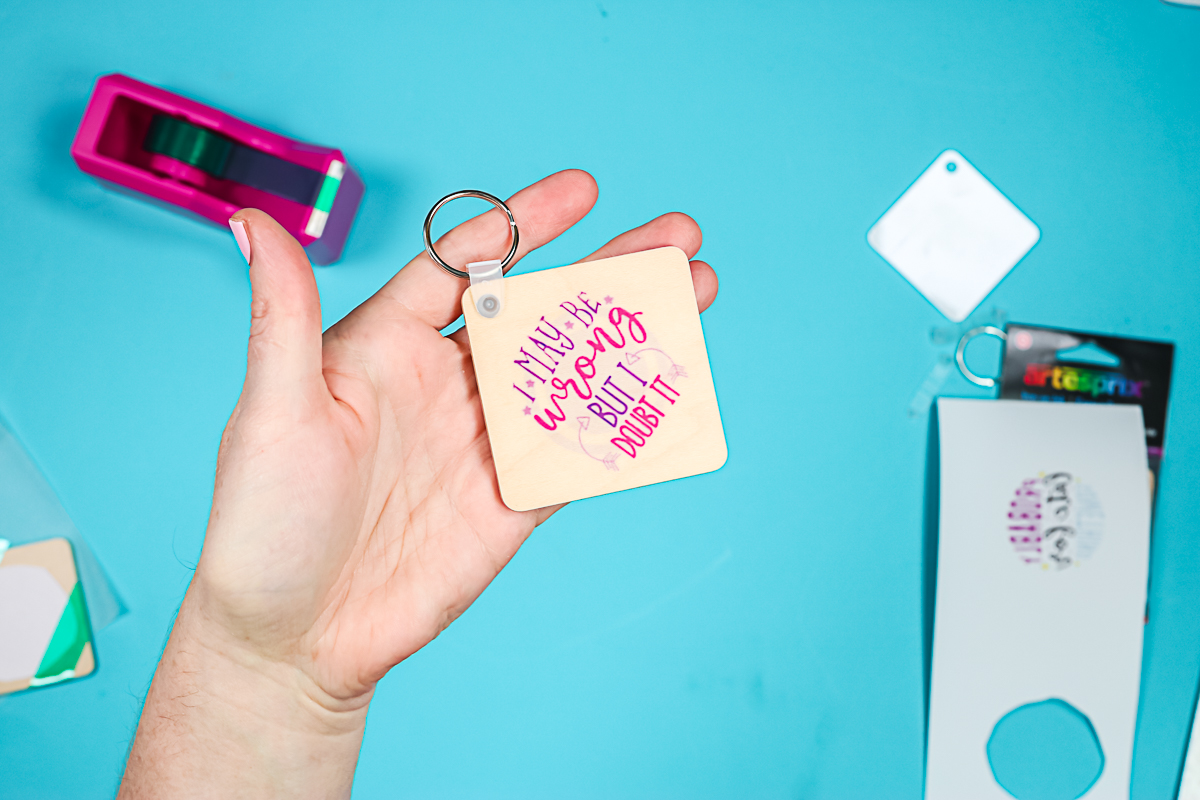
After it is cool and you’ve removed that sublimation print, you just add this keyring to the top with the enclosed little plastic piece that just snaps into the hole.
Faux Leather Sublimation Keychains
This next version is faux leather and you sublimate on the white side while the opposite side is glitter. Clean the white side with a lint roller before beginning.
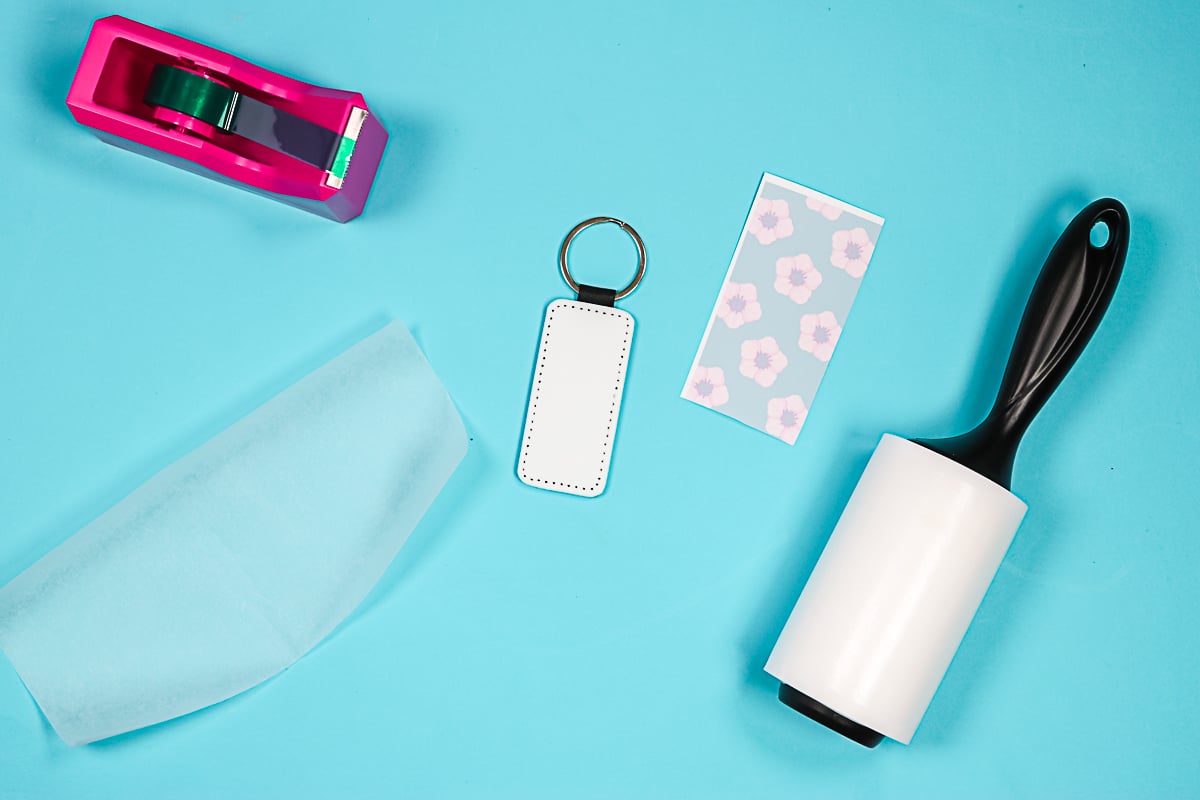
Apply the sublimation print and tape into place with heat-resistant tape. You do need to mirror your design. Add protective paper on the top as well as the bottom – making sure that everything is covered. Put it in your heat press with the print side up and press at 360 degrees for 50 seconds.
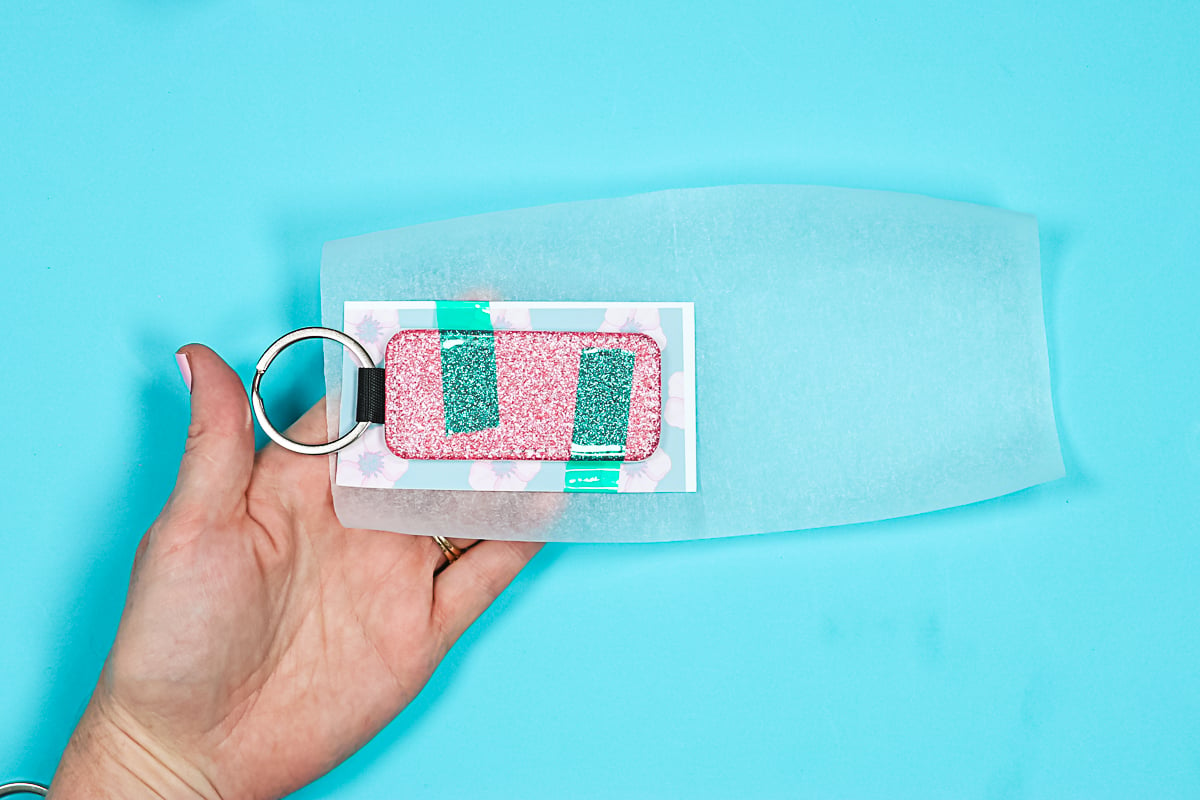
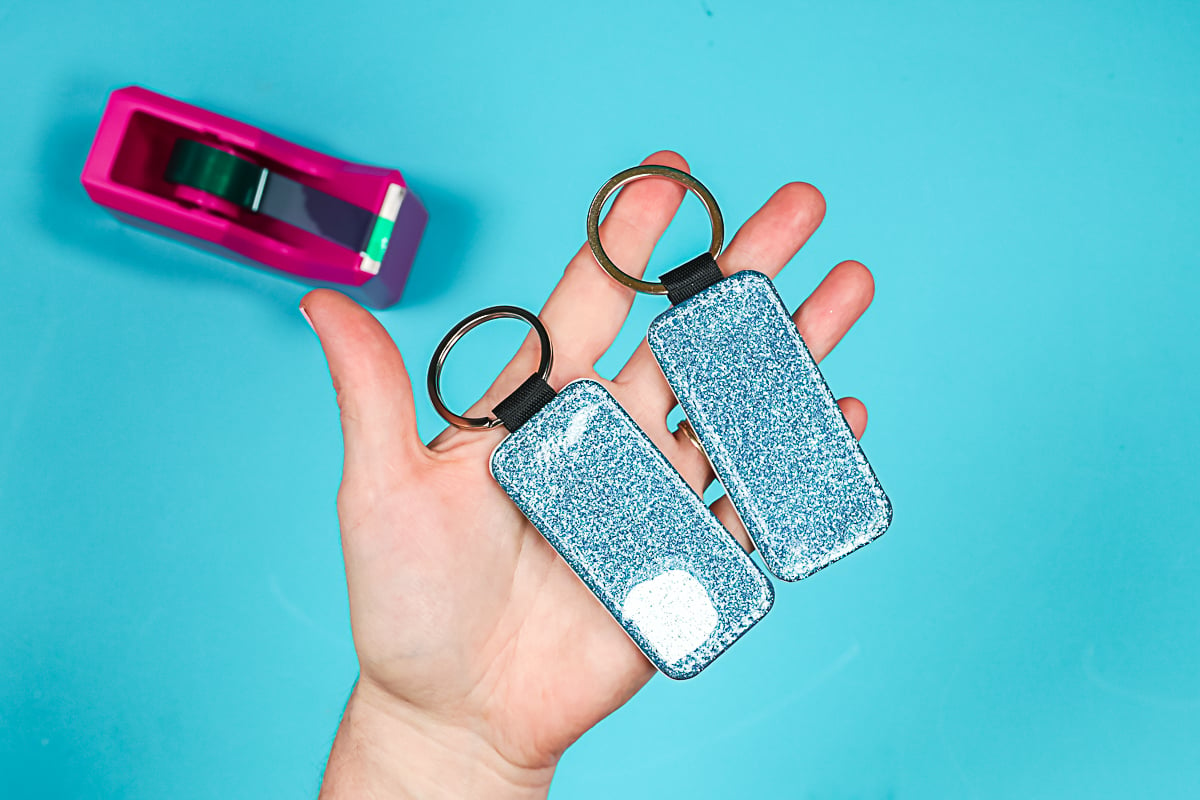
After pressing, remove the sublimation print to reveal your design. There is something you need to be aware of before you do that! Here are two of these that I pressed. They both look amazing on the sublimation side.
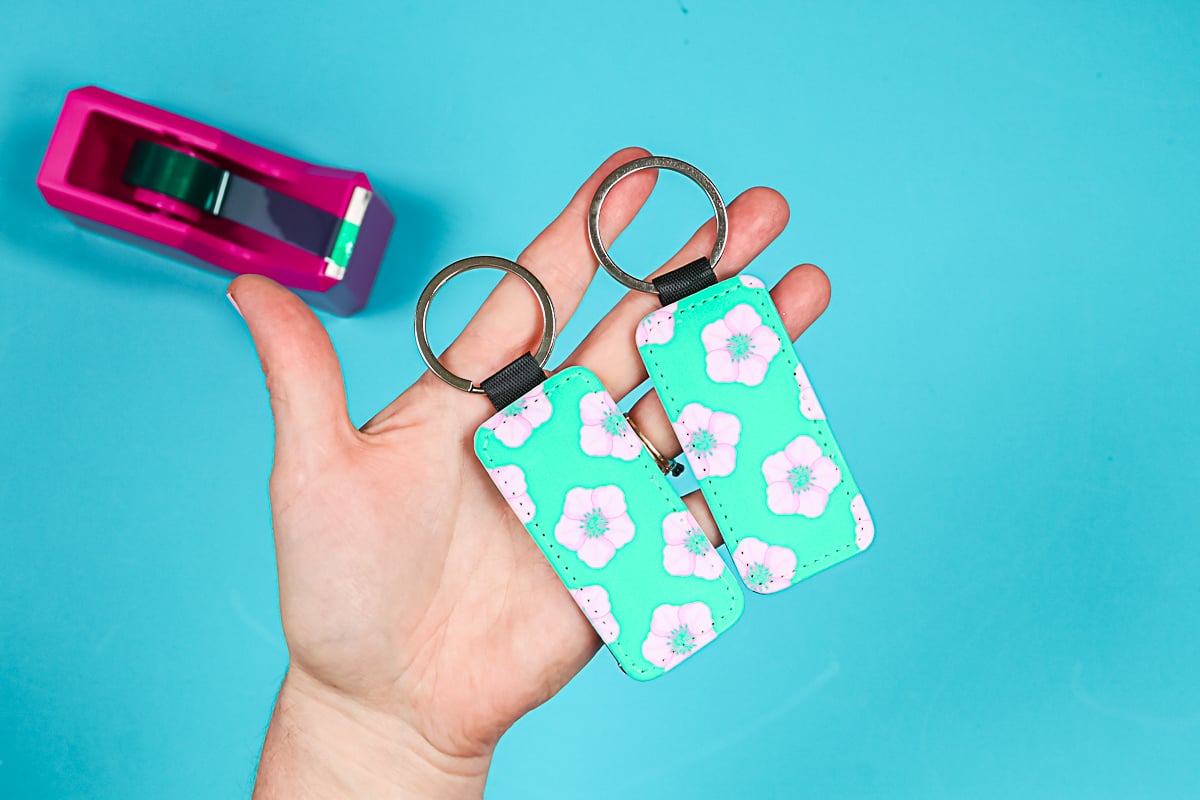
However, on the glitter side, one of them is messed up. I tried to peel the tape while the blank was still hot. You need to let these cool completely in order for the glitter side to peel the tape correctly. Be sure to allow these to cool before you peel your tape.
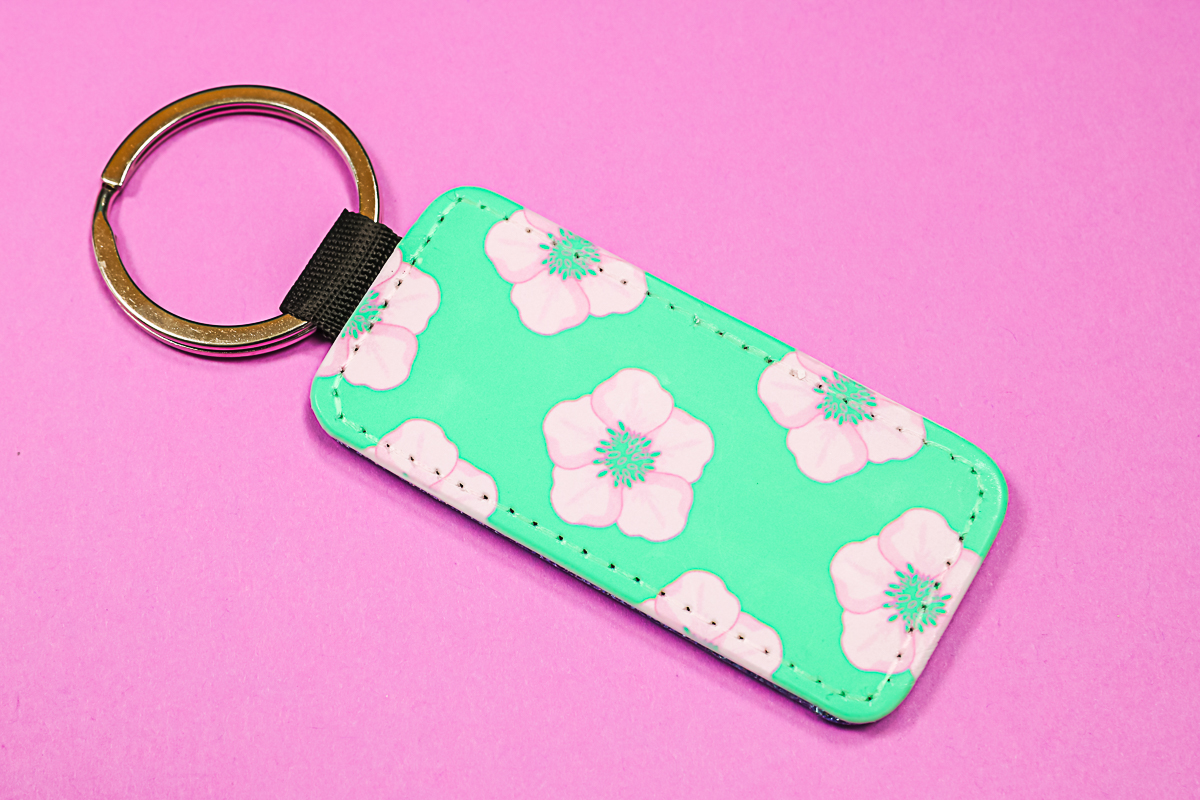
These are great sublimation keychains for adding any print so be sure to give these a try!
Acrylic Sublimation Keychains
With these acrylic blanks, you want to sublimate on the frosted side and NOT mirror your print. You will sublimate on the back and the print will show through to the front. Clean the keychain with a lint roller as you have with the previous blanks.
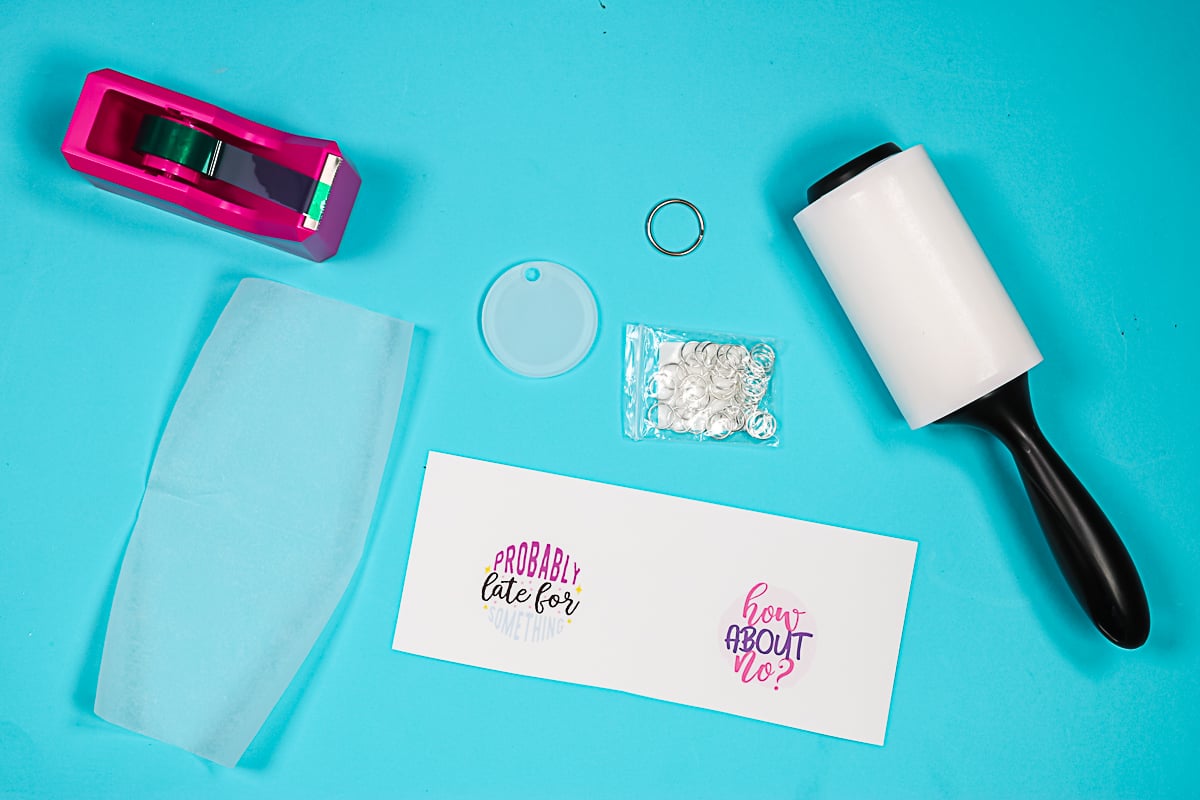
Cut around the print and add to the frosted side. You should be able to see the print through the key chain and locate it correctly. Use a couple of pieces of tape to secure into place then cover with protective paper on the top and the bottom. Press with the print side up at 400 degrees for 60 seconds.
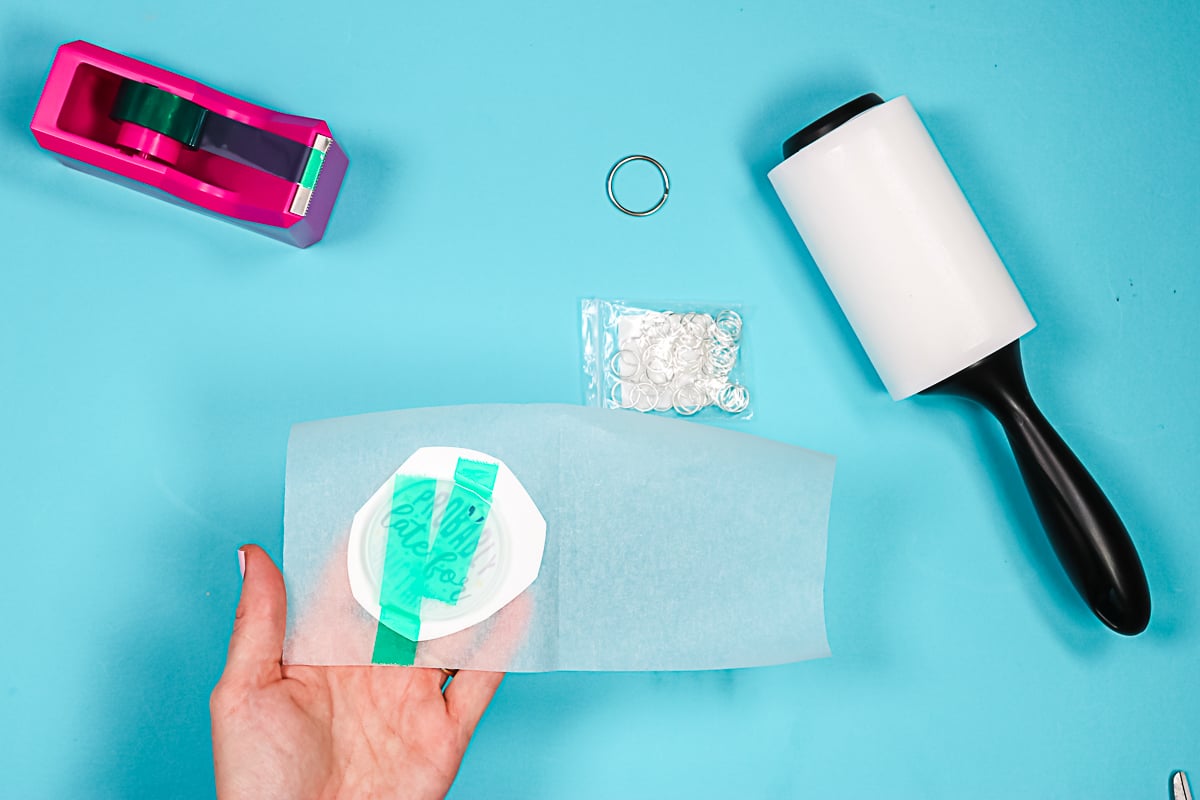
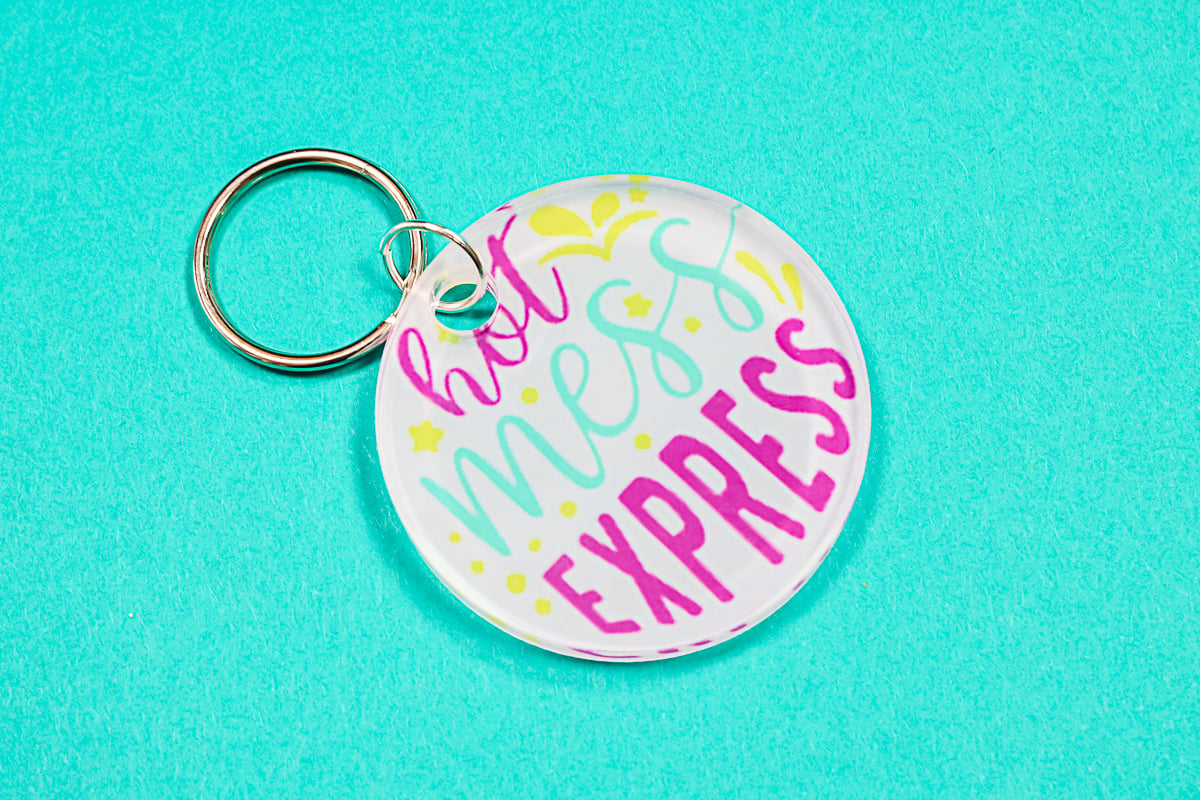
Peel off your sublimation print and assemble this one with a keyring and some jump rings. Here is one version of that one ready to go.
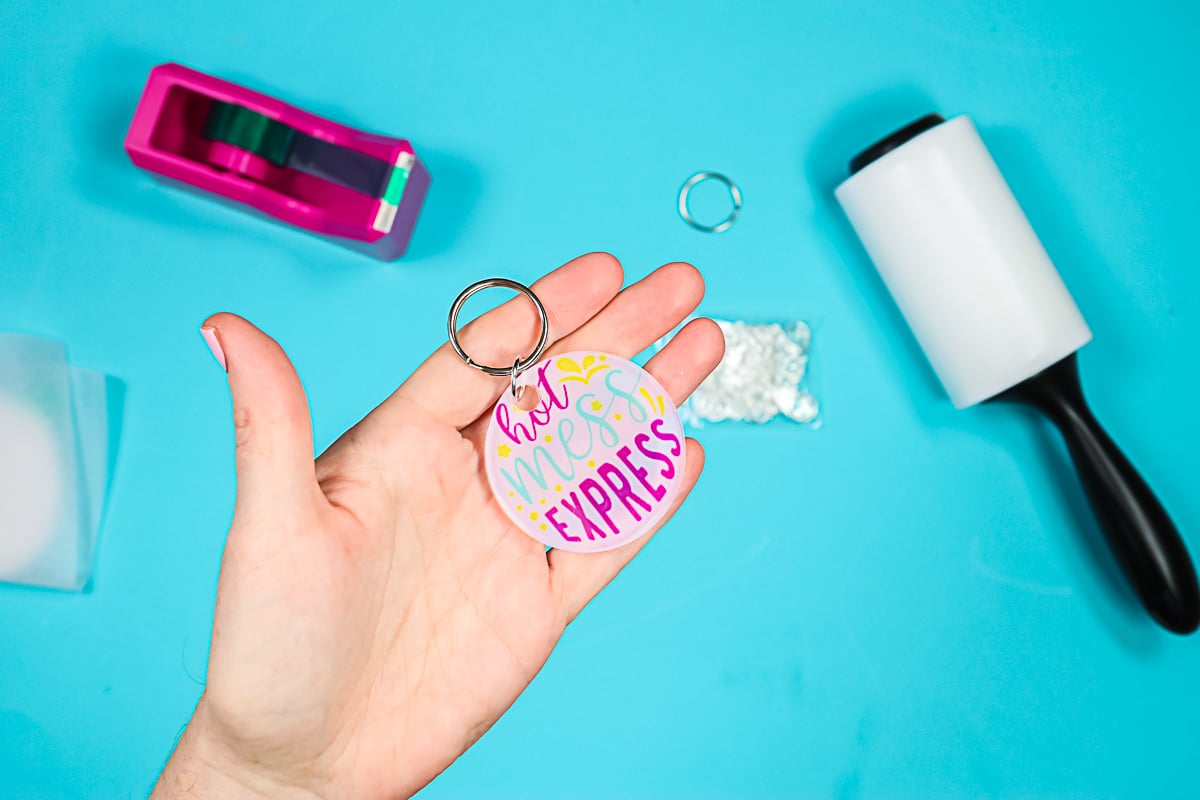
As you can see, once you sublimate on it, your sublimation print shows right through that frosted side, all the way through to the clear side. Remember, you do have to buy the jump rings and the keyrings separately for this listing.
Neoprene Lanyard Keychain
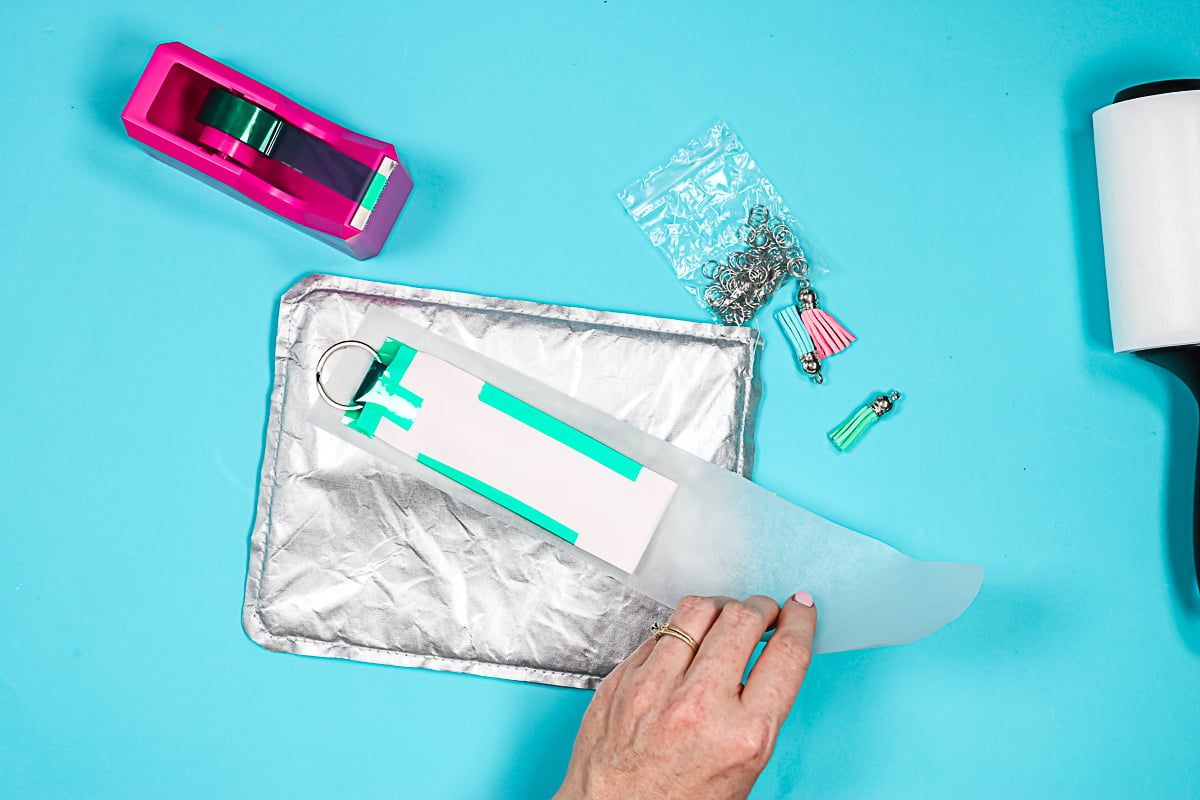
Next up is this lanyard keychain. I ran into quite a few instructions saying that it required something special to do a full wrap on these. I developed my own method and it’s been working. Start by printing a full page of some kind of sublimation print and mirror before printing. Then cut it to where it’s wider than the keychain itself. As always with all of these, we’re going to lint roll to clean but this time clean both sides.
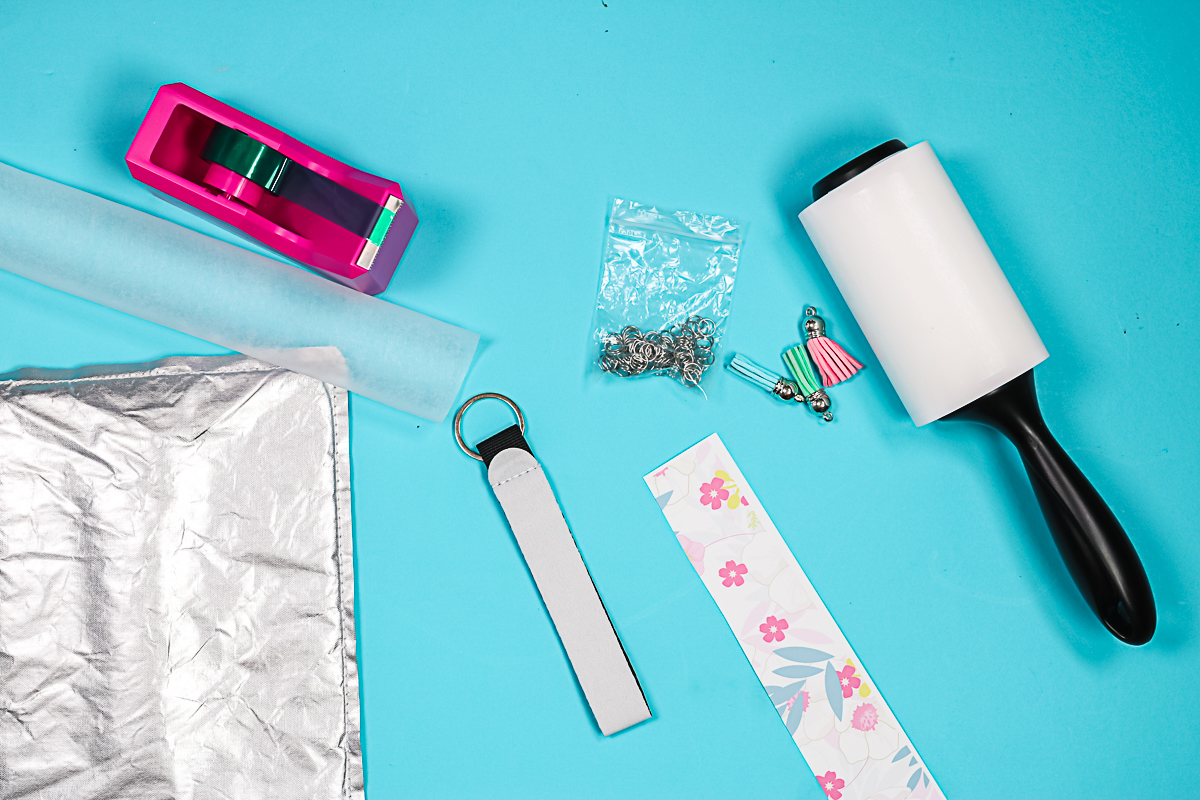
Then add the sublimation print to where it covers the entire white portion. Wrap it around where it covers the front and the back and hold it tightly. Trim away any excess in length with scissors. Then tape into place around the top as well as on the sides. This is the taping method that’s been working for me. Now the lanyard itself is covered with sublimation print. Since this is an uneven surface, I put it on top of a pressing pillow with protective paper on both sides. I press these at 400 degrees for about 50 seconds per side. Make sure the pressing pillow is pressed down about halfway with the pressure of the heat press.
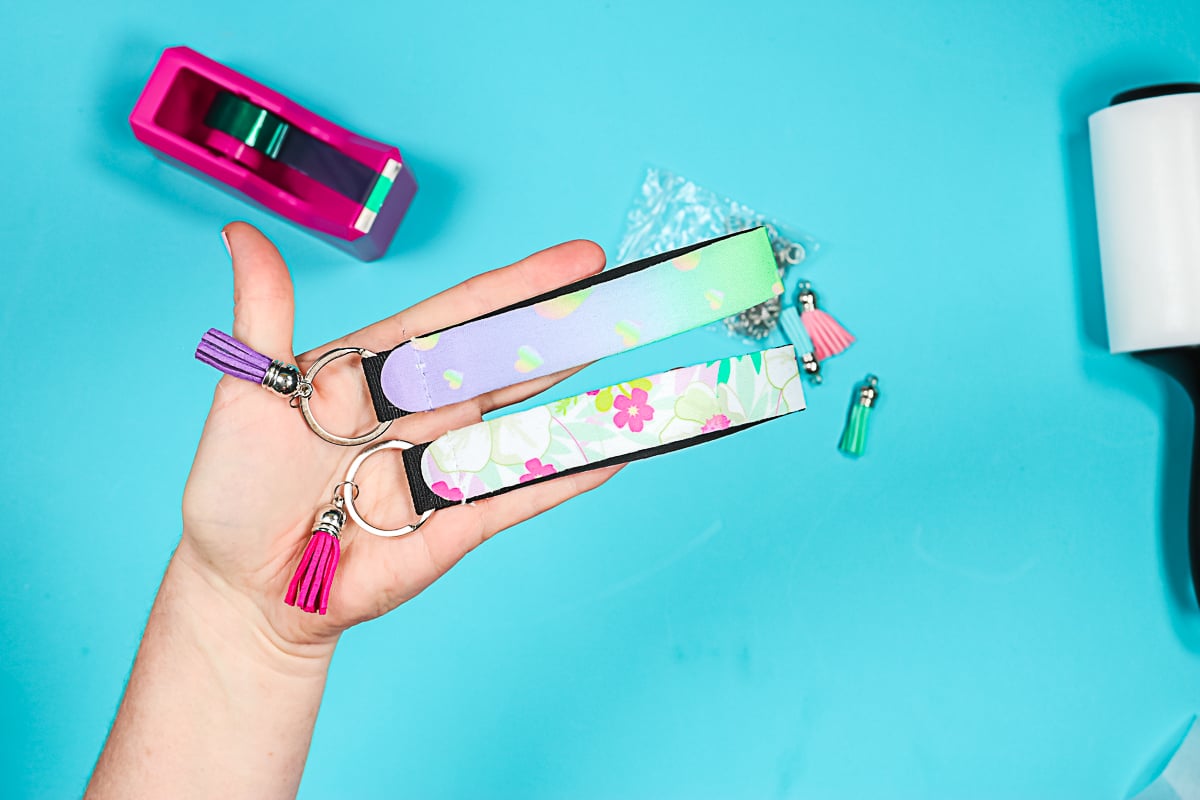
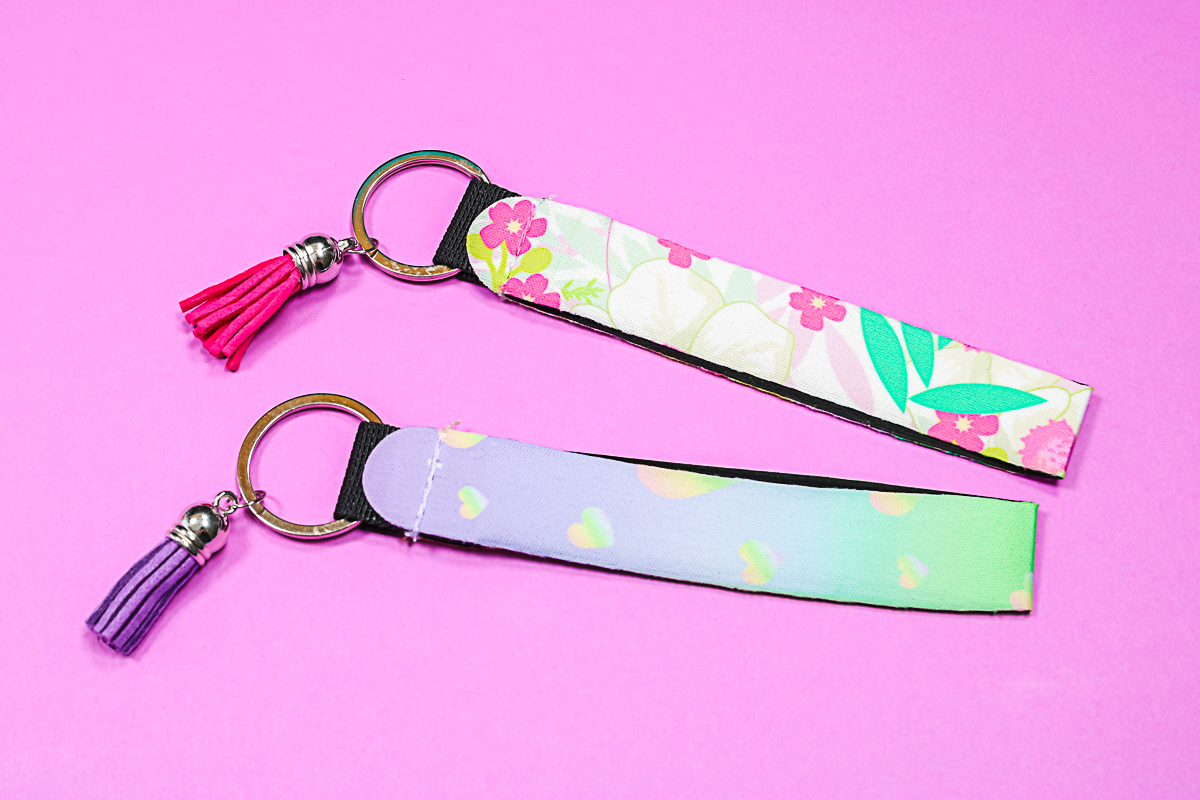
Remove your sublimation print while hot and admire your gorgeous keychain! In these examples, I’ve added the little tassel with the jump rings that came with the set. As you can see one is floral and one is a heart pattern.
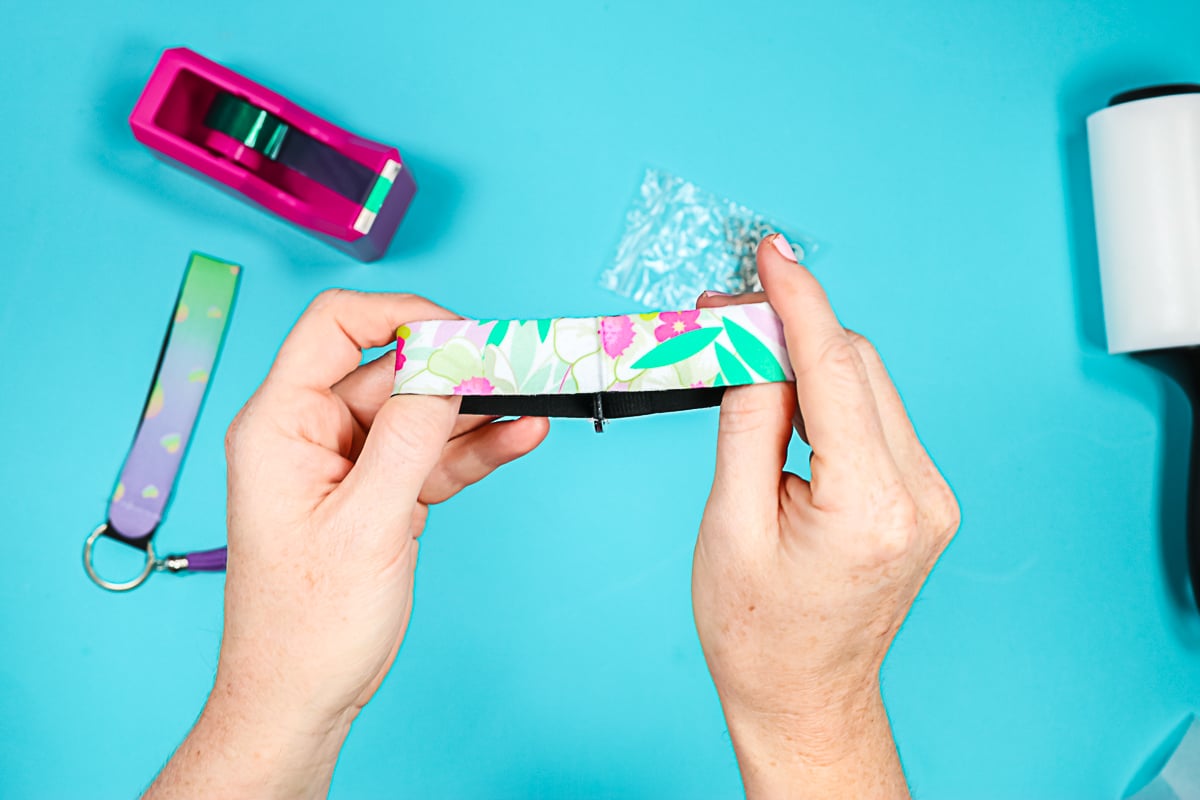
These patterns wrap all the way around to the other side. Here’s the seam on that floral pattern. As you can see, the pattern goes all the way around and it looks amazing with this method.
I definitely recommend this method if you’re going to press neoprene lanyard keychains. They turn out amazing and are perfect for gifts as well!
Picking Your Favorite Blank
All that’s left is for you to pick your favorite version and make your own sublimation keychains! I don’t know that I can pick a favorite as I love each and every one of these blanks.
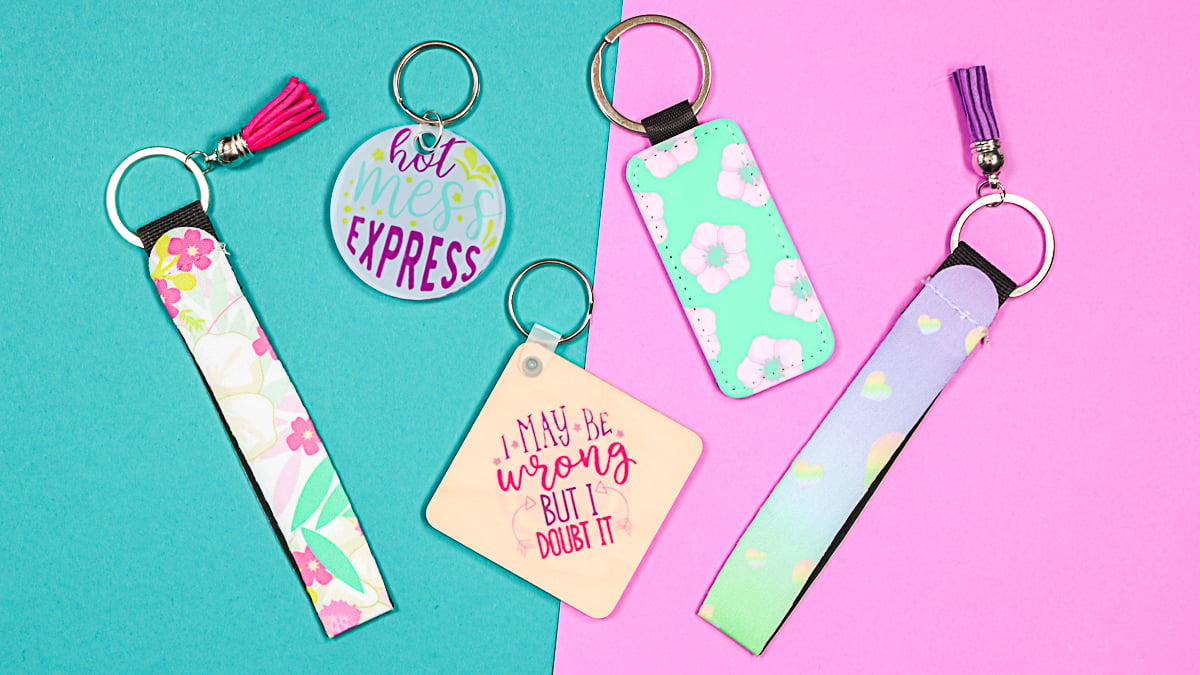
So, which of these sublimation blanks will you pick for your next project? These small blanks are also an inexpensive way to practice your sublimation skills and get better with your crafts.
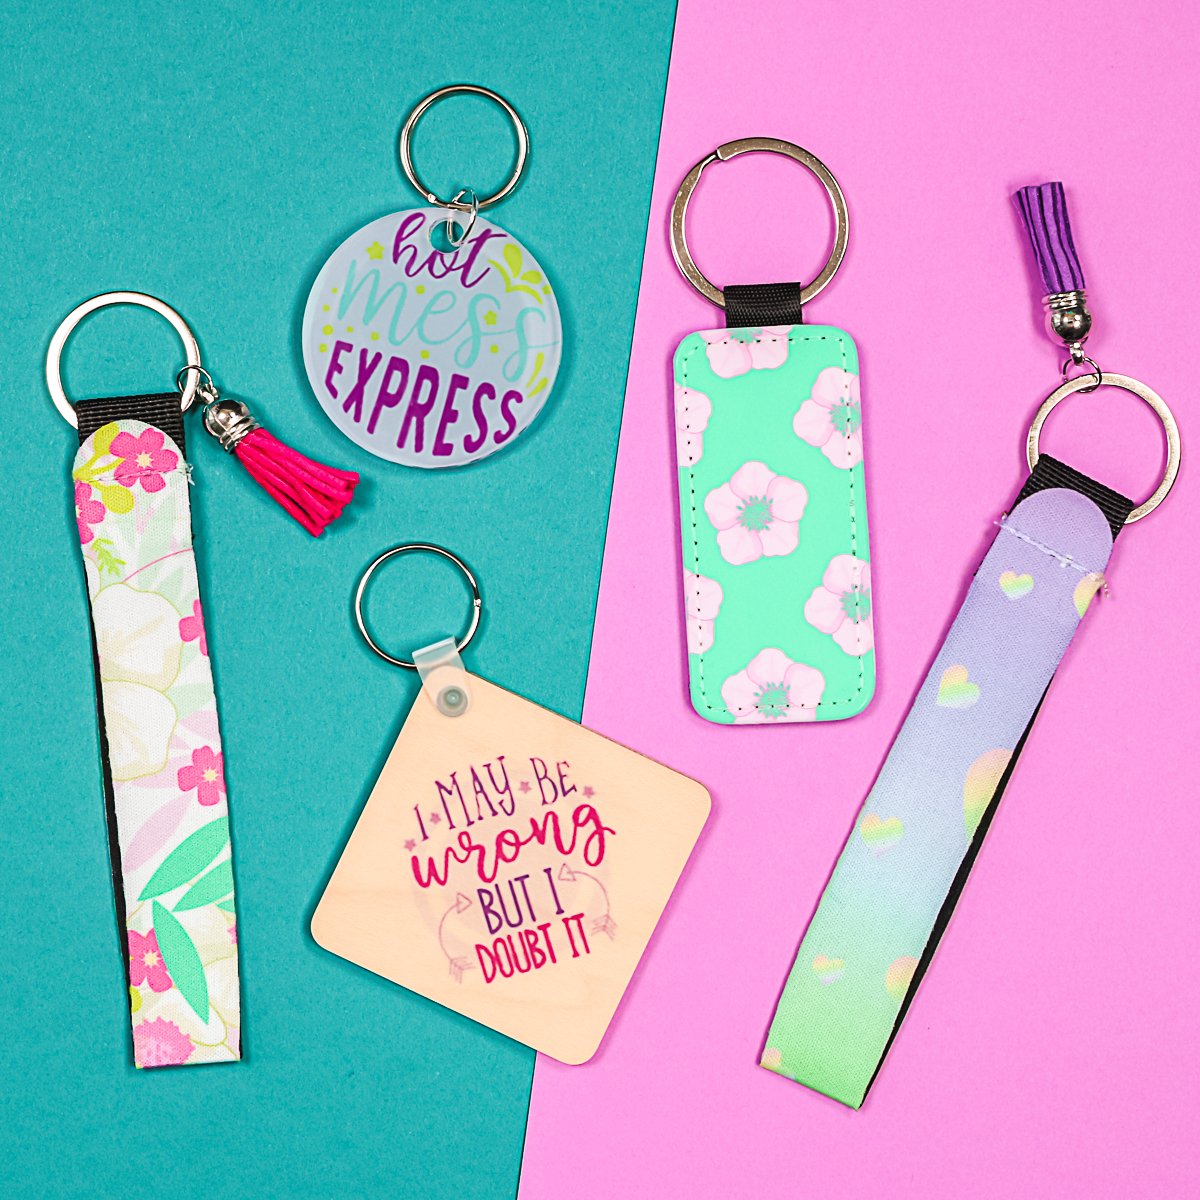
So, choose a few sublimation keychains to start with and then move up to more complicated sublimation crafts. I know you can do it! Sublimation may be intimidating but it is a craft that you can master!
Love these sublimation crafts and want more? Try the links below as well!



I bought some neoprene lip balm keychains and have worked my brain to find a design for them. I thought of holiday designs but wanted them to match all year through. Then I saw what you suggested to use is printable paper. I am so in love with that idea. I now know what to do. You are so awesome Angie
Thank you so much! I can’t wait to see what you make!
How Do I print two sided key chains? Each side separately or both sides at
once?
You can put both images on at the same time but you will need to flip it over and press each side separately 🙂