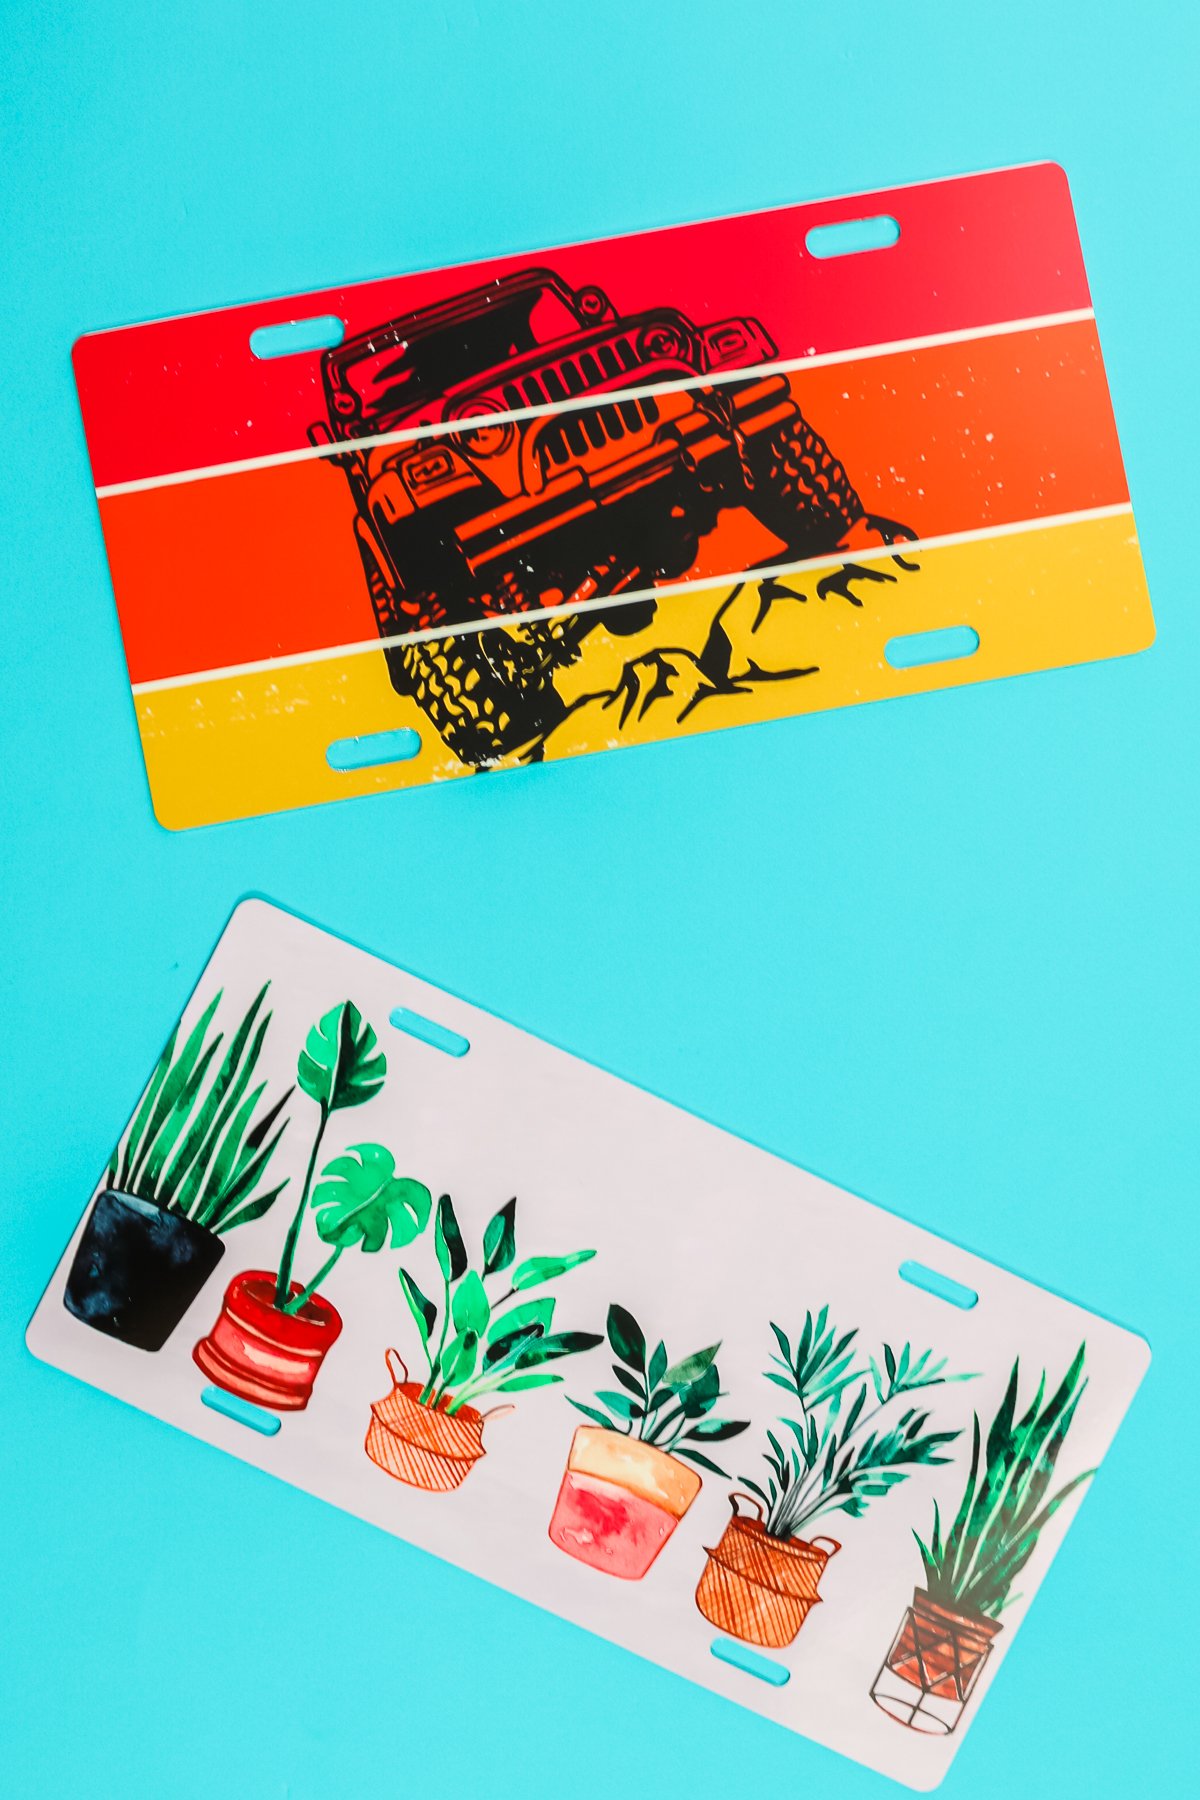
Want to make some sublimation license plates? I’m going to make a couple of different versions today, including regular license plates and ones that glow in the dark. A couple of weeks ago, I did the basics of sublimating on metal and you wanted more sublimation on metal tutorials. The great part about the Duraluxe panels I am using is that they are rated for outdoor use and UV resistant. So, let’s take a look at how to make custom license plates with sublimation.
Sublimation License Plates
You do need to do a few special things in order to sublimate on these license plates correctly. Click play on the video below to see the entire process.
Can’t watch the video or miss some of the information? You can also follow along with the instructions below.
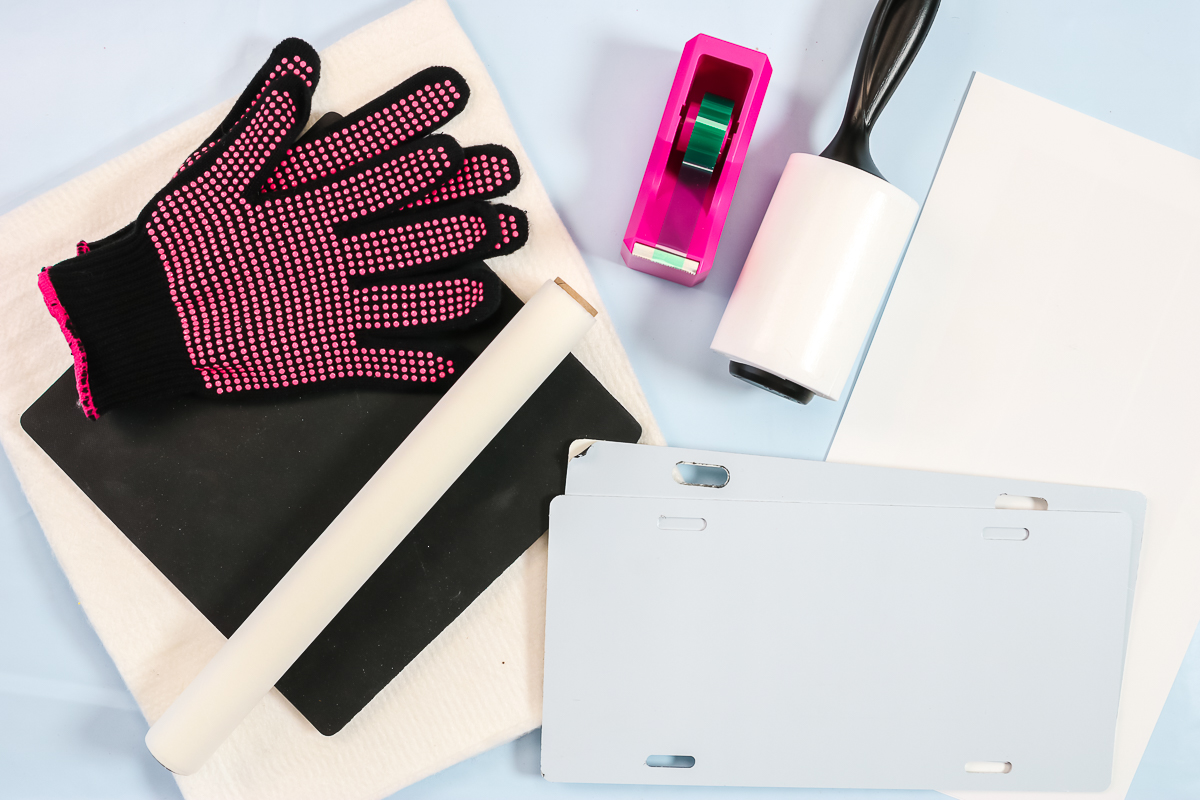
Supplies Needed
- Sublimation License Plates
- Duraluxe Glow in the Dark License Plates (no longer available)
- Sublimation printer
- Sublimation ink
- Heat Press
- Sublimation paper (you will need the 8 1/2 x 14 size)
- Heat Resistant Gloves
- Lint Roller
- Heat Resistant Tape Use code CCC10 for 10% off
- Artesprix Protective Paper Use code CCC10 for 10% off!
- Nomex Pad
- Heat resistant mat Use code CCC10 for 10% off!
Printing the Sublimation Print
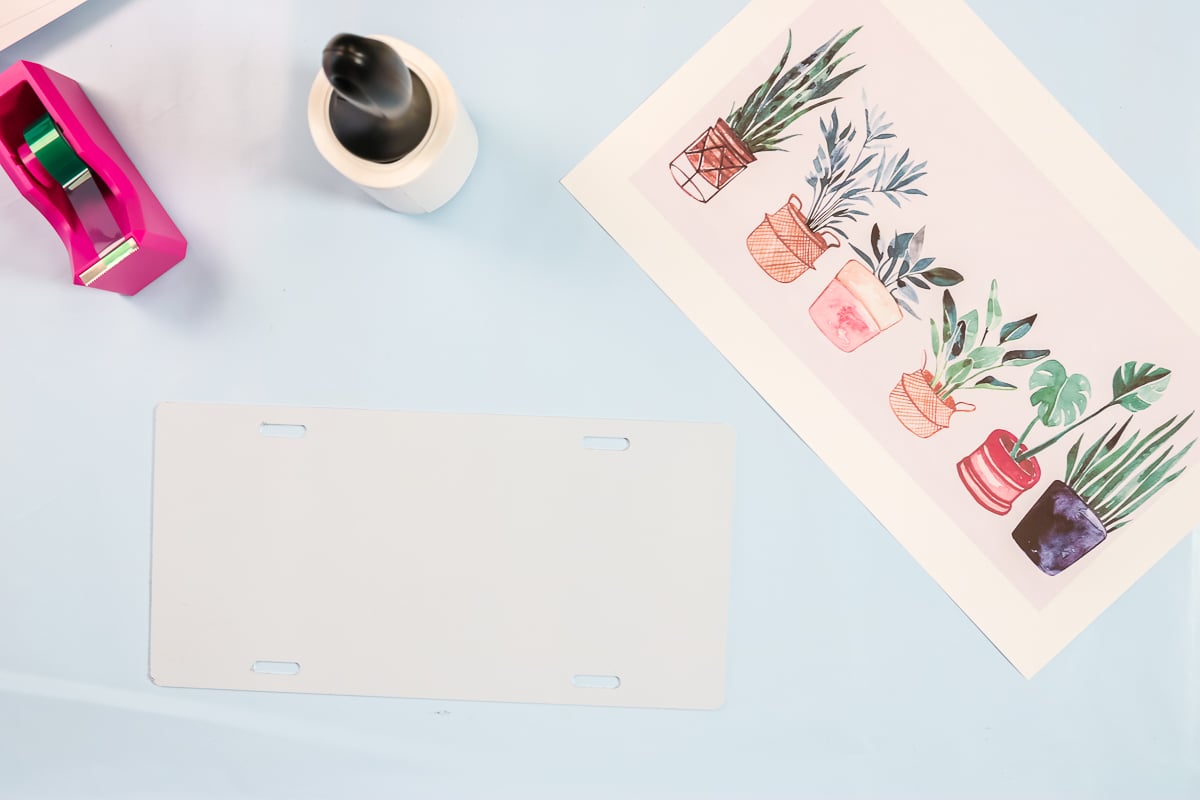
The license plate blanks are about 5.88 inches by 11.88 inches, so it will not work on an 8 1/2 x 11 sheet of sublimation paper. My Epson EcoTank printer will print up to 8 1/2 x 14 inches. You may need to buy a larger size paper to make this project. Print the design of your choice on the paper. Be sure to mirror the design when printing.
Prepping the License Plate
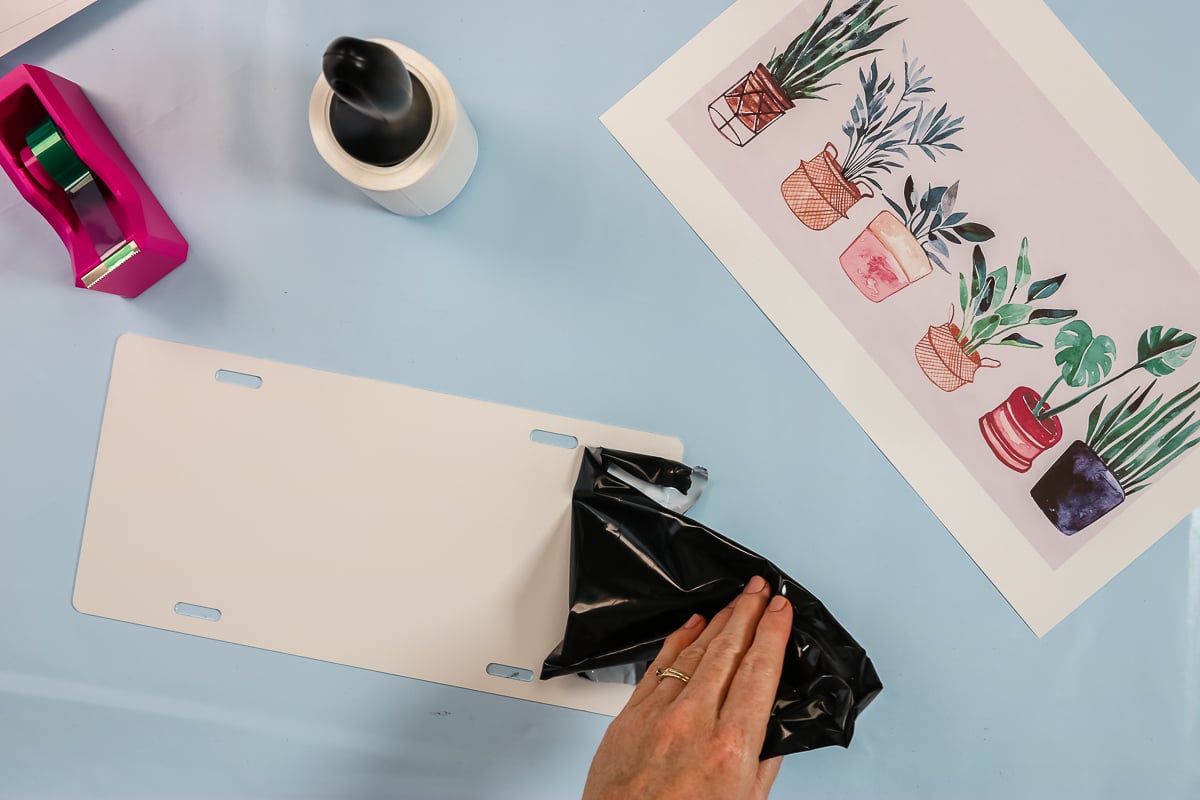
You will need to remove the protective film from the license plate itself. Just start it in one corner and peel it back. This protects the finish of the license plate during shipping. Clean your license plate well by going over the entire top with a lint roller.
Adding a Sublimation Print
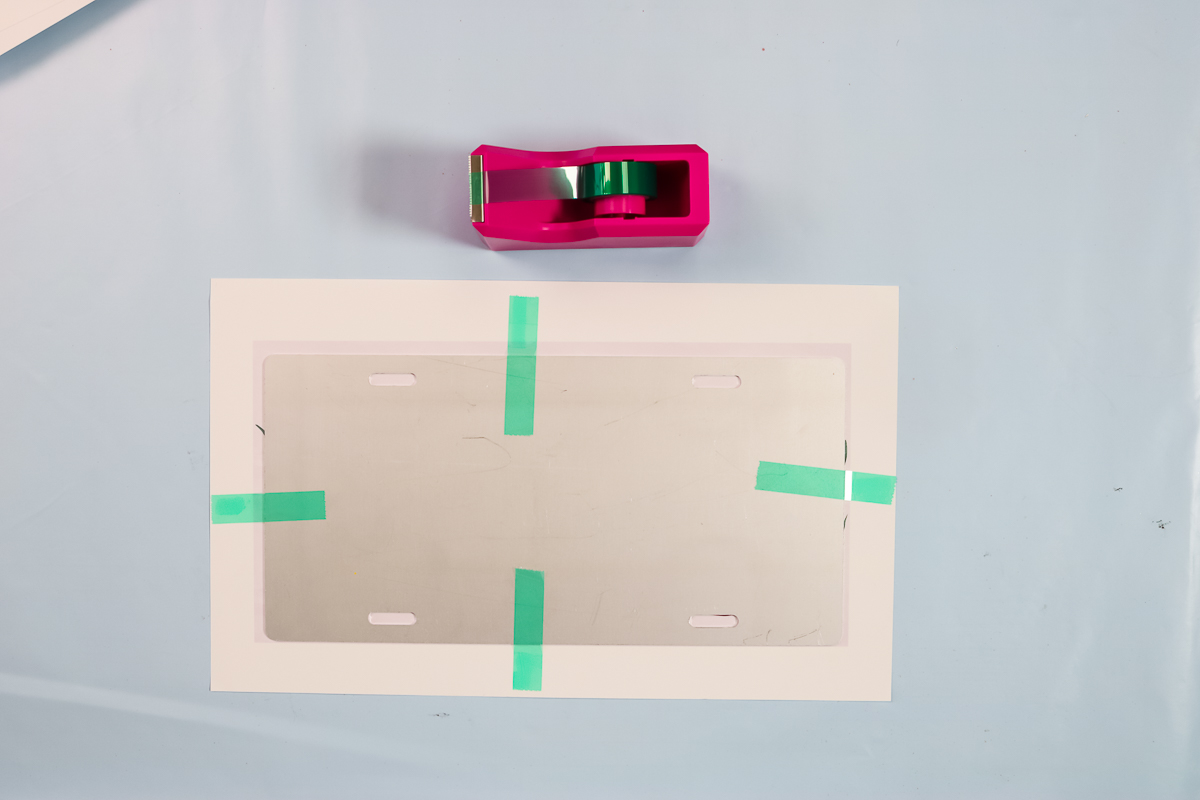
Take your sublimation print, put it on the table with the ink side up, and turn the license plate over with the sublimation side down on the print. Locate it correctly by making sure your entire license plate is covered with your design. Tape the license plate to your paper. I like to add heat resistant tape in four places to hold it still while I’m sublimating.
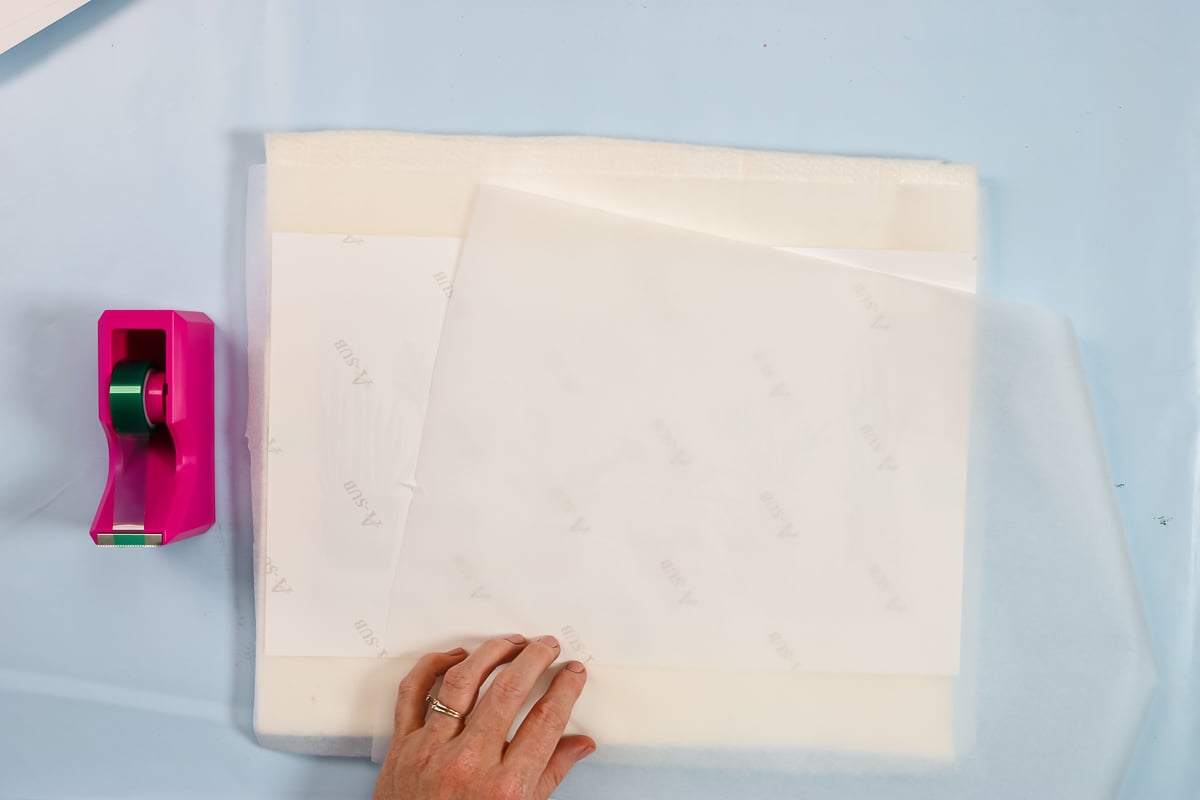
In the heat press, put a Nomex pad or sublimation felt on the bottom, a sheet of protective paper, then the license plate. You will want to flip this over with the sublimation print on the top. Add protective paper over the top of that as well.
Putting the License Plate in the Heat Press
Set your heat press at 385 degrees for 120 seconds and medium pressure. Once it is heated, cycle your heat press up and down a few times to warm up the base before you actually add the license plate to the press. Add the Nomex pad next and again cycle a few times to warm the base. Then add the license plate with the protective paper on the top and bottom. Be sure your sublimation print is on top and press for the full time and the full temperature.
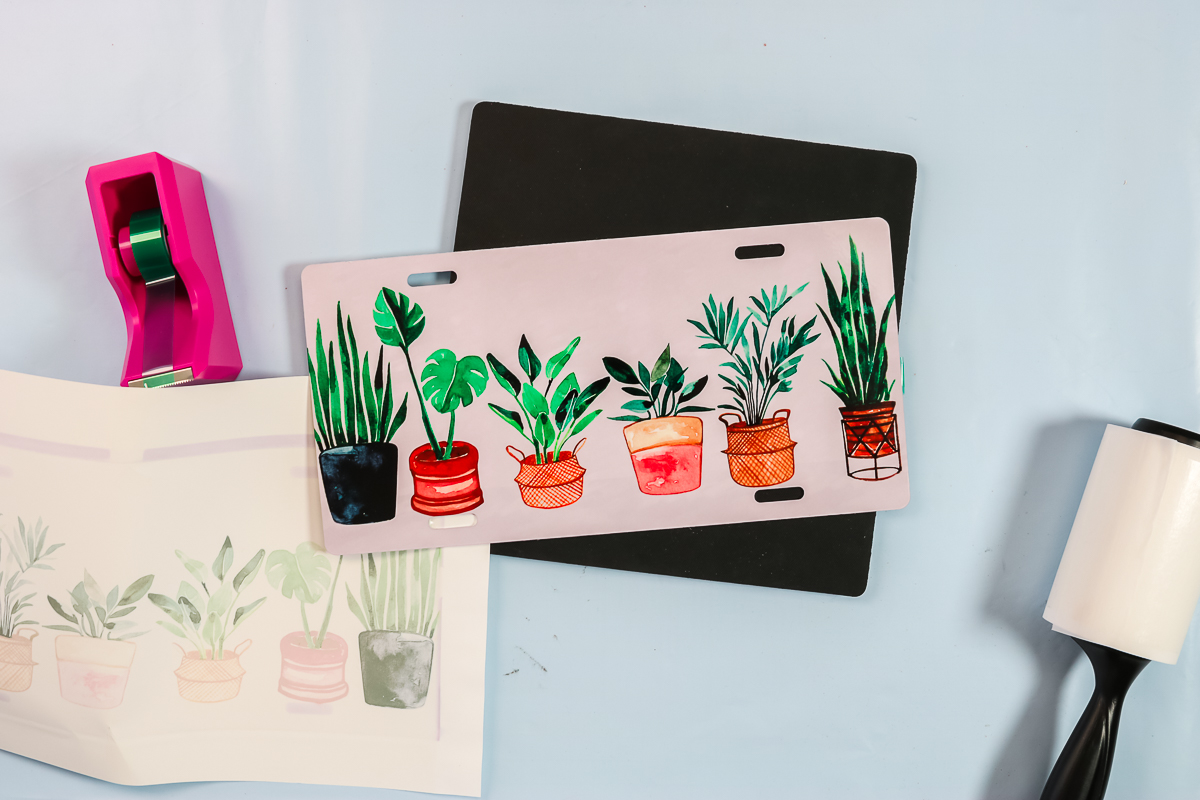
Once you have heated, remove the plate while wearing heat resistant gloves. Put it on a heat resistant mat and remove the sublimation print to reveal your gorgeous design.
Sublimation License Plates
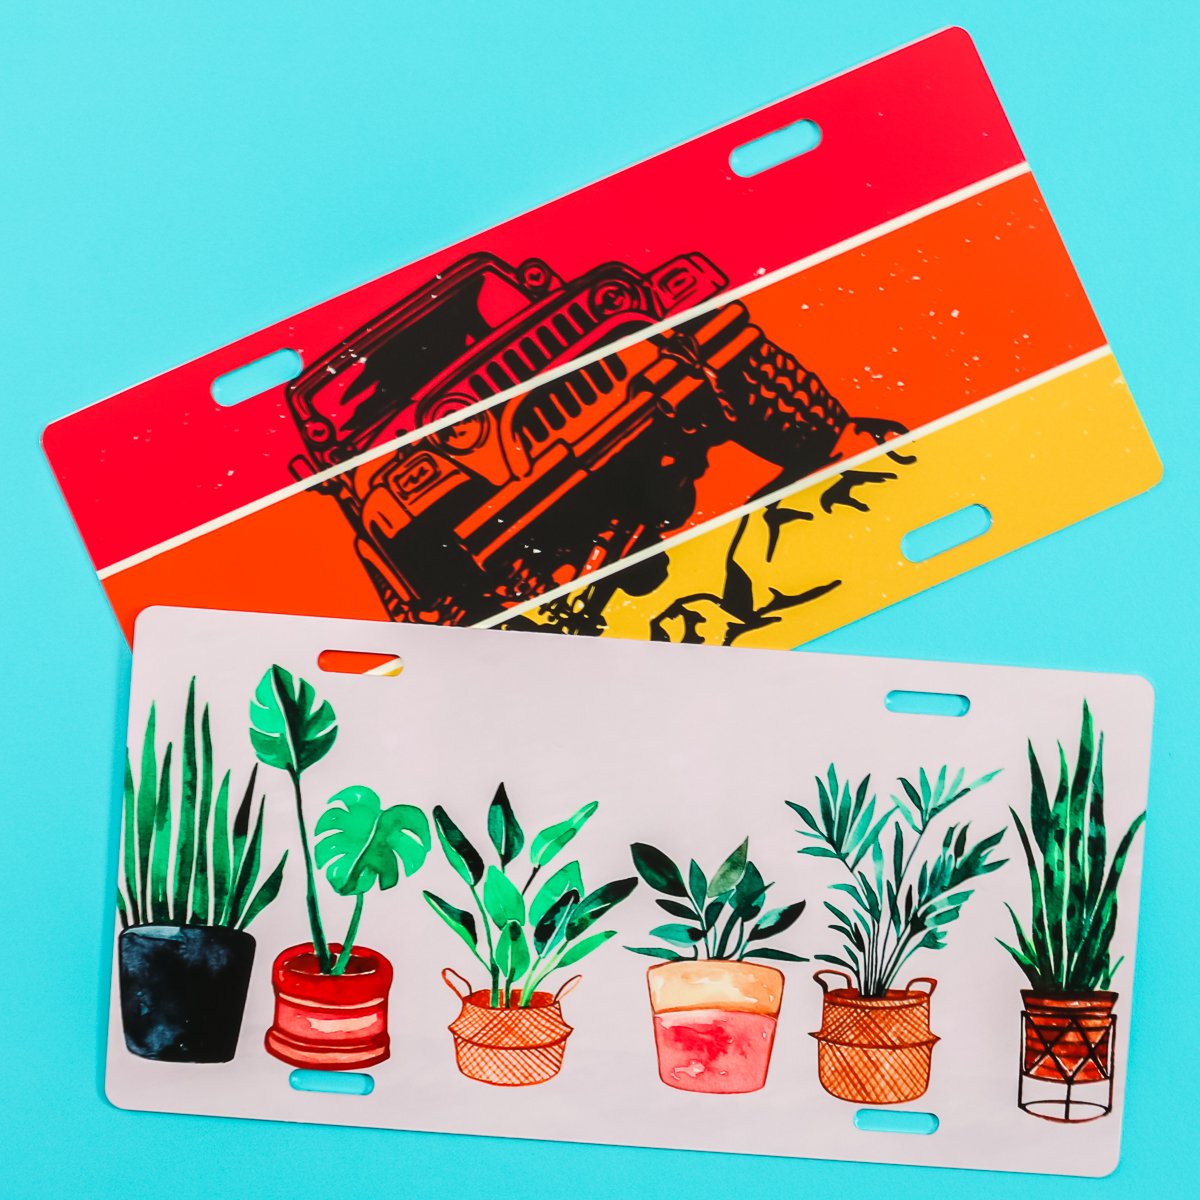
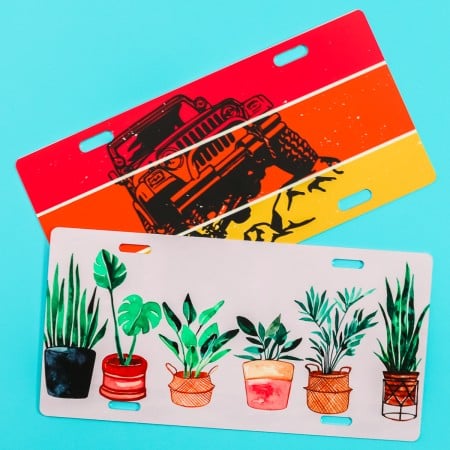
My first design is a stunning license plate for a plant lover. Adding a sublimation print to a metal license plate is actually an easy process and perfect for giving gifts.
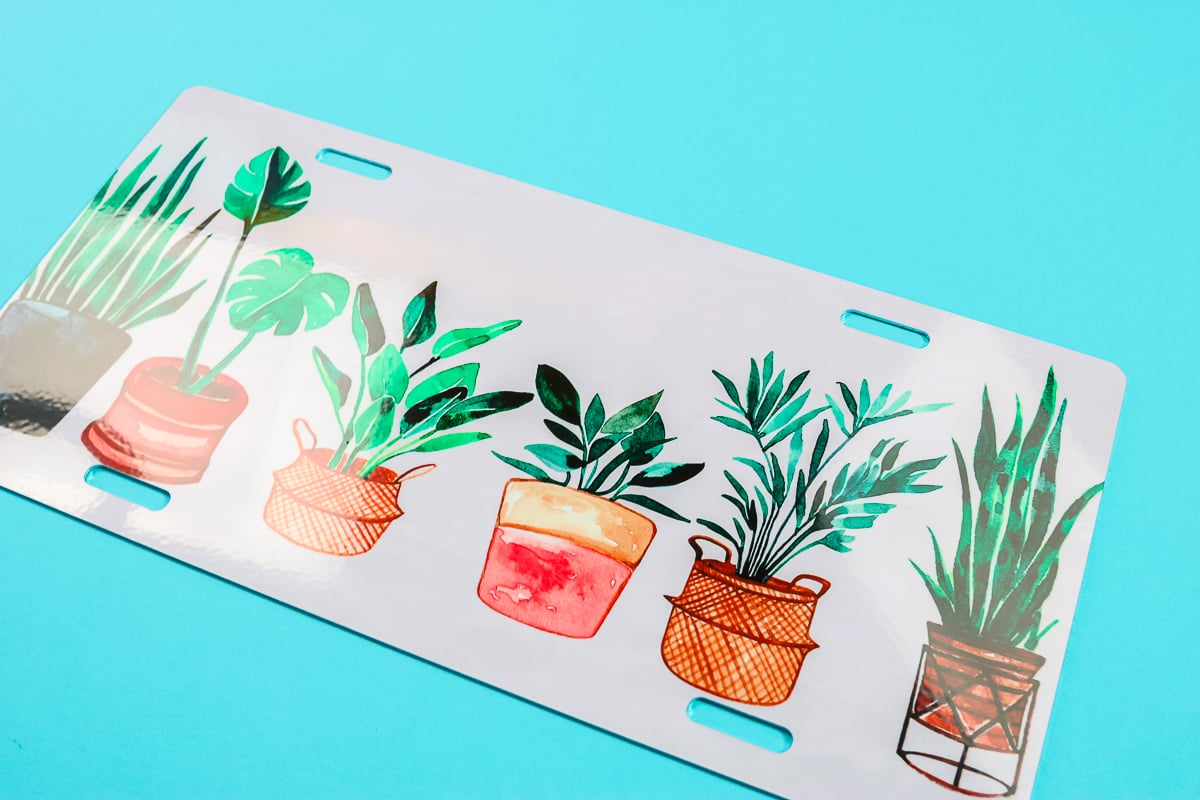
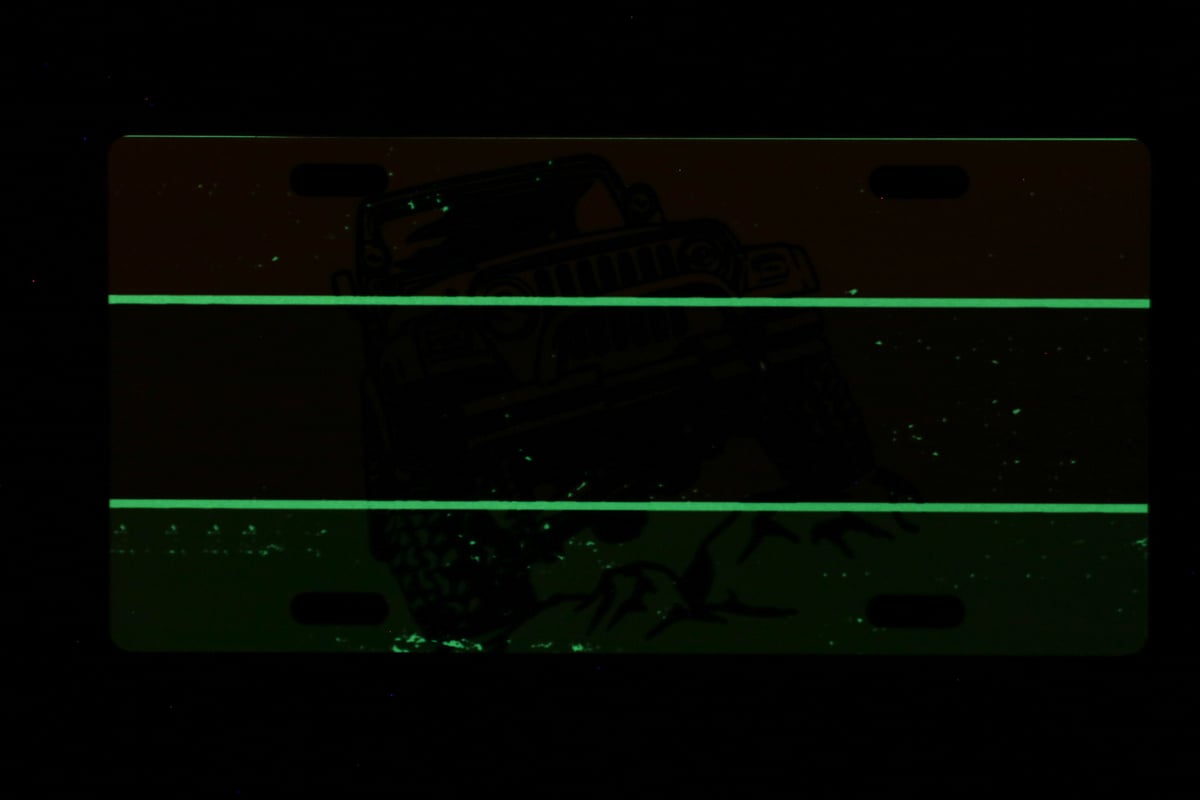
Want to make a glow-in-the-dark version? Just use the glow-in-the-dark blank and the same process as I have outlined above for making sublimation license plates.
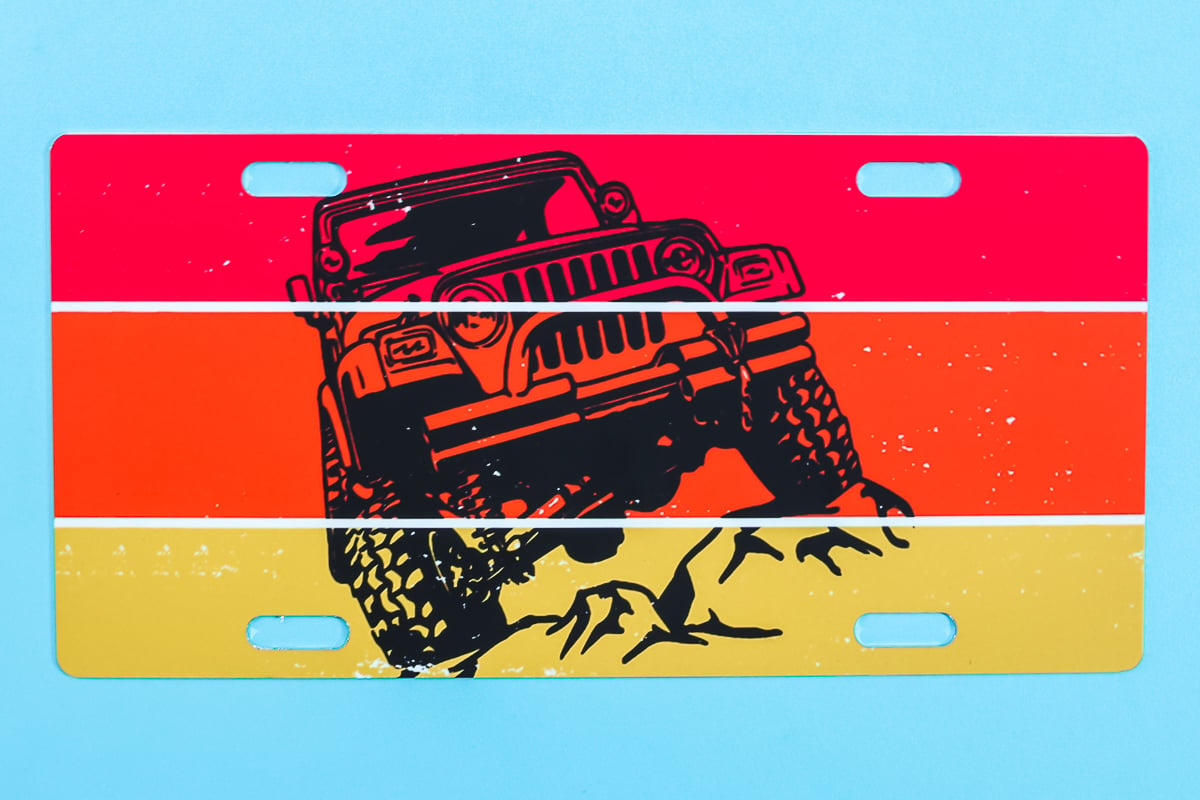
Then just turn off the lights and the plate will glow anywhere the white of the blank shows through!
The best part of this project is that you can customize it to whatever you want, or whatever your gift recipient would like. You can even choose from the white finish, glow-in-the-dark, or several other finishes on the Duraluxe website.
Be sure to make some custom license plates for your vehicle or to give as gifts to family and friends. To me, it’s a completely out-of-the-box idea for gift giving. Grab some sublimation license plates and get started!
Looking for more sublimation craft ideas? Try the links below as well!

Want to print the instructions for making sublimation license plates? Use the card below!
Supplies
- Duraluxe License Plates
- Sublimation printer
- Sublimation ink
- Heat Press
- Sublimation paper you will need the 8 1/2 x 14 size
- Heat Resistant Gloves
- Lint Roller
- Heat Resistant Tape
- Artesprix Protective Paper
- Nomex Pad
- Heat resistant mat
Instructions
Printing the Sublimation Print
- The license plate blanks are about 5.88 inches by 11.88 inches, so it will not work on an 8 1/2 x 11 sheet of sublimation paper. My Epson EcoTank printer will print up to 8 1/2 x 14 inches. You may need to buy a larger size paper to make this project. Print the design of your choice on the paper. Be sure to mirror the design when printing.
Prepping the License Plate
- You will need to remove the protective film from the license plate itself. Just start it in one corner and peel it back. This protects the finish of the license plate during shipping. Clean your license plate well by going over the entire top with a lint roller.
Adding a Sublimation Print
- Take your sublimation print, put it on the table with the ink side up, and turn the license plate over with the sublimation side down on the print. Locate it correctly by making sure your entire license plate is covered with your design. Tape the license plate to your paper. I like to tape in four places to hold it still while I’m sublimating.
- In the heat press, put a Nomex pad or sublimation felt on the bottom, a sheet of protective paper, then the license plate. You will want to flip this over with the sublimation print on the top. Add protective paper over the top of that as well.
Putting the License Plate in the Heat Press
- Set your heat press at 385 degrees for 120 seconds and medium pressure. Once it is heated, cycle your heat press up and down a few times to warm up the base before you actually add the license plate to the press. Add the Nomex pad next and again cycle a few times to warm the base. Then add the license plate with the protective paper on the top and bottom. Be sure your sublimation print is on top and press for the full time and the full temperature.
- Once you have heated, remove the plate while wearing heat resistant gloves. Put it on a heat resistant mat and remove the sublimation print to reveal your gorgeous design.


