If making sublimation mugs is on your to-do list, you are going to love today’s tutorial. I am going to show you a large variety of different sublimation mug blanks and how each one turns out with this fun donut sublimation print.
By using the same design on all of these different sublimation mug blanks we’ll get a good idea of how different blanks take sublimation prints and how well the colors show up on the different surfaces.
If you’re trying to find the right heat source for your mug blanks, I have reviews of the Cricut Mug Press and the PYD Life Tumbler Press that you may find helpful.
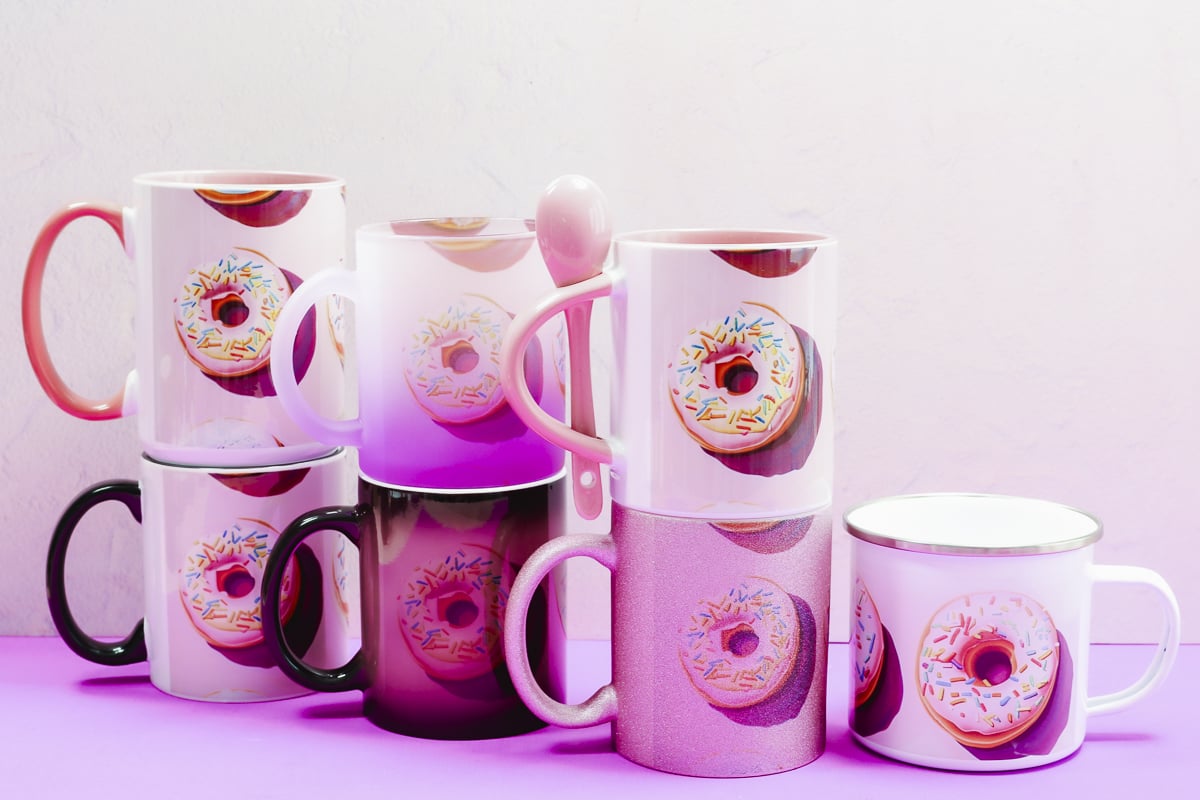
There are so many different sublimation mug blanks that you no longer need to use plain white sublimation mugs.
You can watch me go through the whole process of making mugs by pressing play on the video below.
Sublimation Mug Blanks
This is just the tip of the iceberg of sublimation mugs on the market. I wanted to show you a variety of different options so you have an idea of what you can do with a sublimation print and a mug.
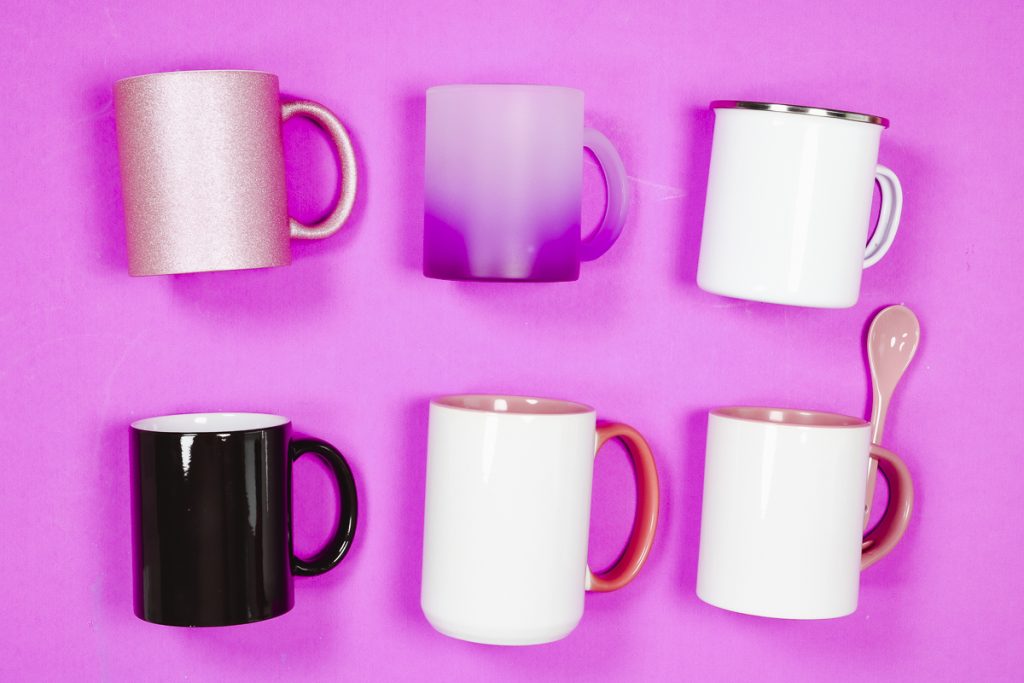
You can get sublimation mugs in ceramic, glass, or metal in a variety of shapes, different colors, and different finishes. The list below are the ones I used but these are just a few of the versions available.
- Cricut Mugs
- Pink Glitter Mug
- Frosted Glass Mug
- Spoon Handles Mug
- Camping Mug
- Colored Handle Mugs
- Color Changing Mugs
Glitter Sublimation Mug
First, we have a glitter sublimation mug. This mug is ceramic and covered in glitter. It does have a color and you can sublimate right on top of it. The color will show through so you’ll want to keep that in mind when you’re deciding on a sublimation print.
Frosted Glass Mug
The next mug is a glass mug that has an ombre effect. The bottom of the mug is purple and it gets lighter as it moves up the mug. Just like the glitter mug you need to be aware of the color and how it may impact your design.
I do not use my Cricut Mug Press with glass blanks. I have seen people have their mug press break using glass mugs in them. To prevent that, I use my sublimation oven or another tumbler press that can take mugs when I’m using glass mugs.
Metal Camping Mug
For my metal sublimation mug, I am using a camp-style mug that has a lip around the top. You can find metal sublimation mugs in a variety of different styles including travel mug styles with a lid.
Color Changing Sublimation Mug
I know what you’re thinking, that mug is black how can you sublimate on something black? This is a color-changing mug. When you put a hot liquid in it, the mug turns white exposing whatever you sublimated on it. This is such a great gift and a fun way to surprise someone!
Color Accent Sublimation Mugs
Next up we have a couple of different sublimation mugs that have colored accents. You can find these mugs with different colored handles and the inside is also a different color.
You can find these mugs in different sizes and some even have a spot to hold a stirring spoon. On these mugs, you will sublimate the white area.
This is just a few of the options available when it comes to sublimation mugs. I recommend taking a look at what’s out there, you may be surprised at all the different options.
How to Make a Sublimation Mug
Choose any of the blanks discussed above and sublimate right on the surface. The process is the same regardless of the mug you choose. I will call out any differences such as using a sublimation oven for the glass mug.
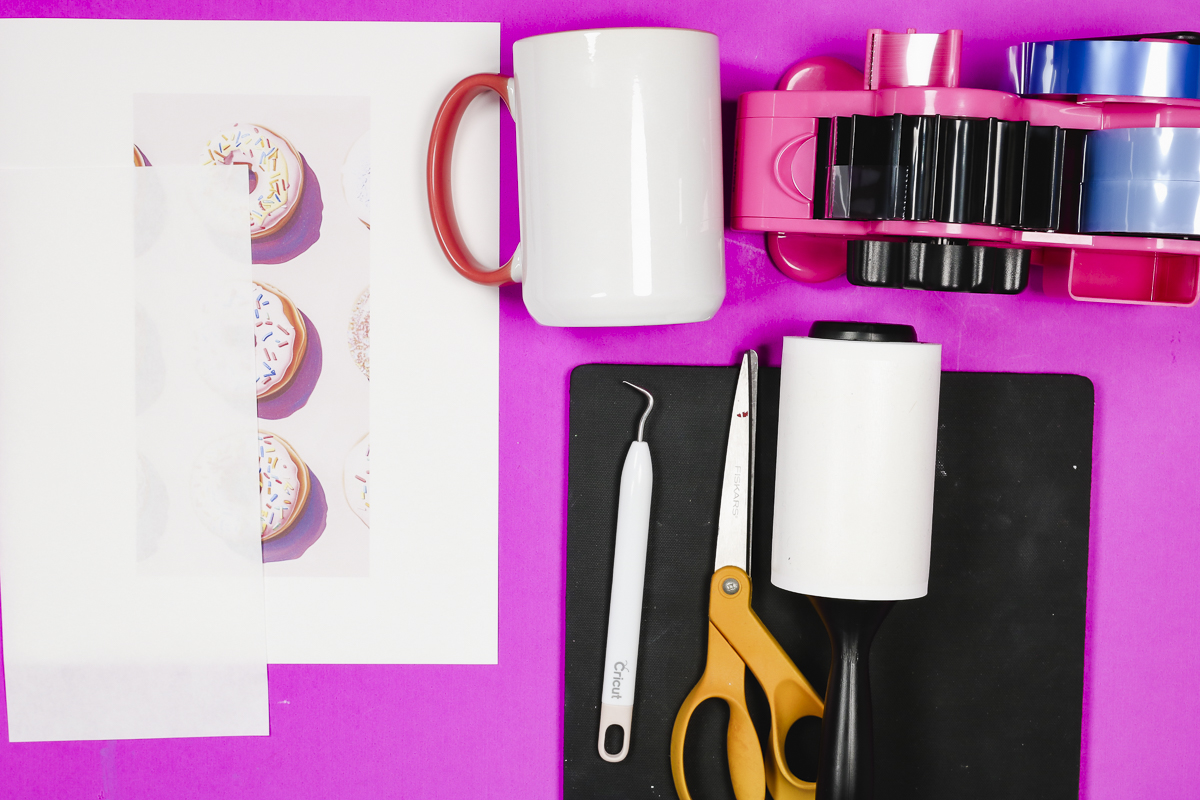
Supplies Used
- Free Donut Sublimation Design
- Brother Sublimation Printer
- Sublimation Paper
- Cricut Mug Press
- Sublimation Oven (optional)
- Sublimation Shrink Wrap (optional)
- Heat Resistant Mat
- Lint Roller
- Heat Resistant Tape
- Heat Resistant Gloves
- Tape Dispenser
- Heat Gun (optional)
- Tape Measure
- Pre-cut Protective Paper
Step 1. Measure the Sublimation Mug
First, we need to measure the mug to ensure our sublimation design is the right size.
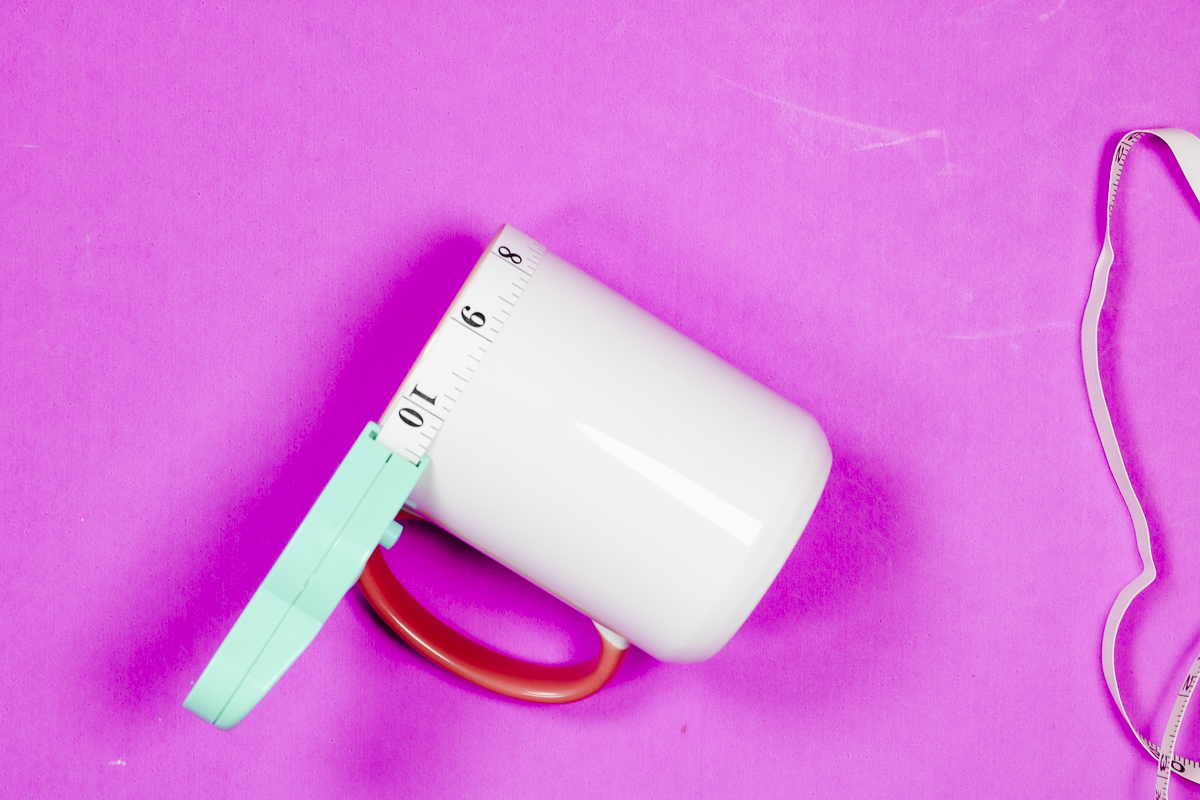
Measure the length of the mug. If your mug has a straight side for the full length, you can measure the whole thing.
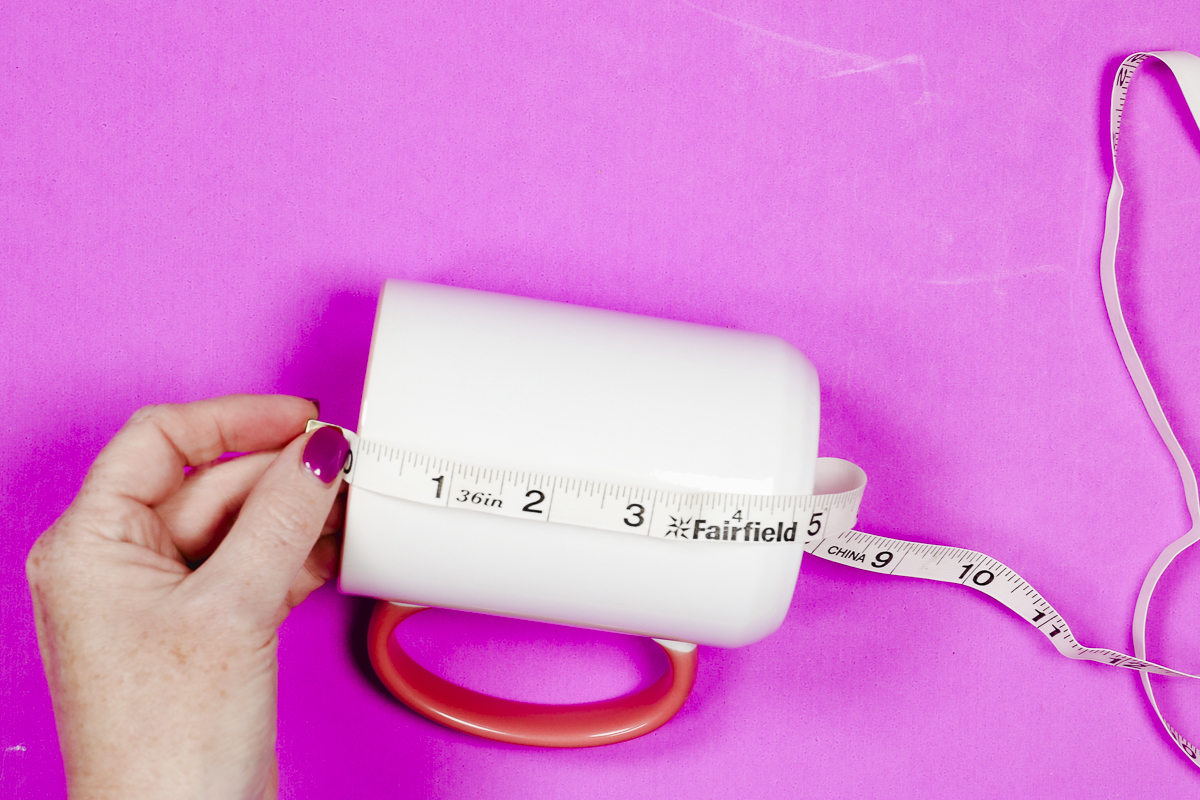
The next measurement is the outside of the mug all the way around. We want the full measurement. This tape measure from PYD Life is great for measuring mugs.
The next measurement we need is the area around the handle on the mug. I am using a mug press for this mug which means I need to leave room on each side of the handle for the opening on the mug press.
I would leave at least half an inch on each side of the handle to make sure the design is pressed completely and not cut off or faded.
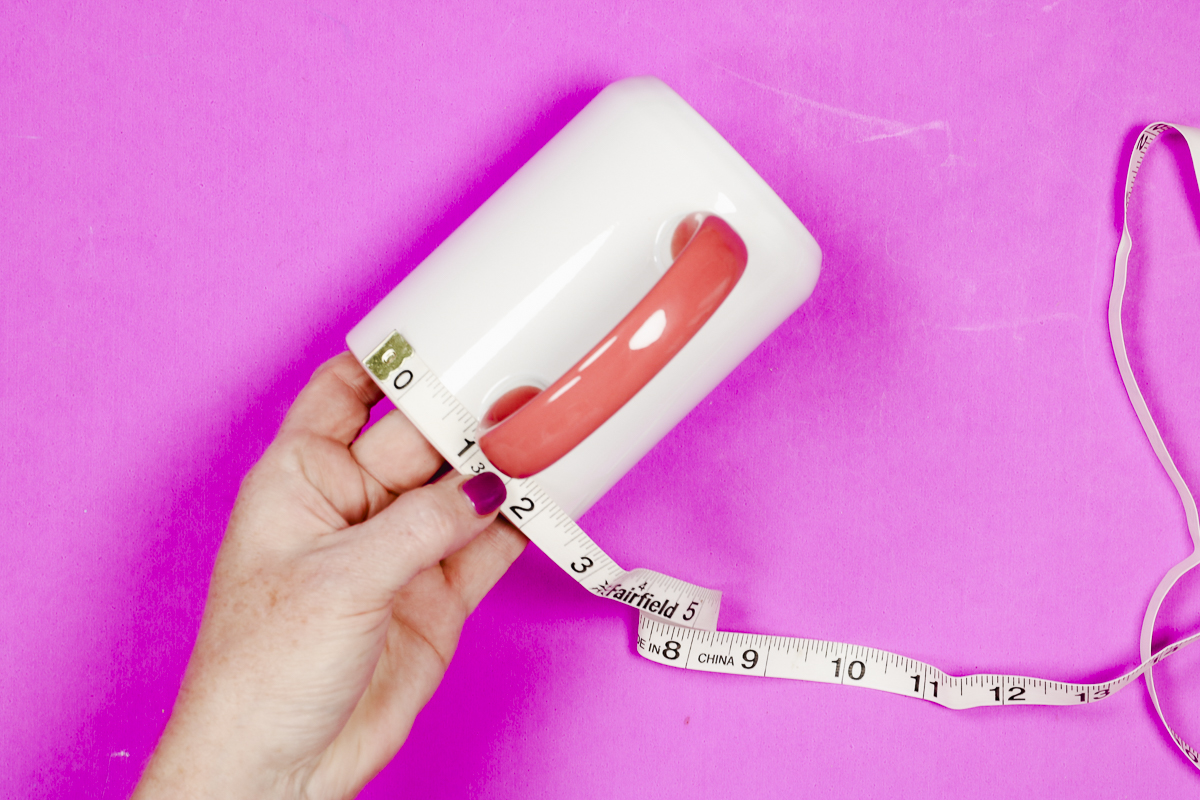
With all of those measurements taken I am going to create my design to be 4″ tall by 8.25″ wide. The mug itself measures about 10.25″ wide and then I subtracted 2 inches for the handle and the half inch on each side.
Step 2. Create Sublimation Design
I am using Canva to size my design. You can get the cute donut design I’m using in the supplies list above.
In Canva, I like to choose Custom Size and I size mine to match the size of my sublimation paper. My paper is 8.5 by 11 inches.
With the canvas size set click Upload, Upload Files, and then locate the file you want to upload on your computer. Because I am using this design as a wrap for a mug I am going to rotate the design 90 degrees.
Next, I need to resize the design to fit my mug. For this example I want the height to be 8.25 inches and the width to be 4 inches. To get the correct size you can drag the rectangle boxes on the sides of the design or you can click on Position in the top toolbar and set the exact height and width.
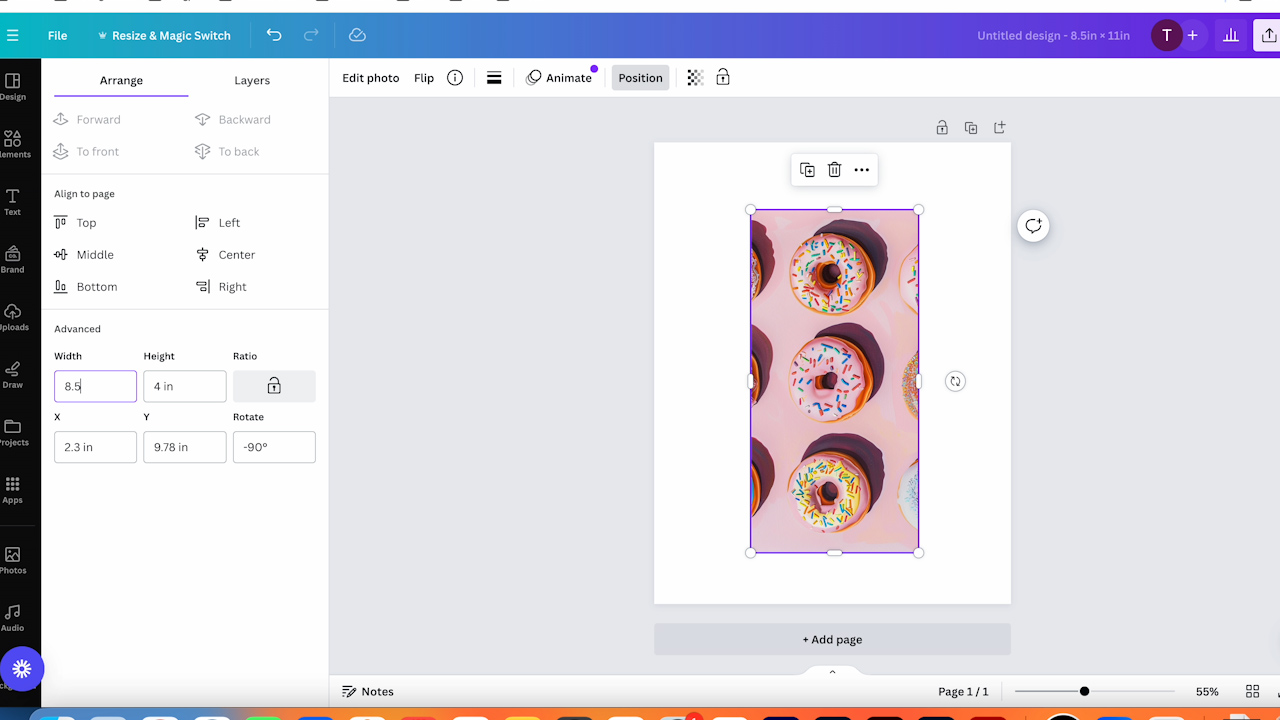
If you’re making multiple mugs, you can continue to size the rest of your designs. When I am creating multiple projects like this, I like to name the file the size of the design to make it easy to locate and differentiate.
Step 3. Print Sublimation Designs
I am using my Brother Sublimation printer for these projects so I saved the designs as a PDF, I feel like that file type works best with this printer.
Before printing, make sure the design is either flipped horizontally or mirrored and then click Print.
Step 4. Locate Sublimation Print on Mug
Next, we are going to add our sublimation print to the mug. Trim the sublimation print. You can either use a pair of scissors or a paper trimmer to trim off the white space.
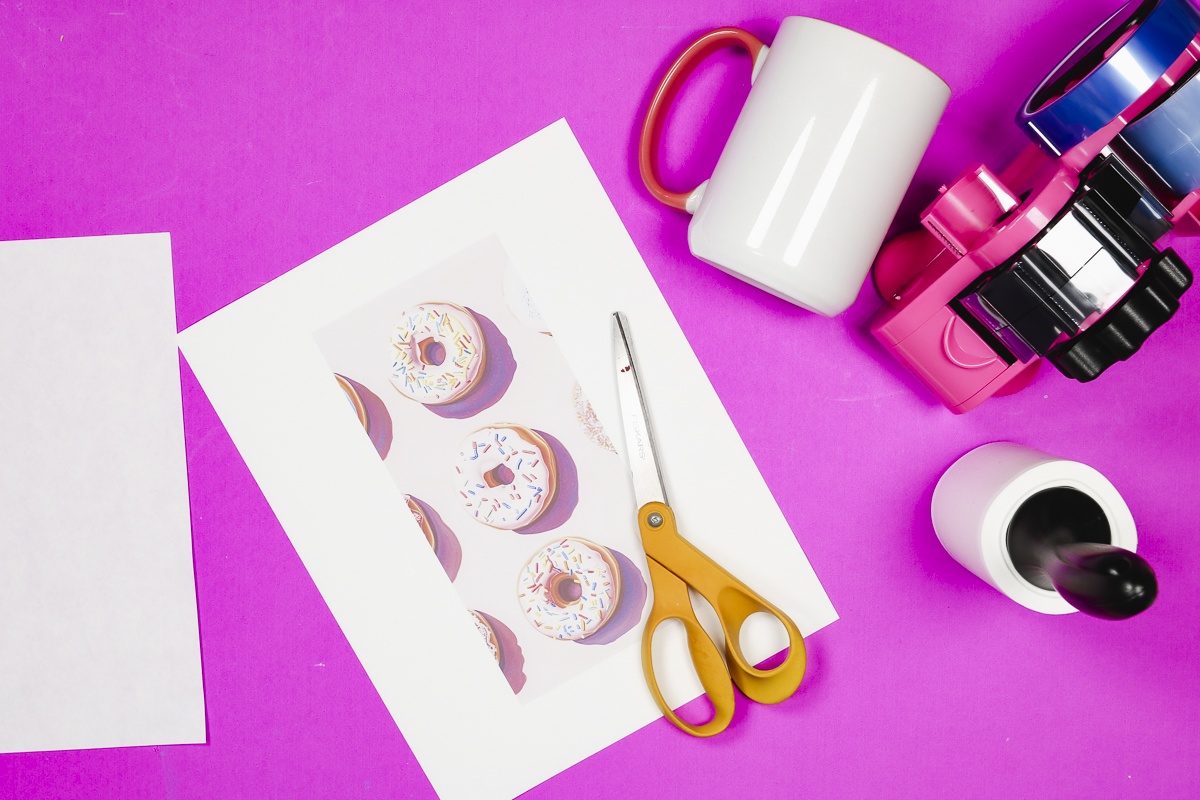
Once the design is cut out we’re ready to add it to the mug.
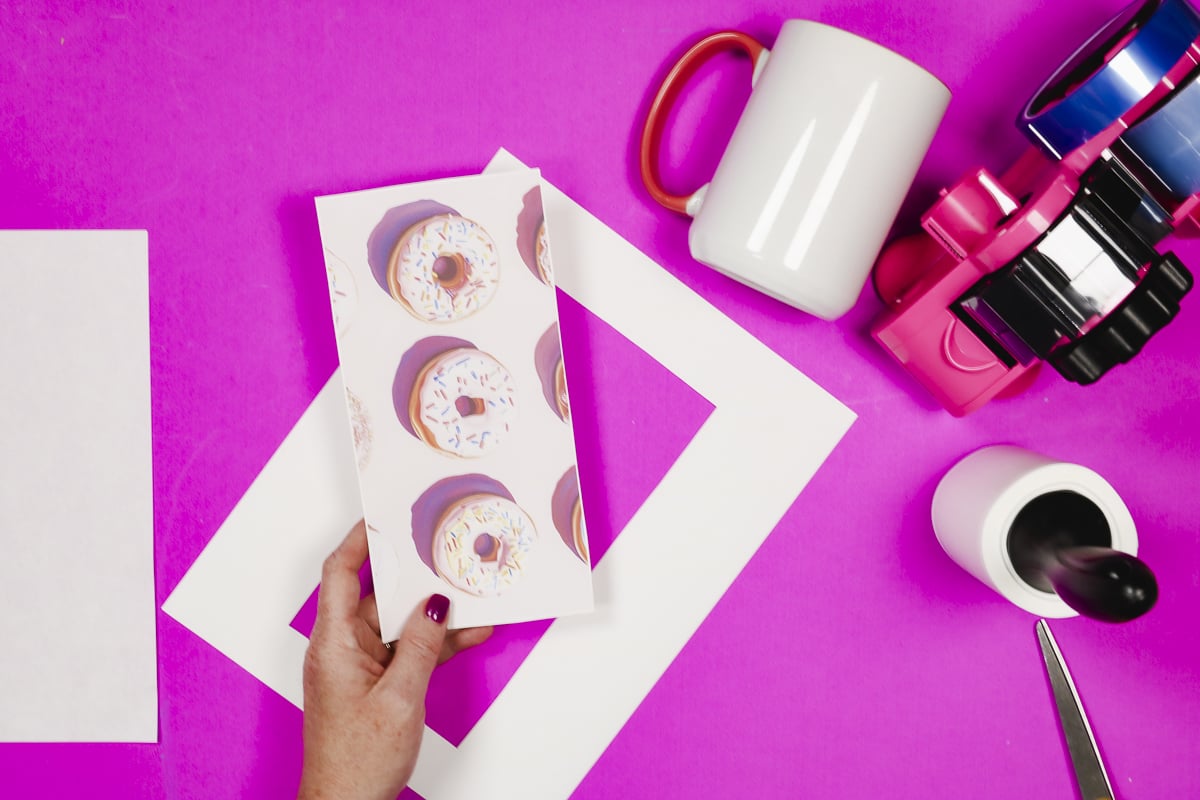
Clean the sublimation mug blank with a lint roller or a lint-free cloth and rubbing alcohol.
Because this mug tapers at the bottom I am going to flip the mug upside down and use the tabletop as a level to get the design straight.
To tape the design in place, I like to tape down one side and then follow the print around the mug to make sure it’s tight all the way around and then tape the other side.
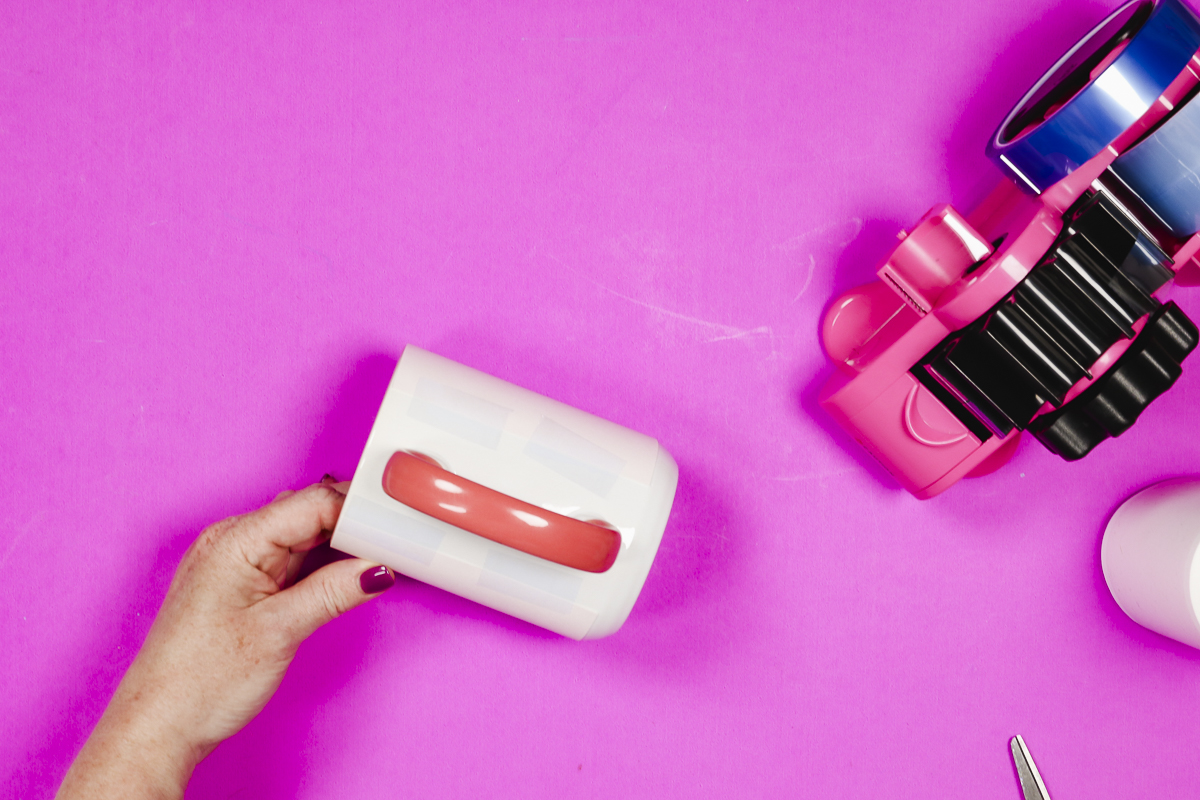
With the ends taped, you can tape the top and bottom. Do you need to tape the top and bottom? That is up to you. This mug is a larger size and fits tight inside the Cricut Mug Press.
I taped all around the bottom because I have had the mug press catch the bottom of the print and wrinkle it which would ruin the sublimation mug.
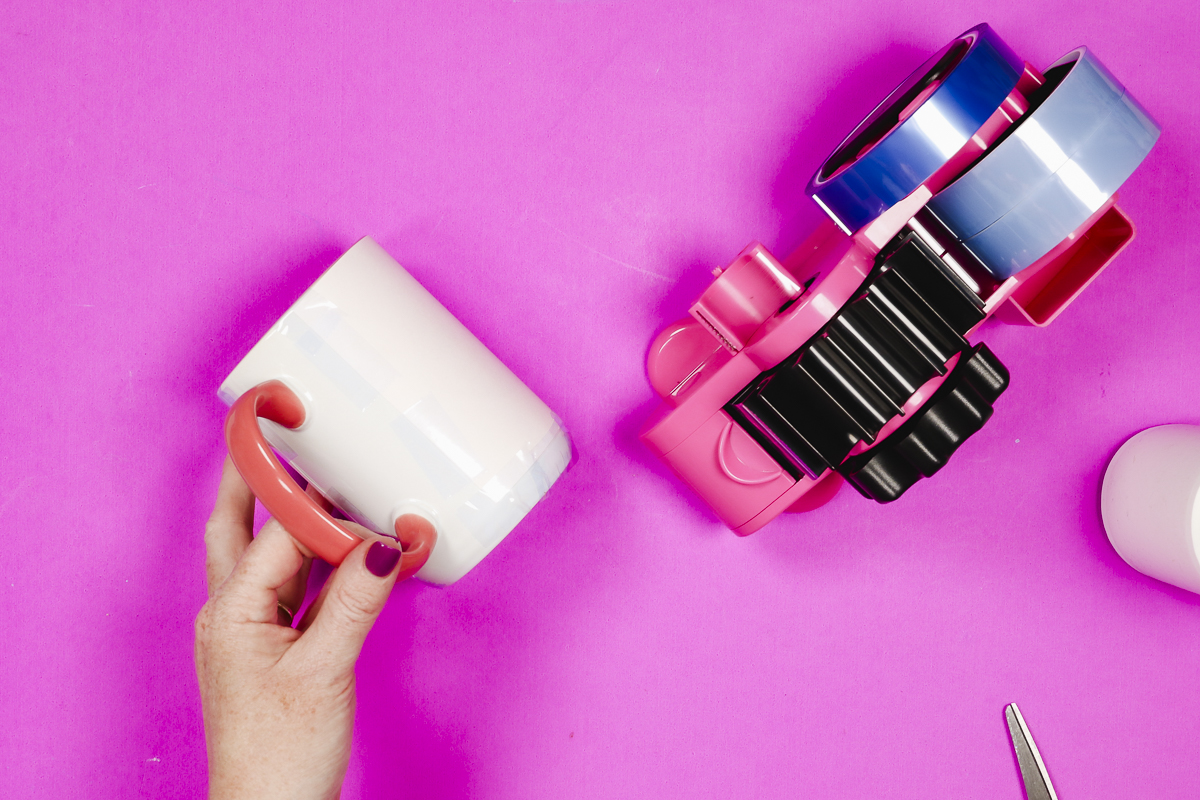
When using a mug press, I add a piece of protective paper around the print to protect the inside of the mug press from any ink that may bleed through after taping the print down well.
Step 5. Press the Design onto the Sublimation Mug
Now the design is ready to press. Place the mug into the mug press and center the handle in the opening.
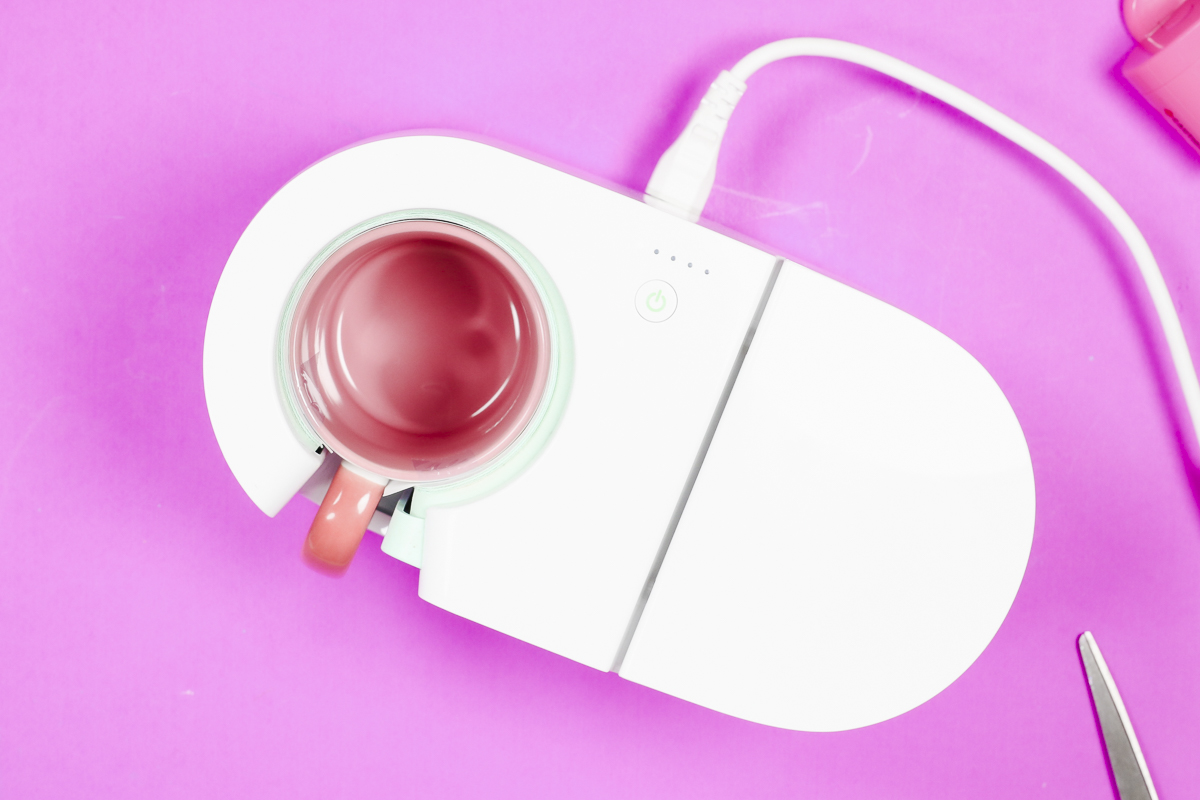
If you are using a sublimation oven, the process is different and includes using a shrink sleeve. I have a whole tutorial on how to make those including how to do a full wrap under the handle.
If you’re using the Cricut Mug Press, it will set the time and temperature for you. If you’re using a different mug press or tumbler press, follow the time and temperature for the mug sublimation blank you’re using.
Step 6. Reveal Finished Sublimation Mug
When the time is up, remove the mug from the press. If you’re using a mug press, the handle on ceramic mugs do not get hot. If you’re using a metal or glass mug, make sure you use heat-resistant gloves to remove the mug and place it on a heat-resistant mat.
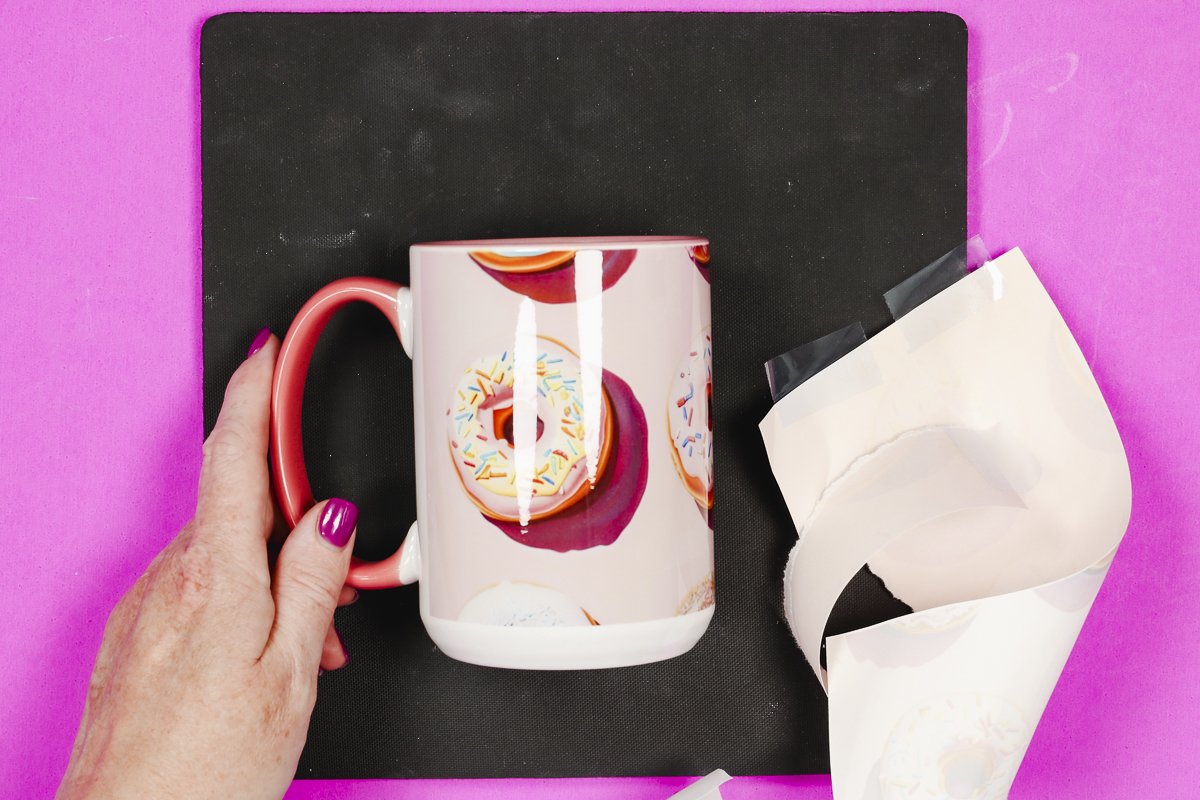
I like to peel the protective paper and sublimation print back right away. Use heat-resistant gloves to keep your fingers away from the hot surface and peel back the tape.
Now, you can see how cute this design is on this mug with the pink handle and pink inside.
Sublimation Mug Blanks Comparison
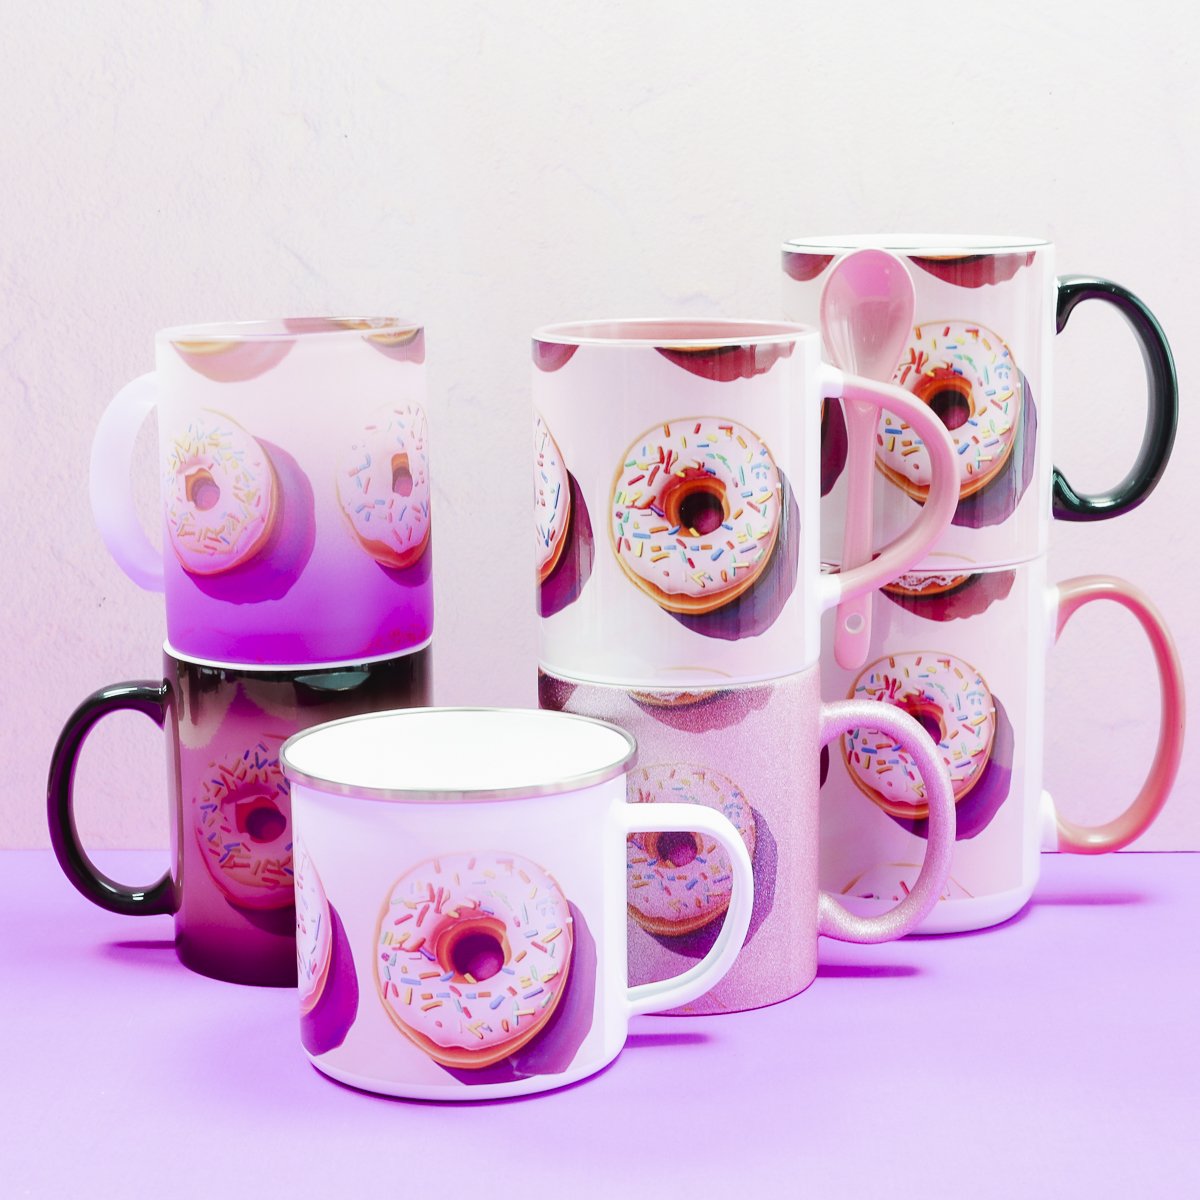
Now that I’ve finished pressing all of the different sublimation mug blanks let’s look at how they all turned out.
Pink Glitter Sublimation Mug
First, we have the pink glitter sublimation mug. On the left, you can see what the mug looked like before the design and on the right is the finished mug.
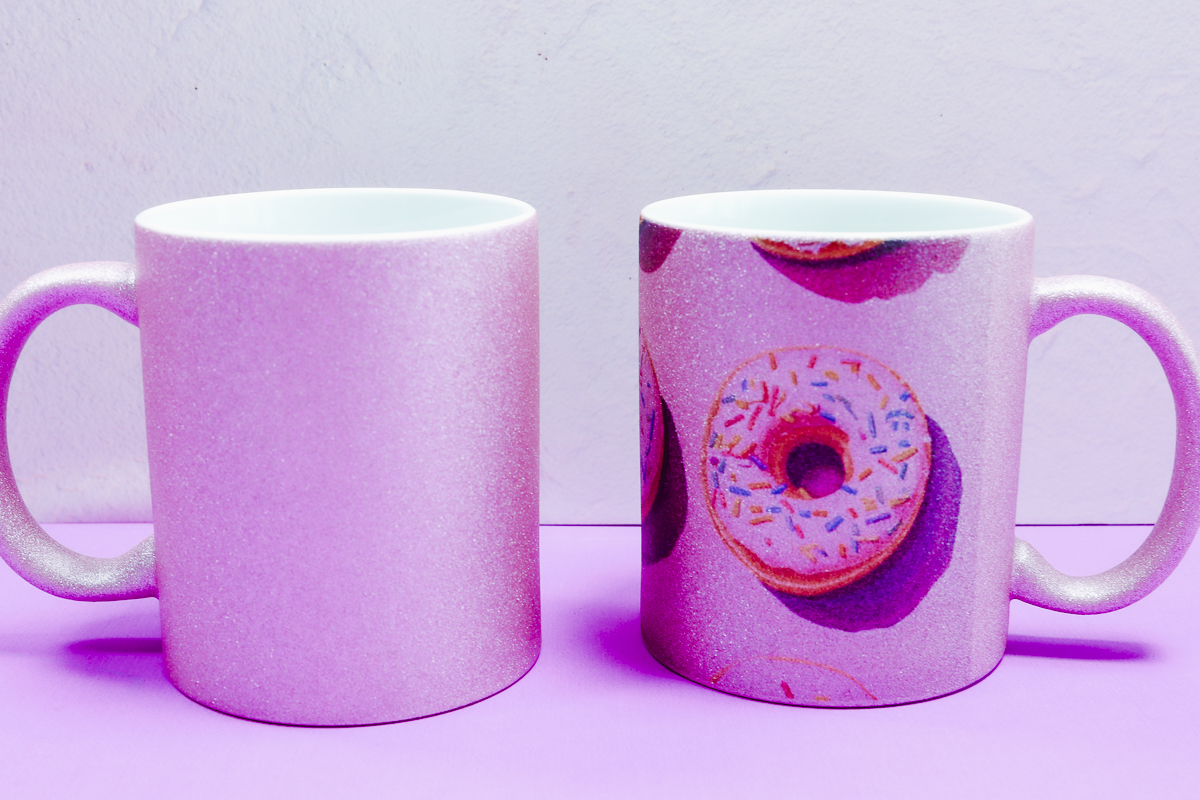
The sublimation design transferred beautifully. Near the handle, you can see the edge of the print and that there is a color to the background of the design.
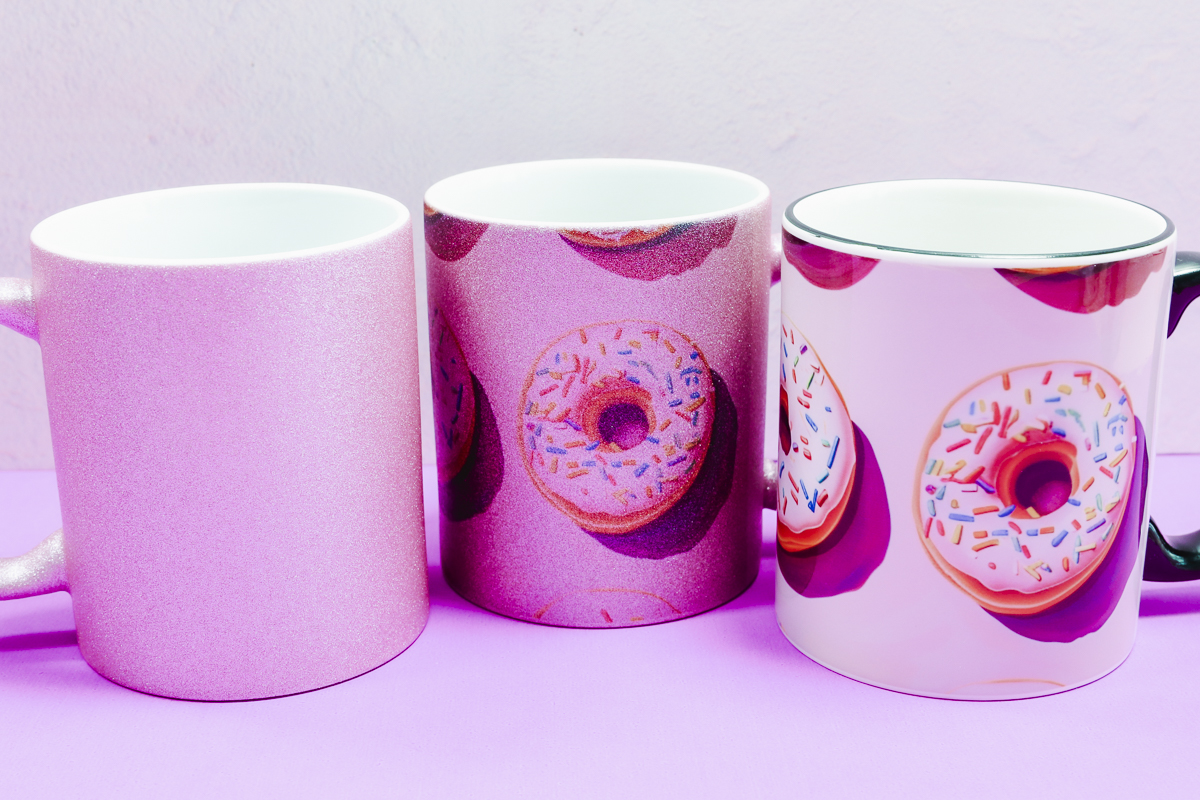
On the right you can see the same design on a white sublimation blank. The pink from the mug does show through the design so you’ll want to keep that in mind when you’re choosing your sublimation design.
Frosted Sublimation Mug
Next, we have the frosted glass mug. This mug also turned out beautifully. The design is a little less vibrant because this is a frosted clear mug.
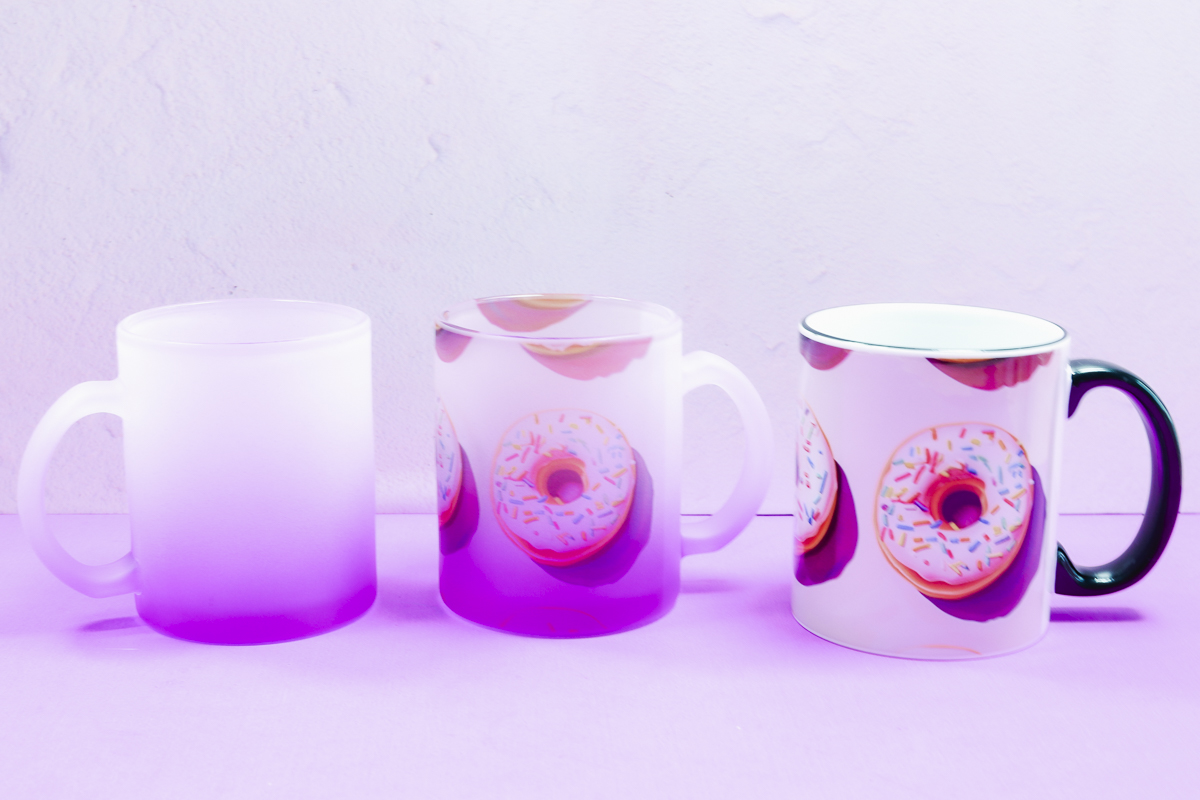
I think the ombre effect looks really cool with this donut design applied.
White Base Sublimation Mugs
This next set of mugs all have a white background. I mentioned before that you can find sublimation mugs with different colored handles in all different sizes including these cute ones with the matching spoon.
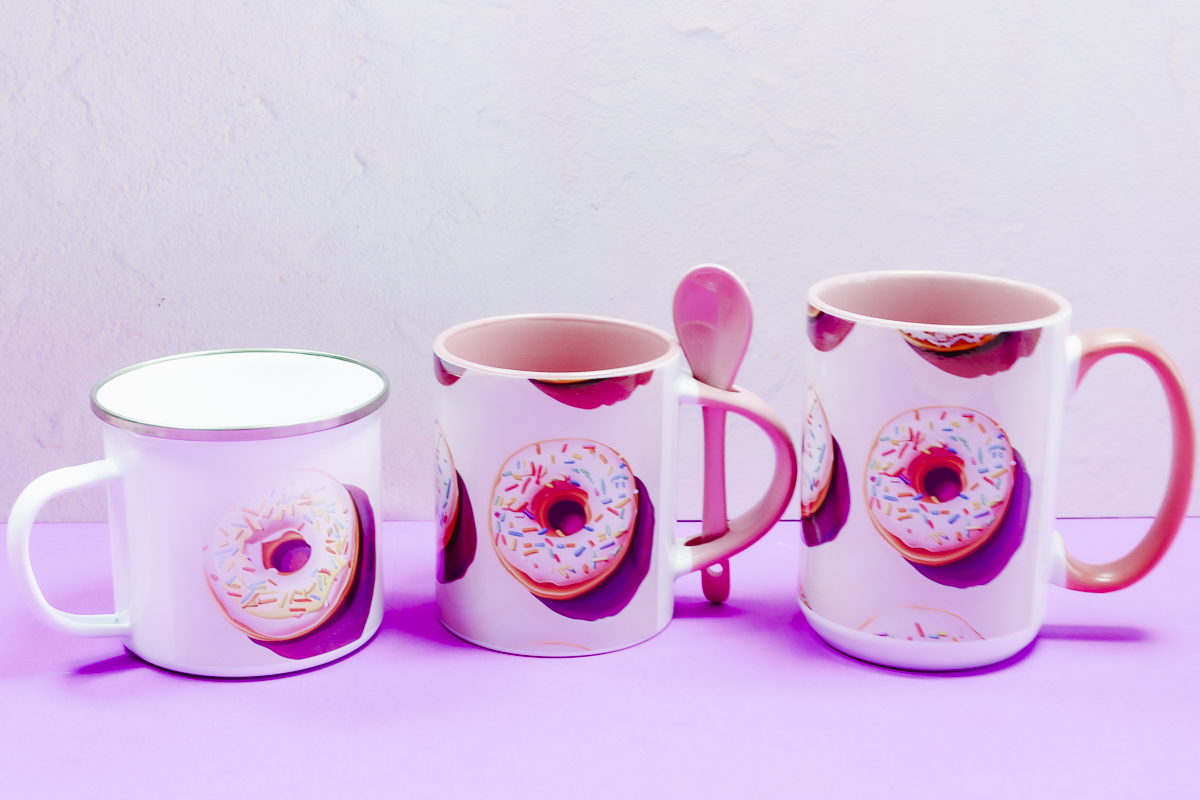
All of the mugs turned out great. The camp mug is really fun. I do want to warn you that any mug with a lip can be hard to get a consistent result. I have had the best results with a sublimation oven but it is possible in a tumbler or mug press depending on the mug and the press you have.
Color-changing Sublimation Mug
The last sublimation mug blank is the fun black color-changing sublimation mug.
On the left, you can see the solid black mug and on the right, the mug has the sublimation print and I heated it up with my mug press to show you the design.
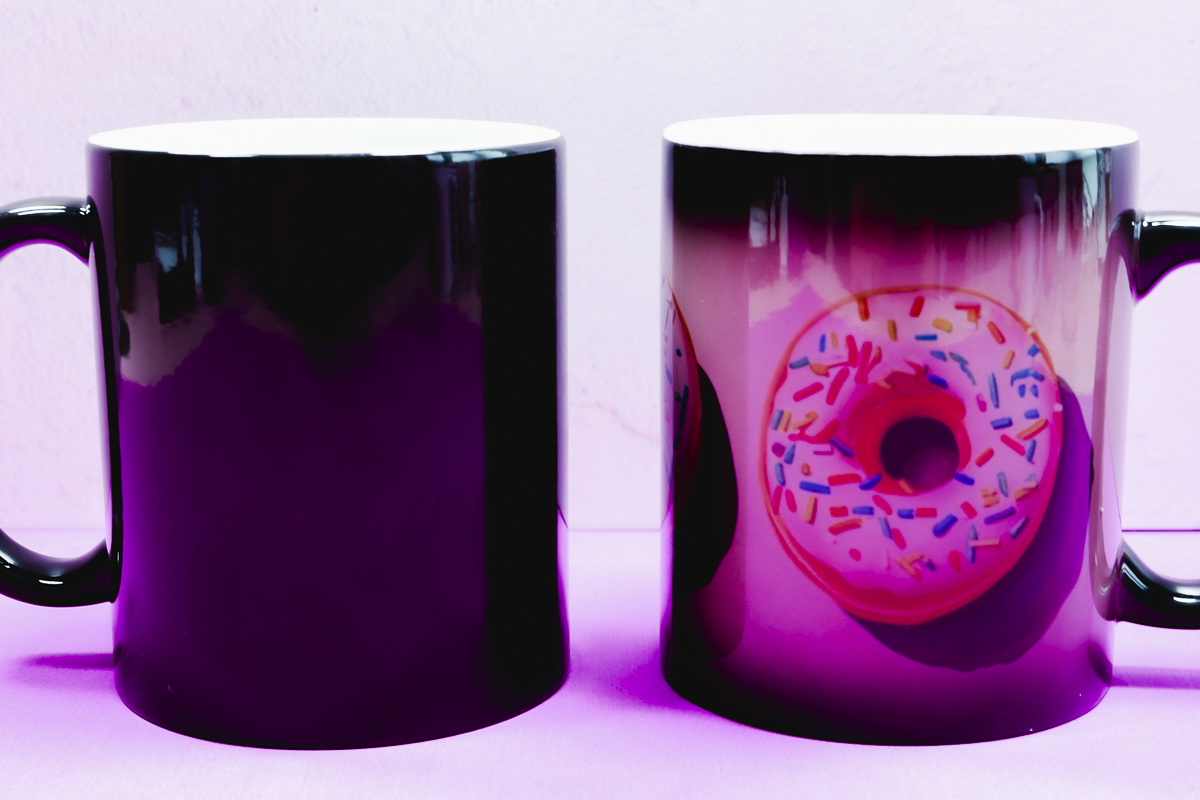
With a hot liquid inside the whole thing will turn white except the sublimation print. It really is so cute and such a fun sublimation blank.
I have been cautioned to keep this type of sublimation mug blank out of direct sunlight of from where it may be hot all the time. If it’s continually exposed to heat, it will permanently change to white and will no longer color-change.
Which Sublimation Mug Blank Should You Choose?
Now that you’ve seen a variety of different sublimation mug blanks which one are you most excited to try first? I love that there are so many different options, you could literally find one that would coordinate with any design you want to add to your mug.
The metal camp mugs are really fun. If the lip scares you, there are versions that have a straight side and even have a travel lid.
While I think they’re all fun a couple of my favorites are the glitter mug and the color-changing mug. They’re different enough that I don’t see a lot of them out there.
Don’t forget, if you’re using a mug that has a base color, the color will show through your design. Keep that in mind when you’re choosing the mug and the design.
I hope I’ve answered your questions about different sublimation mug blanks. If you have any additional questions, leave them in the comments and I’ll be happy to answer them for you.


One question, is the handle really 1″ wide?
I think it depends on the mug but mine is just under 1″ wide for most mugs 🙂